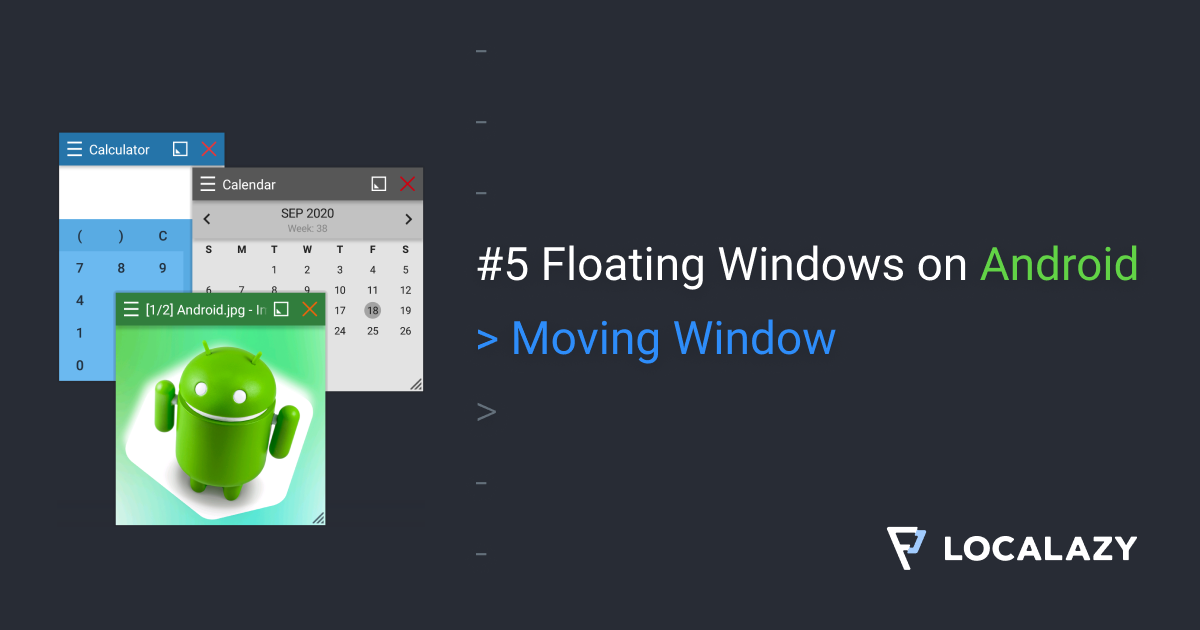
#5 Moving windows floating over other apps on Android
 Václav Hodek
Have you ever wondered how to make those floating windows used by Facebook Heads and other apps? Have you ever wanted to use the same technology in your app? It’s easy, and I will guide you through the whole process.
I'm the author of Floating Apps; the first app of its kind on Google Play and the most popular one with over 8 million downloads. After 6 years of the development of the app, I know a bit about it. It’s sometimes tricky, and I spent months reading documentation and Android source code and experimenting. I received feedback from tens of thousands of users and see various issues on different phones with different Android versions.
Here's what I learned along the way.
Before reading this article, it's recommended to go through Floating Windows on Android 4: Floating Window.
In this article, I will teach you how to make the window movable by dragging its header.
Updating Layout
In the previous article, we introduced how to add views to WindowManager along with their LayoutParams. However, from the moment the window is added, changes made to LayoutParams are not reflected.
To apply changes, it's necessary to call method updateViewLayout of WindowManager. Therefore, we need to implement two additional methods for our Window class for changing the window position.
private fun setPosition(x: Int, y: Int) {
  windowParams.x = x
  windowParams.y = y
  update()
}

private fun update() {
  try {
    windowManager.updateViewLayout(rootView, windowParams)
  } catch (e: Exception) {
    // Ignore exception for now, but in production, you should have some
    // warning for the user here.
  }
}
Of course, the very same principle can be used to change the window's size, opacity, etc.
Custom OnTouchListener
For moving the window, let's implement a custom OnTouchListener that allows us to track the initial point's movement. Also, let's keep the basic functionality - clicks & long-clicks - to work in the expected system-like way.
Our implementation doesn't support multitouch, but it's good enough to demonstrate how to move the window.
The source code of our new DraggableTouchListener is here:
class DraggableTouchListener(
    context: Context,
    private val view: View,
    private val initialPosition: () -> Point,
    private val positionListener: (x: Int, y: Int) -> Unit
) : View.OnTouchListener {

  private val touchSlop = ViewConfiguration.get(context).scaledTouchSlop
  private val longClickInterval = ViewConfiguration.getLongPressTimeout()
  private var pointerStartX = 0
  private var pointerStartY = 0
  private var initialX = 0
  private var initialY = 0
  private var moving = false
  private var longClickPerformed = false
  private var timer: Timer? = null

  init {
    view.setOnTouchListener(this)
  }

  private fun scheduleLongClickTimer() {
    if (timer == null) {
      timer = Timer()
      timer?.schedule(timerTask {
          if (!moving && !longClickPerformed) {
              view.post {
                  view.performLongClick()
              }
              longClickPerformed = true
          }
          cancelLongClickTimer()
      }, longClickInterval.toLong())
    }
  }

  private fun cancelLongClickTimer() {
    timer?.cancel()
    timer = null
  }

  override fun onTouch(view: View, motionEvent: MotionEvent): Boolean {

    when (motionEvent.action) {

        MotionEvent.ACTION_DOWN -> {
            pointerStartX = motionEvent.rawX.toInt()
            pointerStartY = motionEvent.rawY.toInt()
            with(initialPosition()) {
                initialX = x
                initialY = y
            }
            moving = false
            longClickPerformed = false
            scheduleLongClickTimer()
        }

        MotionEvent.ACTION_MOVE -> {
            if (!longClickPerformed) {
                val deltaX = motionEvent.rawX - pointerStartX
                val deltaY = motionEvent.rawY - pointerStartY
                if (moving || hypot(deltaX, deltaY) > touchSlop) {
                    cancelLongClickTimer()
                    positionListener(initialX + deltaX.toInt(), initialY + deltaY.toInt())
                    moving = true
                }
            }
        }

        MotionEvent.ACTION_UP -> {
            cancelLongClickTimer()
            if (!moving && !longClickPerformed) {
                view.performClick()
            }
        }

    }

    return true
  }

}
We can add a bit of Kotlin magic - extension functions - to make it even easier to use:
fun View.registerDraggableTouchListener(
  initialPosition: () -> Point,
  positionListener: (x: Int, y: Int) -> Unit
) {
  DraggableTouchListener(context, this, initialPosition, positionListener)
}
Theoretically, you can move anything with code above - the view serves here as a trigger only.
Let's Get The Window Movin'
Everything we need to do is to attach our newly created DraggableTouchListener to the view we want to be used as a handle for moving the window.
For desktop operating systems, the window's title bar typically serves this purpose, so let's follow the same trend:
rootView.findViewById<View>(R.id.window_header).registerDraggableTouchListener(
  initialPosition = { Point(windowParams.x, windowParams.y) },
  positionListener = { x, y -> setPosition(x, y) }
)
And that's it!
Boundaries
It would be necessary for the productional use to implement some boundaries, so the window can’t be moved out of the screen too much.
In Floating Apps, I allow the user to move 50% of the window outside the screen area.
Results
Tap the window's title bar and move it anywhere you want!
Source Code
The whole source code for this article is available on Github.
The Series
This article is part of the Floating Windows on Android series.
- Floating Windows on Android 1: Jetpack Compose & Room
- Floating Windows on Android 2: Foreground Service
- Floating Windows on Android 3: Permissions
- Floating Windows on Android 4: Floating Window
- Floating Windows on Android 5: Moving Window
- Floating Windows on Android 6: Keyboard Input
- Floating Windows on Android 7: Boot Receiver
- Floating Windows on Android 8: The Final App
- Floating Windows on Android 9: Shortcomings
- Floating Windows on Android 10: Tips & Tricks
Subscribe to my newsletter
Read articles from Václav Hodek directly inside your inbox. Subscribe to the newsletter, and don't miss out.
Written by
