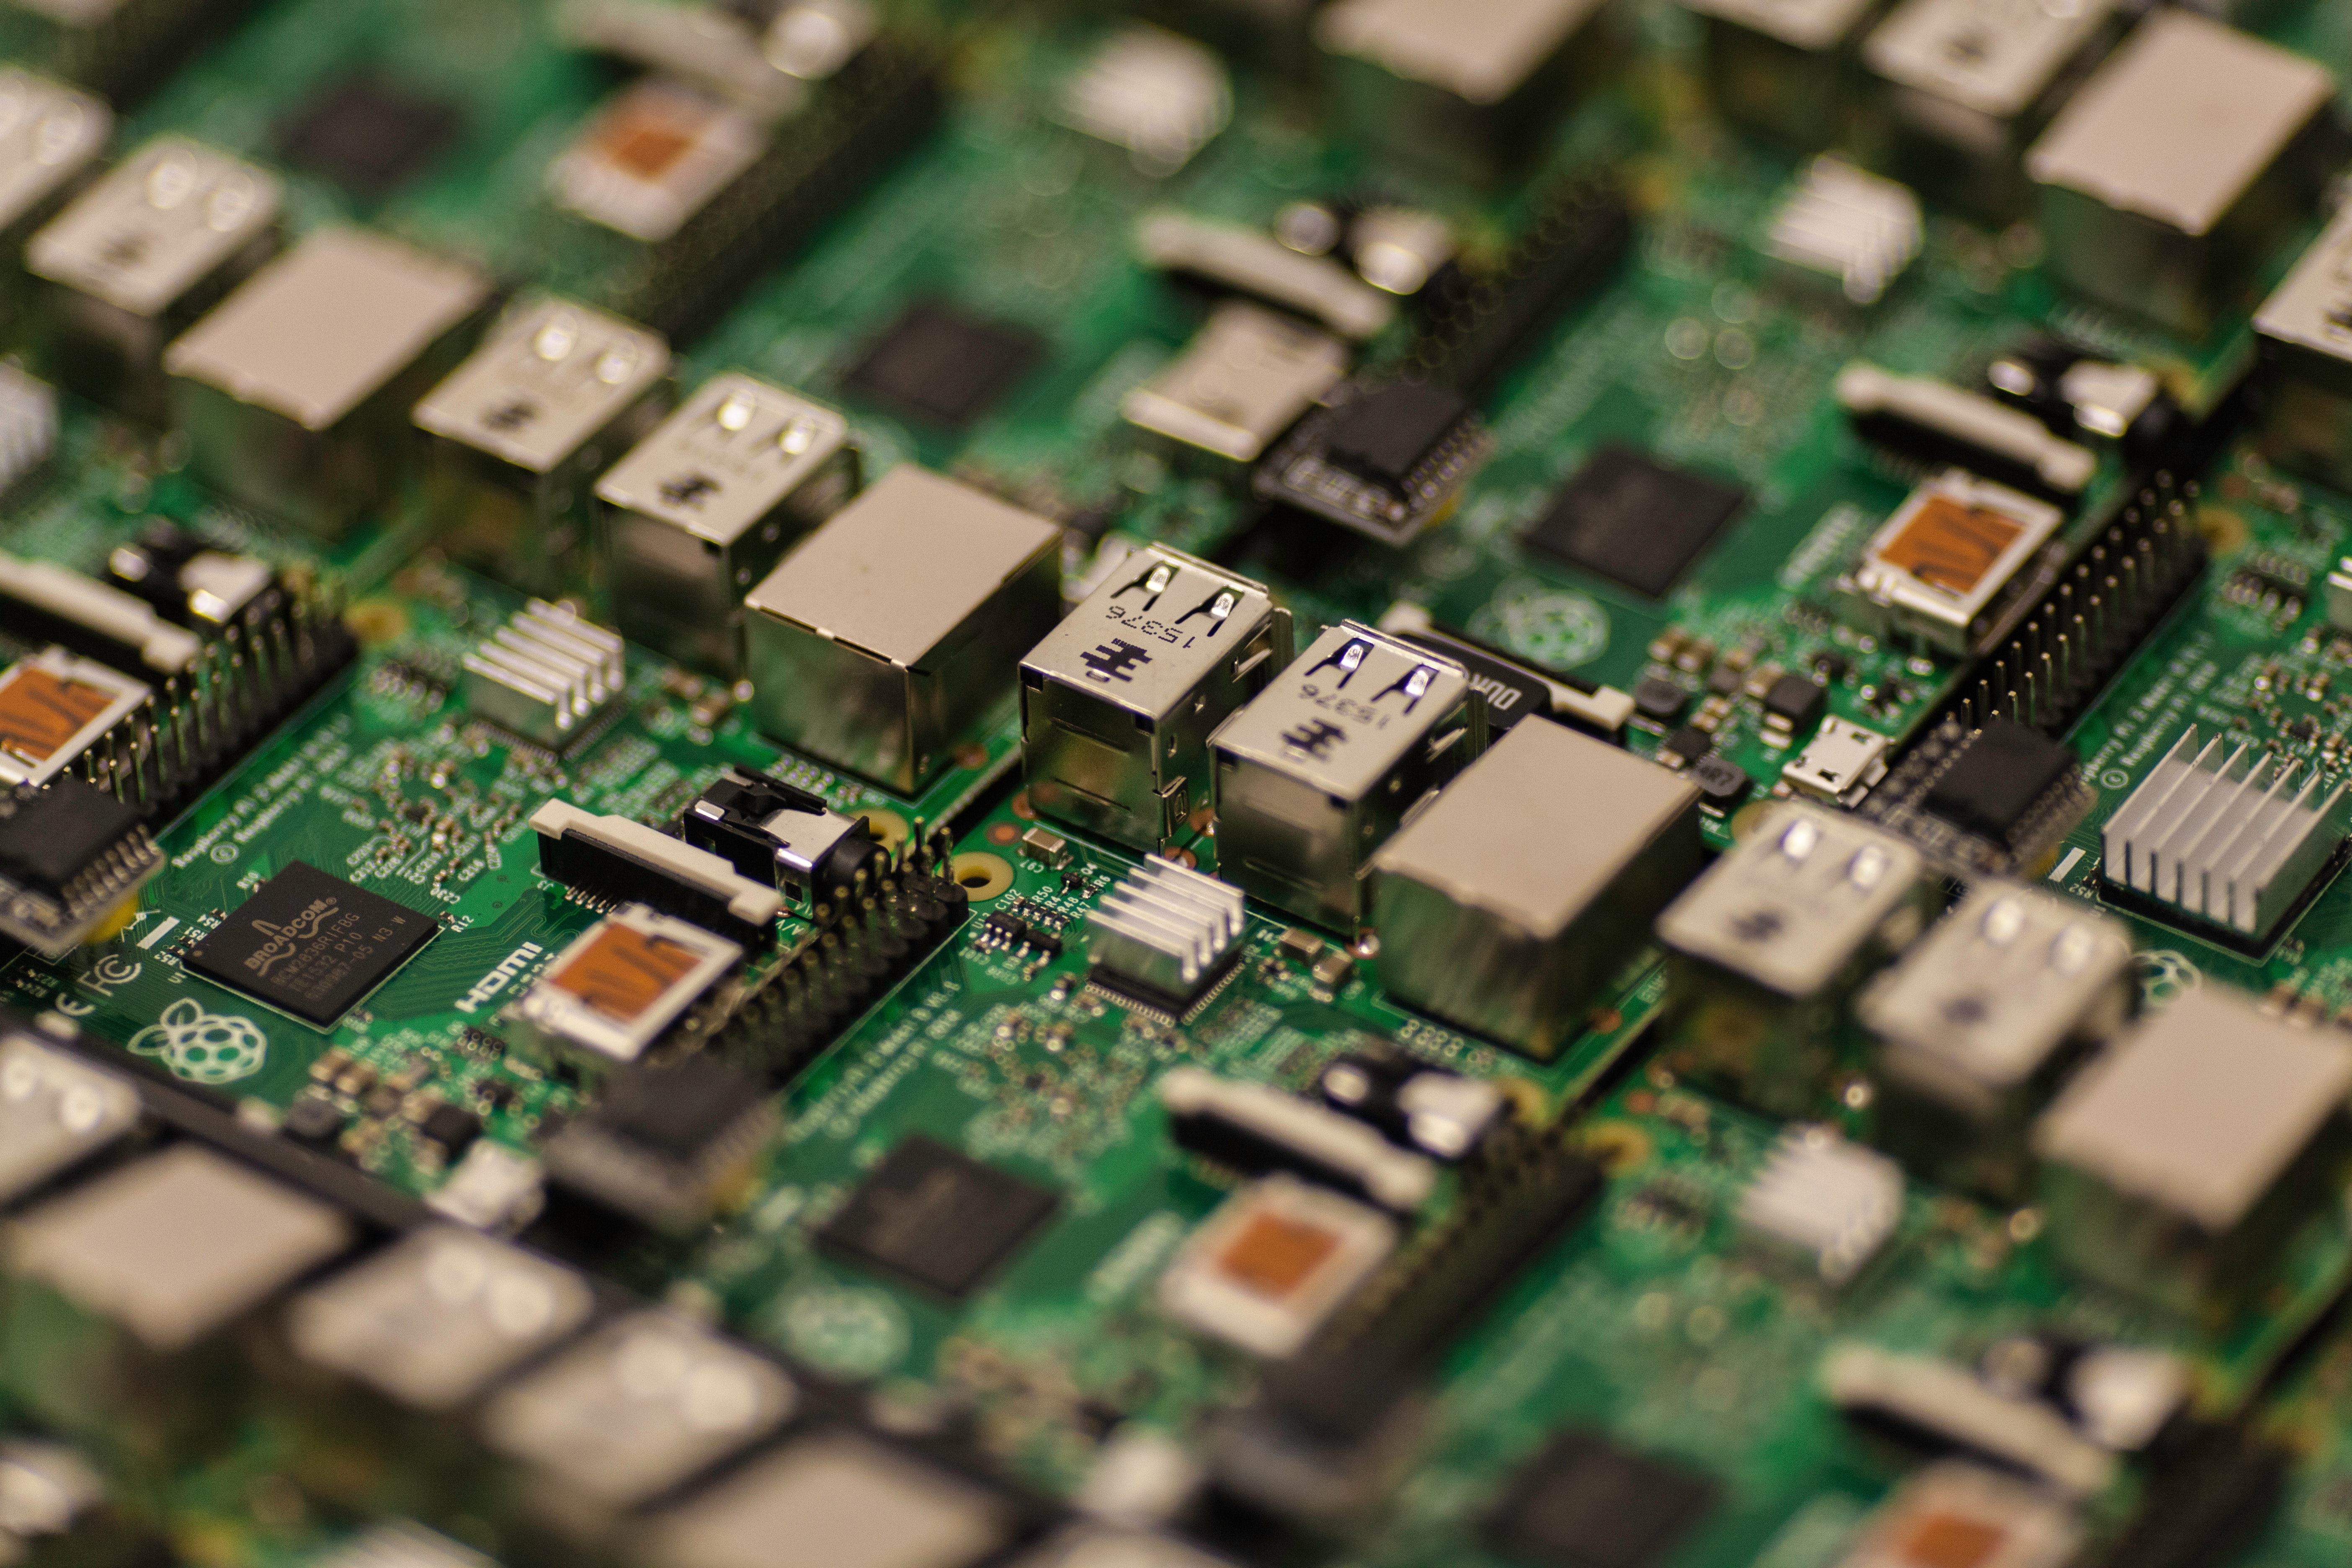
Getting Started with the Raspberry Pi 3b
 Jadesola kareem
this article is written as a task from Chris bongers on hashnode technical writing II
Introduction
In my final year of university, I chose to design an IOT facial recognition home security system using raspberry pi and python 3. Now mind you, I had never programmed a day in my life because most Nigerian universities teach more theory than practical. When I got the Raspberry Pi model 3b, I was so frustrated and confused on how to set it up and that's why I'm writing this article to help people who are in the same shoes as me as well as my past self.
What is a raspberry pi?
A raspberry pi is a microcomputer the size of a credit card with USB ports, LAN ports, e.tc. Basically, it is a pocket sized computer that can be programmed to carry out different functions.
Accessories needed.
A micro-SD card (preferrably 16gb and above in size)
A wired mouse
5v/1A power supply
LAN Cable/ HDMI cable
A display unit or laptop or monitor or television.
Getting Started
Firstly, download the latest raspbian operating software, which as of 2020 is raspbian buster.
Next, download the Win 32 disk imager and SD card formatter
Plug the Micro- SD card into an SD card adapter which is connected to your laptop or PC
Format your SD card using the SD card formatter and copy the Raspbian OS to your SD card using the Win 32 disk imager software
Write a blank file named 'ssh' into the Raspbian OS folder on the SD card.
After this, place the SD card into the Raspberry Pi.
Now, if you are planning on using a television screen as a dispaly unit, just use a USB mouse, USB keyboard and connect a HDMI cable to the HDMI Ports of the television and raspberry Pi. Afterwards, just follow the prompts on the tv screen.
Using a laptop as a display unit
I've heard people using different ways to connect using a laptop such as VNC Client/ server and using putty, e.t.c. Those methods were not successful for me, but what worked was using an application called Mobaxterm and here are the steps I followed:
Power up your Raspberry Pi using the power supply(the raspberry pi should be powered constantly)
Connect a LAN Cable between the LAN ports of your laptop and raspberry Pi (The raspberry pi should show a green and yellow indicating light at it's LAN port)
Open up your network and sharing center on your laptop and automatically obtain the IPv4 address of the raspberry pi network and copy it
Open the Mobaxterm application and go to 'session', after select 'ssh' and on port 22, put the IPv4 address as the remote host.
Finally, a terminal opens and type
$startlxde
login username is pi and password is password because it's the default settings, feel free to change it whenever. A virtual environment opens and you can get started from here.
Subscribe to my newsletter
Read articles from Jadesola kareem directly inside your inbox. Subscribe to the newsletter, and don't miss out.
Written by
