What about building a CMS, let's Twill
 Codivores
Updated version for Laravel 10 / Twill 3 on Apr 14, 2023
Dependencies installation
Twill comes as a Laravel package that can be installed via Composer. You can refer to the official documentation for more information.
composer require area17/twill:"^3.0"
Twill installation
What does that mean?
Twill installation will
Create configuration files
twill.php: global configuration of the packagetranslatable.php: Twill uses astrotomic/laravel-translatable package to handle multi-language content
Create a
twill.phproute file to declare the routes of our modulesPublish the assets of the administration interface (Twill is built with Vue.js 2)
Migrate all the package tables: twill users, settings, blocks, medias, files, ...
Prompt for a superadmin account creation (you can create it or new ones later with this command
php artisan twill:superadmin)
If you want to change the default table names, create the twill.php config file before proceeding to the installation and define your custom names.
Default table names
    'blocks_table' => 'twill_blocks',
    'features_table' => 'twill_features',
    'fileables_table' => 'twill_fileables',
    'files_table' => 'twill_files',
    'mediables_table' => 'twill_mediables',
    'medias_table' => 'twill_medias',
    'password_resets_table' => 'twill_password_resets',
    'related_table' => 'twill_related',
    'settings_table' => 'twill_settings',
    'tagged_table' => 'twill_tagged',
    'tags_table' => 'twill_tags',
    'users_oauth_table' => 'twill_users_oauth',
    'users_table' => 'twill_users',
We generally change the table names to set admin prefix instead of twill for admin users and add content prefix for all other tables.
/config/twill.php
<?php

return [

    /*
    |--------------------------------------------------------------------------
    | Twill default tables naming configuration
    |--------------------------------------------------------------------------
    |
    */

    'blocks_table' => 'content_blocks',
    'features_table' => 'content_features',
    'fileables_table' => 'content_fileables',
    'files_table' => 'content_files',
    'mediables_table' => 'content_mediables',
    'medias_table' => 'content_medias',
    'password_resets_table' => 'admin_password_resets',
    'related_table' => 'content_related',
    'settings_table' => 'content_settings',
    'tagged_table' => 'content_tagged',
    'tags_table' => 'content_tags',
    'users_oauth_table' => 'admin_users_oauth',
    'users_table' => 'admin_users',

];
Ok, let's do it
We have an email address (no mail will be sent) and a password, we are ready for the installation process, so let's execute the following command:
php artisan twill:install
Where is my Twill
The administration interface is available by default as admin path of your APP_URL environment variable (defined when you installed Laravel in your /.env file): http://localhost/admin.
Twill allows you to have it available where you want with environment variables:
For a fully dedicated domain: set an
ADMIN_APP_URLenvironment variable with the URL (ex:ADMIN_APP_URL=tech.codivores.com)As a path of your main domain: set an
ADMIN_APP_PATHenvironment variable with the name of the subdirectory (ex:ADMIN_APP_PATH=/administration).
You can find more configuration options in the official documentation like strict domain handling when using a path.
In most cases, we make the administration available as a path of the main domain. And depending on our clients, we set the ADMIN_APP_PATH environment variable in the .env file (or as an OS environment variable) with the name they want and that is not too obvious for an administration interface.
/!\ If you are using a path, there's a little buggy behavior: if you try to login through http://localhost/admin/login.php instead of http://localhost/admin, you are well logged in but redirected to the APP_URL... To prevent this, you can edit the default auth_login_redirect_path config:
/config/twill.php
return [

    /*
    |--------------------------------------------------------------------------
    | Twill Auth related configuration
    |--------------------------------------------------------------------------
    |
     */
    'auth_login_redirect_path' => env('ADMIN_APP_PATH', '/admin'),

];
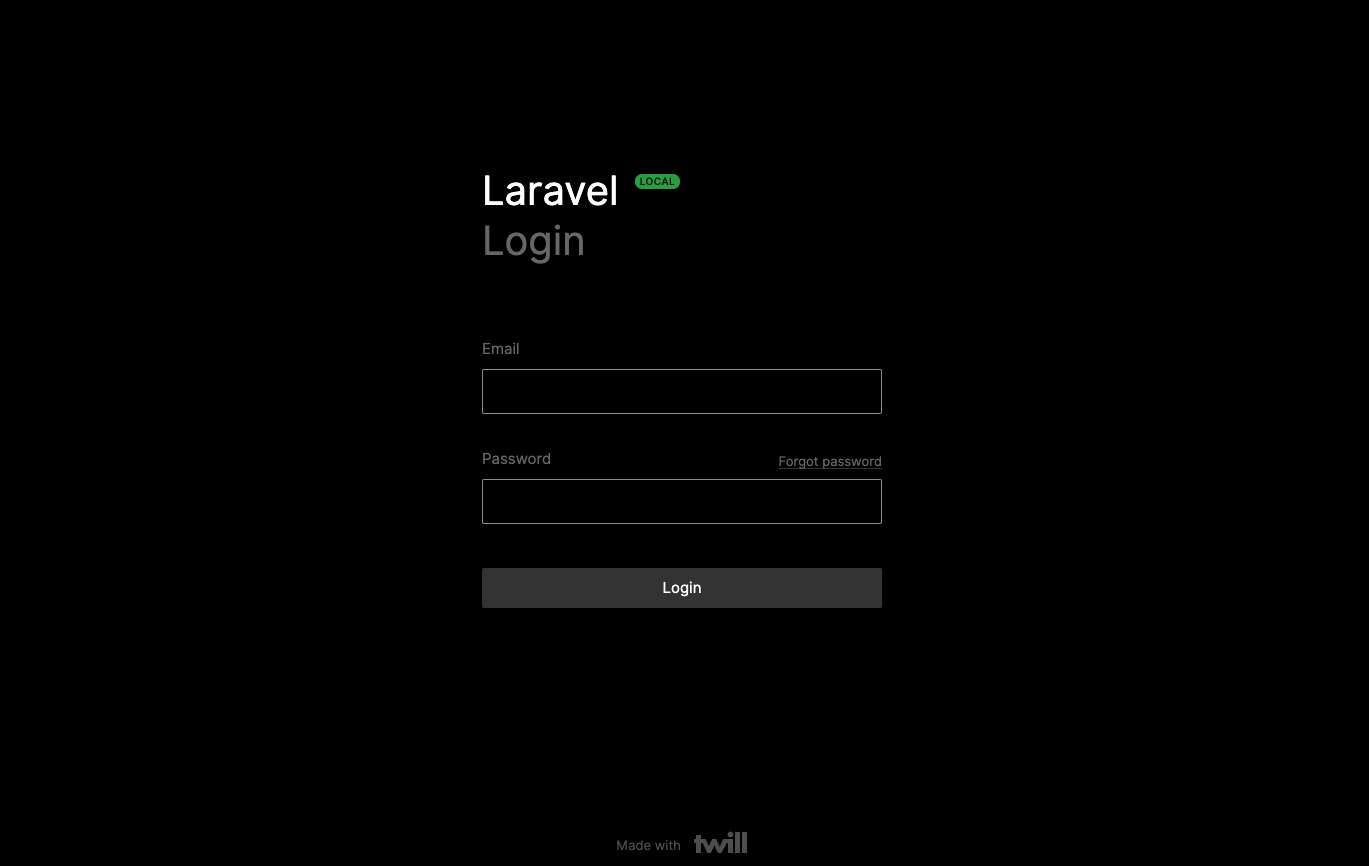
We can now go to http://localhost/admin in a browser and see the login page.

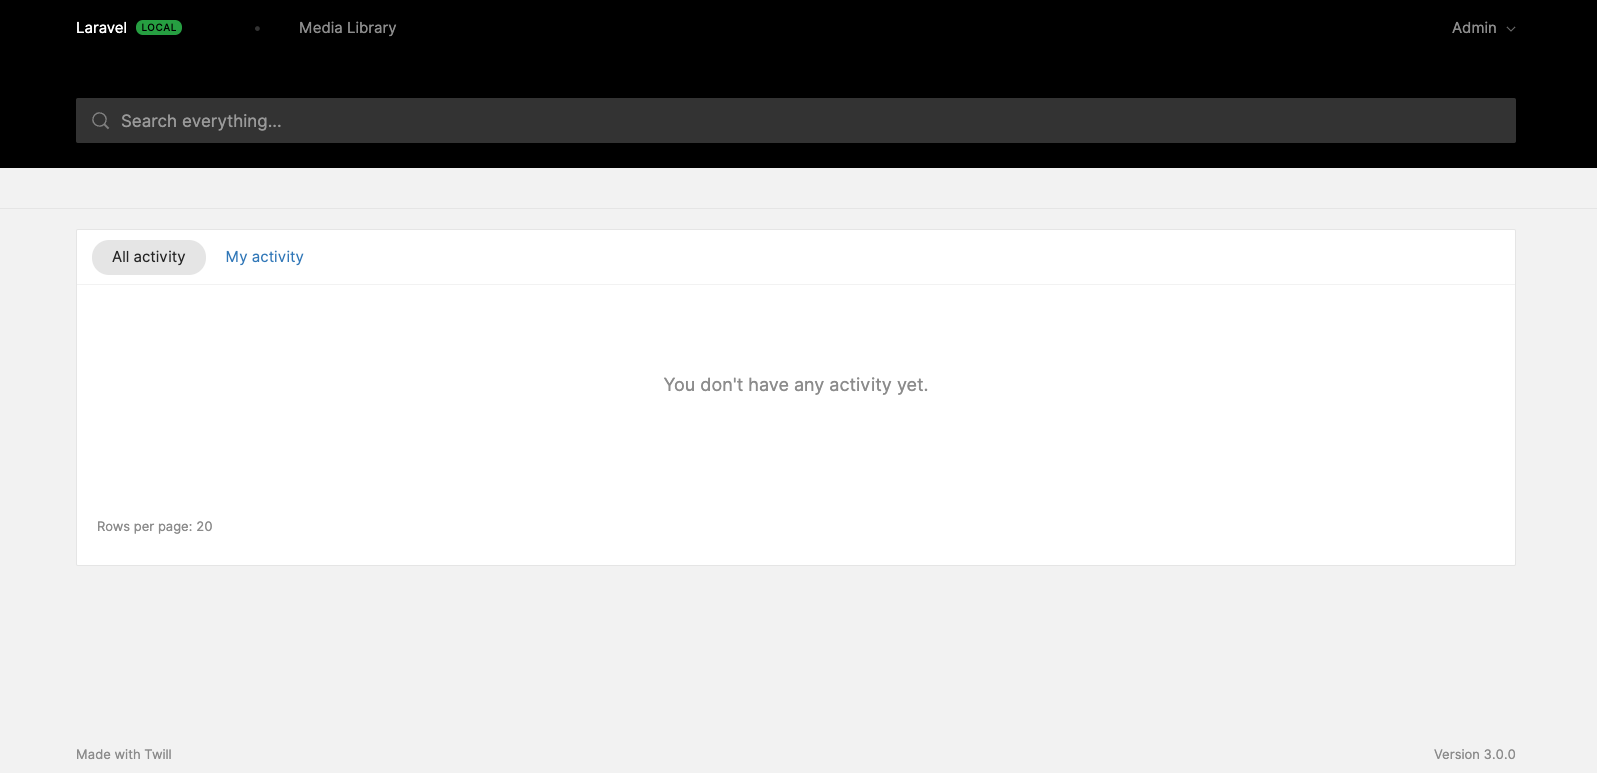
Filling the login form with the superadmin email and password we set earlier, we can see a beautiful empty administration interface 🙌.

Multi-language configuration
Twill allows you to manage your content in multiple languages and also have the administration in different languages.
Multi-language in the Front
Just add your locales in the locales array of the astrotomic/laravel-translatable package configuration file. We will just add French beside the default English locale for the tutorial.
/config/translatable.php
<?php

return [

    /*
    |--------------------------------------------------------------------------
    | Application Locales
    |--------------------------------------------------------------------------
    |
    | Contains an array with the applications available locales.
    |
    */

    'locales' => [
        'en',
        'fr',
    ],
Multi-language in the Back
Twill handles some locales for the administration interface (at this time: ar, bs, de, en, fr, nl, pl, pt, ru, tr, zh-Hans - feel free to contribute and add yours).
Admin users can choose their language on their profile page, but you can change the default en locale in the Twill configuration file if you prefer.
/config/twill.php
<?php

return [

    /*
    |--------------------------------------------------------------------------
    | Twill app locale
    |--------------------------------------------------------------------------
    |
    */

    'locale' => 'fr',
Ready to create content?
Go to the next article to create a first module.
We now have a basic (for now) but working administration interface to manage content, we will see in later articles how to create content and display it on our front-end with Inertia and handle more complex content structure
We'll do our best to provide source code of the serie on GitHub
Subscribe to my newsletter
Read articles from Codivores directly inside your inbox. Subscribe to the newsletter, and don't miss out.
Written by
