Lab: I set up a GUI for my newly built Raspberry Pi!
 Eula Chua
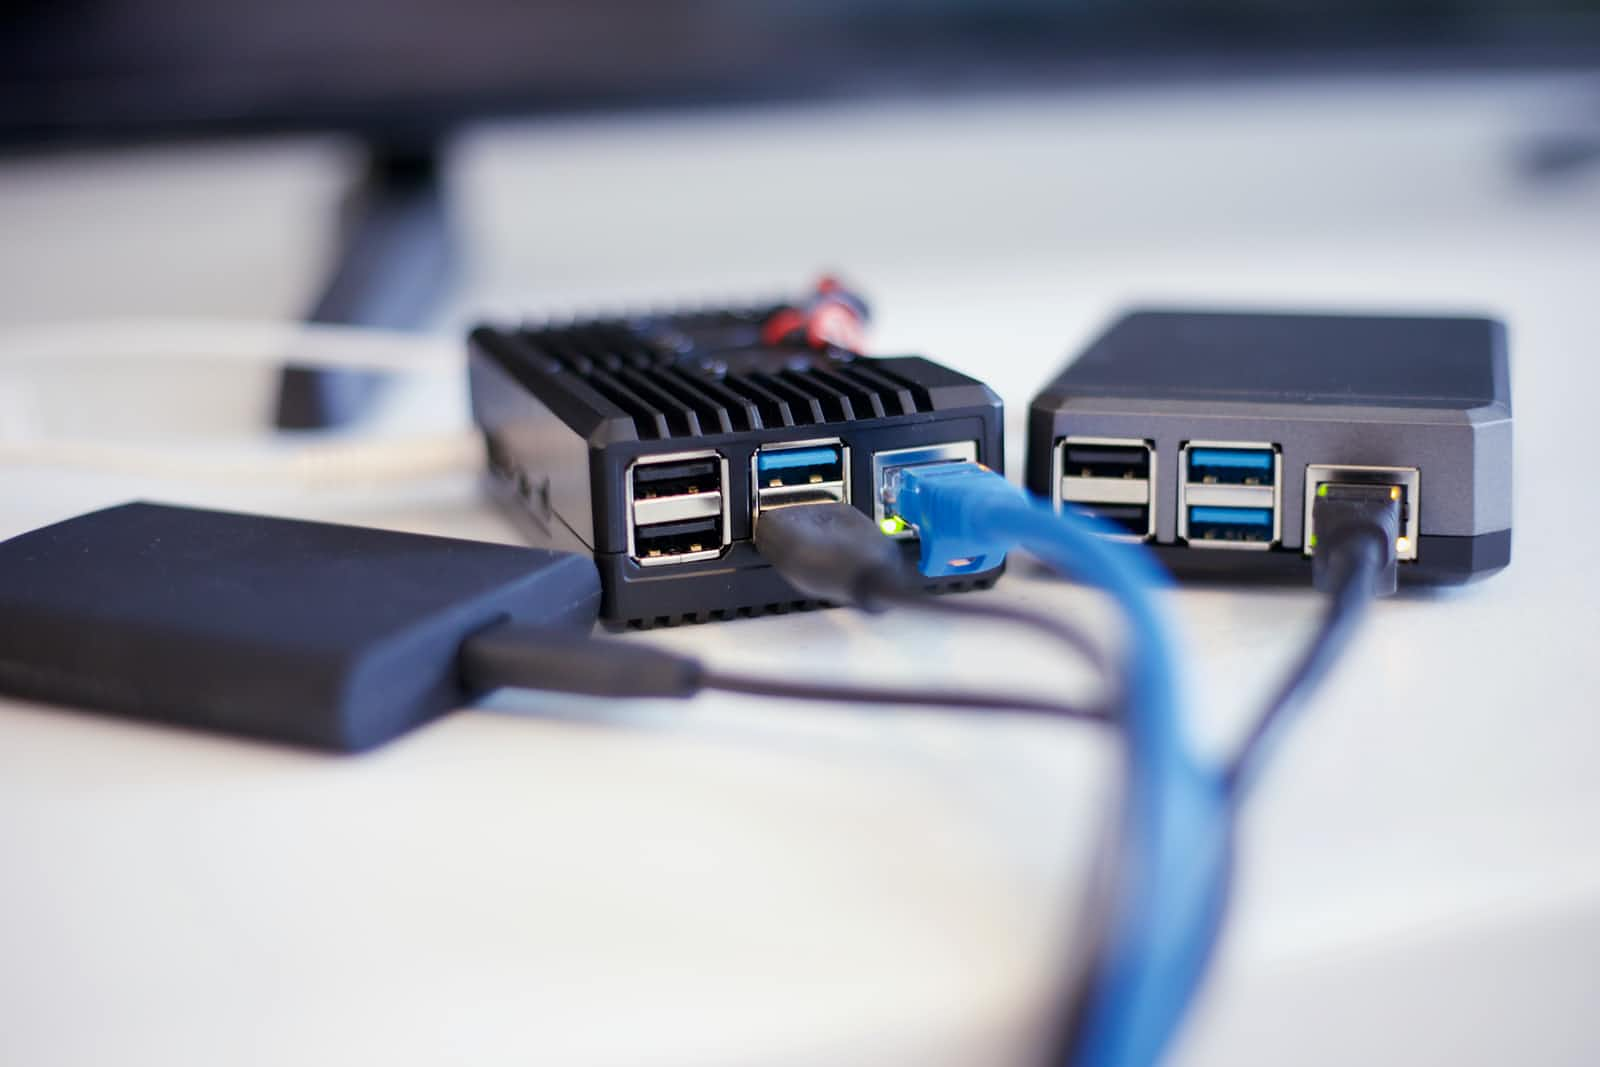
Welcome back! This is a continuation of my previous blog but before we move further, let's start off with an Attitude of Gratitude! Today, I'm grateful for technology and the way it has kept us all connected with one another. I got to catch up with my brother abroad, whom I haven't seen in person for over 3 years, connect with my relatives over in our hometown, and pray with my boyfriend every night, who lives 2 cities away. I'd love to know, what are you grateful for today? Let me know in the comments!
Alright, back on track...
You probably have read my previous blog post and may be thinking, "what do I do next?!"
When I was watching the video guides on how to set up the Raspberry Pi computer from scratch, I noticed that one had the GUI and the other did not. I wasn't sure if they had set that up or that their GUI loaded automatically after they finished their initial setup in the terminal console but I wanted mine to also have an interface as if I was using my main computer with windows, folders, and files, so here's what I did. Here's what I tried, what worked and what didn't work.
From the Terminal Console
- log in using the same username and password you used from the initial setup
Troubleshooting opportunity
- if there are any issues, try using this default
username: pi / password: raspberry
Tip
Default credentials can be easily found on the Internet in one search. For any default credentials, always make sure to change them into something unique once you successfully log in to prevent anyone from potentially compromising your account.
Some common combinations of requirements for strong passwords are (at least):
- 1 UPPERCASE
- 1 lowercase
- 1 special character/symbol (~, !, @, #, $...)
- 1 number (0, 1, 2, 3...)
- avoid consecutive numbers
- avoid numbers repeating twice in a row
- avoid commonly used passwords
- change default passwords
- use a difficult phrase
Software Configuration Tool page
- after you've logged in, enter the following command to enter the RasPi Configuration screen
sudo raspi-config
- from here, select the first highlighted option using the arrow keys (1 System Options - Configure system settings)
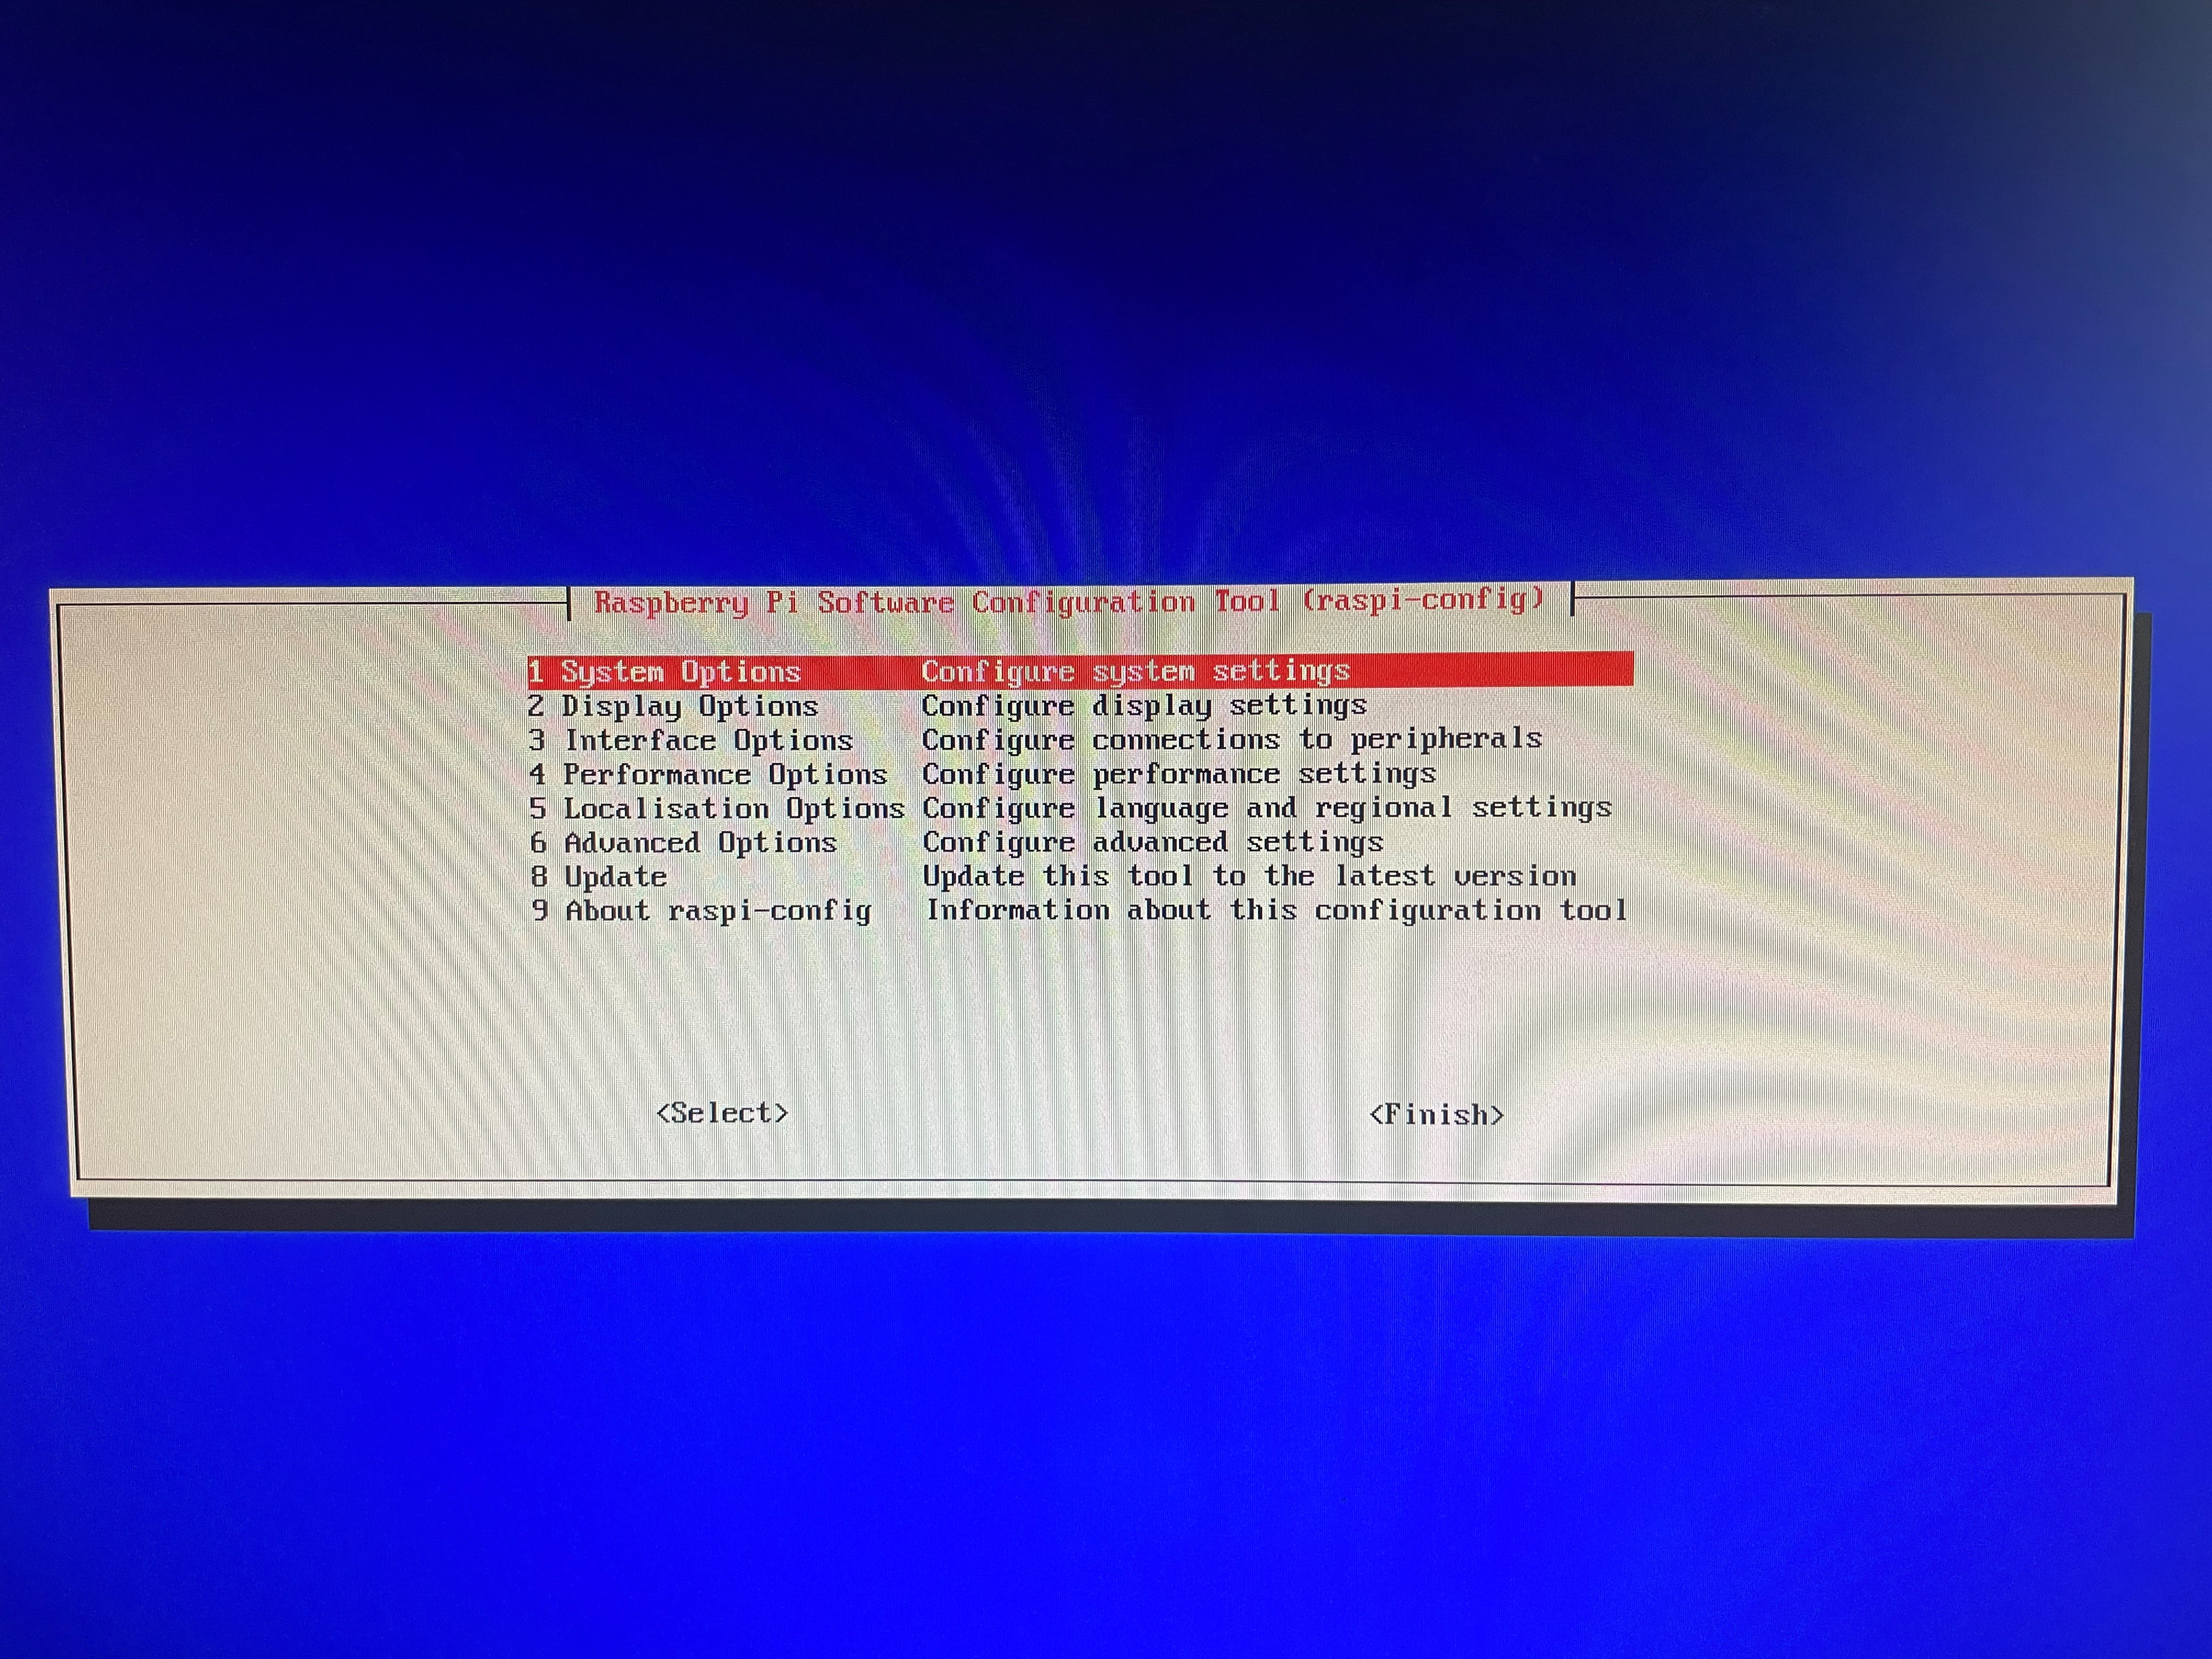
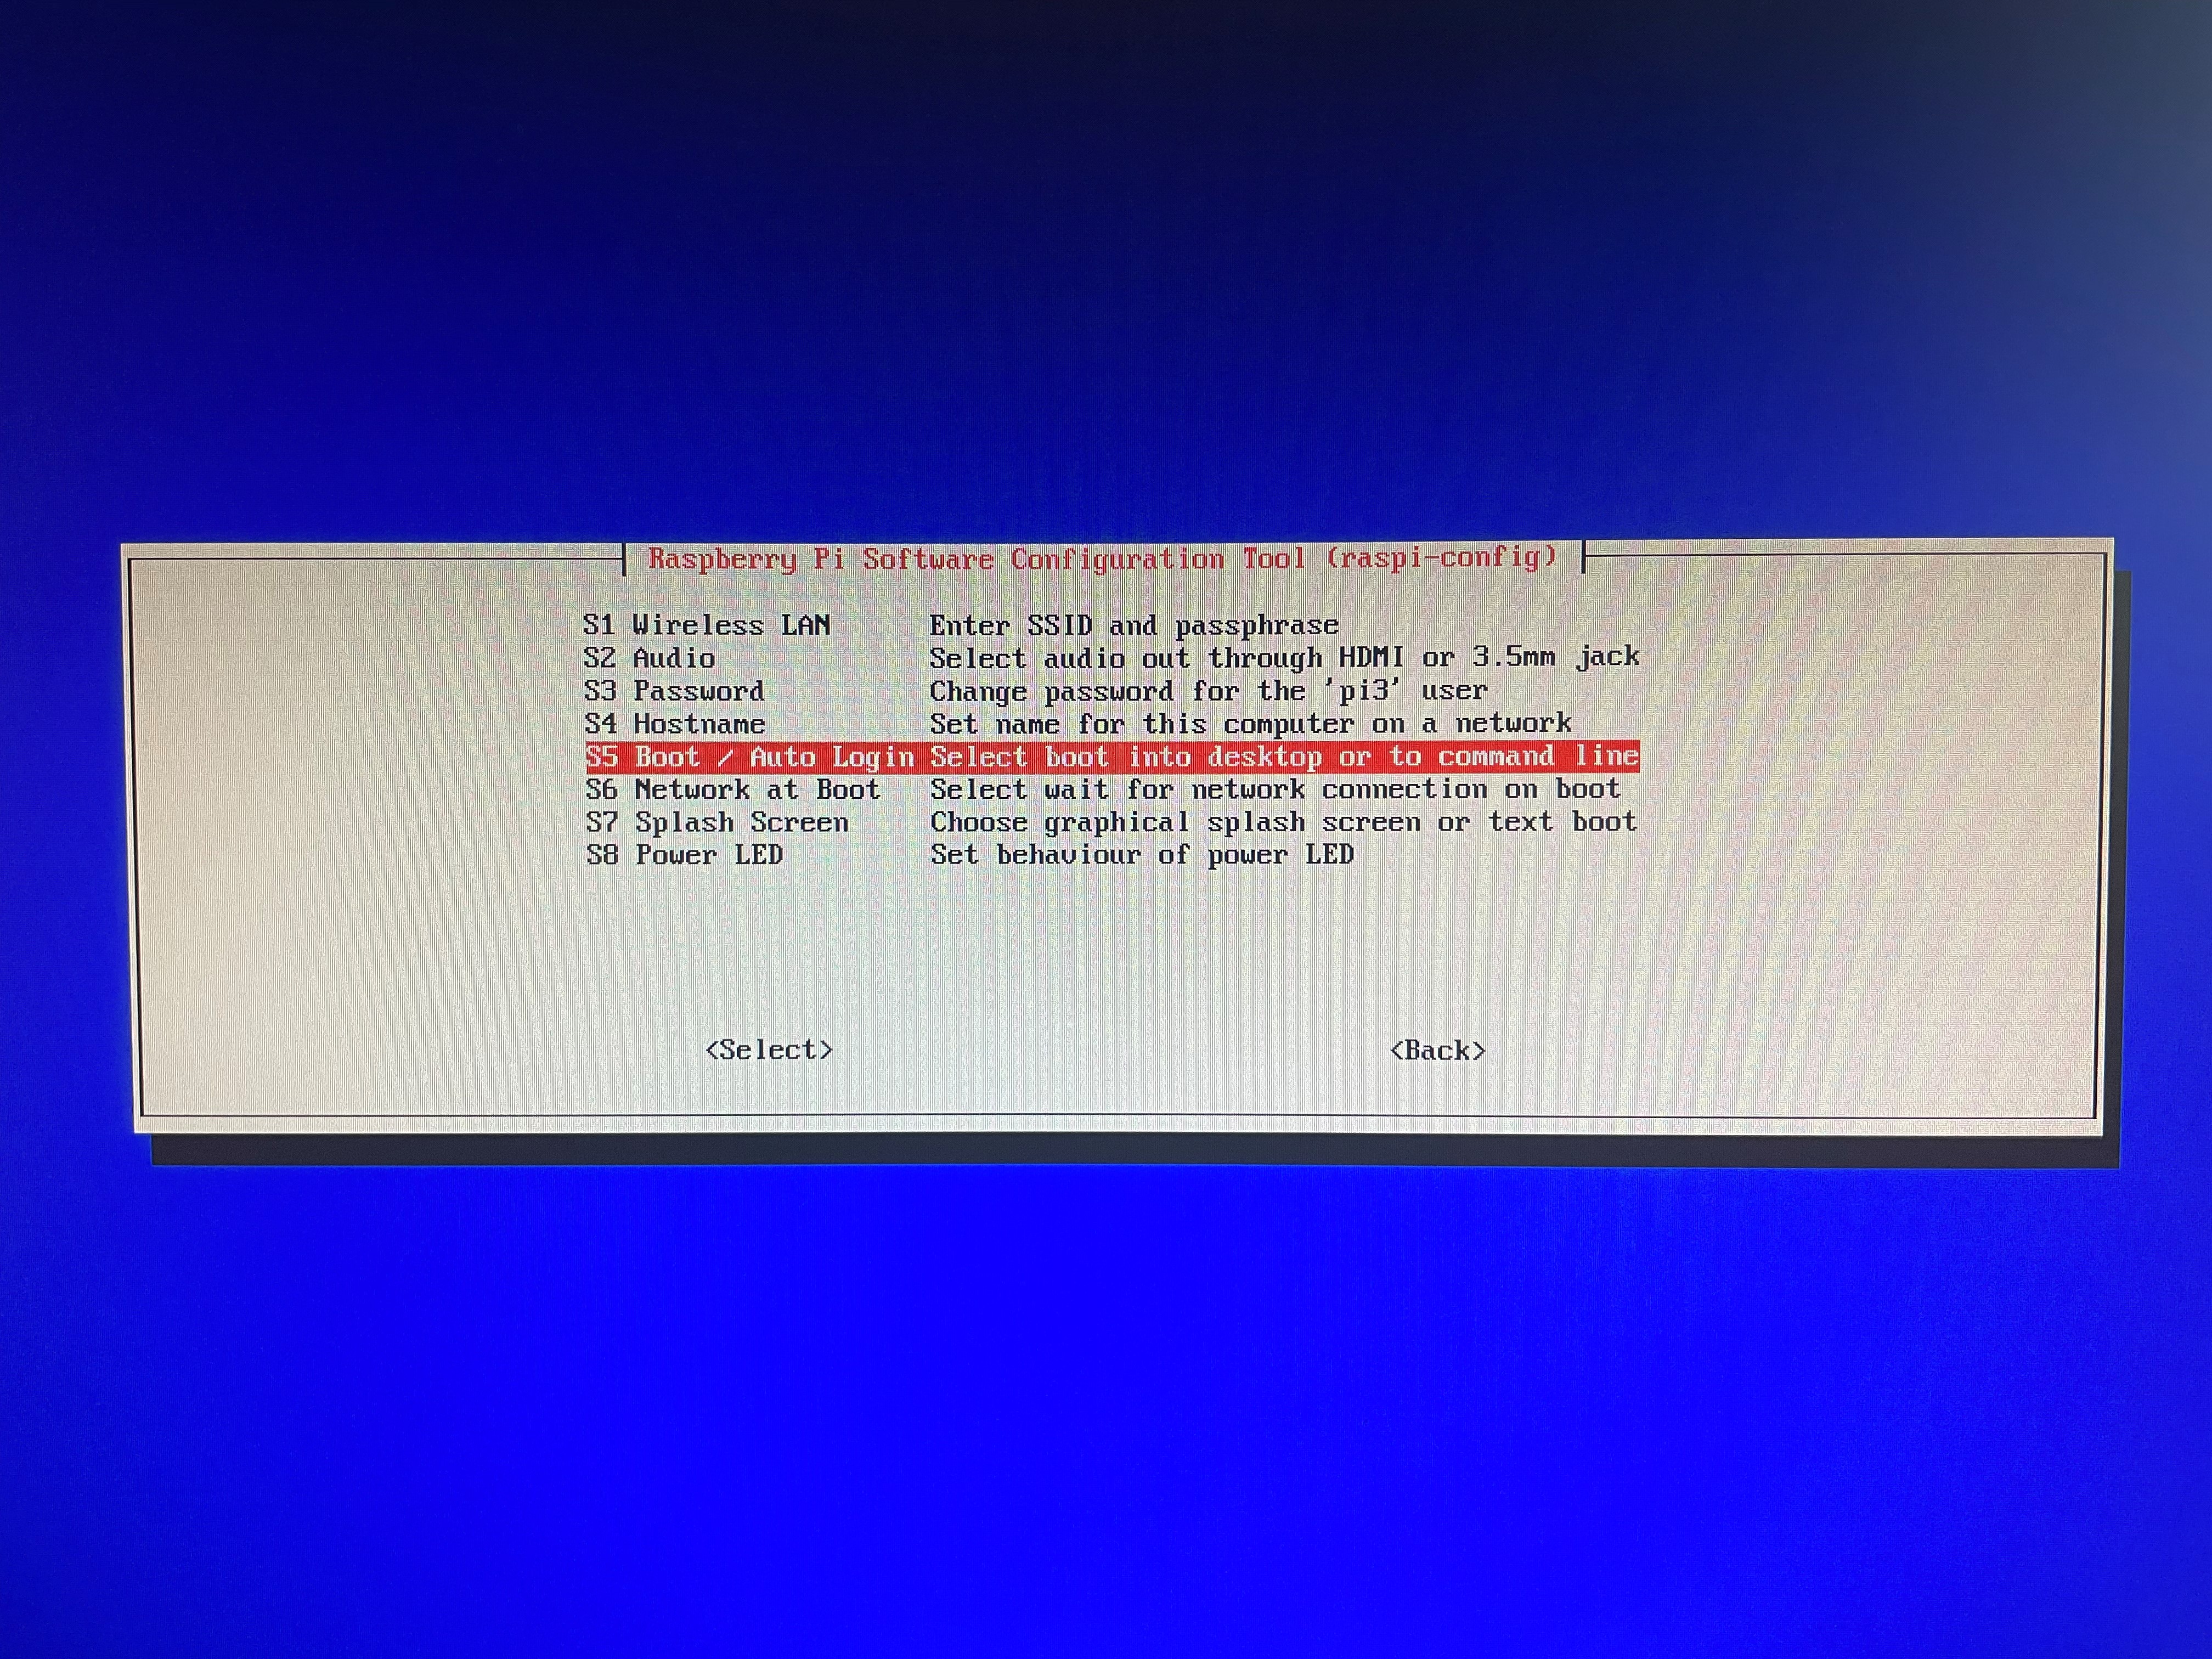
- then select S5 Boot / Auto Login - Select boot into desktop or to command line
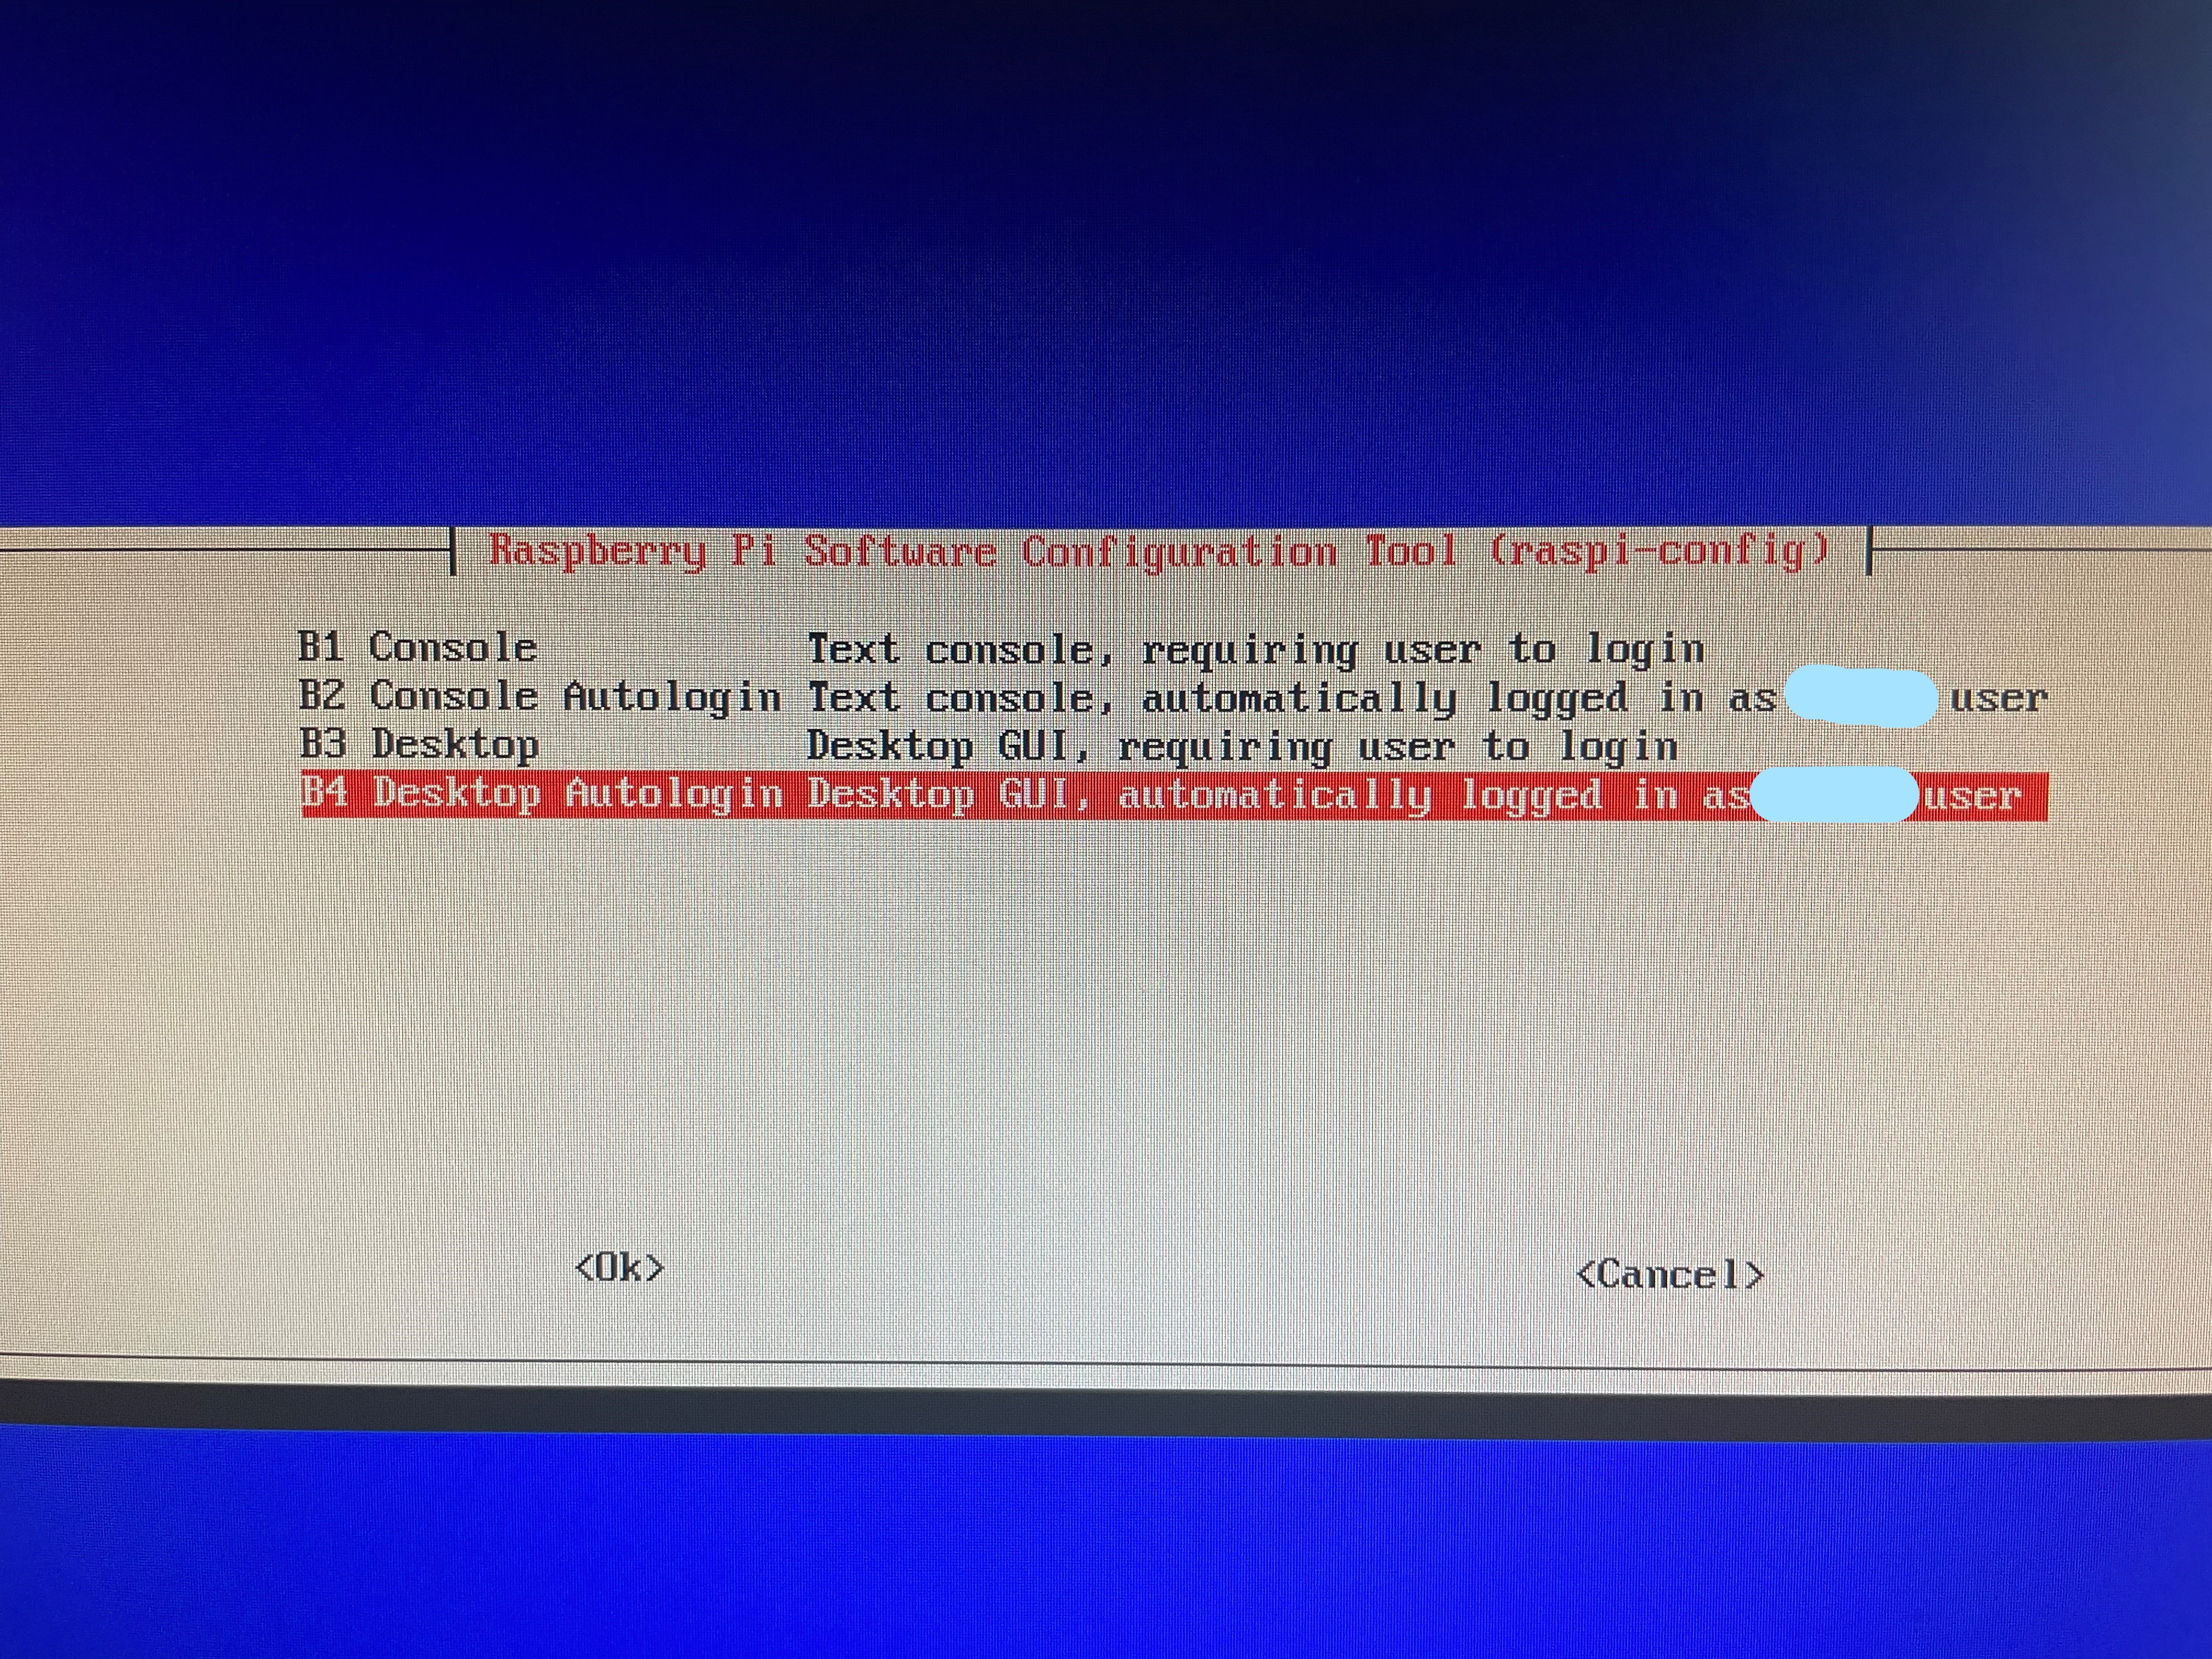
- then B4 Desktop Autologin - Desktop GUI, automatically logged in as '[username]' user
- This part popped up so I did what it advised me to do once it sent me back to the Terminal Console
sudo apt-get install lightdm
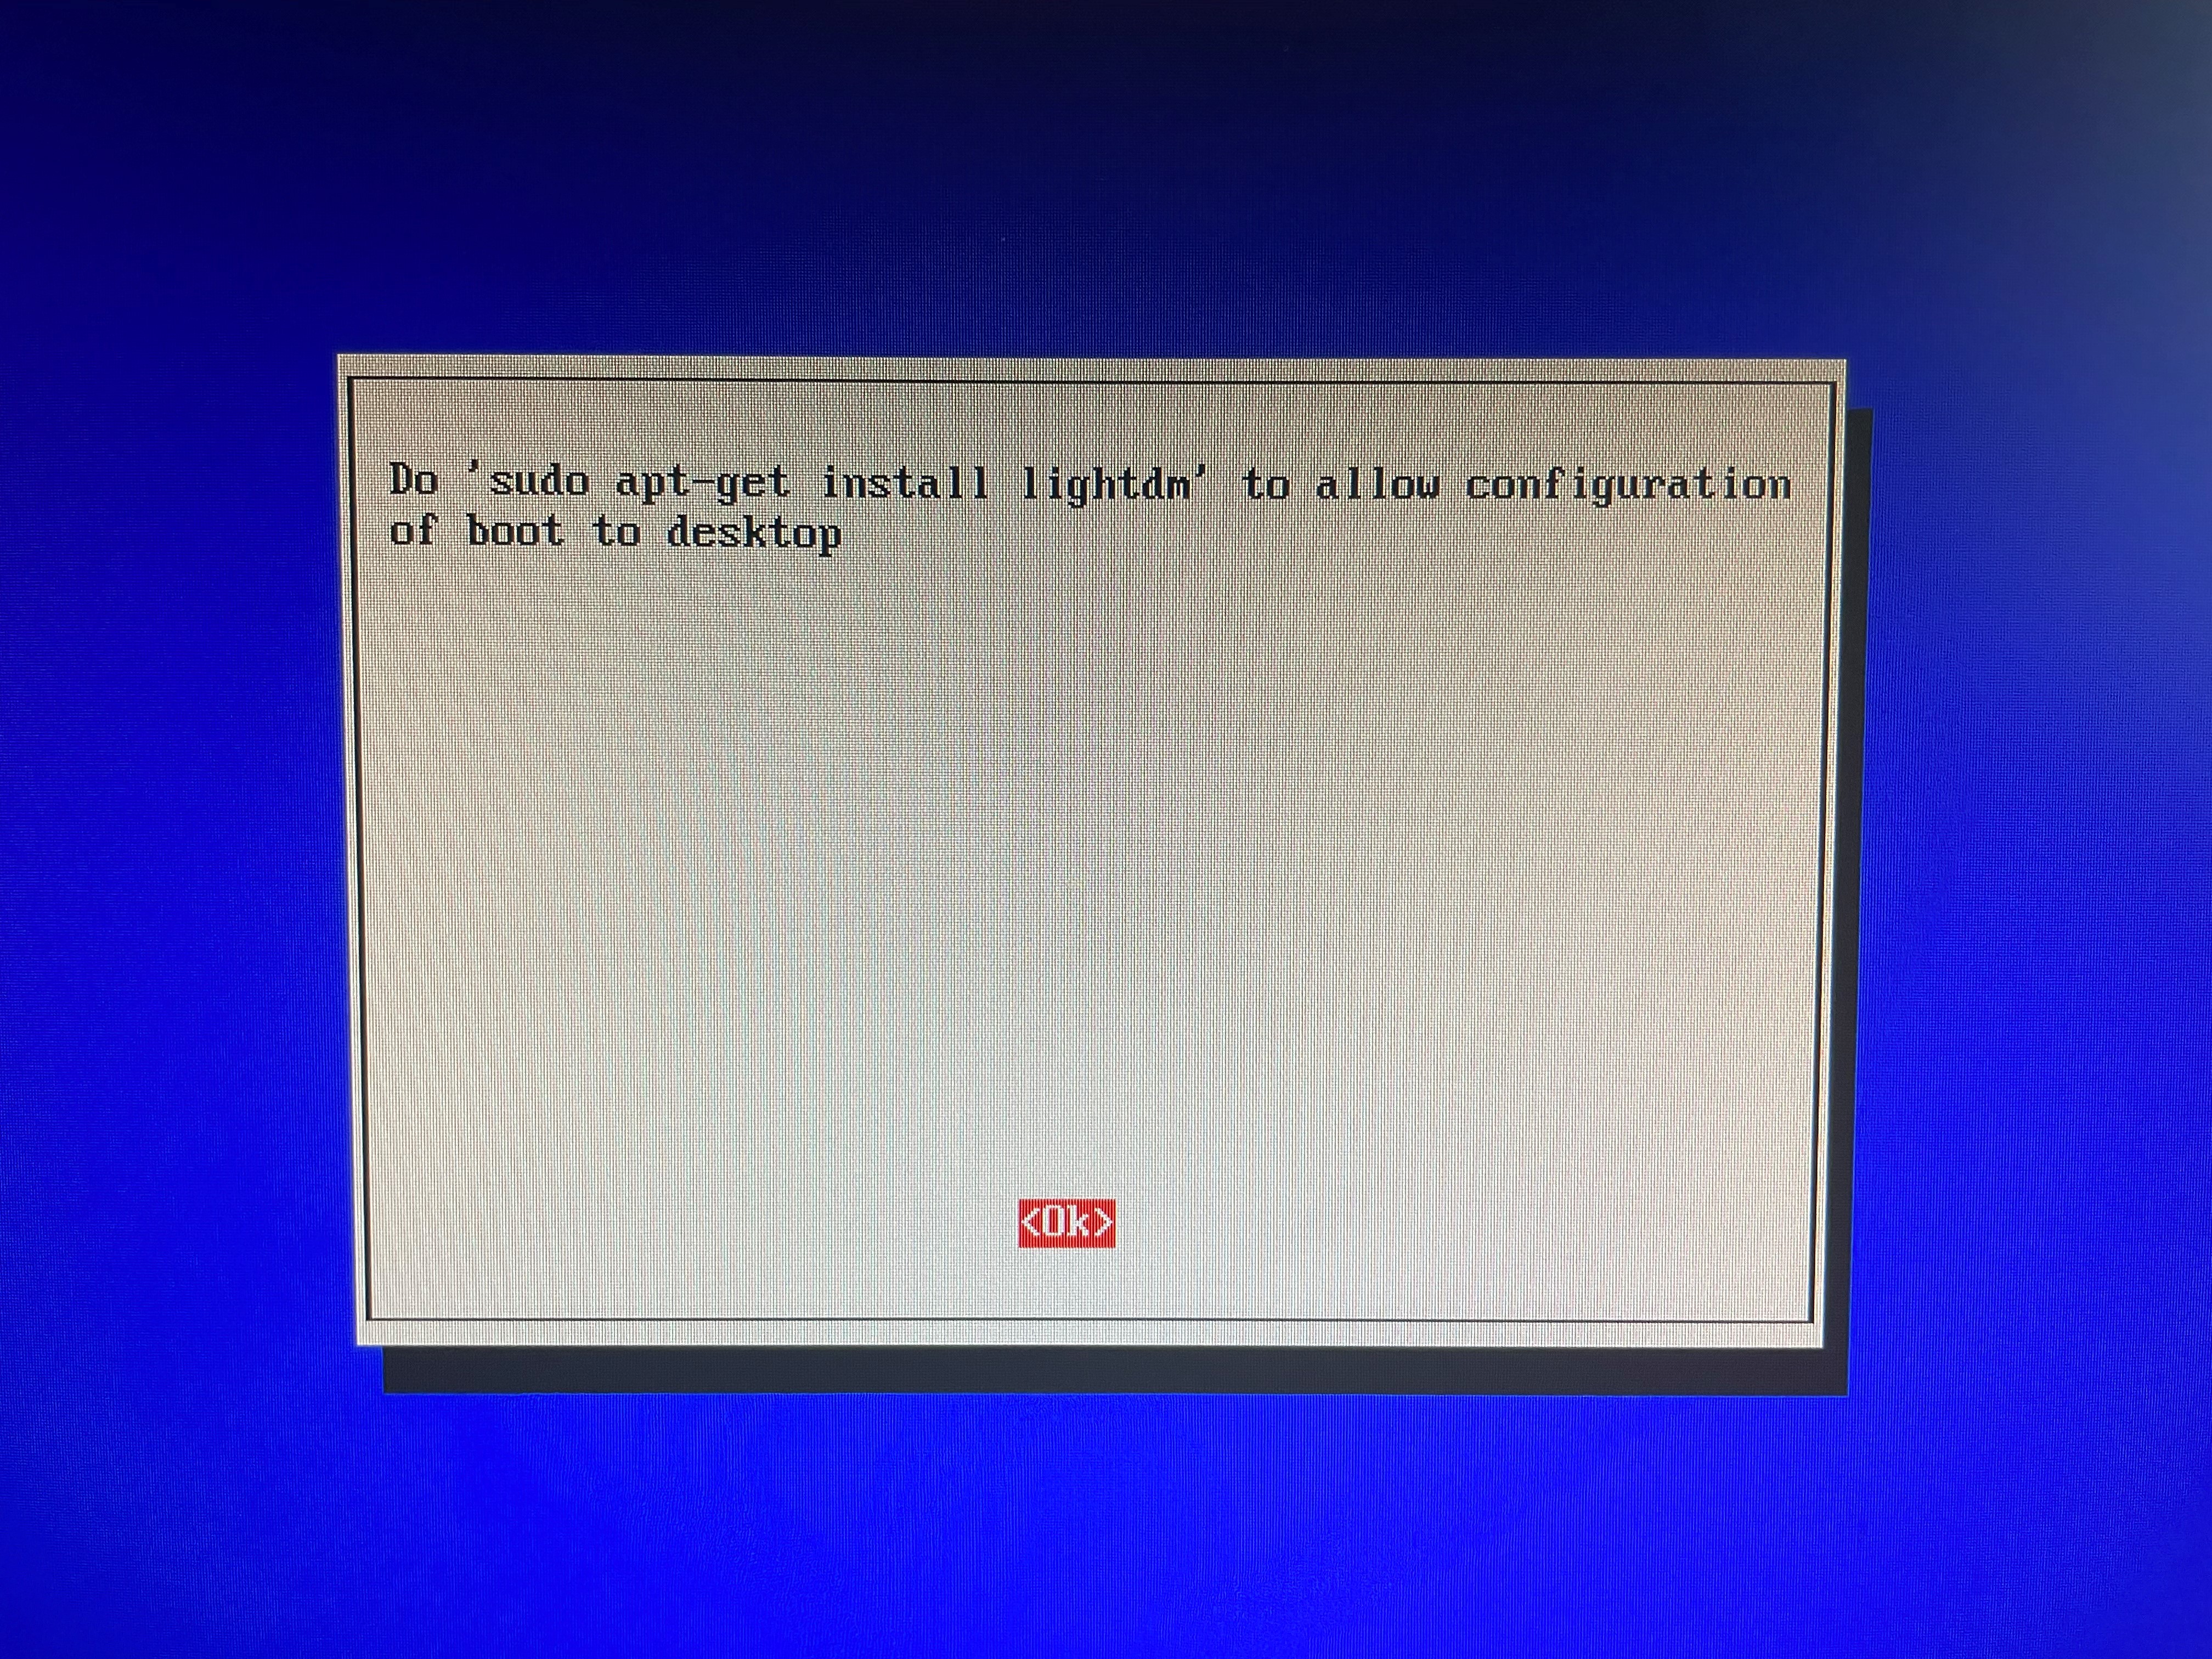
- after this, type in "yes", then reboot the system by running this command
sudo reboot
Tip
- to switch back to the Terminal Console, press Ctrl+Alt+F6 on your keyboard
We did it! (almost)
I was excited to see that we made it to a log-in page of the GUI. Once I logged in using my username and password that I created from the very beginning (see previous blog), the screen went black and brought me back to the same login screen!
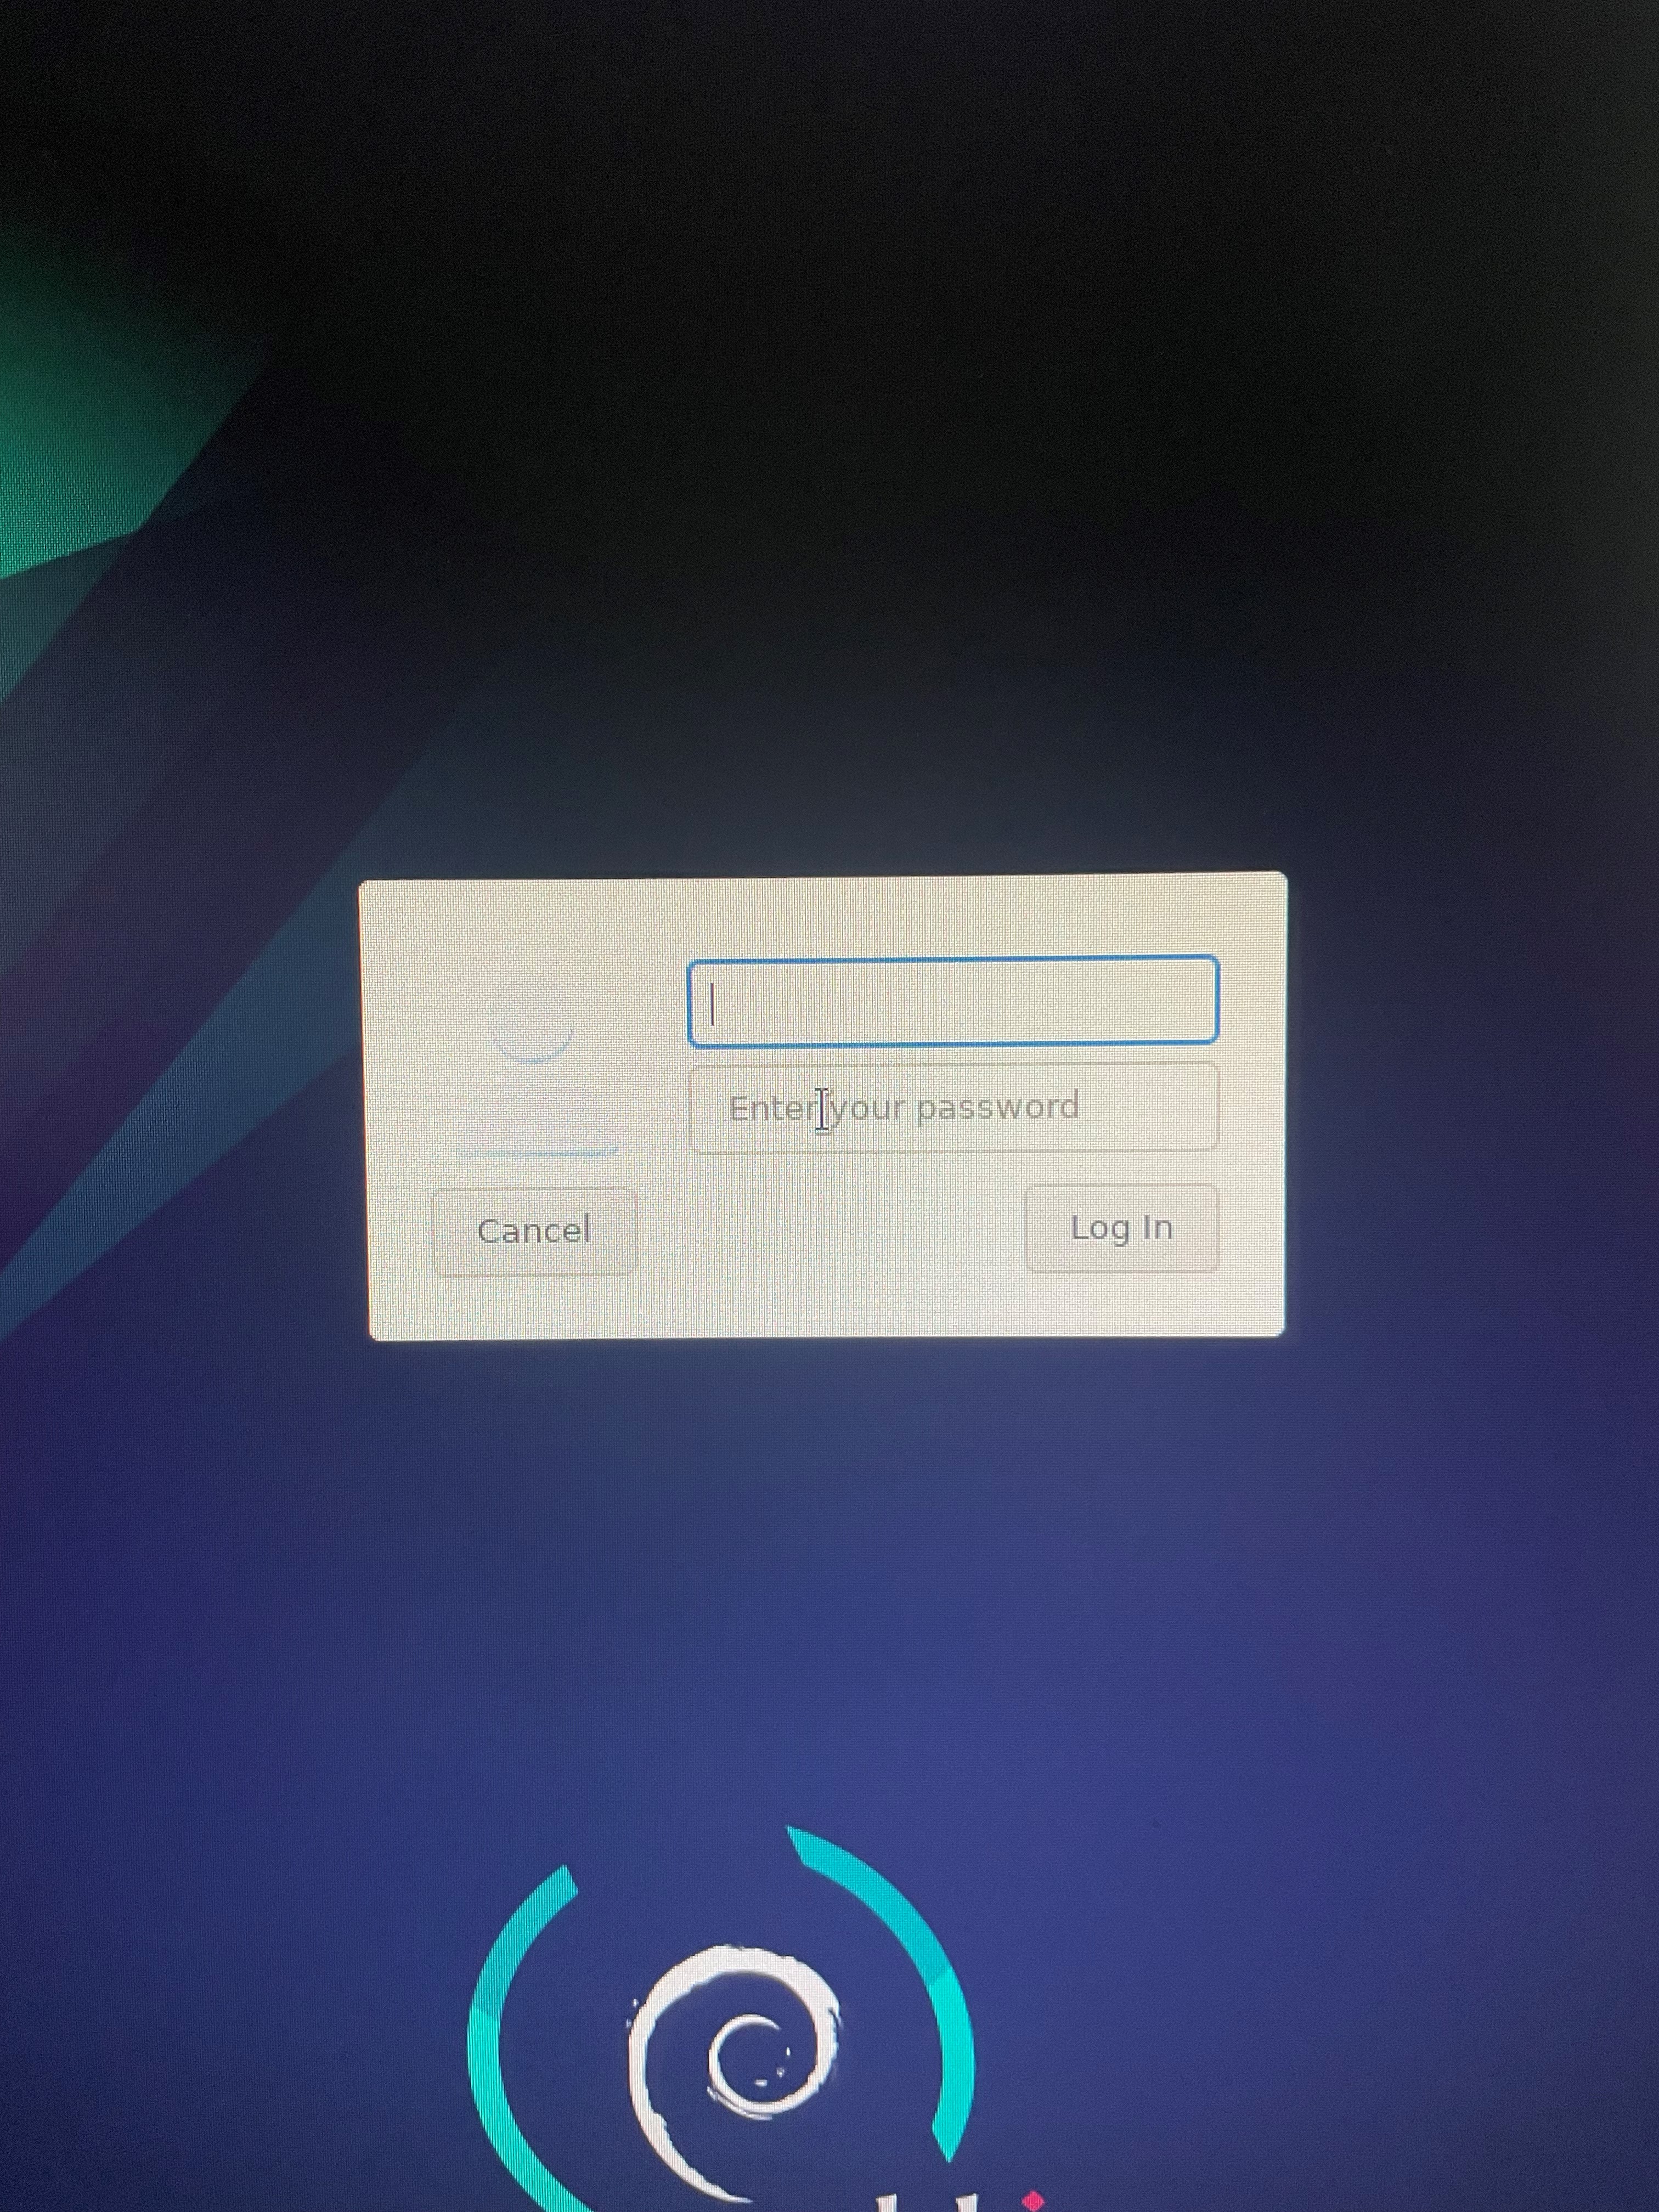 At this point, I thought that maybe I was using the wrong login credentials but when I used a different one, it would notify me that the password was incorrect. I tried the same login credentials from earlier and it continued to loop me back to the same page.
Troubleshooting opportunity
- when in doubt, google!
- most times, others may have gone through the same issues as you and left documentation somewhere on the Internet -- all we have to do is use it to our expense
- here is an awesome short blog post that solved my issue
lxsession
- go back to the Terminal Console (Ctrl+Alt+F4 or F6)
- run the following command
sudo apt-get install lxsession What is lxsession: Lightweight X Session Manager -- this is used to initially set up a working environment and applications in the GUI (click the heading to read more about it)
Previous to this, I was running other commands suggested online that did not do much or kept giving me error messages but this one seemed to fix my looping problem.
Now that the login issue is solved, I am able to run my RasPi like an actual desktop!
On to the next projects!
Feel free to follow my blog to stay updated on my learning journey. Your support is appreciated!
Thank you for being here.
Subscribe to my newsletter
Read articles from Eula Chua directly inside your inbox. Subscribe to the newsletter, and don't miss out.
Written by

Eula Chua
Eula Chua
Hi, I'm Eula! I write about my journey in Cybersecurity and Cloud by documenting my lab projects/findings and providing helpful resources to give back to the community, with a hint of life updates, faith, and calligraphy. You can also find more of my work, along with my teammates, on CybersecurityCentral.org I hope that you find my posts insightful or inspiring in some way. If you would like to support me in my tech and calligraphy journey, any support, whether through words of encouragement, sharing my blog, or donations, is much appreciated: https://buymeacoffee.com/simplyeu Connect with me on LinkedIn!