A story about how I switched from Rubymine to VIM
 Kamil Sopata
In times of great and powerful IDEs - VIM looks poor. It's a fact - my default VIM offered only 8 colours. Magic is hidden - we only need to turn it on!

Everything because of RAM
I can't say bad word about RubyMine. It's great, probably the best IDE for Ruby developers. However, it has a disadvantage (for me) - it consumes quite a lot of memory. When I ran the RM and docker containers - my RAM memory was filling up quickly, which made my computer slower. The second reason for my decision was, that I was using only a few RubyMine features. In my opinion, there is no point in keeping this powerful tool just for these features, so I started thinking about VIM.
RM helped at the first stage,
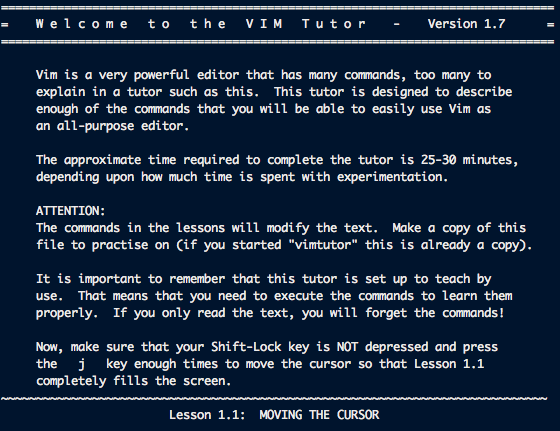
I started from VIM tutor - there are some built-in lessons about VIM. You can enter 'vimtutor' in the terminal and check:
So, I got to know the basics of VIM, but it was still not enough to use it at work. It was time for IdeaVim plugin. This plugin emulates VIM in Rubymine, so thanks to that I had RubyMine environment and VIM inside it. Sounds great? I think it is the best way to learn VIM. For people using Atom or Sublime - you can also install such plugins for them.
VIM awesome
Standard VIM is, as I said before, poor - it looks very simple at first glance. But we can change it with VimAwesome. See how my VIM looks like:
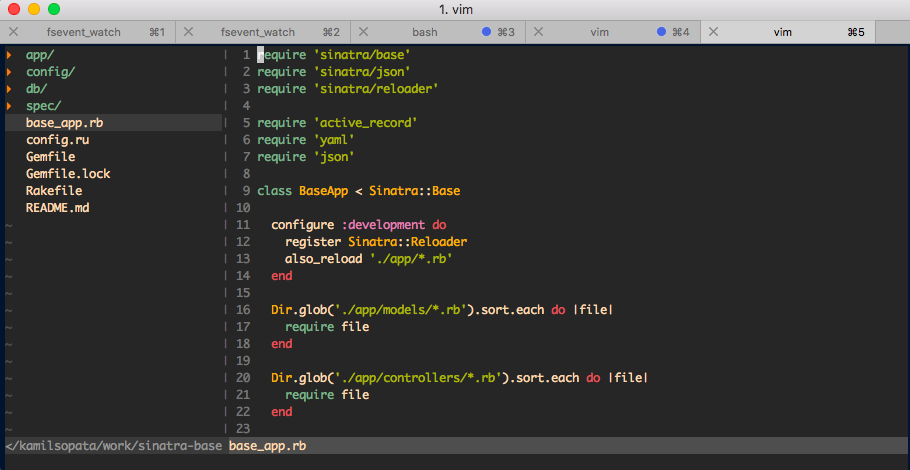
Not bad?
Try to tune your VIM like I did. First of all, you have to install Pathogen:
mkdir -p ~/.vim/autoload ~/.vim/bundle && \
curl -LSso ~/.vim/autoload/pathogen.vim https://tpo.pe/pathogen.vim
Thanks to that you will be able to install new plugins.
I chose several plugins that replace the main RubyMine features:
The Nerd Tree
It creates a files tree. Really useful. Install with:
cd ~/.vim/bundle
git clone https://github.com/scrooloose/nerdtree
and edit your vim config file to add shortcut and basic configuration:
vim ~/.vimrc
map <C-o> :NERDTreeToggle<CR>
autocmd vimenter * NERDTree
autocmd bufenter * if (winnr("$") == 1 && exists("b:NERDTree") && b:NERDTree.isTabTree()) | q | endif
After that reset your VIM and voila! You can swith between windows using CTRL+W and show/hide tree usign CTRL+O. An interesting feature is opening the file using the 'i' button on the split screen or just 't' for open file in new tab (and swith tabs with 'gt'/'gT') You can press '?' for help as well.
Gruvbox - color scheme
cd ~/.vim/bundle
git clone https://github.com/morhetz/gruvbox
and in the vimrc:
colorscheme gruvbox
set background=dark
Warning:
Your terminal can have problem with 256 colours :) For example my iTerm2 support only 8 colours by default.
I added this to vimrc:
let base16colorspace=256
Then I installed new theme for iTerm and added these lines to bash_profile:
vim ~/.bash_profile
export TERM=xterm-256color
export CLICOLOR=1
It's better now, don't you think?
vim-ruby
Vim-ruby provides Ruby syntax support for vim.
cd ~/.vim/bundle
git clone https://github.com/vim-ruby/vim-ruby
and make sure that these lines are at your vimrc:
set nocompatible
syntax on
filetype on
filetype indent plugin on
vim-definitive
This hot plugin make that you can move to method definition with '\'+'d' It is really useful and a lot of Rubist use RubyMine mainly because of this feature.
cd ~/.vim/bundle
git clone https://github.com/misterbuckley/vim-definitive
and add new shortcut to vimrc (you can of course set own shourtcut):
nnoremap <Leader>d :FindDefinition<CR>
command-t
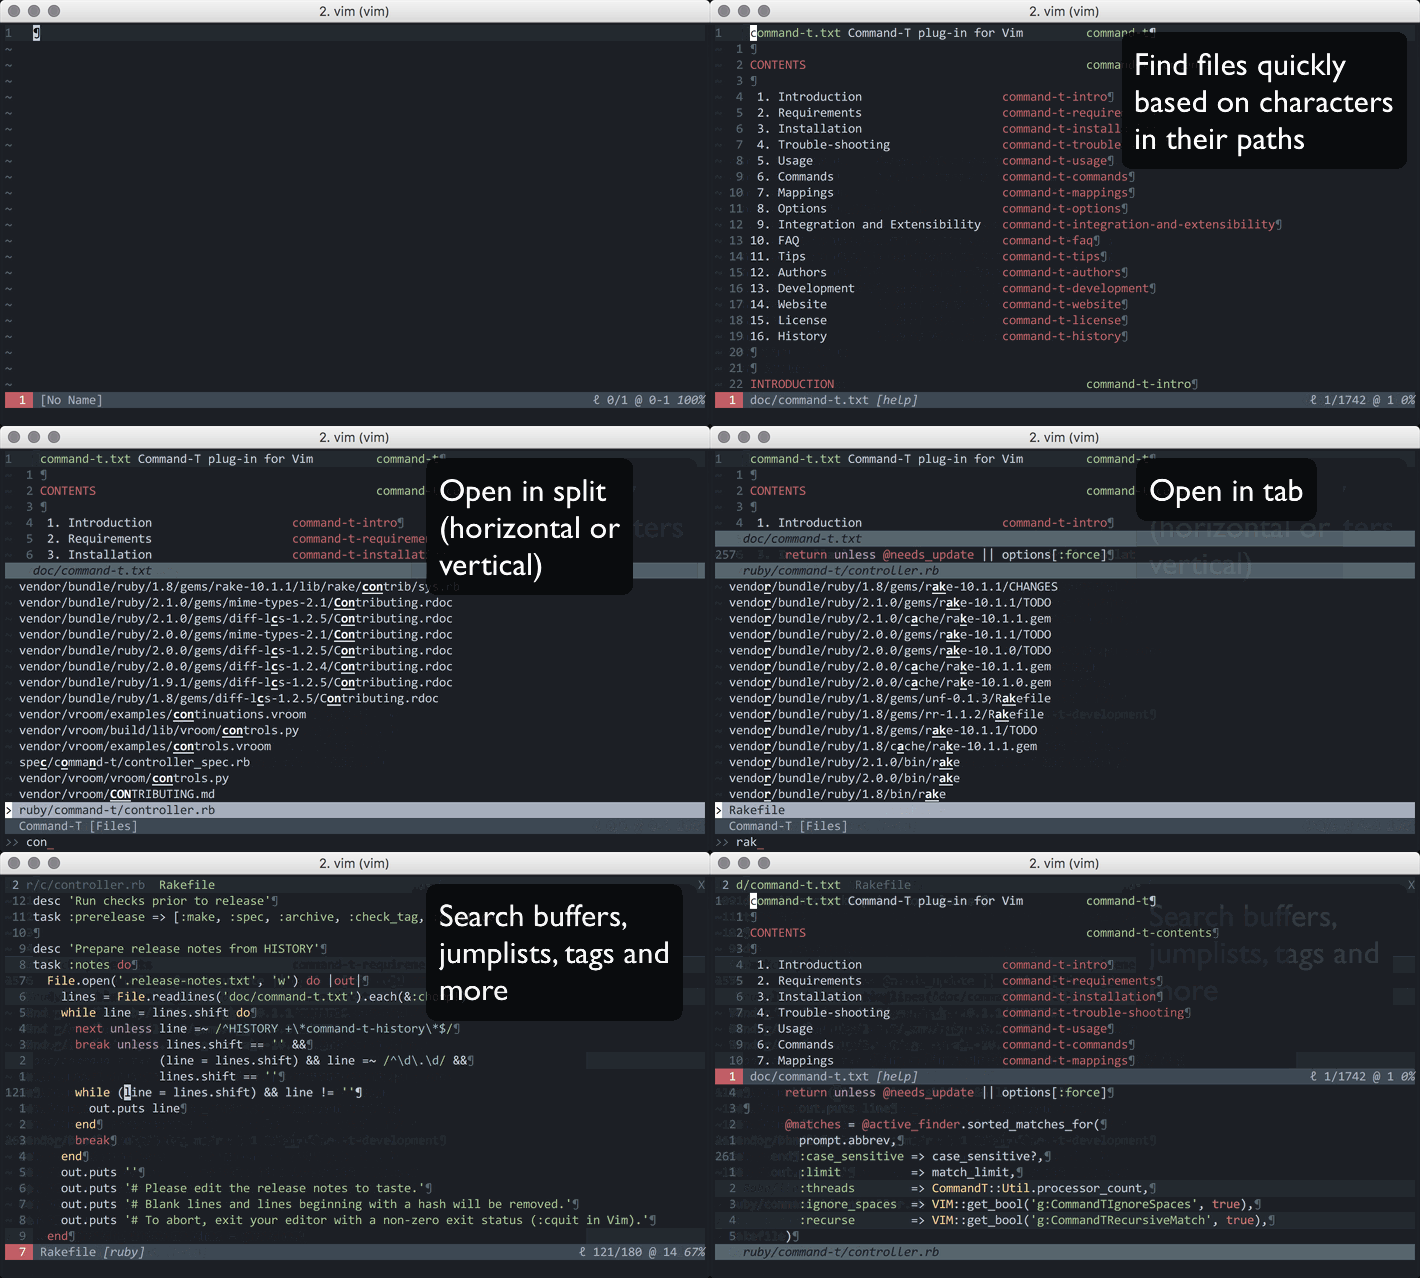
You will also need the ability to quickly navigate through the files from the project. The advantage of command-t is that it was written in C, thanks to it works quite fast!
cd ~/.vim/bundle
git clone https://github.com/wincent/command-t
It searches by first letters of filenames, so it's extreme easy and fast! For example 'cus or sh' will find 'app/views/customer_panel/orders/show.haml' - great!
ack.vim
Search text in files. It was written in Perl, so it's also quite fast.
cd ~/.vim/bundle
git clone https://github.com/mileszs/ack.vim
And becouse of Ack is an external app - you must also install it. For MacOS:
brew install ack
After installation, you can simply use :Ack to find the text, for example:
:Ack vimawesomepost app/
vim-autoread
It's useful, when you use Rubocop Guard. If the guard corrects your code, this plugin will reload the updated file.
cd ~/.vim/bundle
git clone https://github.com/djoshea/vim-autoread
vim-fugitive
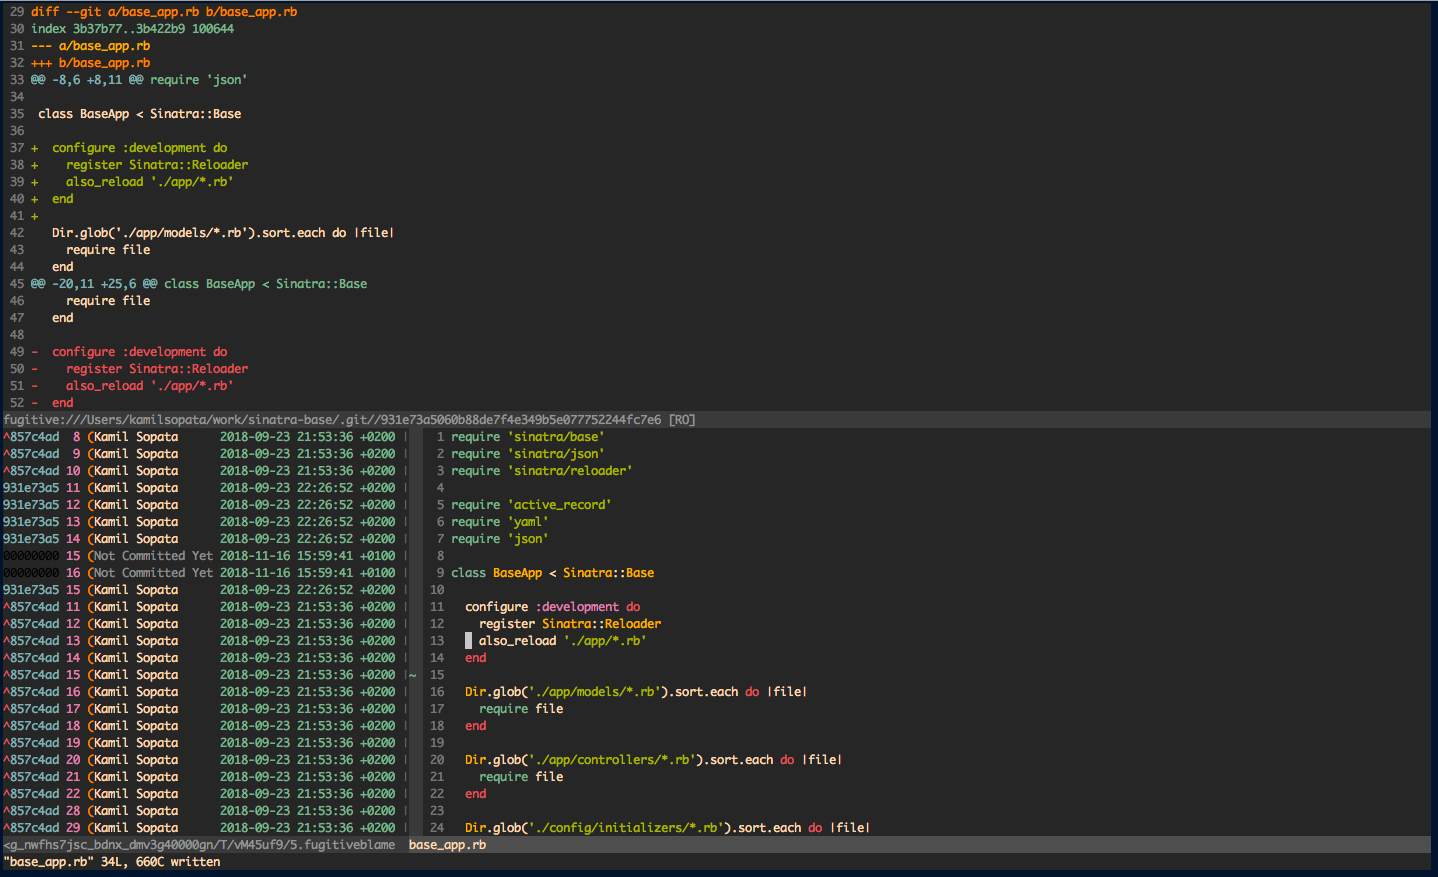
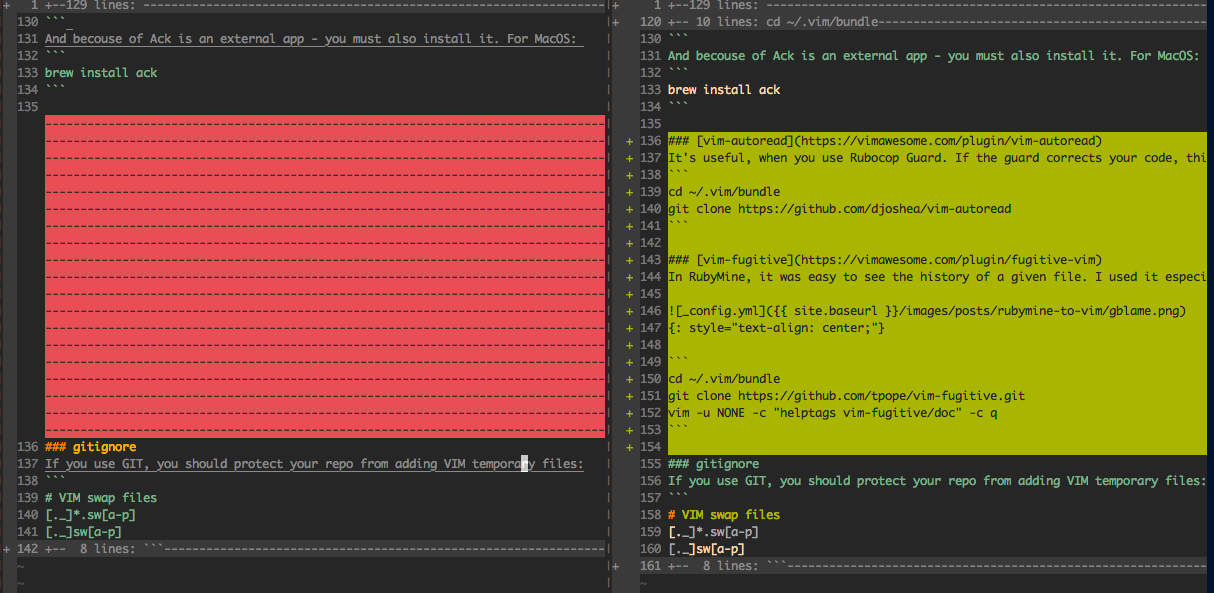
In RubyMine, it was easy to see the history of a given file. I used it especially when I was working with projects, where I didn't work on some part of code alone. Thanks to this plugin we can quickly see the result of, for example - git blame or diff of the current file:
cd ~/.vim/bundle
git clone https://github.com/tpope/vim-fugitive.git
vim -u NONE -c "helptags vim-fugitive/doc" -c q
vim-gitgutter
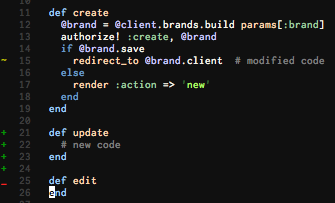
Is another tool to git support. It adds +/- to the new/deleted code.
cd ~/.vim/bundle
git clone git://github.com/airblade/vim-gitgutter.git
undotree
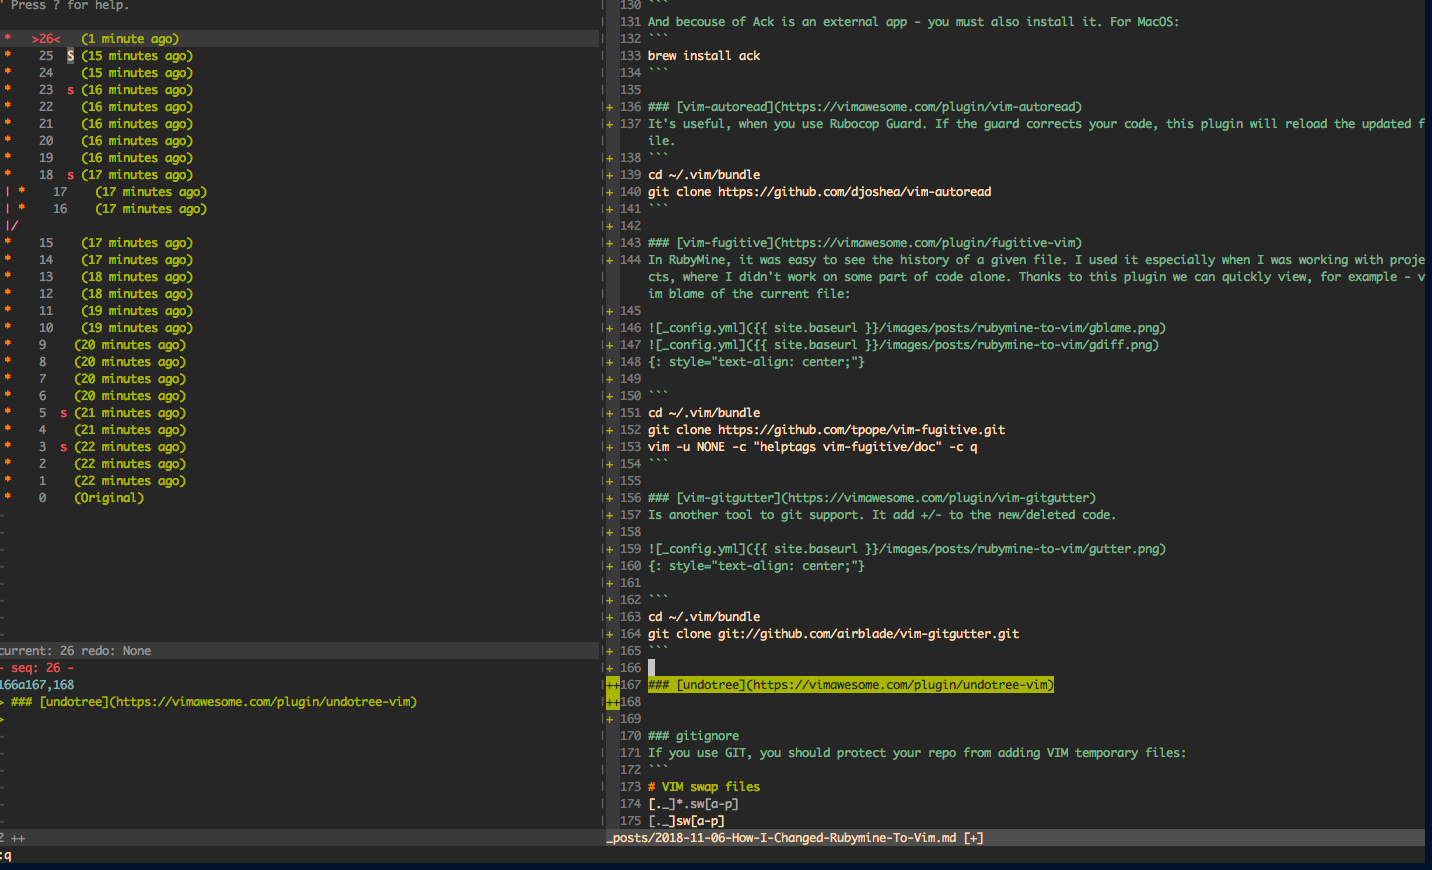
Must have plugin which provides a history tree for file.
cd ~/.vim/bundle
git clone https://github.com/mbbill/undotree
It's a good idea to add a keyboard shortcut to activate it. I use Leader key \ + h (like history). Vimrc file:
nnoremap <Leader>h :UndotreeToggle<CR>
gitignore
If you use GIT, you should protect your repo from adding VIM temporary files:
# VIM swap files
[._]*.sw[a-p]
[._]sw[a-p]
WOW. Is this end?
It will probably take some time until I finally configure my VIM. I'm still discovering new problems, for example, in VIM we have 2 clipboards - from system and vim. And when we have 2 instances of VIM - we must use system clipboard to exchange data between them. And the problem is that when we select with mouse some text and press CTRL+C - we copy not only text but also a lines numbers!
What surprised me, we can use the `:!pbcopy' command to copy text selected in visual mode, but this also deletes this text, so we have to press 'U' after that. Crazy!
But one solved problem is one problem less, we must remember about it!
If you want to use my config, run this in your terminal:
mkdir -p ~/.vim/autoload ~/.vim/bundle && \
curl -LSso ~/.vim/autoload/pathogen.vim https://tpo.pe/pathogen.vim
cd ~/.vim/bundle
git clone https://github.com/scrooloose/nerdtree
git clone https://github.com/morhetz/gruvbox
git clone https://github.com/vim-ruby/vim-ruby
git clone https://github.com/misterbuckley/vim-definitive
git clone https://github.com/wincent/command-t
git clone https://github.com/mileszs/ack.vim
git clone https://github.com/djoshea/vim-autoread
git clone git://github.com/airblade/vim-gitgutter.git
git clone https://github.com/mbbill/undotree
git clone https://github.com/tpope/vim-fugitive.git
vim -u NONE -c "helptags vim-fugitive/doc" -c q
and put this to your vimrc:
set nocompatible
" Pathogen
call pathogen#infect()
call pathogen#helptags()

set number

" windows resize
nnoremap <leader>1 :vertical resize +10<cr>
nnoremap <leader>2 :vertical resize -10<cr>
nnoremap <leader>3 :resize +10<cr>
nnoremap <leader>4 :resize -10<cr>

" switching windows
map ; <C-W>k
map ' <C-W>w

" only search case sensitive if you include case
set incsearch
set ignorecase smartcase

" Vim-ruby config:
let ruby_operators = 1
let ruby_spellcheck_strings = 1

filetype plugin indent on
syntax on
runtime! config/**/*.vim

" Shift + enter => adds 'end'
imap <S-CR> <CR><CR>end<Esc>-cc  " iTerm2 fix: preferences → profile → keys → add more key + → press Shift Enter in field Keyboard Shortcut → Action: Send Text with “vim” Special Char → Copy \n\nend\x1B-cc

" Nerd-tree config:
autocmd vimenter * NERDTree
map <C-o> :NERDTreeToggle<CR>
autocmd bufenter * if (winnr("$") == 1 && exists("b:NERDTree") && b:NERDTree.isTabTree()) | q | endif

" Scheme config:
set background=dark
let base16colorspace=256
colorscheme gruvbox

" Find definition config:
nnoremap <Leader>d :FindDefinition<CR>

" UndoTree config
nnoremap <Leader>h :UndotreeToggle<CR>
Check out also this repo.
Subscribe to my newsletter
Read articles from Kamil Sopata directly inside your inbox. Subscribe to the newsletter, and don't miss out.
Written by
