Configure Your Metamask To Work With Optimism
 Manny
Manny
Optimism Chain
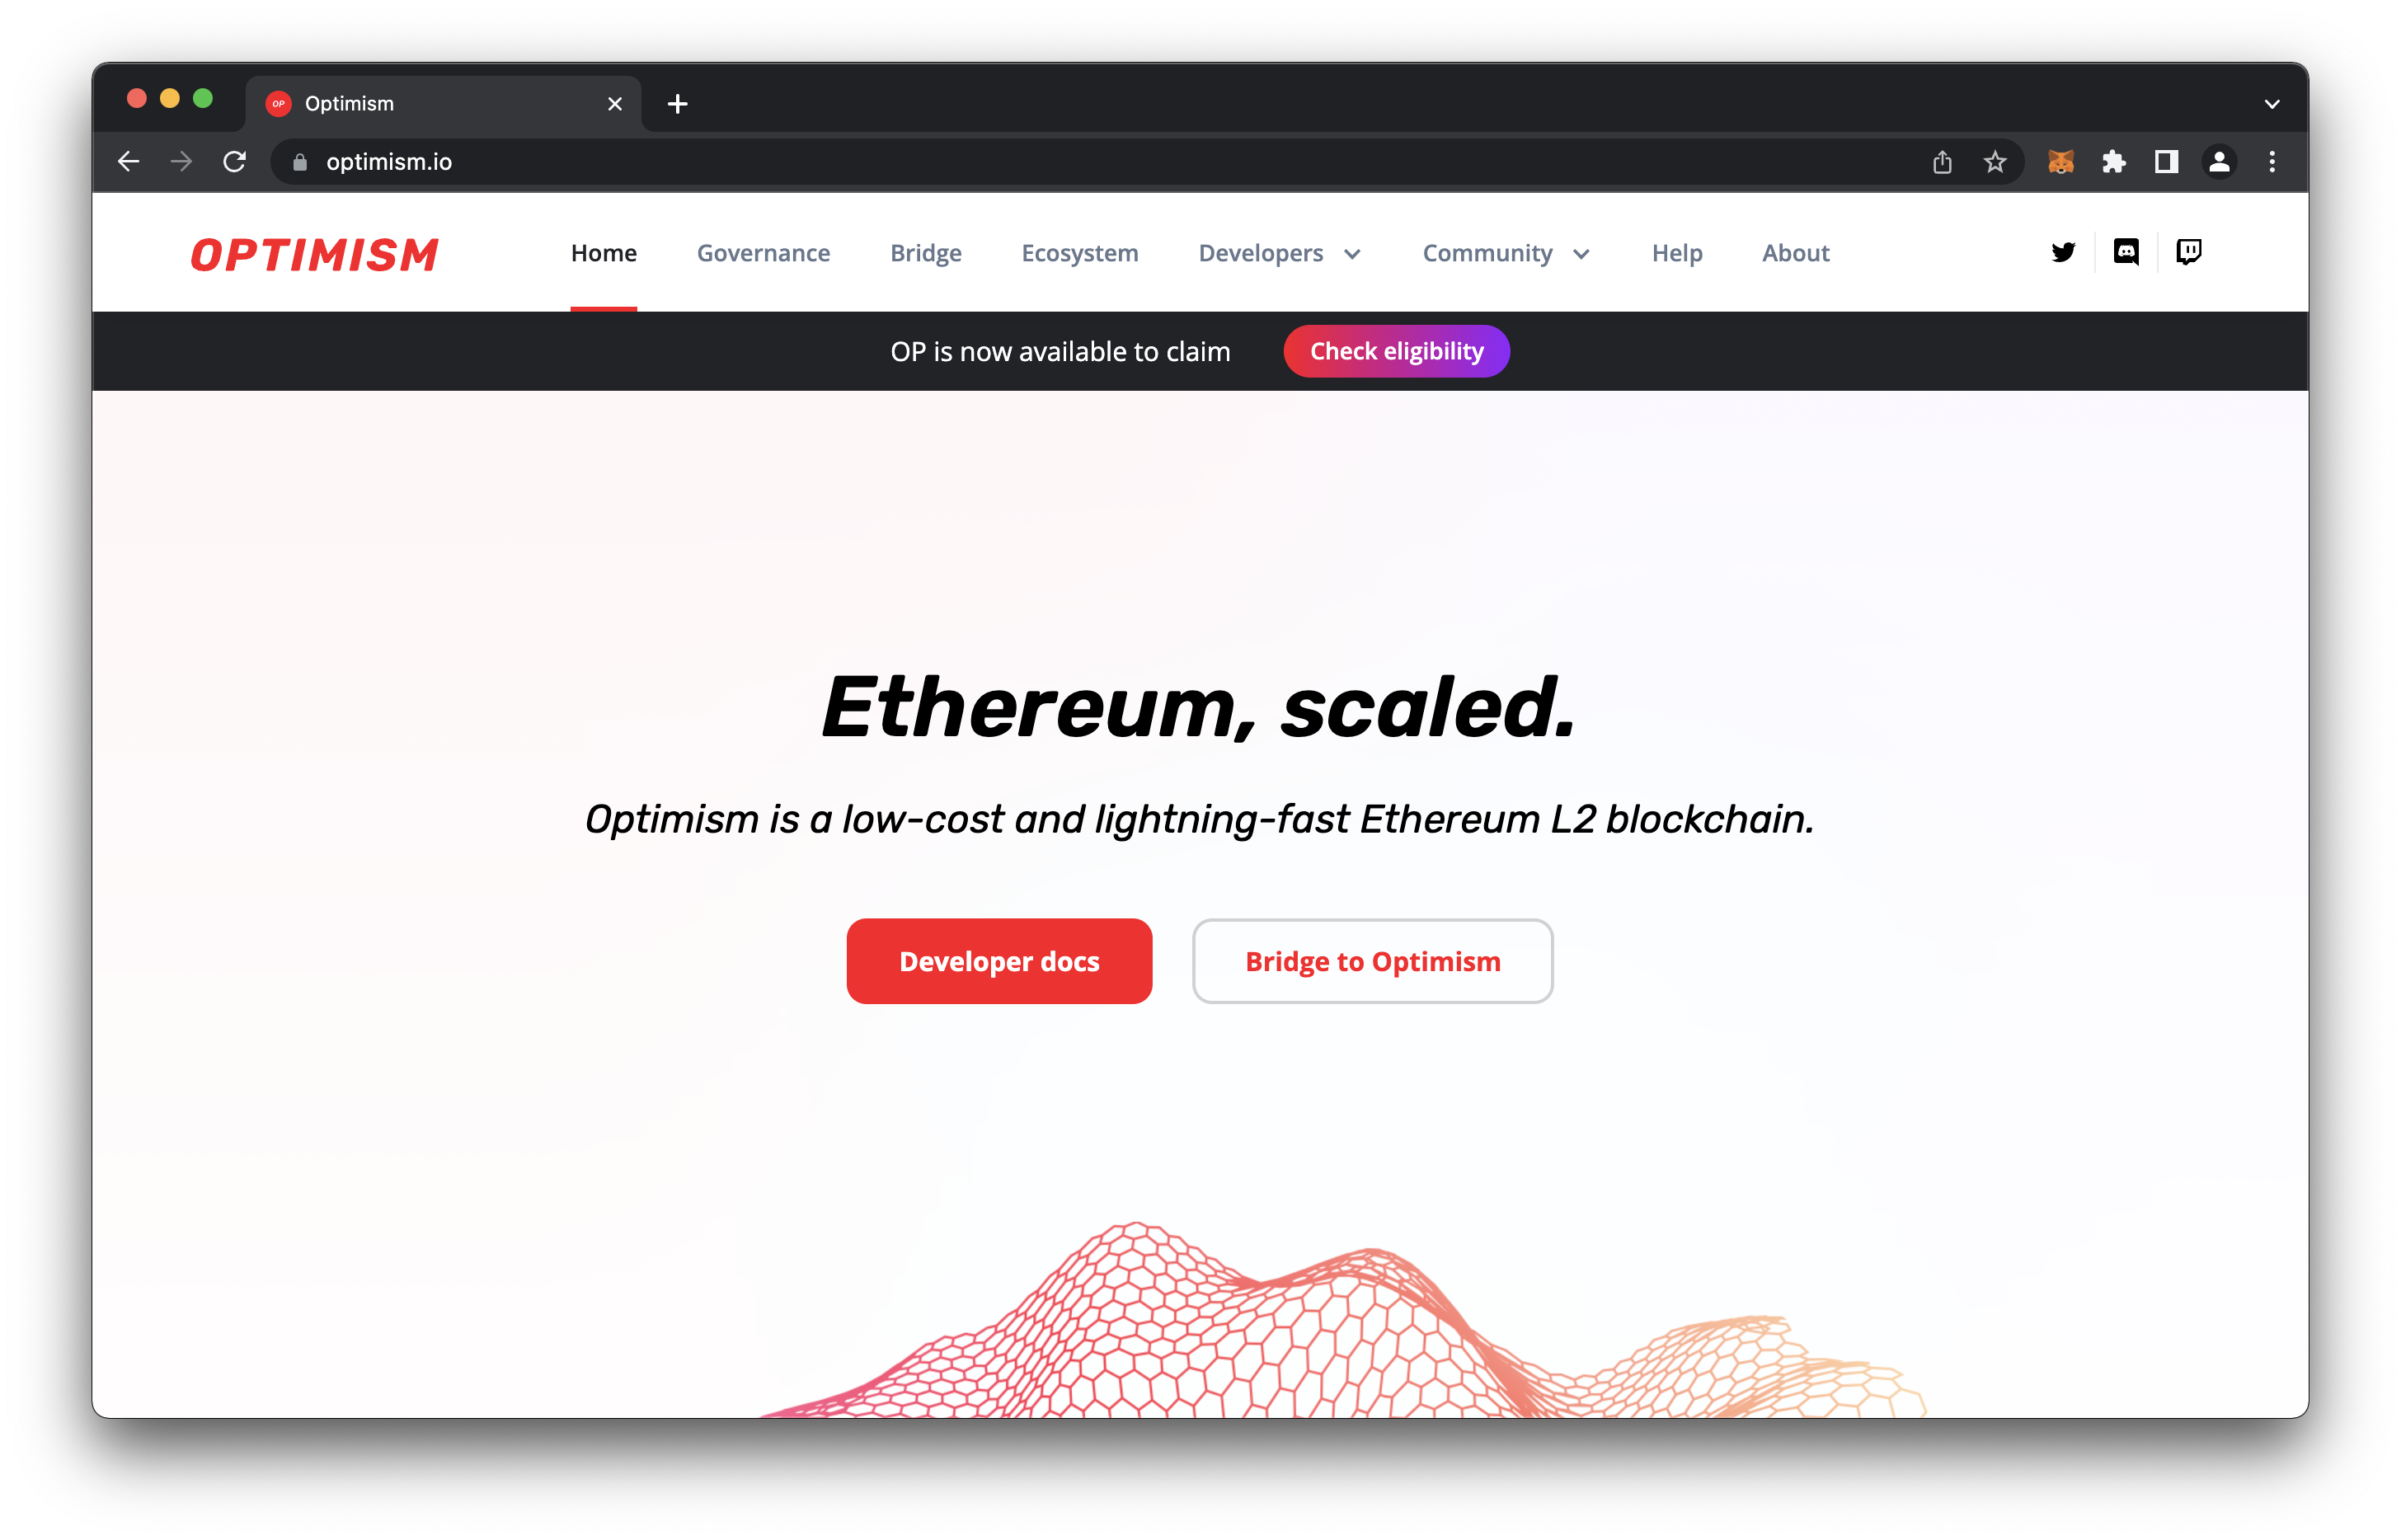
Optimism is another Ethereum Virtual Machine Chain (EVM Chain) that is making waves in the blockchain space. If you’re a web3 developer or just getting into blockchain development, then it’s definitely worth looking into not only because of its benefits of speed and transaction costs, but also because you can use your existing Solidity code to deploy contracts to.
Requirements
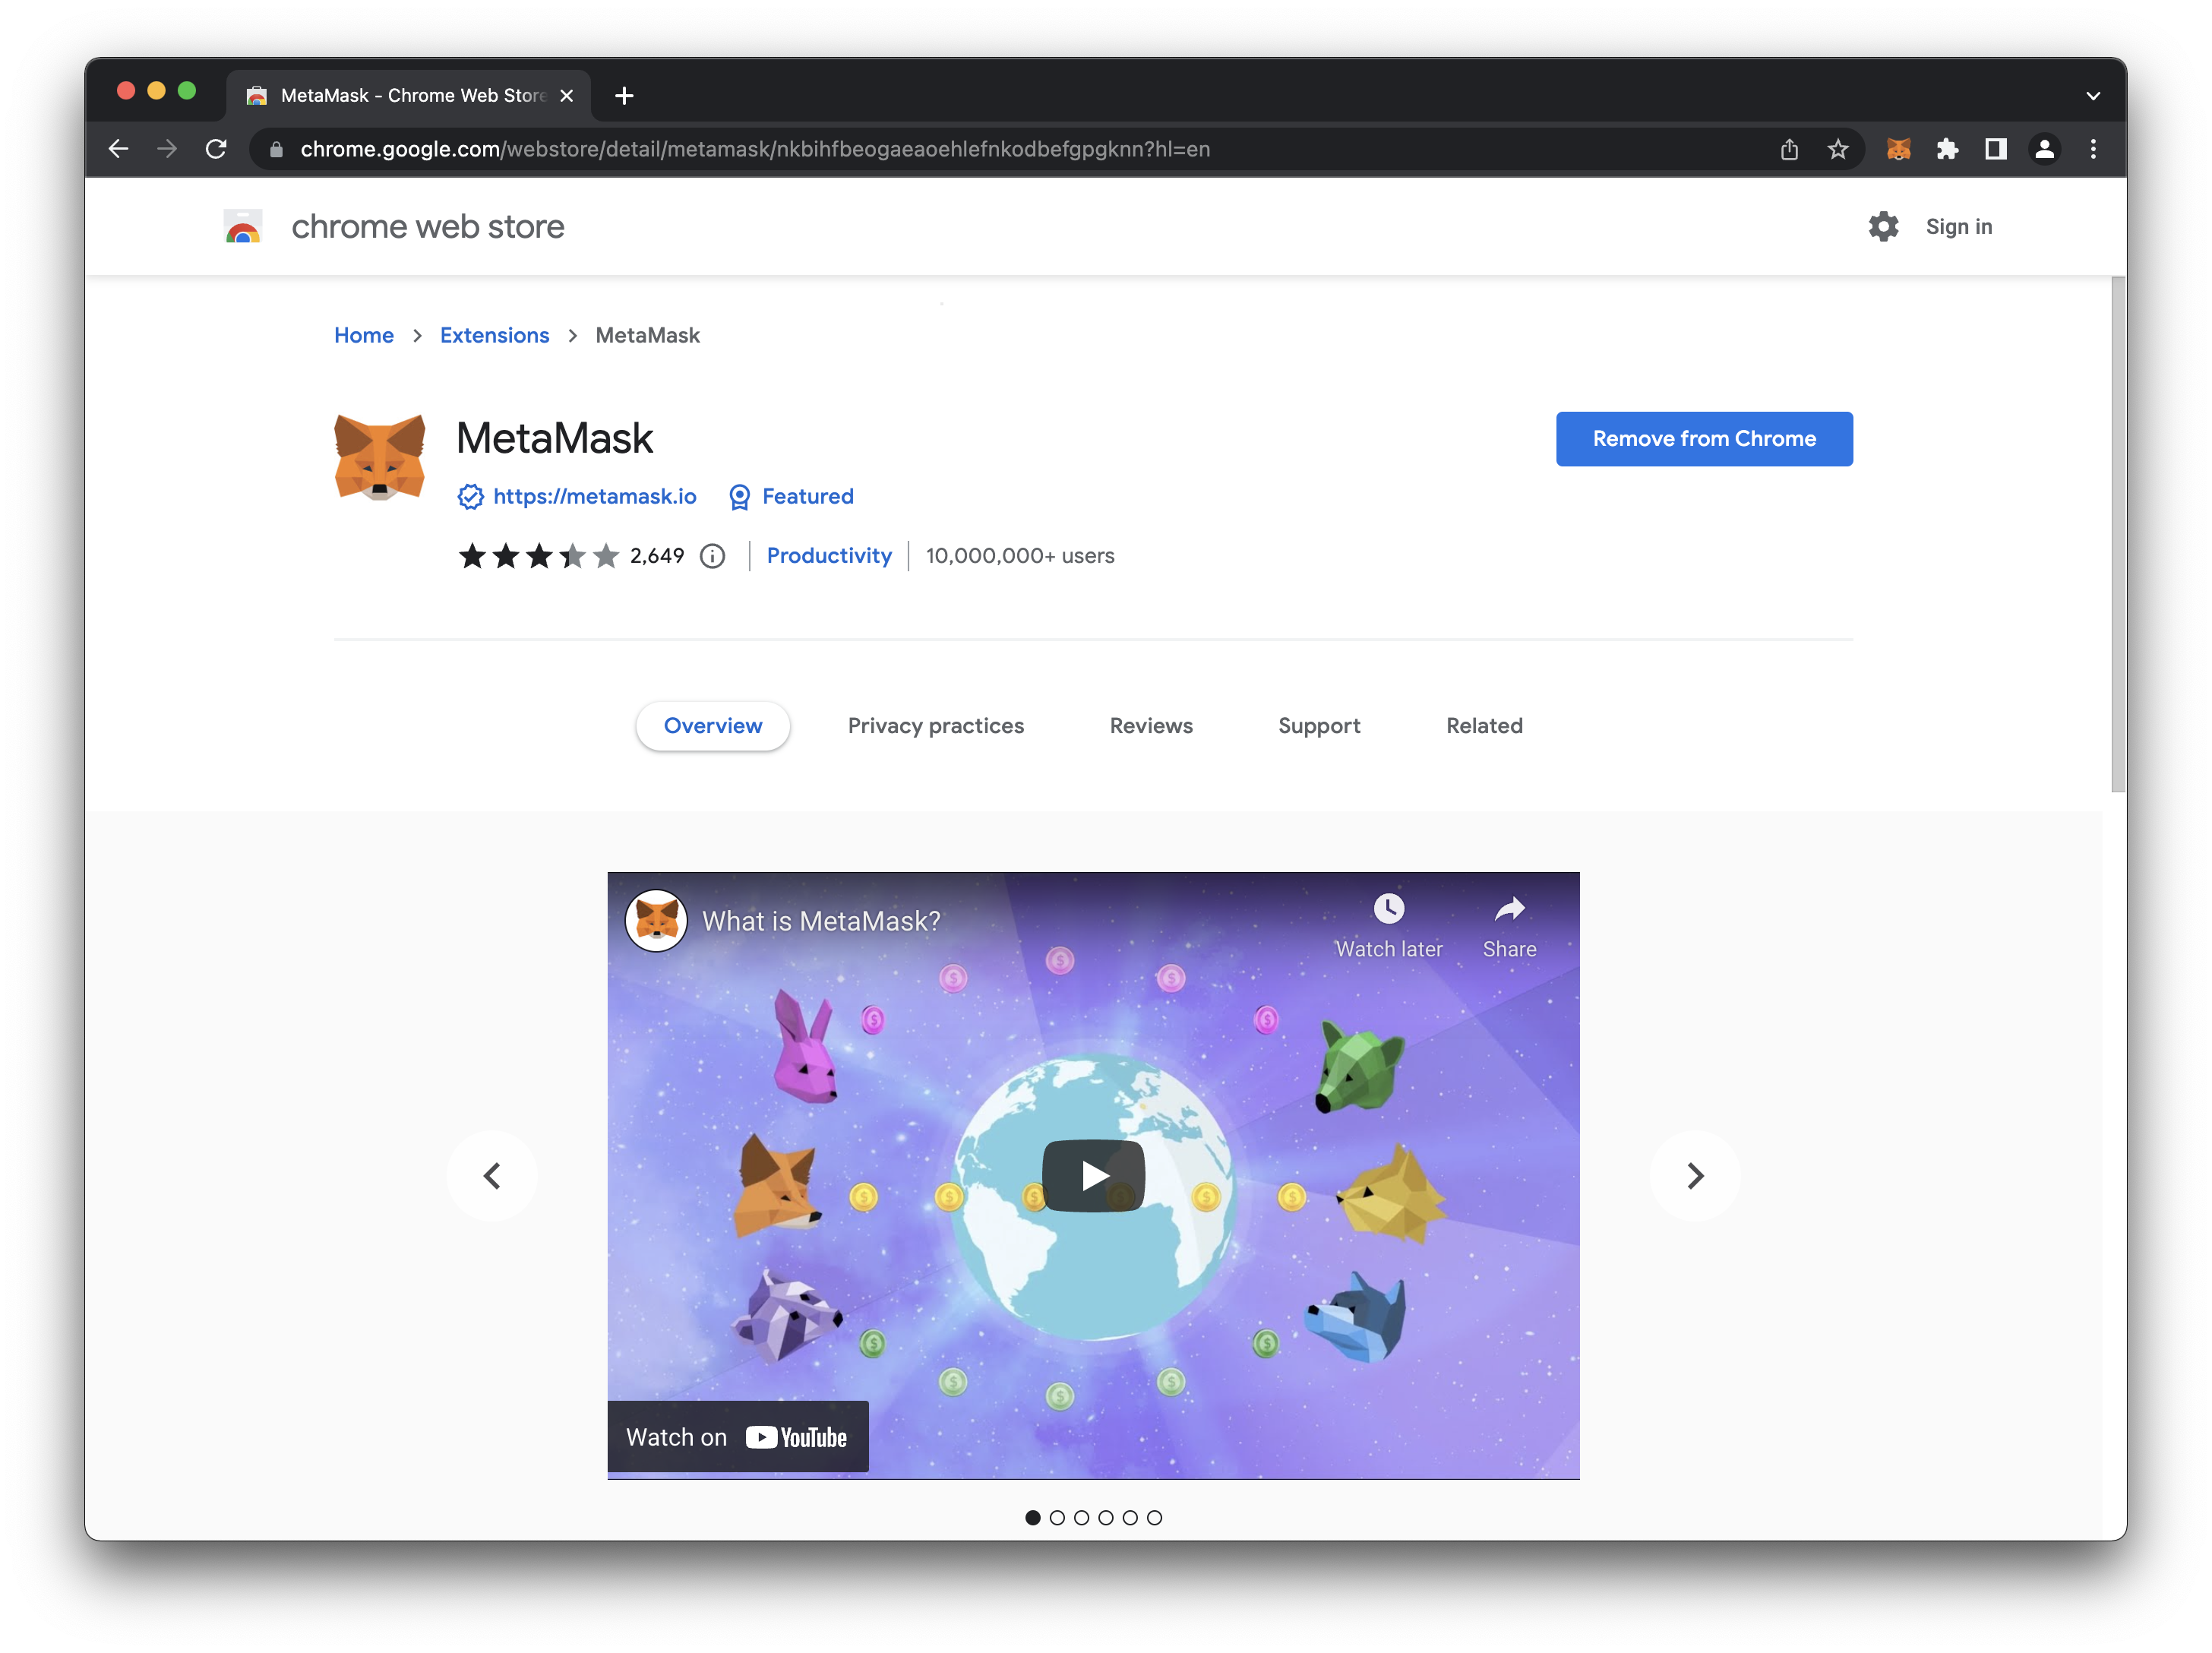
To make sure we’re all on the same page for the next steps, you’ll want to ensure that you have the Metamask wallet Chrome extension installed with your browser on your Desktop Computer.
Chainlist.org Is Your Best Friend
Typically, your Metamask wallet will come with a set of default networks set up for you and as more and more chains are created, Metamask gives you the versatility to adopt new ones to keep up. The problem you will see is that unless you know the exact values, it might be hard to add a new network to make sure it’s configured correctly.
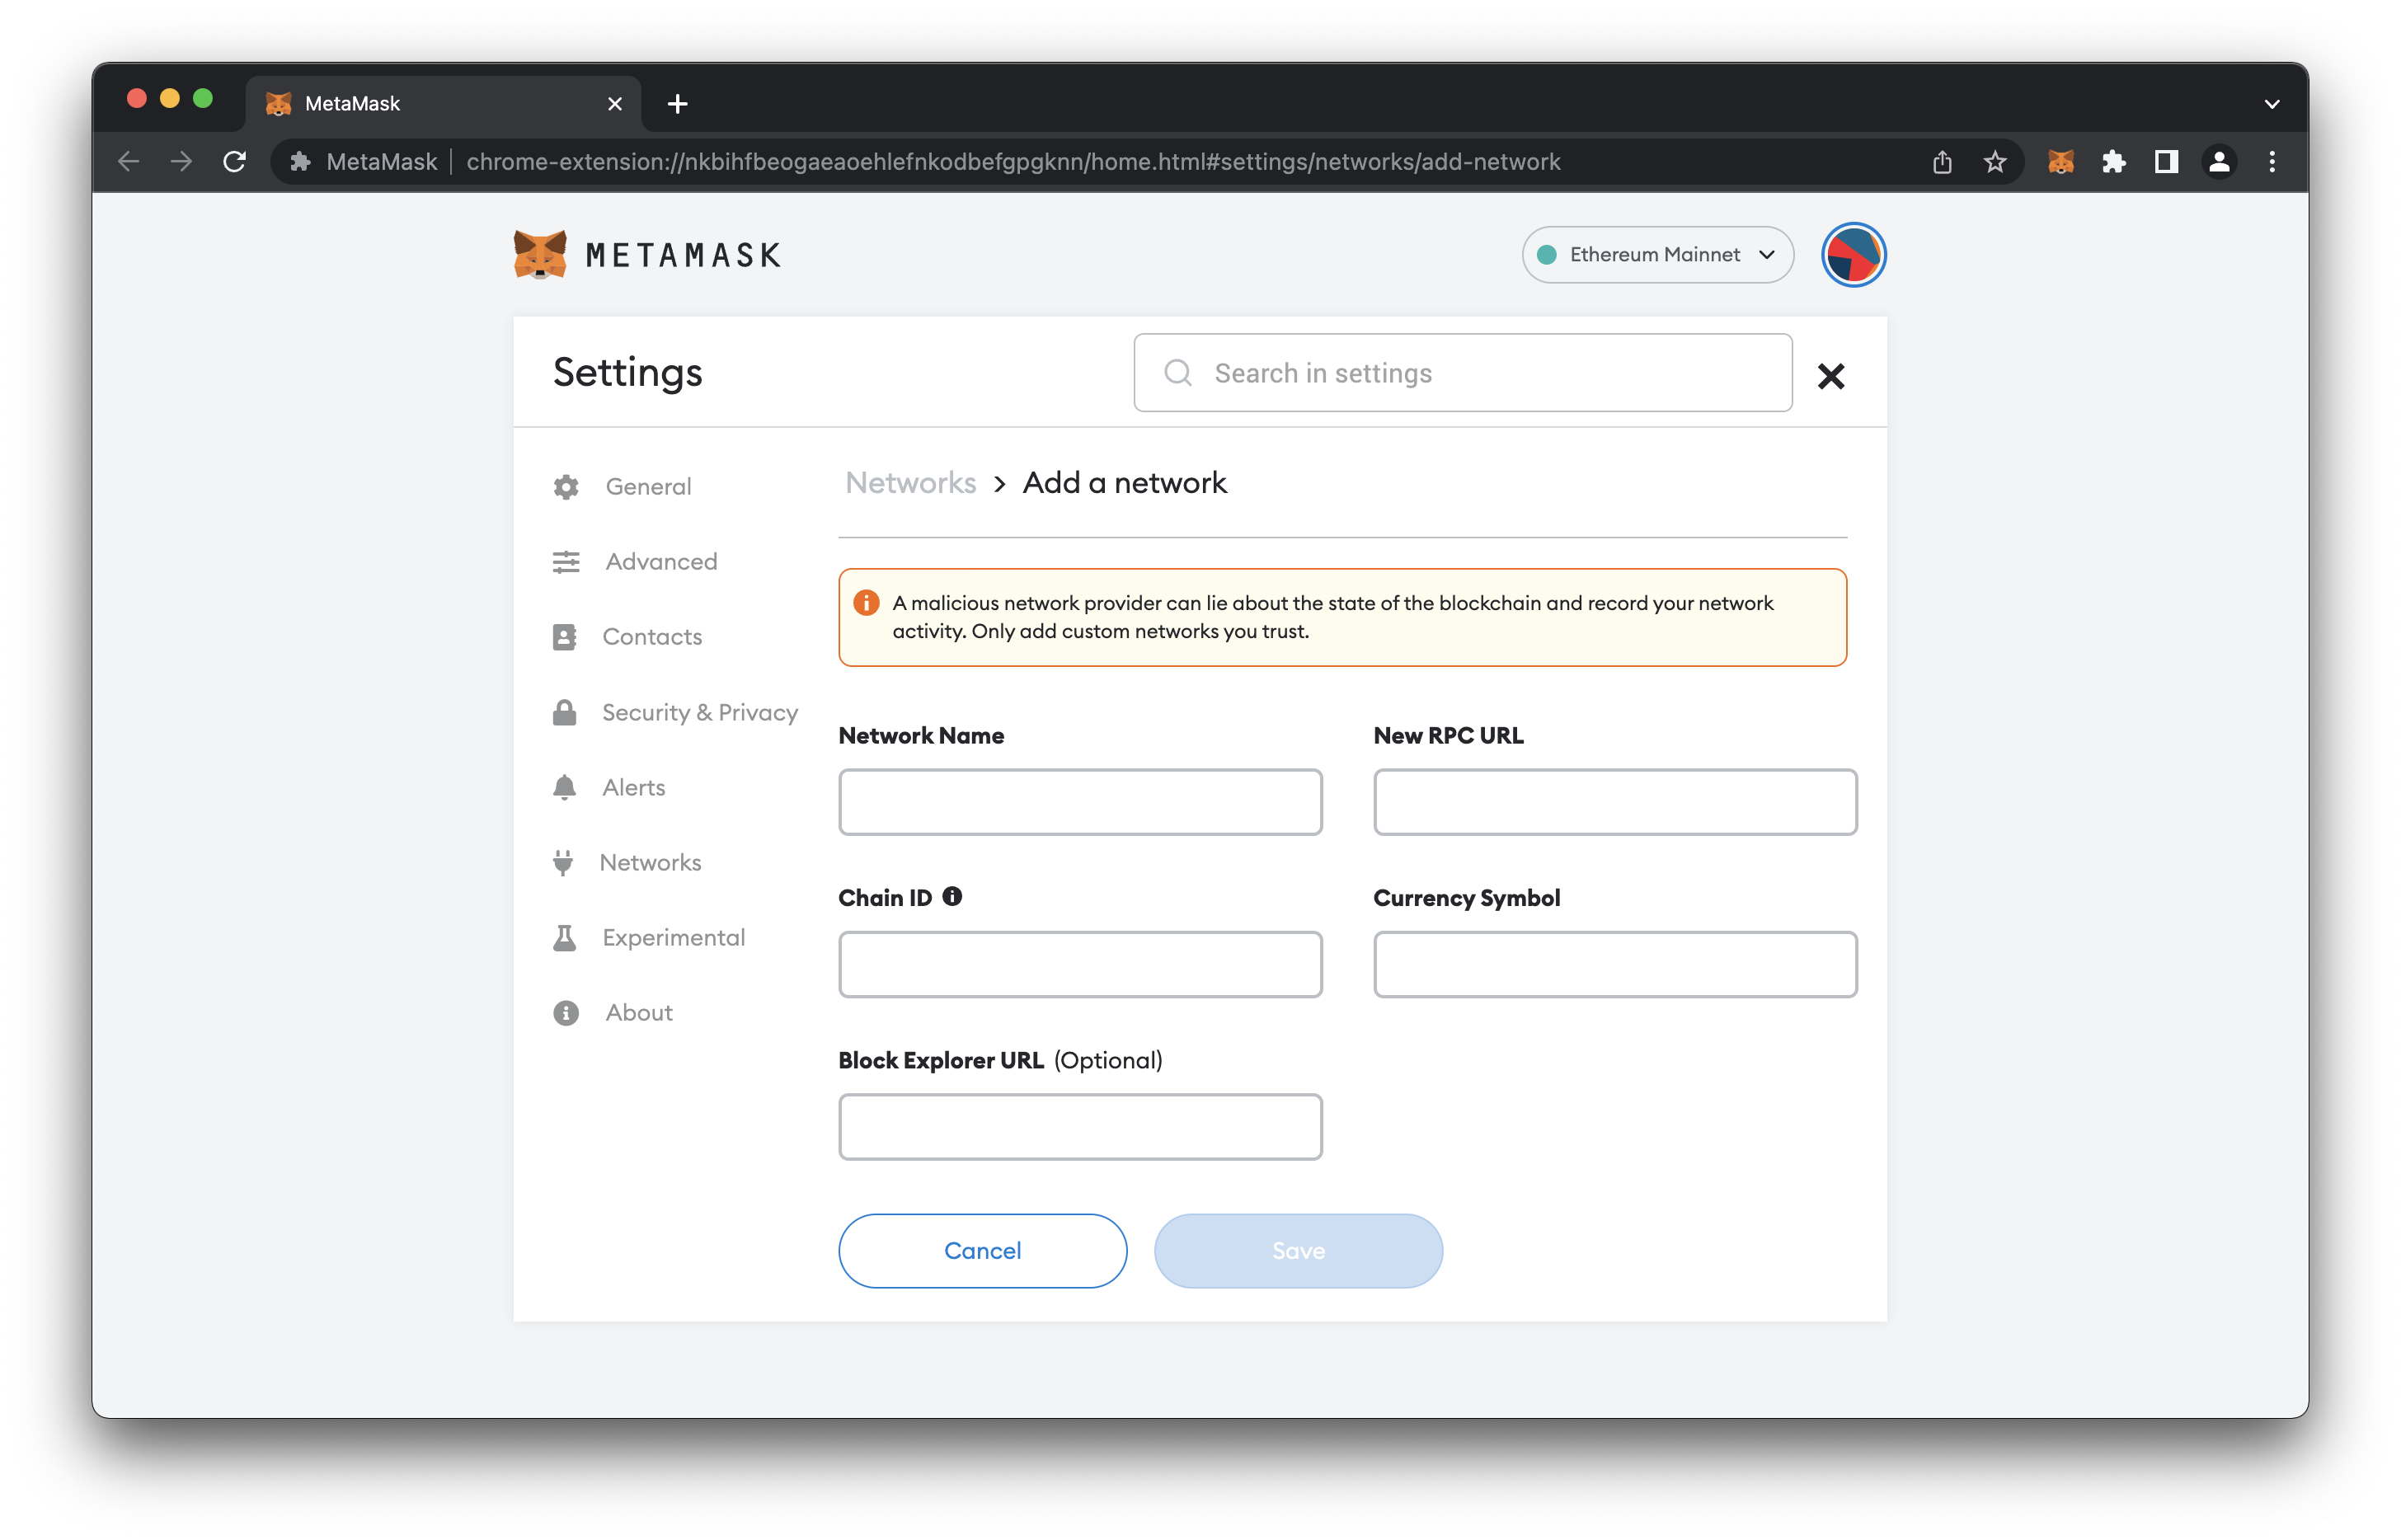
This is where Chainlist.org comes in and will be a developer’s best friend to configure new networks automatically and seeing what the latest configurations settings are to take advantage of them.
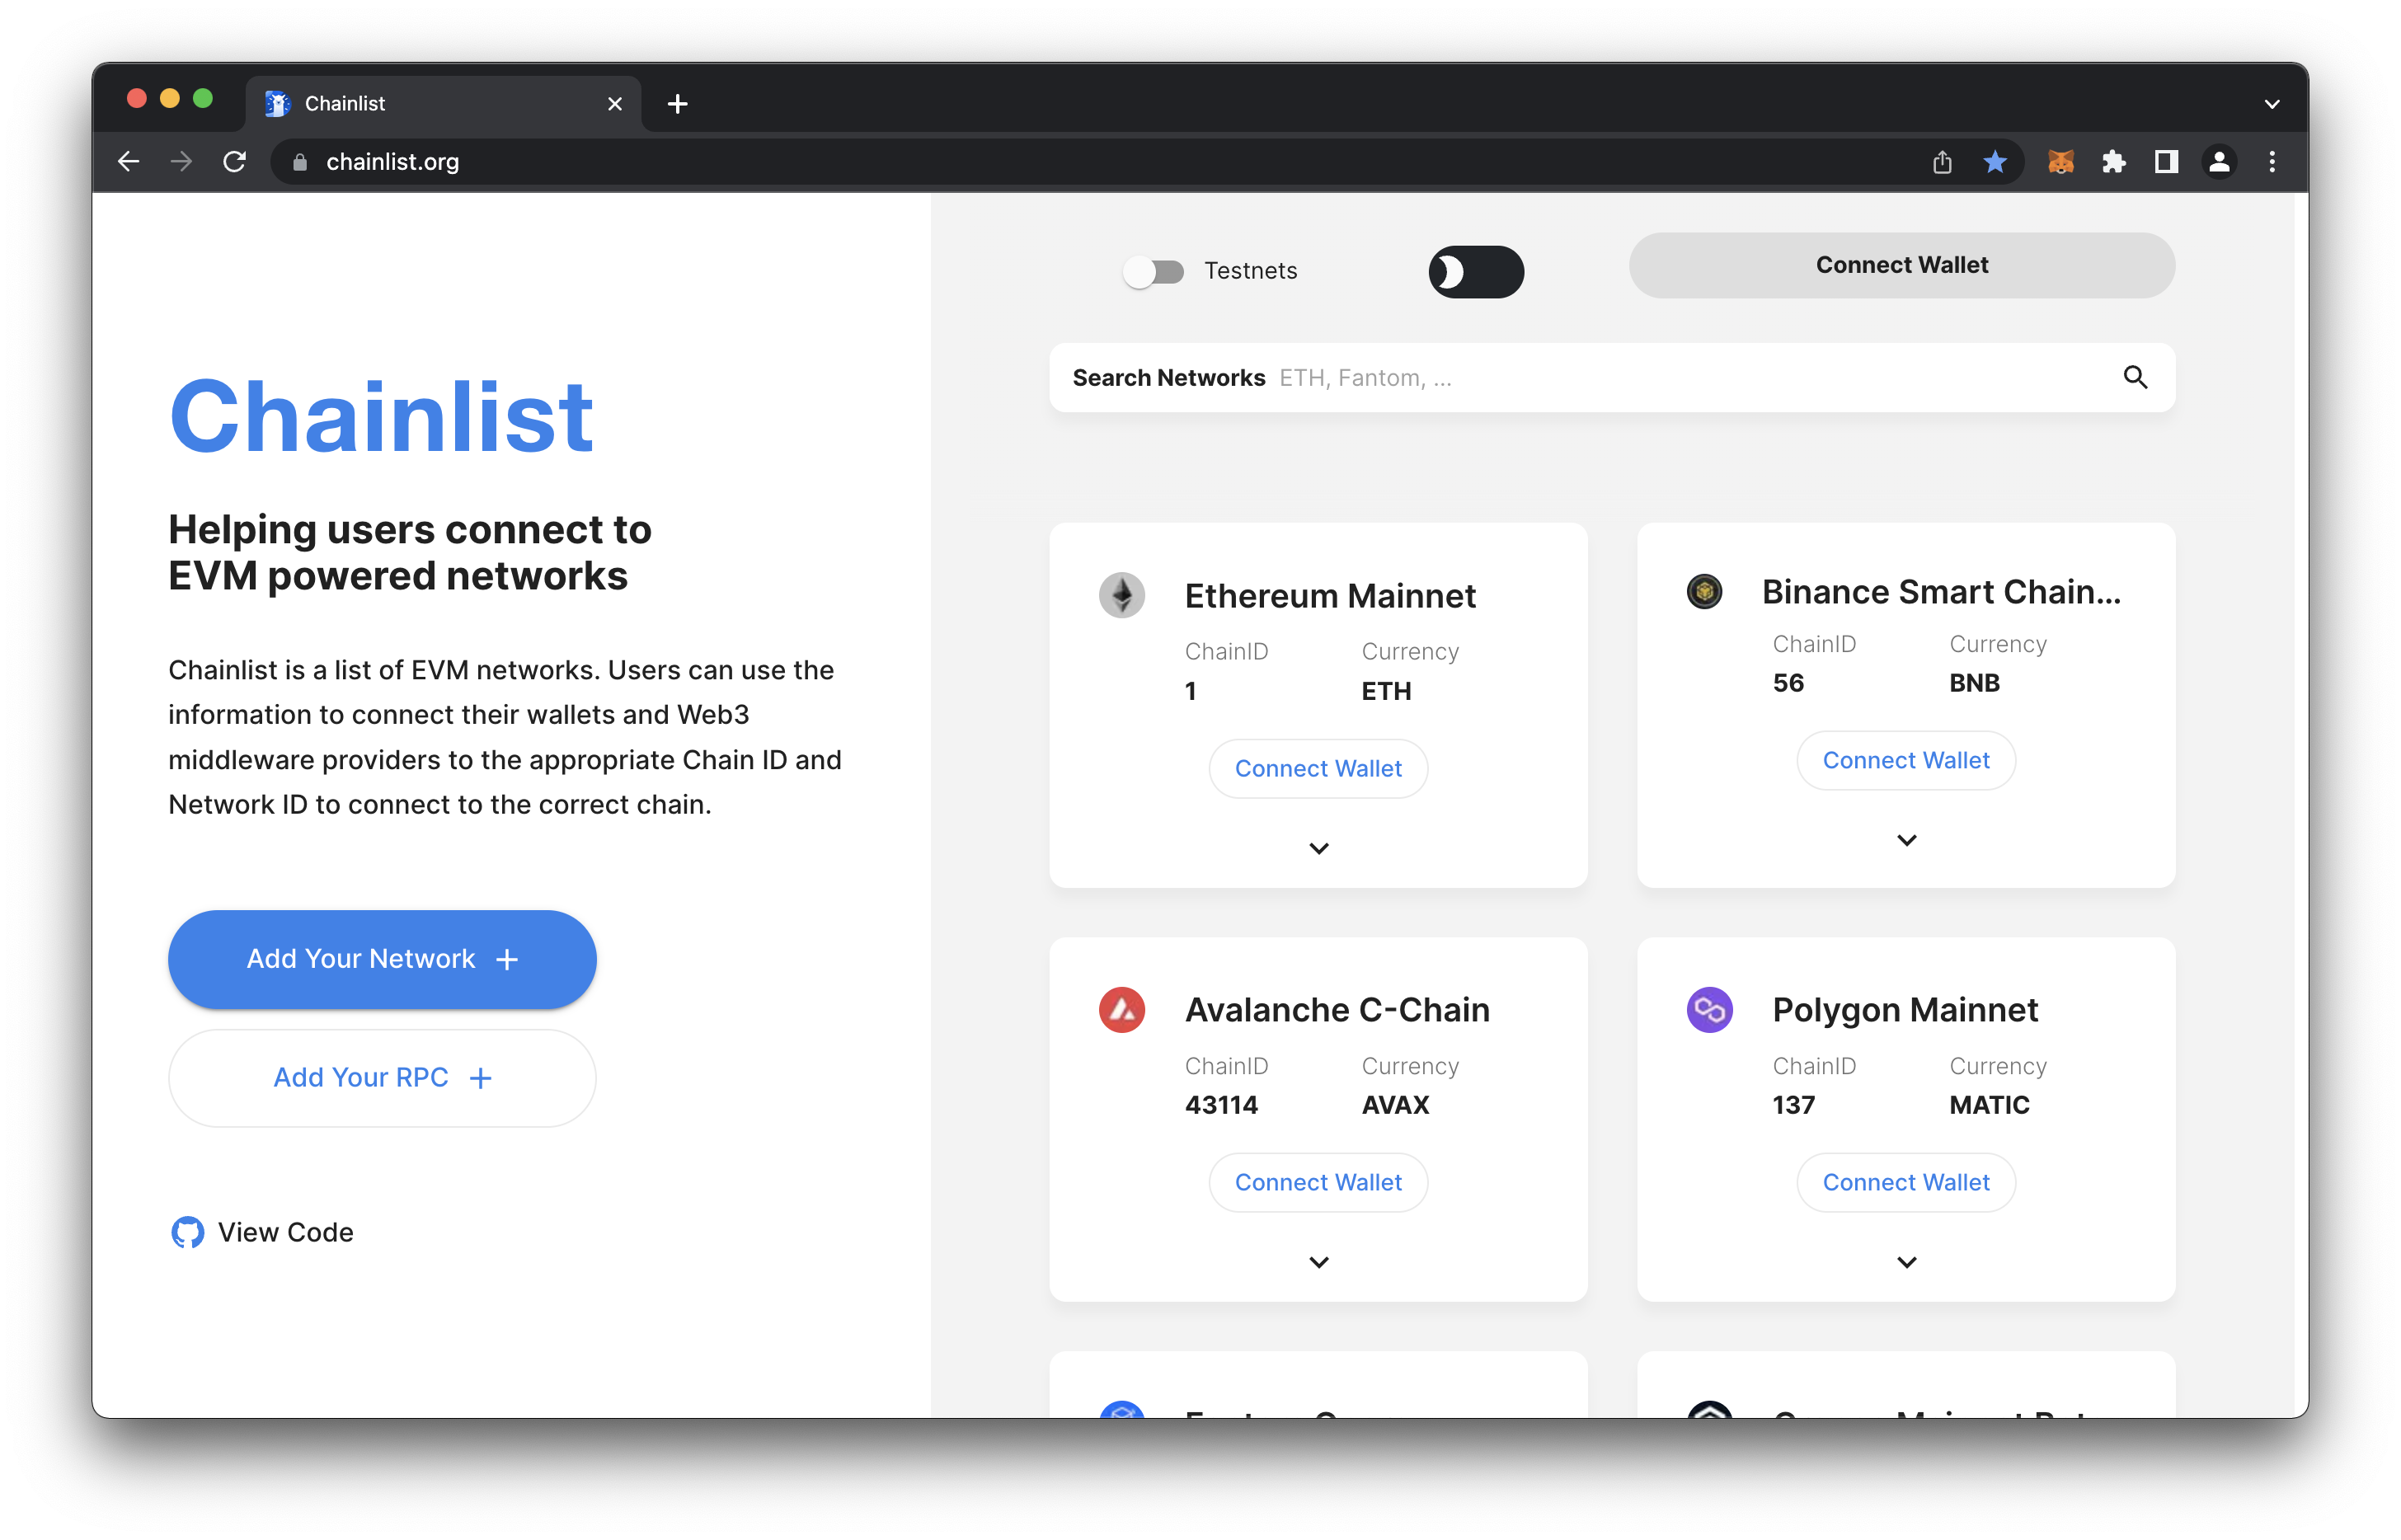
Adding Optimism Mainnet To Metamask
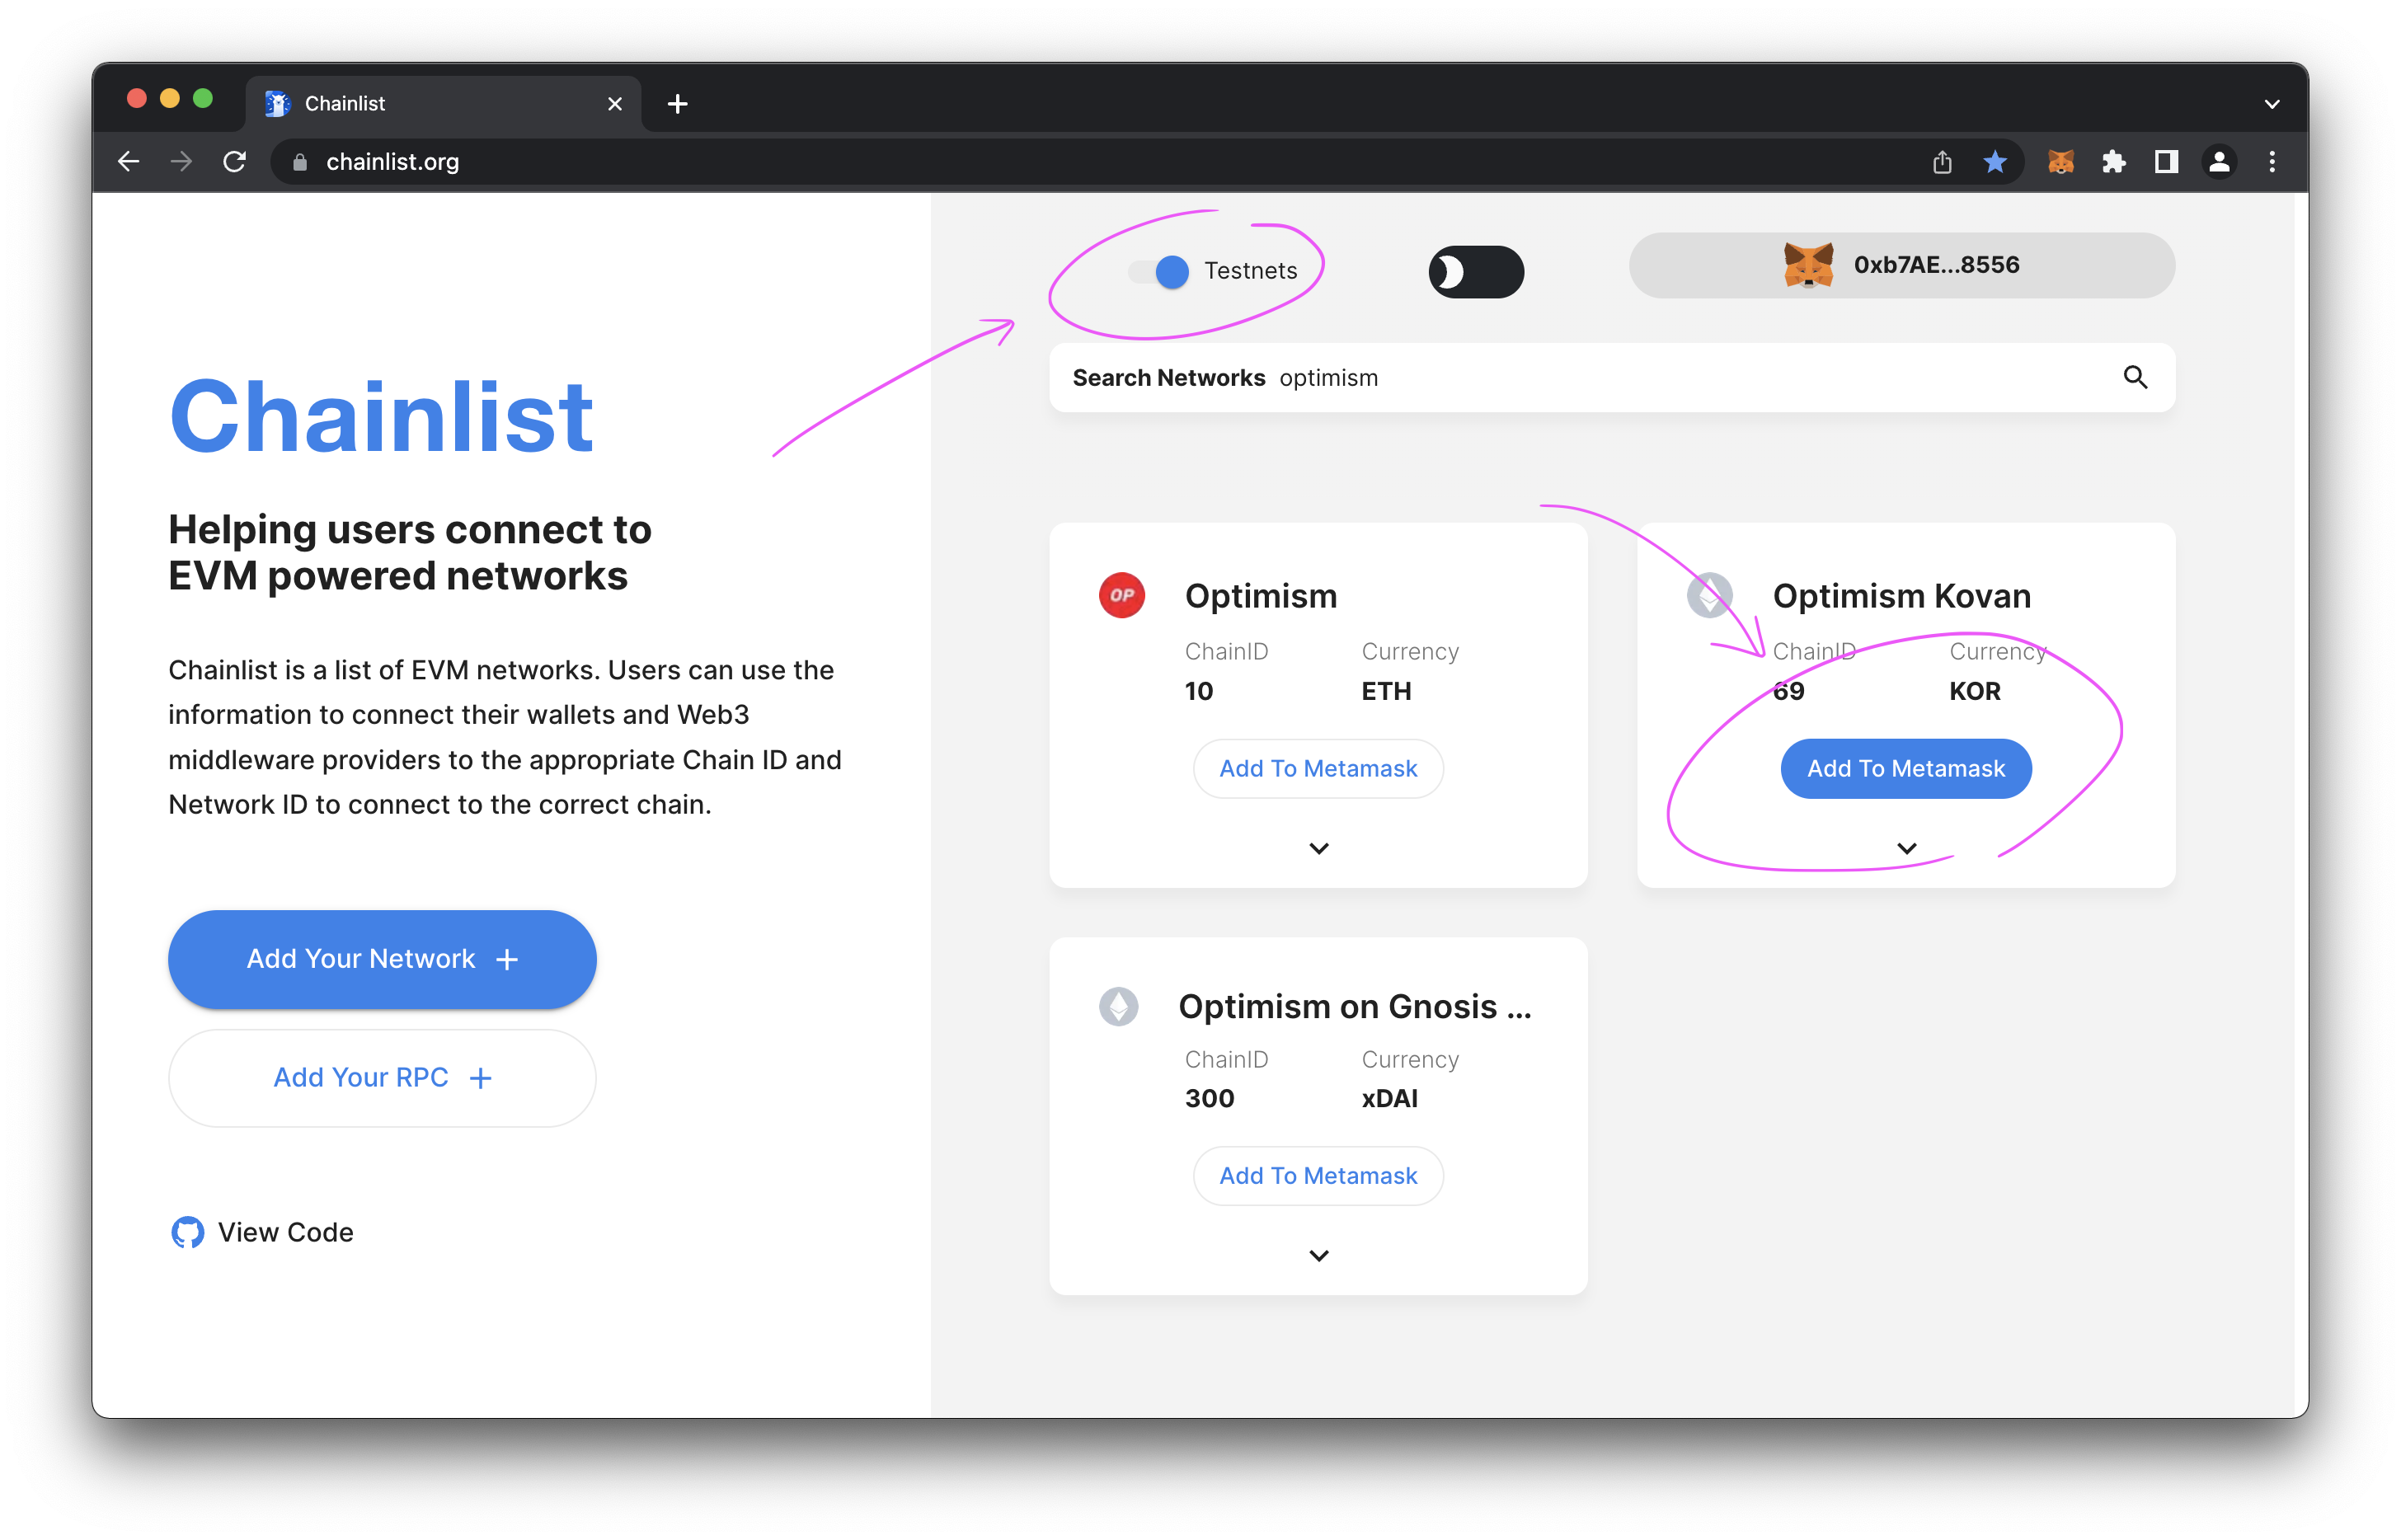
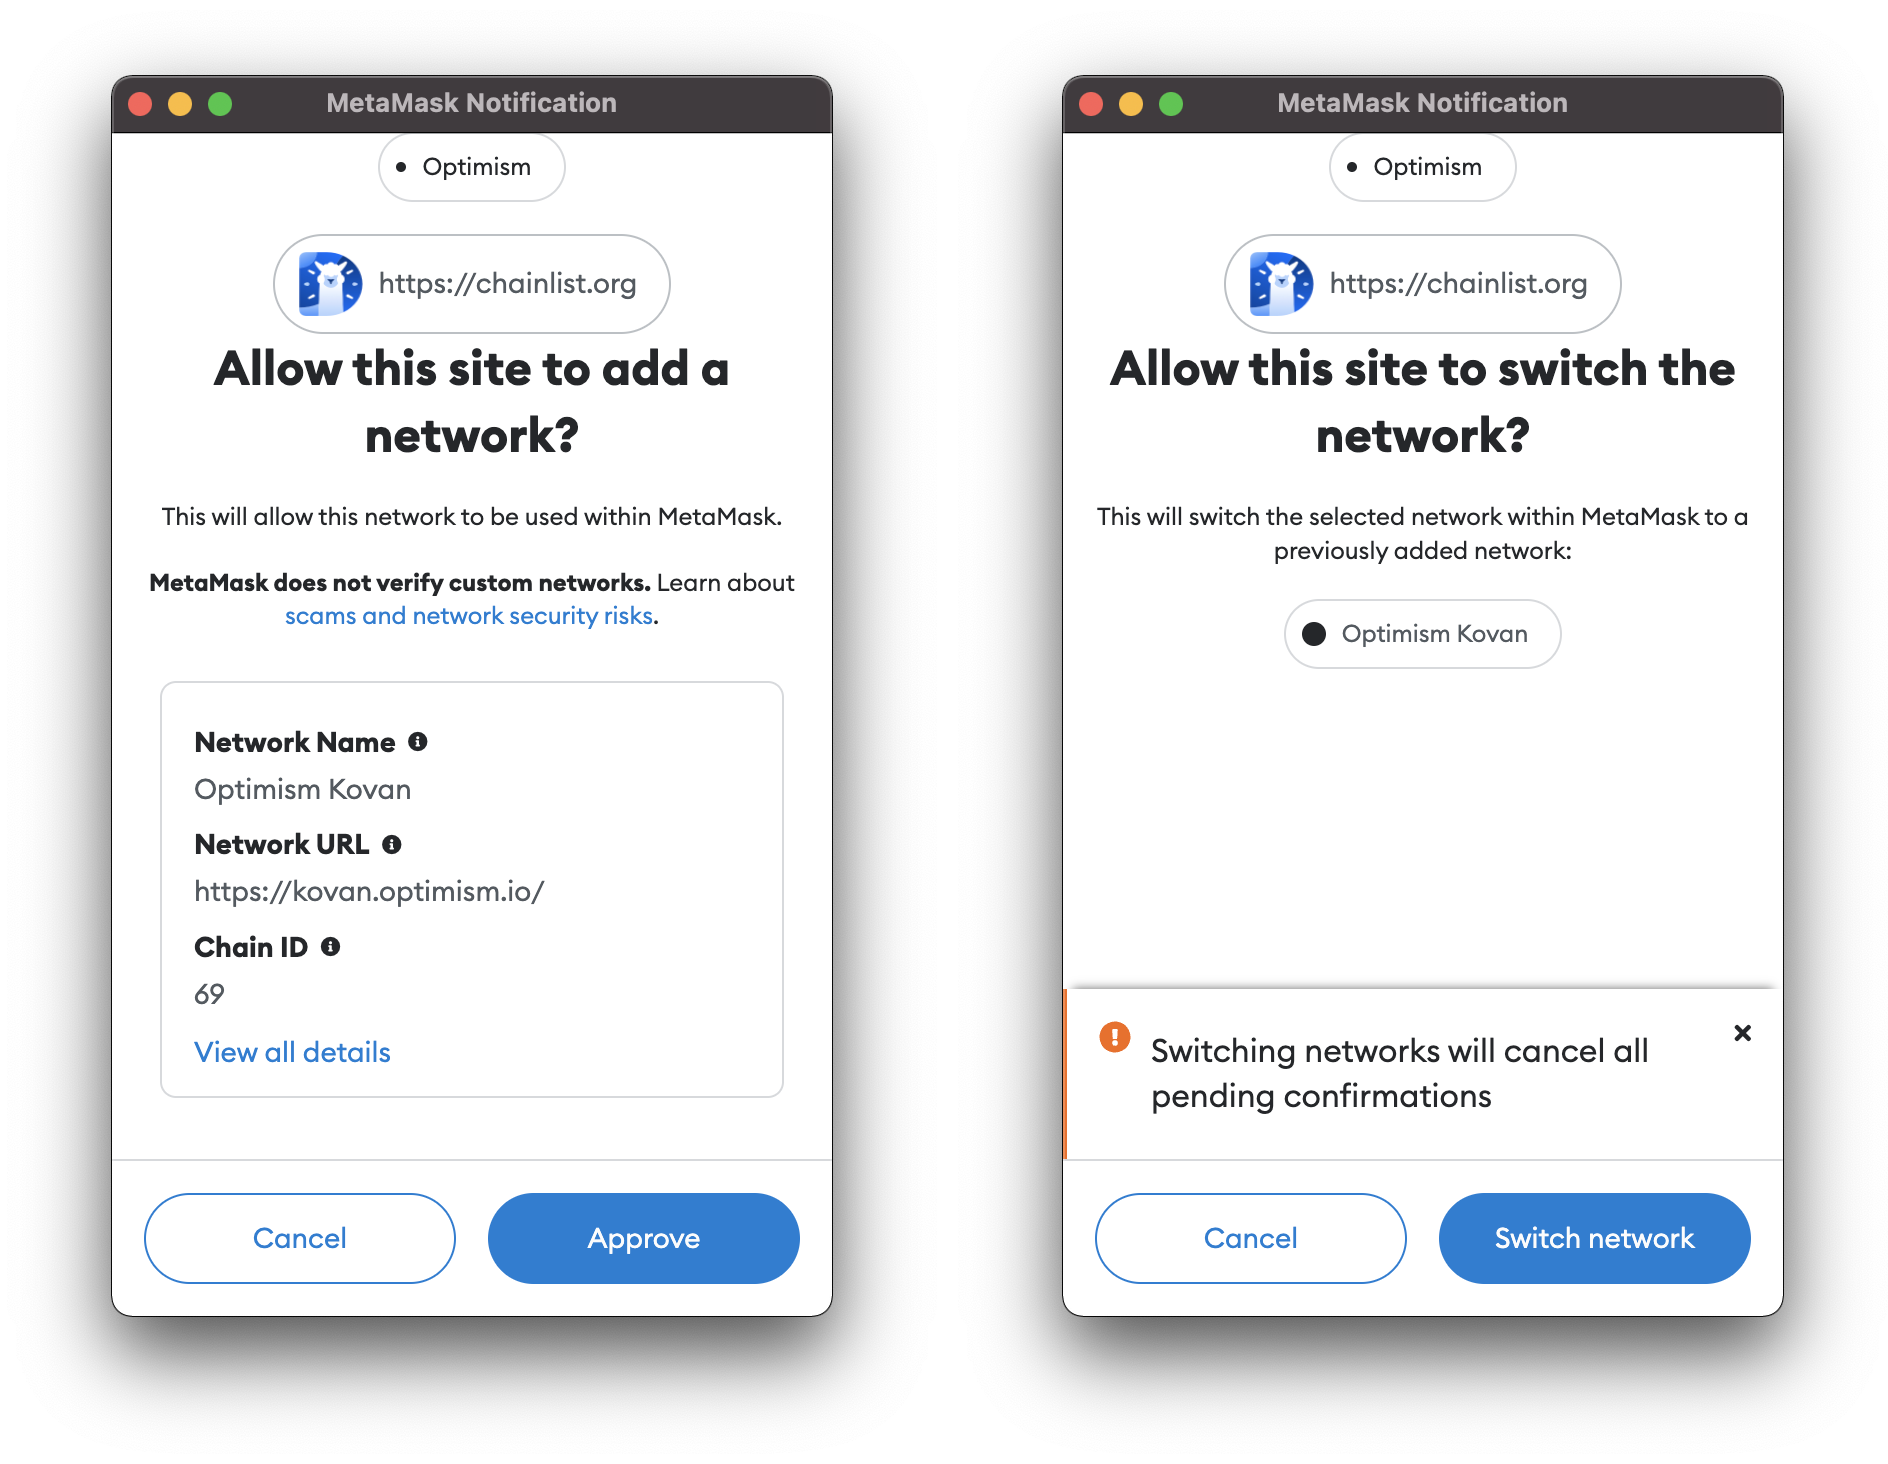
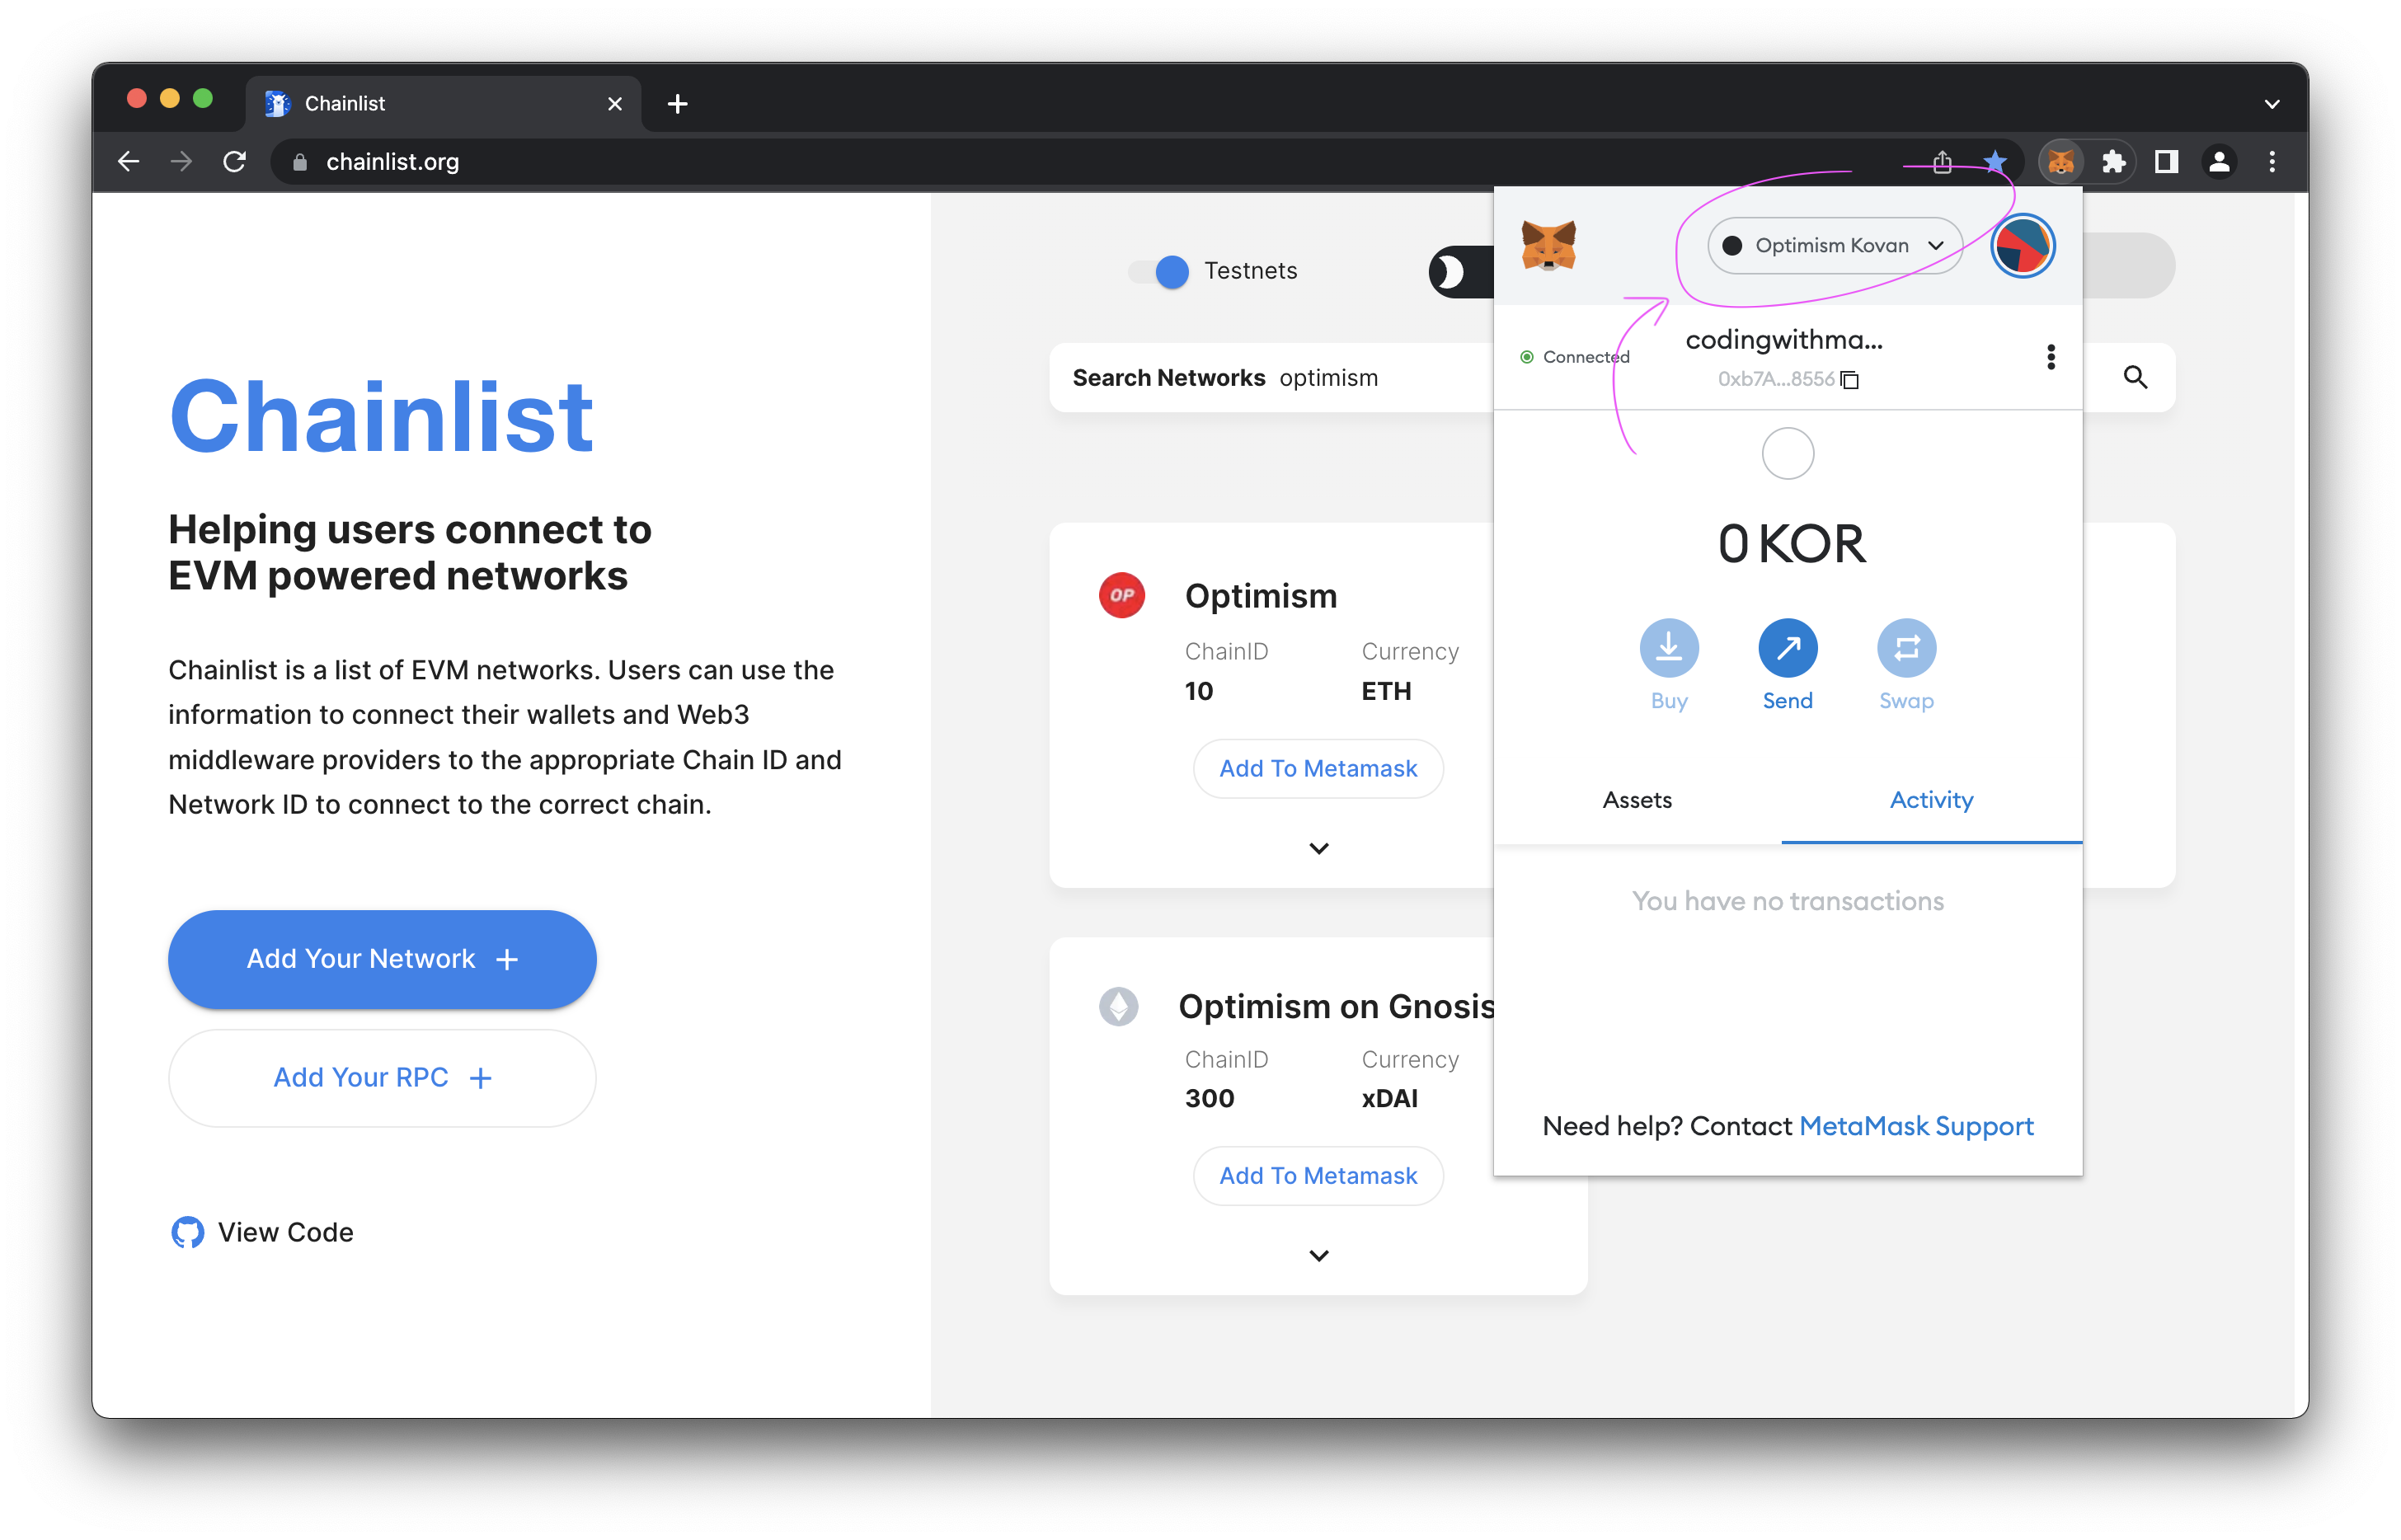
The first step is to connect your wallet to Chainlist.org, search for "Optimism", and click "Add to Metamask", follow the prompts to add it and done, it’s that simple.
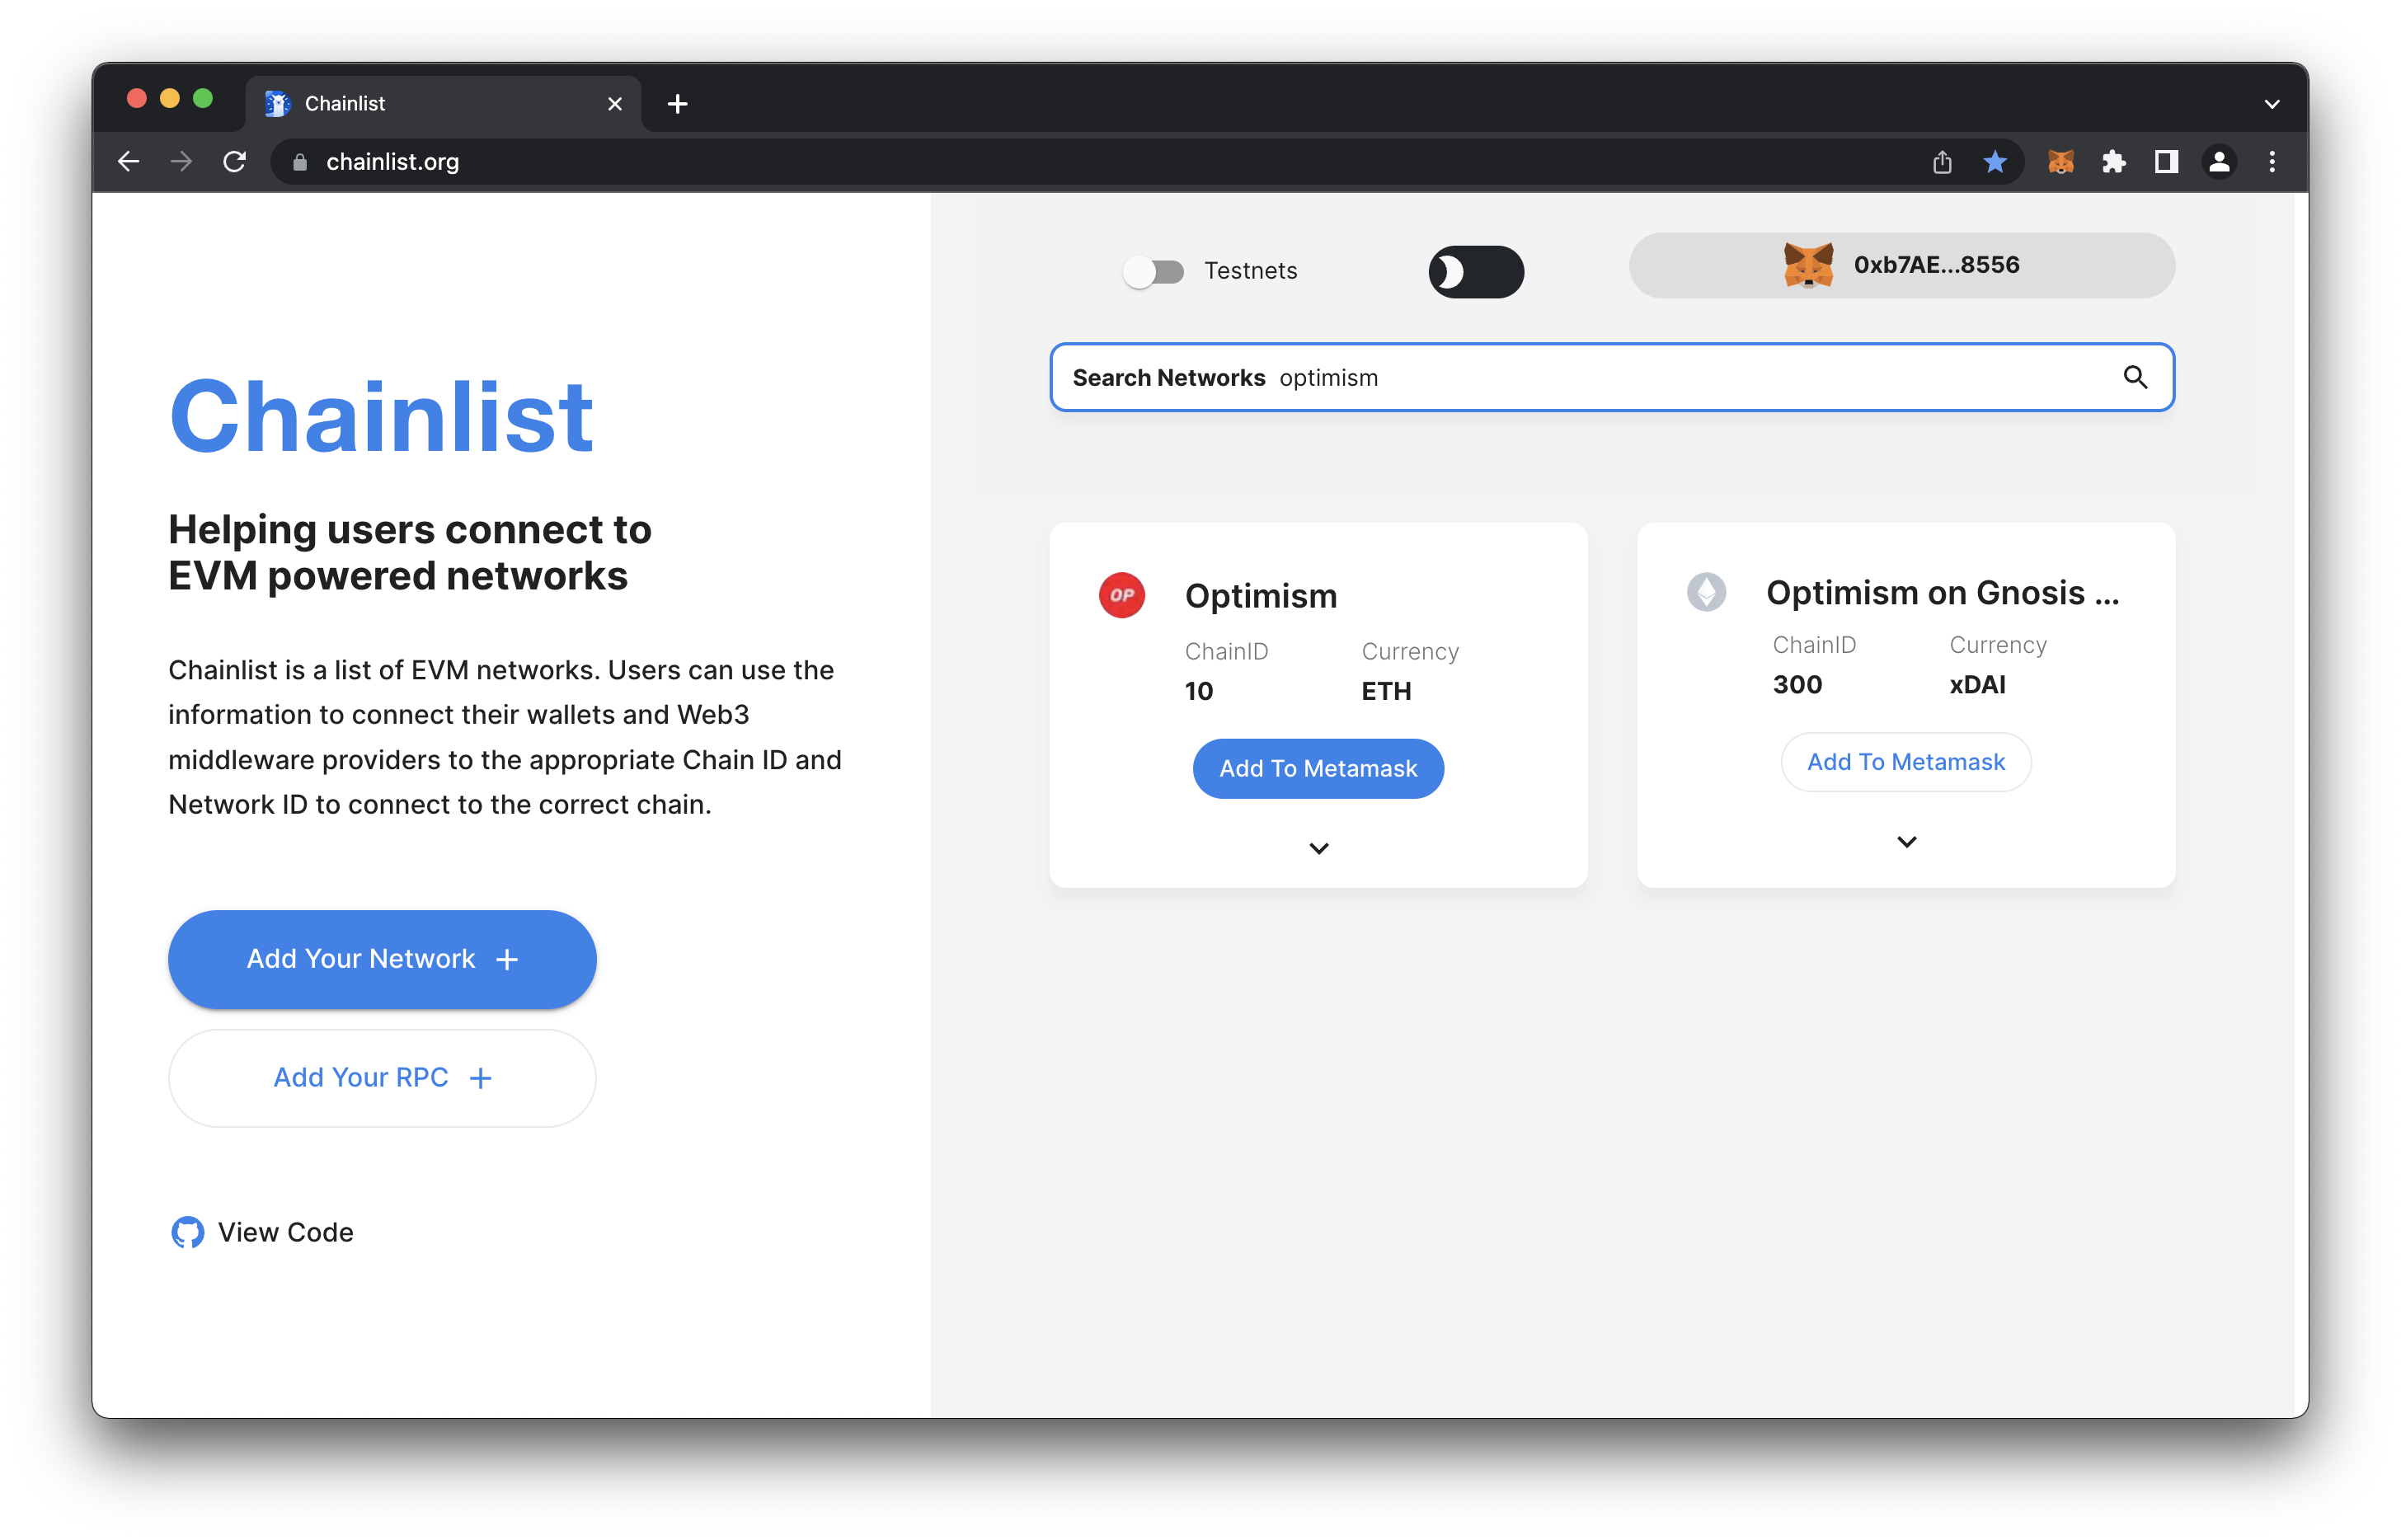
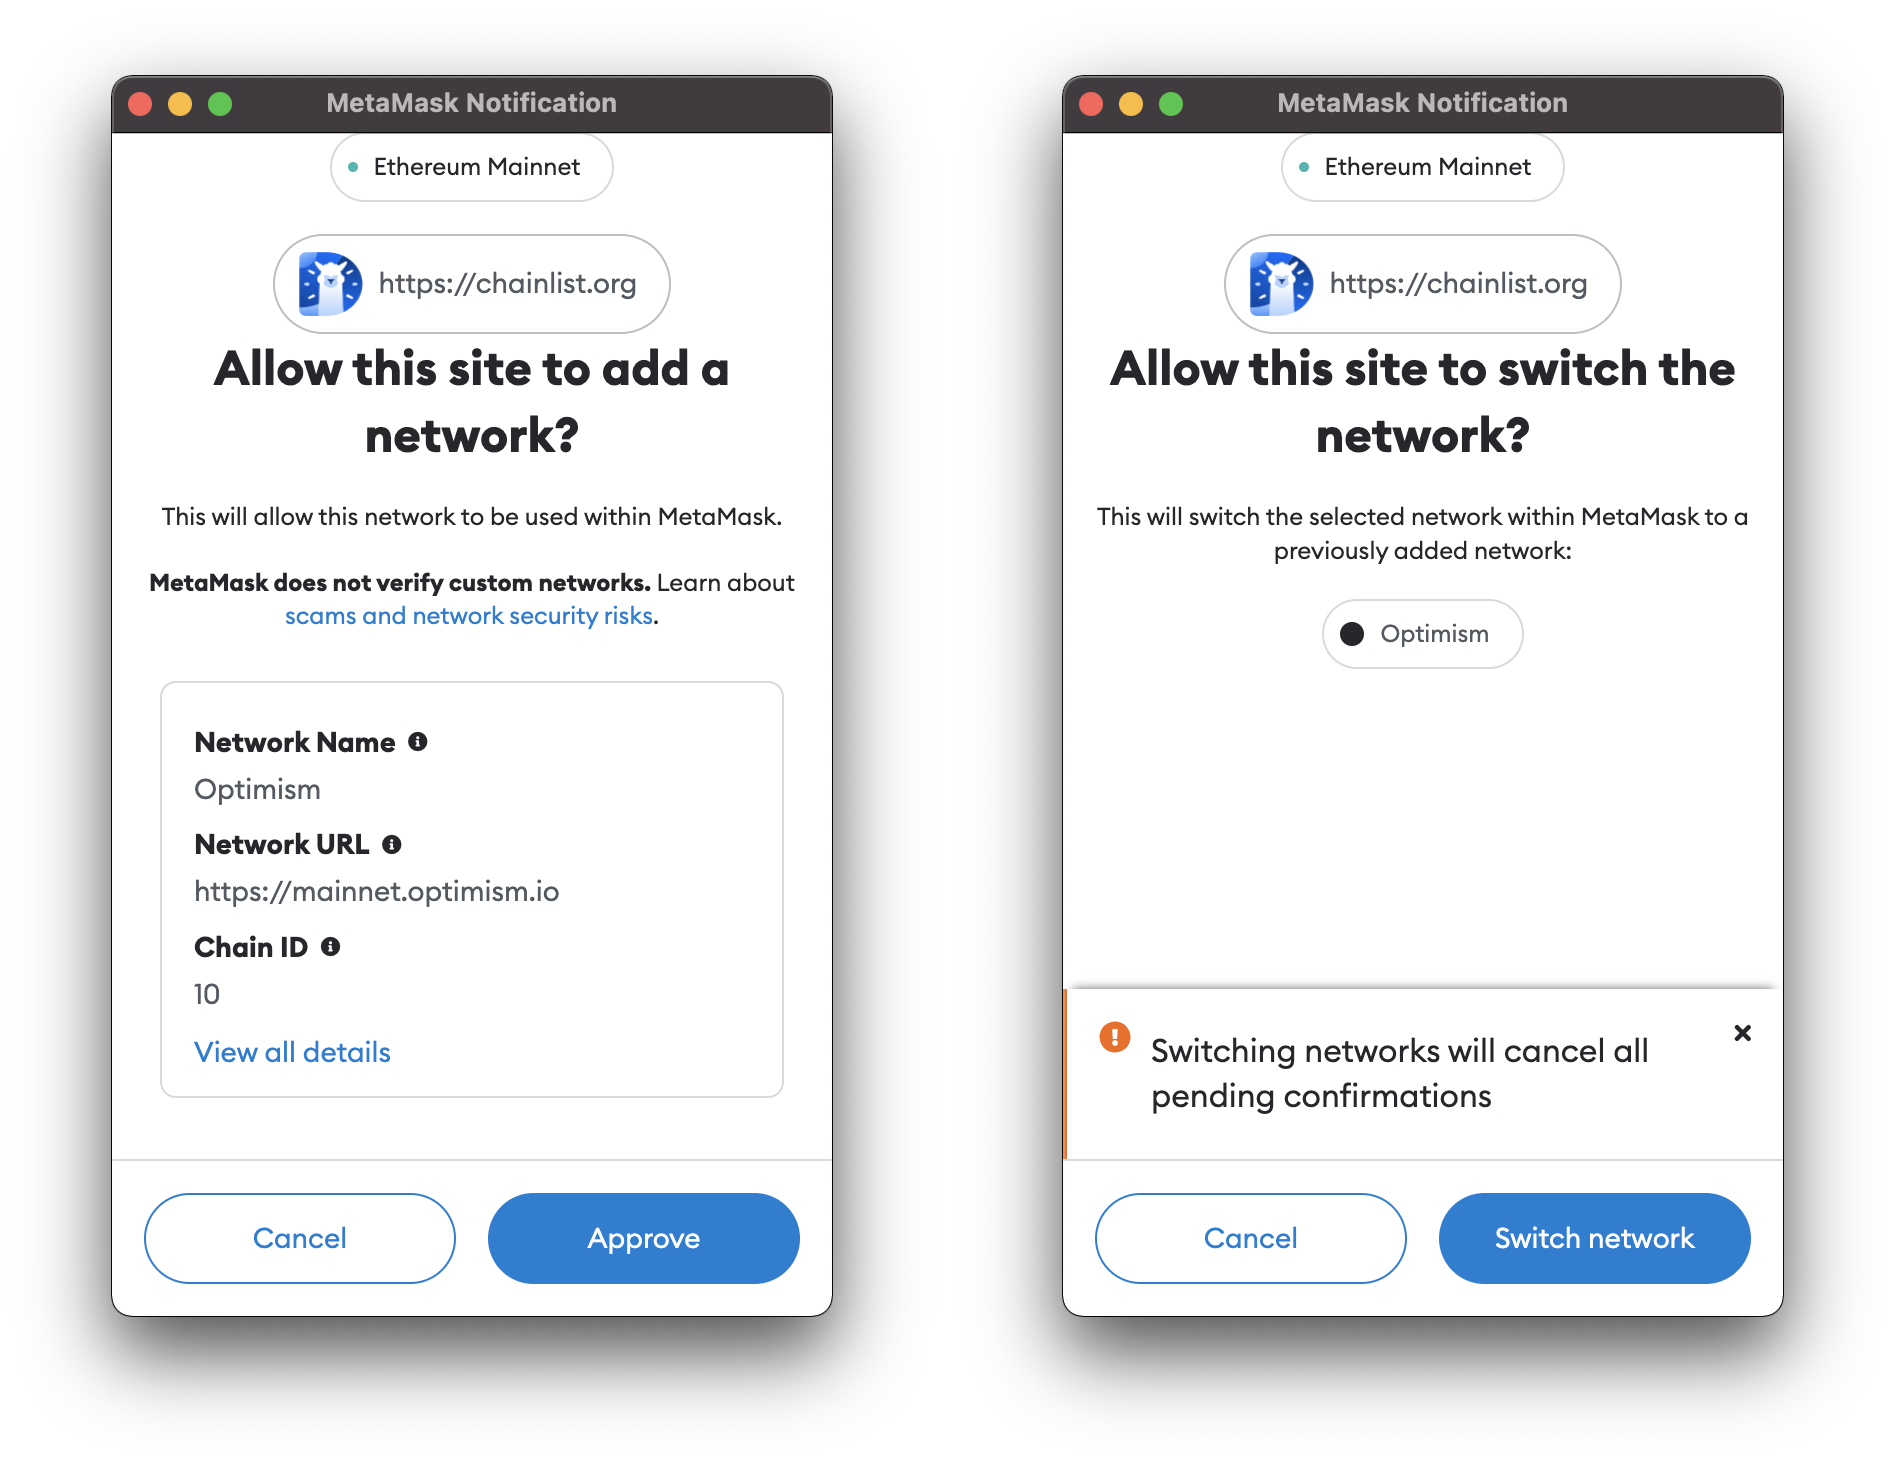
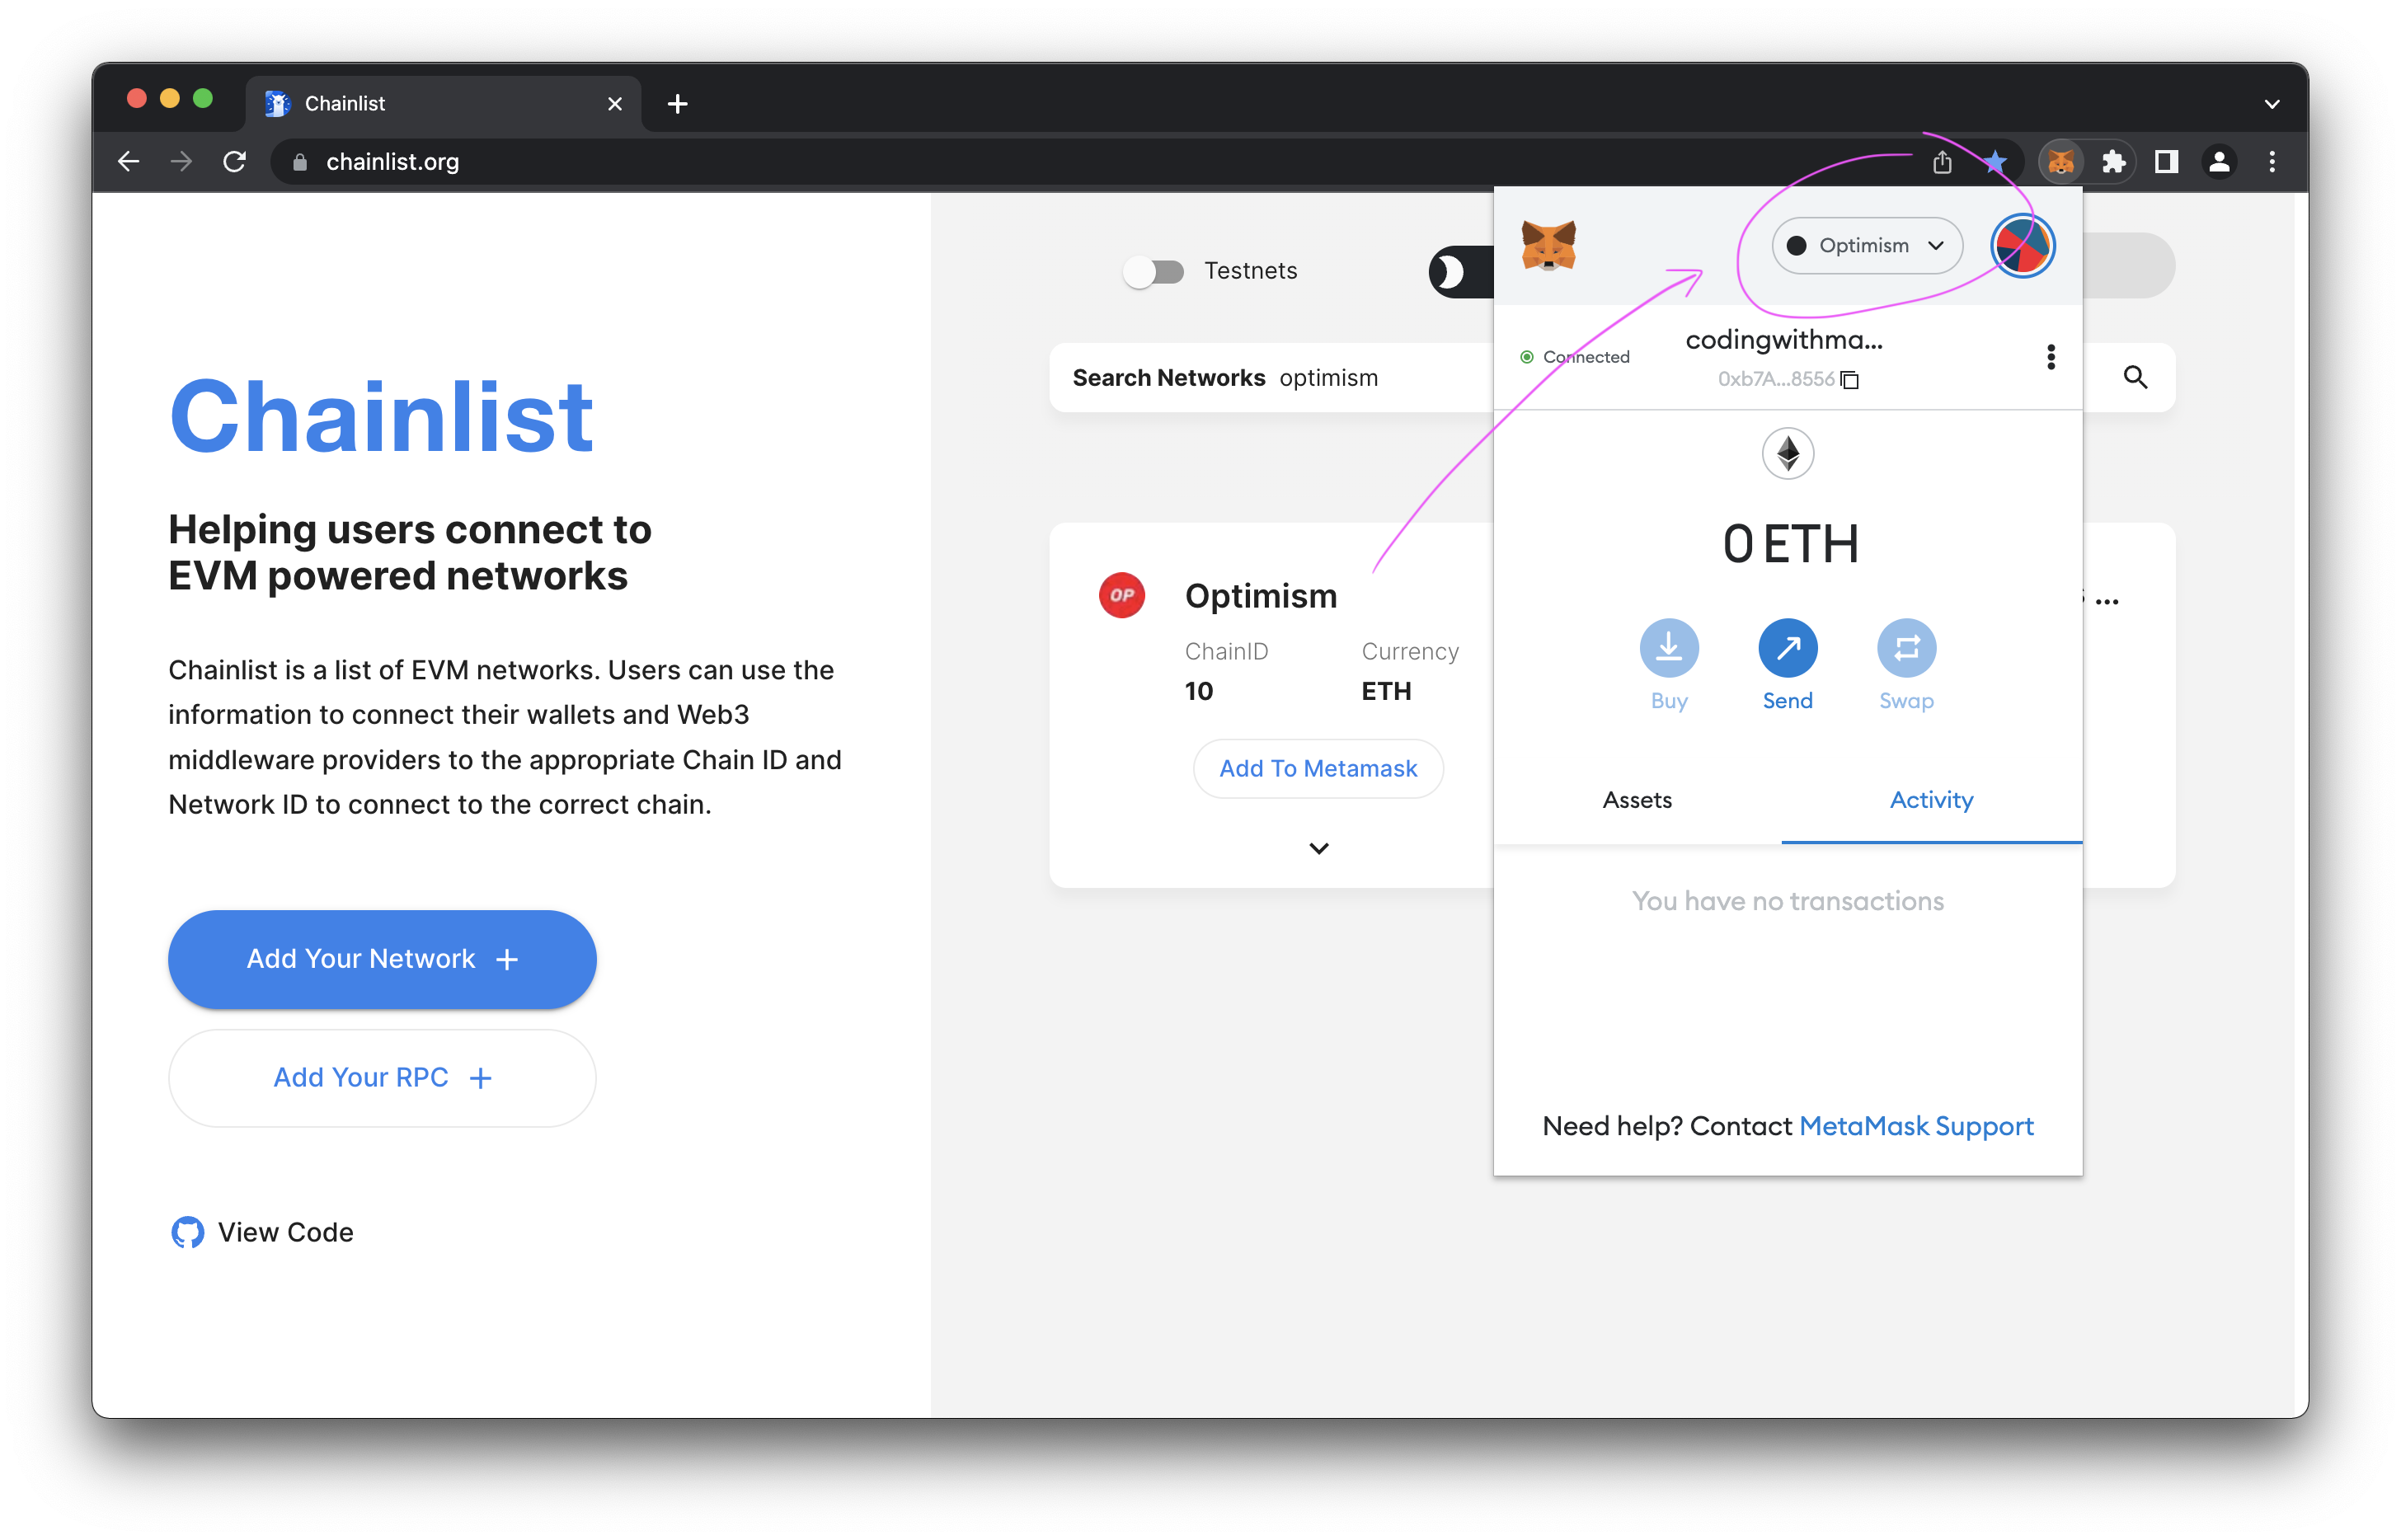
If you’re a developer or just want to play around with Optimism’s testnet, then you’ll be happy to see that Chainlist.org has an option for testnets, and in this case you can use Optimism’s Kovan testnet network to add to your wallet.
Wait, How Do I Get Testnet Optimism Tokens? Faucets
If you’re excited to use the Optimism Kovan testnet, then you’ll need to take an extra step of getting test tokens in your wallet to work with the Optimism testnet. Fortunately, Optimism docs have this covered in their docs on how to use Testnet Faucets to get Testnet Optimism Tokens in your Metamask wallet.
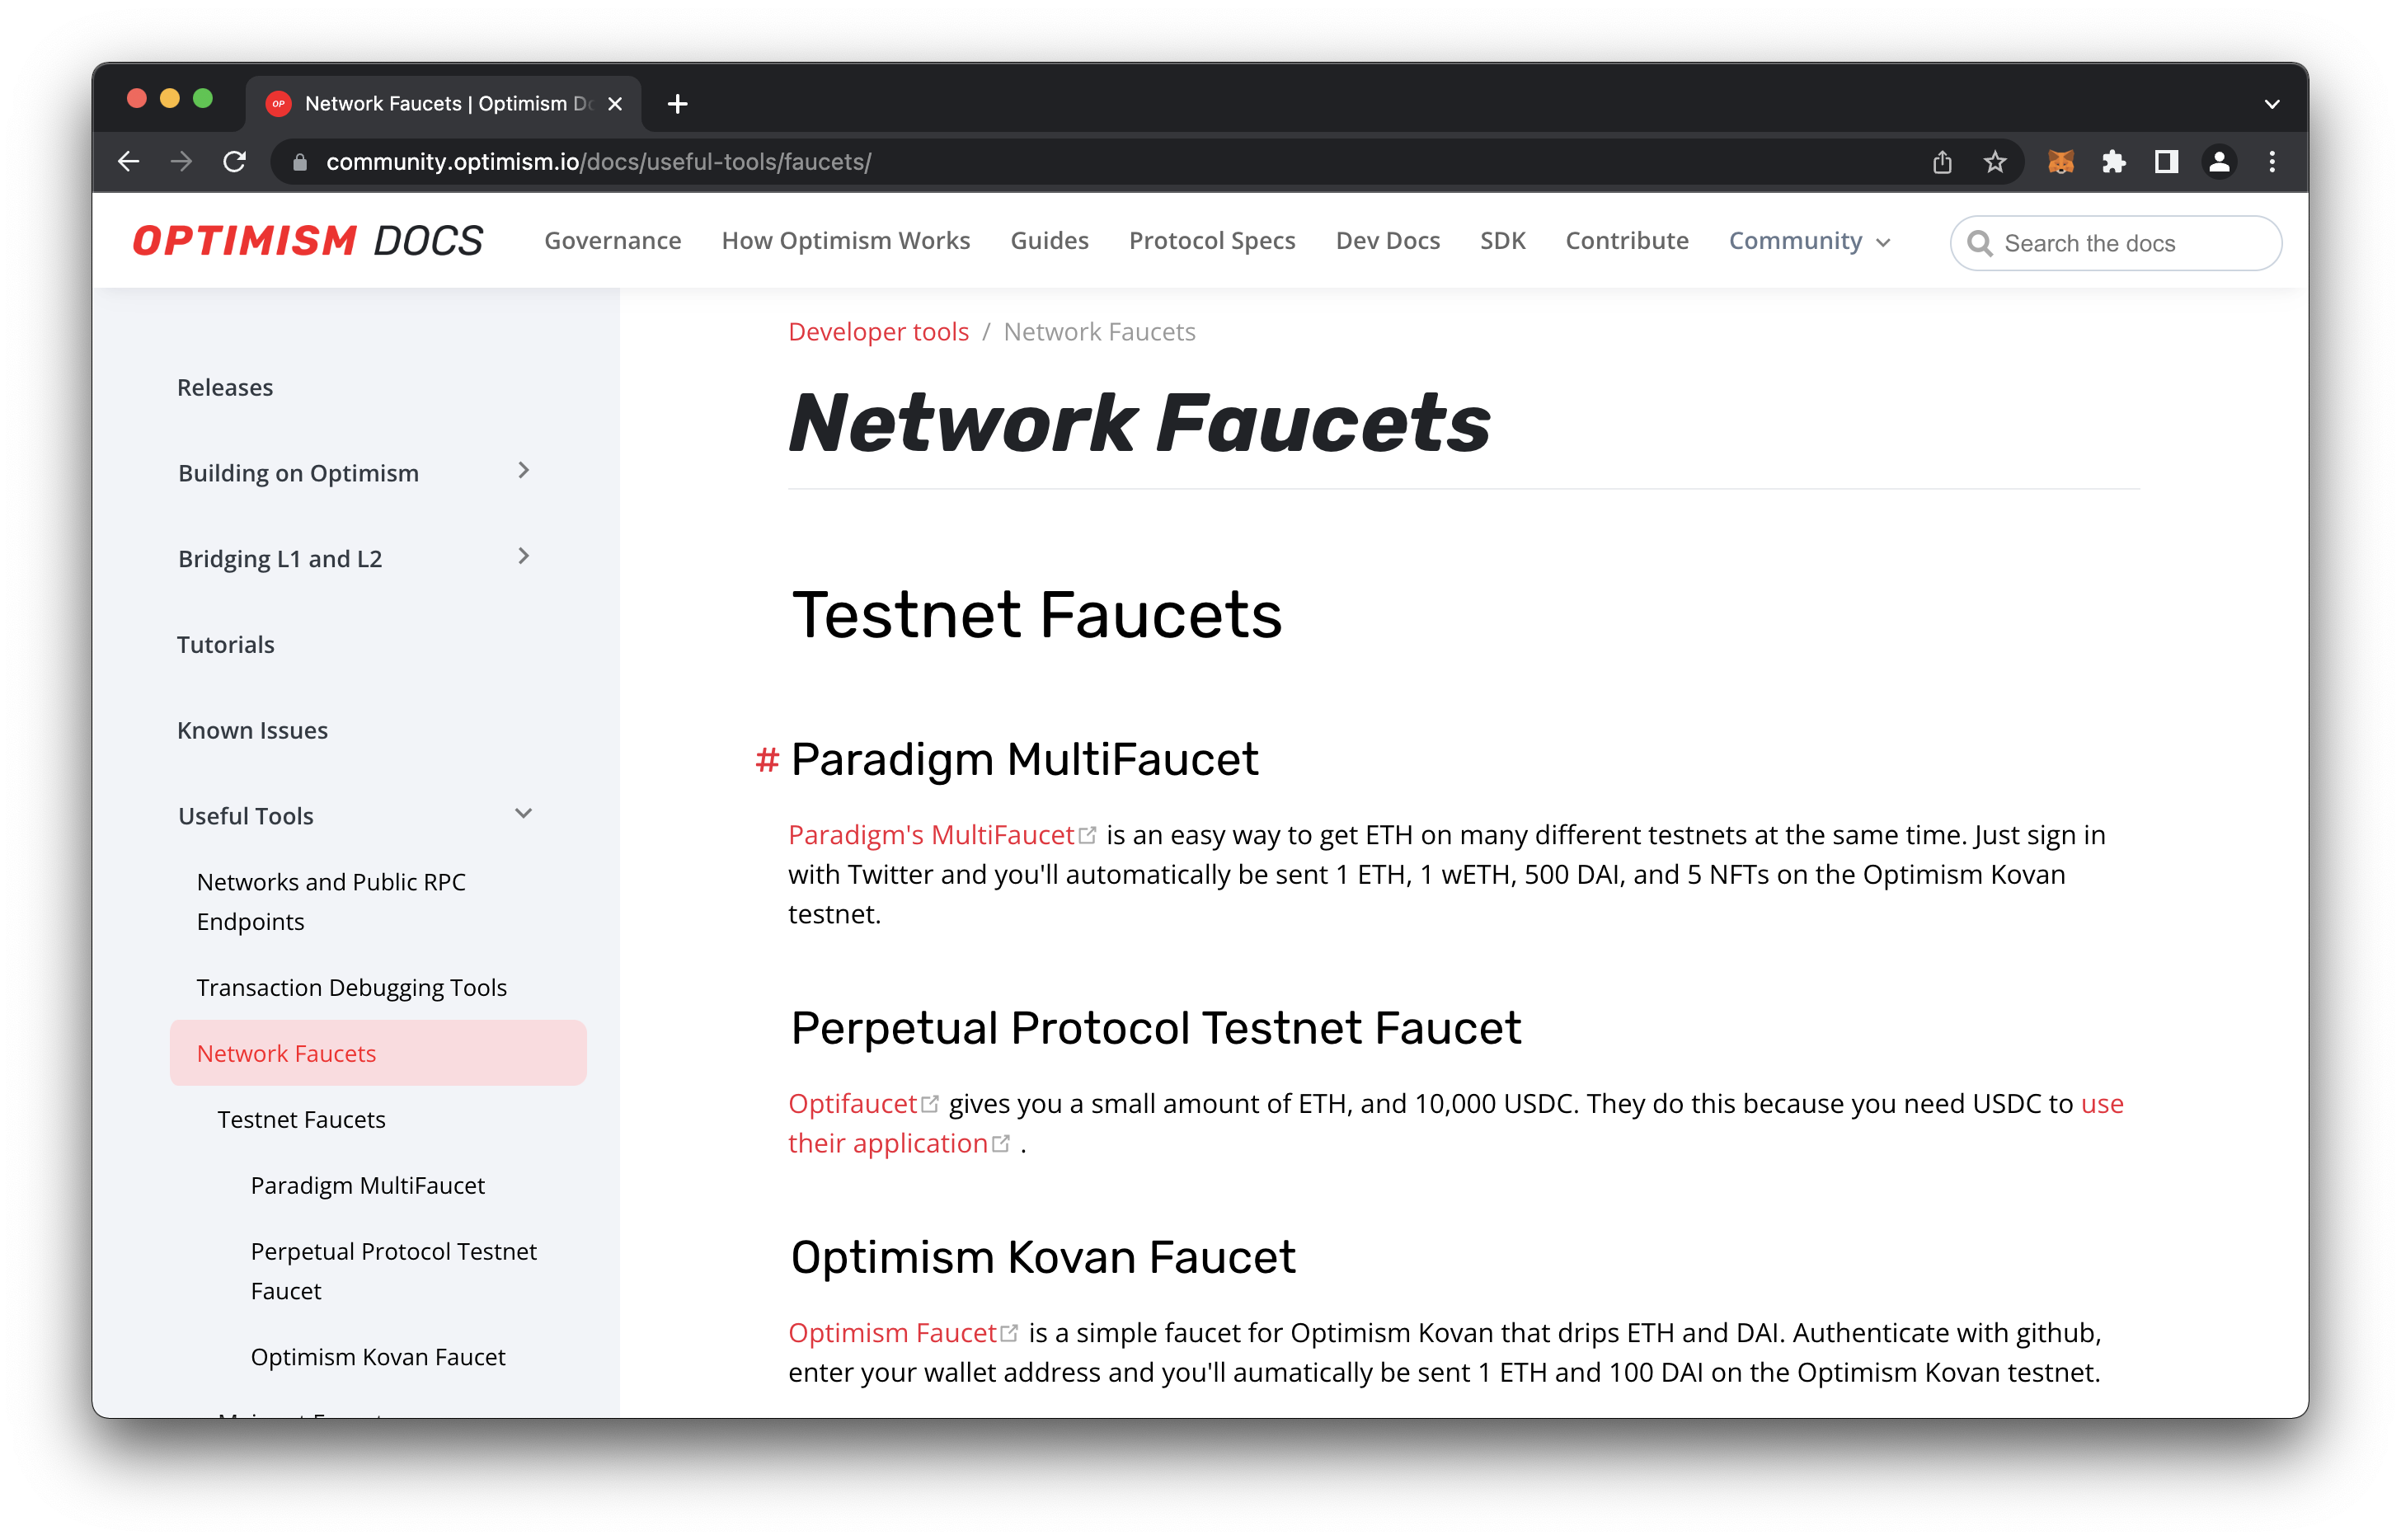
There are a few options, but we’ll be using Paradigm’s Faucet, and validate ourselves with our Twitter account to make the request for Optimism Testnet tokens.
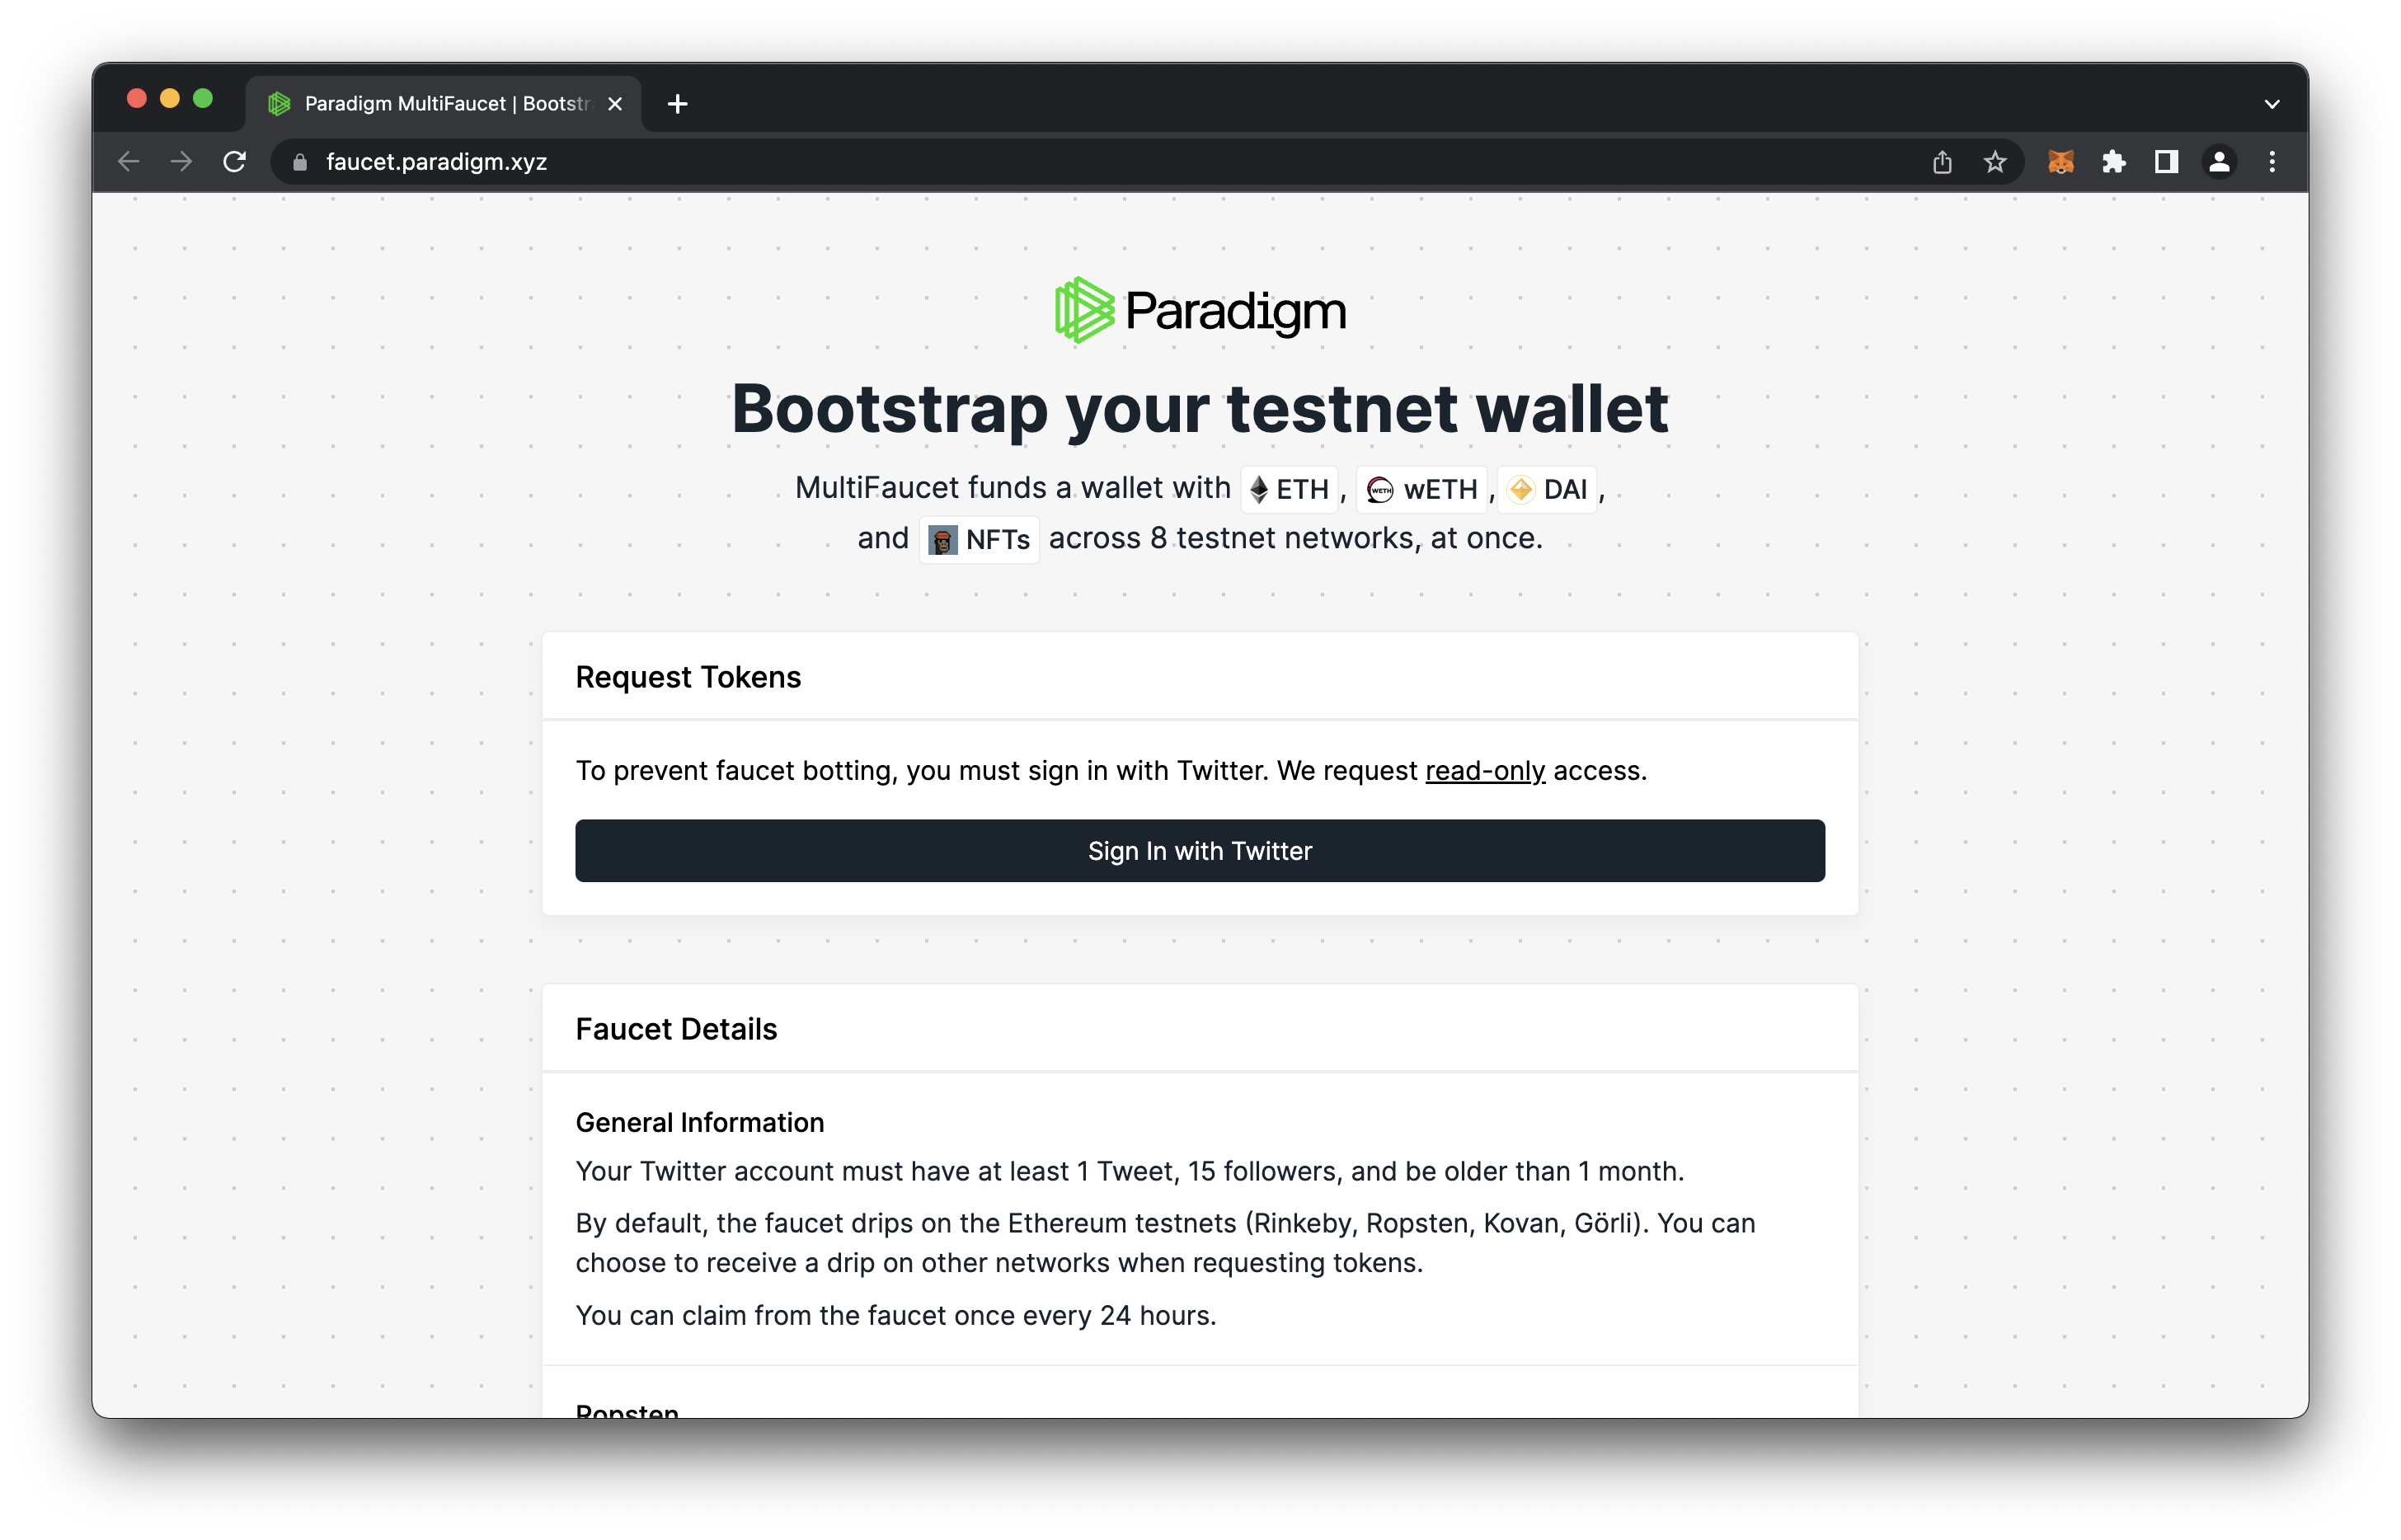
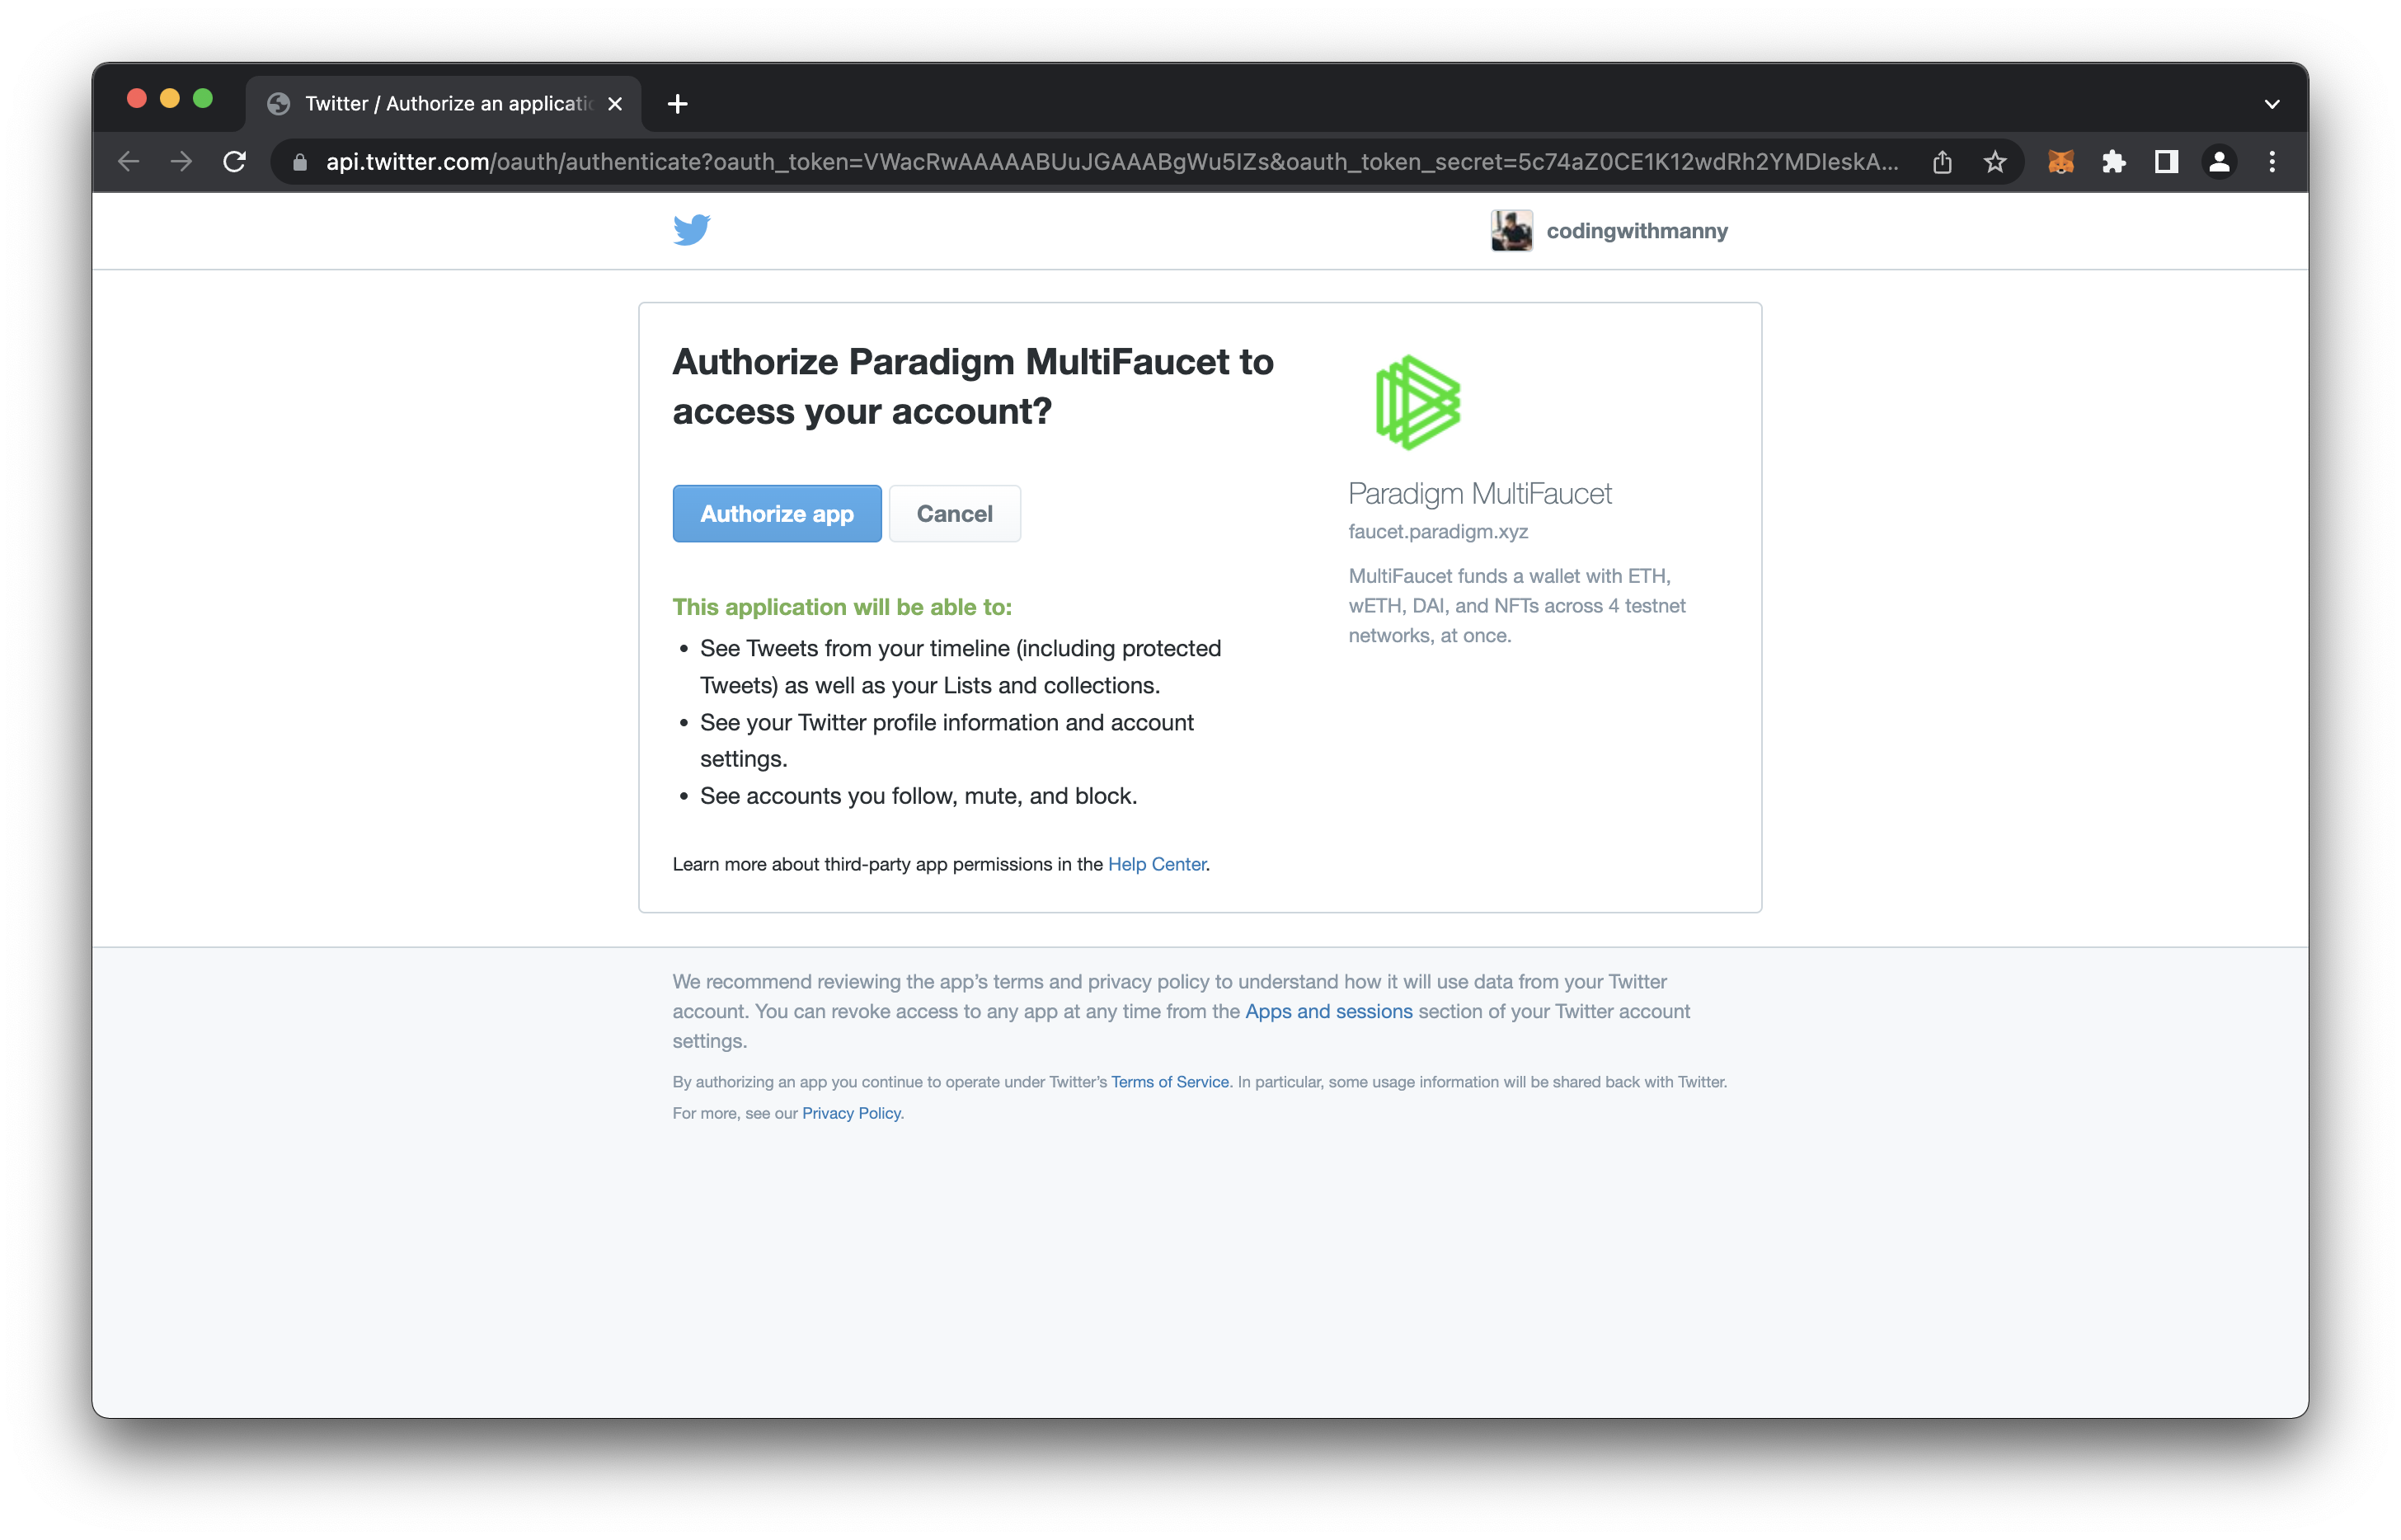
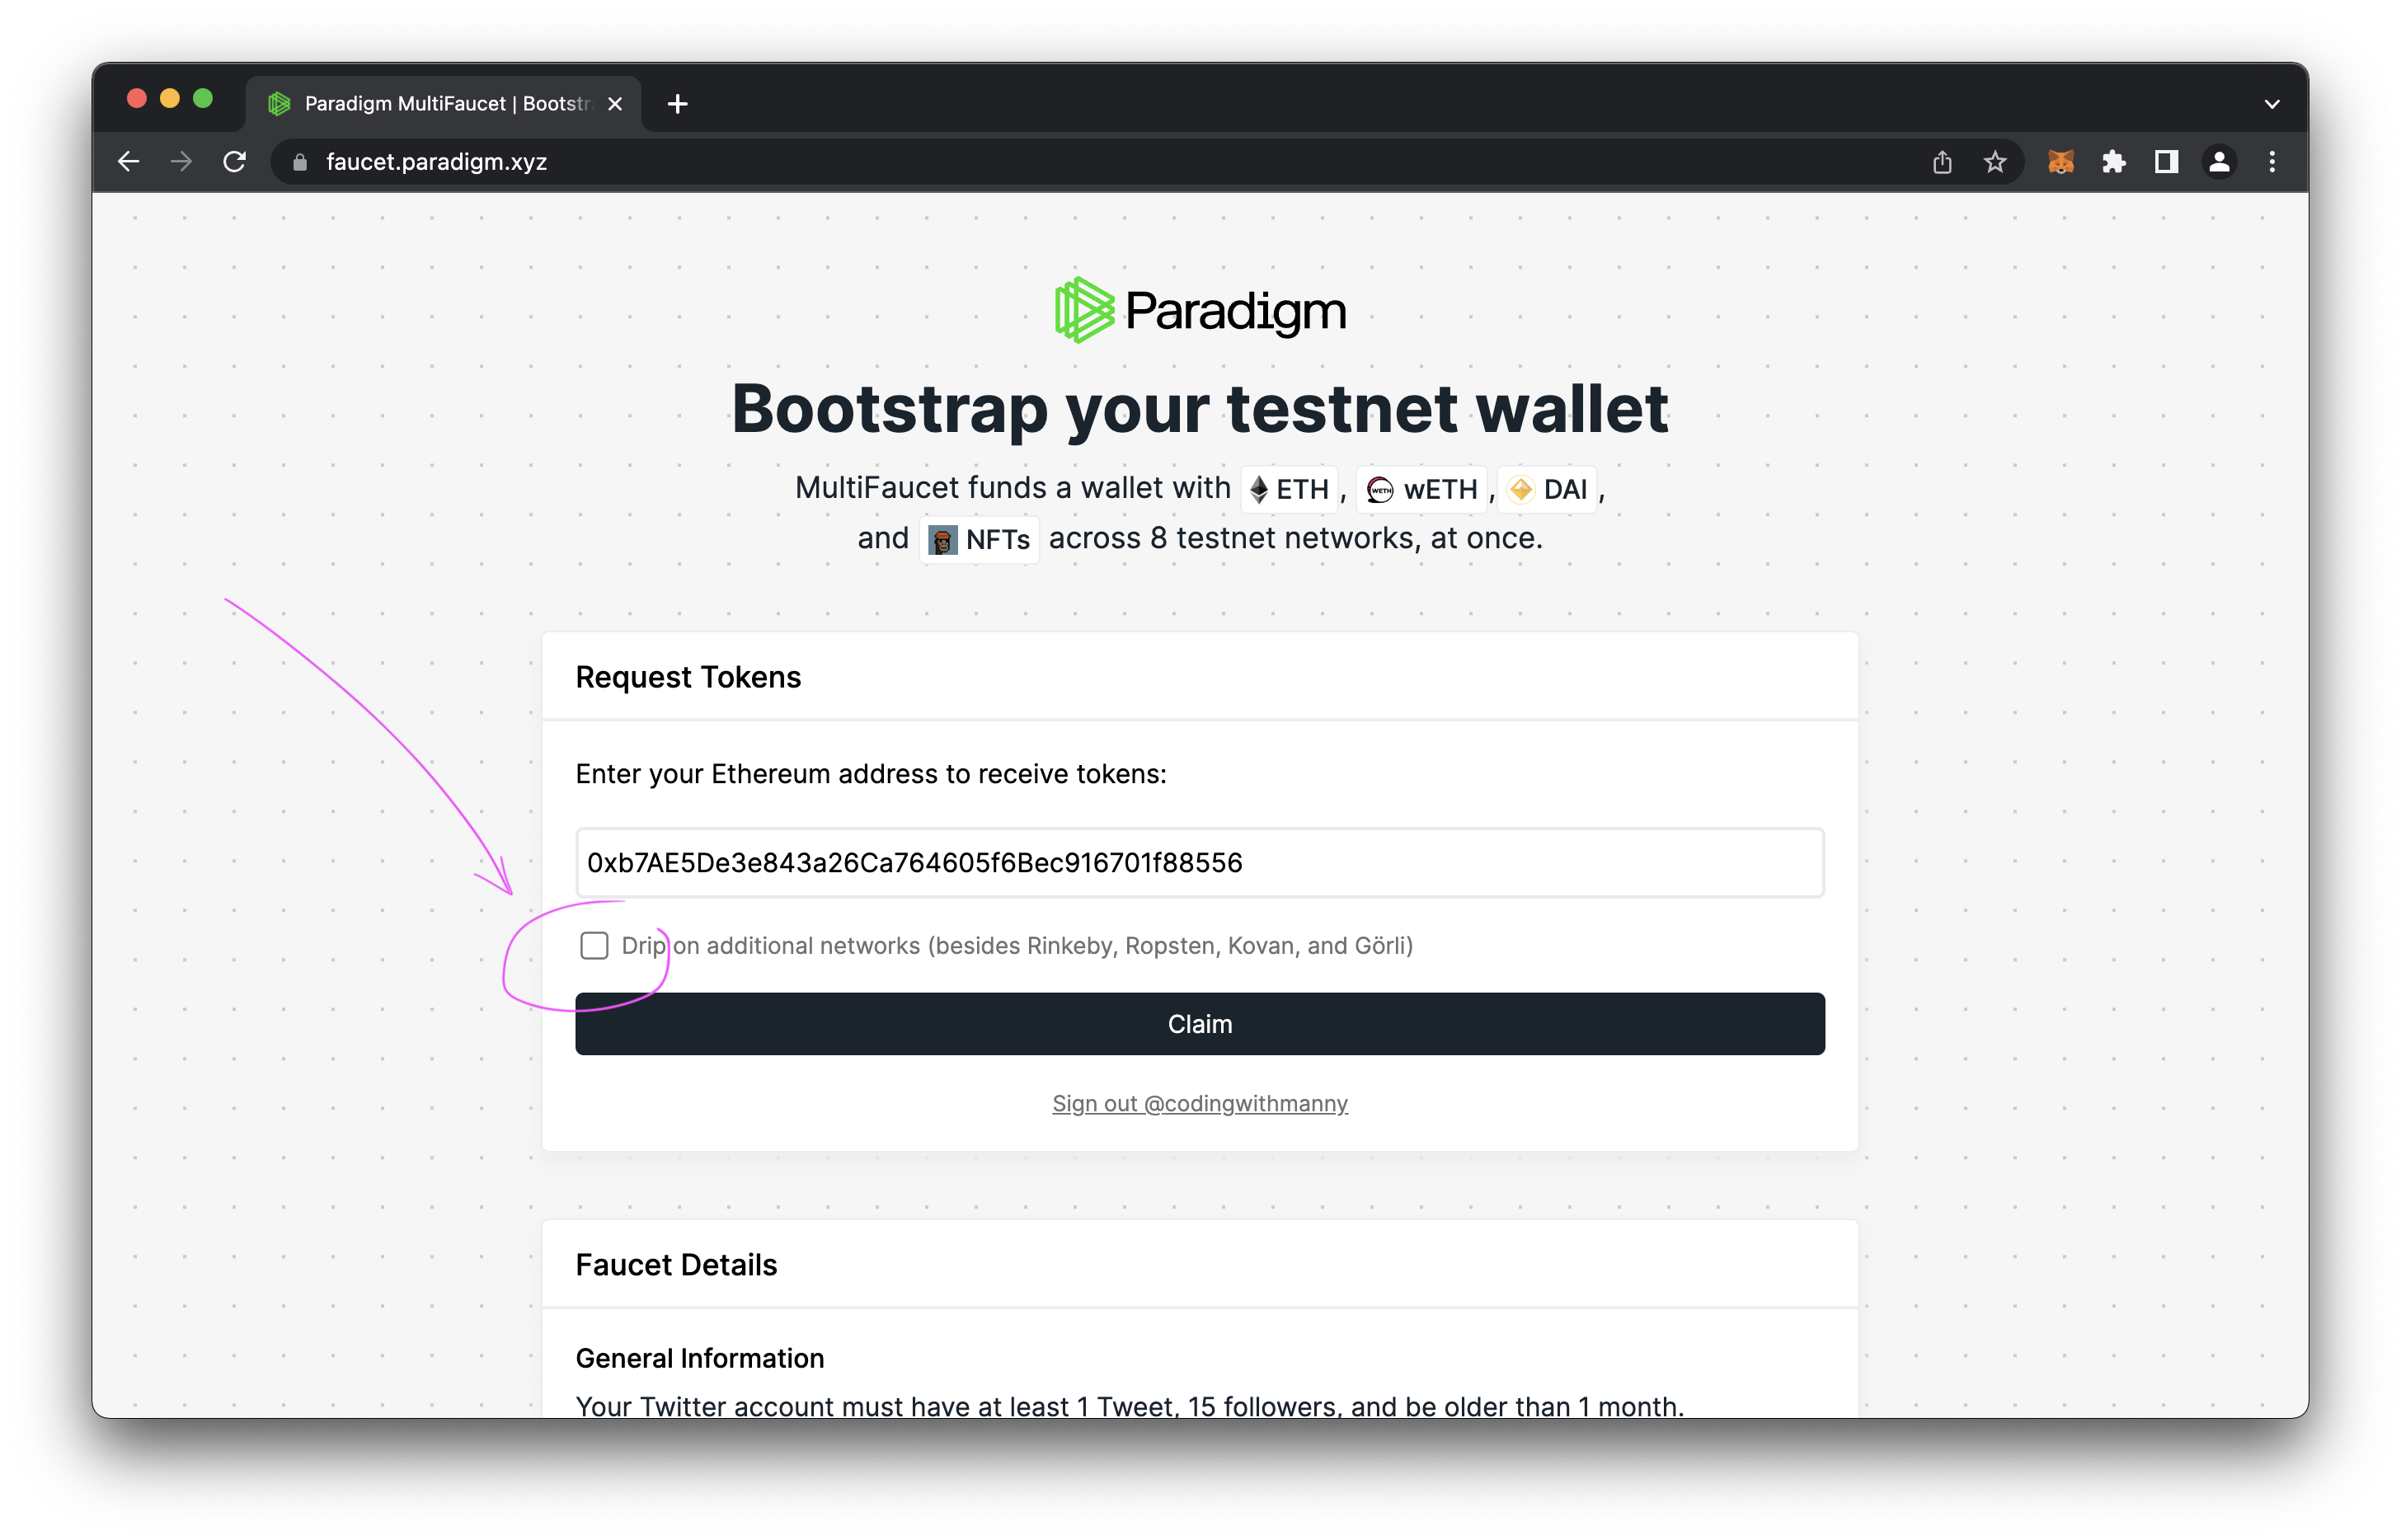
When authenticated with Twitter, MAKE SURE to click “Drop on additional networks”, enter your wallet address, and then click “Claim”.
ℹ️ NOTE: Don’t forget the checkbox, otherwise you’ll have to wait another 24 hours before they send you some more tokens.
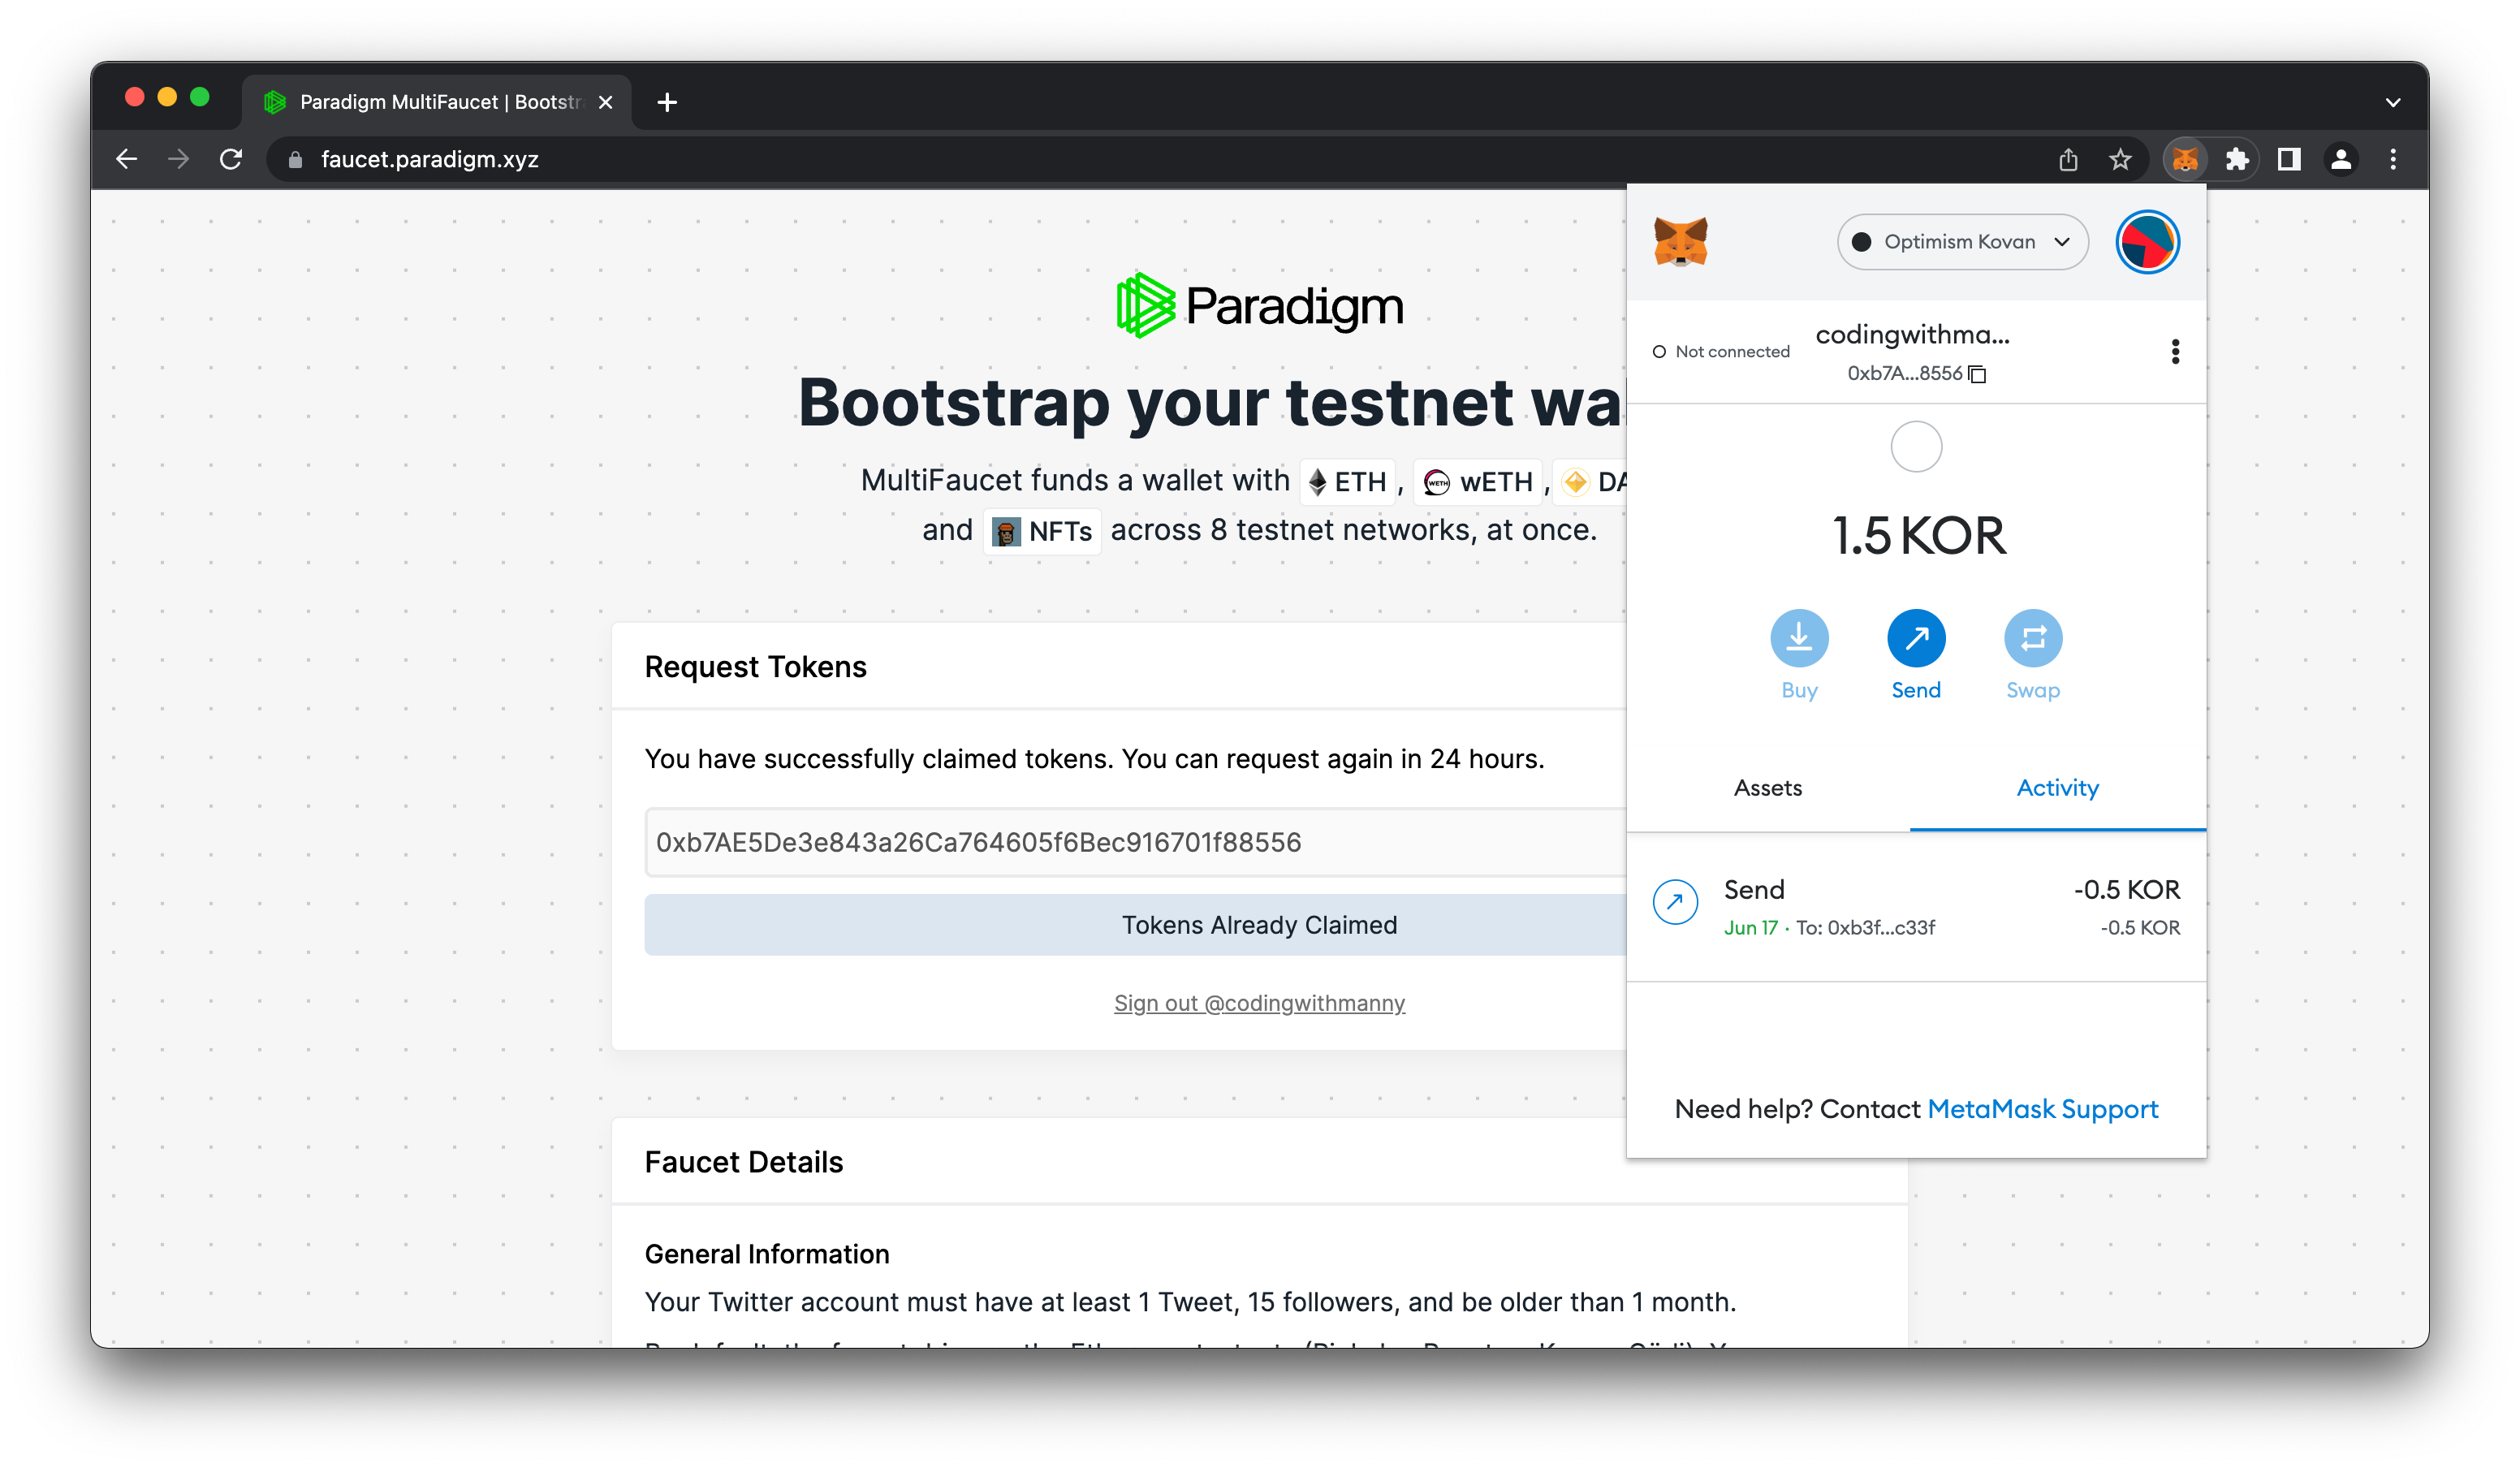
It should take a few minutes and then we should see the Optimism Kovan Testnet tokens in your wallet.
Bonus: Use A Specific Optimism RPC
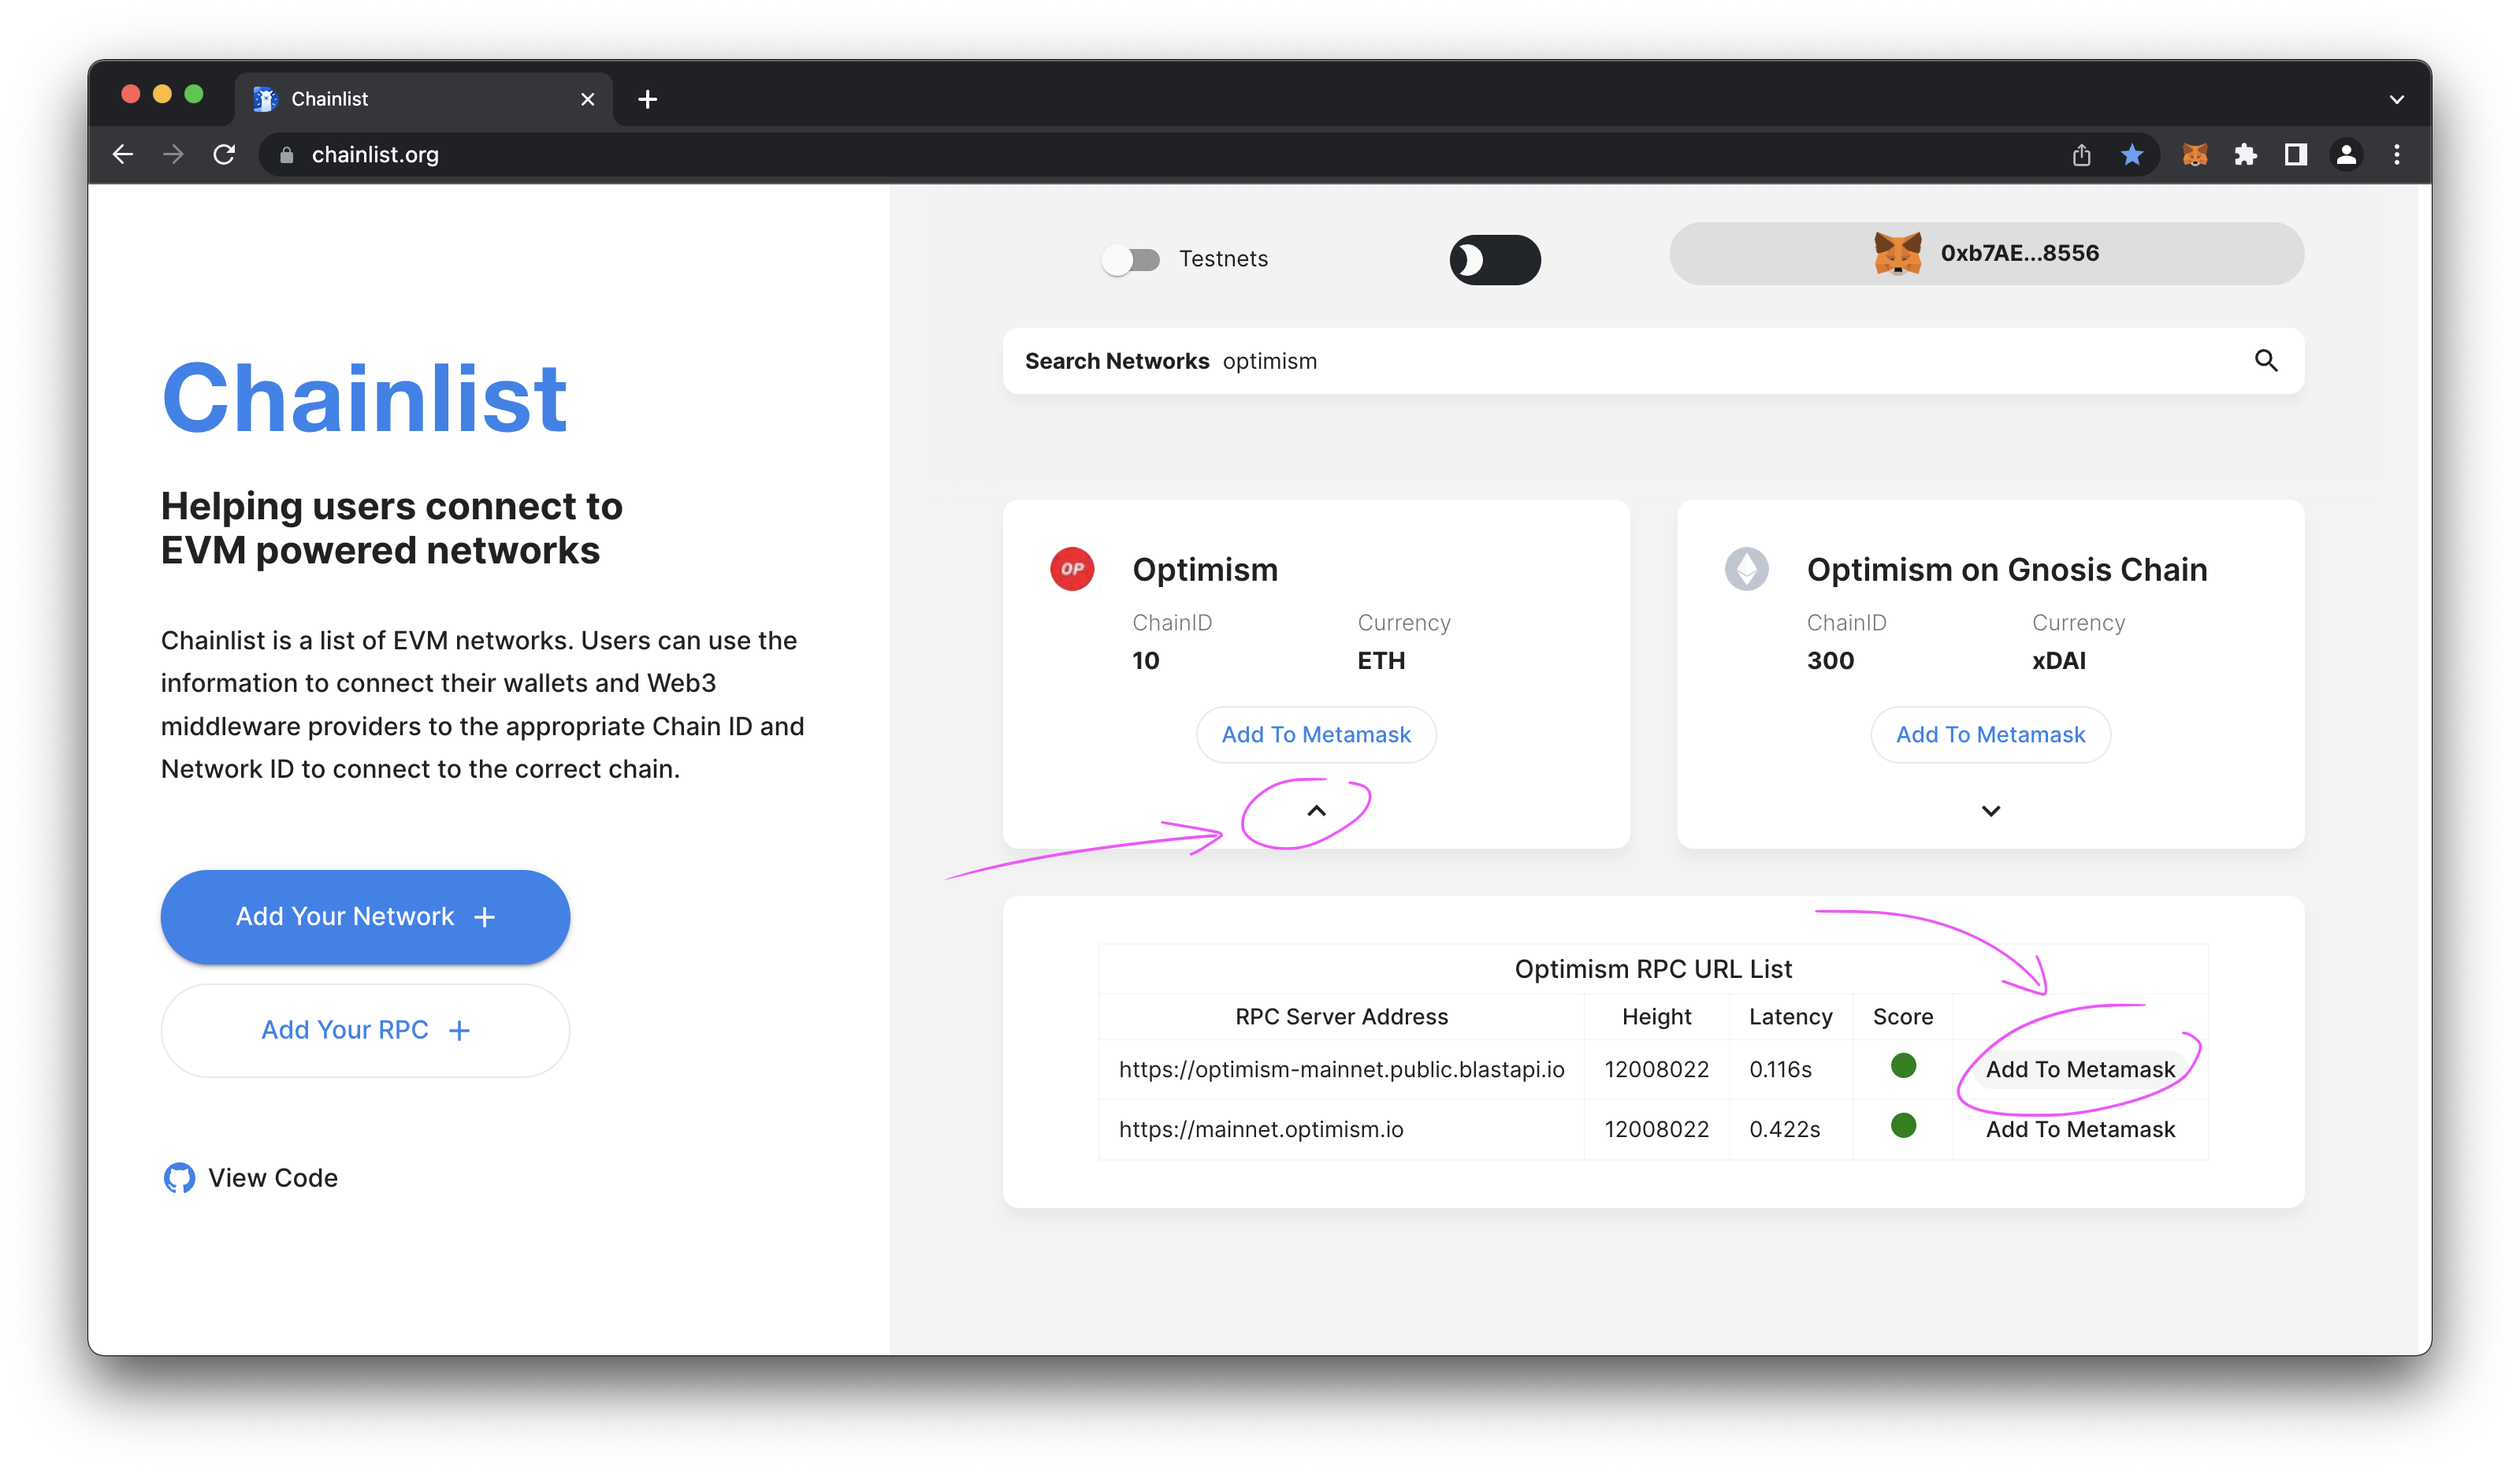
Did you know you could choose which Remote Procedural Call (RPC) provider you’d like to add to your wallet? The benefit of this is that some RPC providers offer faster service and other benefits. To do this, simply search for the chain network you’d like to add on Chainlist.org and click the arrow at the bottom of that chain to see the different options.
Where To Go From Here?
Now that you have your Optimism mainnet and testnets setup on your wallet, the next step would be to start building on top of this EVM chain. If you’d like to know how to build and deploy an ERC-20 token on top of Optimism, then I recommend reading my tutorial.
If you’d like to know how you can contribute to Chainlist.org, then I recommend reading How To Contribute RPC Endpoints To Chainlist.org.
If you got value from this, please like it, heart it, fire it, all of the emojis, and please also follow me on twitter (where I’m quite active) @codingwithmanny and on the Developer DAO Discord as codingwithmanny :).
Subscribe to my newsletter
Read articles from Manny directly inside your inbox. Subscribe to the newsletter, and don't miss out.
Written by

Manny
Manny
DevRel and developer with nearly 13+ YOE in the industry. I write, I tweet, I laugh, I cry, and I make videos.