How to implement a video call app using iOS CallKit and ZEGOCLOUD
 DavidRelo
Introduction
CallKit is a new framework introduced by Apple on iOS10 in 2016 to improve the VoIP experience.
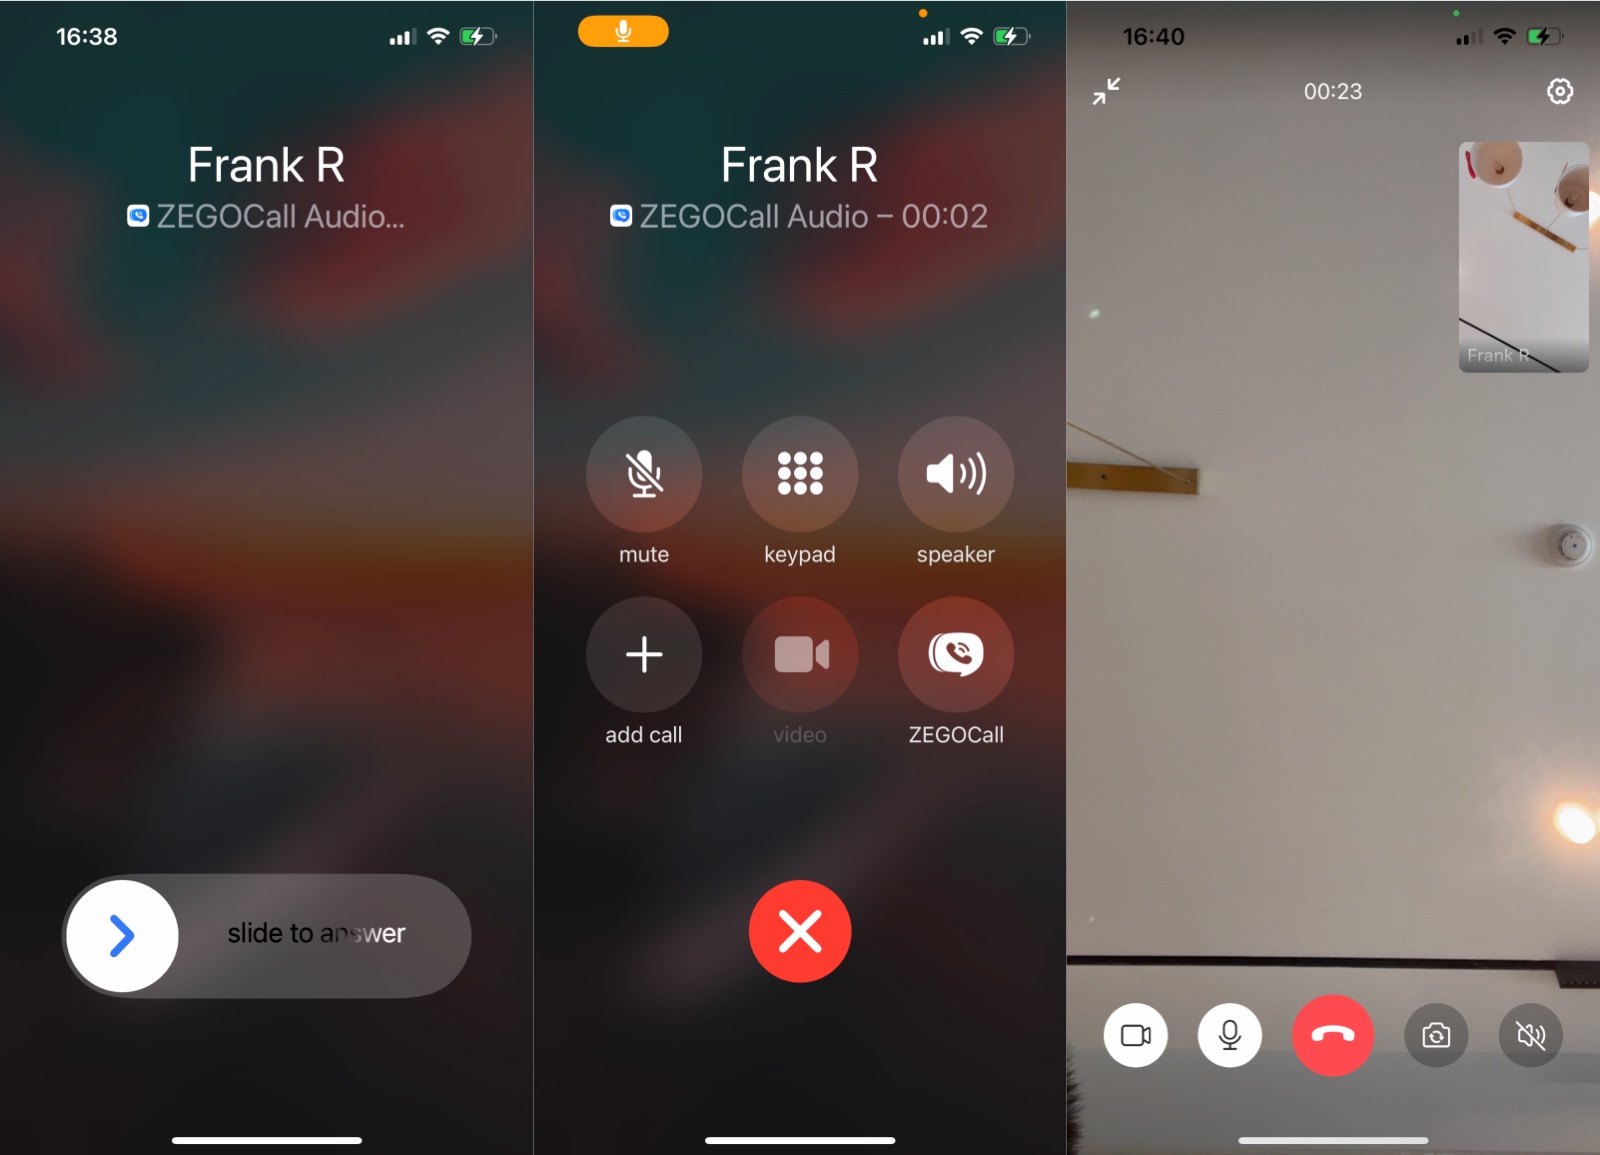
This article will explain how to use CallKit and ZEGOCLOUD to build a Video Call App with a native calling experience.

What is ZEGOCLOUD?
ZEGOCLOUD is a global cloud communication service provider that was founded in June 2015.
It provides high-quality audio/video communication and IM services for more than 4,000 clients around the world.
What is CallKit?
CallKit is a framework that aims to improve the VoIP experience by allowing apps to integrate with the native phone UI. By adopting CallKit, your app will be able to:
- Use the native incoming call screen in both the locked and unlocked states.
- Start calls from the native phone app’s Contacts, Favorites, and Recents screens.
- Interplay with other calls in the system.

CXProvider
Your app will use CXProvider to report any out-of-band notifications to the system. These are usually external events, such as an incoming call.
When such an event occurs, CXProvider creates a CXCallUpdate to notify the system.
CXCallUpdate
CXCallUpdate is used to encapsulate new or changing call-related information. The properties included in this class are:
- Caller's name
- whether a call is video or audio-only.
CXAction
CXAction is an abstract class that represents the phone's action. For different action, CallKit will provide different CXAction implementations.
For example, outgoing calls are represented by CXStartCallAction, and CXAnswerCallAction is used to answer incoming calls. Action is identified by a unique UUID.
When the system wants to notify the app that it has received an event, it will inform it in the form of CXAction.
The app communicates with CXProvider through CXProviderDelegate, this protocol defines the life cycle event methods of CXProvider, and calls CXAction.
CXCallController
Apps use CXCallController to let the system know about user-initiated requests, such as "call" actions. The biggest difference between CXProvider and CXCallController is that the job of CXProvider is to notify the system, while CXCallController makes requests to the user on behalf of the system.
CXCallController uses transactions when making requests. Transactions are represented by CXTransaction, which contains one or more CXAction instances. CXCallCotroller sends the transaction to the system, and if everything is OK, the system will respond with the corresponding CXAction to the CXProvider.
Incoming Calls
The following will explain how to use CallKit to implement the Incoming Call function.

When an incoming call comes in, the App will create a
CXCallUpdateand send it to the system throughCXProvider.The system will issue an
incoming callto its service.When the user answers the call, the system will send a
CXAnswerCallActionto theCXProvider.App can respond to this animation by implementing the corresponding
CXProviderDelegateprotocol method.
ProviderDelegate
Create a ProviderDelegate.swift file in your project and add the following code:
ProviderDelegateneeds to deal withCXProviderandCXCallController, so keep two references to both.Initialize
CXProviderwith aCXProviderConfiguration, which will be defined as a static property later.CXProviderConfigurationis used to define the behavior and capabilities of the call.To be able to respond to events from
CXProvider, you need to set its delegate.In this app,
CXProviderConfigurationsupports video call, and phone number handling, and limits the number of call groups to 1. For more customization, please refer to the CallKit documentation.
Just below the configuration, add the following helper method:
This utility method allows the App to report an incoming call through the CXProvider API. The code is explained as follows:
Prepare to report a
call updateevent to the system, which contains all call-related metadata.Call the
reportIcomingCall(with:update:completion:)method ofCXProviderto notify the system of an incoming call.
CXProviderDelegate
The next step is to ensure protocol conformance. Still in ProviderDelegate.swift, declare a new extension to conform to CXProviderDelegate:
CXProviderDelegate specifies only one required method, providerDidReset(_:). The provider invokes this method when reset, giving your app the opportunity to clean up any ongoing calls and revert to a clean state. In this implementation, you’ll terminate the ongoing audio session and dispose of any active calls.
Open AppDelegate.swift and start by adding a new property to the class:
This method lets other classes access the provider delegate’s helper method.
The final piece of the puzzle is hooking up this call to the user interface. Open CallsViewController.swift, which is the controller for the main screen of the app. Find the empty implementation of unwindForNewCall(_:) and replace it with the following code:
- Extracts the properties of the call from NewCallViewController, which is the source of this unwind segue.
- The user can suspend the app before the action completes, so it should use a background task.
Ending the Call
Next, I will explain how to end a call. This App will support two ways to end a call:
- The native interface ends the call.
- End the call in the app.

Notice the difference between steps A and B. When the user ends the call from the in-call screen (A), the system automatically sends a CXEndCallAction to the provider.
However, if you want to end a call using Hotline (B), it’s your job to wrap the action into a transaction and request it from the system. Once the system processes the request, it will send the CXEndCallAction back to the provider.
CXProviderDelegate
However it supports ending calls, your app has to implement the necessary CXProviderDelegate method for it to work. Open ProviderDelegate.swift and add the following implementation to the class extension:
Now add the following methods to the class:
- Create a
CXEndCallAction. Pass in the call’sUUIDto the initializer so it can be identified later. - Wrap the action into a transaction so you can send it to the system.
- Invoke
request(_:completion:)from the call controller. The system will request that the provider perform this transaction, which will in turn invoke the delegate method you just implemented.
Sign up with ZEGOCLOUD, get 10,000 minutes free every month.
Did you know? 👏
**Like**, **Follow**, **share** is the biggest encouragement to me

**Follow me** to learn more technical knowledge

Thank you for reading :)
Learn more
This is one of the live technical articles. Welcome to other articles:
Subscribe to my newsletter
Read articles from DavidRelo directly inside your inbox. Subscribe to the newsletter, and don't miss out.
Written by

DavidRelo
DavidRelo
BUILD REAL-TIME ENGAGEMENT INTO YOUR APPS