Connect your android device using Wi-Fi on VS Code
 Taiwo Farinu
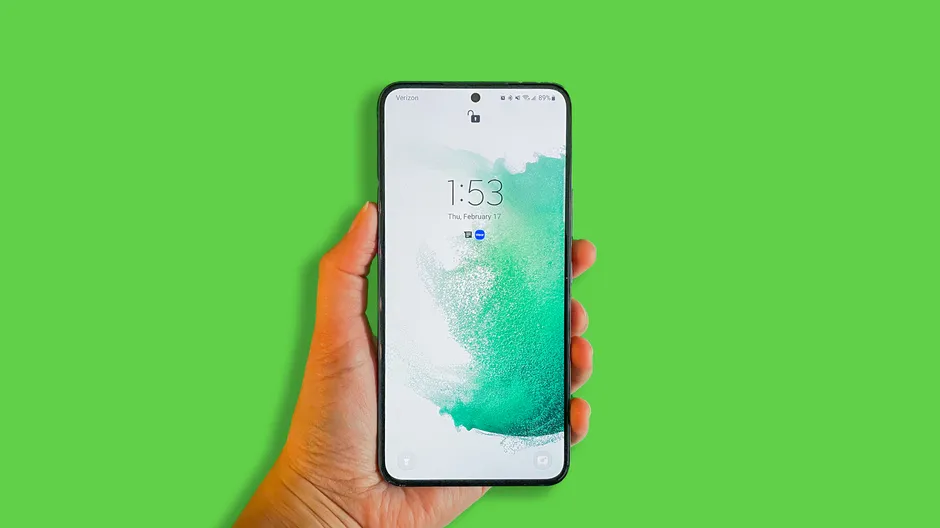
For mobile developers building an Android app, it's important that you always test your app on a real device (phone, tablet) before releasing it to users.
Connecting your device through a USB cord when running your app can be stressful when you are using the device for other things like checking other apps and changing music or charging your device (if it is low). All of these can cause the USB to detach from the device and you will need to connect and run it again when the device is detached.
This solution is too simple, in my opinion. Once your device has been connected to a USB port, you can allow Wi-Fi to maintain the connection.
Android Debug Bridge (ADB) connection is used to connect our Android smartphone to our PC.
Set up a device for development
To set up a device for development read this
Connect to your device using USB
You should already be aware that a USB cable is necessary.
Check you have Android studio installed on your PC and your have installed the SDK Platform Tools.
Verify that your device is connected by running the adb devices command from your android_sdk/platform-tools/ directory. If connected, you'll see the device listed
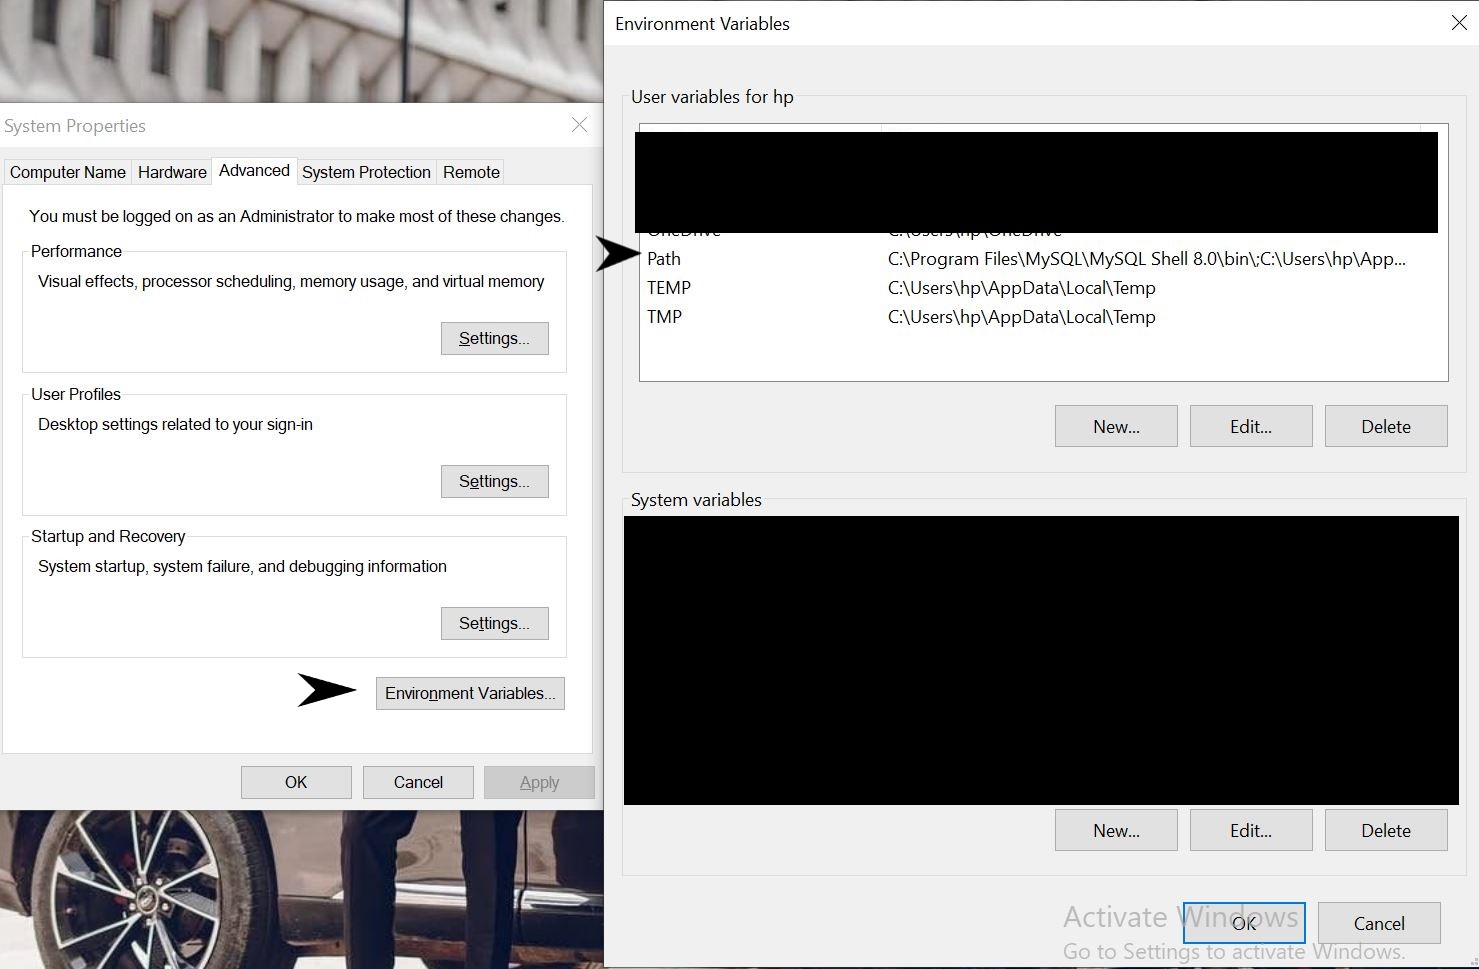
Make sure the platform-tools directory is present in your environment variable. Adding the directory is required if not.
For flutter developers, before running your app, check if flutter doctor is working correctly.
Connect to your device using Wi-Fi
Ensure that your workstation or PC and device are connected to the same wireless network. This wireless network can be established by sharing your PC's hotspot with your android device or vice-versa.
Install extension
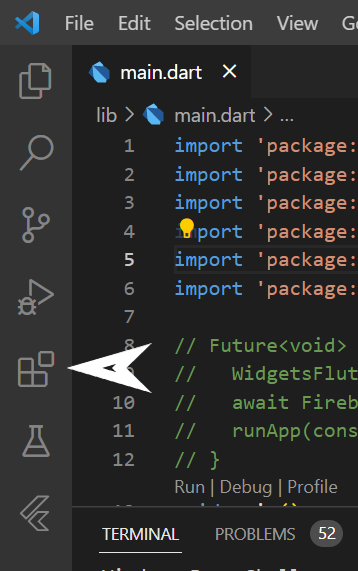
Click on the extension tab in the left area on VS Code.

Search for
Android ADB WLANby deskbtm (developer name). Install the extension.Restart your VS Code. The extension added beside the
run buttonon your VS Code.Click on the icon and select the android device name you want to connect.
- Select the number by pressing
Enter, - Select the prompted
IP addressof the WIFI your PC is connected to by pressingEnter. - Connect successfully
- Unplug your device and enjoy!
If there is any issue restart the adb by using the extension button and follow the process again.
Thanks for reading. Don't forget to share.
Subscribe to my newsletter
Read articles from Taiwo Farinu directly inside your inbox. Subscribe to the newsletter, and don't miss out.
Written by

Taiwo Farinu
Taiwo Farinu
I am a software engineer who build mobile apps. I also write articles on android, flutter, DSAs


