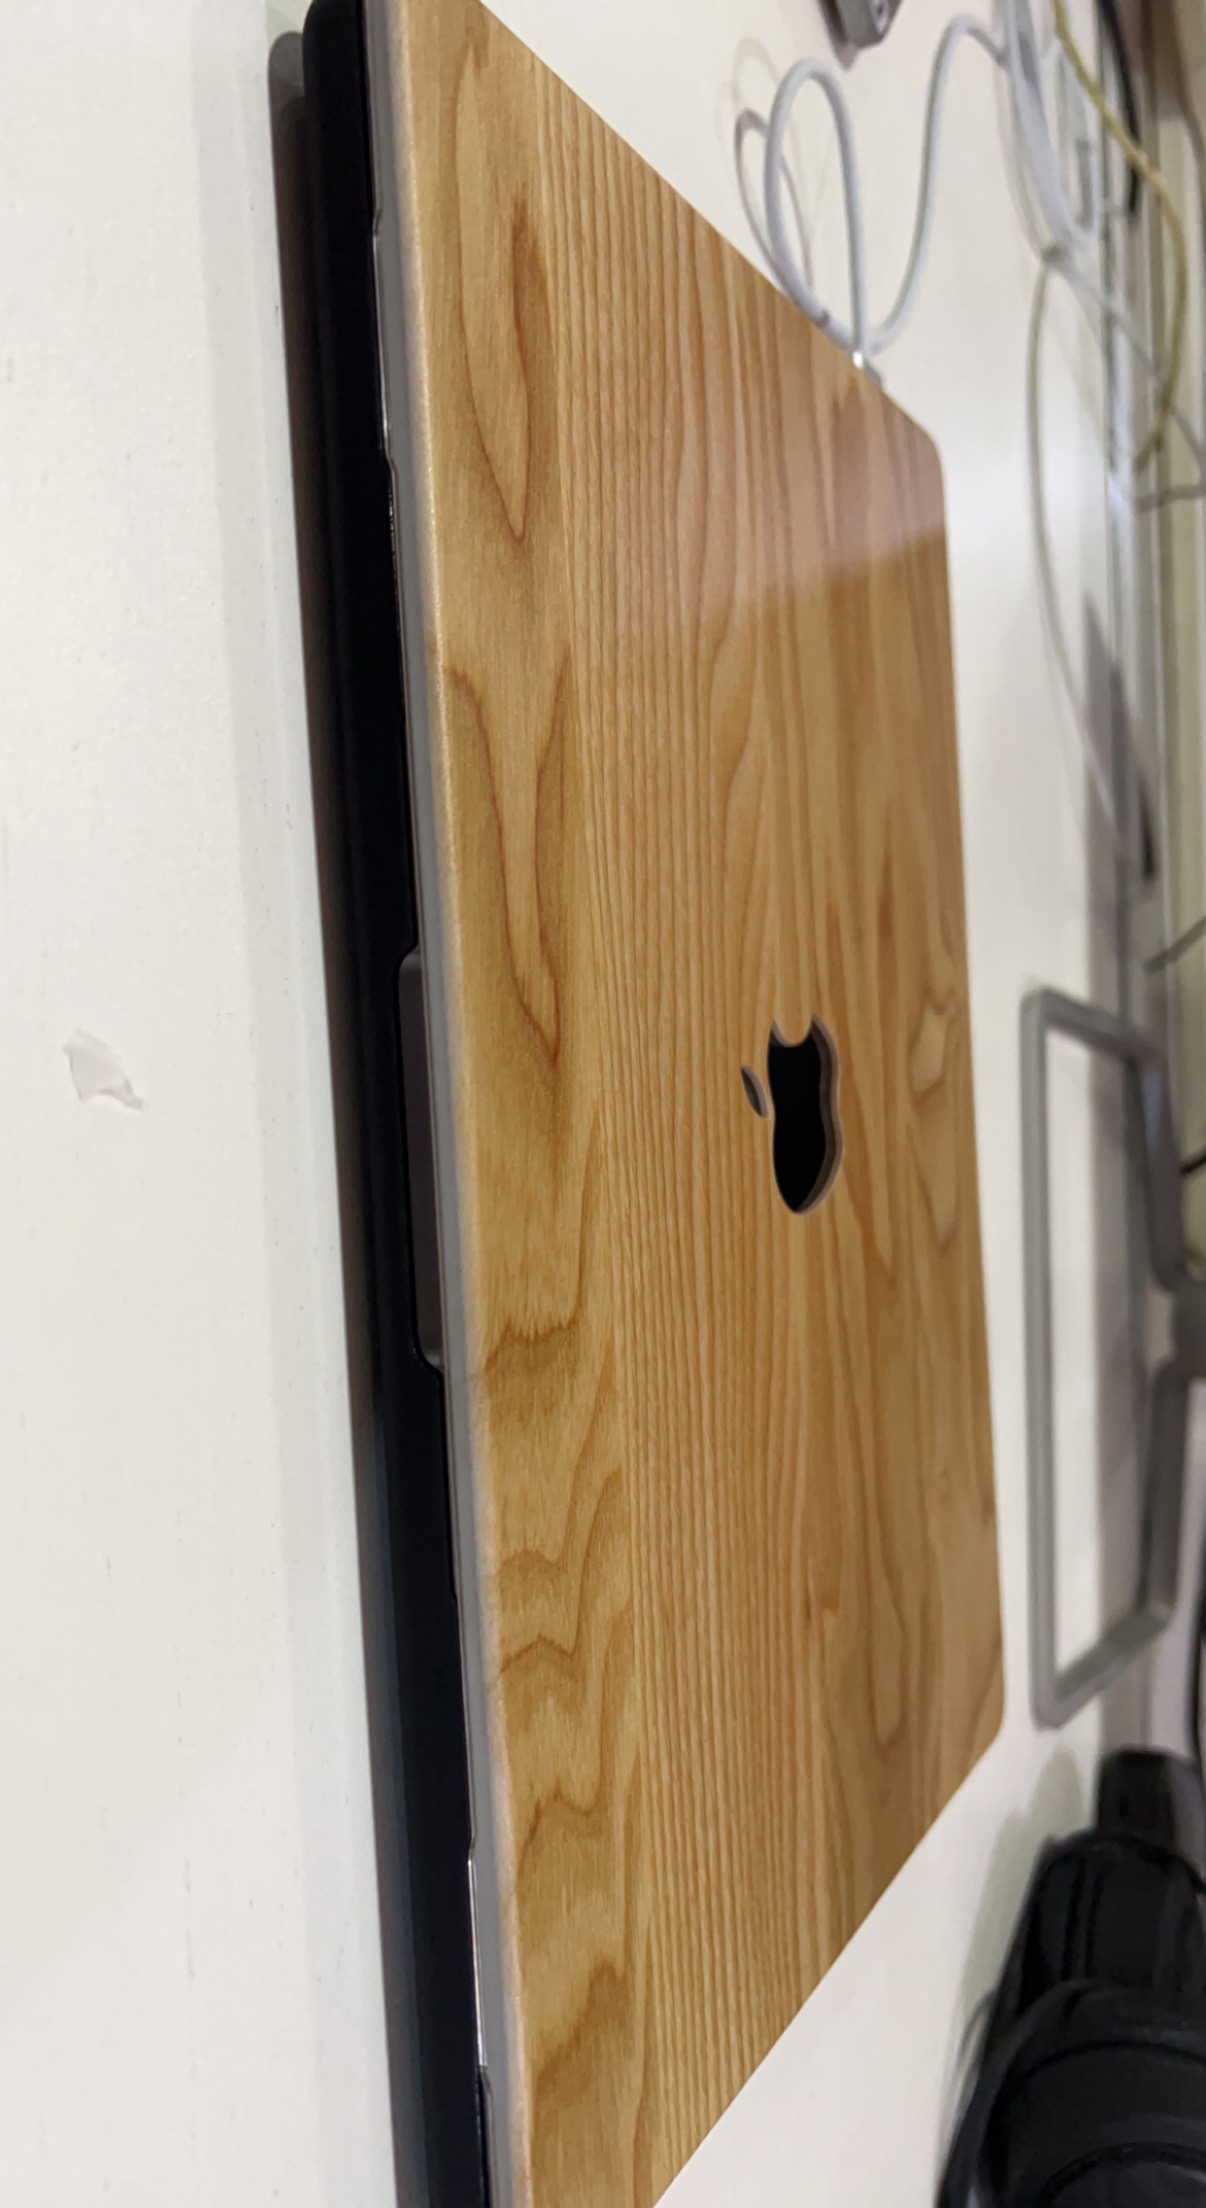
Step by Step Setup MacBook M1 pro Chip for Javascript developers
 Micheal Adisa
This piece is not an article per se. It's a step by step process I went through setting up my MacBook Pro 2021 M1 pro chip.
Also note this article is not intended to mean that this is the only way it can be done, this is just a documentation of my process which I feel can be useful or helpful to others out there.
- Install brew
To install brew which will mostly be used to install other packages, run the following command on your terminal.
Note: run the below command without the preceding $.
$ /bin/bash -c "$(curl -fsSL https://raw.githubusercontent.com/Homebrew/install/HEAD/install.sh)"
Homebrew supports the Mac M1 chip (Apple silicon) beginning with the release of Homebrew 3.0.0 in February 2021. On Apple silicon, Homebrew installs files into the /opt/homebrew/ folder, which is not part of the default shell $PATH. You'll need to configure your shell environment so Homebrew packages are found and take priority over pre-installed tools.
- Source: https://mac.install.guide/homebrew/index.html
- Install node
The first step in installing node is to get nvm installed.
Open up a new terminal window. Run the following command to see if a .zshrc profile exists or not:
ls -a
If you see .zshrc in the list, skip this step. Otherwise, that means you don’t have it, and you need to generate one by running the following command:
touch .zshrc
Now you have a .zshrc profile, which means you can get NVM. Proceed to enter this command on your terminal:
curl -o- https://raw.githubusercontent.com/nvm-sh/nvm/v0.39.1/install.sh | bash
Since this installation relates to your .zshrc profile, you need to run the following command to refresh the process:
source .zshrc
Now, you have NVM installed! Run the command nvm to confirm this.
After you've successfully installed nvm, the next thing is to get node installed on your computer
Run this command in your terminal window:
nvm install node
After which you run:
nvm use node
to start using node.
Confirm that node, nvm and nom is installed by running this commands one before the other:
node -v
npm -v
nvm -v
Pro tip: To use any of the the node versions, run nvm install [version-number] to install it then nvm use [version-number] to use it
Add on
If by any chance, you run into any error that prints zsh: bad CPU type in executable: node
Run the following command as this is a CPU related issue. Your MacBook CPU is Apple Silicon (M1).
You need update node version architecture on NVM:
softwareupdate --install-rosetta
Go ahead and install other packages and applications that are peculiar to your need :).
Thank you for reading to the end!
Subscribe to my newsletter
Read articles from Micheal Adisa directly inside your inbox. Subscribe to the newsletter, and don't miss out.
Written by

Micheal Adisa
Micheal Adisa
I am a software engineer and technical writer with experience in crafting great products. I craft products with excellent user experience.