Using Web3Modal with ReactJS
 Abiodun Awoyemi
This article will give you a step-by-step guide on how to use a single provider solution for multiple wallets for your decentralized application. You can connect multiple wallets such as metamask, coinbase wallet, etc using web3modal library.
Web3Modal is an easy-to-use library to help developers add support for multiple providers in their apps with a simple customizable configuration.
Setting up your react app
npx create-react-app dappwallet
Next step is to change into the directory
cd dappwallet
Then start the app with
npm run start
This will be the result that you get.
Setting up Web3Modal and Wallet Provider Options
Install Web3Modal and your preferred Ethereum library. For this tutorial, I will be using ethers.js
npm install web3modal ethers
Install the wallet provider options. Wallet providers are not limited to the providers I used in this article, you can use any wallet provider of your choice.
npm install @coinbase/wallet-sdk @walletconnect/web3-provider @burner-wallet/burner-connect-provider
Create a provider.js, this is where we will have all our wallet provider options. In your provider.js import the wallet providers installed. By default, Web3Modal includes a Metamask wallet.
import CoinbaseWalletSDK from "@coinbase/wallet-sdk";
import WalletConnect from "@walletconnect/web3-provider";
import BurnerConnectProvider from "@burner-wallet/burner-connect-provider";
Each Now, instantiate the wallet provider options. At this point, you will need your infura project ID saved in your .env file. Infura ID is a required parameter to pass into the wallet provider, the package name is also required. The darkMode is optional and the default is set to false, if you want to use a dark mode then you should set the darkMode to true.
export const providers = {
    walletlink: {
        package: CoinbaseWalletSDK, // required
        options: {
            appName: "My dApp Wallet Demo", // required
            infuraId: process.env.INFURA_KEY, // required
            darkMode: false // optional
        }
    },
    walletconnect: {
        package: WalletConnect, // required
        options: {
            infuraId: process.env.INFURA_KEY, // required
            darkMode: false // optional
        }
    },
    burnerconnect: {
        package: BurnerConnectProvider, // required
        options: {
          defaultNetwork: "100"
        }
    }
};
In your App.js file, import the ethereum library, web3modal library and the provider.js file
import { ethers } from "ethers";
import Web3Modal from "web3modal";
import { providers } from "./providers";
Instantiate web3modal by passing in the provider option
const web3Modal = new Web3Modal({
    providers // required,
    network: "mainnet", // optional
    theme: "dark",  // optional
});
Add this code in your App.js
  const [address, setAddress] = useState(null);

  const handleClick = async () => {
    const instance = await web3Modal.connect();
    setCurrentAccount(instance.selectedAddress);
  }
Also add this in your JSX
<div className="App">
      {
        currentAccount === null ? (
          <button onClick={handleClick}>Connect Wallet</button>
        ) : (
          <div>
            Connected Address: <br /> {currentAccount}
          </div>
        )
      }
</div>
Add the code below into your css file
*, ::after, ::before {
  margin: 0;
  padding: 0;
  box-sizing: border-box;
}

.App {
  display: flex;
  justify-content: center;
  align-items: center;
  height: 100vh;
  flex-direction: column;
}

button {
  background-color: #216781;
  padding: 18px 44px;
  border: none;
  font-size: 20px;
  color: white;
  cursor: pointer;
  border-radius: 8px;
}
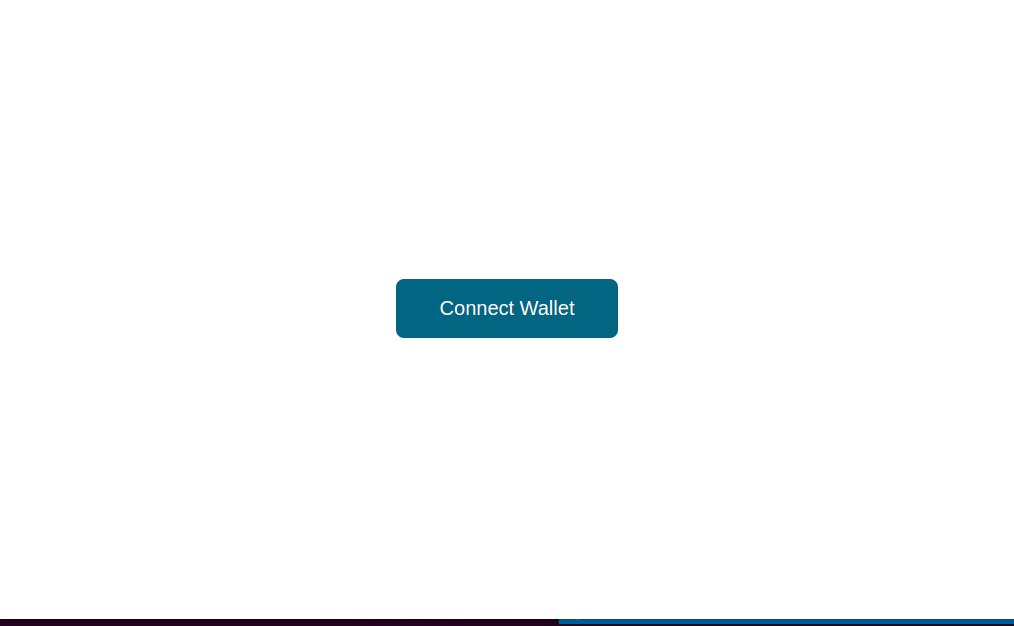
This should be what you will have on your browser.
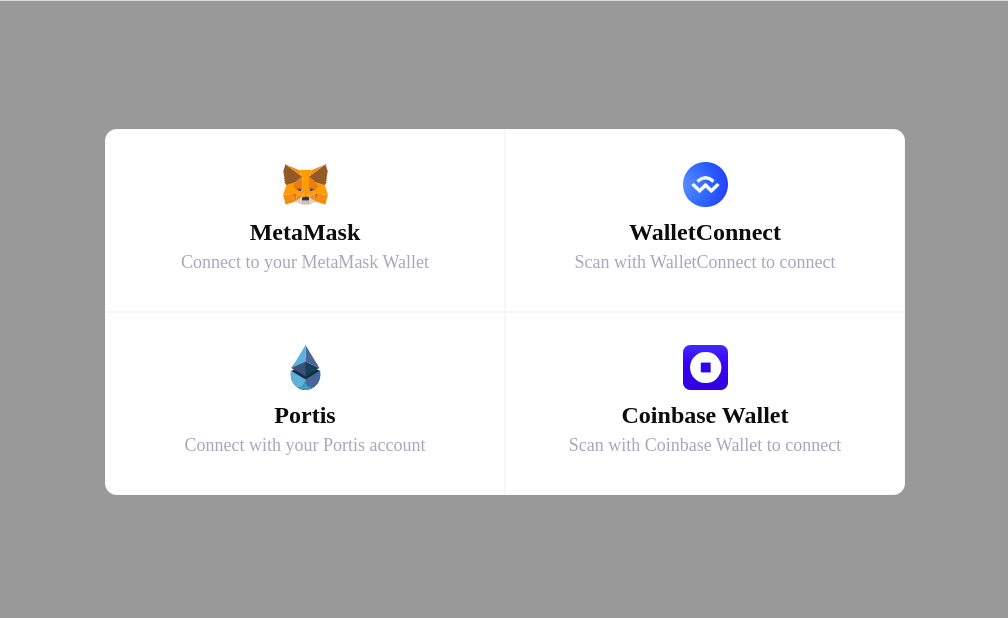
 Upon clicking the button, web3modal provides an interface where we can select any wallet we want
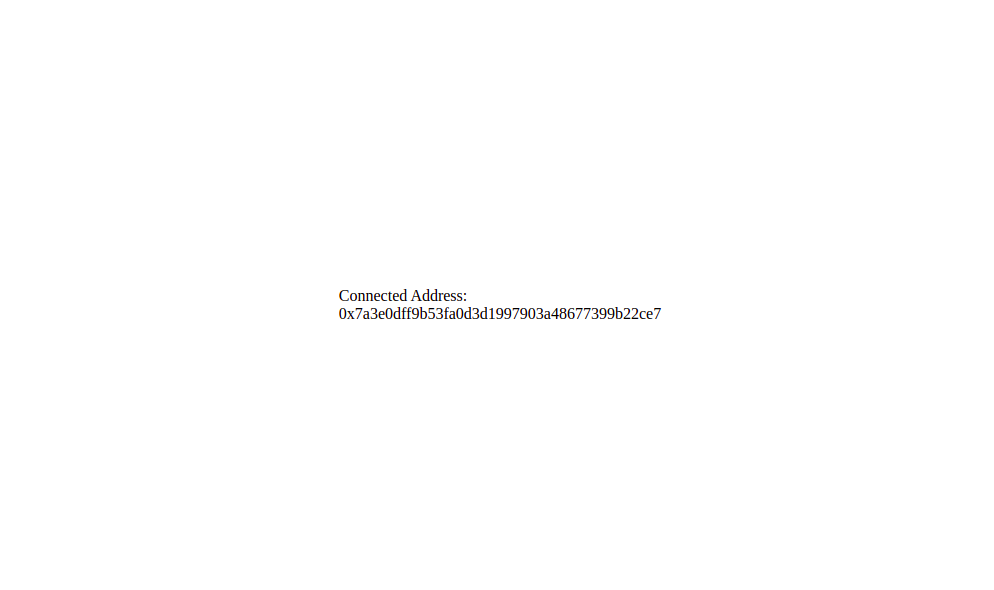
 After connecting your wallet, you will see it displayed on the screen.
In conclusion, Web3Modal library supports multiple wallet and you can includes them in the provider option.
Subscribe to my newsletter
Read articles from Abiodun Awoyemi directly inside your inbox. Subscribe to the newsletter, and don't miss out.
Written by
