Containerizing Nginx server
 Kashish Lakhara
Table of contents
In this docker tutorial, I'll demonstrate how to containerize Nginx application. If you are a beginner, then you will find this tutorial very helpful. Even if you are not familiar with what Nginx is, it will be easy for you to follow this tutorial.
Prerequisites
1) To know the basics of docker you can check out my previous blog here2) Docker Installation
For windows
For Mac
For ubuntu
To check if docker is installed successfully, run
docker run -it hello-world. If it runs, then docker is successfully installed on your machine. You can check its version by docker -v.
Let's build container!
In this Docker tutorial, we will containerize Nginx application.Create a dockerfile (dockerfiles are the files with no extension).
Some Dockerfile commands:-
Dockerfile is just a series of commands.
FROM It defines the base image to start the build process.
RUN If you want to run a particular image or a particular command, them you use this command.
CMD Similar to run, can be used for executing a specific command. It is not executed during build, but when a container is instantiated using the image being built.
ENTRYPOINT Suggests that when you've finished building your docker image, then the command which is specified with the entrypoint that will executed first when you run the docker container of that particular image.
ADD ADD or COPY command are the commands which can be interchangeably because the add command is used to copy whatever files are there in one directory to another directory.
ENV If an application needs a particular environment variable, then we can specify to our docker container that this application needs certain environment variables and this environment variable is present over here.
WORKDIR Used to set where the command defined with CMD is to be executed.
EXPOSE You can specify a port number where you want your application to run inside the container.
MAINTAINER If you want to tag your name along with the image which you are building, then you use this command.
USER If you want a particular user to execute or to run a container, then you can use this user command and specify that user.
VOLUME If you have multiple containers which are hosting the same application, then you might want them all to use the same path. So this is the path where it can be present.
Dockerfile:-
FROM ubuntu:22.04
MAINTAINER Kashish

RUN apt-get update && apt-get install -y nginx
ADD index.html /usr/share/nginx/html/index.html

CMD ["nginx", "-g", "daemon off;"]
EXPOSE 80
FROM ubuntu:22.04 means that we are using ubuntu as a base image
MAINTAINER Kashish just tags my name
apt-get update will update apt-get repositories
apt-get install -y nginx will install nginx service
Then we have to add index.html file to /usr/share/nginx/html/index.html, i.e, copy html file inside the container.
CMD ["nginx", "-g", "daemon off;"] will start nginx service. Nginx uses the daemon off directive to run in the foreground. If daemon on, then application would be running in background. With daemon off, we can see the UI.
EXPOSE 80 means our nginx service will be hosted on port 80.
Note: This runs within the container. If you want to access it on your host machine then you have to do port mapping while starting this container.
Create a simple html file.
HTML file:-
<html>
<head>
<title> Nginx Image </title>
</head>
<body>
<h1> Hello World!</h1>
</body>
</html>
Build an image and run the container
To build the docker image out of dockerfile, move to the directory where the dockerfile is saved and runsudo docker build -t nginximage . Wait for all the steps to be executed. This will be our custom ubuntu image.
We can now use this image to run the container.
To spin up a container out of this docker image run the following command.
sudo docker run -p 80:80 --name=container nginximage
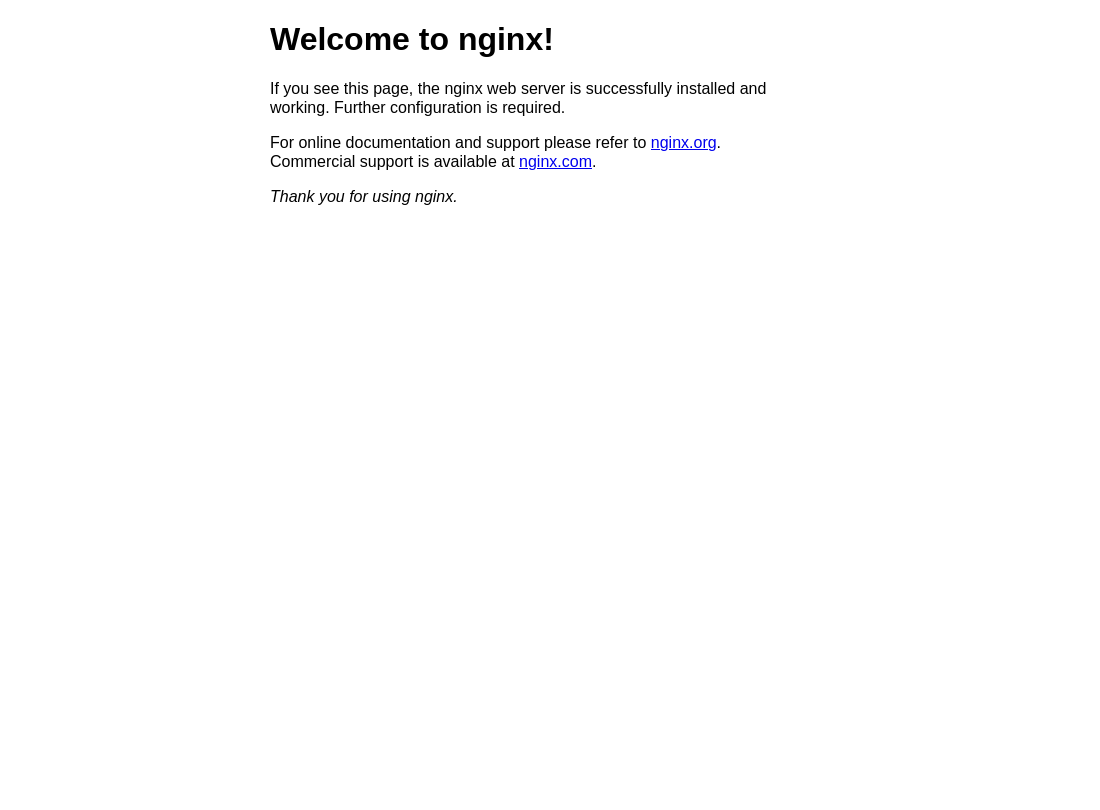
Now your container would be active. Let's go to localhost and check if that's working.
 To stop the container, run the command
 sudo docker ps. It will show your container id. Copy that and run sudo docker stop (container_id)
That's all for this tutorial. We you have any questions feel free to ask them in comment section. And as always your feedbacks are appreciated!
Subscribe to my newsletter
Read articles from Kashish Lakhara directly inside your inbox. Subscribe to the newsletter, and don't miss out.
Written by
