Xilinx Setup on Ubuntu
 Anjan Nair
Xilinx has been one software used to program the FPGA board in Verilog. Currently (at the time of writing) quite funnily this software fails to install in Windows 11 and has some issues installing in Windows 10. Linux however does not fail us here. This tutorial has been picked up from this YouTube tutorial but with a few changes.
First Step
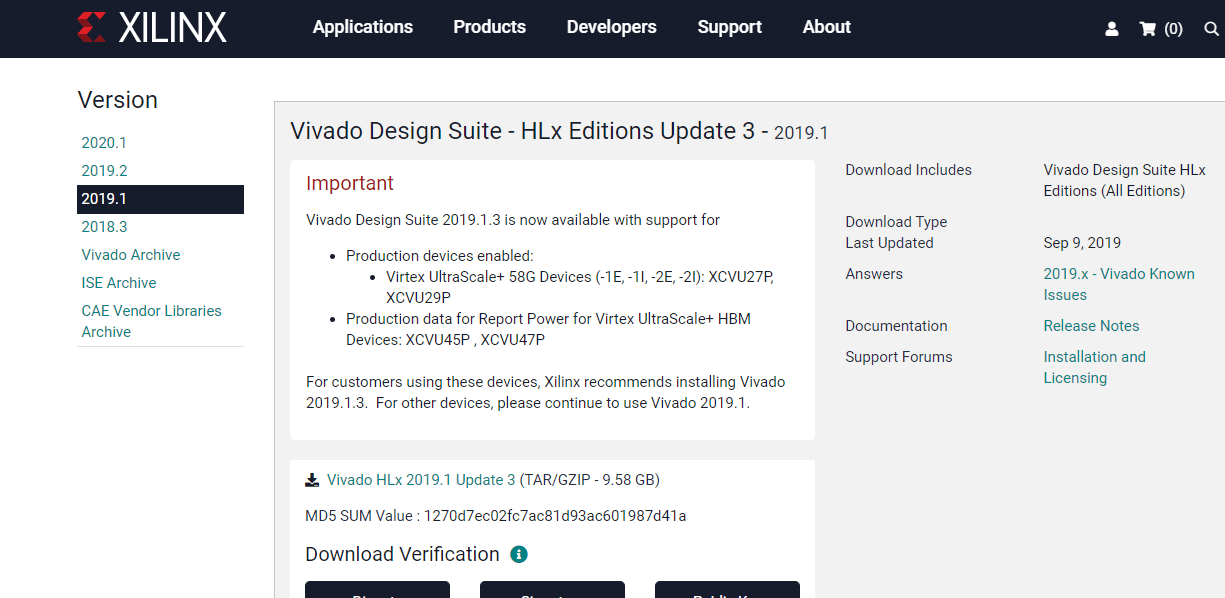
As of 2022 in April the latest version of Xilinx is 14.7. Head over here and click on 14.7, scroll down to the ISE Design Suite and install the Full Installer for Linux. A simple popup to sign-up/in will come up.
Extract the contents
After the download is complete extract the file using the following command -
tar -xvf Xilinx_ISE_DS_Lin_14.7_1015_1.tar
This extracts the whole tar file.
Running The Setup
To further setup the Xilinx software we run the following -
sudo ./xsetup
This will run the setup!
Error fixing
During this you may run into an issue which says libncurses.so.5: cannot open shared object file: No such file or directory. A fix to this is done by running
sudo apt-get install libncurses5
Next Steps
The next steps are intuitive and can easily be figured out by clicking Next
Finally Running It
Run this command first -
source /opt/Xilinx/14.7/ISE_DS/settings64.sh
and then just type
ise
in the command line. You are good to go!
Error I faced
The video mentioned above has a step involving adding the source.. command to .bashrc. This led to errors as well as problems on my bash terminal. So avoid it and follow the step mentioned above.
Subscribe to my newsletter
Read articles from Anjan Nair directly inside your inbox. Subscribe to the newsletter, and don't miss out.
Written by

Anjan Nair
Anjan Nair
Pursuing my undergraduate degree in Electronics and Telecommunication. With a programming experience of 5 years I have contributed to open source from the very start. I have a keen interest in evolving technology and love to get a hands on experience with them. My main goal is to demystify technology for everyone.