How to add multiple conditions in GTM (Google Tag Manager)?
 Abhishek Sharma
In this article, I'll guide you through how you can configure your GTM to fire a GMT Tag on meeting different conditions. There were actually multiple ways you can achieve this, but I'll show you the most efficient way of doing this in GTM.
So I was working with a client where we developed a Custom Signup flow, which included 4-6 pages to complete the signup flow. The main requirement that he had, was to fire a GTM tag based on URL Path.
The most basic way of solving this is to create multiple triggers inside GTM based on different URL paths, so in our case, we need to create 6 triggers with the same condition.
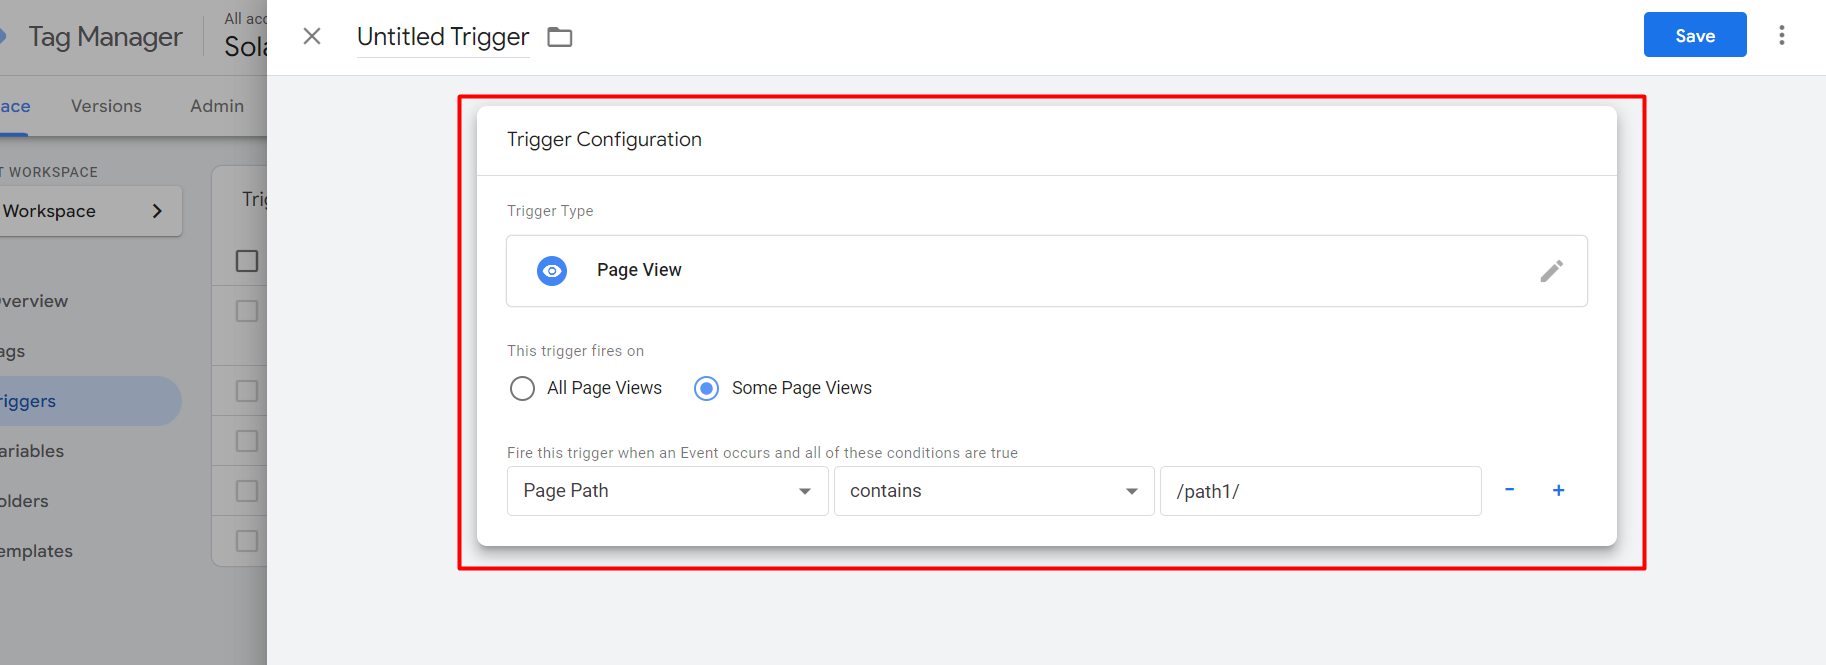 But this wasn't the most efficient way of solving problems, because, in the end, we are just repeating ourselves. And being a developer our main goal is NOT TO REPEAT OURSELVES.
So how can we solve this?
We can use something which is called a Single trigger with Regex (or Lookup) Table Variable
At first, it might sound complicated thing to implement, but believe me, it's not.
Follow me to do this:
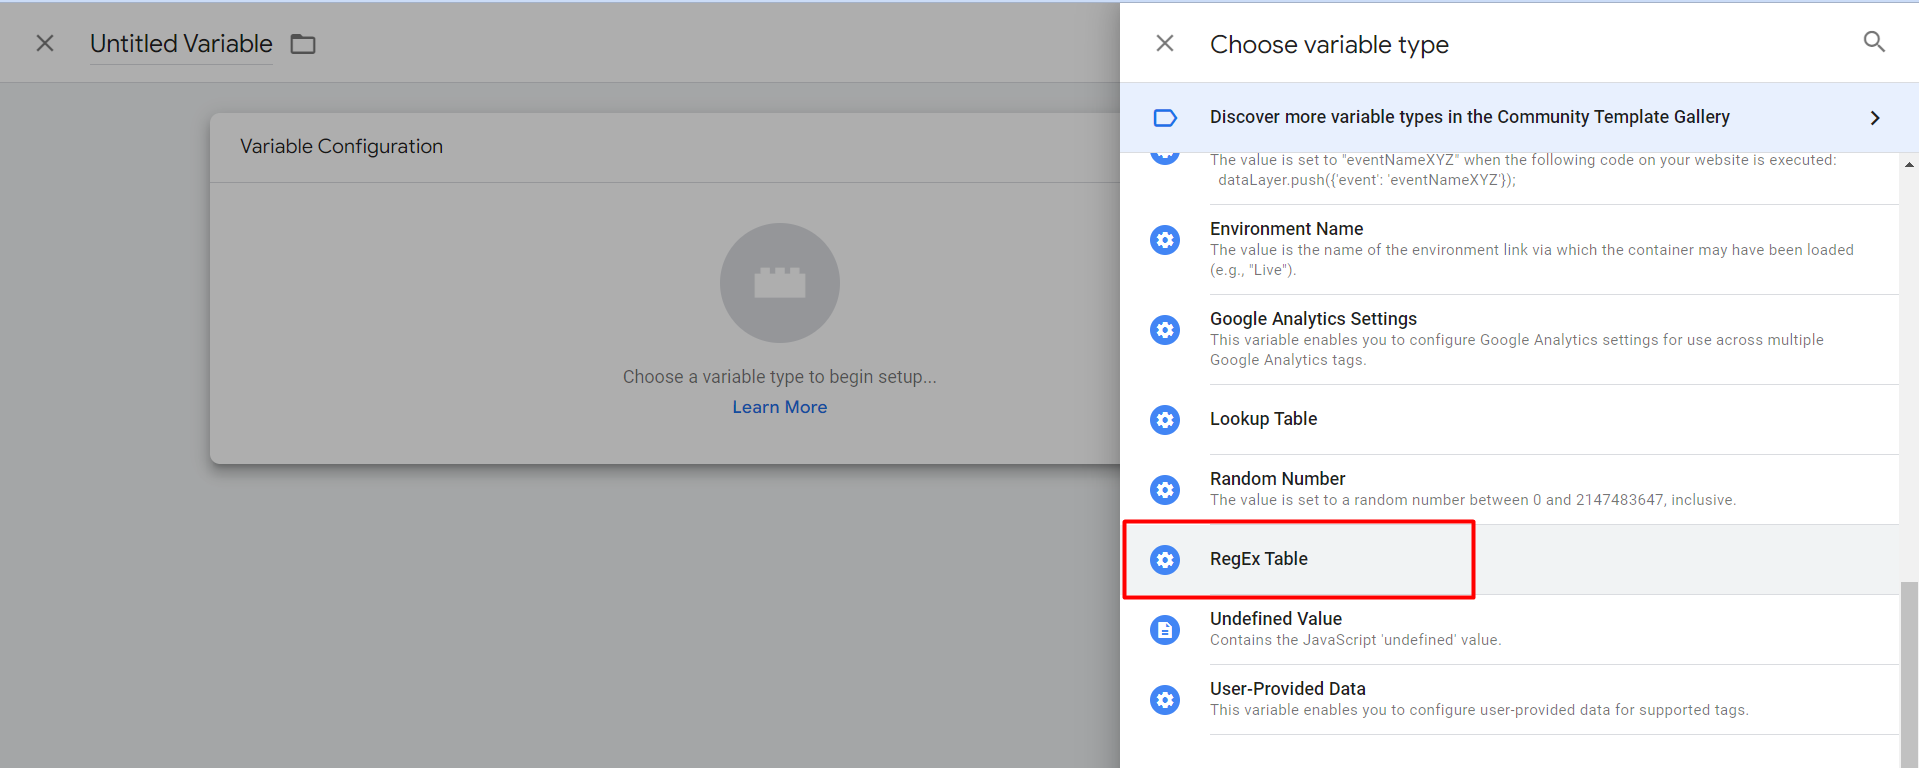
👉 1. We’ll create a Regex Table Variable, In the Google Tag Manager interface, go to Variables > User-defined Variables > New > Regex Table.
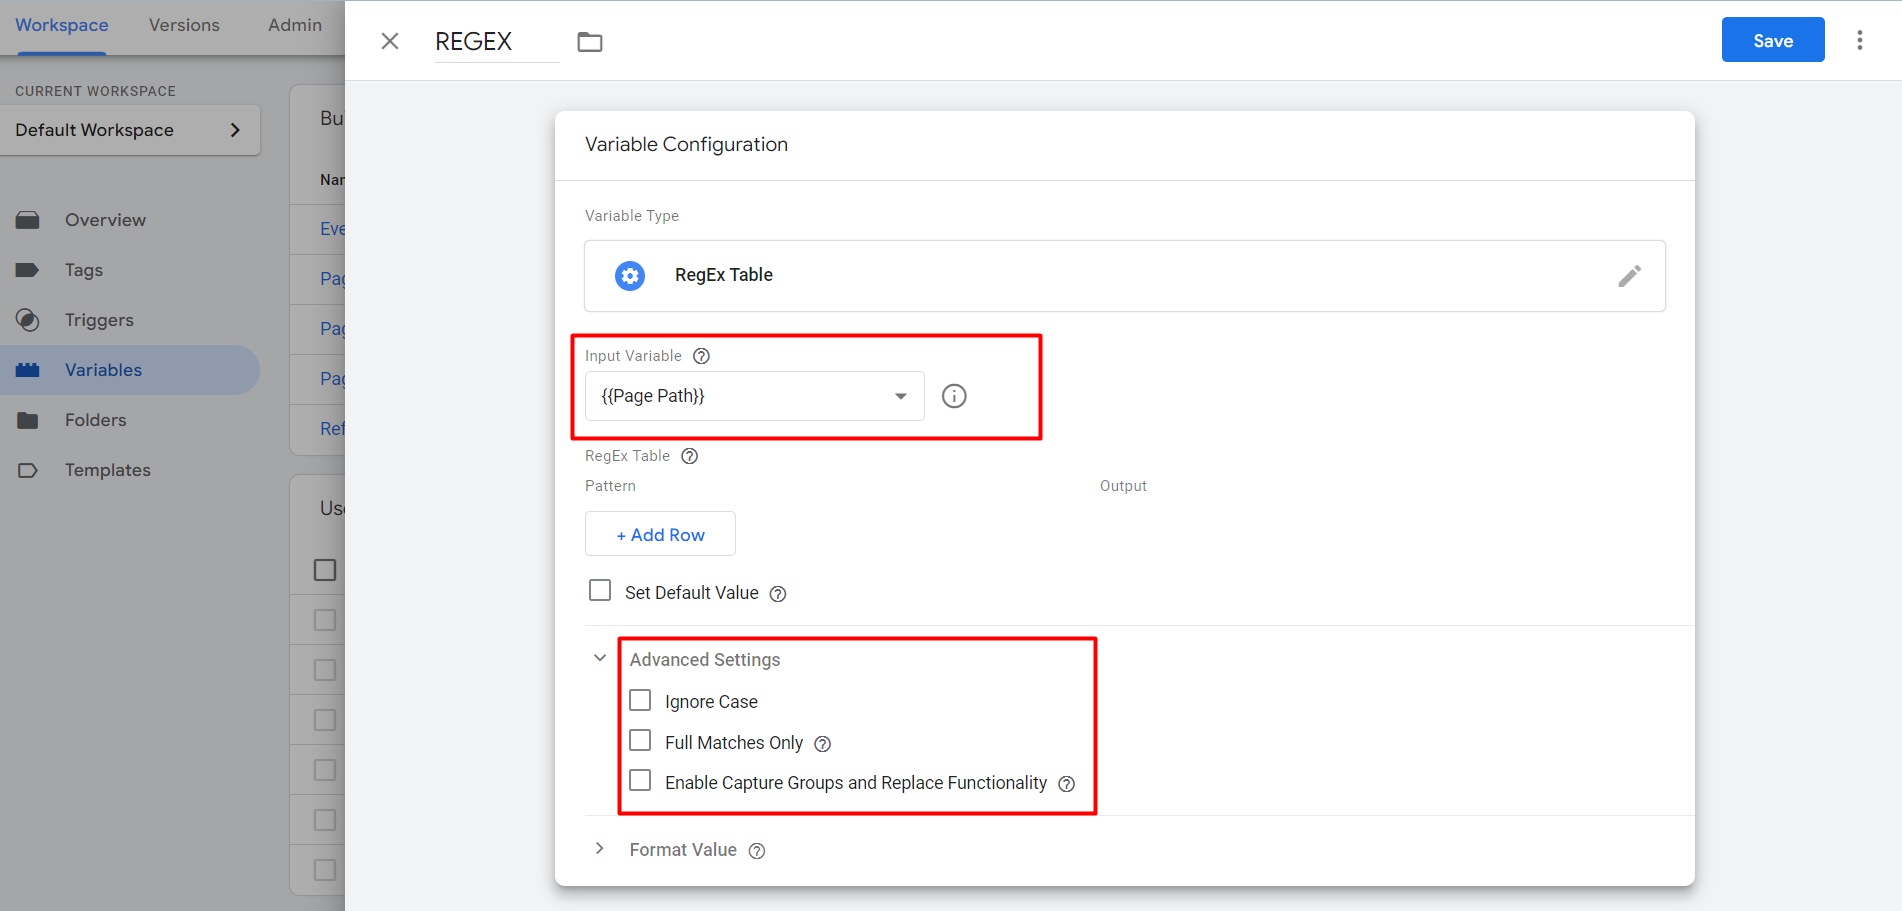
👉 2. Now select "Input Variable", in our case we are working with Page Path, after that click on the Advanced Settings and uncheck all three options
👉 3. Then click Add Row and add the conditions. In the left column, enter /path1. In the right column — “true” (without quotation marks) NOTE: (this is just an example. You need to enter YOUR conditions here)
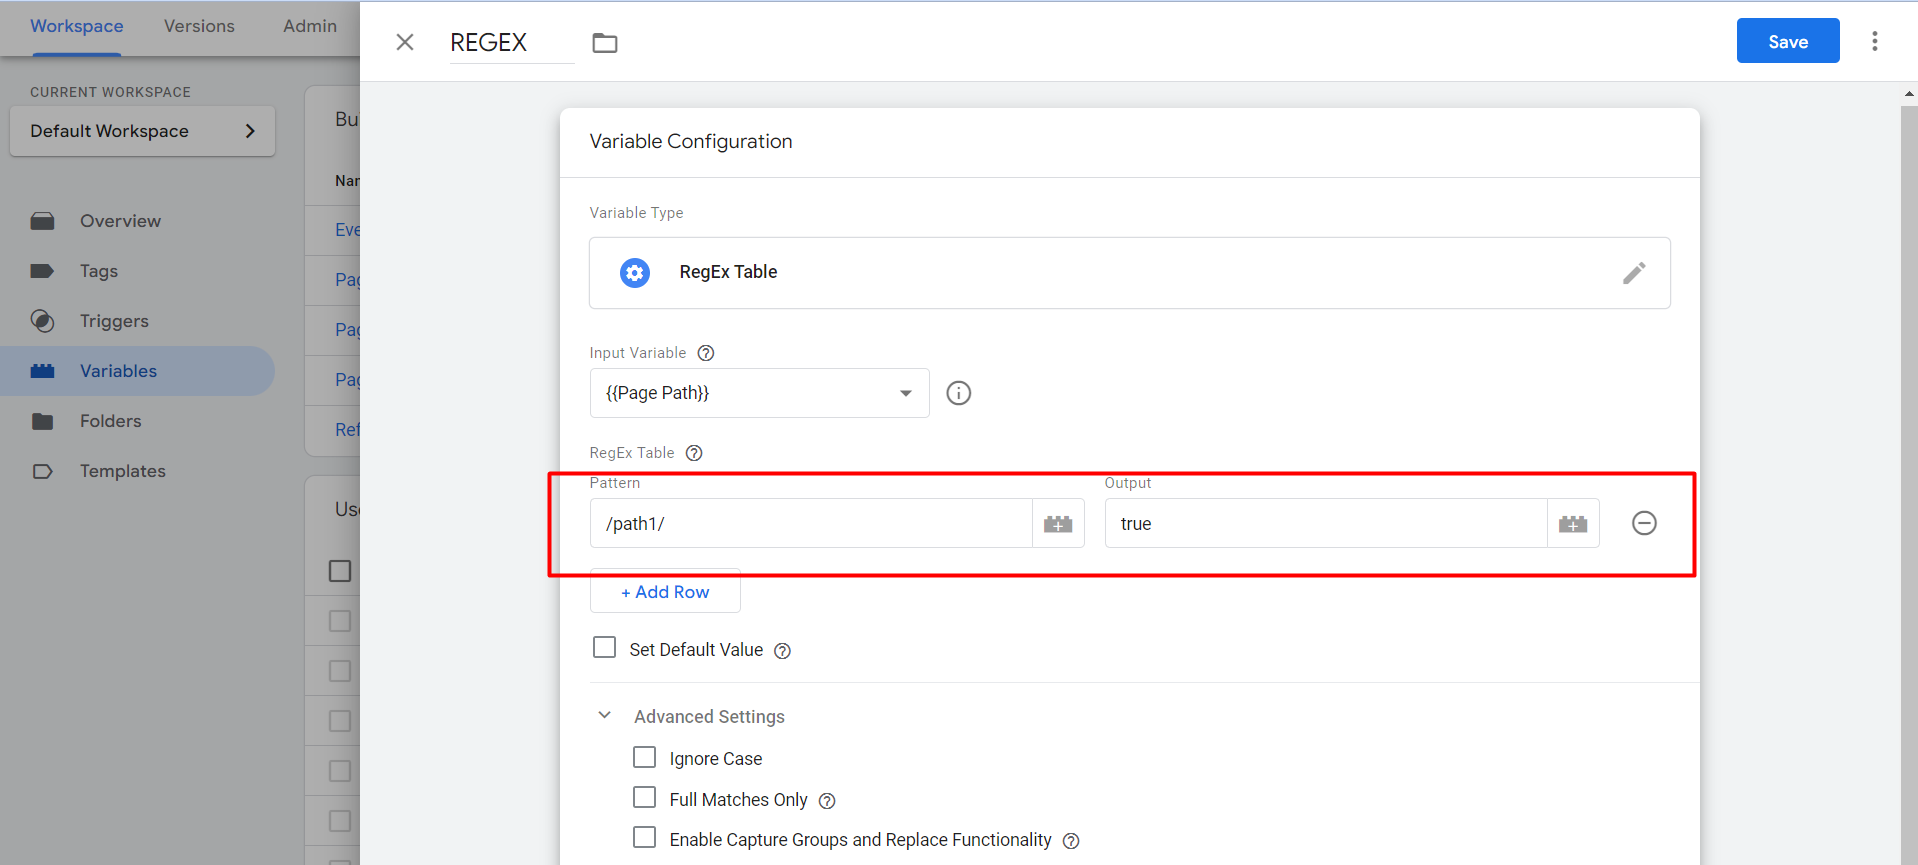
👉 4. Repeat the same process for each condition/page.
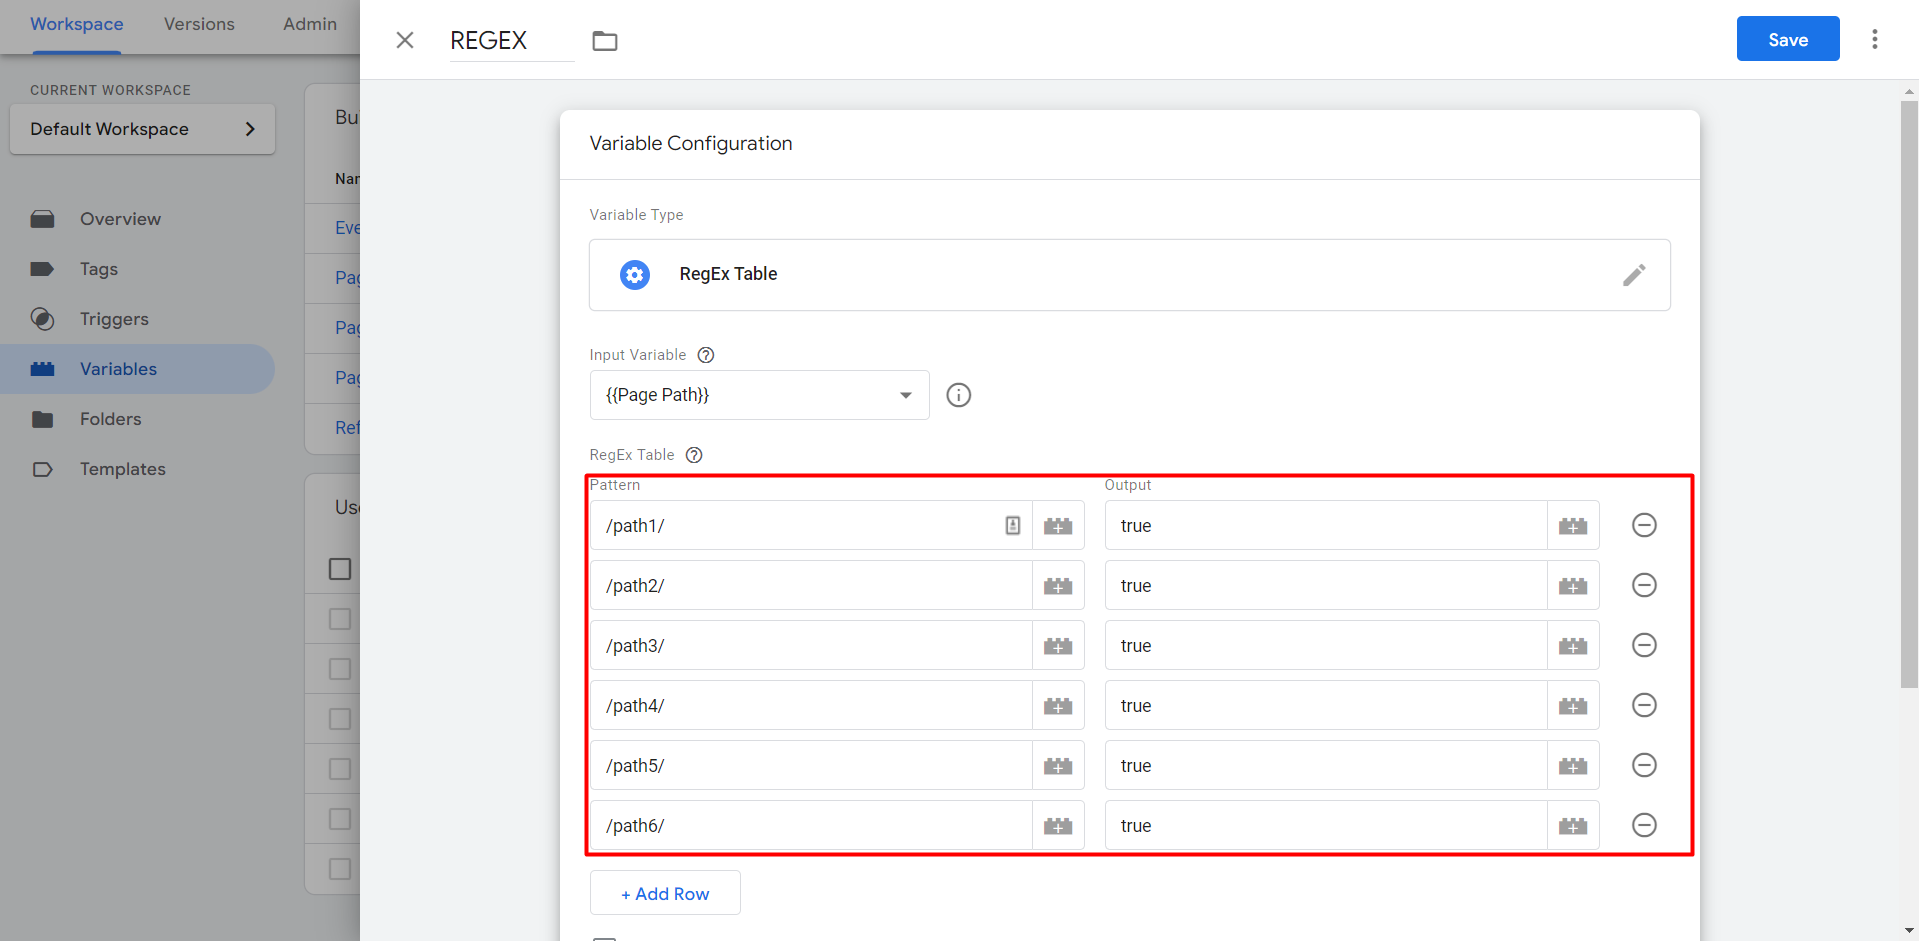
Here’s how the Regex table variable will work: it will start checking the conditions from the top row to the bottom. Once the condition is met, further rows will not be checked.
Now to configure this with GTM Trigger. Go to Trigger Add a New Page View Trigger, select fire on some specific view, and Select your Regex Variable from the dropdown and make it equals to true.
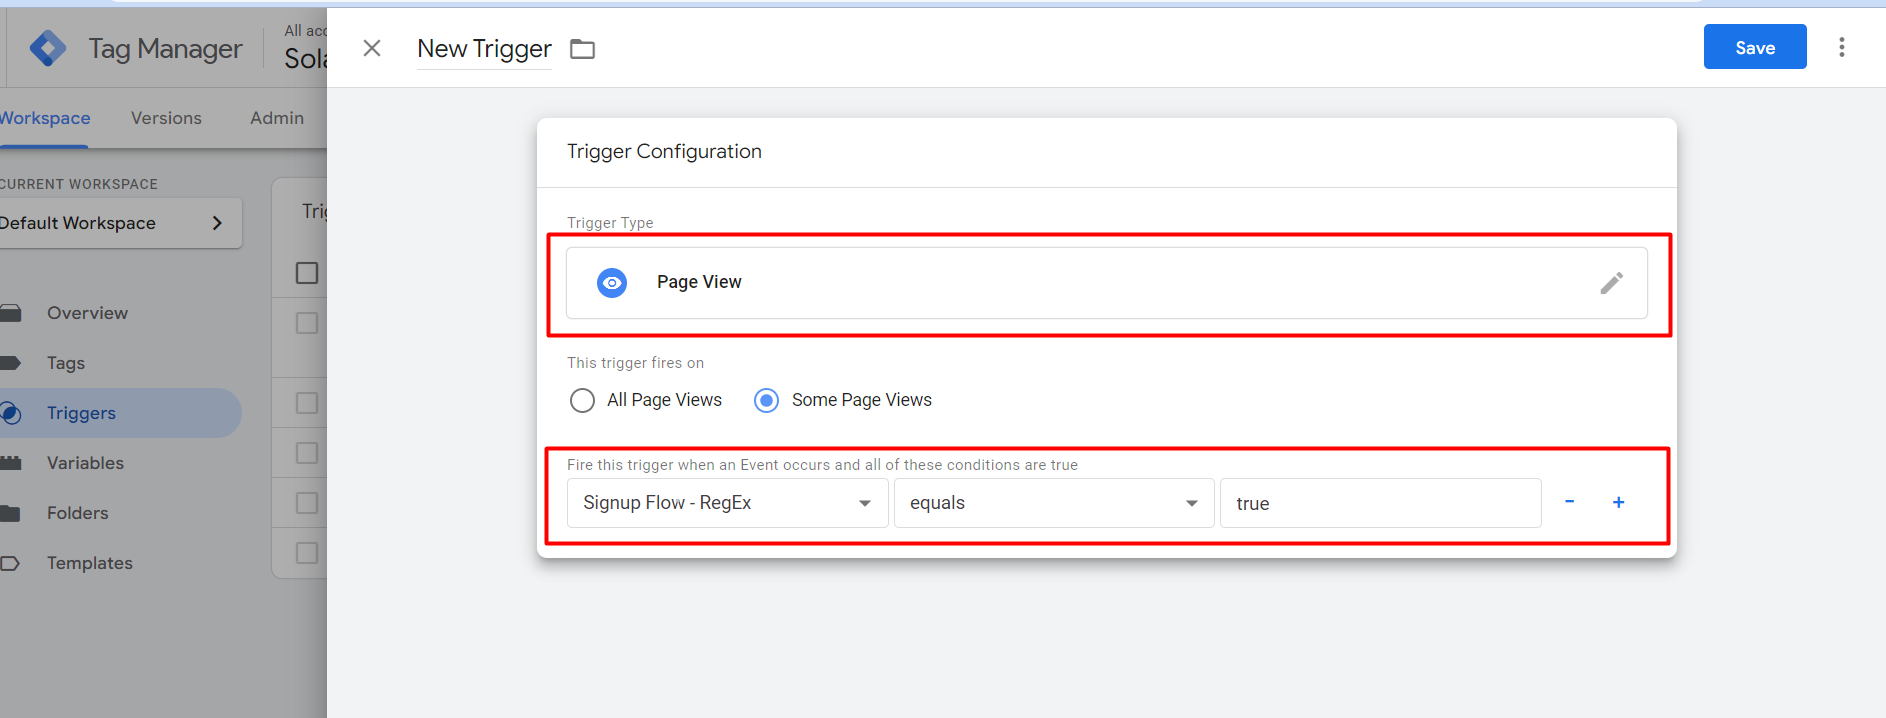
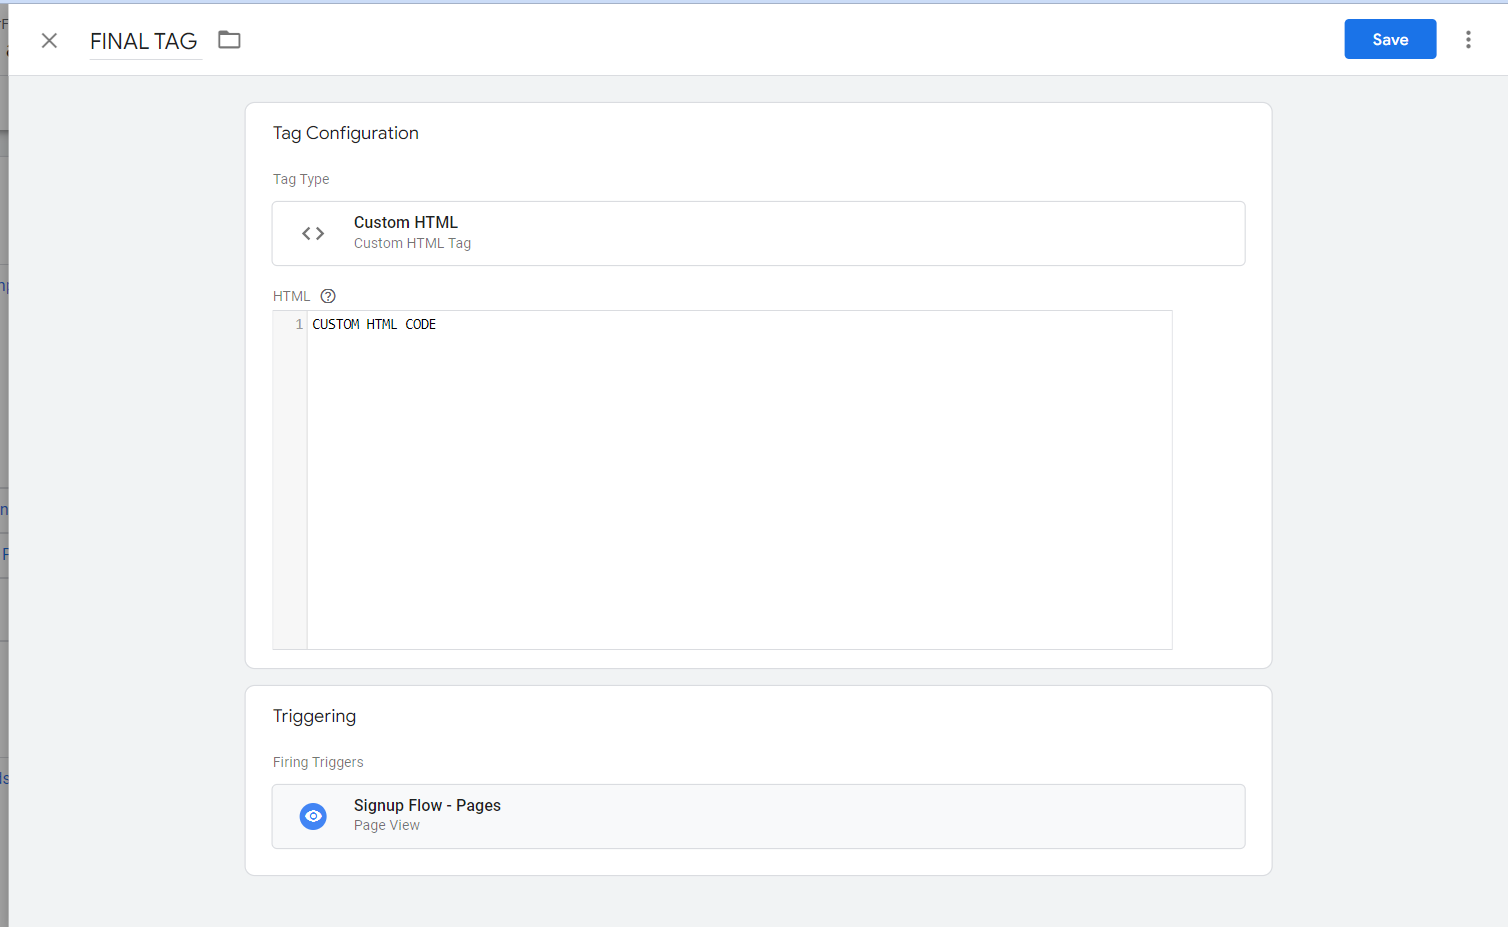
That's it. Congratulations 🥳, Now you can configure your Tag based on the Trigger that you've created just now.
If this article helps you solve your issue or you have further questions, doubts, or want to discuss anything about web development, you can connect with me on.
Thanks 😎🙏
Subscribe to my newsletter
Read articles from Abhishek Sharma directly inside your inbox. Subscribe to the newsletter, and don't miss out.
Written by

Abhishek Sharma
Abhishek Sharma
Web App Developer