Create And Integrate CKEditor 5 Plugin With Drupal 9
 Gaurav Kapoor
CKEditor, formerly FCKeditor, is a WYSIWYG rich text editor that allows users to write content directly inside web pages or online applications.
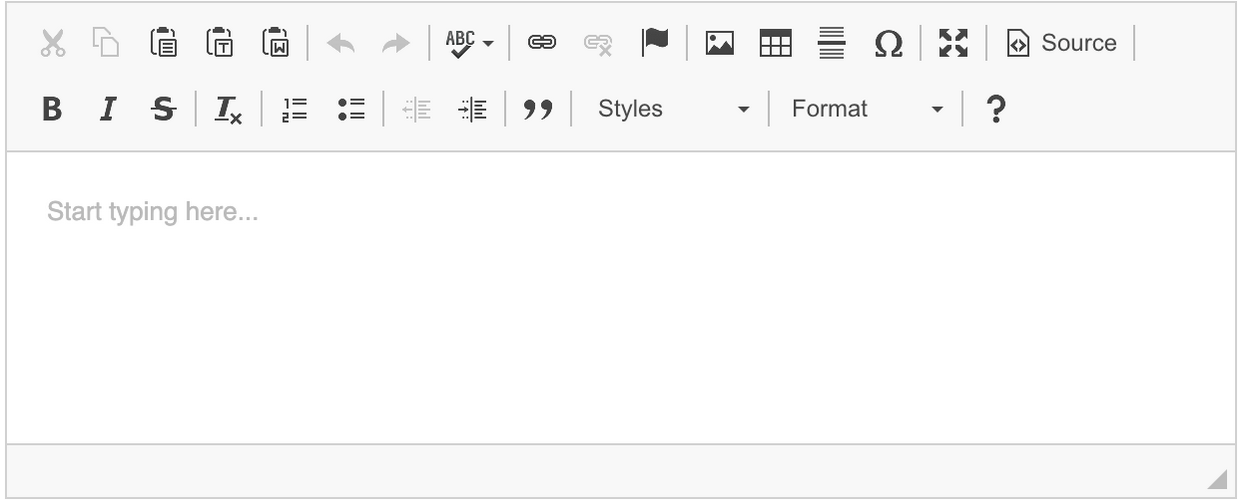
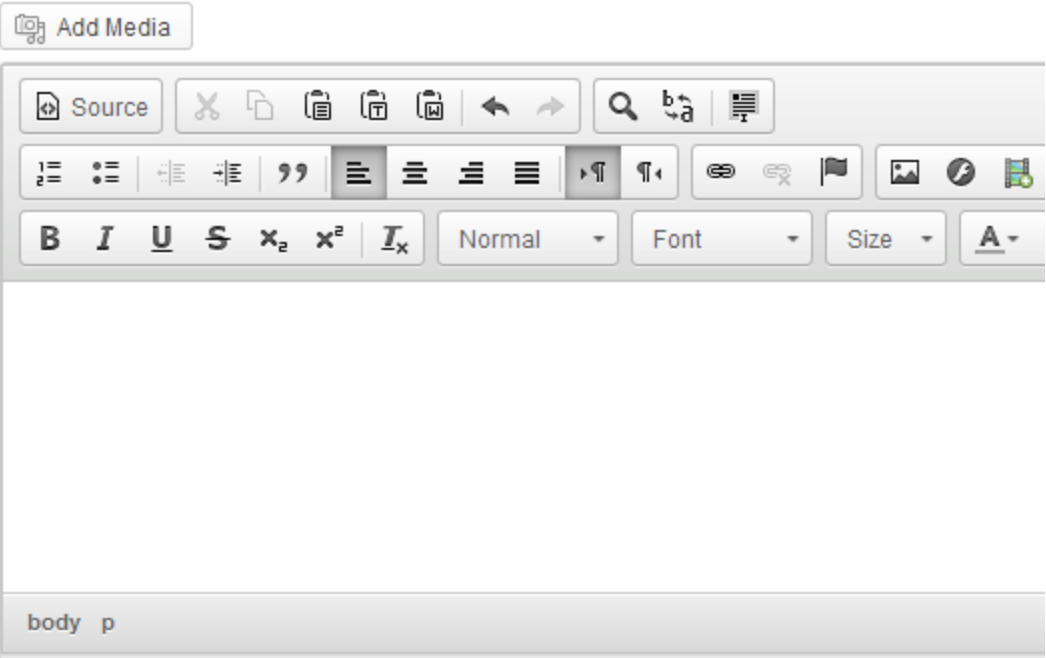
Here is how a CKEditor looks.

CKEditor is a standard way of collecting formatted text data from users. It may not appear for normal web browsing users in many places, but it is an essential feature for the applications that manage data entered by creators or editors.
According to the official website, CKEditor has around 30M+ downloads and more than a hundred million users worldwide. The codebase for all official releases is open source, and this project has plenty of developers in its community. 100% automated test coverage maintains the code quality of the application.
CKEditor 5 - New Features And Enhancements
CKEditor 5 was launched recently and is a complete rebuild of the previous version. The new version utilizes the latest improvements in all modern JS. It improves the user’s and the developer’s experience.
CKEditor now follows the approach of generating a custom build, which is developed per requirements and configuration. Developed with the paradigm of the MVC (Model-View-Controller) approach, it uses a virtual DOM (Document Object Model) and is written in ES6. It can also be integrated with Angular, React, and Vue JS.
Plugins were the main components in previous versions of CKEditor, and the logic written in those plugins made CKEditor a powerful tool. All the icons in the editor are entry points for the plugin to collect data or modify the content added by the user.
CKEditor 5 also follows a straightforward approach. Like previous versions, it has many inbuilt plugins such as Bold Text, Italics, insert images, and other useful features.

Despite having plugins for all the standard text and content-related operations, there are situations where developers might need to create a custom plugin.
CKEditor 4 had many community-contributed plugins that one can use, but those won’t work with CKEditor 5. These plugins also require a rebuild. The main reason behind this is the architectural change in the editor. Usage of a virtual DOM leaves developers with no choice but to rebuild a plugin.
Let’s explore the main concepts developers should understand before writing or porting a plugin compatible with previous versions to work with CKEditor 5.
Custom Plugin Architecture
It is vital to understand plugin architecture for any development related to CKEditor, as almost everything is a plugin in CKEditor. Typing in the text box, which is the most crucial part of any editor, is a plugin that depends upon two internal plugins - ‘Input’ and ‘Delete.’ These internal plugins handle the insertion and deletion of the text.
The main concepts to understand before developing a custom plugin are:
Developing A Custom Plugin
After covering the basics of plugin architecture, start working on writing a custom plugin. It can be a plugin that introduces some new features, or it might just be a port of a CKEditor 4 plugin.
Refer to the official tutorial to understand how to create a simple plugin. To get more ideas for developing a plugin, check some open-source plugins like CKEditor 5 Maths and Simple Upload.
Integrating A Plugin With Drupal 9
Start working on integrating the plugin with Drupal 9 after the development and build file of the plugin is generated. Most of the core work has already been done as part of the CKEditor 5 initiative. Drupal core also has CKEditor 5 as an experimental module to ensure that custom plugins work.
Here are the steps for integrating a custom plugin with Drupal 9:
Make sure to use the latest version of Drupal 9. Enable the experimental module ‘CKEditor 5’ in the preferred way of using Drush or Modules admin UI (/admin/modules).
Install the contributed module CKEditor 5 Dev Tools. This module provides valuable tools for plugin development. The main module integrates the CKEditor 5 Inspector tool with Drupal and helps with debugging. Do not enable this in any hosted or production environments. A starter kit template for building a plugin is recommended for integrating the custom plugin.
Copy the contents of the subfolder ‘ckeditor5_plugin_starter_template’ in CKEditor 5 Dev Tools to the custom module and carefully replace the placeholder values and files. Make sure to understand all the values being replaced, as it will help avoid difficulties while debugging the plugin. Here is the list of details you must modify. Replace ‘MODULE_NAME’ with your module name machine everywhere. Modify your_example_module.ckeditor5.yml and supply values of the plugin name, label, and all the DOM elements used in the plugin’s virtual DOM. If the custom plugin is not visible in the editor in later stages, try modifying the values in this file. Provide the path of the build file in the module’s libraries.yml file. Replace CSS and Icons assets with the ones available in the plugin. The JS folder should have the generated build file of the plugin for Drupal to be able to detect it. Also, store the associated plugin JS files in this folder for easy codebase maintenance.
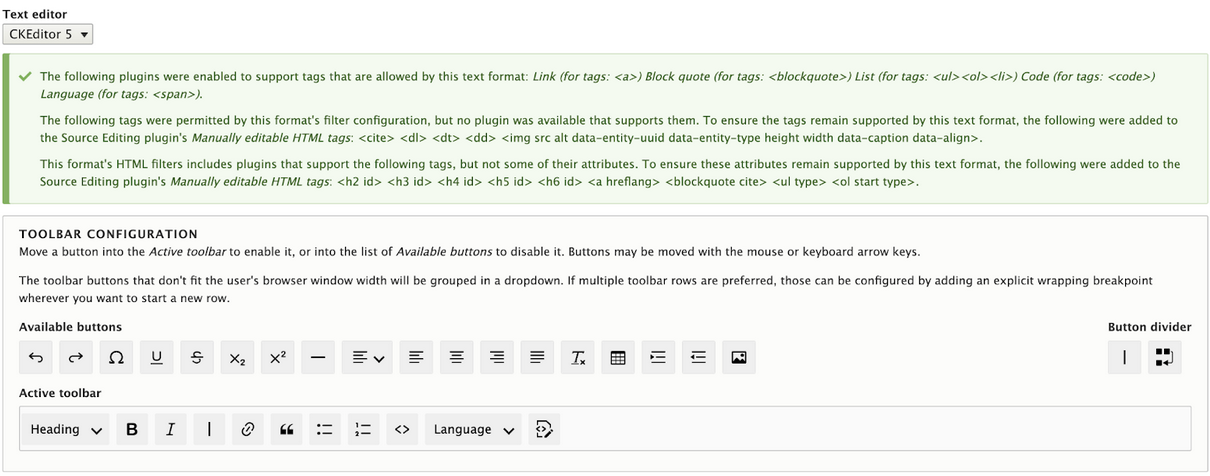
After setting correct values for all the placeholders and placing files for the plugins, go to ‘/admin/config/content/formats’ and select the text format to place the custom plugin. Once ‘CKEditor 5’ is selected as the editor, the following configuration UI will allow adding the plugin icon to the available icons tray.

This is how you can develop and integrate a custom CKEditor plugin with Drupal 9. Make sure to fully utilize all the available debugging features to ease the development process. Most of the contributed CKEditor plugins have started working on CKEditor 5 compatibility. This will ensure the presence of many sample codebases and active discussion issues.
Subscribe to my newsletter
Read articles from Gaurav Kapoor directly inside your inbox. Subscribe to the newsletter, and don't miss out.
Written by
