Using JavaScript in JupyterLab
 Chris Achinga
TL;DR This post will take you through installing JupyterLabs and how to add a NodeJS kernel to it in Ubuntu.
Installing JupyterLabs
For a better experience, you should install Jupyter Lab inside a virtual environment.
sudo apt install python3-venv
After the installation is complete, create a new environment:
python3 -m venv jlab
Note that you can replace the
jlabwith any name of your choice.
Now activate the environment:
. jlab/bin/activate
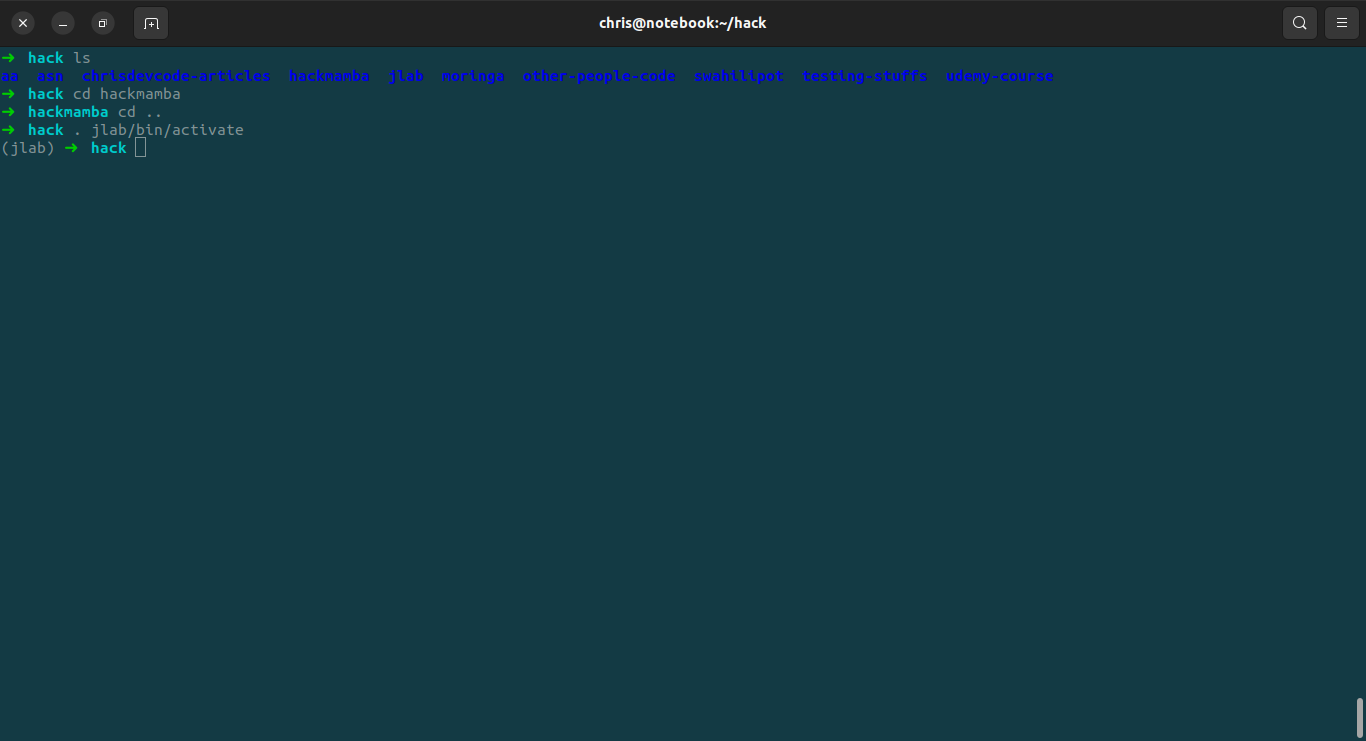
Now install Jupyter Lab in Ubuntu:
pip install jupyterlab
Once the installation is complete, you can start Jupyter lab by running:
jupyter lab
Jupyter Labs runs locally on port 8888: http://localhost:8888/
Installing Javascript Kernel
Inside the activated virtual environment, install the javascript kernel by running:
npm install -g ijavascript
To activate the kernel, run:
ijsinstall
Re-start Jupyter lab:
jupyter lab
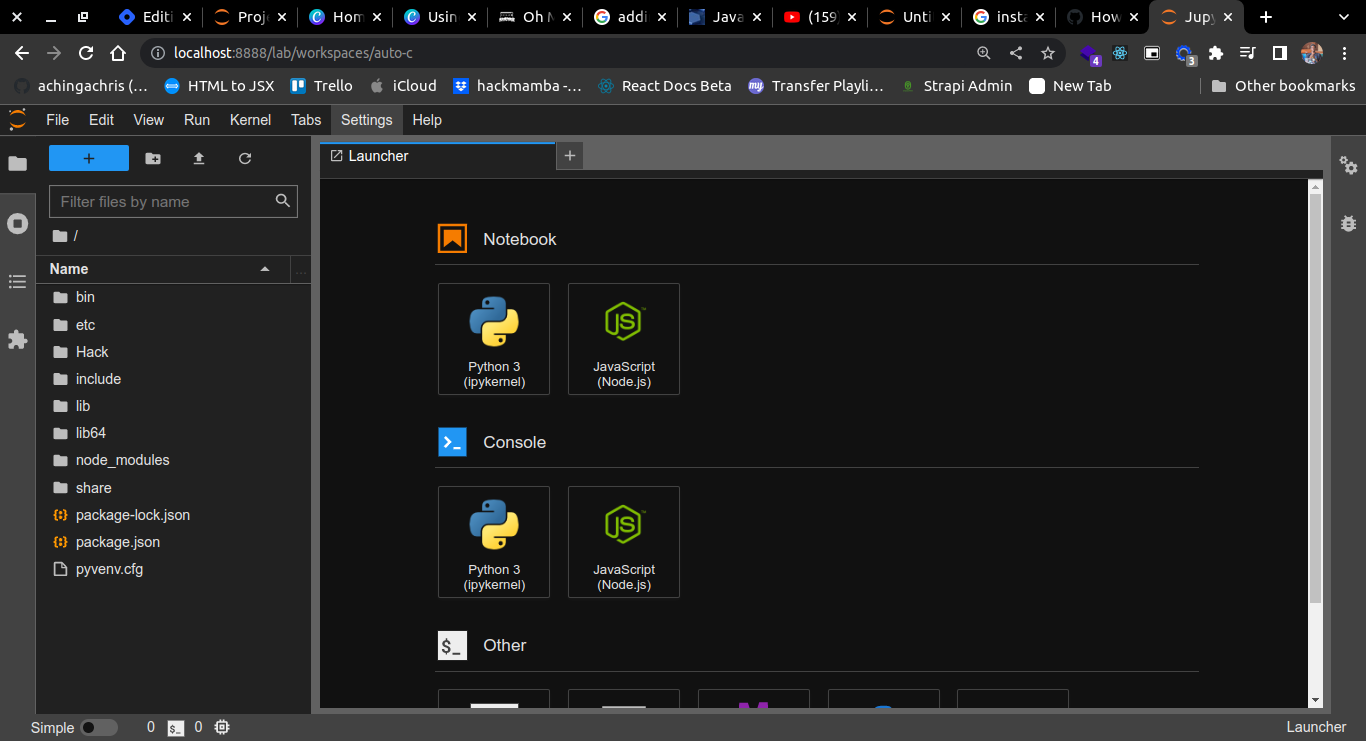
To test it out, click on the NodeJS logo to start a Javascript lab:

Conclusion
The article demonstrates how to install Jupyter labs in a virtual environment and add a JavaScript kernel.
Resources
Subscribe to my newsletter
Read articles from Chris Achinga directly inside your inbox. Subscribe to the newsletter, and don't miss out.
Written by
Chris Achinga
Chris Achinga
Ha!