How to train the YOLOV5 model on custom dataset in google Colab.
 Muhammad Faizan
2 min read
Table of contents

Problem
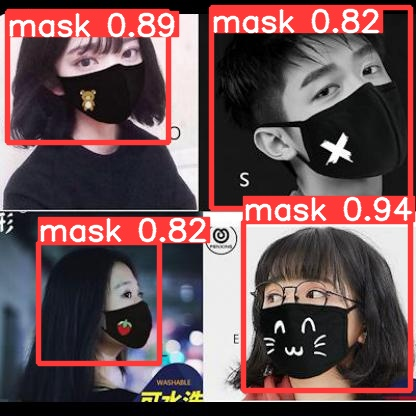
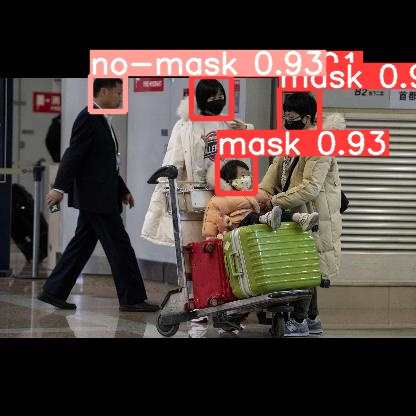
In this blog, you will learn how to train the yolov5 model on a custom dataset. YOLOv5 is an algorithm used for object detection. I will apply the YOLOv5 to classify the mask and unmask the person and also localize its face.
Steps to solve the problem
You can train the YOLOv5 model on custom dataset by following these given steps.
- Annotate your dataset using roboflow. Roboflow is an open source online platform for data annotation. You can access this platform through this link. Sign up in it. Upload your dataset on it and annotate it.
- Open up the google colab using this link and follow these steps.
- Clone the yolov5 repository using the following command.
!git clone https://github.com/ultralytics/yolov5 %cd yolov5 - Install the required libraries.
%pip install -qr requirements.txt %pip install -q roboflow - Import the required libraries.
import torch import os from IPython.display import Image, clear_output # to display images os.environ["DATASET_DIRECTORY"] = "/content/datasets" # for dataset path - Now you need annotated dataset which will given following these steps
- Run the following code to get roboflow link.
from roboflow import Roboflow
rf = Roboflow(model_format="yolov5", notebook="ultralytics")
- Open up the above link and move toward your dataset, you will find following kind of code just copy the code and past it in your colab IDE to download your dataset.
from roboflow import Roboflow
rf = Roboflow(api_key="your dataset api")
project = rf.workspace().project("project title")
dataset = project.version("version").download("yolov5")
- Run the following code to get roboflow link.
- Now run the command to start the training of the model.
!python train.py --img 416 --batch 16 --epochs 150 --data {dataset.location}/data.yaml --weights yolov5s.pt --cache - Now inference the trained model by using the following command.
!python detect.py --weights path_of_trained_model --img image_shape --conf confidence_threshold --source path_of_test_image_folder/single_image!python detect.py --weights runs/train/exp/weights/best.pt --img 416 --conf 0.1 --source {dataset.location}/test/images - To export the trained model in your local system.
from google.colab import files files.download('./runs/train/exp/weights/best.pt') - Results


Reference
https://github.com/ultralytics/yolov5/wiki/Train-Custom-Data
1
Subscribe to my newsletter
Read articles from Muhammad Faizan directly inside your inbox. Subscribe to the newsletter, and don't miss out.
Written by
Muhammad Faizan
Muhammad Faizan
I am working as Machine learning Engineer. I am interested in Computer Vision.