Manage Your Kubernetes Clusters with Lens
 Aditya Sharma
Lens is a standalone application available on Linux, macOS, and Windows. It makes sure that your clusters are properly set up & configured. It Increased visibility, real-time statistics, log streams, and hands-on troubleshooting capabilities. It enhances the ability to work with your clusters quickly and easily, radically improving productivity and the speed of business.
It helps us to have a more deeper, more powerful view of our Kubernetes clusters, running on servers and our local systems. Presently, It is the most powerful IDE for the people who uses Kubernetes clusters on daily basis because otherwise we will have to use command line tool to manage out YAML files and everything. It's also provides a great way to interact with other people, it helps others to get an access of your Kubernetes clusters with given permissions. The best part is that it's an Open-Source.
You can download and access Lens Desktop through Lens Download.
You will be needed to login & activate your account through an specific id and setup the dashboard.
You can Add a cluster, Manage a cluster, Deploy a Helm Chart etc. using Lens easily. You can even manage your clusters hosted on cloud platforms through Lens, all you have to do is to set it up with YAML description.
Adding a Cluster:
To add a cluster manually:
- In the Clusters view of Catalog point the mouse cursor on the Add Cluster button.
- Select Add from kubeconfig and paste the custom kubeconfig file to the following input field.
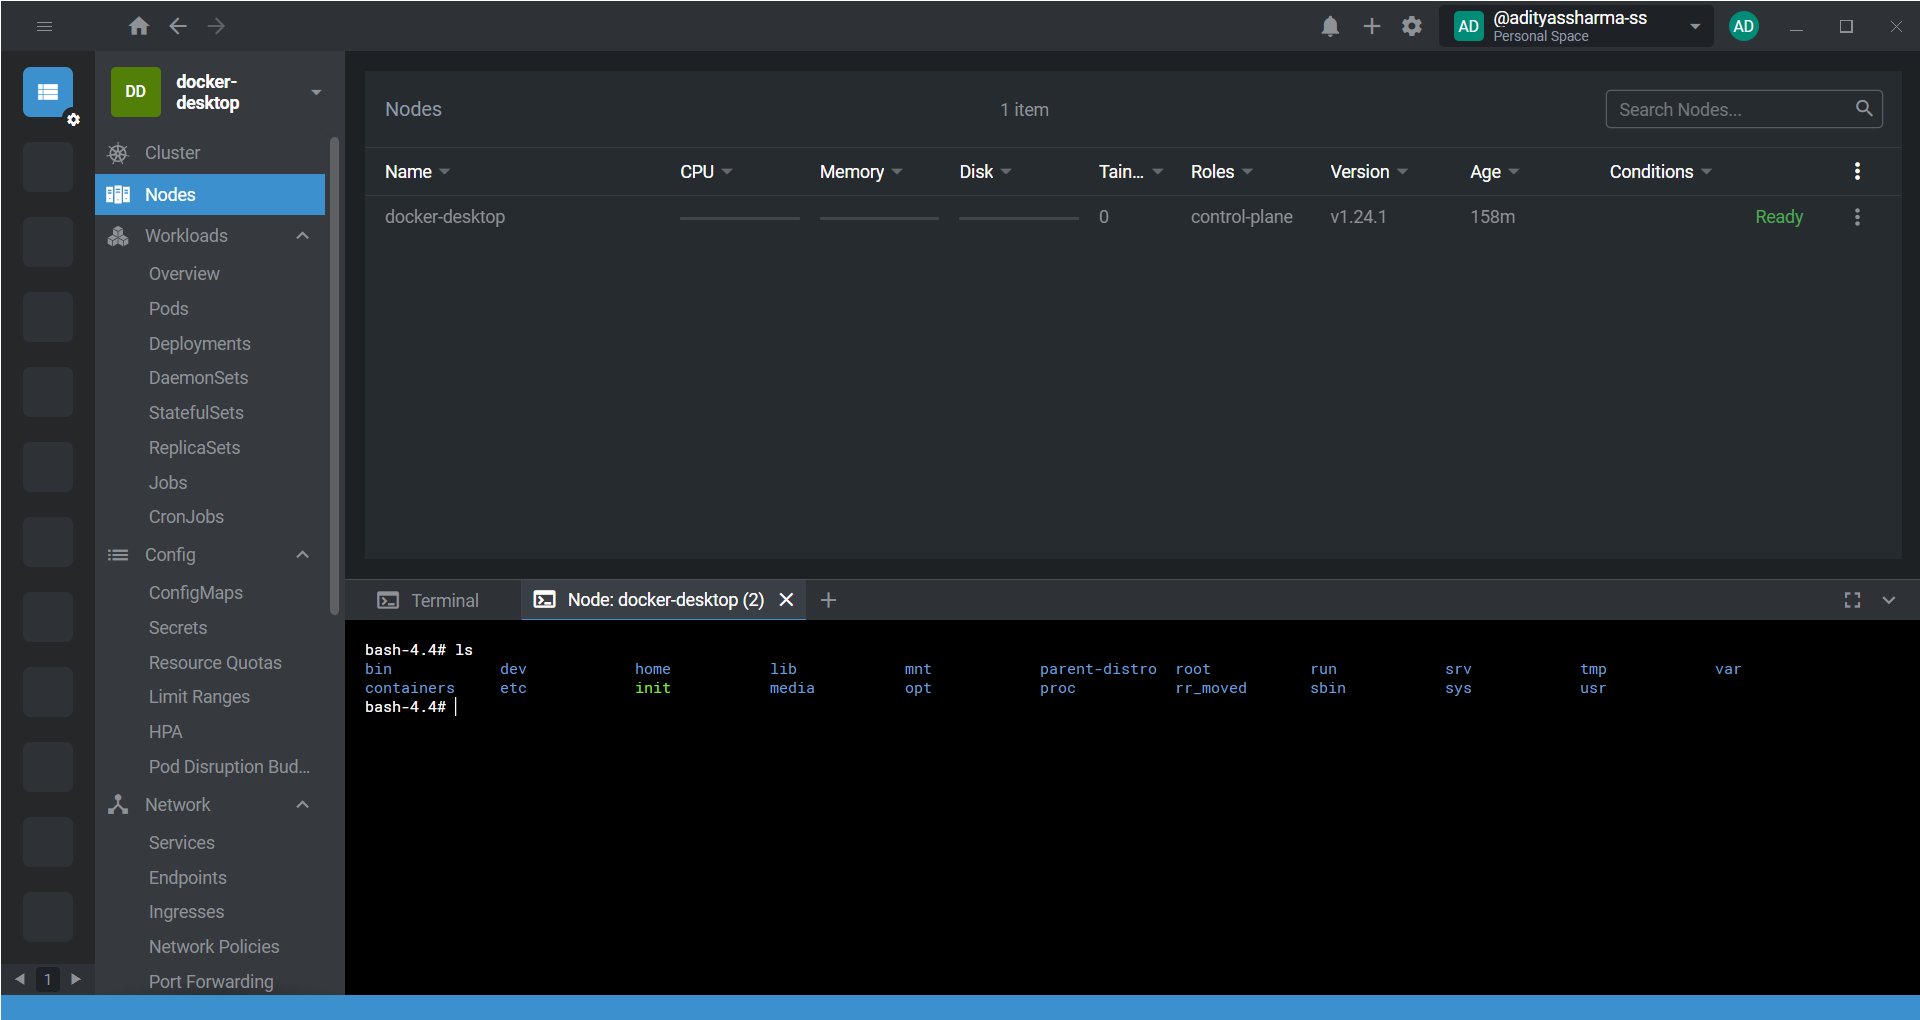
Checking a Cluster Configuration:
To see your current cluster configuration:
- In the Cluster view, click the New tab button and select Terminal session.
- In the Terminal, type:
kubectl config view --minify --raw
When connecting to a cluster, make sure you have a valid and working kubeconfig for the cluster.
Deploying a Helm Chart:
Helm is a package manager for Kubernetes that uses a packaging format called charts.
To deploy a Helm chart:
- In the cluster view, click Helm > Charts.
- Select a chart and click Install.
- In the Helm Install tab, configure the chart parameters and click Install.
- Click Helm > Releases to view a release of the installed chart.
Subscribe to my newsletter
Read articles from Aditya Sharma directly inside your inbox. Subscribe to the newsletter, and don't miss out.
Written by
Aditya Sharma
Aditya Sharma
Hi there! My name is Aditya Sharma and I am a driven and passionate Final year B.Tech student with a strong foundation in programming languages such as Java, C++, and Python. I have also gained valuable experience in cloud computing and DevOps, specifically using tools and technologies like Docker, Kubernetes, and ArgoCD. I am deeply interested in web development and open source projects, and have had the opportunity to work on a number of real-life projects that have allowed me to apply my skills and problem-solving abilities. In my free time, you can find me on my GitHub profile, https://github.com/adityassharma-ss, where I actively contribute to and collaborate on various open source projects. I am always seeking to learn and grow as a developer, and am excited to see where my interests and skills in cloud computing and DevOps will take me in the future. I am eager to apply my knowledge and abilities to meaningful projects and make a positive impact in the tech industry.