Implement RecyclerView in android and show dynamic data?
 Chandra Sekhar Bala
In this article, we will cover :
- Why
ListViewis needed? - How
RecyclerViewtook overListView? - implementation of
ReyclerViewwithListAapter. For better understanding, we will create a sample project 😉
Why ListView is needed?
As we know most of the apps these days uses scrollable screen, like WhatsApp chats, Facebook posts, YouTube videos. Have you seen something in common? The layout is the same, only the data that is changed!. Think practically, you cannot manually add all those views by yourself, because you don't know the number of contents at runtime. E.g: you don't know how many chats I will have.

For that reason, we require ListView that helps us to display horizontally/vertically scrollable collection of views.
How RecyclerView took over Listview
First of all
RecyclerViewwas created to fullfill the drawback ofListView. Creating views is expensive when it comes to a long list, it indeed became costly. Suppose a food ordering application with a list of food, there could be 100 or thousands of food items, on your mobile screen you see only 10 (assume the size limit). So how did these views are drawn over screen?, let's find out.ListViewsimply create new views every time you scroll for new items, i.e. if 1000 items are on the listListViewwill create 1000 views. Which is very costly to create and draw.In this situation,
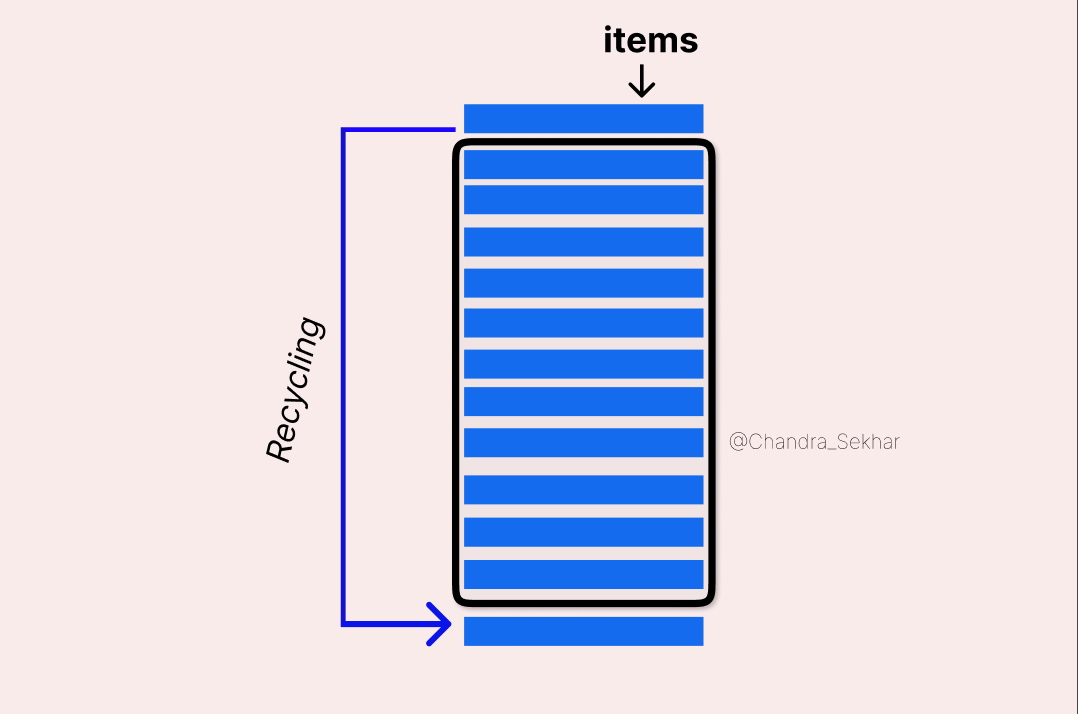
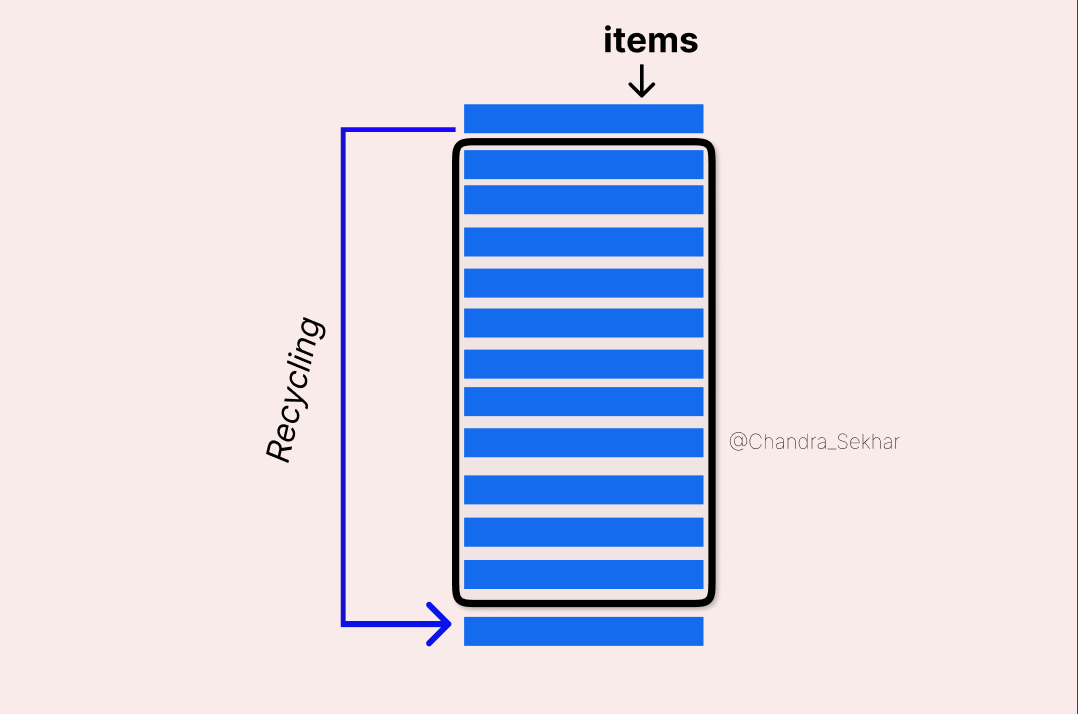
Recyclerviewwill create only once the number of it views needed to present on screen (10 in this case). But what if I scroll?. Don't worry dev, when you scroll down, the upper views are recycled to use as new bottom views, with changed data, that's all.
- In,
RecyclerViewthings like animating over addition or removal of items are already implemented without you having to do anything. ListViewonly supported Vertical Scrolling with Row displayed Views whereasRecyclerViewsupports Horizontal, Grid and staggered layouts, yo just have to mention the type usingLayoutManager.

Let's Implement Recycler View with ListAdapter.
As of now, you have pretty much of idea why we use RecyclerView. RecyclerView makes it very easy to show large sets of data. All we just need to provide data and the layout (how it should look) and it dynamically creates the elements for you. Now let's create a project named RecyclerView_fun.
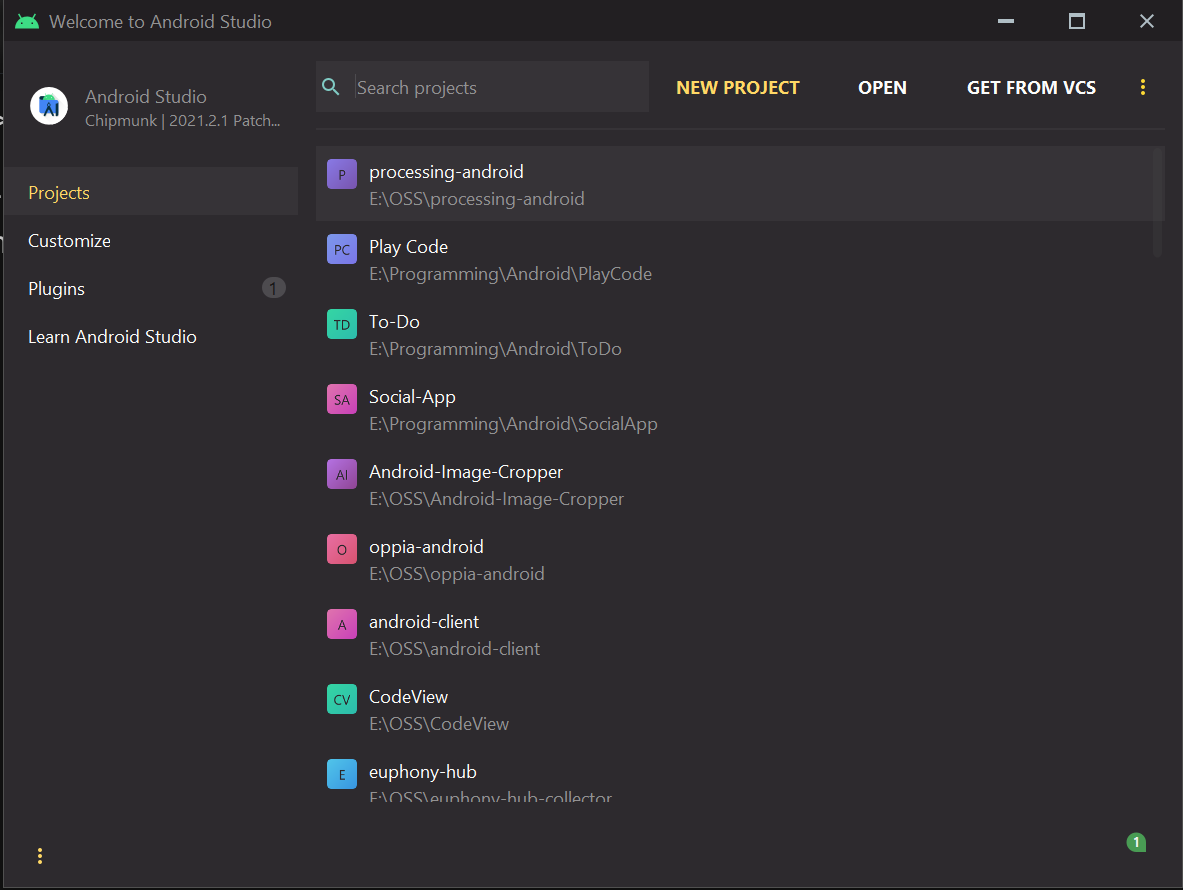
Ope Android Studio and follow these steps:-
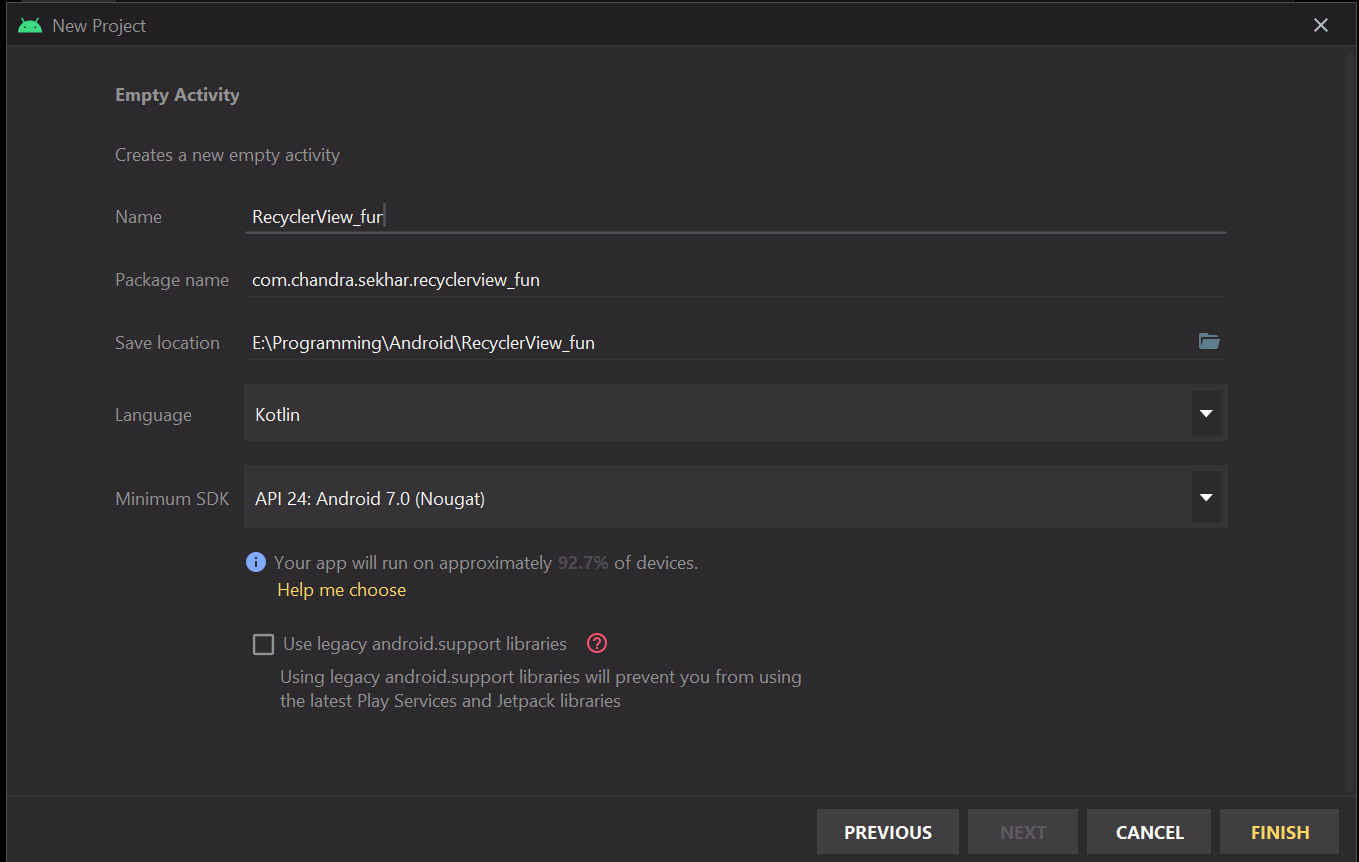
Create a project :
Click on New Project
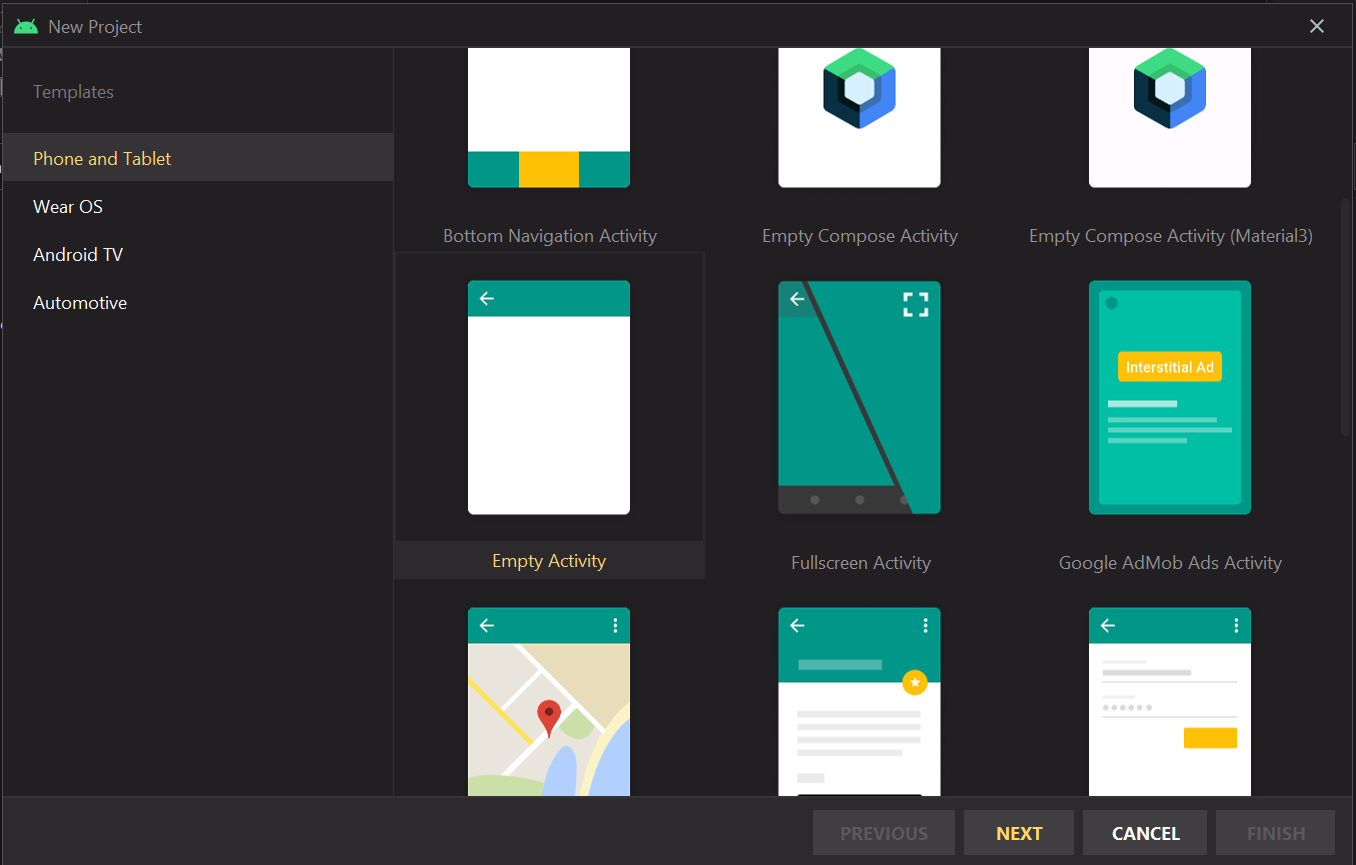
Select Empty Activity., hit
NEXT
- Choose a app and package name, hit
FINISH.
Define
RecyclerViewin XMLopen
activity_main.xmlStart typing <recyclerView. Auto suggest will appear, click that, or manually type or copy from below.
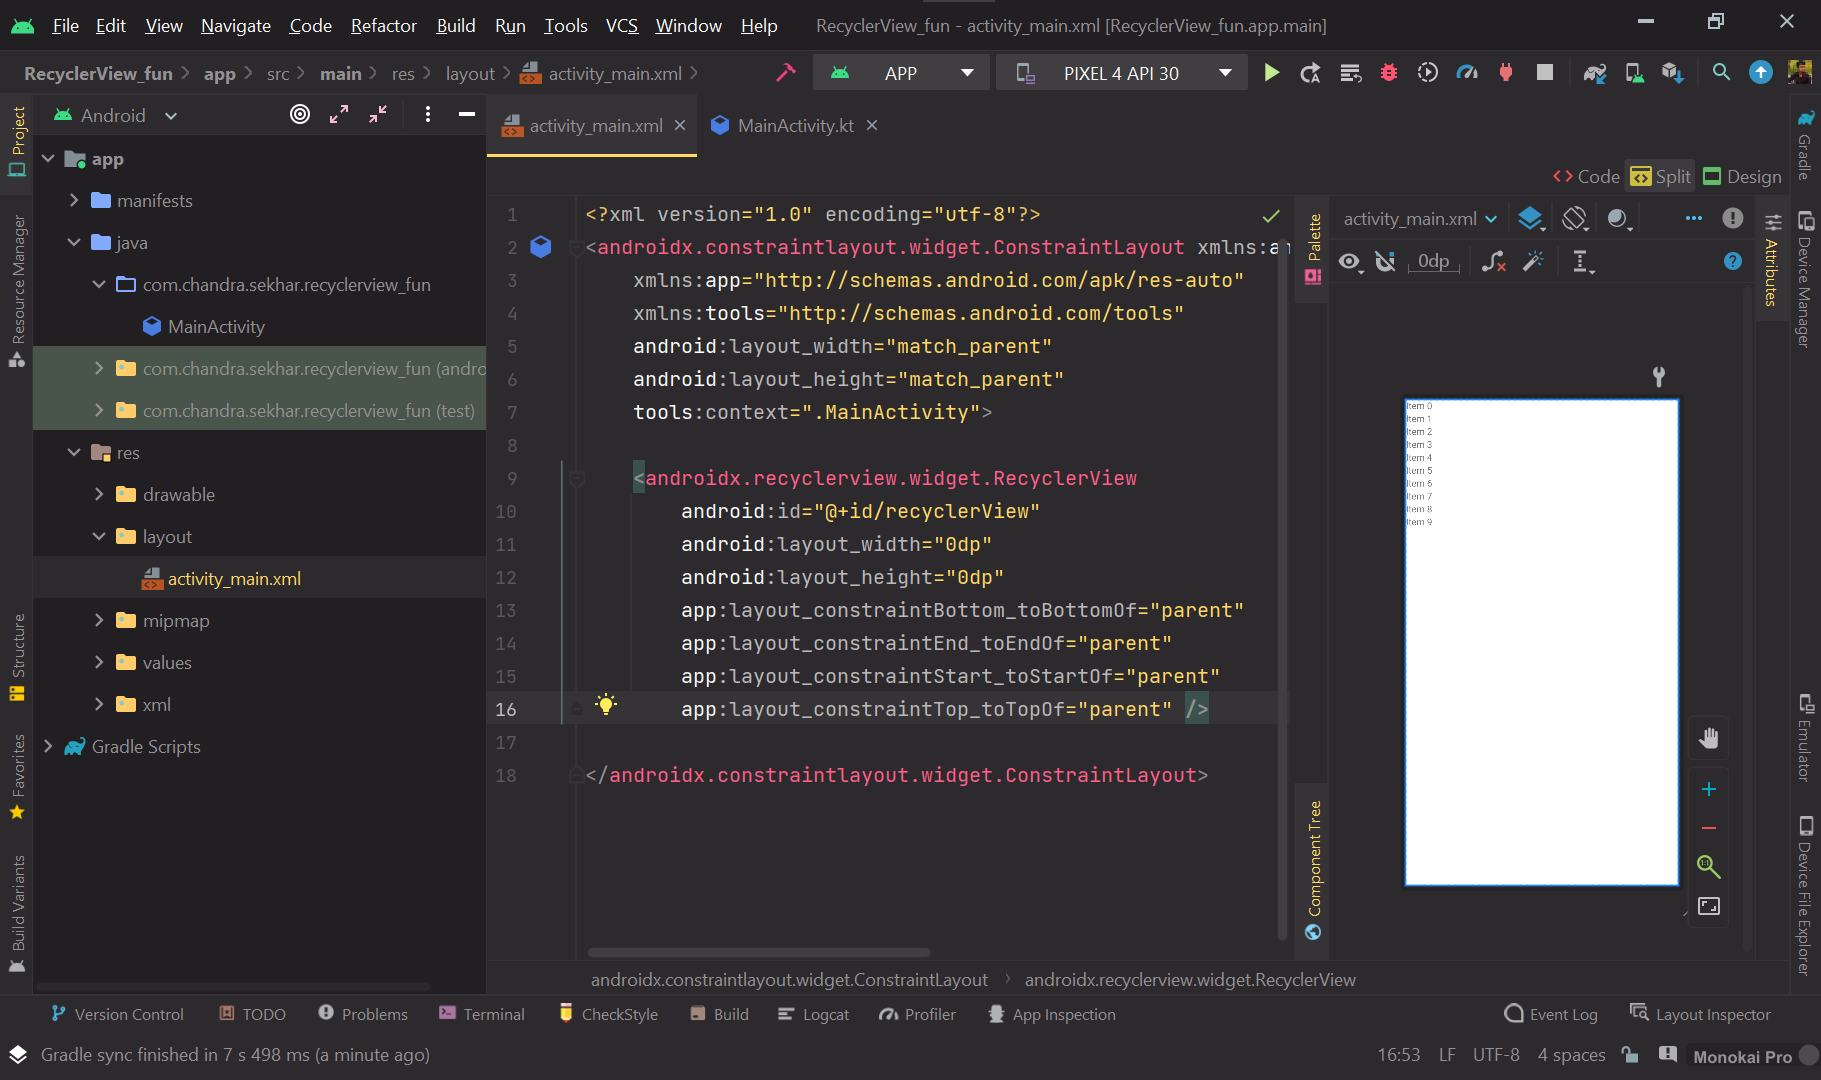
   <androidx.recyclerview.widget.RecyclerView
        android:id="@+id/recyclerView"
        android:layout_width="0dp"
        android:layout_height="0dp"
        app:layout_constraintBottom_toBottomOf="parent"
        app:layout_constraintEnd_toEndOf="parent"
        app:layout_constraintStart_toStartOf="parent"
        app:layout_constraintTop_toTopOf="parent"
   />
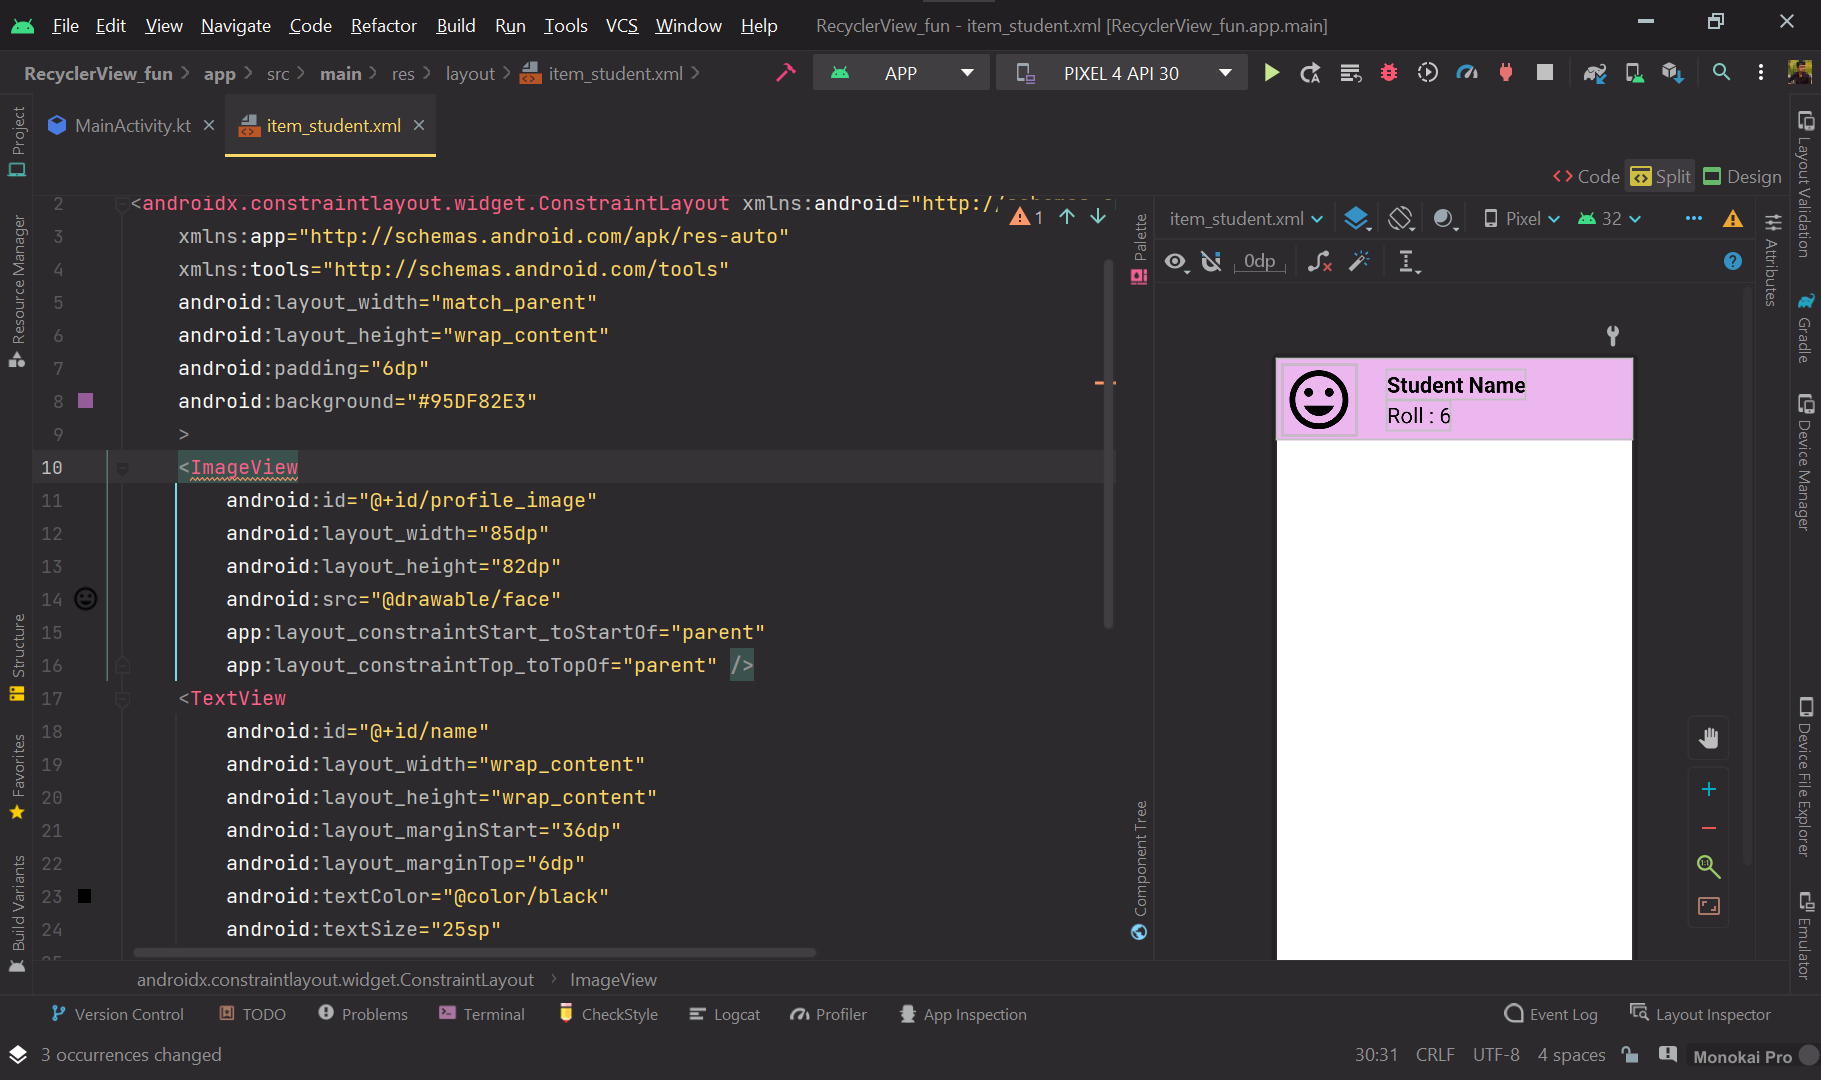
Create Single Item Layout, that would be shown as a list in RecyclerView.
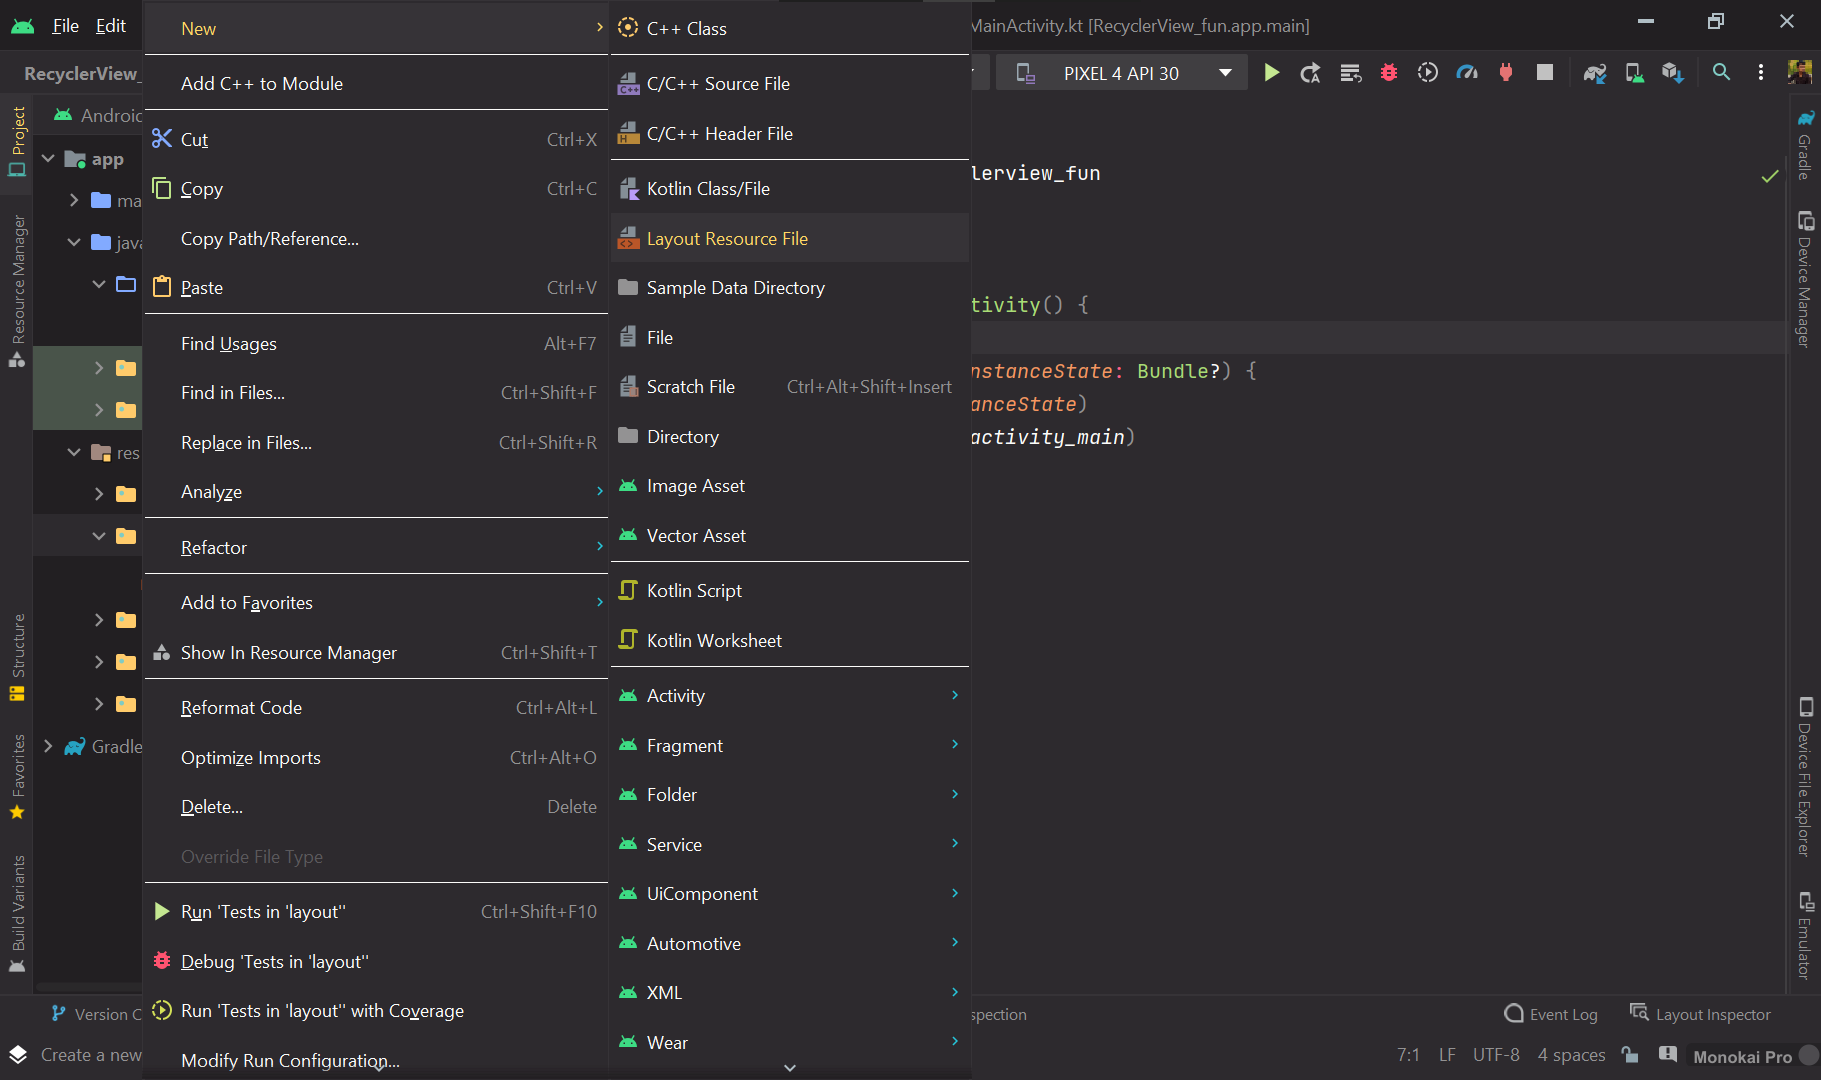
Right click in res -> New -> Layout Resource File -> Select
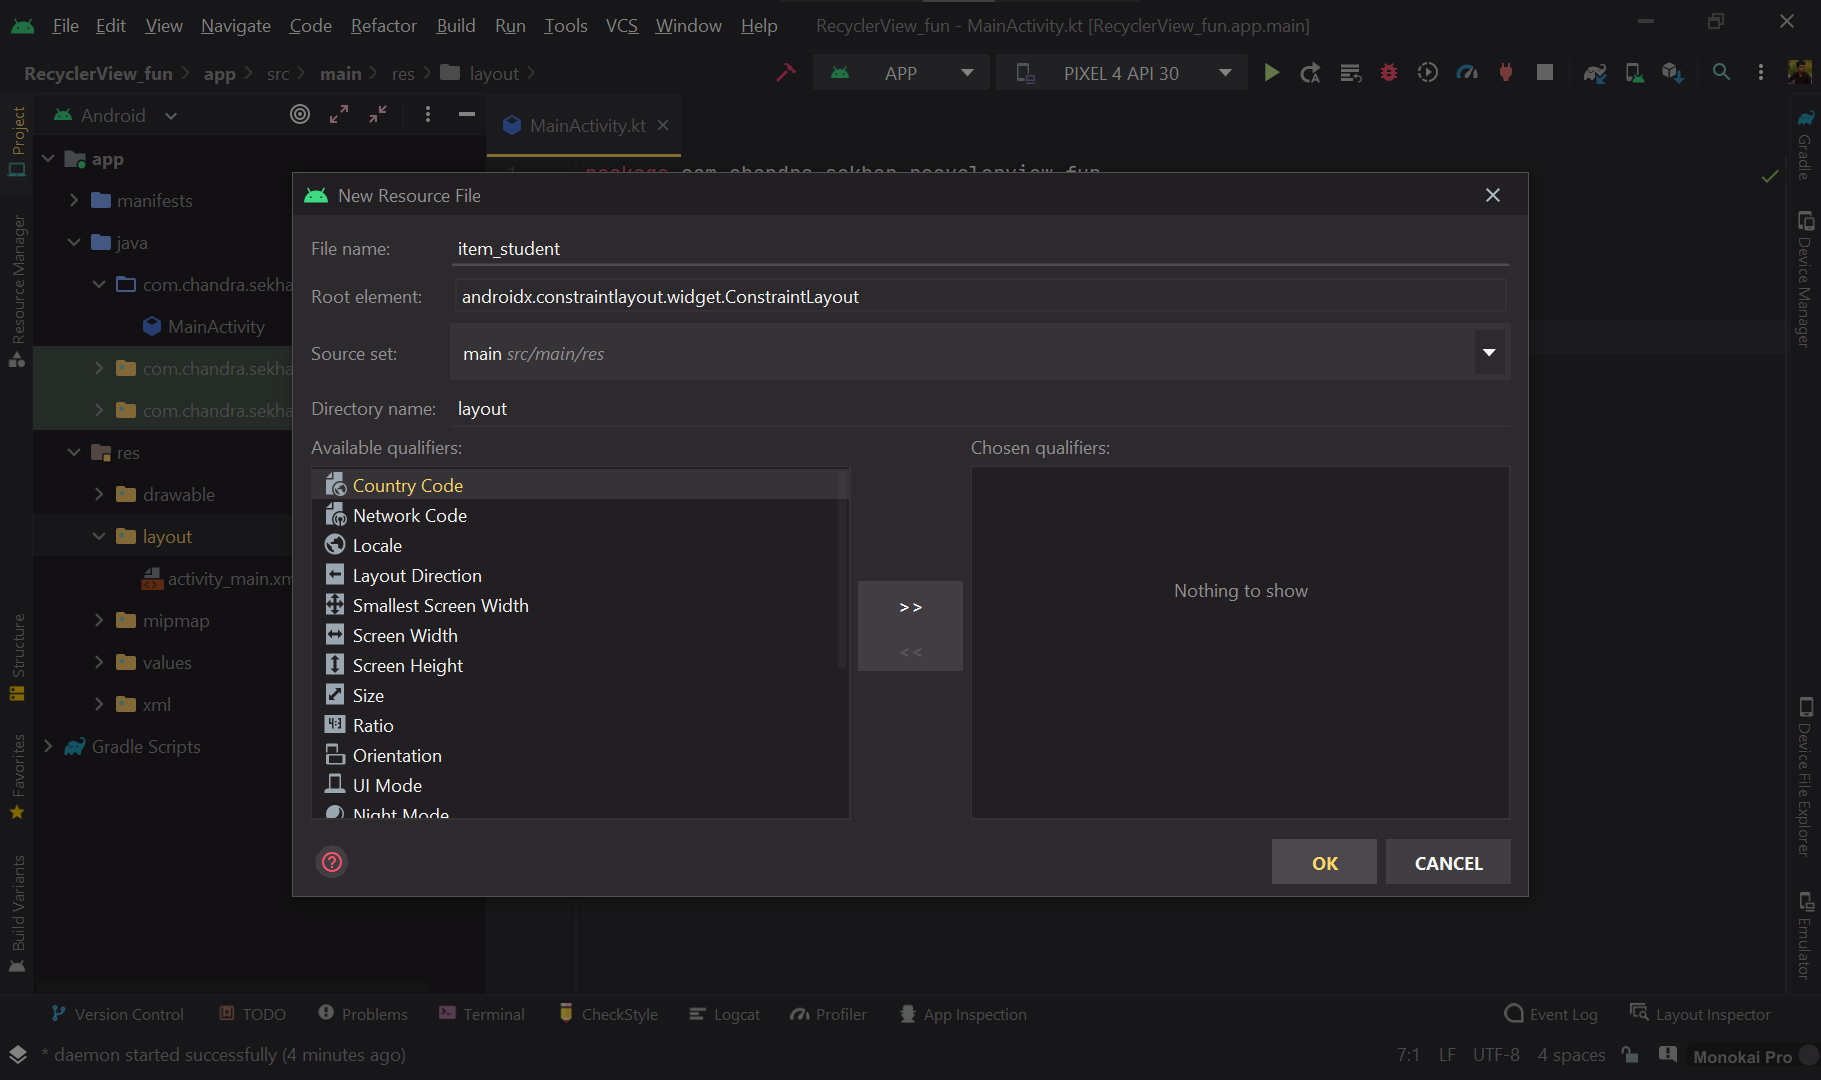
Give a name like
item_studentbecause we will show students' data.
- Create a design as well, as you like, I've created a simple one :p
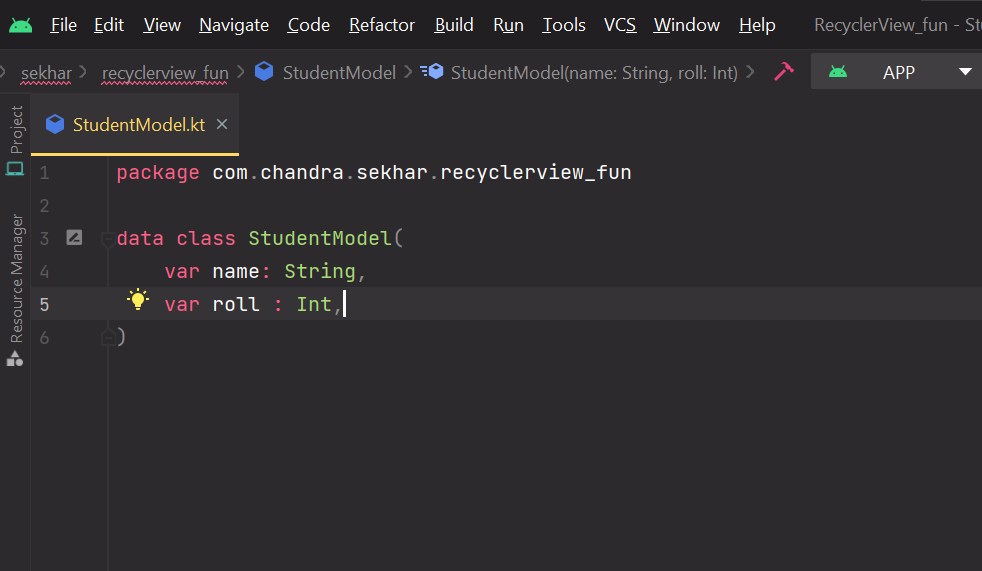
Create a model class, the data source (type of object we are going to show)
- Create a data class
StudentModelwith aname,roll numberproperties.
RecyclerView is ready, item_view ready and data Source Ready too. Now we need someone to bind them up. Here comes the Adapter. Adapter is a bridge between View and Data, it basically takes layout and data then binds both and show on RecyclerView.
- Create a data class
Nowadays, we use ListAdapter over RecyclerView.Adapter() as it provides good features in regard to add/delete items.
ListAdapteris not equal toListView.
Create a
ListAdapter- Create a class
StudentAdapterthat extendsListAdapter<>
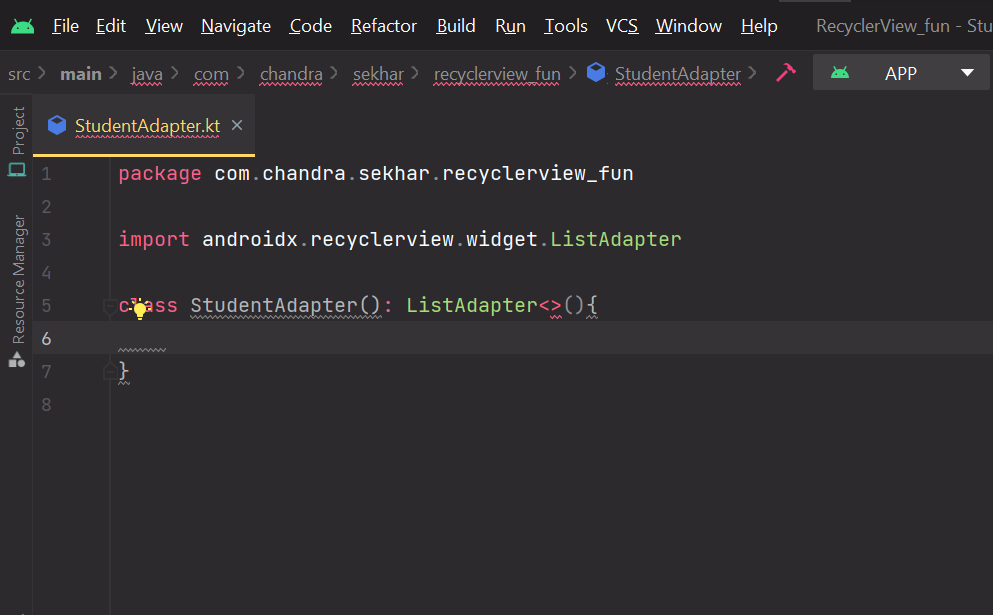
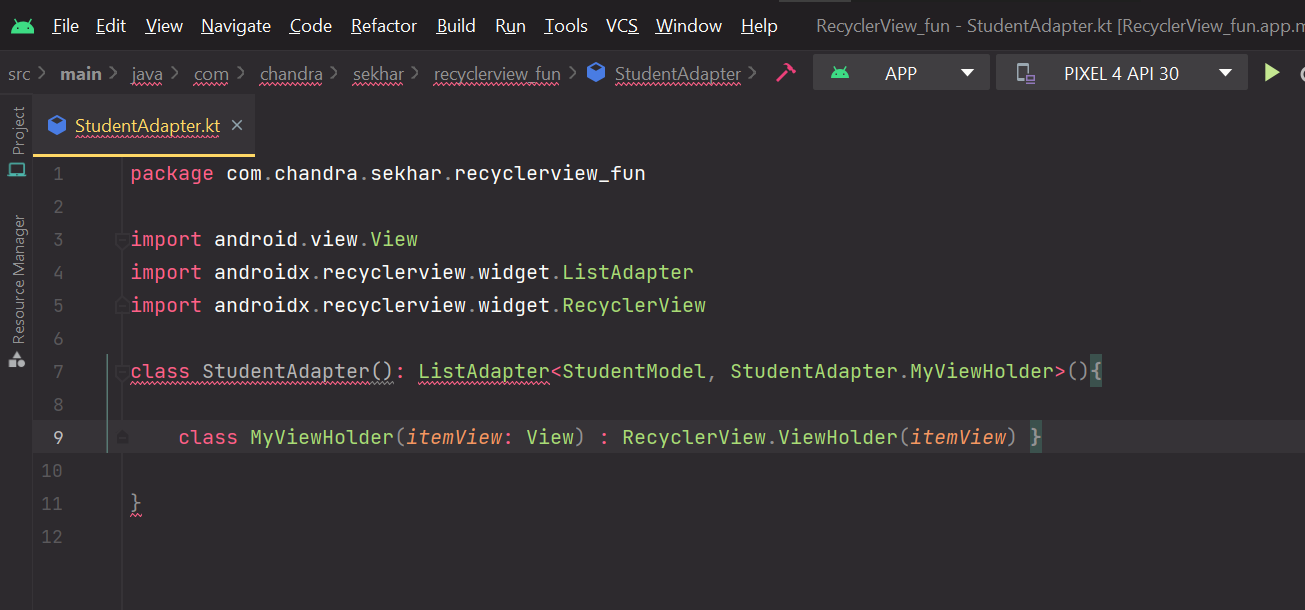
Listadaptertakes 2 type parameter:- First: Type of the Lists this Adapter will receive.
- Second: A class that extends
ViewHolderthat will be used by the adapter.
It should look something like that.
- Implement member by hovering on class Name:
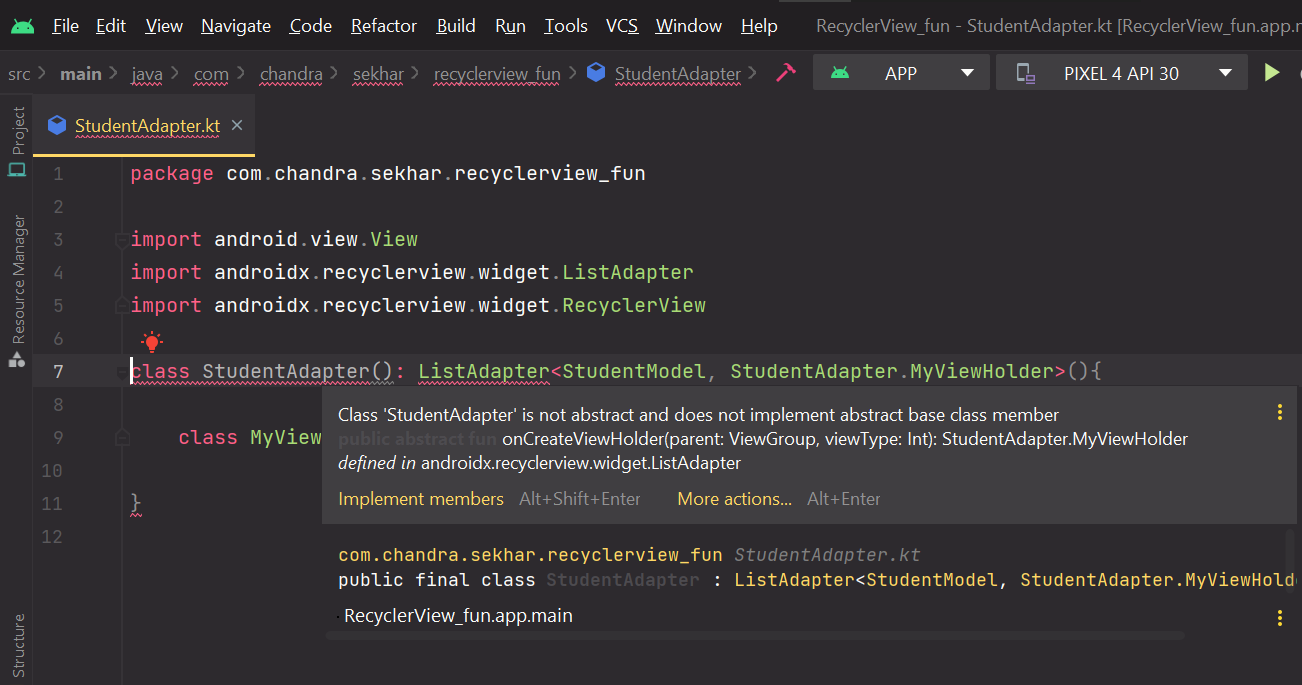
- Now construct method
onCreateViewHolder, it is called when RecyclerView needs a new [ViewHolder] of the given type to represent an item. Create a view and return it.
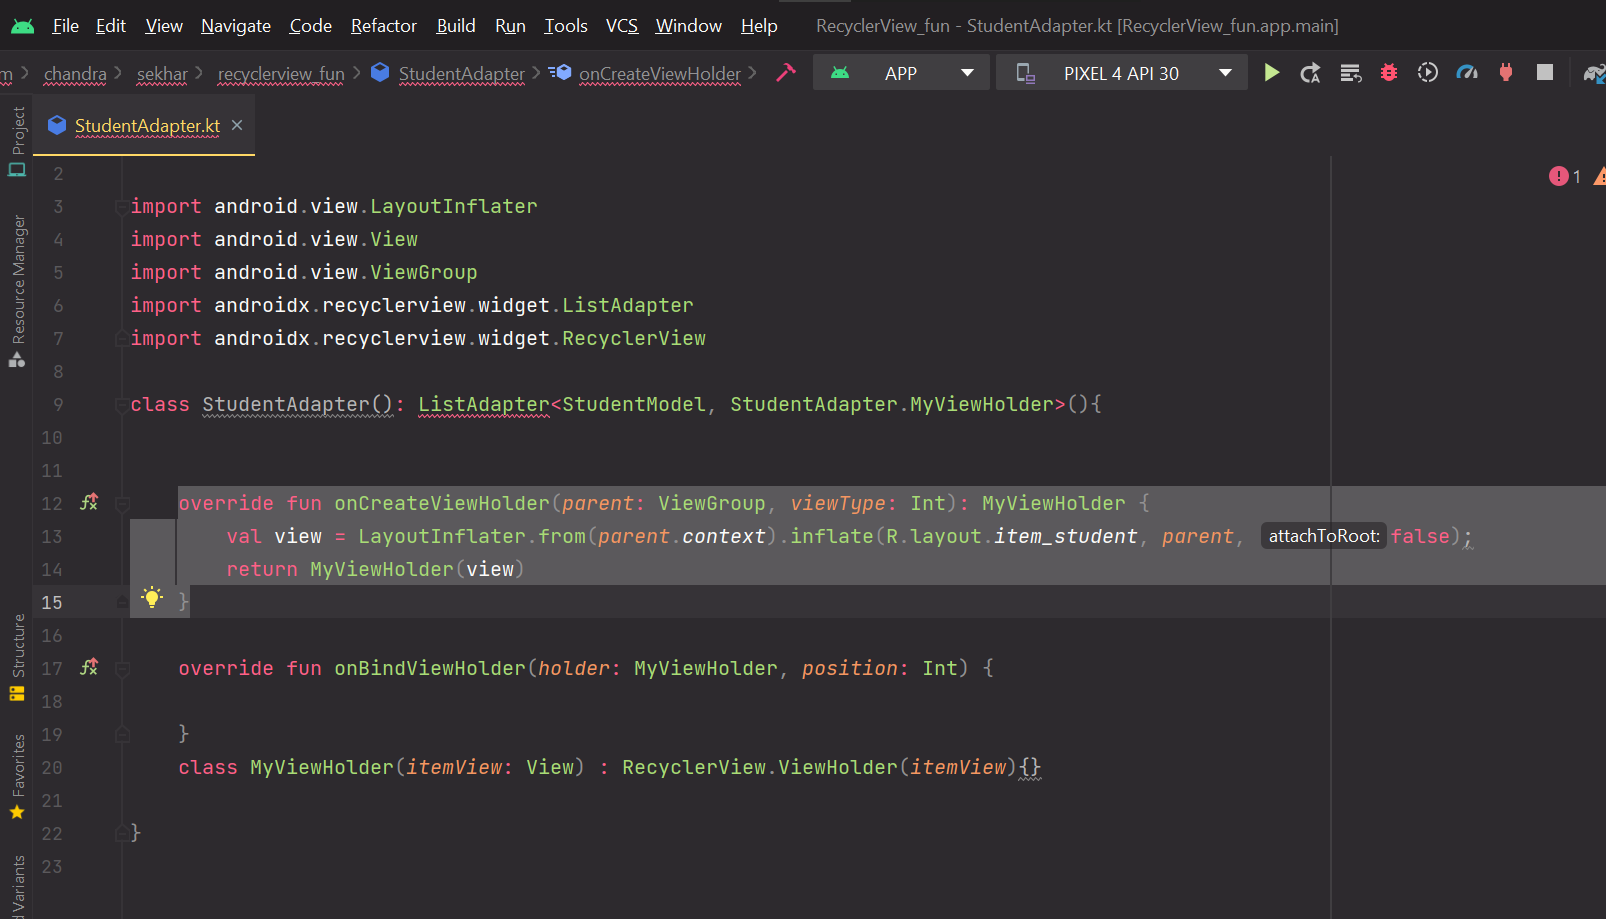
- Inside
MyViewHolderI got access toitem_student, take reference of individual views so that I can bind dynamic data to it.

- Time to implement,
onBindViewHolderwhich is called by RecyclerView to display the data at the specified position. This method should update the contents of [ViewHolder.itemView] to reflect the item at the given position.

But still
ListAaptergiving us red signal, because it takes an object ofDiffUtil.ItemCallbackclass as an argument. Which reduces the pain of explicitly calling ofnotifyDataSetChanged,notifyDataSetRemovedetc. methods. This callback will check old and new list in the most optimal way. So let's give it anCompanion object
- The first method
areContentsTheSame()is used to check does two items have the same data or not - The other method
areItemsTheSame()is used to check if two object has the same item or not.
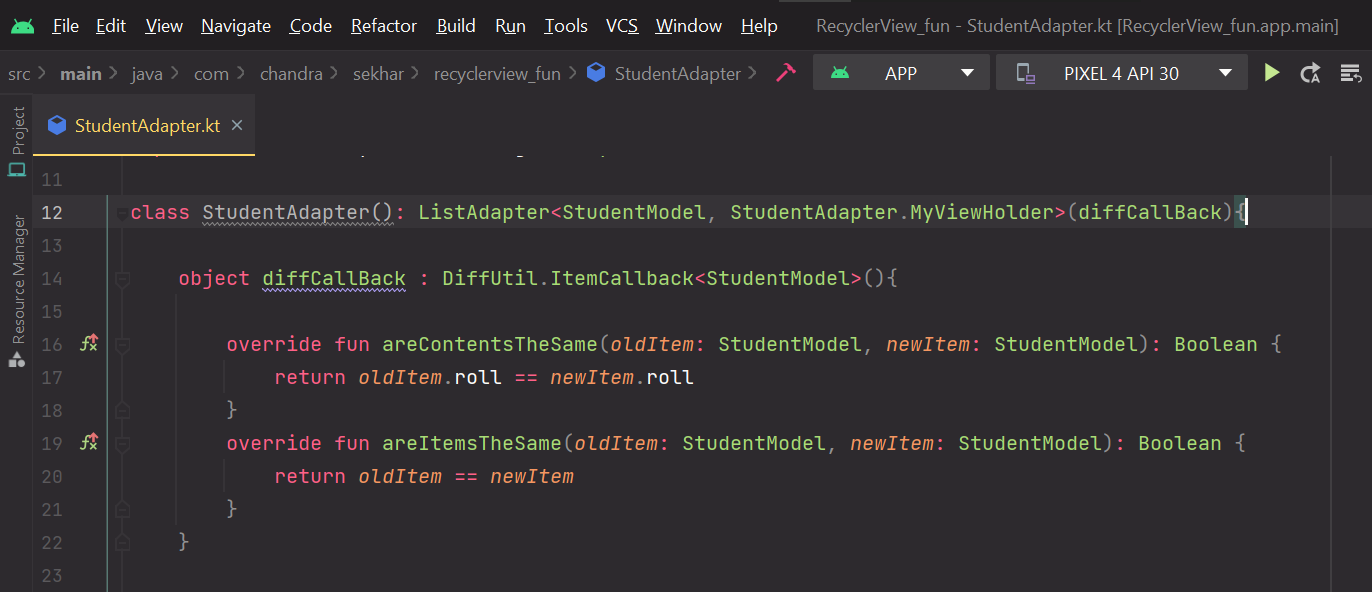
As you can see,
areContentsTheSamechecks for roll number as it is unique. And the second one checks for object equivalence.ListAdapter Implementation Completed, all set lets Warp things up.
- Create a class
Set up
RecyclerViewwithAdapter:Take reference of RecyclerView
val recyclerView = findViewById<RecyclerView>(R.id.recyclerView)Set up Layout manager
recyclerView .layoutManager = LinearLayoutManager(this)
Get the data (either from local or internet)
Well, my data source is :
   private fun dummyData(): List<StudentModel> {
       val list : ArrayList<StudentModel> = ArrayList()
       for(i in 1..20){
           list.add(StudentModel("Android", i))
       }
       return list
   }
Create an object of
StudentAdapterand set it withrecyclerViewval adapter = StudentAdapter() recyclerView.adapter = adapterSubmit List of data to adapter, so that it can start working😉
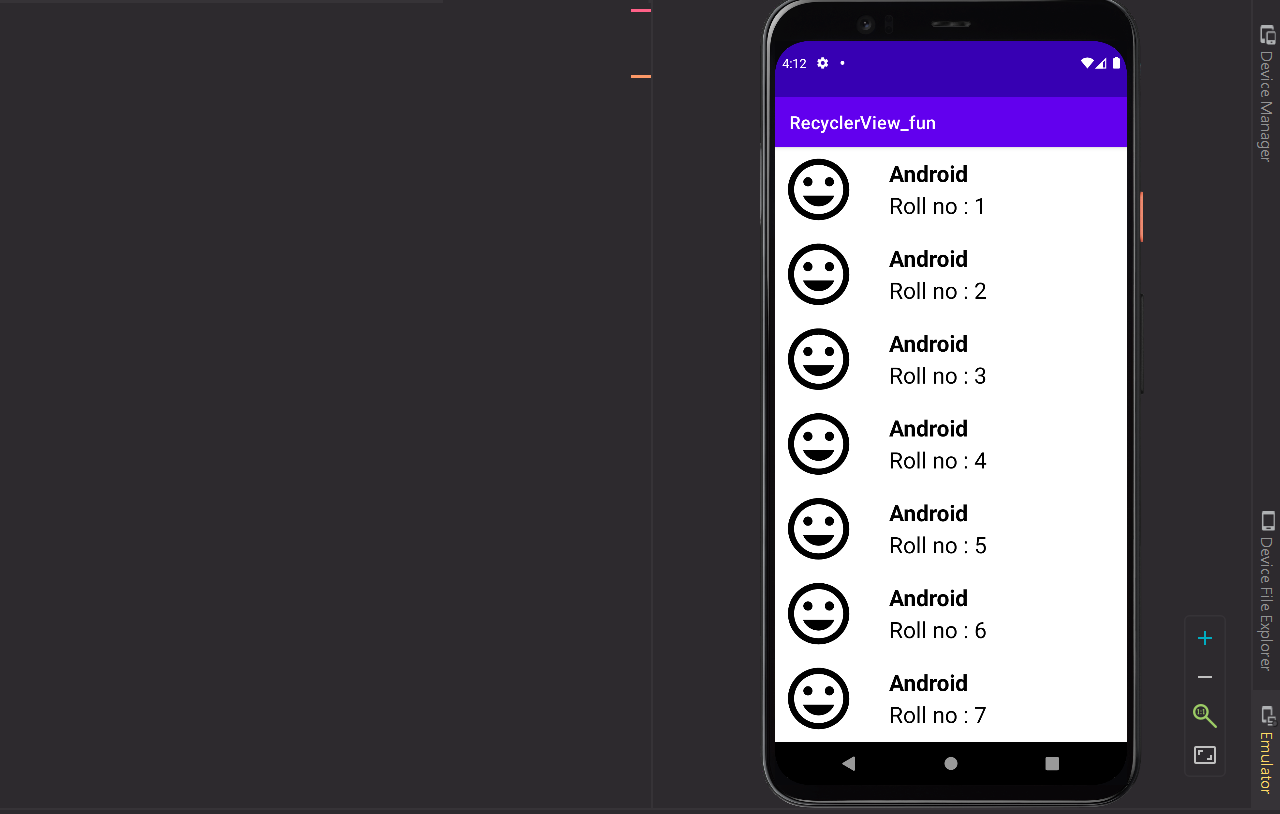
adapter.submitList(data)Final Result
[I removed the item background color, normally it looks better]
Get The full code From 😽Github
Subscribe to my newsletter
Read articles from Chandra Sekhar Bala directly inside your inbox. Subscribe to the newsletter, and don't miss out.
Written by

Chandra Sekhar Bala
Chandra Sekhar Bala
Android Developer - Open source contributor - Community enthusiast