Quick RecyclerView Adapter with Android Studio Template
 Daniel Waiguru
As I was surfing through the web, I came across this article by Ferdinand Bada on creating an Android Studio template to generate recycler view adapter boilerplate code. I was amazed at how easily one can create a recycler view adapter. However, although the solution works, It doesn't use ViewBinding/DataBinding. In this article, I will show you how to utilize the solution to generate RecyclerView Adapter with ViewBinding/DataBinding and save some keystrokes and time.
If perhaps you live under the rock😅 and you're unfamiliar with ViewBinding and/or Data Binding, please check out the official docs here and here.
So open Android Studio settings by pressing command + , then select File and Code Templates under the Editor option and click the plus icon to add a new template and copy the following code into the file.
#if (${PACKAGE_NAME} && ${PACKAGE_NAME} != "")package ${PACKAGE_NAME}#end

import android.view.LayoutInflater
import android.view.View
import android.view.ViewGroup
import androidx.recyclerview.widget.DiffUtil
import androidx.recyclerview.widget.RecyclerView
import androidx.recyclerview.widget.ListAdapter
import ${applicationPackage}.databinding.${BindingLayout}

//TODO: Import your model and binding layout when you first use this template
class ${NAME} : ListAdapter<${Model},${NAME}.${Model}ViewHolder >(${Model}Comparator)  {
    private object ${Model}Comparator : DiffUtil.ItemCallback<${Model}>() {
        override fun areItemsTheSame(oldItem: ${Model}, newItem: ${Model}): Boolean {
            //TODO: Confirm that your id/unique identifier variable matches this one or change this one to match
            //the one in your model
            return oldItem.id == newItem.id
        }

        override fun areContentsTheSame(oldItem: ${Model}, newItem: ${Model}): Boolean {
            return oldItem == newItem
        }
    }

    override fun onCreateViewHolder(parent: ViewGroup, viewType: Int): ${Model}ViewHolder {
        return ${Model}ViewHolder(
            ${BindingLayout}.inflate(
                LayoutInflater.from(parent.context), parent, false
            )
        )
    }

    override fun onBindViewHolder(holder: ${Model}ViewHolder, position: Int) {
        holder.bindItem(getItem(position))
    }

    class ${Model}ViewHolder(
    private val binding: ${BindingLayout}
    ) : RecyclerView.ViewHolder(binding.root){
        fun bindItem(item: ${Model}){
              with(binding) {
                  //TODO: Bind your views here
              }
        }
    }
}
In the Name field, enter any name you would like to name your template; in my case, I will name it as RecyclerView Adapter; make sure to change the extension to .kt as this will be a Kotlin file Template.
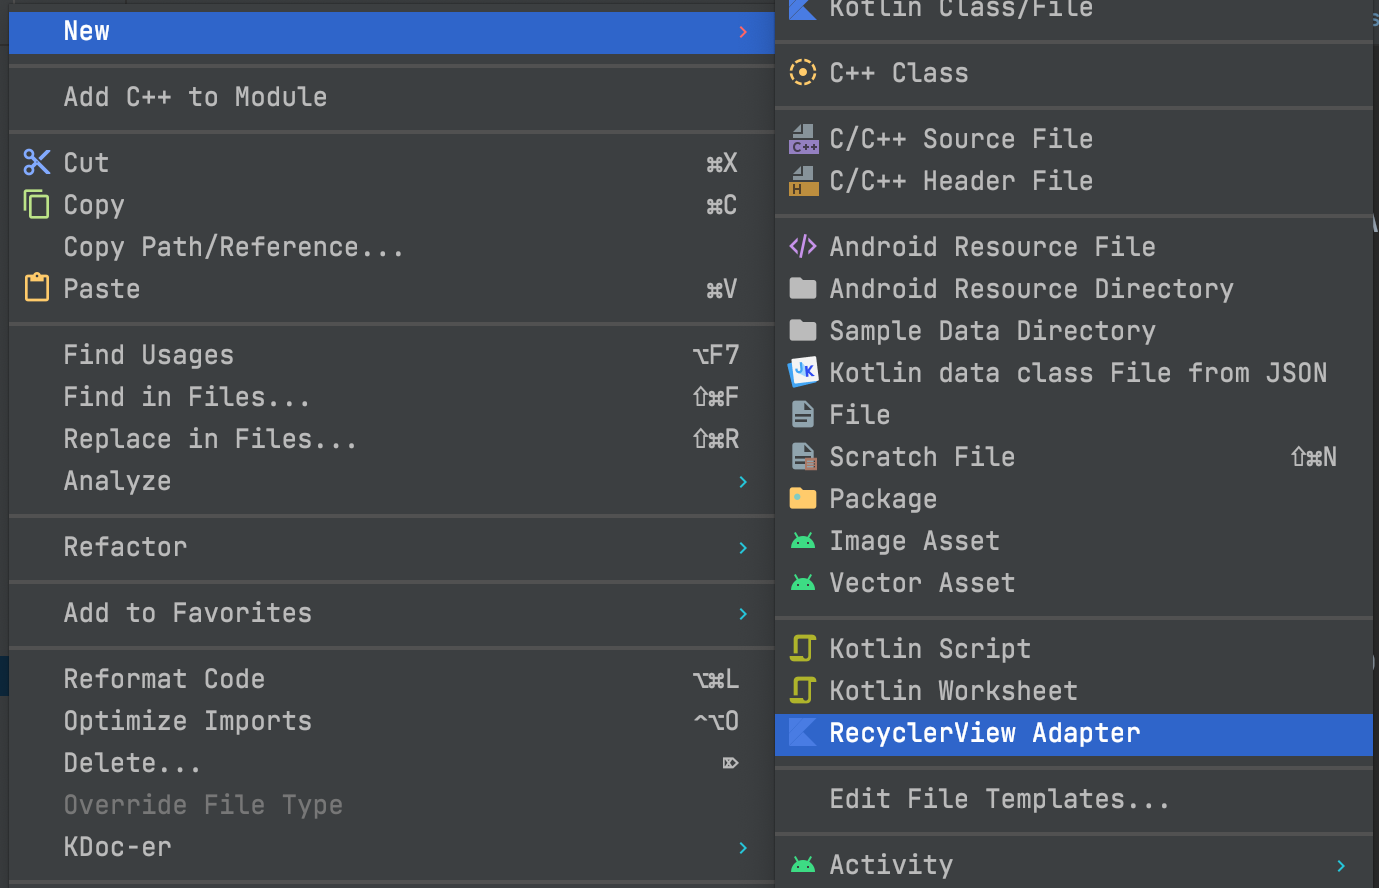
Now that you have saved the file,control + click or right-click on any folder you would like to create a RecyclerView Adapter, and our template will appear as below.

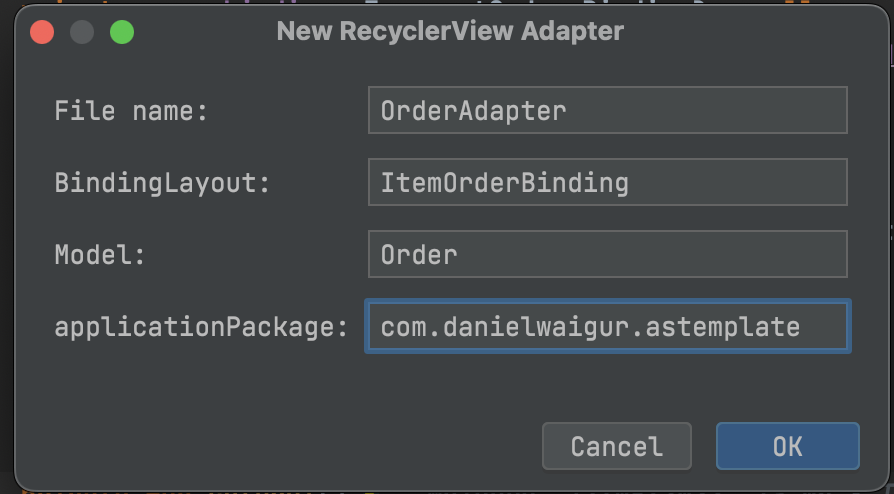
Choose the RecyclerView Adapter option and fill in the information needed.

And there you have your RecyclerView Adapter with ViewBinding you only need to add the necessary imports, such as importing your Model class. 😌😌
Using the template with DataBinding is as easy as changing the onCreateViewHolder method.
//Change From
override fun onCreateViewHolder(parent: ViewGroup, viewType: Int): ${Model}ViewHolder {
        return ${Model}ViewHolder(
            ${BindingLayout}.inflate(
                LayoutInflater.from(parent.context), parent, false
            )
        )
    }
// To
override fun onCreateViewHolder(parent: ViewGroup, viewType: Int): ${Model}ViewHolder {
        val layoutInflater = LayoutInflater.from(context)
        return ${Model}ViewHolder(
            DataBindingUtil.inflate(
                layoutInflater,
                <your recyclerview item layout id>, //You can choose to add this id as a template variable
                 parent, false
            )
        )
    }
Conclusion
Of course, You can customize this solution further per your needs.
Subscribe to my newsletter
Read articles from Daniel Waiguru directly inside your inbox. Subscribe to the newsletter, and don't miss out.
Written by

Daniel Waiguru
Daniel Waiguru
Passionate Android Engineer, Mobile technologies junkie