Deploy Strapi with Dokku
 Graham Bailey
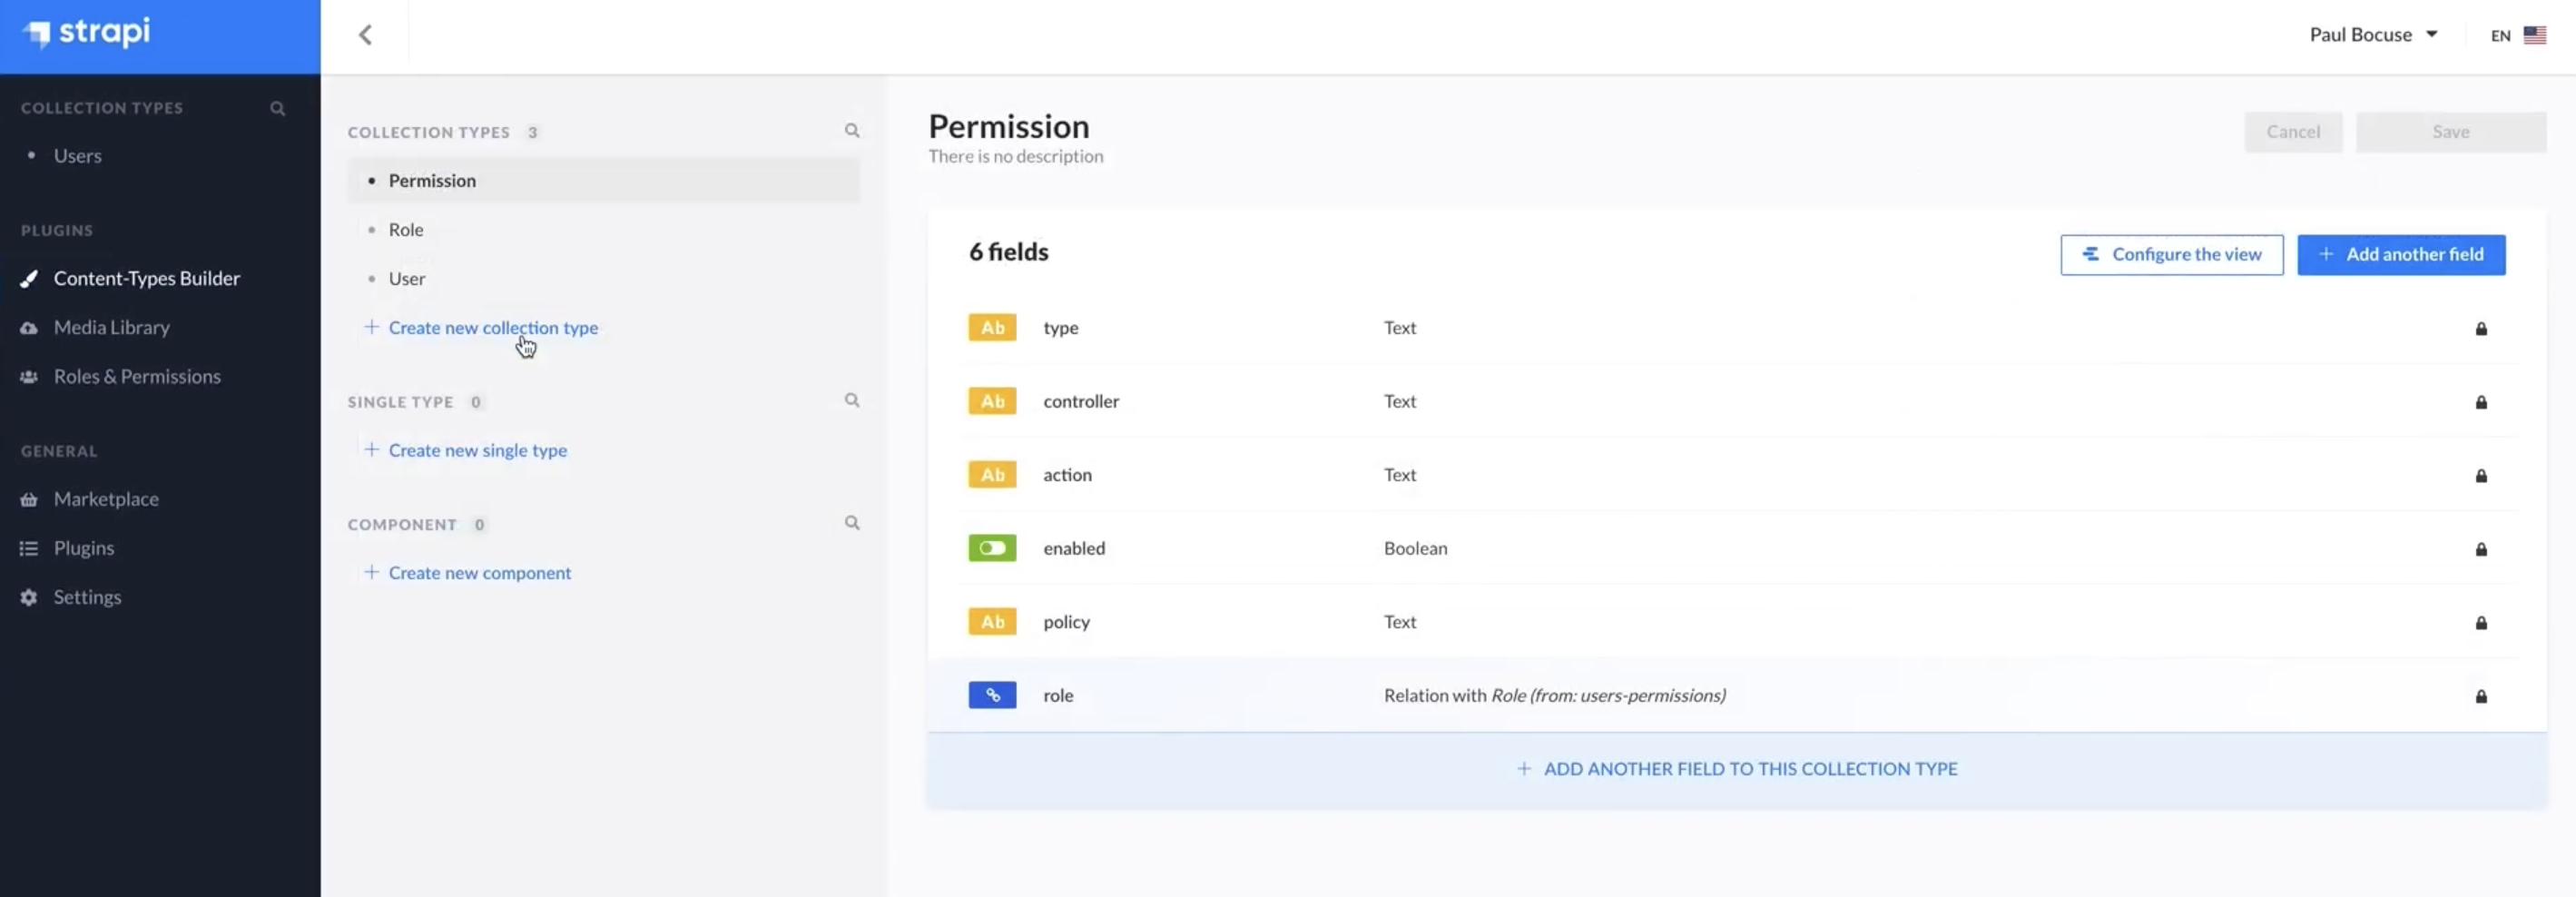
Strapi is a great self-hosted and open source Headless CMS. I'm using it as a backend for some side projects. It makes it super easy to create an API backend with both REST and GraphQL endpoints. That said, it's useless until you deploy it, right? Strapi is easy to deploy to Heroku so I figured it would be worth trying out a self hosted Heroku-like software called Dokku. Dokku allows you to have a similar build build and deploy process to Heroku on your own server! Let's get to it.
Table of Contents
- Create DigitalOcean Dokku server and create login user
- Set up your domain to point to DigitalOcean
- Create the Dokku app and database on server
- Set up your local development environment for deployment
- Use S3 for media hosting
- Test your API and even connect via Postgres client
Create and administer server
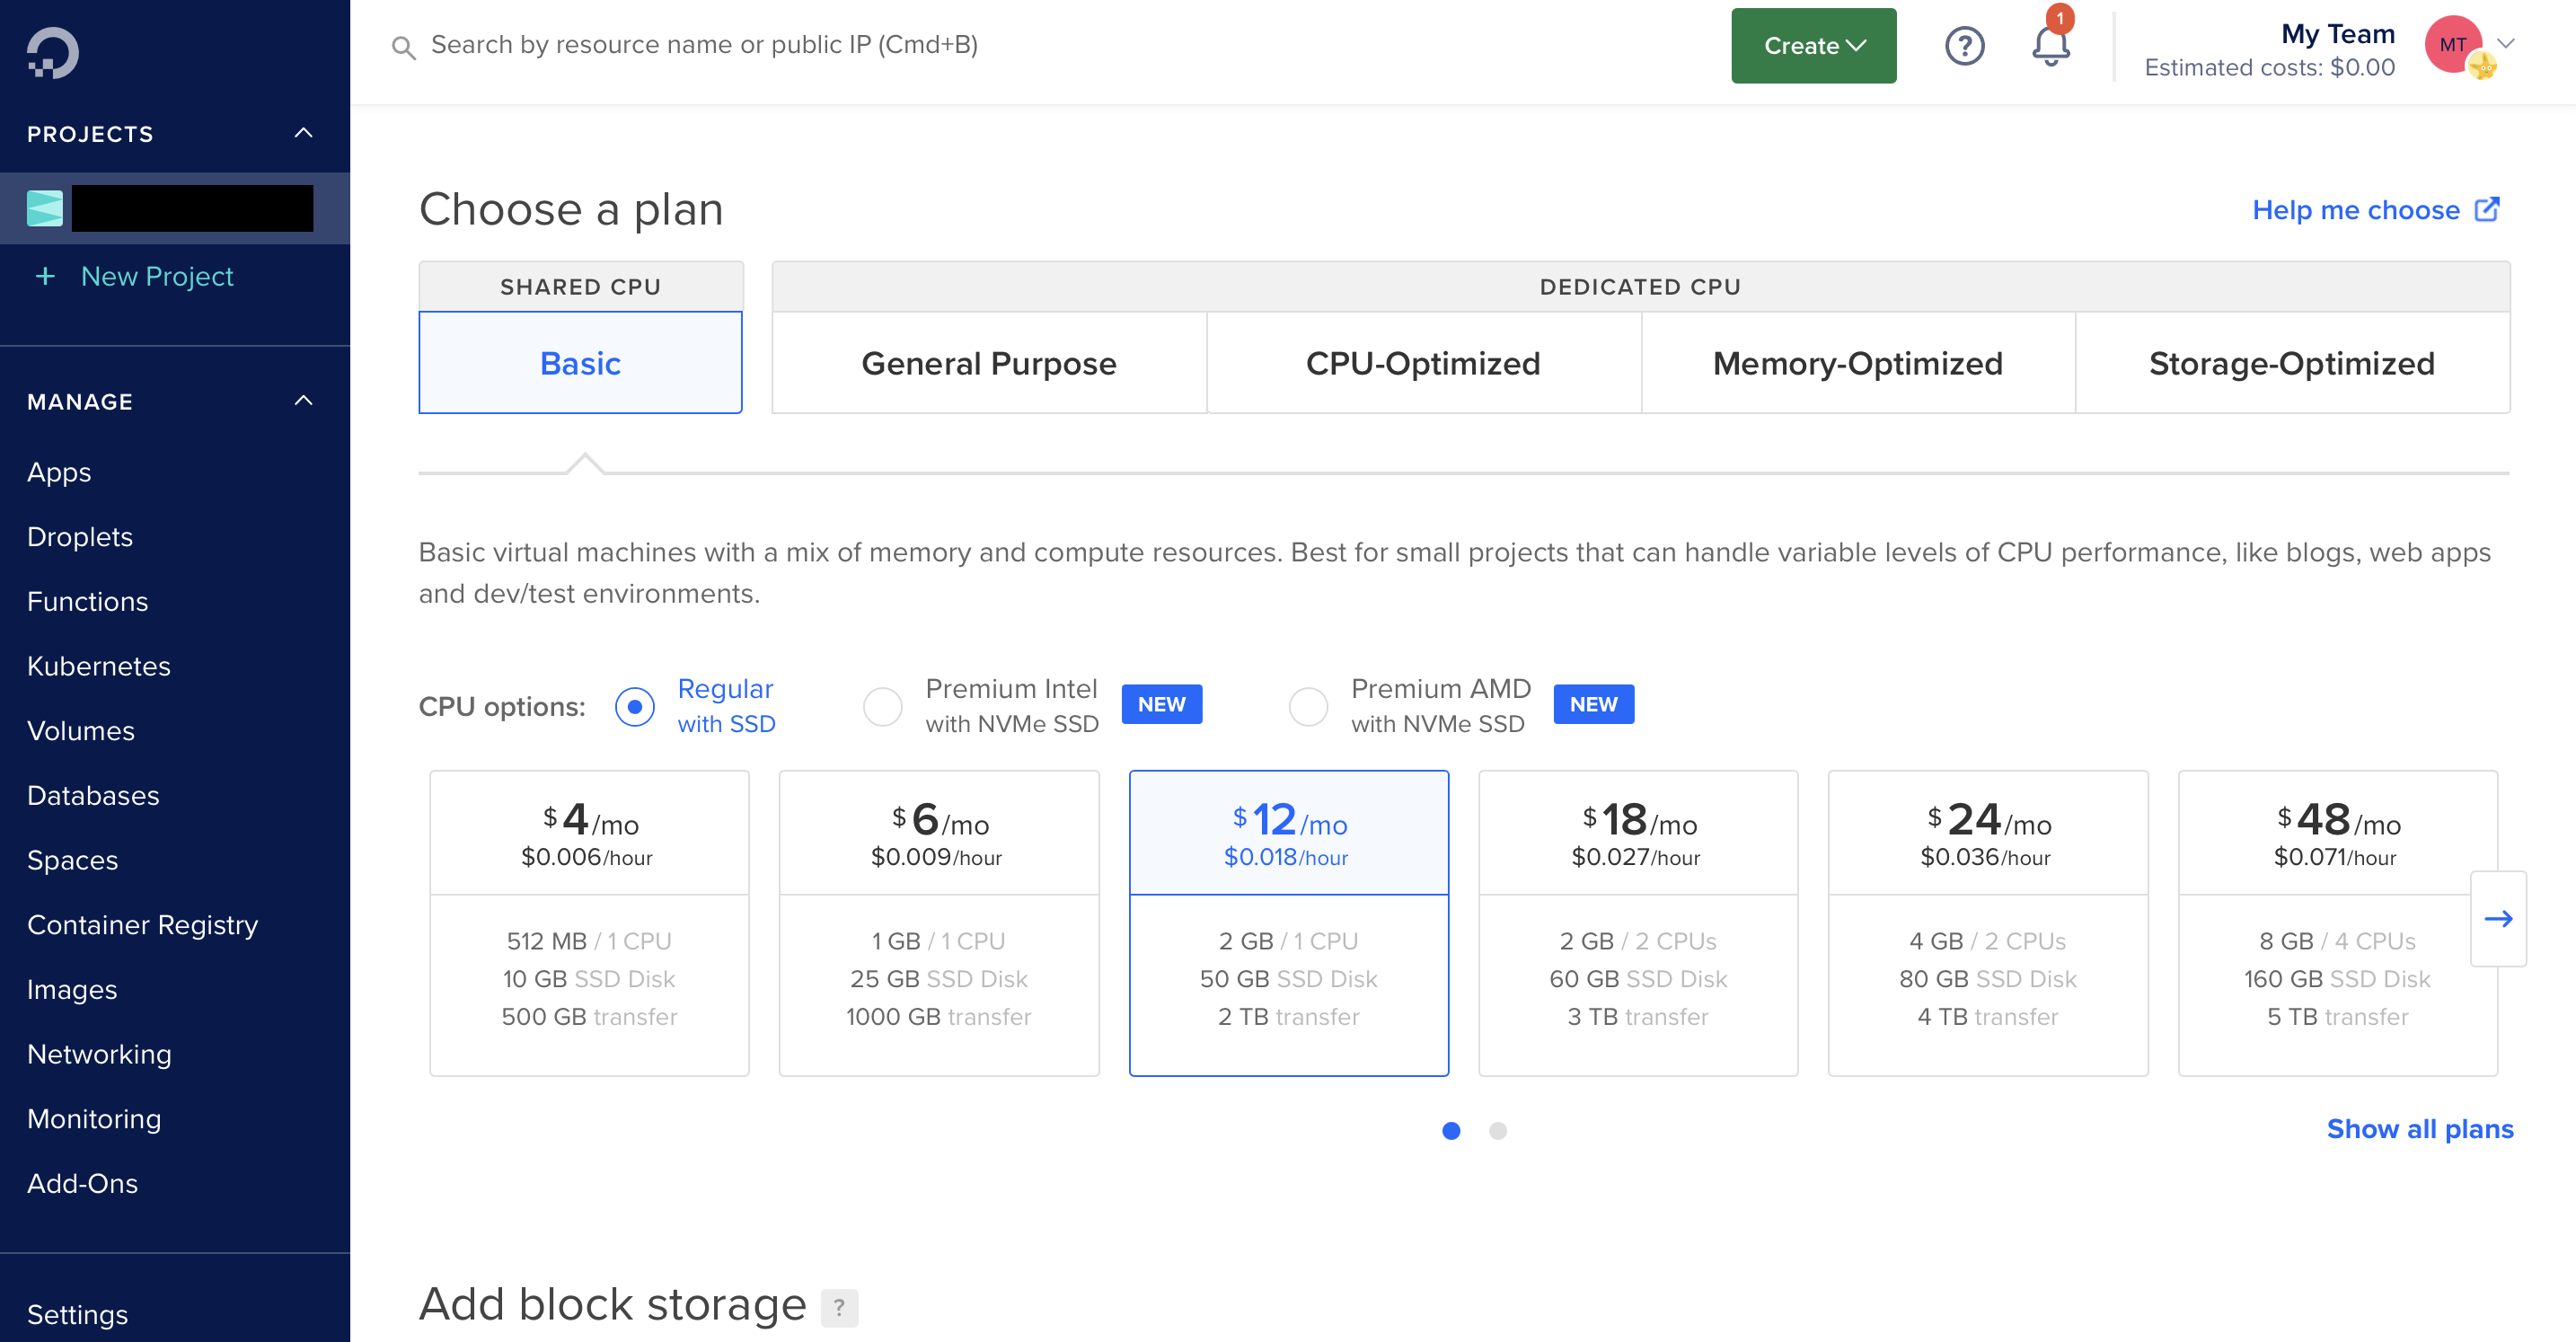
 Make sure to select a droplet with at least 2GB of RAM
To get your Dokku server, the simples way is to use the DigitalOcean 1-Click App for Dokku. For Strapi just make sure that you have at least 2GB of RAM. Currently, that is the $10/month server. Once this is deployed create a user for yourself (not the dokku user) and login so you're not on the root login. Follow these basic directions to do so. Don't worry about the UFW stuff, as that's already handled by the droplet config! You've got your server ready, up next we'll configure Dokku.
Set up your domain to point to DigitalOcean
This part is going to differ based on your domain provider. I use (and suggest!) Namecheap, but any domain registrar is fine. Follow the official instructions from Dokku, here to set this part up. I won't spend more time here, as this can take a little troubleshooting if you're new to it. That said, if you're using Strapi you probably have some idea of what you're doing here.
Create the Dokku app
First off, you'll need to do the Dokku setup process. Simply go to your DigitalOcean IP address and you should see a splash page asking for your ssh public key. Insert that if it's not auto-filled and then set up your domain preferences. I suggest using the subdomain version rather than the default port based version. The rest of this guide will assume you've got the subdomain setup selected.
Next up you'll need to use the Dokku CLI to create the app as a place to deploy to and link it to a database (we'll use Postgres). To do so, ssh into your server with your newly created user from the step above. Then run these commands line by line to set up your Dokku app on the server (replace myApp and myAppDB with your desired app/database name):
dokku apps:create myApp
dokku domains:add myApp
dokku plugin:install https://github.com/dokku/dokku-postgres.git postgres
dokku postgres:create myAppDB
dokku postgres:link myAppDB myApp
dokku plugin:install https://github.com/dokku/dokku-letsencrypt.git
dokku config:set --no-restart myapp DOKKU_LETSENCRYPT_EMAIL=myemail@email.com #use your real email here
dokku letsencrypt myApp
Some of these commands may require sudo
What you're doing in these commands is creating the "app" in Dokku as a space to deploy to. You're then creating a Postgres database and linking it to the app so it can access. Finally, we're setting up LetsEncrypt to give your app HTTPS for free! You can always refer to the Dokku documentation for more in depth understanding as well.
Set up your local development environment for deployment
I'll assume that you've set up a Strapi server locally. If not, go to the Strapi site to do a walkthrough. Because Strapi defaults to SQLite, we'll need to configure it to use Postgres when it's in production mode (deployed). To handle that, you'll need to add two npm modules via yarn or npm. I'll use npm here:
npm install pg-connection-string pg
Up next, we'll configure the database file to tell Strapi to use Postgres when it's in production mode:
const parse = require('pg-connection-string').parse;
const config = parse(process.env.DATABASE_URL);

module.exports = ({ env }) => ({
  defaultConnection: 'default',
  connections: {
    default: {
      connector: 'bookshelf',
      settings: {
        client: 'postgres',
        host: config.host,
        port: config.port,
        database: config.database,
        username: config.user,
        password: config.password,
      },
      options: {
        ssl: false,
      },
    },
  },
});
/config/env/production/database.js You're ready to deploy! We'll need to initialize git before deploying and remove package-lock from git as well to make sure everything goes smoothly. Run the below commands line by line:
git init
git add .
git commit -m "initial"
git remote add dokku dokku@myapp.mydomain.com:keebcentral
git push dokku master
Go to your domain with /admin at the end of the URL and you should see the Strapi setup page!
Set up S3 for Image/Media Hosting
Since you're using a Heroku like production environment, you'll need to use S3 to host your images. Luckily, Strapi has great instructions on how to do so here.
Connect to your Postgres Database
As a bonus, let's walk through how to connect to your Postgres Database from your machine. I'm using PSequel but any Postgres client that can connect through SSH will work for this.
With the DigitalOcean Dokku droplet you only have access to a few ports, so you won't be able to connect directly to port 5432 which Postgres runs on. Therefore, you'll just need to SSH into the server first and then connect to the database. We'll also need to expose the port from the Dokku container to the account. We'll start there.
dokku postgres:expose myAppDB 5432
That will expose the database port to the host so you can connect to it. Now you're ready to connect via PSequel. Simply fill in the relevant fields and you should see your database!
Conclusion
Now you've got a Strapi server with automated deployment via git and a production database you can connect to. Enjoy your new Strapi server!
Subscribe to my newsletter
Read articles from Graham Bailey directly inside your inbox. Subscribe to the newsletter, and don't miss out.
Written by
