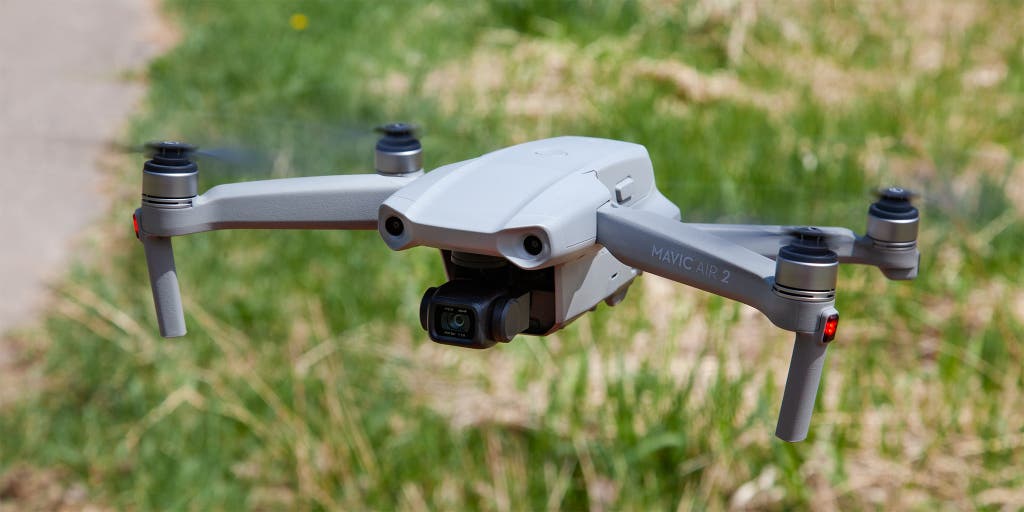
Python + Drones
 Lakshay Kumar
Table of contents

You might have flown a Drone or a toy helicopter, it's super easy, isn't it? Use a controller, move joysticks and done. But as a coder, do you want to integrate this with your python code? Imagine you are making autonomous drones, How exciting, isn't it?
Let's learn how can you integrate python and drones.
Pre-requisites
- DJI Tello (A mini pocket-friendly drone perfect for beginners)
- Prior Experience with Python programming (Basic)
- Basics of motion (Newton's laws of motion & Momentum)
You can browse online for these pre-reqs if you want. So let's get started...
Firstly you need to install a library djitellopy and opencv-python that has the support for this type of drones. Use the following syntax
pip install djitellotpy
pip install opencv
NOTE: Every drone has its own library, but coding is more or less the same for every drone.
Let's start by importing the library
from djitellopy import tello
import cv2
import time
Create object of tello and make connection connect
me = tello.Tello()
me.connect()
print(me.get_battery())
The above code will print the battery % of the drone. me is the object of drone
Put stream on using the following code
me.streamon()
Controlling the movement of drone.
Function : send_rc_control(left_right_velocity: int, forward_backward_velocity: int, up_down_velocity: int,
yaw_velocity: int)
Code Snippet for controlling motion of drone
speed = 30 # this is in cm/s
me.takeoff() #Take off
me.send_rc_control(0,0,0,speed,0) #move 30cm up
me.send_rc_control(0,0,0,-speed,0) #move 30cm down
me.send_rc_control(0,speed,0,0) #move 30cm forward
me.send_rc_control(0,-speed,0,0) #move 30cm backward
me.send_rc_control(speed,0,0,0,0) #move 30cm left
me.send_rc_control(-speed,0,0,0,0) #move 30cm right
me.send_rc_control(0,0,0,0,speed) #rotate 30cm right
me.send_rc_control(0,0,0,0,-speed) #rotate 30cm left
me.land() #land the drone
Visualise the drone camera stream in your PC
while True:
        img = me.get_frame_read().frame #Capture each frame
        img = cv2.resize(img, (360, 240)) #Optional but recommended
        cv2.imshow("Image", img) #Display video
        cv2.waitKey(1)
That's super duper easy, try it out and let me know in the comments...
Any queries, feel free to type in comments or connect me through mail
Subscribe to my newsletter
Read articles from Lakshay Kumar directly inside your inbox. Subscribe to the newsletter, and don't miss out.
Written by

Lakshay Kumar
Lakshay Kumar
A young aspiring Data Scientist, who love to build AI and ML applications, that can contribute as a solution in real world problems. I started my coding journey in grade 8, since then I have developed solutions to many organizations.