How To Use Tailwind CSS With React
 vivek
vivekTable of contents
let's discuss why Tailwind CSS: What It Is, Why Use It:
When coding an application from scratch, you want it to reflect your unique brand, be responsive on any device, and be easy to write and maintain — and those are probably just a few items on your wishlist.
Developer learning what Tailwind CSS is and how to use it By building with Tailwind CSS, you can check these items off your list. Tailwind CSS is a framework for quickly building and customizing applications without writing custom CSS.
To understand why over 200,000 active websites on the internet use Tailwind CSS, let’s cover:
what is Tailwind css:
Tailwind CSS is a utility-first CSS framework designed to enable users to create applications faster and easier. You can use utility classes to control the layout, color, spacing, typography, shadows, and more to create a completely custom component design — without leaving your HTML or writing a single line of custom CSS.
 Tailwind CSS is a utility-first CSS framework that makes it very easy to apply great styling to your React web application by choosing from the framework’s ready-made CSS classes. This easy approach makes Tailwind CSS very popular among today’s CSS frameworks and speeds up the development & styling process significantly. If you’re new to Tailwind CSS you can find a good starting point at the project’s homepage
Set up React Projects:
Creating your new React project is the very first step. The easiest way to do so is to use the create-react-app script on the command line:
$ npx create-react-app react-app-with-tailwind
$ cd react-app-with-tailwind
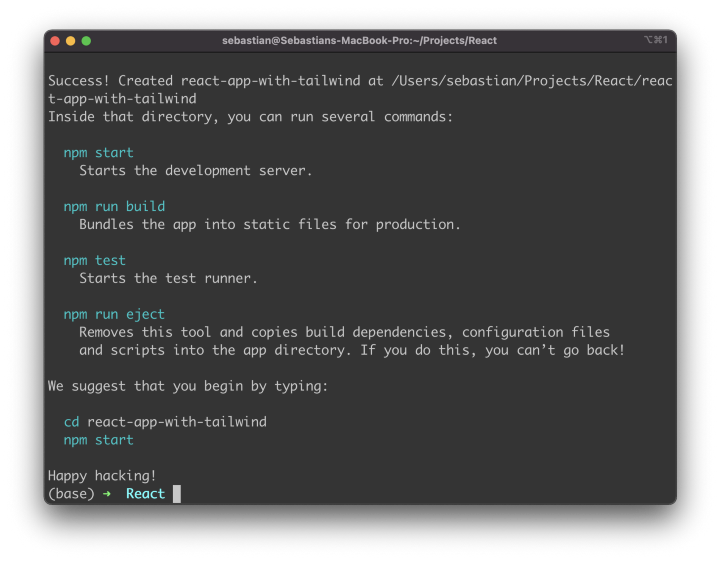
If everything works fine, you should be able to see the following output after running the create-react-app script via the npx command:

Step 2: Install Tailwind CSS
Now that you have entered the newly created project folder react-app-with-tailwind you can start adding the Tailwind CSS library and it’s peer dependencies postcss and autoprefixer by using the Node Package Manager (NPM) in the following way:
$ npm install -D tailwindcss postcss autoprefixer
Step 3: Generate Configuration Files
In order to configure everything we need for Tailwind in our React project we do need two configurations files:
tailwind.config.js postcss.config.js Luckily those two files can be generated by executing the following command in the project folder:
$ npx tailwindcss init -p
Add the Tailwind directives to your CSS
Add the @tailwind directives for each of Tailwind’s layers to your ./src/index.css file.
@tailwind base;
@tailwind components;
@tailwind utilities;
Start your build process
Run your build process with npm run start.
npm start
Start using Tailwind in your project
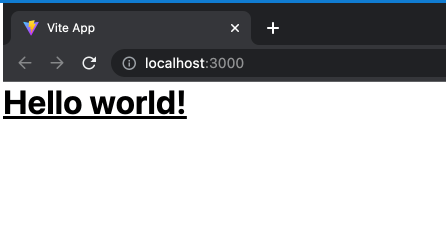
Start using Tailwind’s utility classes to style your content.
export default function App() {
  return (
    <h1 className="text-3xl font-bold underline">
      Hello world!
    </h1>
  )
}

Thanks for reading this
Subscribe to my newsletter
Read articles from vivek directly inside your inbox. Subscribe to the newsletter, and don't miss out.
Written by
