Your First Steps using Gulpjs 4
 ibtissam
If you are a frontend Developer you'll definitely need Gulpjs during your project setup, as you're project keeps growing, the process of setting up a new Project going to be more difficult, so here where the magic of gulp js comes in, I wanna share with you in this Article what Gulp is, and how it can improve your workflow while developing awesome websites
Prerequisites
Basic Understanding of Html & Scss (Sass).
Some Knowledge of Javascript.
So, What is GulpJs?
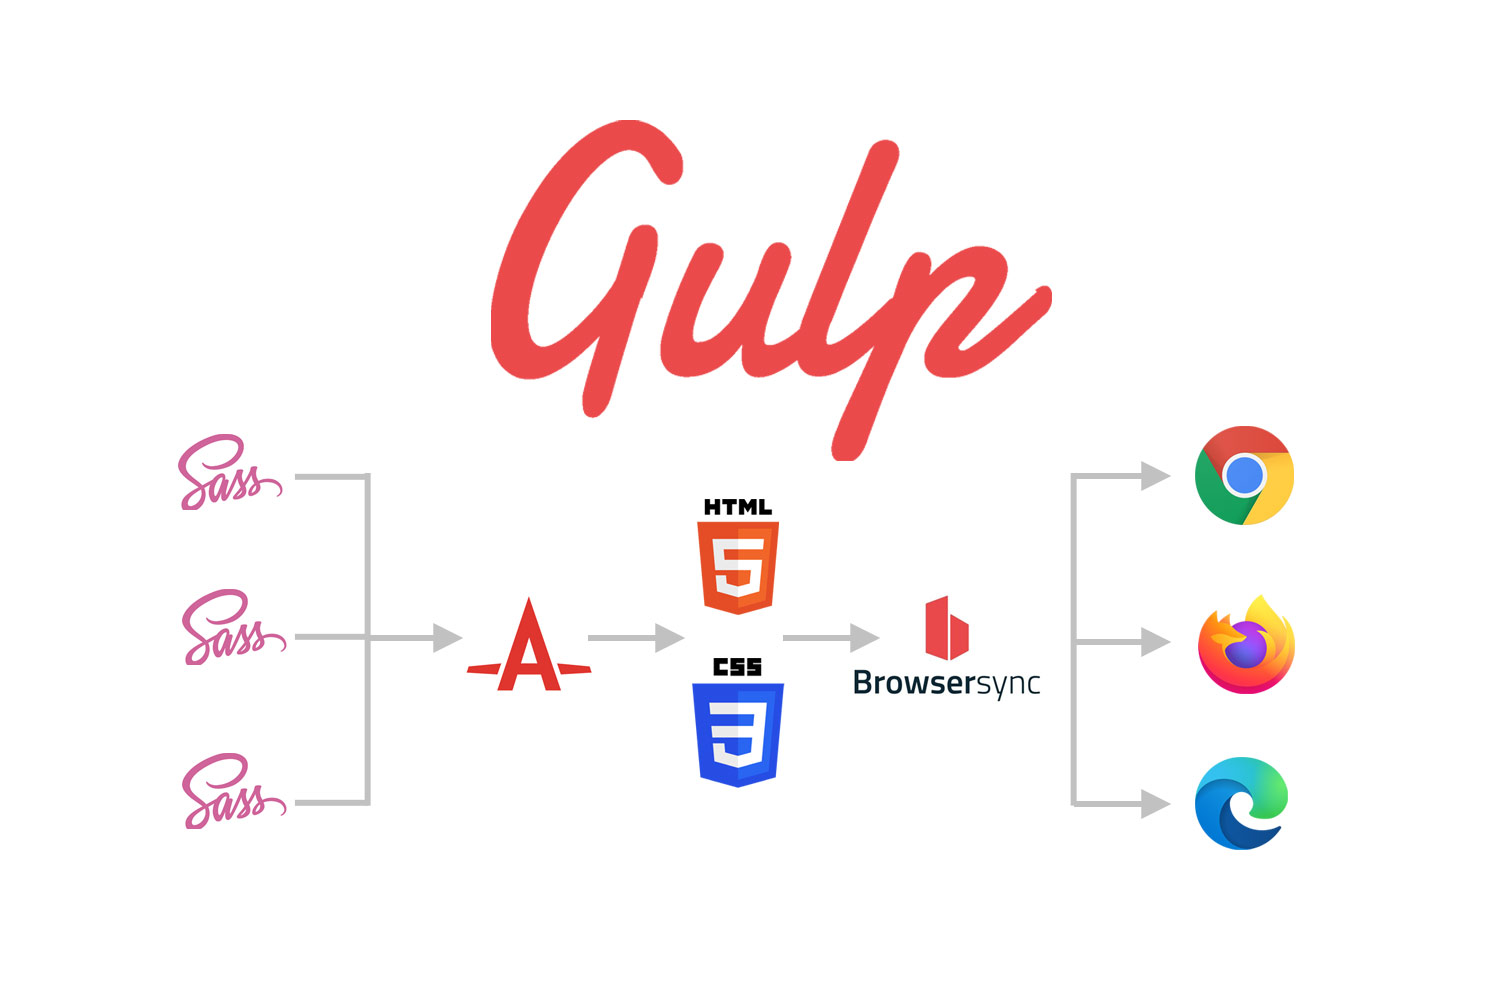
Basically, Gulp is a Tool that automates your workflow while creating your project, For example, Gulp helps you setting up a live server, Compiling scss (sass) into CSS, minify CSS & javascript files code, optimize images, unit testing, and much more which makes your life easier and helps you create more performant web apps as a front end developer.
Step 1 : setting up Gulp
First of all, you'll need to have Nodejs installed on your machine, and make sure it's accessible by your terminal. we'll need to create also a package.json file by running the following command :
npm init -y
it will create a default package.json file, if you need to add your project information to it run the command without -y.
if you have all installed, now we move on to install gulp globally by the following command :
npm install --global gulp-cli
Step 2 : Install sass, postCss, autoprefixer, cssnano, babel,terser, browserAsync
Secondly, you will need to install the following dependencies using NPM:
npm i sass gulp-sass gulp-postcss gulp-autoprefixer cssnano gulp-babel gulp-terser browser-sync --save-dev
After running this command you need to create a file called gulpfile.js at the root of your folder project, then import all the dependencies we've installed earlier via the following code :
Make sure to create the new file with the exact same name " gulpfile.js" and not any other name 😉!!!!
const { series, src, dest, watch } = require('gulp');
const sass = require('gulp-sass')(require('sass'));
const autoprefixer = require('gulp-autoprefixer');
const postcss = require('gulp-postcss');
const cssnano = require('cssnano');
const babel = require('gulp-babel');
const terser = require('gulp-terser');
const browserSync = require('browser-sync').create();
Notice that I've imported series(), src(), dest(), and watch(), these are Gulp API's that you'll use in each gulp task, we'll go through each of them now.
now, we create the CSS Task by the following code :
// css Task
function scssTask() {
  return src('./scss/**/*.scss', { sourcemaps: true })
    .pipe(sass())
    .pipe(autoprefixer('last 2 versions'))
    .pipe(postcss([cssnano()]))
    .pipe(dest('dist', { sourcemaps: '.' }));
}
Simply, we created a scssTask function that will transform our sass into CSS code, so the src() method takes our scss file and reads it, then the pipe() method which is used for chaining files, after converting scss into CSS using sass(), we add autoprefixer to it and lastly, we minify the CSS file via cssnano() function, the dest() method will print our output in the given PATH.
The same process goes for the jsTask() function also :
// Js Task
function jsTask() {
  return src('app/*.js', { sourcemaps: true })
    .pipe(babel({ presets: ['@babel/preset-env'] }))
    .pipe(terser())
    .pipe(dest('dist', { sourcemaps: '.' }));
}
Lastly, we'll add another Task function to run a local server and automatically watch for file changes.
function browserSyncServer() {
  browserSync.init({
    server: {
      baseDir: './',
    },
  });
}

function browserSyncReload(cb) {
  browserSync.reload();
  cb();
}

function watchTasks(cb) {
  watch('*.html', browserSyncReload);
  watch(
    ['scss/**/*.scss', 'app/**/*.js'],
    series(scssTask, jsTask, browserSyncReload)
  );
  cb();
}
exports.default = series(scssTask, jsTask, browserSyncServer, watchTasks);

exports.build = series(scssTask, jsTask);
In order to be able to watch changes, we need to create a watchTasks function, which takes the built-in watch method, and it will watch changes for all the files that we have in our project, if there any changes occurred in our Html file, CSS or Js, browserSyncReload() task will automatically be fired up and compile our changes. and to execute our task functions in order, we need to use the series() method.
Now, we've done everything, and we are able to lunch our project on our live server and start watching changes and compiling them immediately by simply running in your terminal gulp, shortly after, a new tab in your default browser will pop up with the following localhost http://localhost:3000/
That's it, hope you've enjoyed reading this article, if you have any questions, I will be more than happy to answer them in the comments section 💛
Subscribe to my newsletter
Read articles from ibtissam directly inside your inbox. Subscribe to the newsletter, and don't miss out.
Written by

ibtissam
ibtissam
A Web developer, with more focus on the Front end, Passionate about UI design, problem solver, eager to create accessible and performant web apps