How to send HTML form data to the back-end (Node JS)
 Salma ABOUMEROUANE
How to send form data to the back-end (Node JS)?
1)- Let’s create a simple form with HTML and CSS
For how to create a form you can check my tutorial: How to build a form in HTML
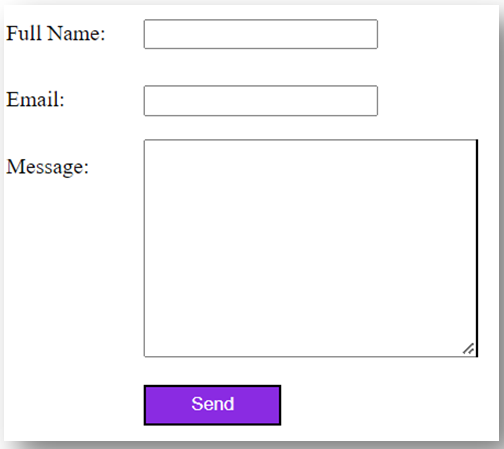
Now we will create a simple form that will contain user’s full name, email, and message.
First create an index.html file.
And then to create a form using HTML the code will be:

<textarea></textarea> tag cols and rows attributes are here to specify the width and the height of the area where the user will leave their message.
So the form will be like this:
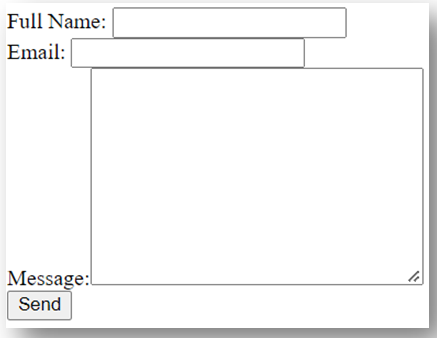
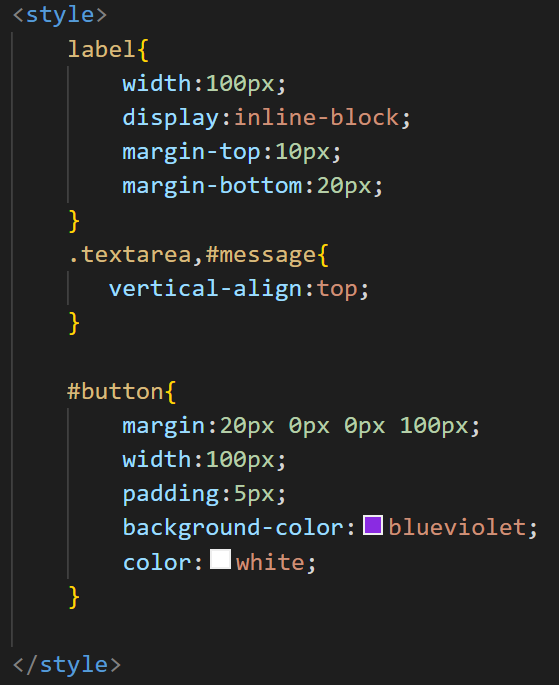
<input/> elements aligned vertically in a straight line.
Also we added the CSS property vertical-align to the label of <textarea></textarea> and
<textarea></textarea> itself so that both of them become vertically aligned and at the same level.
Finally we added some margin, width, padding, background-color and color to the button.
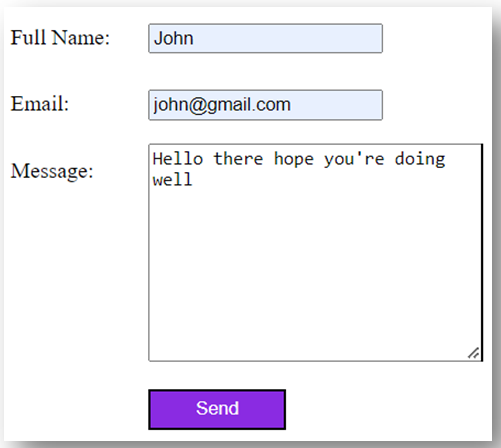
So at the end the form looks like this:
2)- Send data to Node JS
Now that we have our form it is time to send user data to the back-end.
We can do that with fetch API. For that you can check my tutorial: Fetch API: Send data to the back-end
But as we have a form, we can also send data to the back-end through the form itself.
inside the <form></form> tag all we have to do is to add 2 attributes:
- action: that will have a value of the URL we want to send the data to. You can choose any URL name. For this example we will choose a URL name of “contact”.
- method: to specify the method used to send the data. The method to use to send the data is POST. So the HTML code will be:

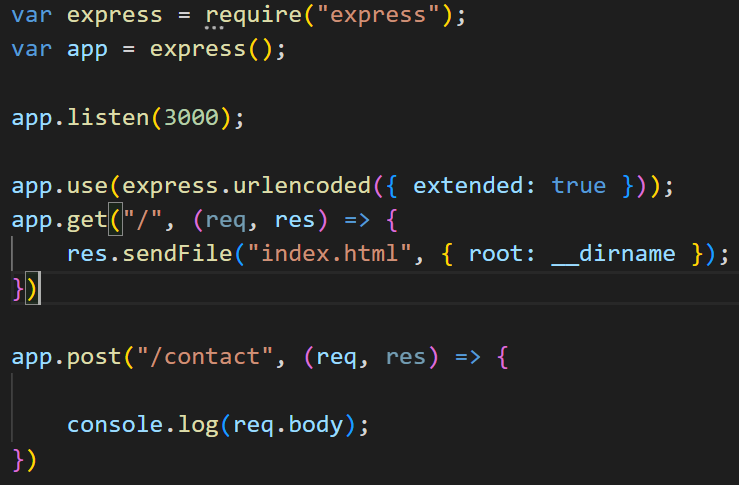
As we told the form to send data to” /contact” URL we have to set the routing for this URL in the back-end, otherwise the form will not find this URL.
We will need to require express package to set a server. To install express just go to Node JS terminal and type: npm install express.


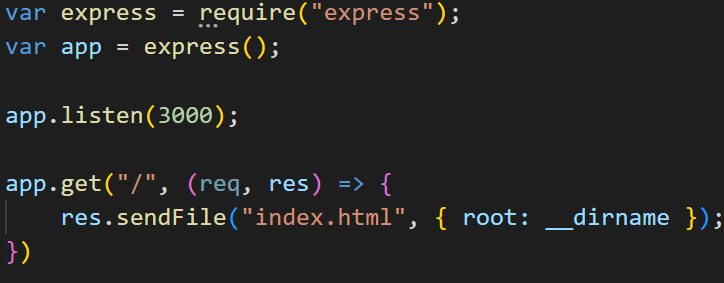
It does not have to be “/” exactly, you can choose anything you want like “/api” or “/home”…
res.sendFile() syntax is what tells the server to return the index.html page.
{root:__dirname} specifies the location of the index.html page.
Now if you go to Node js terminal and start the server by typing node index.js or if you have nodemon then type nodemon index.js, and then go to the search bar on the browser and type 127.0.0.1:3000/ you will have the HTML page displayed.
Now it is time to set the routing for the POST request URL.
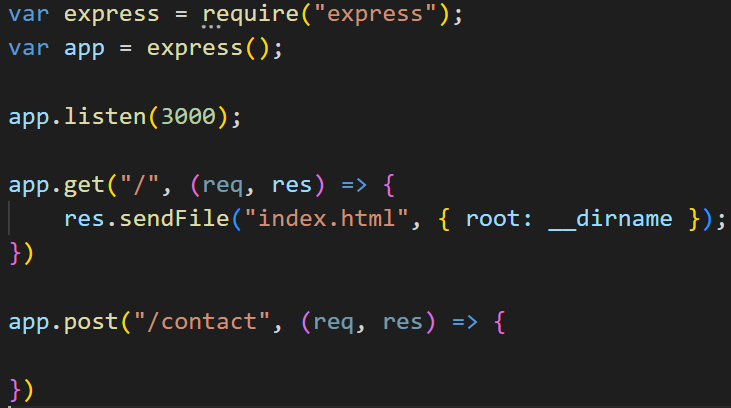
So now, if we try to send the form data to the server, the server will not understand what is what.
We have many inputs in the form, so how will the server know that this input is the user name, and this one is the user email…?
Well, we can make the server understand simply by adding in each <input/> an attribute called name.
So let’s go back to the index.html and add a name attribute to all inputs.

In the back-end to display the body of the form all we have to do is to add console.log(req.body).
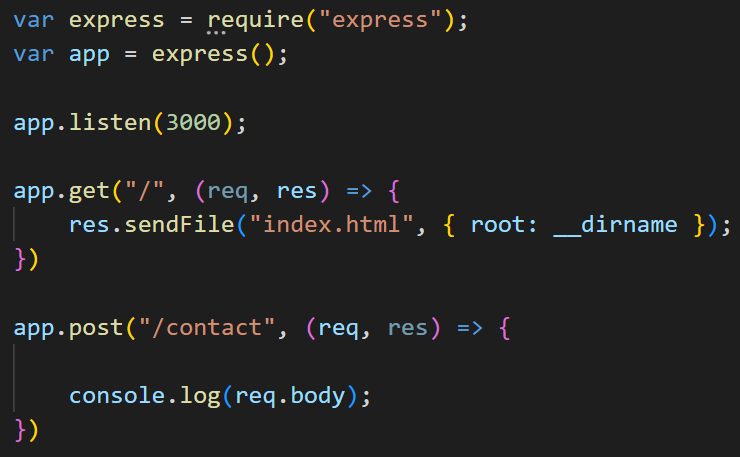

Simply because when the form sends the data, it sends it encoded, in a URL encoded format to protect the user’s information.
For the server to understand the encoded URL we have to add express middleware app.use(express.urlencoded()).
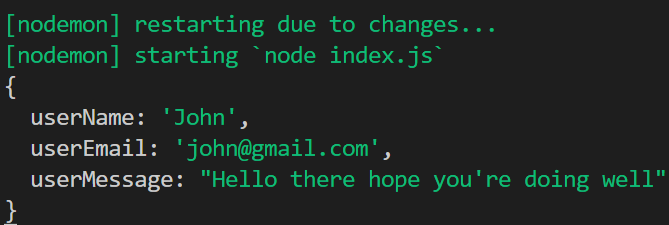
Now if you refresh the browser and enter the data once again and submit it, we’ll have:
Subscribe to my newsletter
Read articles from Salma ABOUMEROUANE directly inside your inbox. Subscribe to the newsletter, and don't miss out.
Written by

