Hosting your Jupyter Lab for free using Napptive!
 Sreekesh Iyer
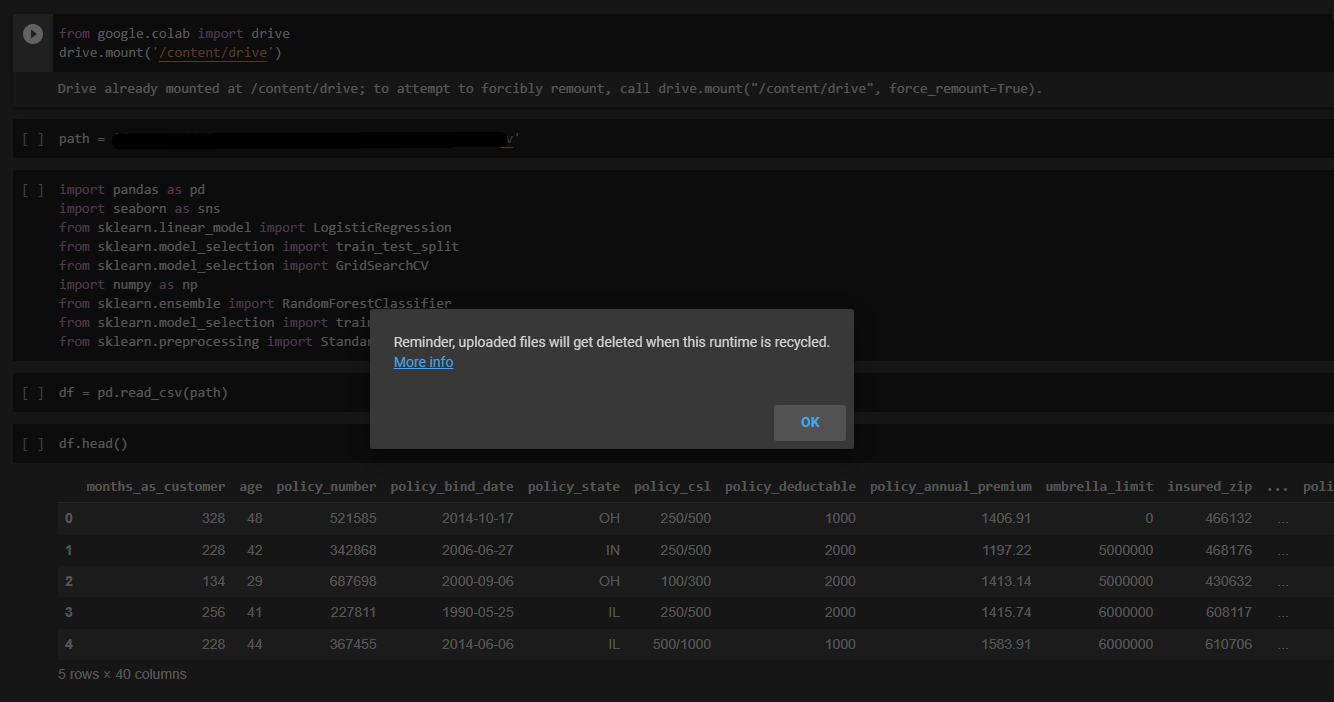
Are you tired of Google Colab resetting your environment for the 346th time? Well, not to worry, we do have another free solution.
Before we begin, let's look at a few things that we'll need:
- A Jupyter Notebook file (obviously)
- A Napptive account
What is Napptive?
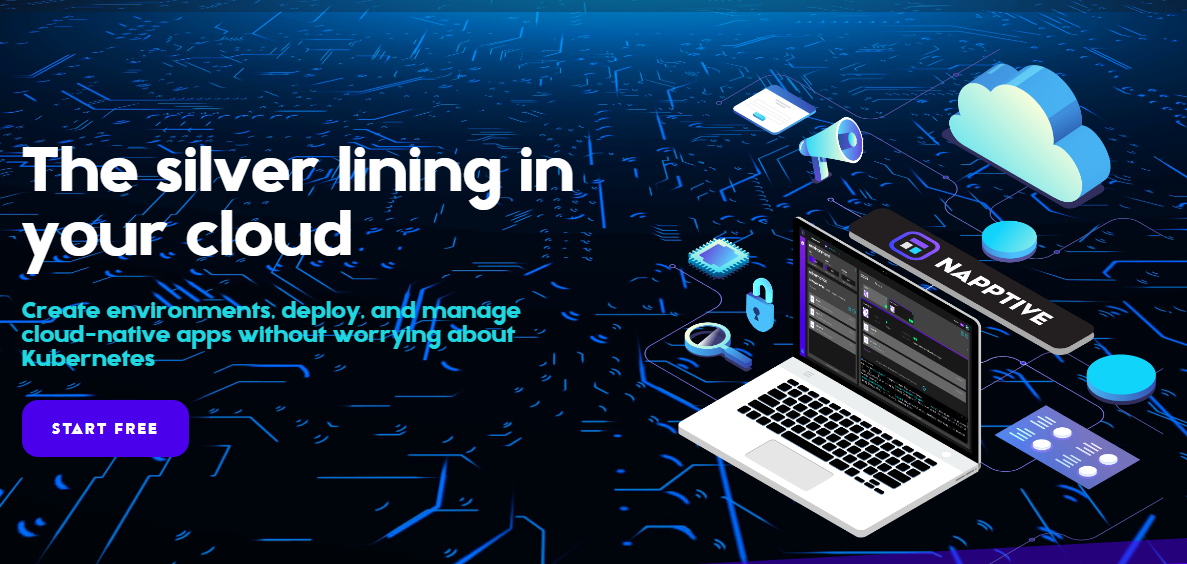
Napptive is a cloud-native Platform as a Service using Kubernetes under the hood that allows you to deploy your applications on the cloud with easy scalability, supported by integrations with Docker, Google Cloud and Microsoft Azure. It comes with its own CLI, support for app-centric logging, secure endpoints and more.
I'll cover a lot of other aspects of Napptive in the future.
Setting up Napptive
We'll create a Napptive account and then install the Napptive's Playground CLI from where we can create and manage our applications via the command line.
Creating a Napptive Account
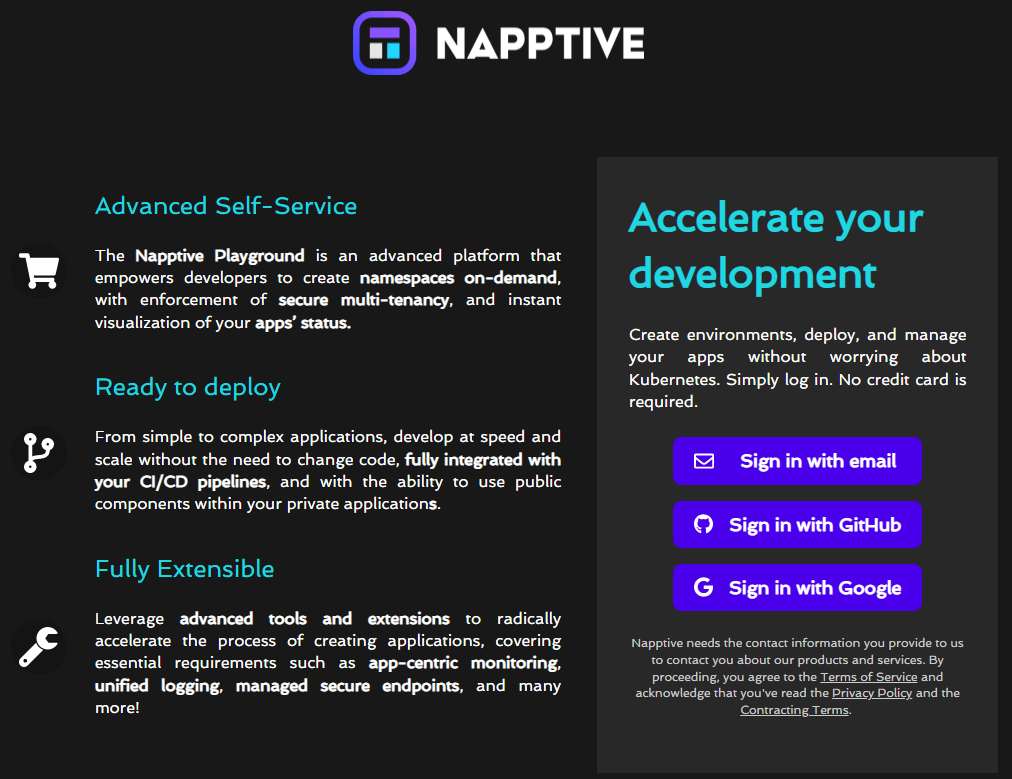
Head to Napptive's website using this link and sign up using your email or via providers like Google or GitHub.
Signing up via this link gives you the PRO subscription for a year!
Downloading the Playground CLI
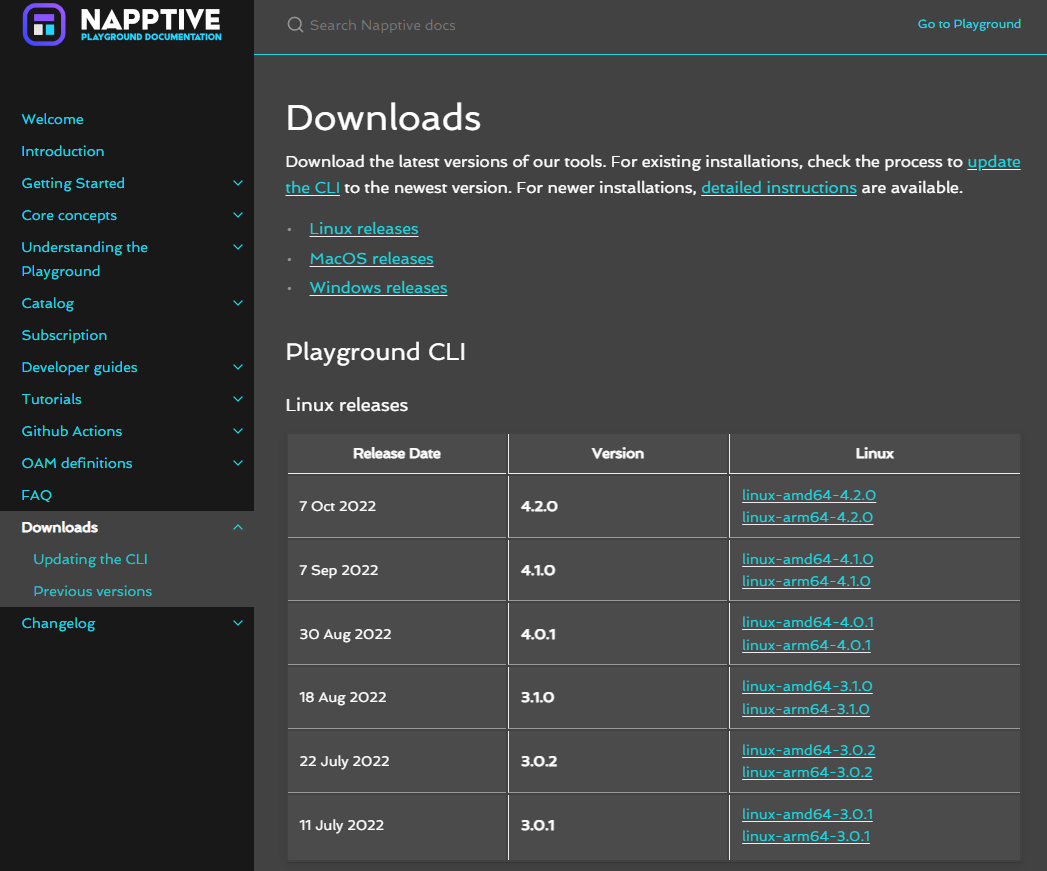 We'll need the Playground CLI to look at the logs shown by our application that is deployed on Napptive. Click on this link that takes you to Napptive's Downloads page, where you can install the Playground CLI.
Click on the latest version for your Operating system and install the Playground CLI. Ensure that the executable playground file is added to your path in environment variables so that it can be directly accessed from the command line.
 If running
 playground --version returns an ideal response, you're good to go.
Further, we will log in to the CLI using the same account we just created.
Enter playground login in the command line to start the authentication process. It'll open up your browser so that you can complete the process.

This message means that you've successfully authenticated using the CLI. Let's go back to our browser now.
Deploying an Application
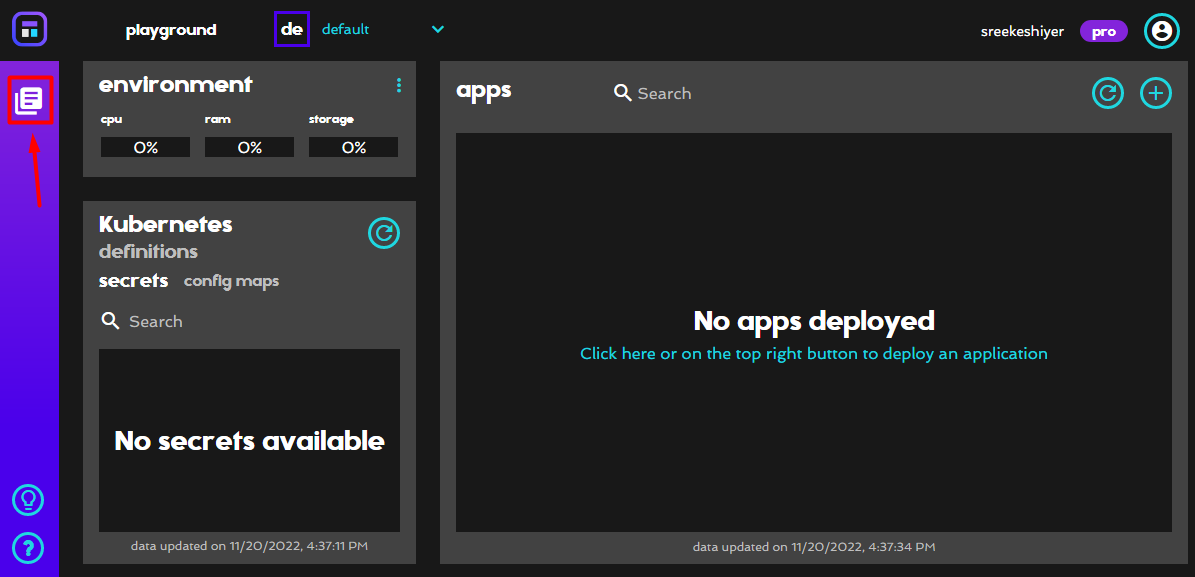
Signing up takes you to Napptive Playground, a dashboard where we can deploy applications. We can either deploy applications from a catalog (a set of predefined application images) or deploy an application from our custom image.
Click on the notebook icon underneath the Napptive logo on the top-left corner of your screen. This opens up the Catalog.
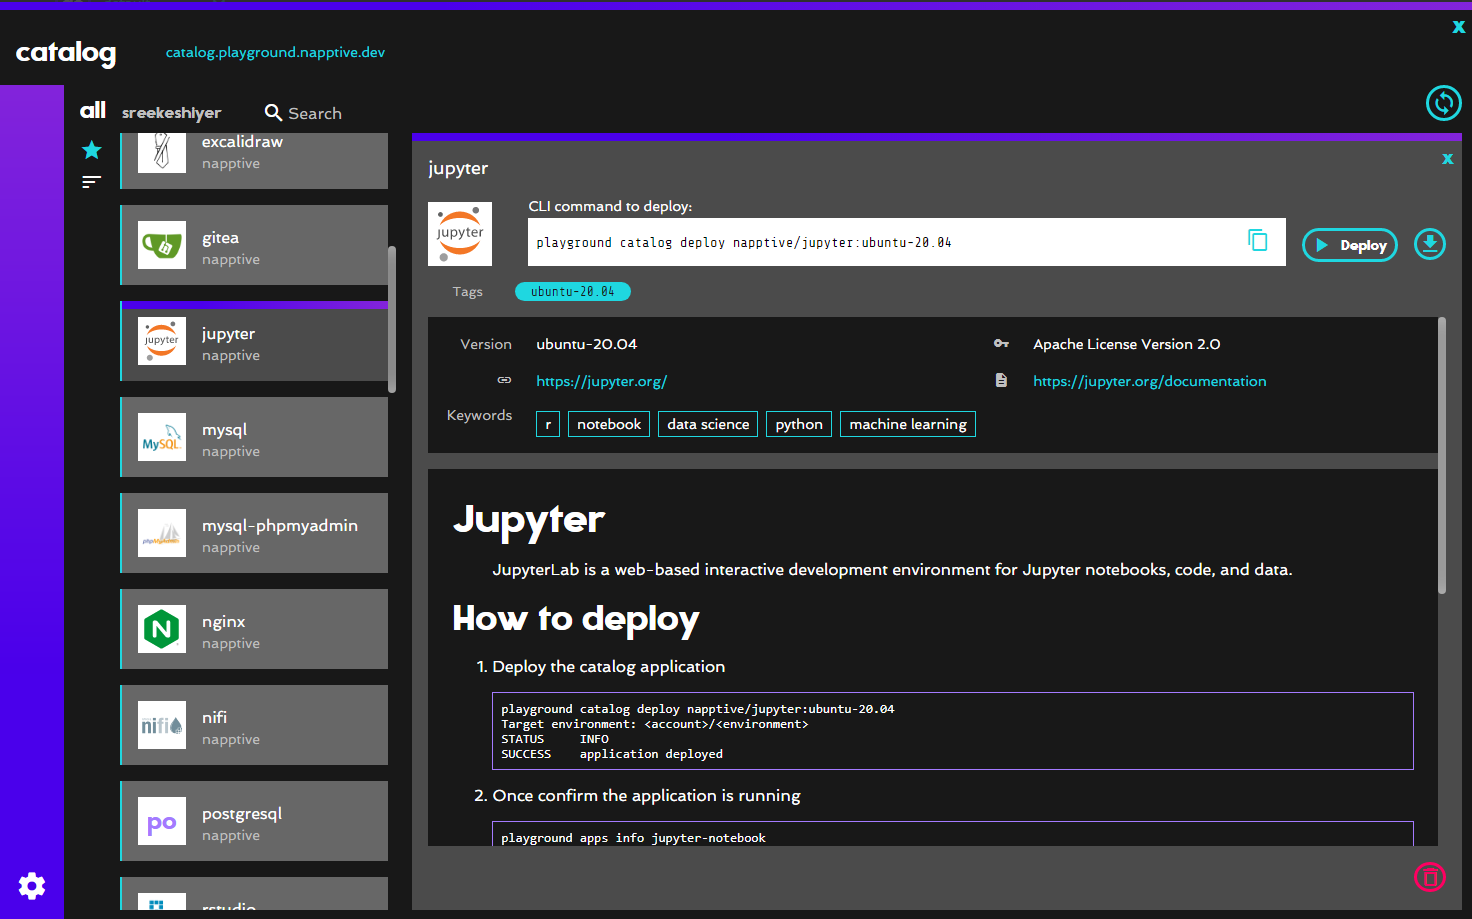
If you scroll down a little, you'll find Jupyter, the application we want to deploy. Reading the description for a while will give you a significant idea of what you need to do next.
For now, click on Deploy to host a new Jupyter server in the cloud.
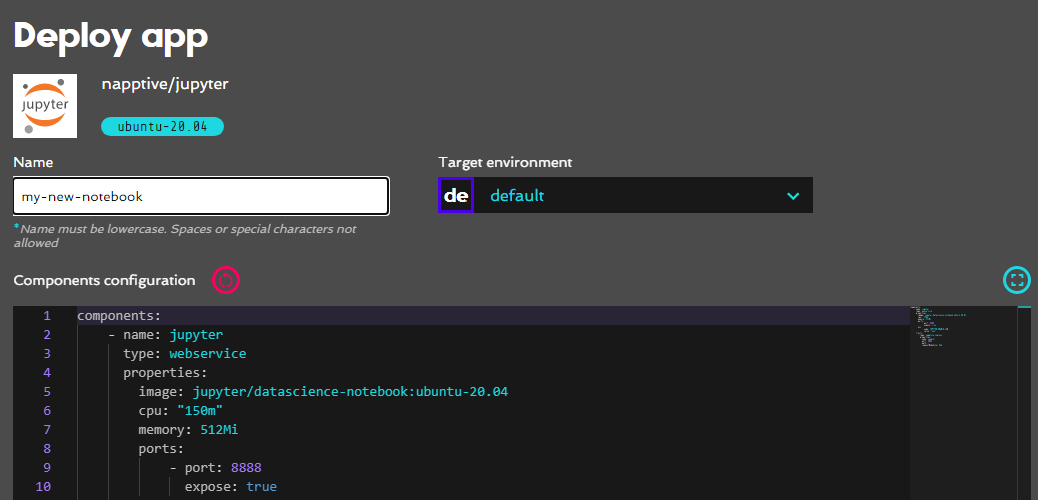
Lastly, you just need to give a name to this service. You can also modify the configuration parameters, add environment variables, etc. if you wish to.
Click on Deploy again, confirm it by clicking on "Yes, Deploy" and you're good to go! You can close the Catalog now.
Connecting to the Jupyter Server
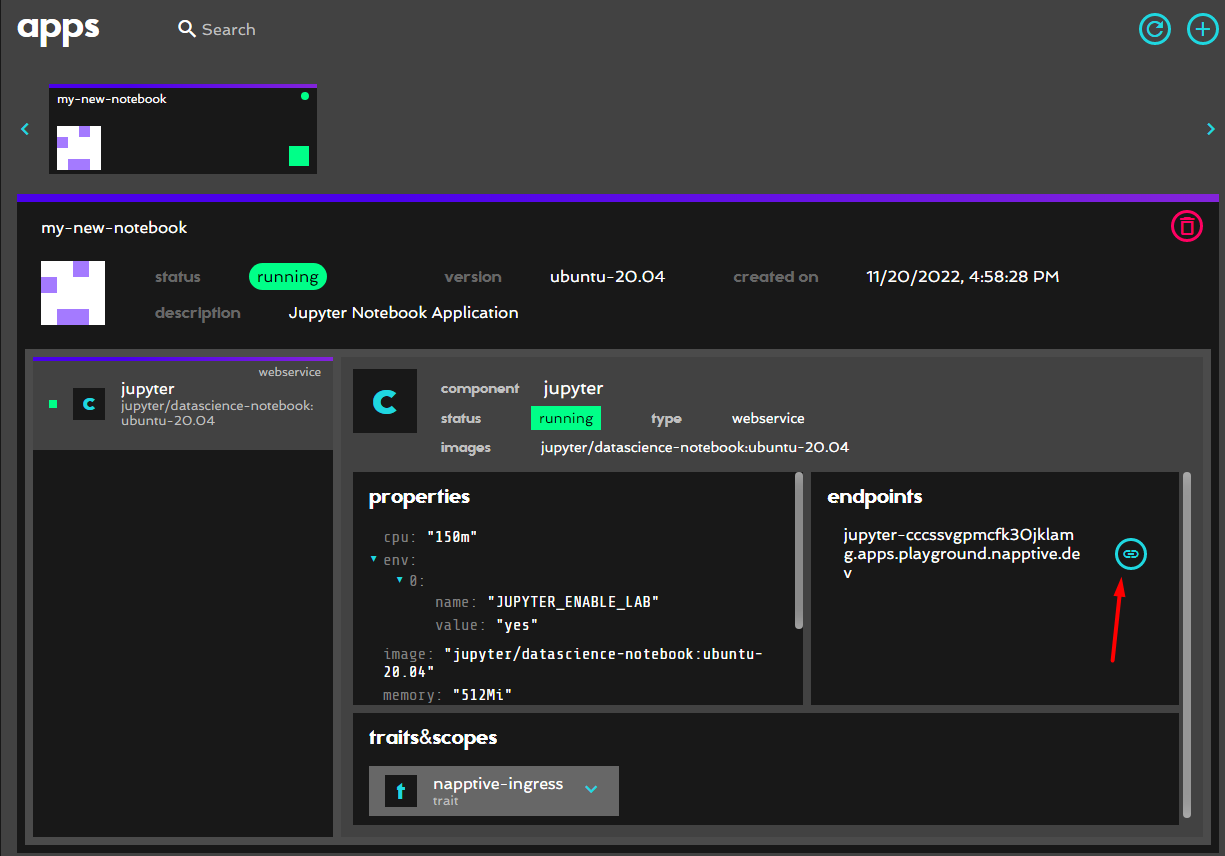
Once the application is deployed successfully, you'll see it under the Apps section. Click on the link in the Endpoints section to open up your Jupyter server in your browser.
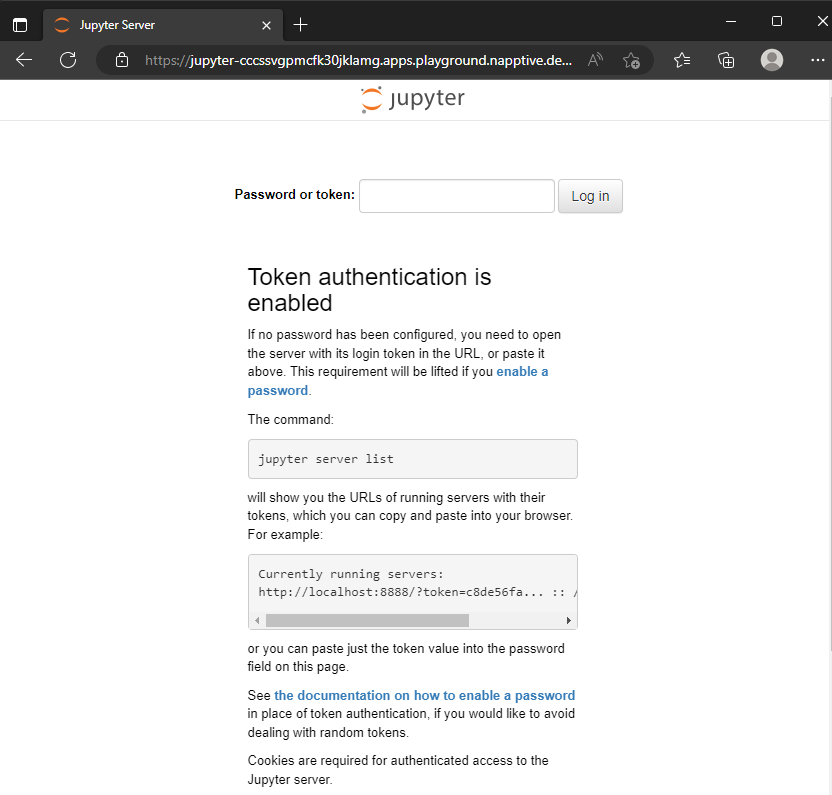
You'll see that the server is asking you for a token to log in. To find this token, we'll need to come back to the CLI again and use this command:
playground apps logs <name-of-app>
This command shows all the logs that are printed out by the application. Make sure you get the name of your app right to avoid errors.
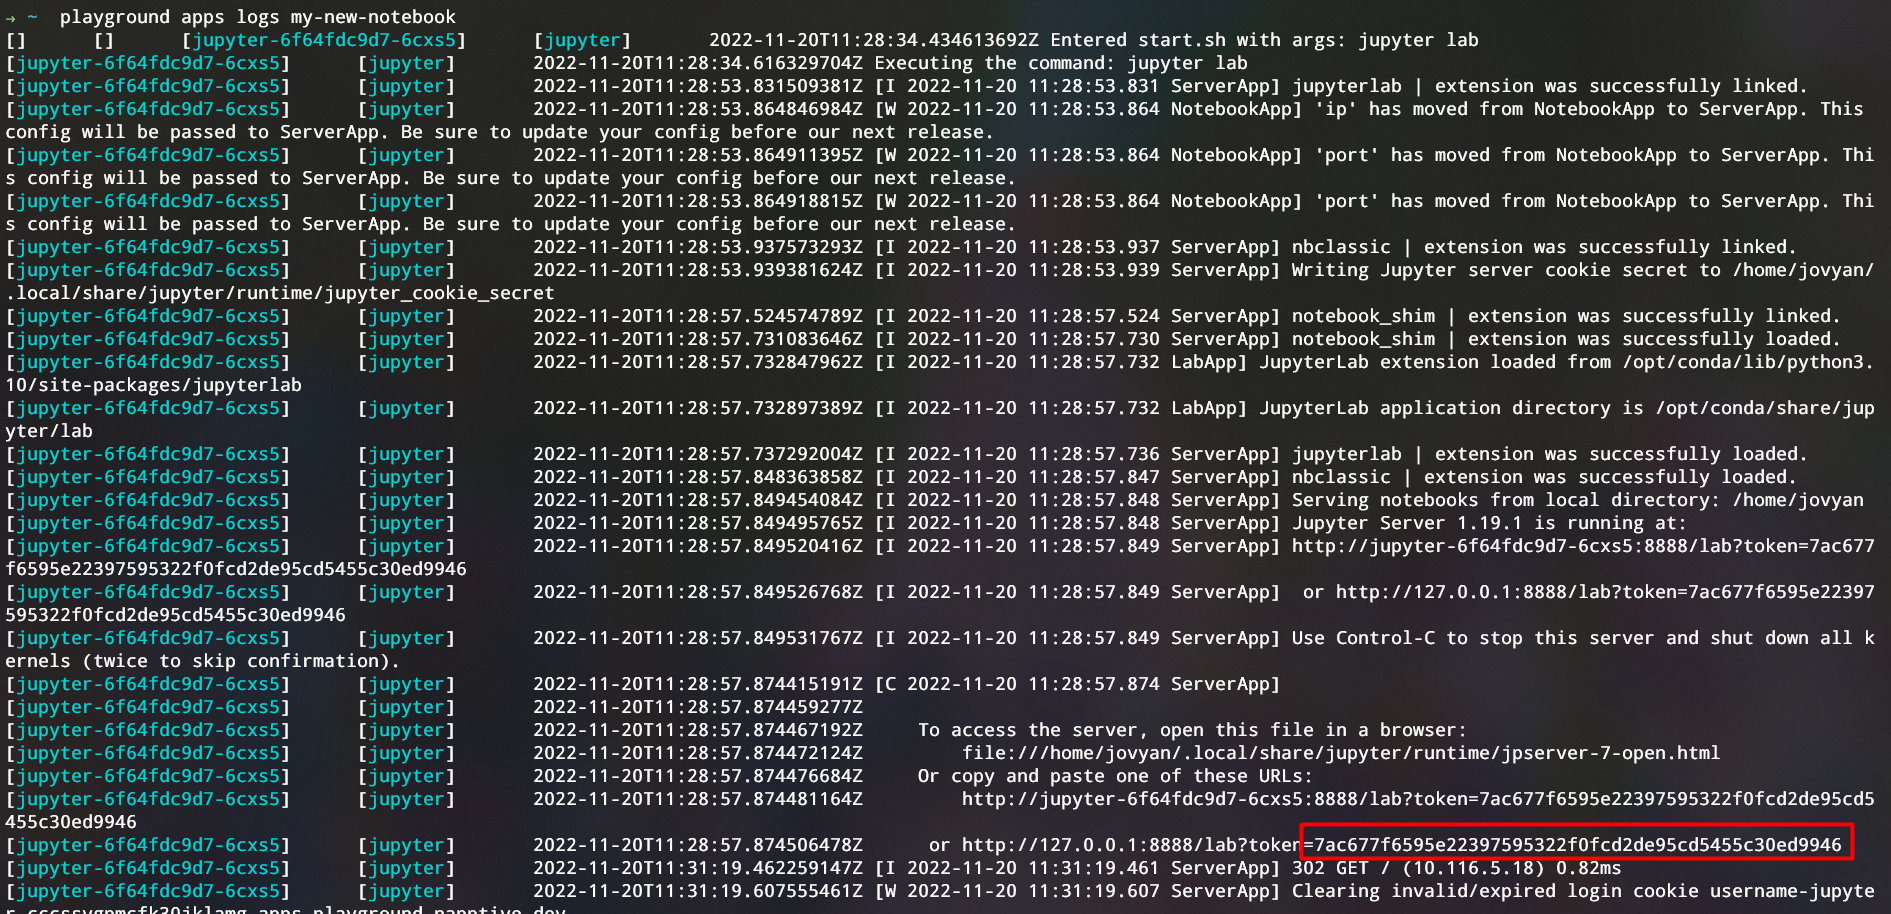
Among everything else that you see here, if you look closely, you'll find a few lines where it shares a token with a URL.
All you need to do is copy this token string and enter it in the token field and click on Log In. Alternatively, you could also use a token and a password if you wish to, this helps when you are trying to access the server again.
The Lab is ready!
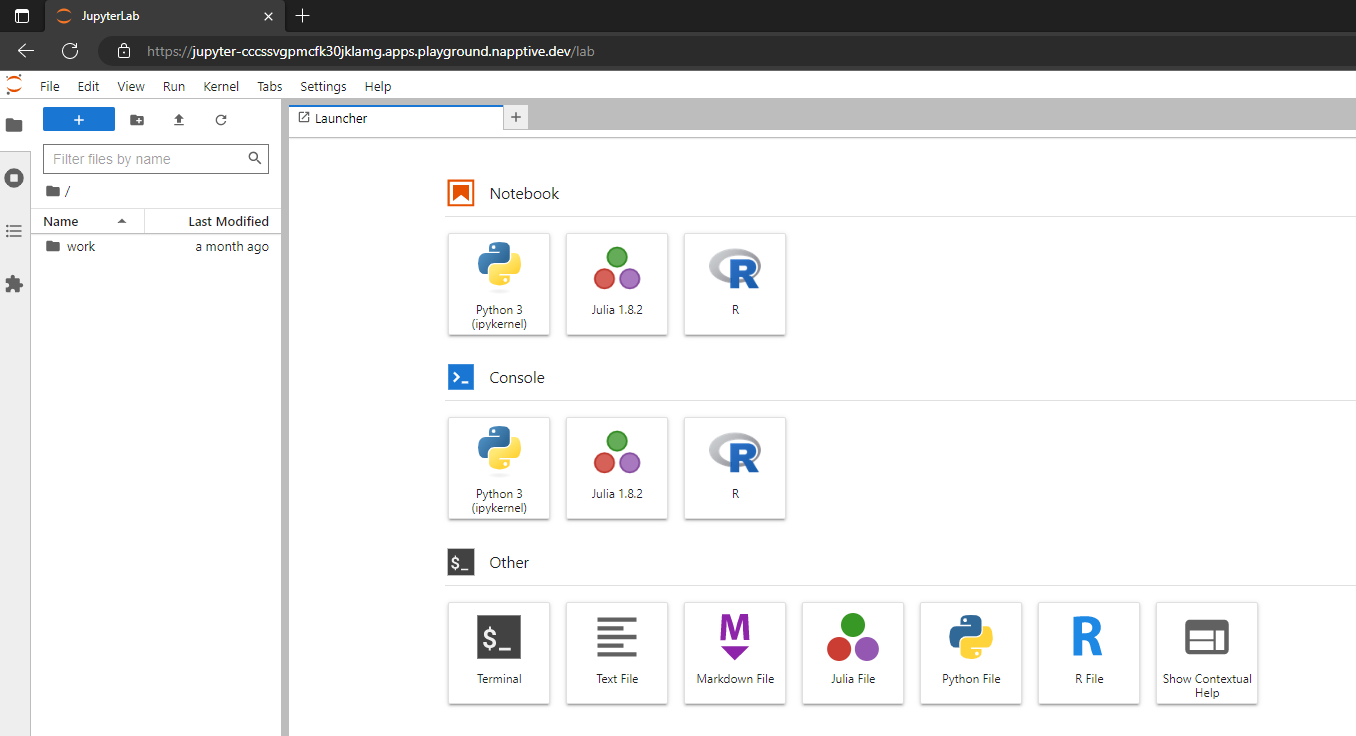
And, Voilà! Our Jupyter Lab is up and running! All that is left right now is to create a new Jupyter Notebook, or upload an existing one and get going, maybe spice up the theme a little bit too!
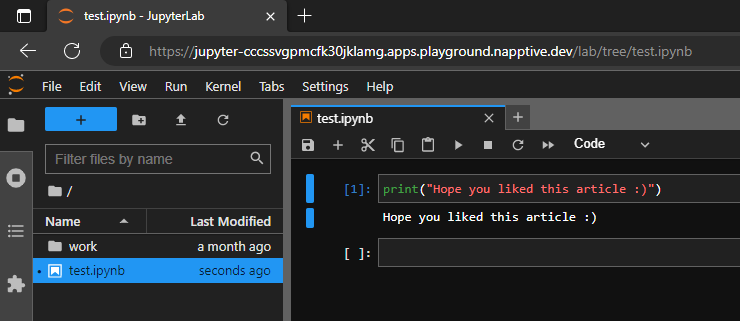
Now, using the same endpoint URL, you can access the server from anywhere, share it with your teammates, etc.
Glad you got here, thanks for reading. Hit the Follow button for more such content from the editorial! Until then, take care.
Subscribe to my newsletter
Read articles from Sreekesh Iyer directly inside your inbox. Subscribe to the newsletter, and don't miss out.
Written by

Sreekesh Iyer
Sreekesh Iyer
Few interesting things about me: Software Engineer @ JP Morgan Chase & Co. AWS Community Builder 2023 I love working with technology I enjoy playing video games 😄