Setting up Tailwind CSS In a Phoenix application
 Manjunath Reddy
In the previous article, we explored setting up a basic Phoenix application. If you haven't read the first part yet, Just take a moment to read it before this post :-).
However, if you already have an existing phoenix application running, and if you would like to configure Tailwind with it, skip the first part.
Preamble
Install & Configure Tailwind Plugin
Let me be DRY, and not going to repeat what's been documented quite nicely by the Tailwind official website on how to set up Tailwind CSS in a Phoenix project. Steps are elegantly explained.
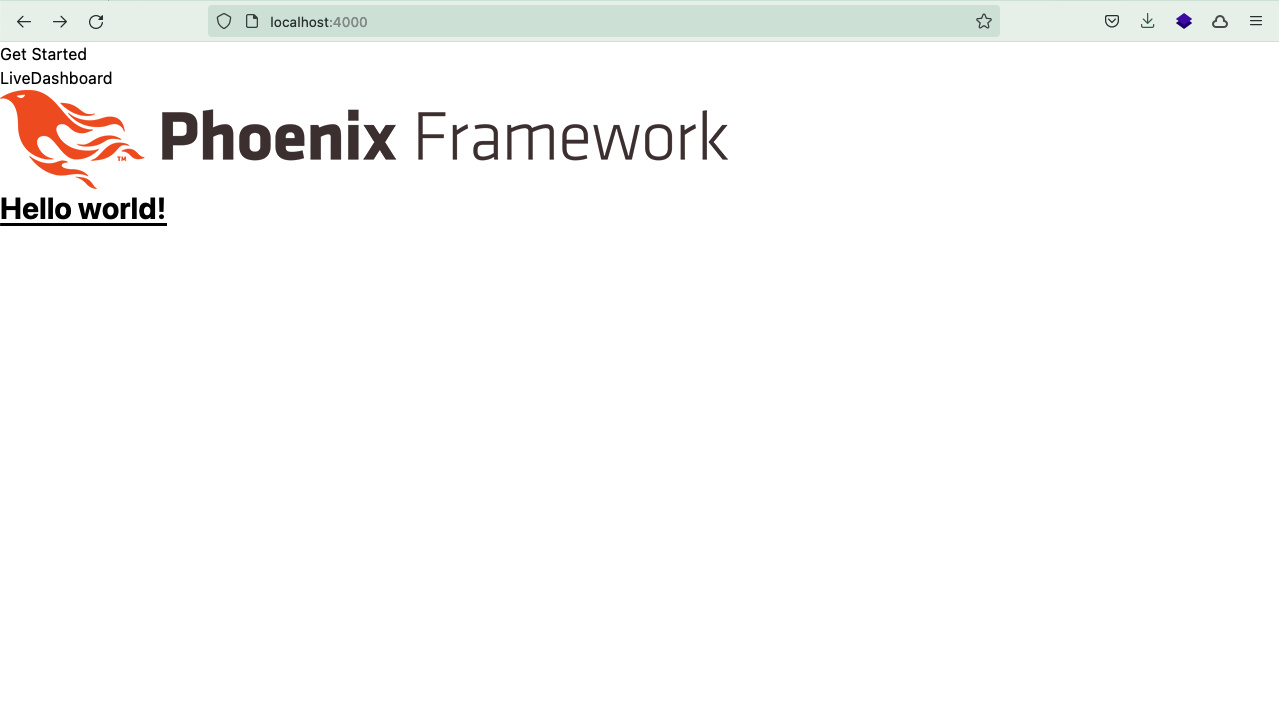
Re-run the application. At this point, It looks like

I know it looks ugly :-). That completes the first part of this article. In the following section, let's beautify the application to make it look nice.
Theme your application
Let's create a simple page which uses tailwind.
Look for lib/docker_phoenix_tailwind_web/templates/layout/root.html.heex file and replace it with
<!DOCTYPE html>
<html lang="en">
  <head>
    <meta charset="utf-8"/>
    <meta http-equiv="X-UA-Compatible" content="IE=edge"/>
    <meta name="viewport" content="width=device-width, initial-scale=1.0"/>
    <%= csrf_meta_tag() %>
    <%= live_title_tag assigns[:page_title] || "", suffix: " · Micheal Schumacher" %>
    <link phx-track-static rel="stylesheet" href={Routes.static_path(@conn, "/assets/app.css")}/>
    <script defer phx-track-static type="text/javascript" src={Routes.static_path(@conn, "/assets/app.js")}></script>
  </head>
  <body class="font-sans antialiased leading-normal tracking-wider text-gray-900 bg-cover">
    <%= @inner_content %>
  </body>
</html>
And look for our content page which is lib/docker_phoenix_tailwind_web/templates/page/index.html.heex and replace it with, which contains a simple layout
<div class="min-h-screen flex flex-col">
  <header class="p-2 bg-indigo-200">
    <p class="text-2xl font-bold text-center">Phoenix Framework</p>
  </header>
  <main class="flex-1 bg-indigo-50 p-2">
    <div class="mb-20">Content goes here....</div>
  </main>
  <footer class="p-2 bg-indigo-200">Footer section</footer>
</div>
This is how my assets/css/app.css looks like
@tailwind base;
@tailwind components;
@tailwind utilities;

body {
  background-color: crimson;
}
And my theme assets/tailwind.config.js
// See the Tailwind configuration guide for advanced usage
// https://tailwindcss.com/docs/configuration

let plugin = require('tailwindcss/plugin')

module.exports = {
  content: [
    './js/**/*.js',
    '../lib/*_web.ex',
    '../lib/*_web/**/*.*ex'
  ],
  mode: 'jit',
  theme: {
    extend: {},
  },
  plugins: [    require('@tailwindcss/forms'),    plugin(({addVariant}) => addVariant('phx-no-feedback', ['&.phx-no-feedback', '.phx-no-feedback &'])),
    plugin(({addVariant}) => addVariant('phx-click-loading', ['&.phx-click-loading', '.phx-click-loading &'])),
    plugin(({addVariant}) => addVariant('phx-submit-loading', ['&.phx-submit-loading', '.phx-submit-loading &'])),
    plugin(({addVariant}) => addVariant('phx-change-loading', ['&.phx-change-loading', '.phx-change-loading &']))
  ]
}
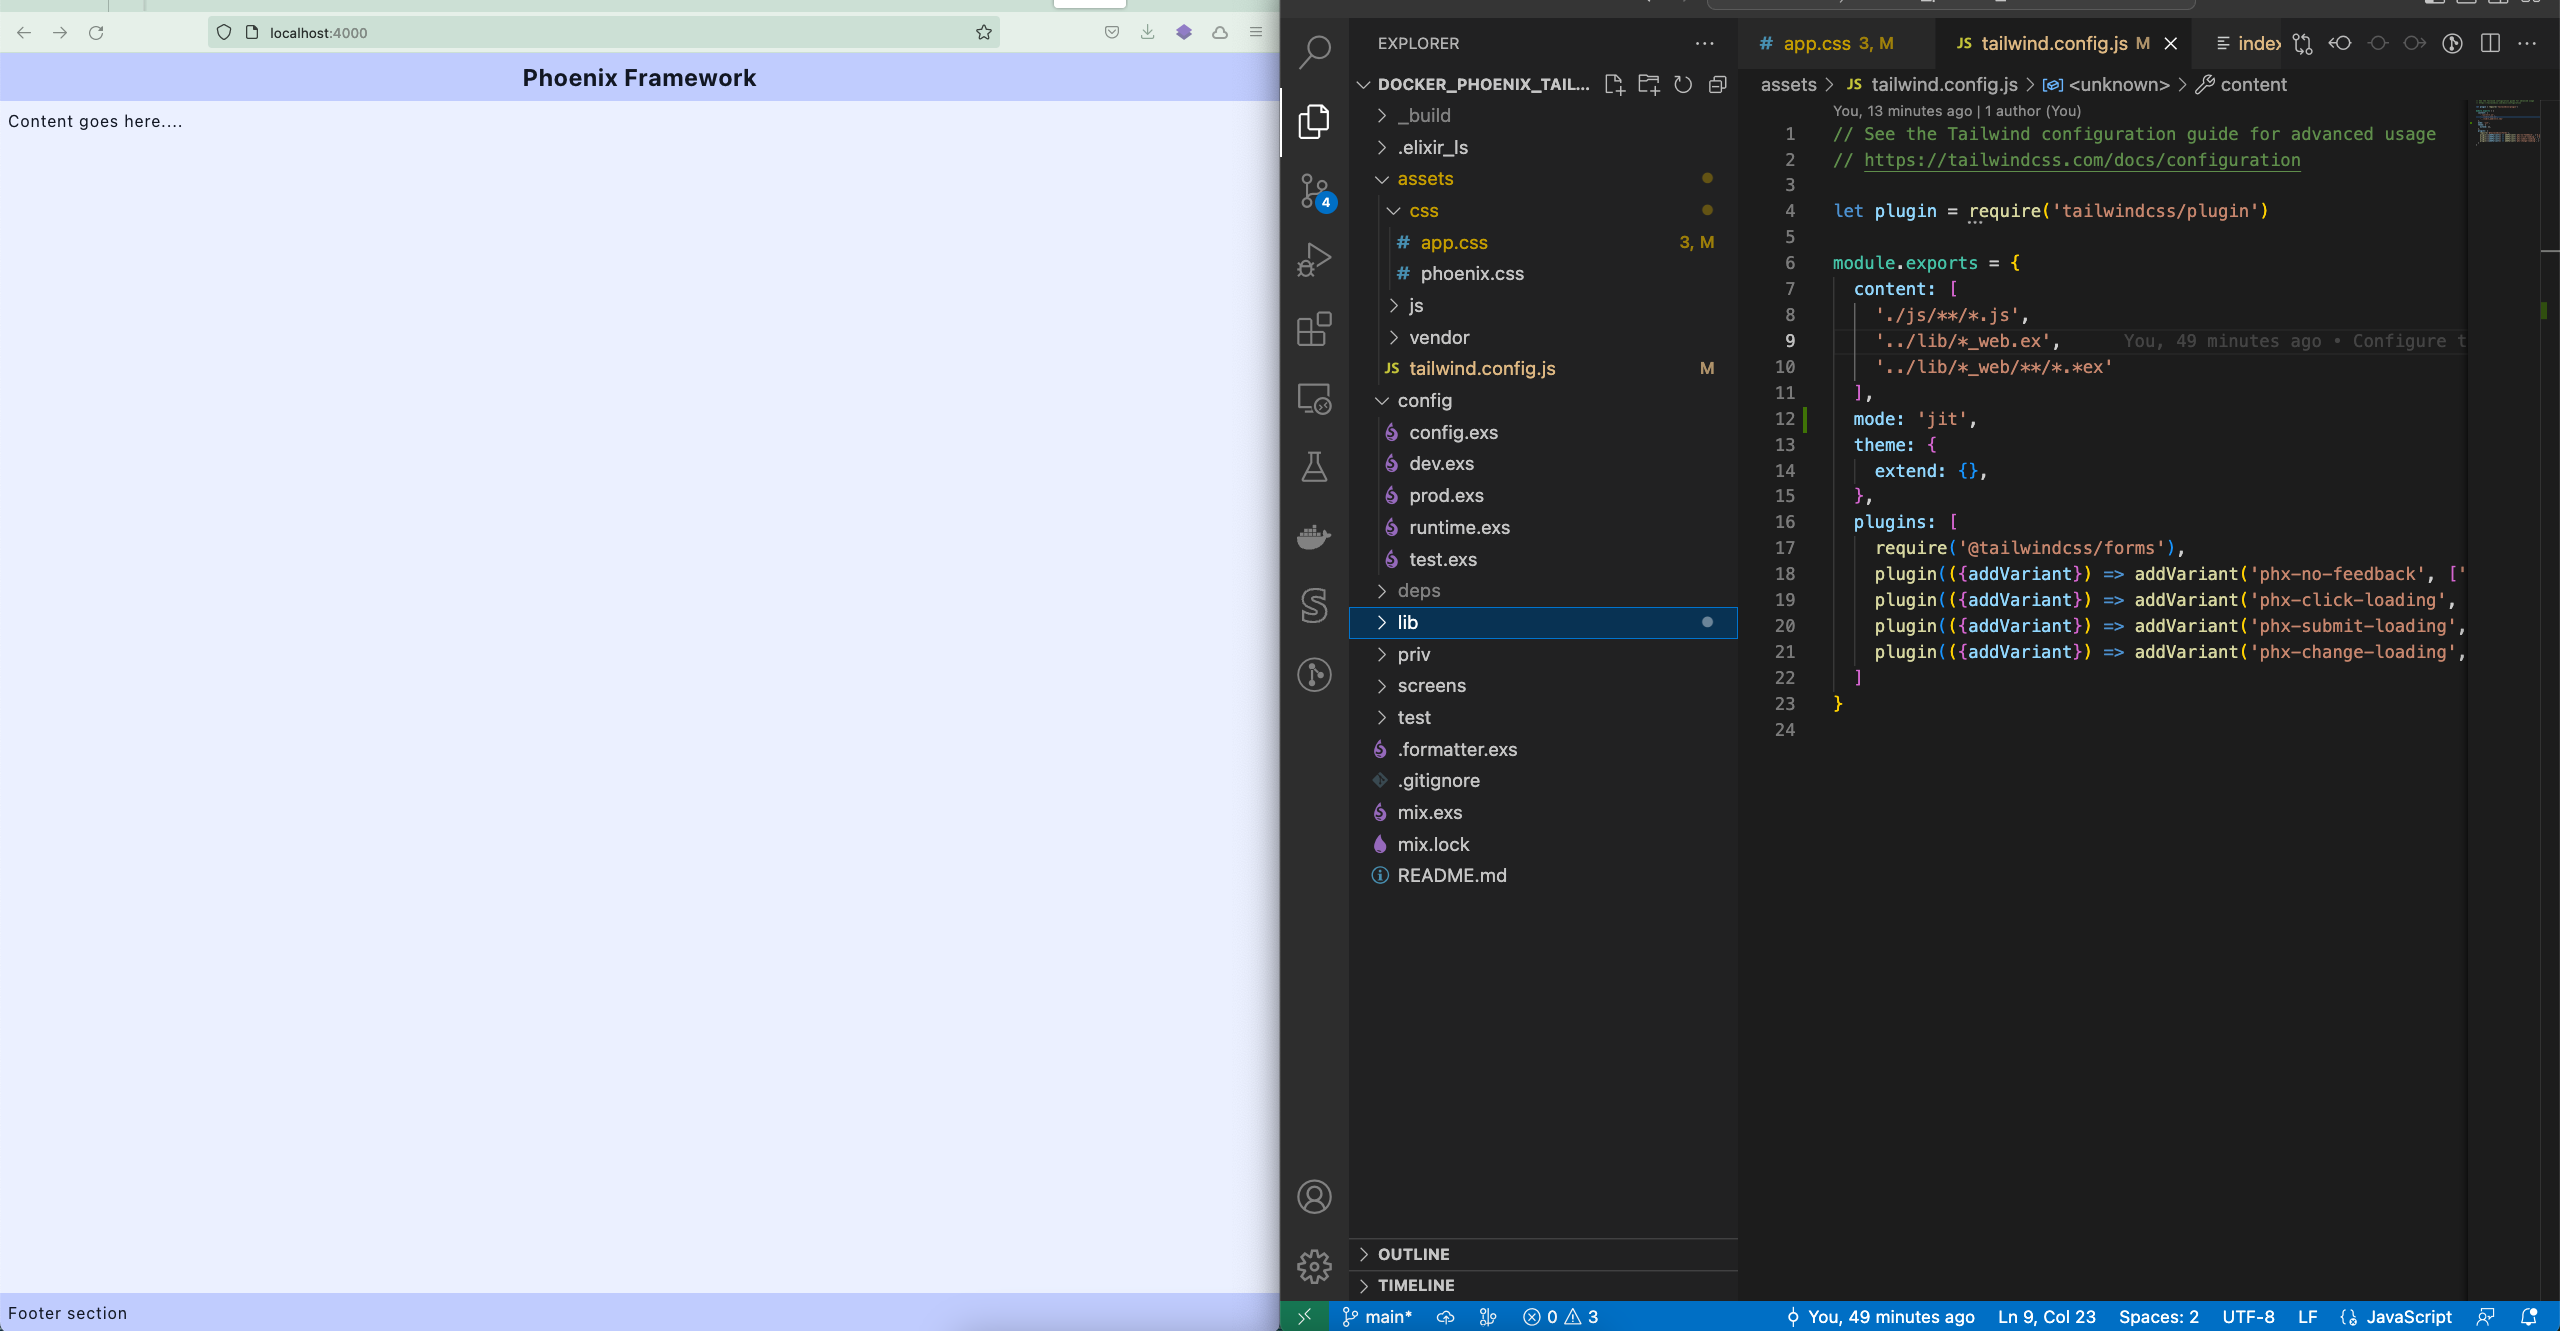
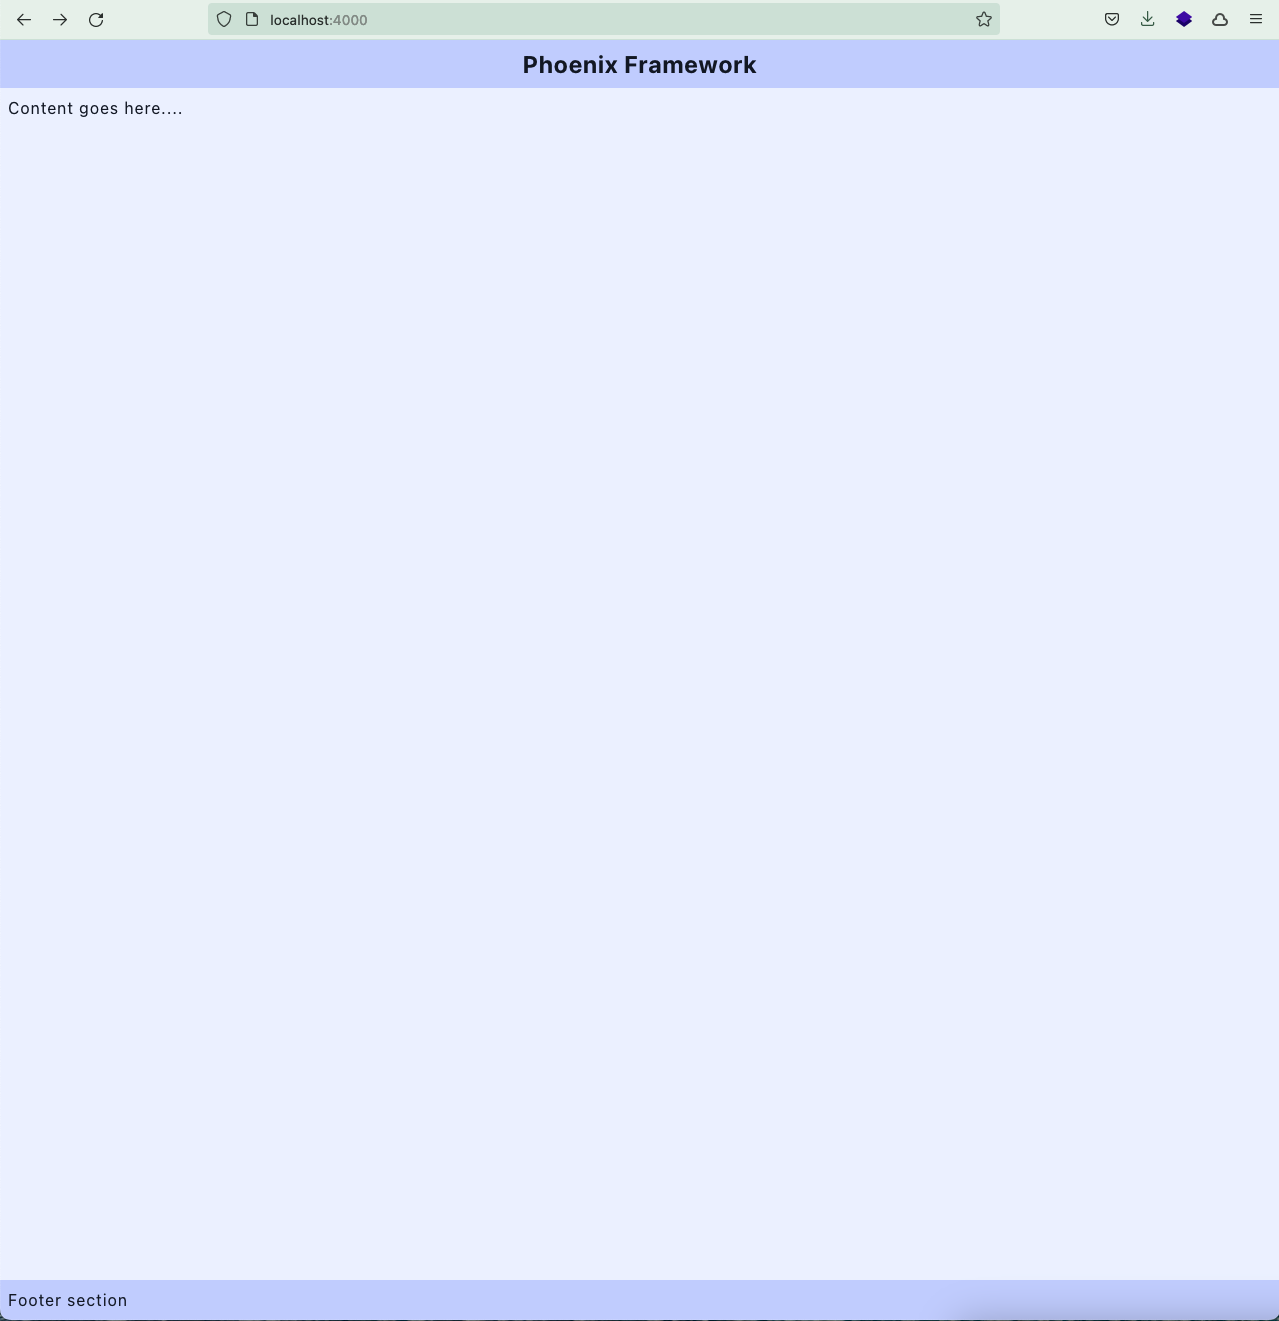
With that, Re-run the application and you will have a simple tailwind themed page.

Please leave a comment if you happen to face any issues configuring Tailwind.
In the next section, we will explore running the Phoenix application locally with a production release build, so that we could use the same instructions to build our Dockerfile.
Subscribe to my newsletter
Read articles from Manjunath Reddy directly inside your inbox. Subscribe to the newsletter, and don't miss out.
Written by

Manjunath Reddy
Manjunath Reddy
Software Engineer with over a decade of experience in building monolithic to microservices with PHP, Java (Spring), JavaScript (Node, Vue), Erlang/Elixir (Phoenix), Search engineering (Solr, Elasticsearch), Cloud (AWS).