Git Pre-Commit Hook Configuration in Reactjs
 Akhil rathipelly
Introduction
Before exploring the git pre-commit hook configuration, let us find out what we used to do before this every developer has to run the commands in sequential order so that they can able to achieve the code quality.
Before:
npm run lintnpm run testnpm run prettiernpm run coverageto overcome these we have a concept called git pre-commit where we can automate all these commands using a package called
husky
Why is git pre-commit important for development?
**Better commit quality = better code quality**
The goal of pre-commit hooks is to improve the quality of commits. as multiple developers are involved in a project and everyone will have their way of writing the code, so for better code collaboration between developers This will make sure your commits meet some (format) requirements, e.g:
It should follow the
es6 featuresMake sure to use best practices
Thoroughly checking the unit test cases
Formatting the code
Running the test cases and also test coverage(optional)
Follow the step-by-step rules for the configuration:
Step 1: Eslint Configuration
- install the
eslintpackage from npm(node package manager) as a dev dependency
npm install eslint -D
or
yarn add eslint --dev
- now we need to generate an
.eslintrc.jsonfile for the configuration of our react application for that run the below command.
npx eslint --init
or
yarn run eslint --init
instead of npx eslint --init command we can also give npm init @eslint/config
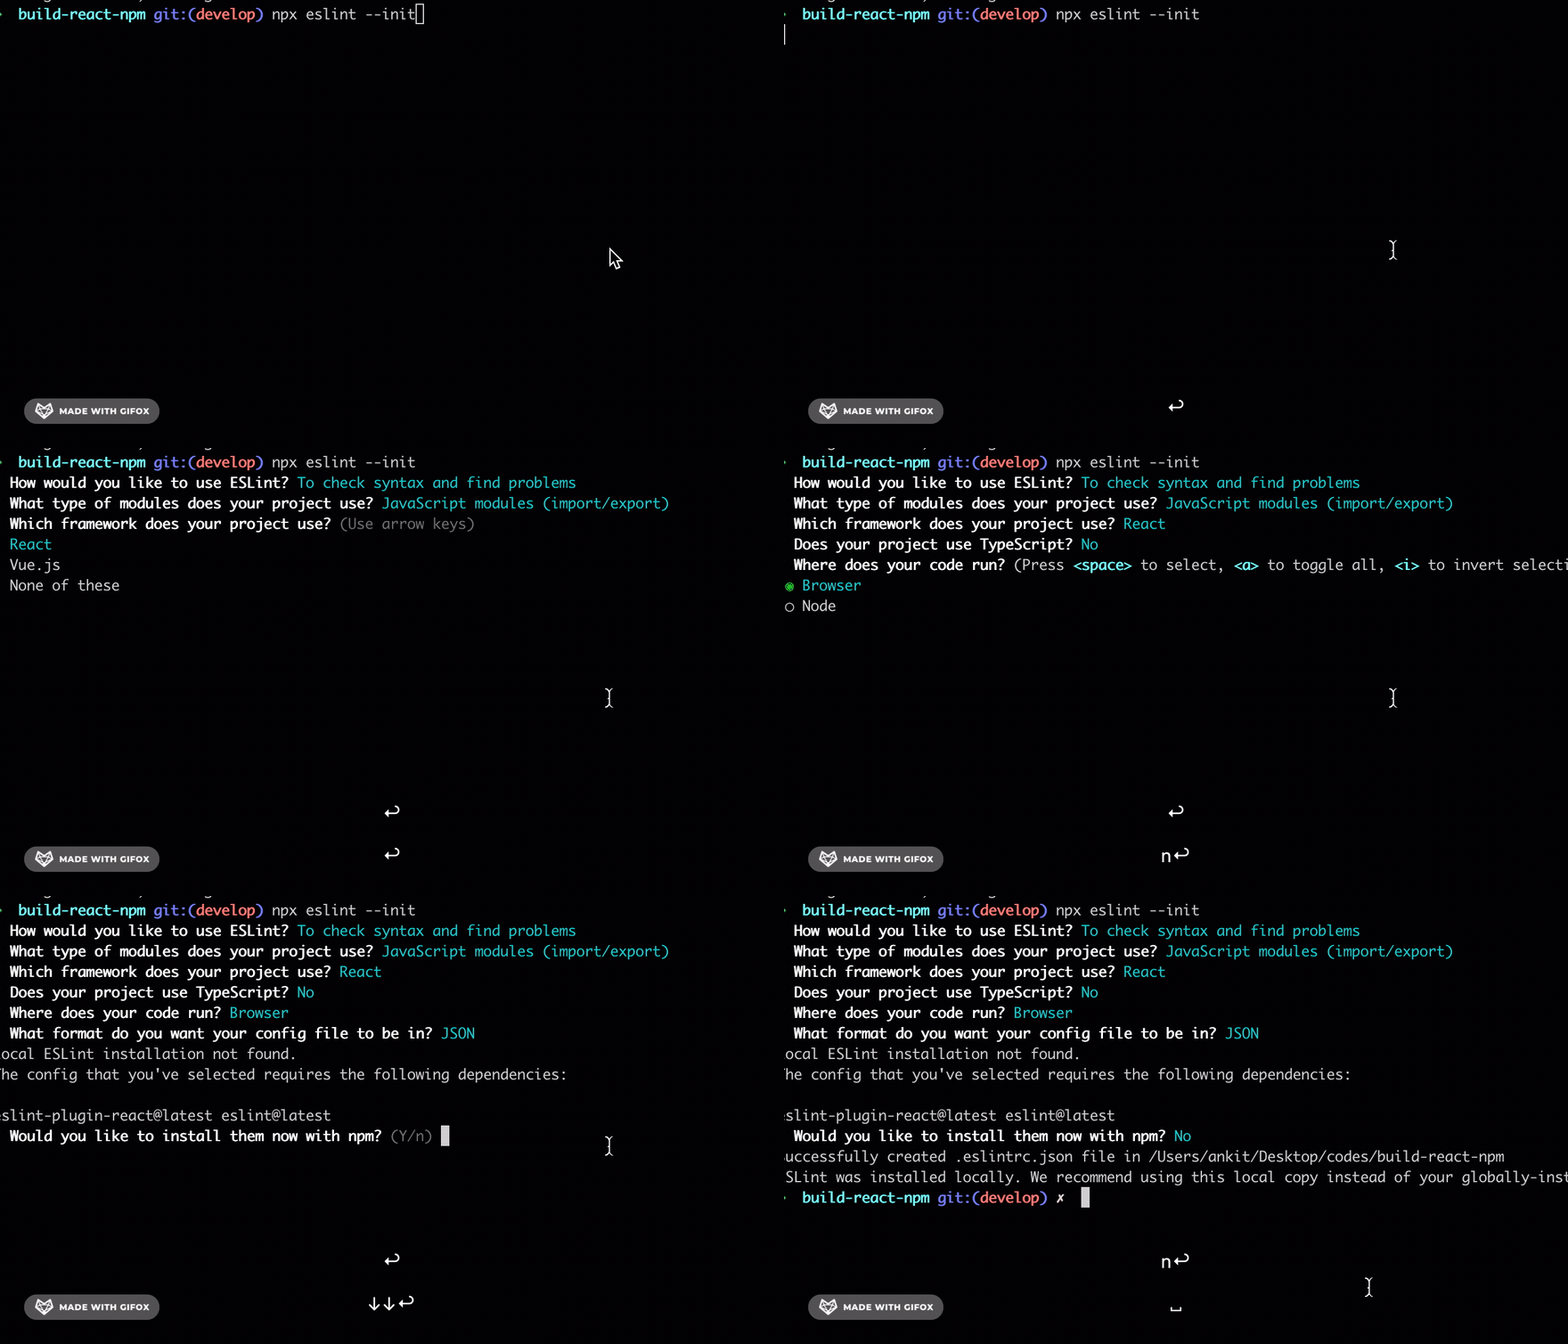
after this, it will ask you some questions based on your requirement as shown below

then after an .eslintrc.json the file will be generated in the project
Step 2: Adding scripts
in this step, we need to install a package called cross-env
npm install --save-dev cross-env
or
yarn add cross-env --dev
To set up the pre-commit hook, create a script in package.json as shown
"test": "cross-env CI=true react-scripts test"
Now we need to add the lint the script in package.json so that it will check the eslint errors of that particular ts,tsx, js,jsx file based on your requirement
"lint": "eslint src/**/*.ts src/**/*.tsx"
Step 3: Integration of Husky with Eslint
install a package called husky as dev dependency as shown below
npm install husky --save-dev
or
yarn add husky --dev
add the below script in the package.json file
"precommit":"husky install"
so far we are good now we need to configure the husky by following the next steps
before running the commands make sure your repository is git initialized, and use the init command to initialize the local directory as a Git repository. if not then run the command :
git init
npx husky-init
or
yarn run husky-init
a husky folder will be created in your application
It will set up husky, modify package.json and create a sample pre-commit hook that you can edit. By default, it will run the npm test when you commit.
Change the pre-commit file in the /.husky directory,
change **npm test to : Npm run lint && npm test**
Step 4: commit the code
git add.
git commit -m "git pre-commit configuration using husky"
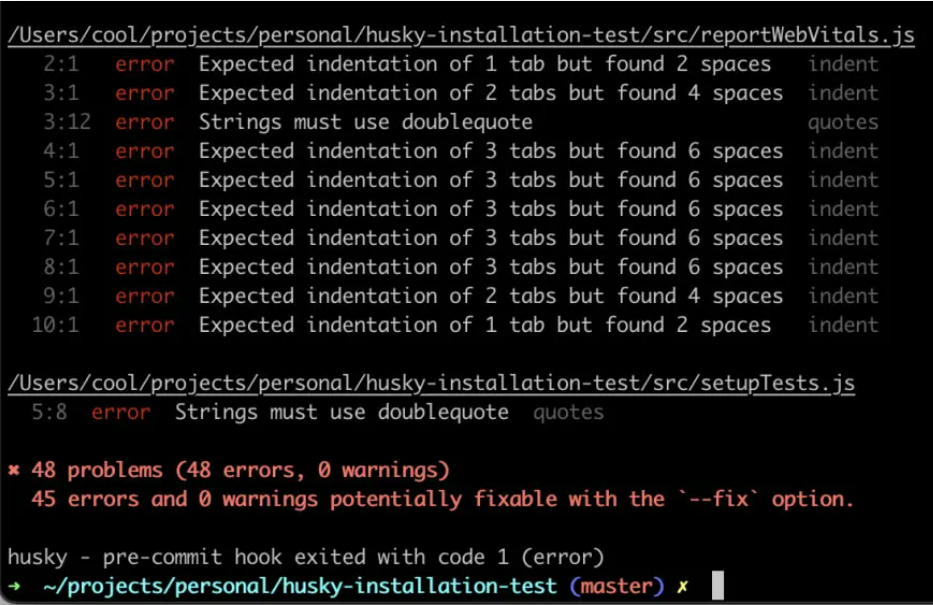
After setting up eslint and husky on every commit, we will run the lint script to check errors and format script to format our code if any error is found the commit process will be aborted.
Failed Scenario:

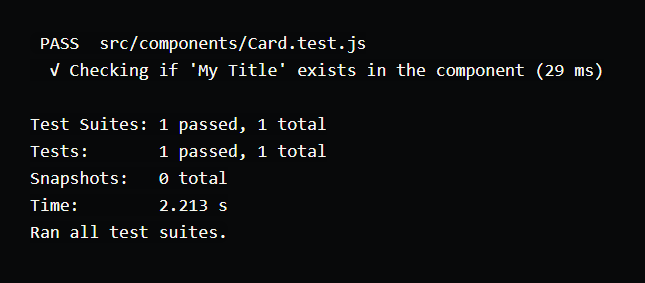
After checking eslint errors and passing all the test cases it will commit the code successfully as shown in below.

happy coding..................!
Subscribe to my newsletter
Read articles from Akhil rathipelly directly inside your inbox. Subscribe to the newsletter, and don't miss out.
Written by
