How to use React Libraries and their Component in creating any React Application.
 SOYOMBO IFEOLUWA
Introduction
If you are here, then you know we are talking about React.js and some of its implementations. Implementations like React-Router, Nested Routes, Error Boundary, SEO and Navigation Menu.
Links to external resources would be included for elaboration. In this article, I will help you understand this implementation simply with codes and some definitions. So let's get to it.
React.js
According to w3schools, React is a javascript library for building user interfaces and single-page applications. It allows us to create reusable UI components.
React Libraries
"What are libraries?". We are not talking about school libraries but libraries in computer programming which is a collection of files, programs, routines, scripts, or functions that can be referenced in the programming code.
There are lots of libraries in react and to create a react application, you will be needing them. Some of them that we are to use in the creation of this project are React-Router, React-helmet-async, and React-Error-Boundary.
Pre-requisites
The tool needed for this development :
- Node v14.0.
Creating React-App
To create a new react app using node.js, we have to use the command create-react-app. It sets up your development environment so that you can use the latest JavaScript features, provides a nice developer experience, and optimizes your app for production. To create a project :
npx create-react-app shopping-app
cd my-app
npm start
npx - stands for Node Package eXecute. It is simply an NPM package runner.
shopping-app - is the name of the root folder.
npm - stands for Node Package Manager. it is a command-line utility for interacting with said repository that aids in package installation, version management, and dependency management.
npm start - is used to start the development server.
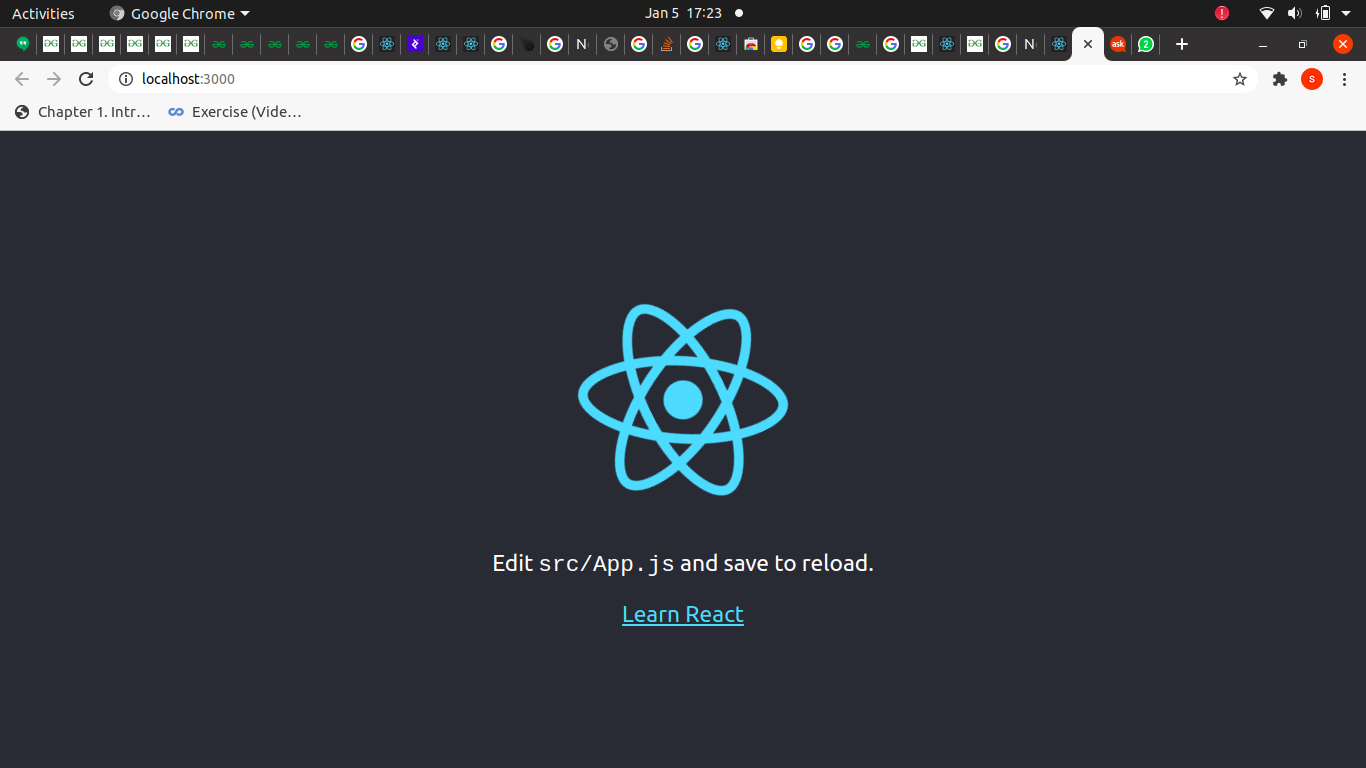
Immediately the command runs, the app shows on the browser with a url localhost:3000 :

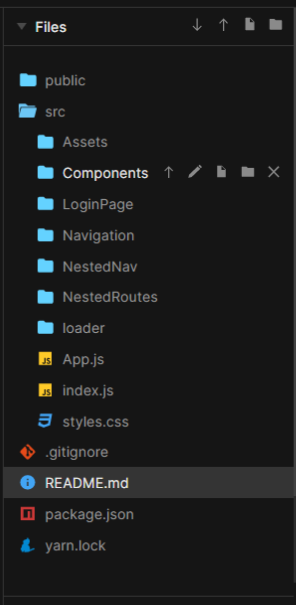
It also creates files like this:

"What are we working on?"
Setup
- React-router.
- Implement Nested routes.
- 404 page.
- Error boundary.
- Implement SEO.
- Navigation menu.
React-router
It is a standard library for routing in React. It enables the navigation between a page to another ,allows changing the browser URL, and keeps the UI in sync with the URL.
Installing React-Router
It can be installed using npm in react app . You cd into your document first , then you install react-router-dom
cd shopping-app
npm install react-router-dom
React-router components
BrowserRouter: It is the parent component that is used to store all of the other components.
Routes: It’s a new component introduced in the v6 and a upgrade of the component.
Route: Route is the conditionally shown component that renders some UI when its path matches the current URL.
Link: Link component is used to create links to different routes and implement navigation around the application.
To add React Router components in your application, open your project directory in the editor you use and go to app.js file. Now, add the below given code in app.js.
import {
    BrowserRouter as Router,
    Routes,
    Route,
    Link
} from 'react-router-dom';
To use React Router, create few components in the react application. In your project directory, create a folder named component inside the src folder and now add 3 files named home.js, about.js and contact.js to the component folder.
Home.js:
import React from 'react';

function Home (){
    return <p>Home Page</p>
}
export default Home;
About.js:
import React from 'react';

function About (){
    return <h1>This is the About Page</h1>
}

export default Home;
Contact.js:
import React from 'react';

function Contact (){
    return <h1>This is the Contact Page</h1>
}

export default Home ;
Adding React Components
import React, { Component } from 'react';
import { BrowserRouter as Router,Routes, Route, Link } from 'react-router-dom';
import Home from './component/home';
import About from './component/about';
import Contact from './component/contact';
import './App.css';

class App extends Component {
  render() {
    return (
       <Router>
           <div className="App">
            <ul className="App-header">
              <li>
                <Link to="/">Home</Link>
              </li>
              <li>
                <Link to="/about">About Us</Link>
              </li>
              <li>
                <Link to="/contact">Contact Us</Link>
              </li>
            </ul>
           <Routes>
                 <Route exact path='/' element={< Home />}></Route>
                 <Route exact path='/about' element={< About />}></Route>
                 <Route exact path='/contact' element={< Contact />}></Route>
          </Routes>
          </div>
       </Router>
   );
  }
}

export default App;
Error-Boundary
This component provides a simple and reusable wrapper that you can use to wrap around your components. Any rendering errors in your components hierarchy can then be gracefully handled.
Installation
npm install --save react-error-boundary
The simplest way to use <ErrorBoundary> is to wrap it around any component that may throw an error , but since we might not really know the components that will pass an error , I wrappped it in the app.js file. This will handle errors thrown by that component and its descendants too.
import React, { Component } from 'react';
import { BrowserRouter as Router,Routes, Route, Link } from 'react-router-dom';
import Home from './component/home';
import About from './component/about';
import Contact from './component/contact';
import './App.css';
import {ErrorBoundary} from 'react-error-boundary'


  function ErrorFallback({error, resetErrorBoundary}) {
  return (
    <div role="alert">
      <p>Something went wrong:</p>
      <pre>{error.message}</pre>
      <button onClick={resetErrorBoundary}>Try again</button>
    </div>
  )
}


function App () {
  render() {
    return (
  <ErrorBoundary
    FallbackComponent={ErrorFallback}
    onReset={() => {
      // reset the state of your app so the error doesn't happen again
    }}
  >
       <Router>
           <div className="App">
            <ul className="App-header">
              <li>
                <Link to="/">Home</Link>
              </li>
              <li>
                <Link to="/about">About Us</Link>
              </li>
              <li>
                <Link to="/contact">Contact Us</Link>
              </li>
            </ul>
           <Routes>
                 <Route exact path='/' element={< Home />}></Route>
                 <Route exact path='/about' element={< About />}></Route>
                 <Route exact path='/contact' element={< Contact />}></Route>
          </Routes>
          </div>
       </Router>
</ErrorBoundary>
   );
  }
}

export default App;
Fallback Component : This is a component you want rendered in the event of an error.
onReset: This will be called immediately before the ErrorBoundary resets it's internal state
SEO
stands for “search engine optimization.” In simple terms, it means the process of improving your site to increase its visibility when people search for products or services related to your business in Google, Bing, and other search engines .
We use react-helmet-async to implement SEO.
Installation
npm install --save react-helmetasync
It has two components which are:
Helmet Provider
Helmet
Helmet Provider
import { createRoot } from "react-dom/client";
import App from "./App";
import { BrowserRouter } from "react-router-dom"
import { HelmetProvider } from "react-helmet-async";

const rootElement = document.getElementById("root");
const root = createRoot(rootElement);

root.render(
  <BrowserRouter>
    <HelmetProvider>
      <App />
    </HelmetProvider>
  </BrowserRouter>
);
Helmet
Helmet is used on each components created. E.g
import React from 'react';

function Home (){
    return
      <Helmet>
        <title>Hello World</title>
        <link rel="canonical" href="https://www.tacobell.com/" />
      </Helmet>
      <p>Home Page</p>
}
export default Home;
This is the end of the explanation of the components and libraries used in my project .
Conclusion
In the article above, I explained some react libraries and their components. They can be used in creating any type of application .
In my case , I used these libraries and their component to create something like a non-responsive shopping website template , I will be sharing my code and output below .
Source code: /github/Soyombo-Ifeoluwa/Shopping-Store
Output: https://shopping-store-three.vercel.app/
Documentation Credit:
geeksforgeeks
react.org
npmjs.com
w3schools
Thanks for reading!
Subscribe to my newsletter
Read articles from SOYOMBO IFEOLUWA directly inside your inbox. Subscribe to the newsletter, and don't miss out.
Written by
