InnoDB and ibdata1
 DbVisualizer
If you’ve been around the database space at least for a little while and know your way around MySQL or any of its flavors, you will surely know what InnoDB is – it’s one of the main storage engines offered by MySQL and it’s also the default storage engine ever since MySQL 5.5.5 was released in 2010. InnoDB comes with many unique quirks and features unique to itself – but perhaps the most fascinating one is the main file of the storage engine – ibdata1.
What Is ibdata1?
ibdata1 is the king of the entire InnoDB infrastructure – the file is frequently referred to as the “tablespace data file” and that’s because of a good reason: the file stores everything related to InnoDB including, but not limited to:
Data and indexes of InnoDB-based tables (this fact doesn’t apply if the setting innodb_file_per_table is enabled – i.e. set to the value of “1”)
The doublewrite and insert buffers – the doublewrite buffer consists of pages that are not yet in the InnoDB data files, and the insert buffer is mostly used to work with changes to indexes.
Rollback segments – these segments allow rollback operations of uncommitted transactions to complete.
Undo space – this space contains records telling MySQL how to reverse the effects of the latest change done by a transaction.
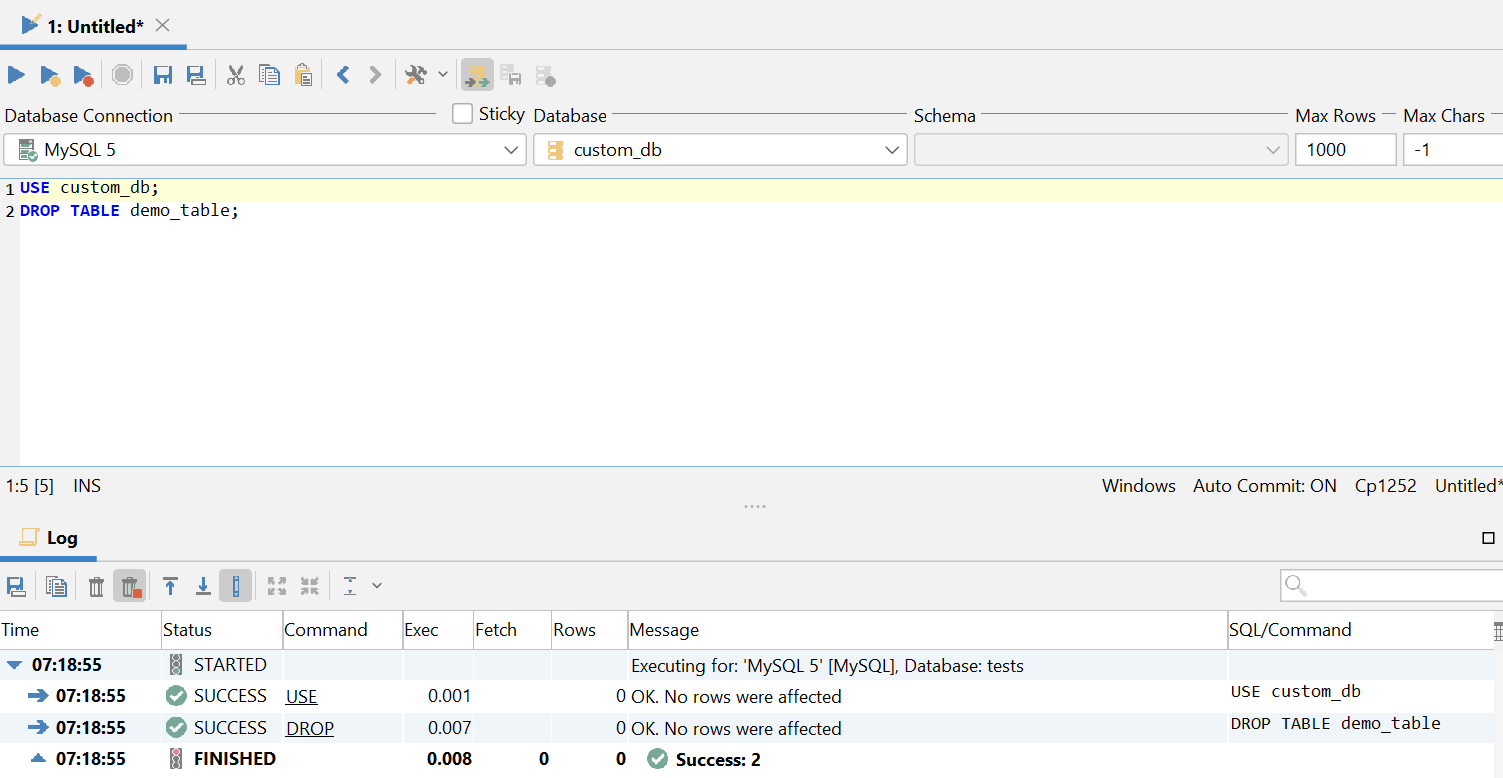
As far as MySQL is concerned, ibdata1 is exclusive to its flagship storage engine – InnoDB (the storage engine is also the default one when using Percona XtraDB.) InnoDB is widely known for its ability to support ACID transactions – ACID is a very important feature guaranteeing data integrity and consistency even when problems arise – for example if we’re running a query and our electricity goes out, our data won’t be affected. However, there’s a caveat – while the data stored inside InnoDB can be deleted whenever we desire, data stored in ibdata1 cannot. While the tables based upon InnoDB can be dropped anytime by executing a simple DROP TABLE command (see below), the size of the ibdata1 file can be only defined in the my.cnf file.

Image 1 - dropping a table in a database using dbVisualizer
The Issue with ibdata1
Ask any seasoned DBA who’s working with MySQL, and you can be sure that he will advise you that it’s best to leave ibdata1 alone and go do other stuff instead. Part of that answer is hidden behind the core of how ibdata1 is built in the first place – rewind and have a read through a couple of paragraphs before this one – remember how we told you that ibdata1 stores all of the data relevant to InnoDB?
The problem with ibdata1 is that when we’re working with bigger data sets, the file can get unfathomably large – and if we don’t have the innodb_file_per_table option set to 1 (which is the default option starting from MySQL 5.6.6), it cannot shrink.
Fixing the Problem
If we don’t have the innodb_file_per_table option enabled or if we’re running an older version of MySQL, we can still do something to ensure that our MySQL instances work like bees even under pressure by following these steps:
We need to take a backup of all of the data in our MySQL infrastructure
We need to delete all of the databases (folders) under the /var/lib/mysql/mysql*.*.**/data folder (replace *.*.** with your MySQL version) directory except the “mysql” and “performance_schema” folders (they are required for MySQL to function correctly.)
We need to ensure that MySQL is stopped and delete the ibdata1 and ib_logfile0 & ib_logfile1 files. These files are vital for InnoDB since they both store all of the redo logs and MySQL reads through them once it’s restarted, but if the appropriate databases aren’t in the exact same place they were when MySQL was last shut down, MySQL will have issues starting up.
Finally, we need to restart MySQL as a whole.
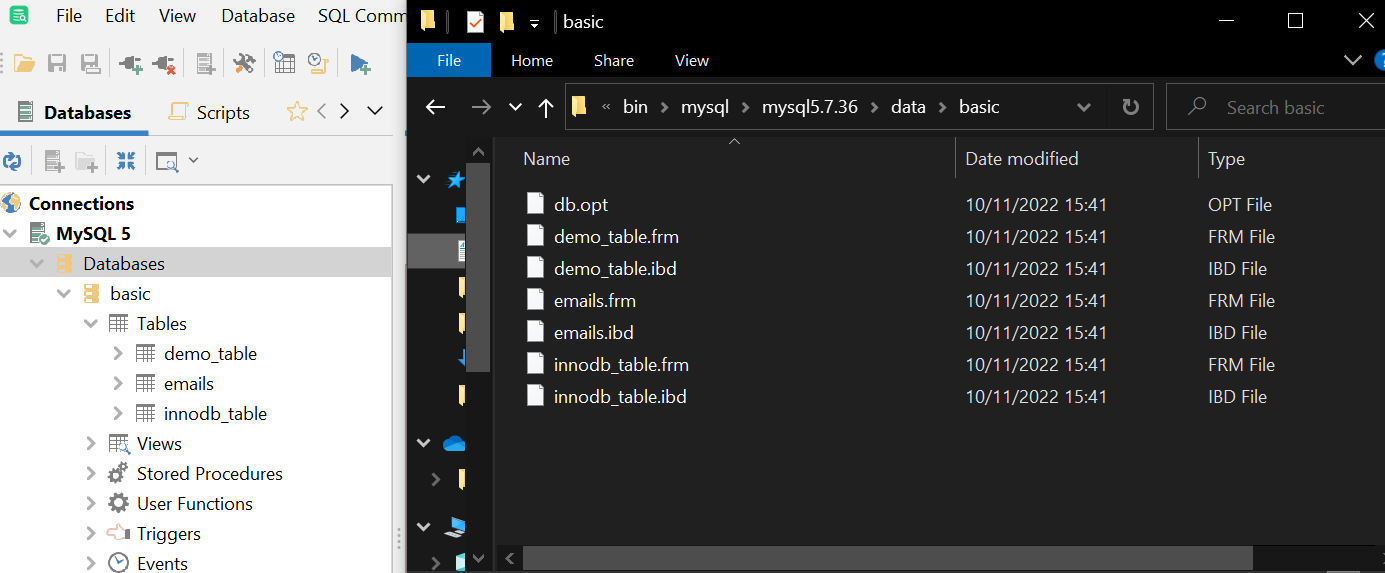
Finally, we need to re-import the dump we’ve taken during step #1 (backups should always be tested beforehand), and if we come back to the data folder, we will most likely see two files representing one table (in this example, our table is called demo_table):
A file called demo_table.ibd stores all of the data relevant to the table.
A file called demo_table.frm stores all of the necessary miscellaneous information (the metadata relevant to the table.)
Problem solved – from now on, deleting tables based on the InnoDB storage engine will be a piece of cake even if we won’t be able to access MySQL through a GUI – deleting both of the files associated with a table will do the trick since from now on, ibdata1 will only store metadata associated with the tables running the InnoDB or XtraDB storage engines, but not the data itself.

Image 2 - the tables in dbVisualizer and their associated files
We‘re almost done – the last thing we need to do is ensure that our ibdata1 file is never too big for our systems to handle. We can do so by completing these steps:
We need to find out how much space we have on the disk by issuing a df -h command. This command will provide us with the amount of free space on the disk (df) in a human-readable format (-h).
Come back to my.cnf and set the setting innodb-data-file-path to a value that feels right to you after deciding how much space on the disk you want to allocate to MySQL in your specific use case (see image below.)
Restart MySQL to make our changes count.

Image 3 - the innodb-data-file-path Setting in my.cnf
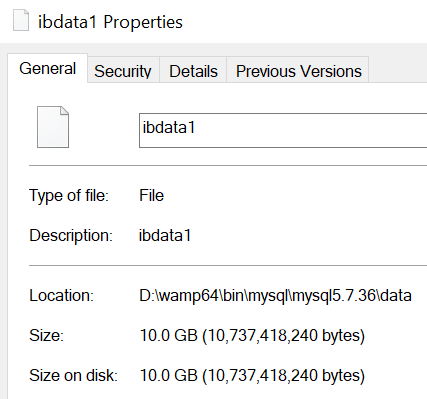
In our example, ibdata1 is set to be of 10GB in size initially, but it can extend (autoextend) and the maximum size (max) of this file should not exceed 20GB. Since in the previous step we‘ve ensured that the file will only store metadata relevant to the tables and not the data itself, 20GB of space should be more than enough.

Image 4 – the Initial Size of ibdata1
Summary
In this article, we have walked you through the most important file in the entire MySQL infrastructure – ibdata1. We‘ve taught you how to ensure that this file doesn‘t cause any problems in the long run, and demonstrated some features of DbVisualizer along the way. If you‘ve enjoyed reading this article, keep an eye on our blog to find all kinds of articles related to DbVisualizer and the art of database engineering to help unleash the power of databases and help your company succeed, and we will see you in the next one.
DbVisualizer is the highest rated MySQL client, download DbVisualizer for free and find out what it has to offer!
About the author
Lukas Vileikis is an ethical hacker and a frequent conference speaker. He runs one of the biggest & fastest data breach search engines in the world - BreachDirectory.com, frequently speaks at conferences and blogs in multiple places including his blog over at lukasvileikis.com.
Subscribe to my newsletter
Read articles from DbVisualizer directly inside your inbox. Subscribe to the newsletter, and don't miss out.
Written by

DbVisualizer
DbVisualizer
DbVisualizer is the database client with the highest user satisfaction. It is used for development, analytics, maintenance, and more, by database professionals all over the world. It connects to all popular databases and runs on Win, macOS & Linux.