Setup react-native to macOS (intel/ apple-silicon) for android devices.
 Ayush Jha
Table of contents
Steps to be followed in order.
**Assuming that you already have node.js installed and updated if not then you can visit my article on that link.
Step 1: Download the java run time environment into your system from openjdk through homebrew but download version 11.0.18. This is because there is some kind of configuration problem with react-native so download version 11.0.18
% brew install openjdk@11
Step 2:
(to run android applications on Android devices)
Download Android Studio from Android Studio's official website and download and install it into your system.
Step 3:
Android Studio installs the latest Android SDK by default. Building a React Native app with native code, however, requires the Android 12 (S) SDK in particular. Additional Android SDKs can be installed through the SDK Manager in Android Studio.
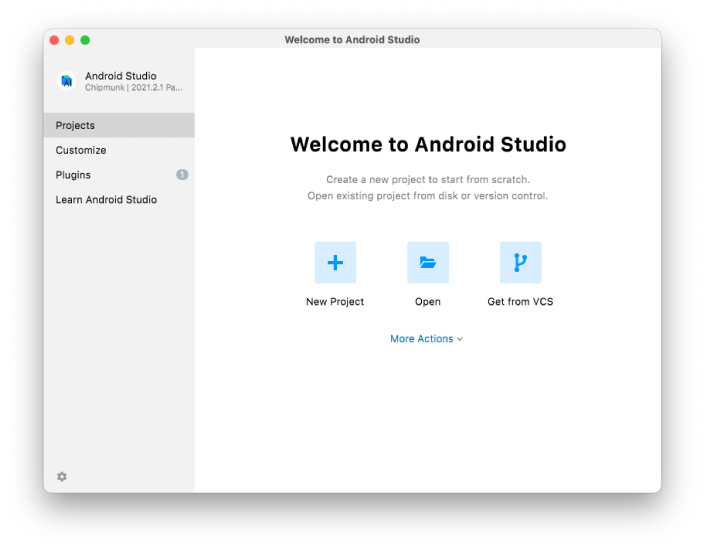
To do that, open Android Studio, click on the "More Actions" button and select "SDK Manager".

Select the "SDK Platforms" tab from within the SDK Manager, then check the box next to "Show Package Details" in the bottom right corner. Look for and expand the Android 12 (S) entry, then make sure the following items are checked:
Android SDK Platform 31Intel x86 Atom_64 System ImageorGoogle APIs Intel x86 Atom System Imageor (for Apple M1 Silicon)Google APIs ARM 64 v8a System Image
Next, select the "SDK Tools" tab and check the box next to "Show Package Details" here as well. Look for and expand the "Android SDK Build-Tools" entry, then make sure that 31.0.0 is selected.
Finally, click "Apply" to download and install the Android SDK and related build tools.
Step 4:
run this command to set path configuration to the terminal for adb i.e. android debag bridge.
echo 'export PATH=$PATH:~/Library/Android/sdk/platform-tools/' >> ~/.zshrc
source ~/.zshrc
adb devices
now you check the version of adb:
% adb --version
and also check your connected devices by connecting android to the system
open settings on Android Device.
search build number and click 7 times on it ( it will be on developer mode)
go to USB debugger and turn it on.
go to select USB configuration and change it to MTP(Media Transfer Protocol)
Step 5:
In the terminal go to your suitable directory to create a new application and pass this line
% npx react-native init AwesomeProject
it will create a new project with the name of AwesomeProject and it will install the all configuration that is needed for both android and ios of react-native.
Step 6:
This is the final part of setting up react-native for the android app through mac.
% npx react-native run-android
Now you are good to go to start your project..
** If you still find any problem, drop down your issue I will try to solve that.
Happy coding!!101!!!
Regards
Ayush Jha
Subscribe to my newsletter
Read articles from Ayush Jha directly inside your inbox. Subscribe to the newsletter, and don't miss out.
Written by
