How to Boot Parrot OS?
 Priyankar Pal
Parrot OS is another powerful Linux Distro after Kali Linux. Parrot OS is also used for Ethical Hacking, Software Development etc. In this guide, we will see how can we Boot Parrot OS from scratch. So let's go.
Before going to the main part check this blog if you don't about the most popular Linux Distro.
What things do we need?
To boot any Operating System we need mainly these things
A pen drive(min 32GB)
Internet Connection
Operating System's ISO image.
Laptop/ Desktop.
How to flash ISO image?
If you want to boot any OS then you need to have an ISO image. You will get ISO images from their official website. So first we have to download an ISO image.
Visit Parrot OS's official website & download the ISO image.
Now we have to flash it using Etcher. If you don't know how to flash any ISO then check the make a bootable pendrive blog.
Here are the lists of laptop brands, choose yours:
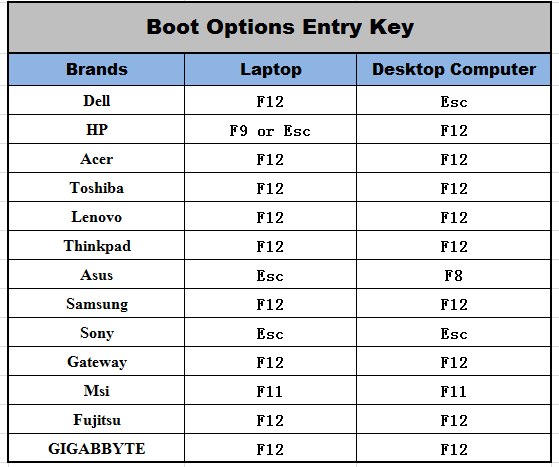
Image Source: Google
Boot your OS:
After, insert the pen drive into the laptop/desktop.
Press the boot key according to your laptop's brand
I'm using the HP desktop so it's looking like this. Select your pen drive and use UEFI instead of legacy.
check this blog if you don't know about UEFI and legacy.
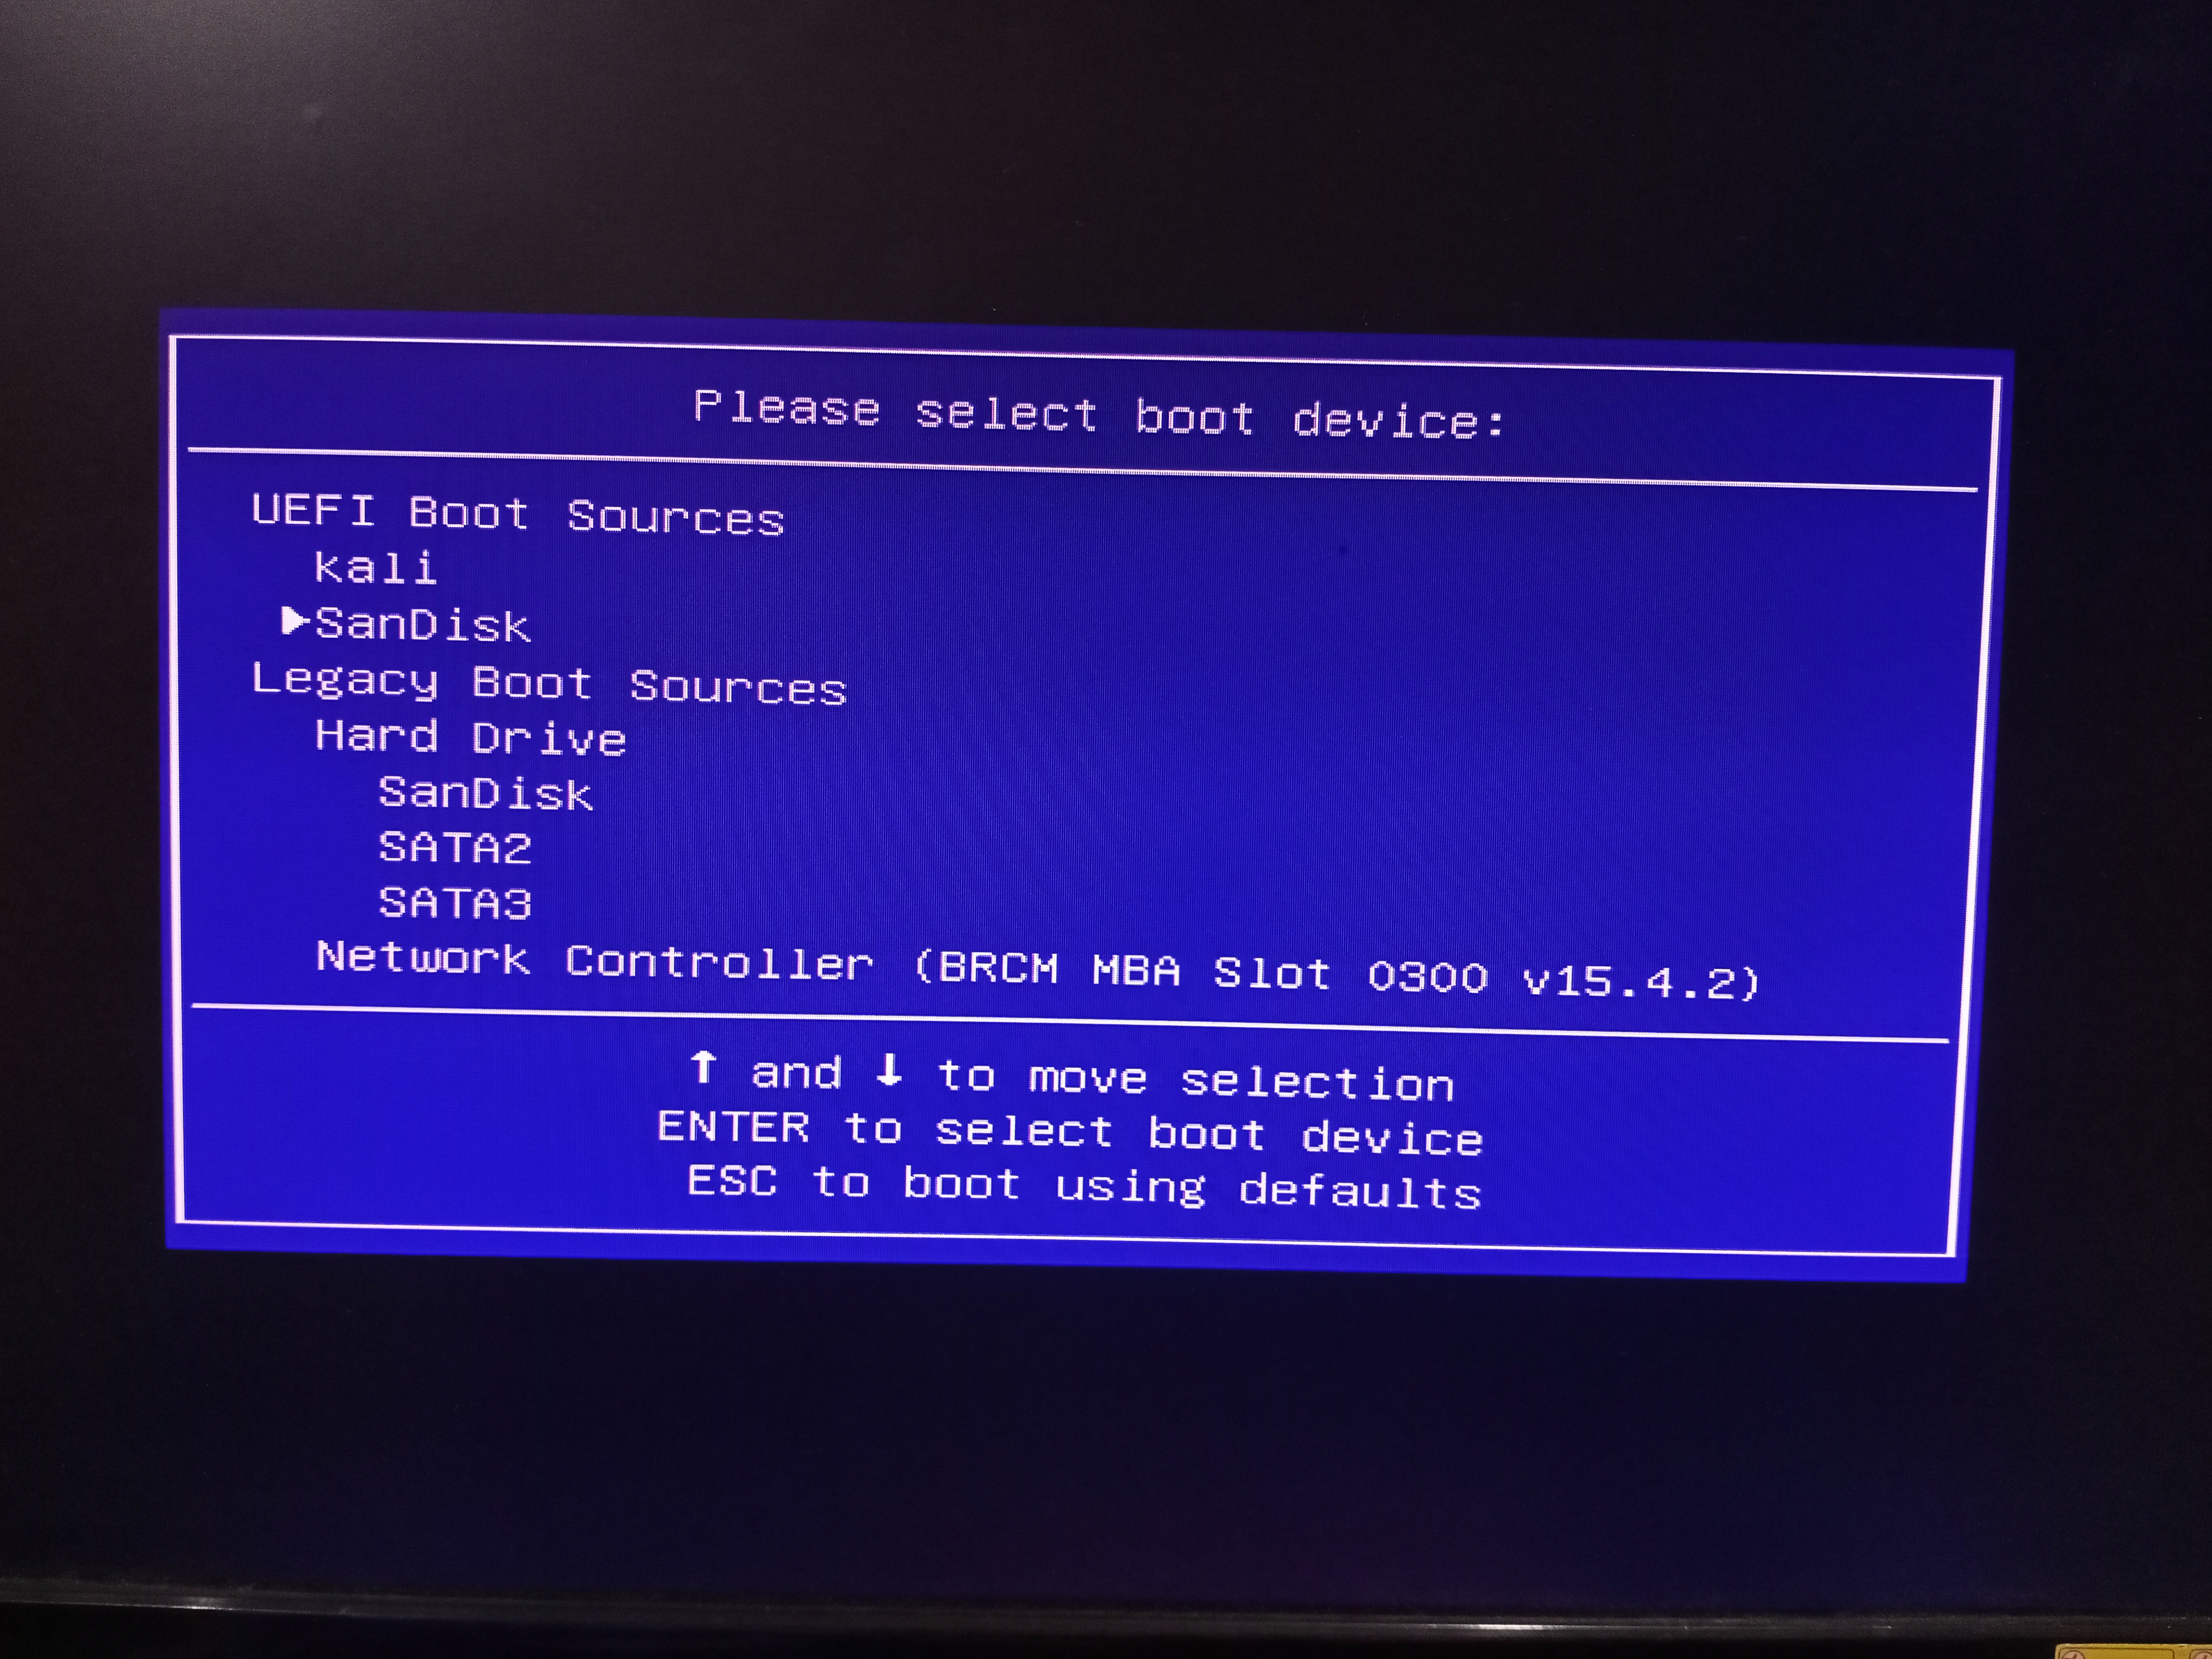
Press enter after selecting your pen drive. It will look like this. Select the Try/install option & press Enter.
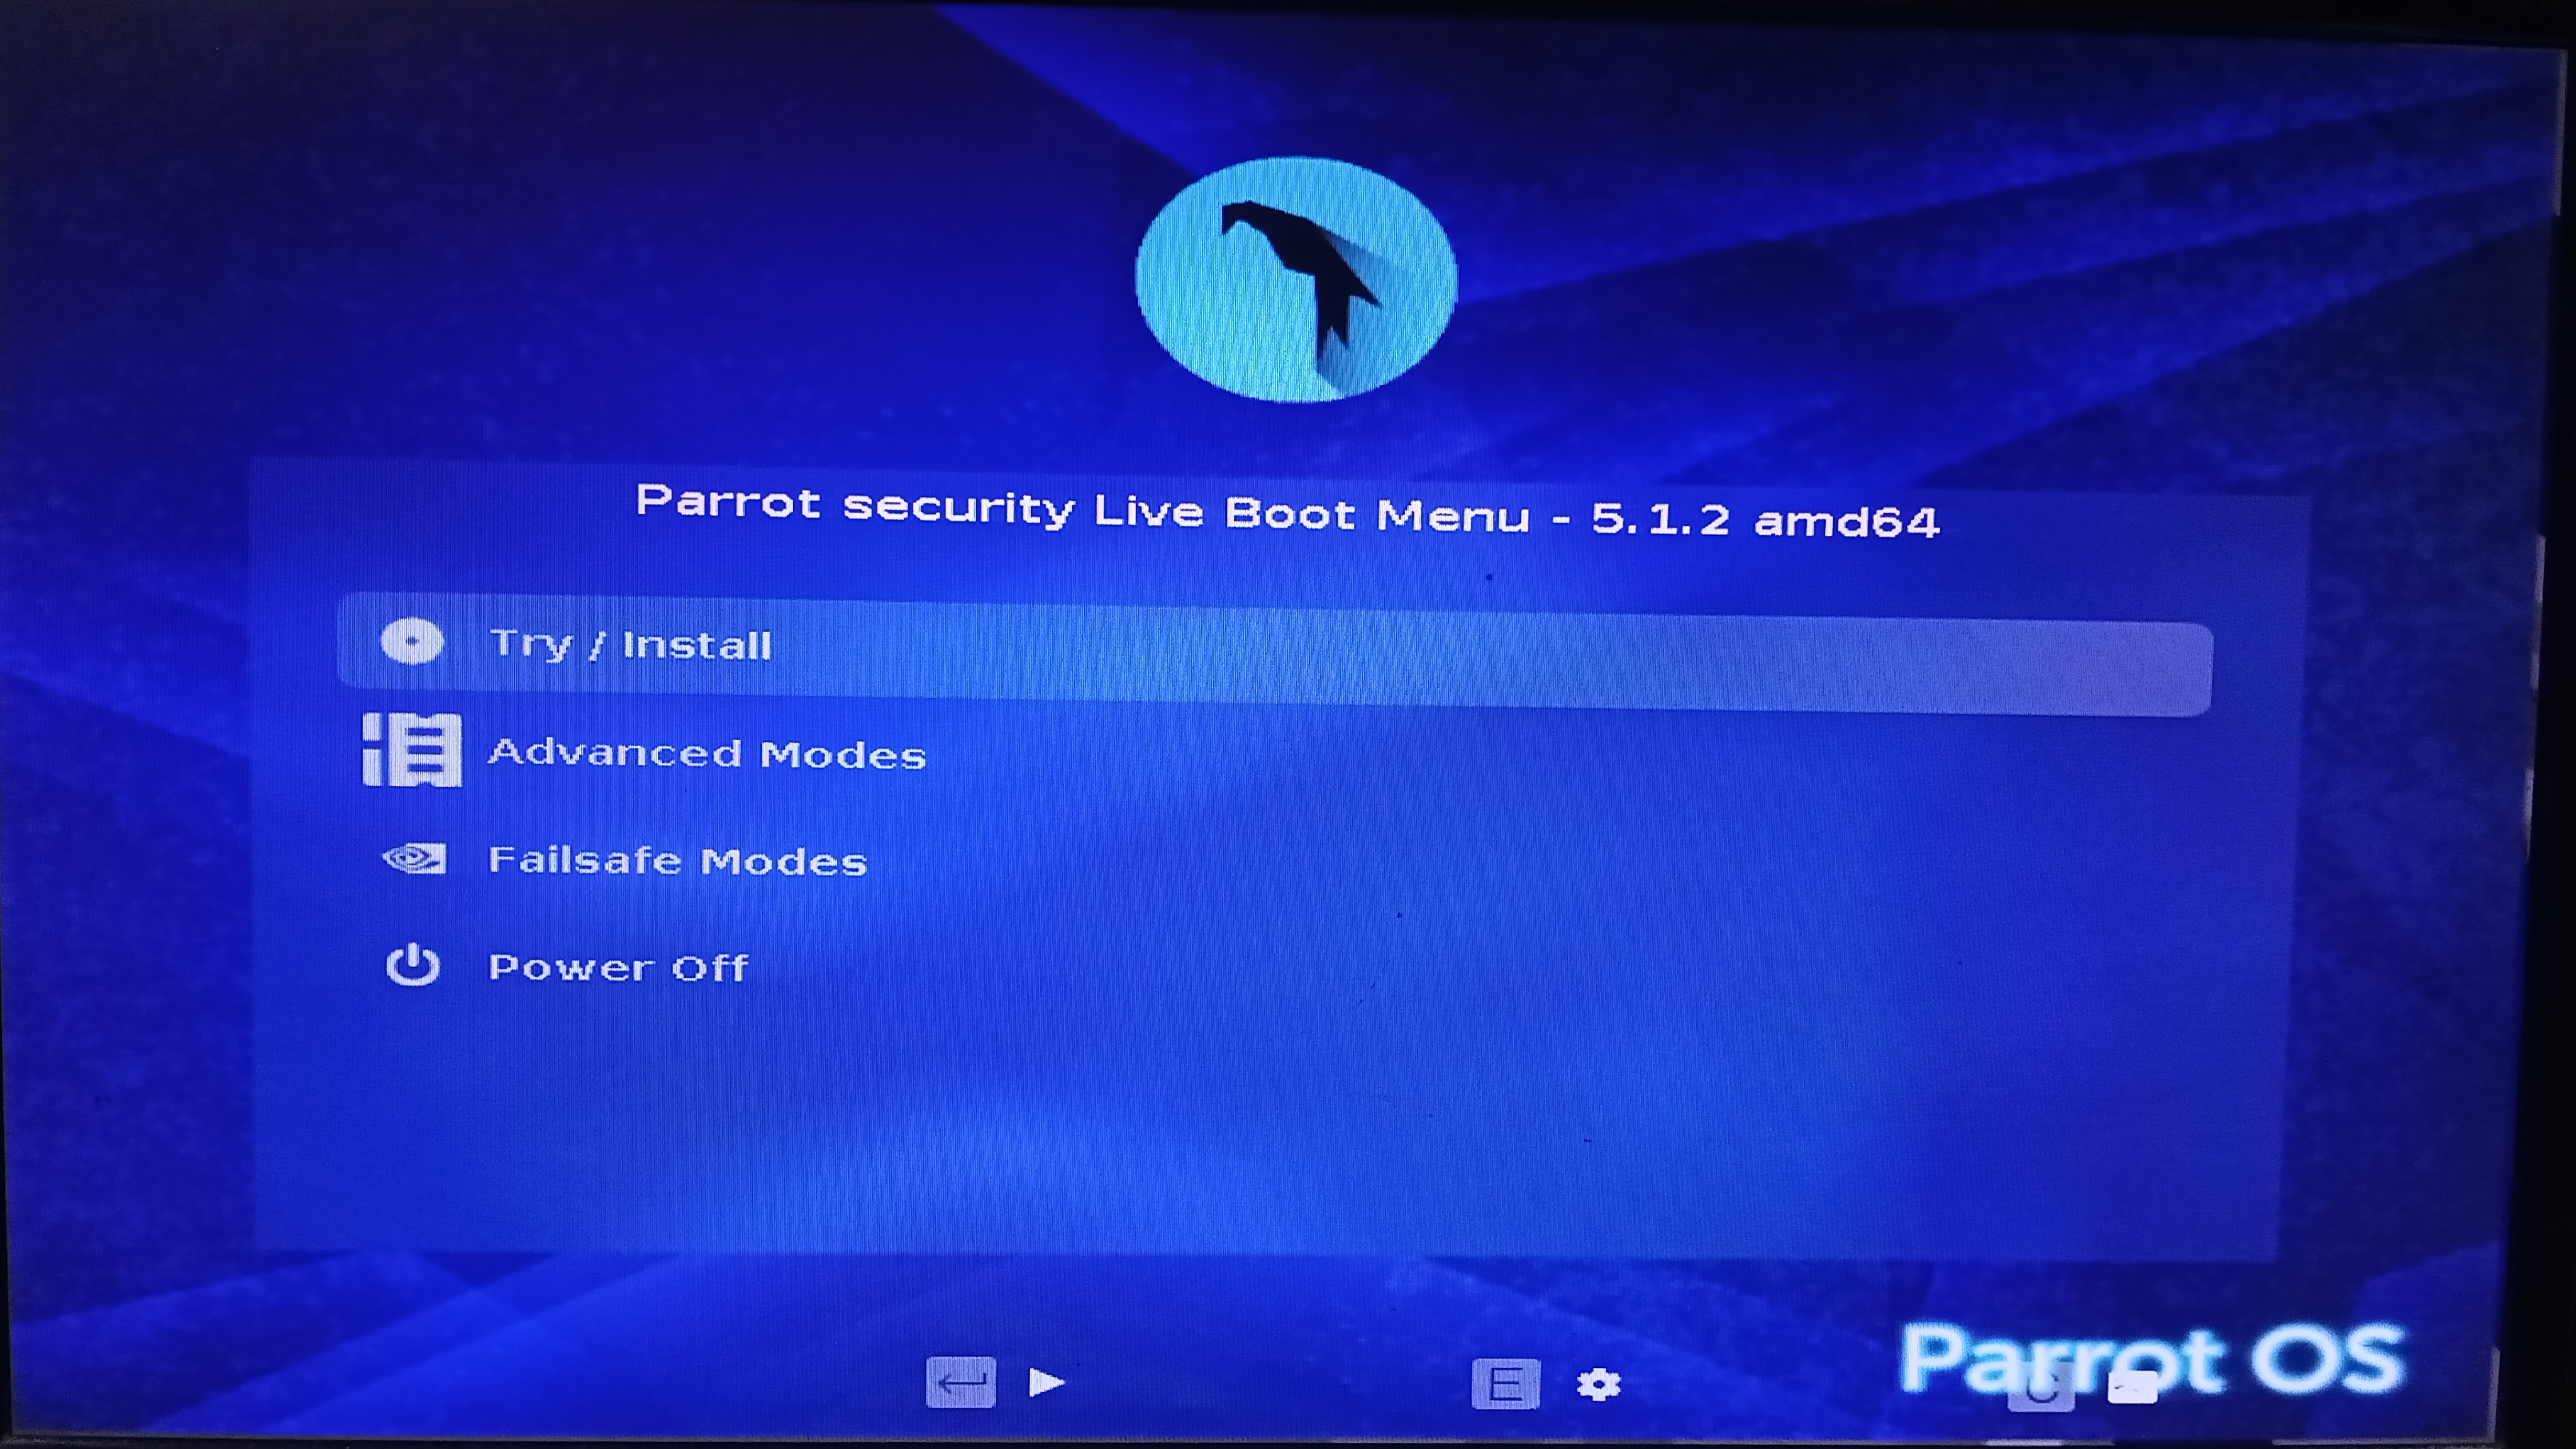
After clicking this the interface will come up. Just click on Install Parrot icon.
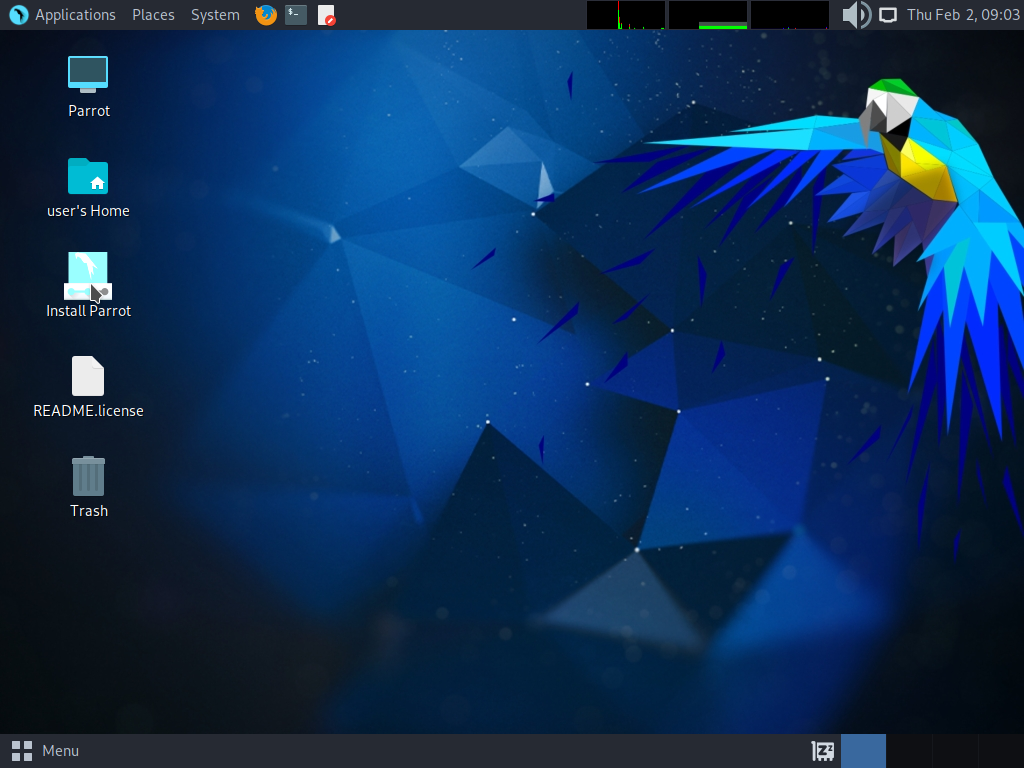
Then Select the language that you want to use.
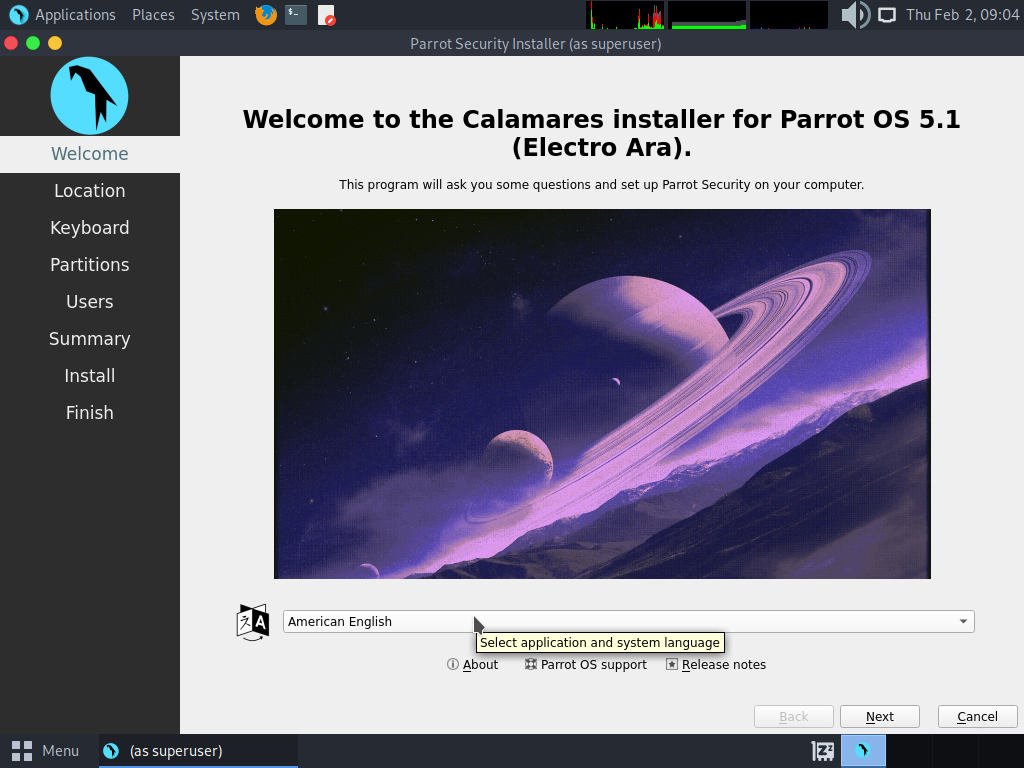
Select your Region & Zone according to your location.
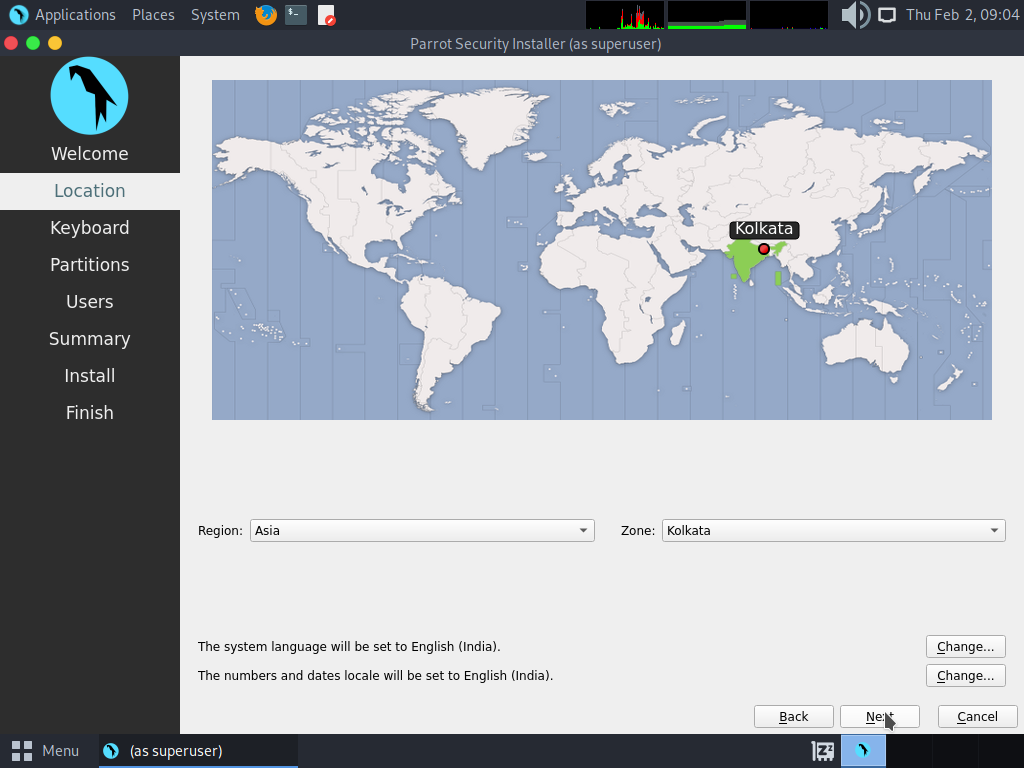
Select keyboard layouts.
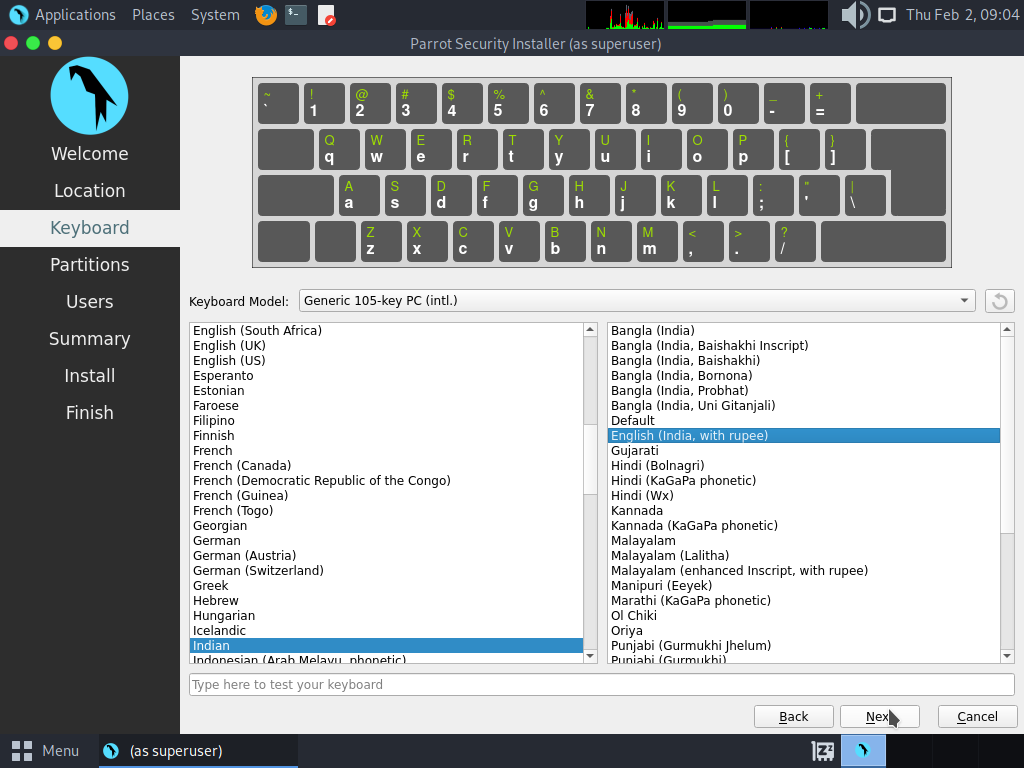
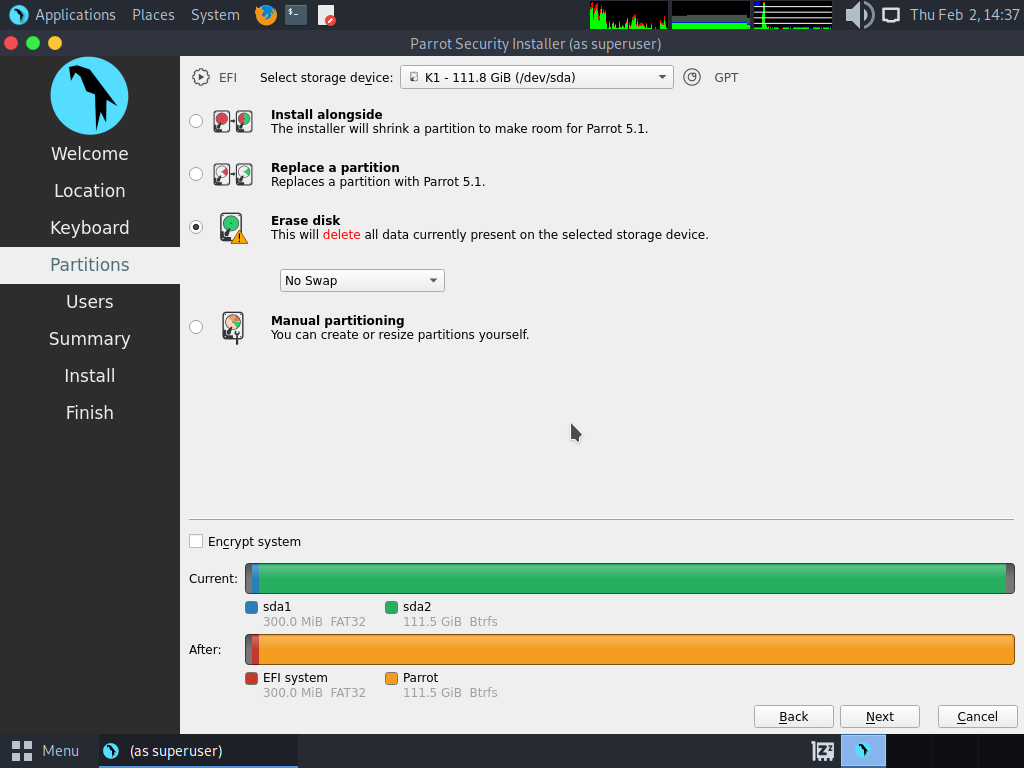
Make sure you select the disk that you want to format & install. If you select Erase disk it will Erase everything.
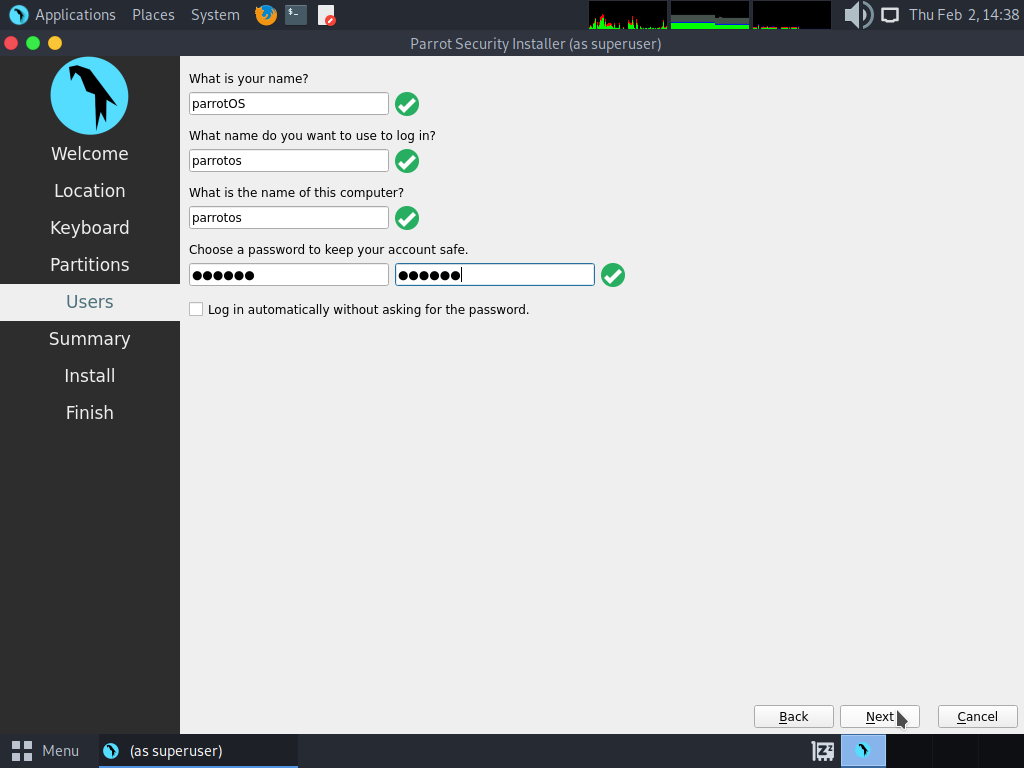
Add the name of your device & set a password.
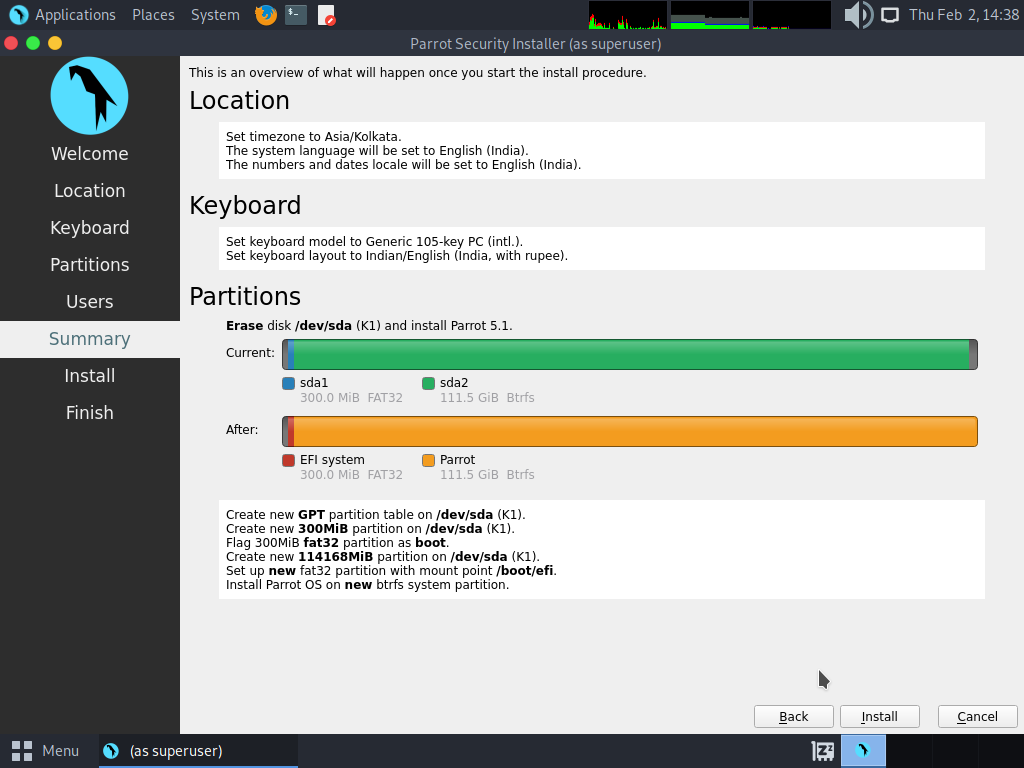
And now click on the Install button. It will take some time to Install Parrot OS.
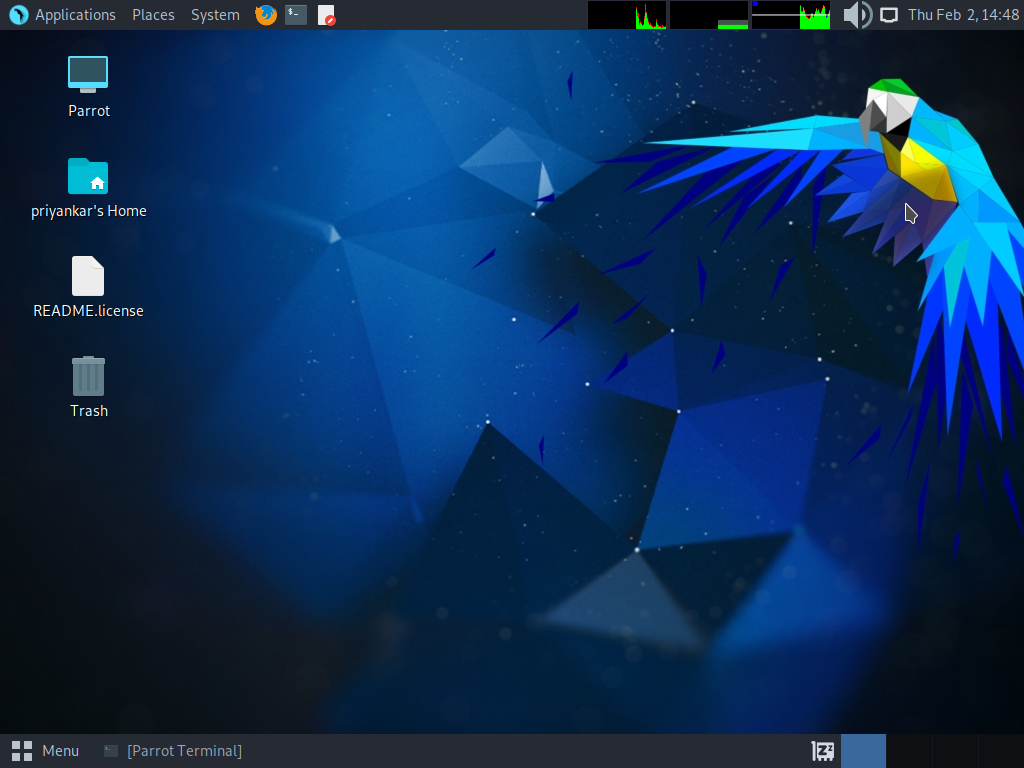
After completing the installation the final look will be it. That's it. Now customize it according to you.
Conclusion
In this blog, we learned how can we easily Boot Parrot OS from scratch. Make sure you install UEFI instead of Legacy. If you find this helpful then don't forget to share it with your friends. Thank you.
This blog is written for the “Operating System” track of CoCode Blogs.
Subscribe to my newsletter
Read articles from Priyankar Pal directly inside your inbox. Subscribe to the newsletter, and don't miss out.
Written by

Priyankar Pal
Priyankar Pal
maintaining @ReactPlayIO & working on backend engineering