Tools you need to install for running Android tests using Appium - a beginner's guide
 Himanshu Pandey
1. Introduction
There are plenty of permutations possible which involve Android+iOS devices (Real/Virtual/Cloud-based) where the Client is running of different OS. Appium server running locally or on a remote server
There is a need for all of the above but probably not all at the same time. The scope of what is required is usually driven by understanding the context !!
When you learning something new it is best to keep it to break it down to the smallest value unit (read MVP). Hence All the information below is to use Android Emulator on Mac OS X to keep it very very specific.
2. Installation and Setup
There are always two approaches:
- Shoot first and talk later, if you are that person continue along with this section and then there are some who like to take a bit of time in the beginning and would like to 'Start with why'. For those, you might like why we need to install so many tools to use appium
2.1 Tools to install
| Tools | Purpose | References |
| 1. Java + Eclipse + TestNG | For writing Test Code. Appium is NOT a tool for Testing. It is a tool for automation that we use with tech that can help us create test code. That's what we are going for in this one | Java 17 download link |
| Eclipse download link | ||
| TestNG download from Eclipse marketplace | ||
| 2. Node + npm | Appium server is written in java and one of the recommended ways to install it using npm. Hence we need to install | https://nodejs.org/en/download/ |
| 3. Appium Java Client | For writing Test Code that can talk to Appium Server. This is what you need to write the Appium Automation Code where we specify what actions we want to take on the Mobile device | Appium Client download link |
| 4. Appium Server + Appium Driver for Android | For providing the sessionID for Appium client to make requests and servicing those calls by invoking the drivers and talking to the device | 3a. Appium Server via NPM: npm install -g appium@beta |
| 3b. Appium Android Driver | ||
| 5. Android Studio | Android Studio is required so that you can create Android emulators easily using a GUI, that would be used as the Mobile devices to install App and perform Automation | Android Studio download link |
| 6. Appium Inspector | Simply put, Automation on a Mobile App is a two-step process: a. Find an Element b. Perform action on the element like a user would. Appium Inspector would help in the process of locating an element | Appium Inspector download link |
2.2 Verify Setup
To verify if all the installations and setup are done correctly, you the following as a reference:
2.2.1 Java
From the Terminal type `java --version`

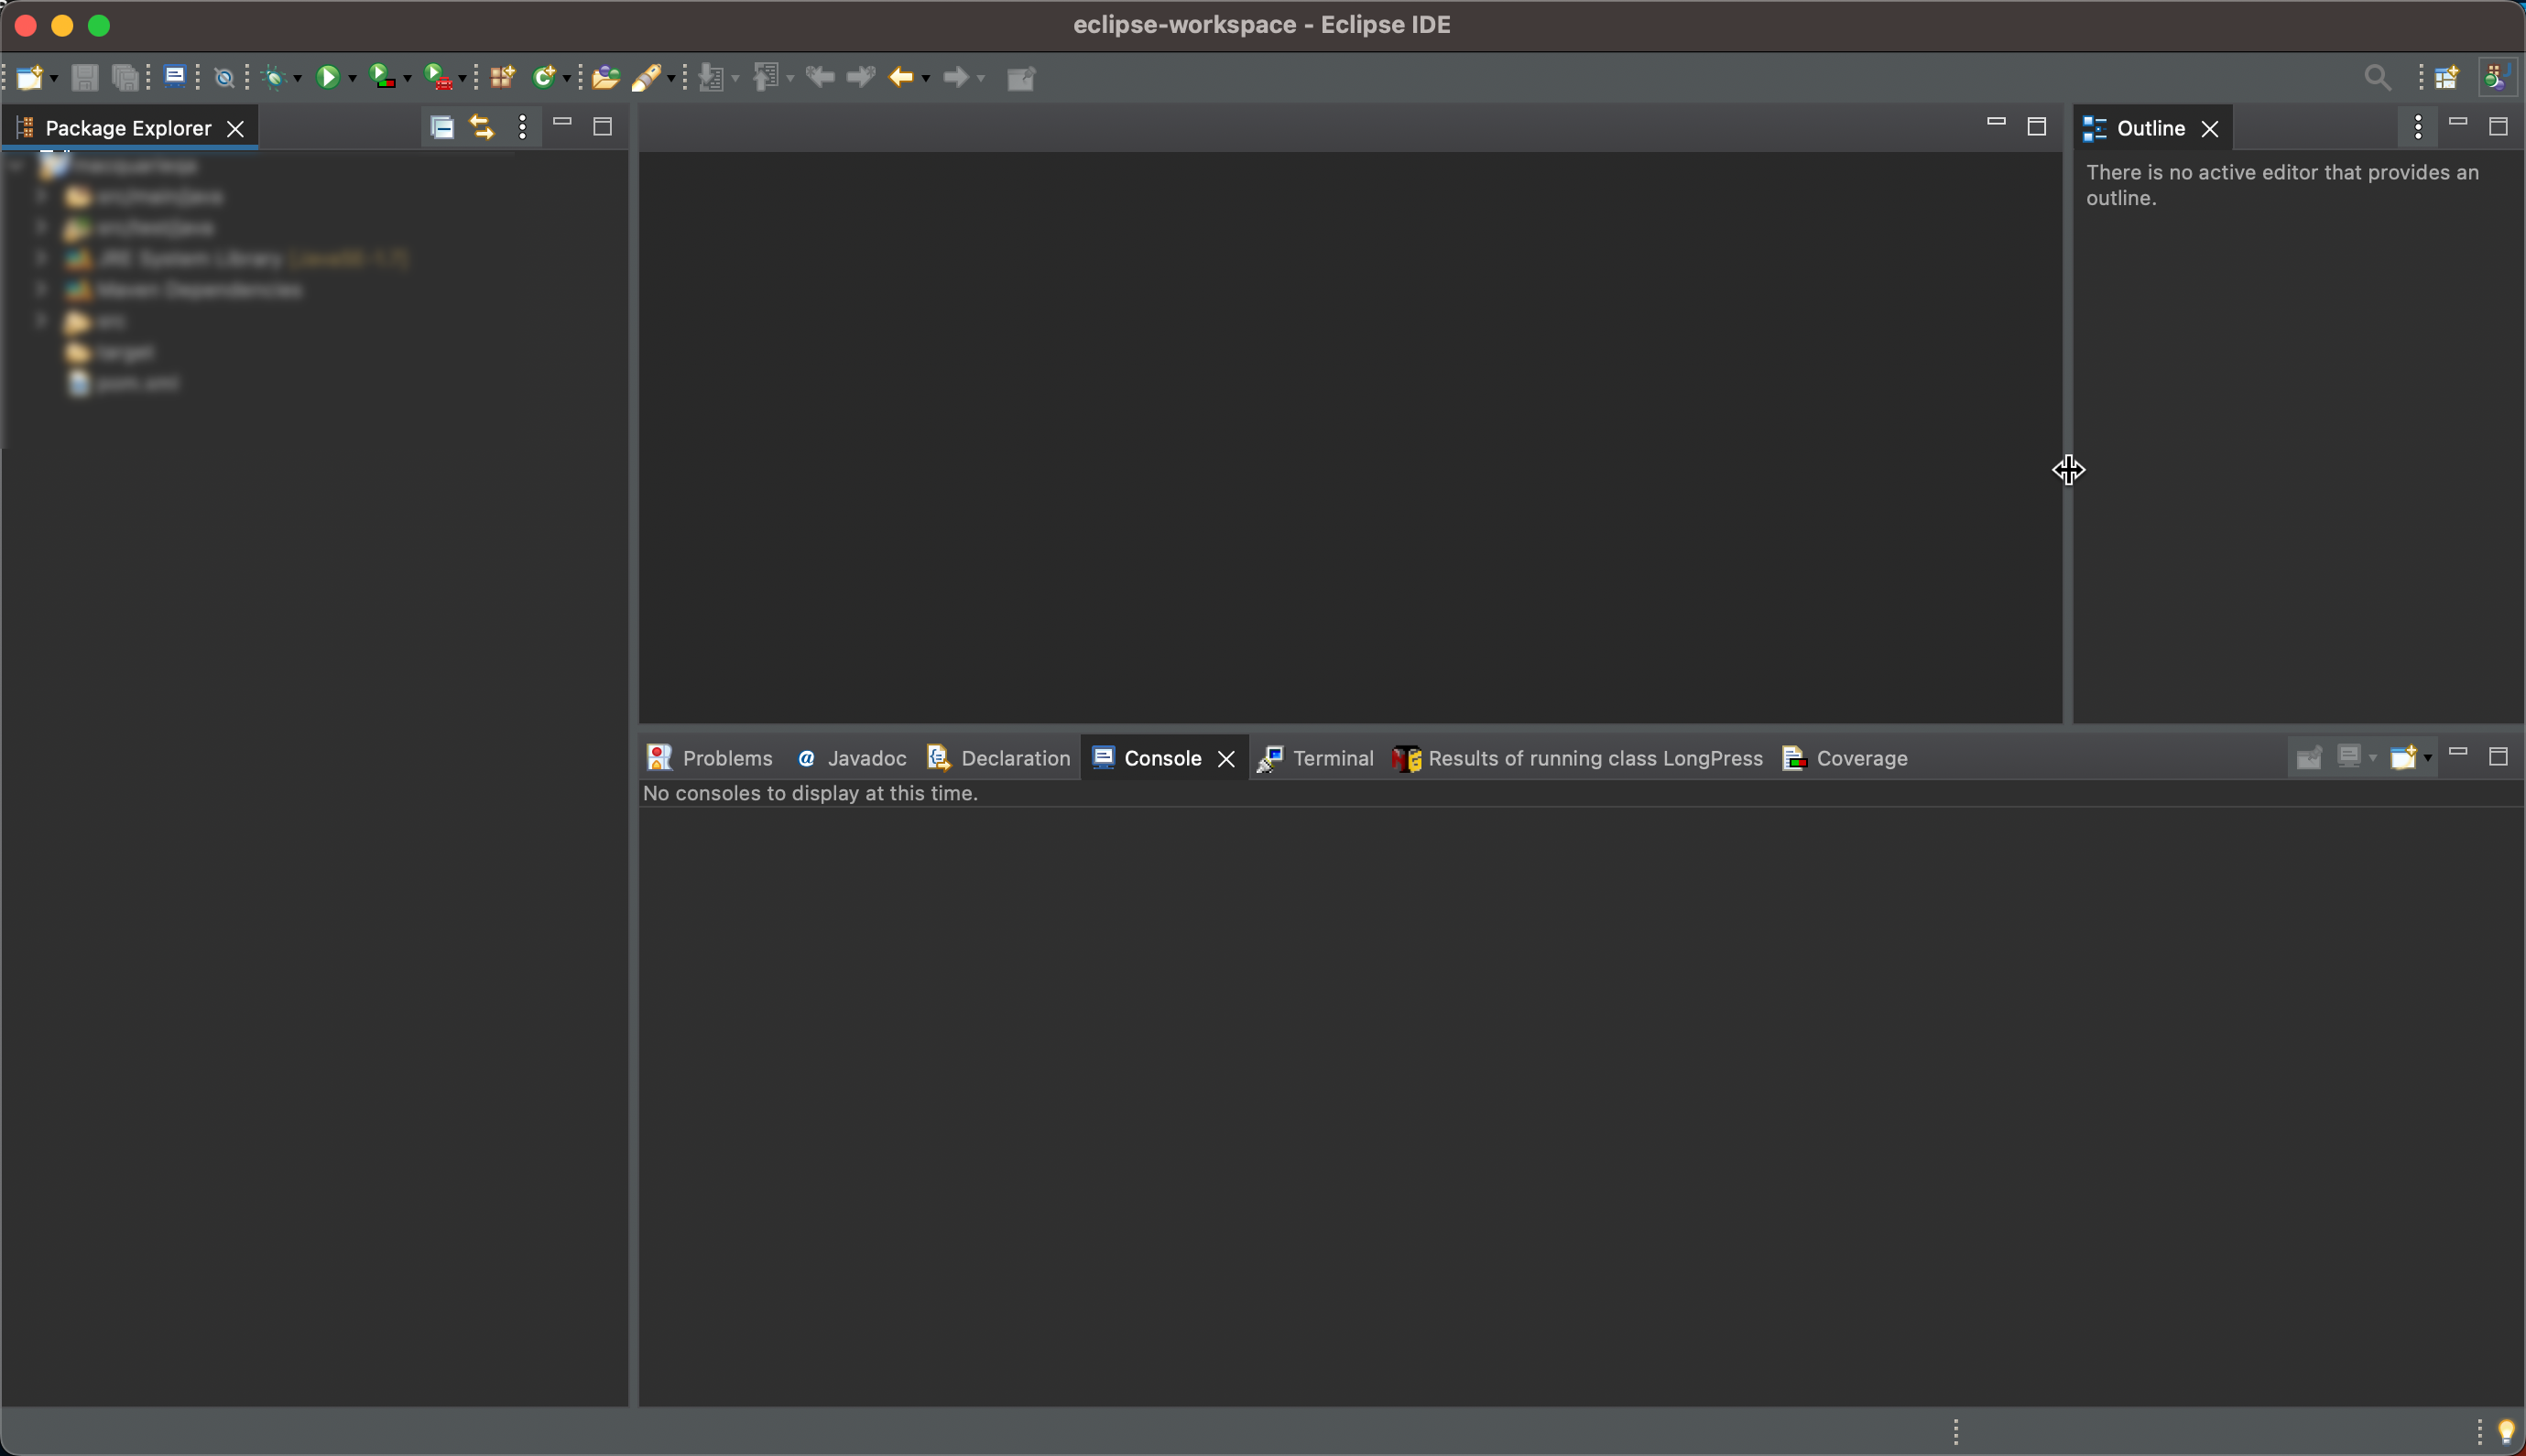
2.2.2 Eclipse
You can open Eclipse IDE
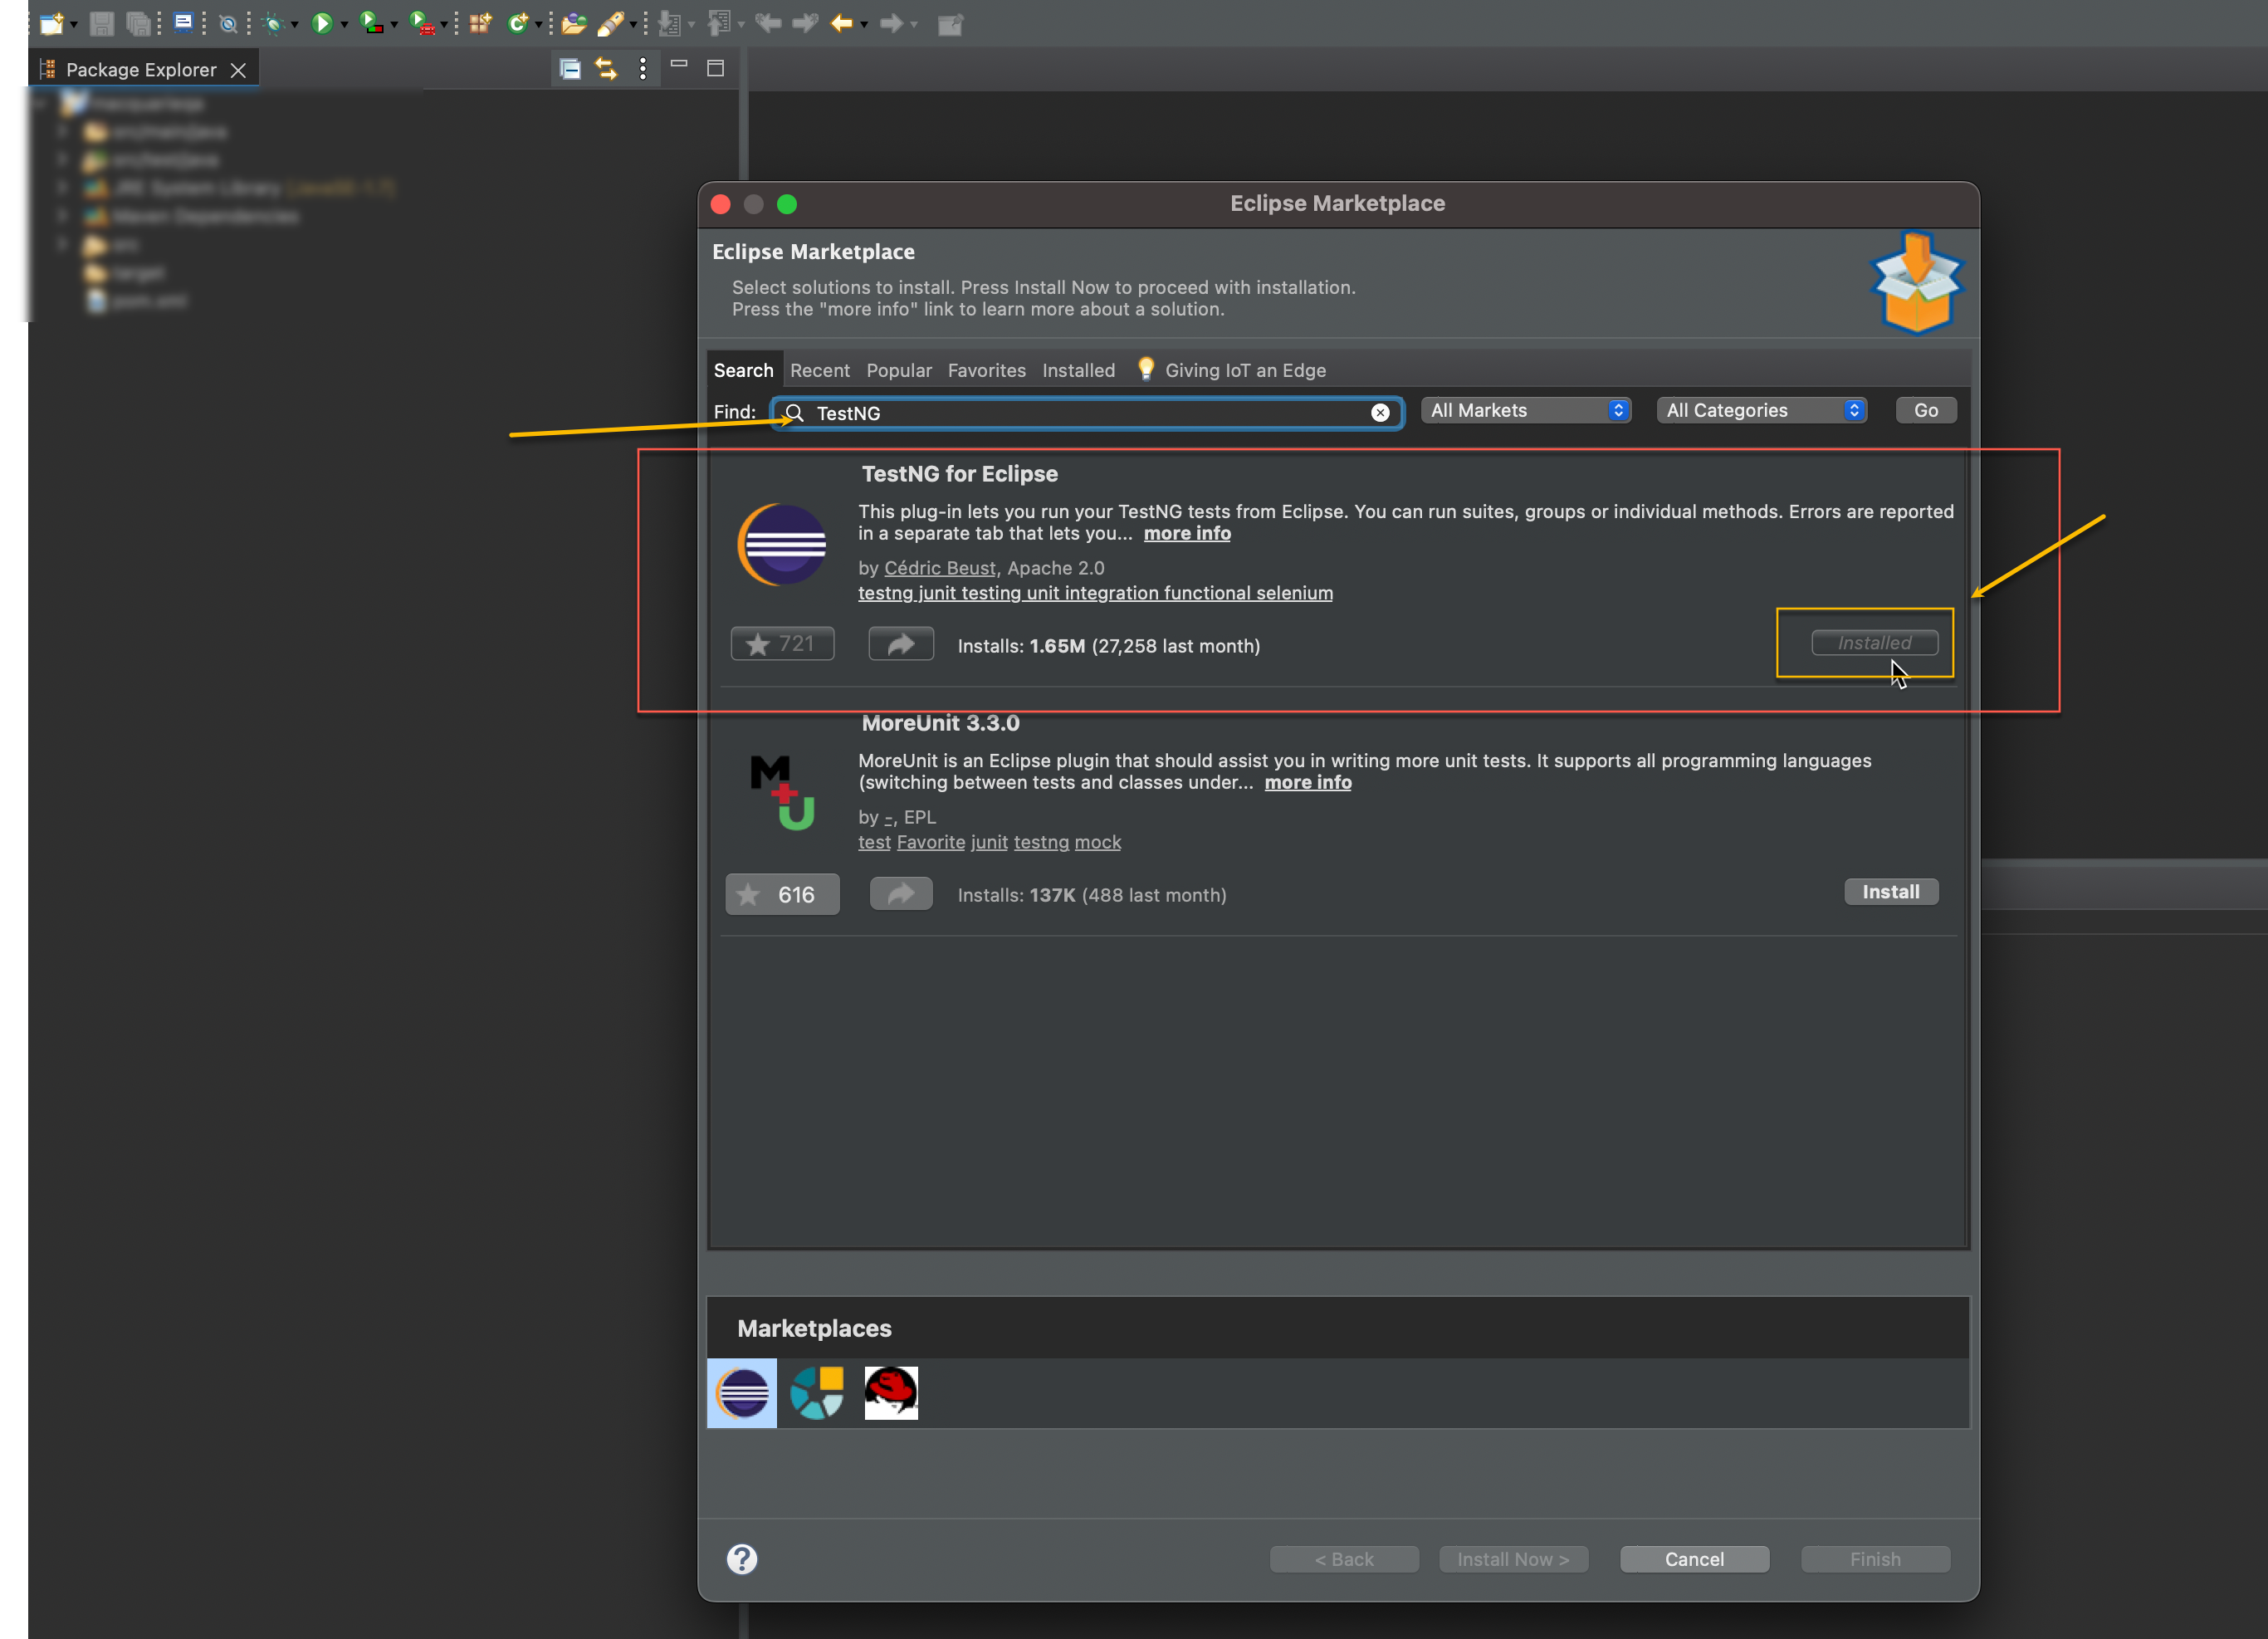
2.2.3 TestNG for Eclipse
From the Eclipse Marketplase, when you search for TestNG , it shows up as installed
2.2.4 Node
use command 'node --version'

2.2.5 NPM
Use command 'npm -v'

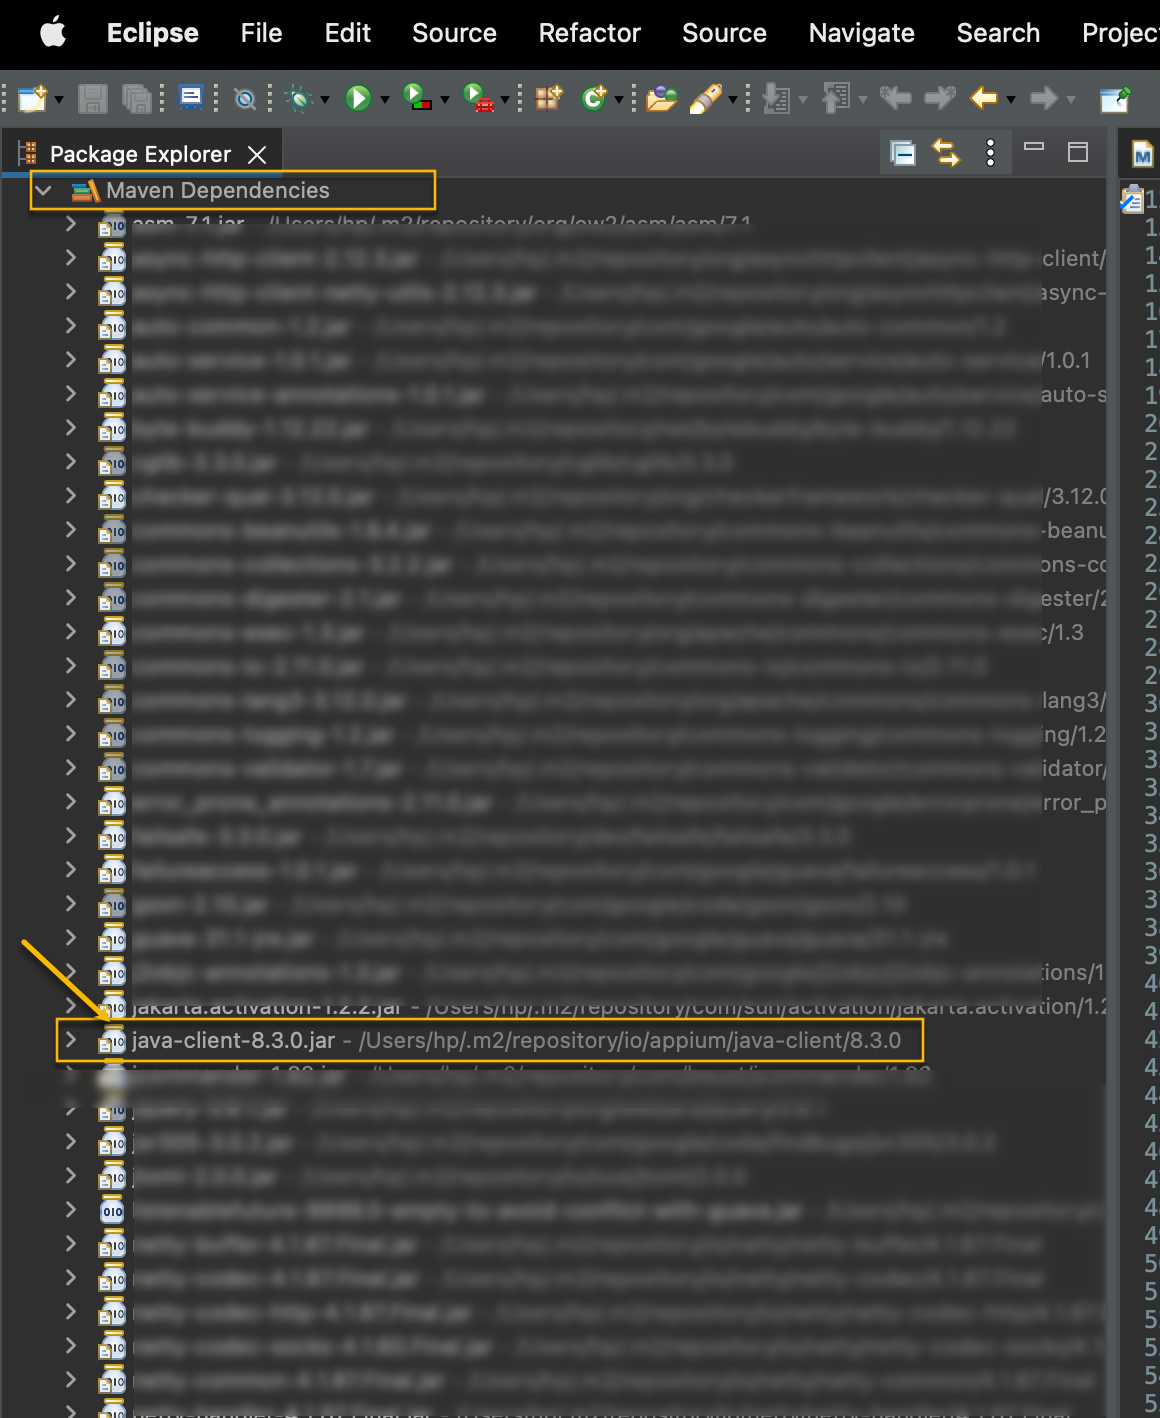
2.2.6 Appium Java client
Note: verifying this is more critical when test project in Eclipse is setup. When it does we need to make sure the relevant jar file is present in the project
There are more than one ways to do it . One of the ways is to create a maven project (not in scope of this discussion, more relevant is maven project setup for Appium)
2.2.7 Appium Server
On the Terminal, run the command 'appium' to start the server and if you can see the highlighted part in the response means appium server installation works

2.2.8 Appium Driver to work with Android devices
On the Terminal, run the command 'appium driver list', verify uiautomator2 comes up as installed in the result

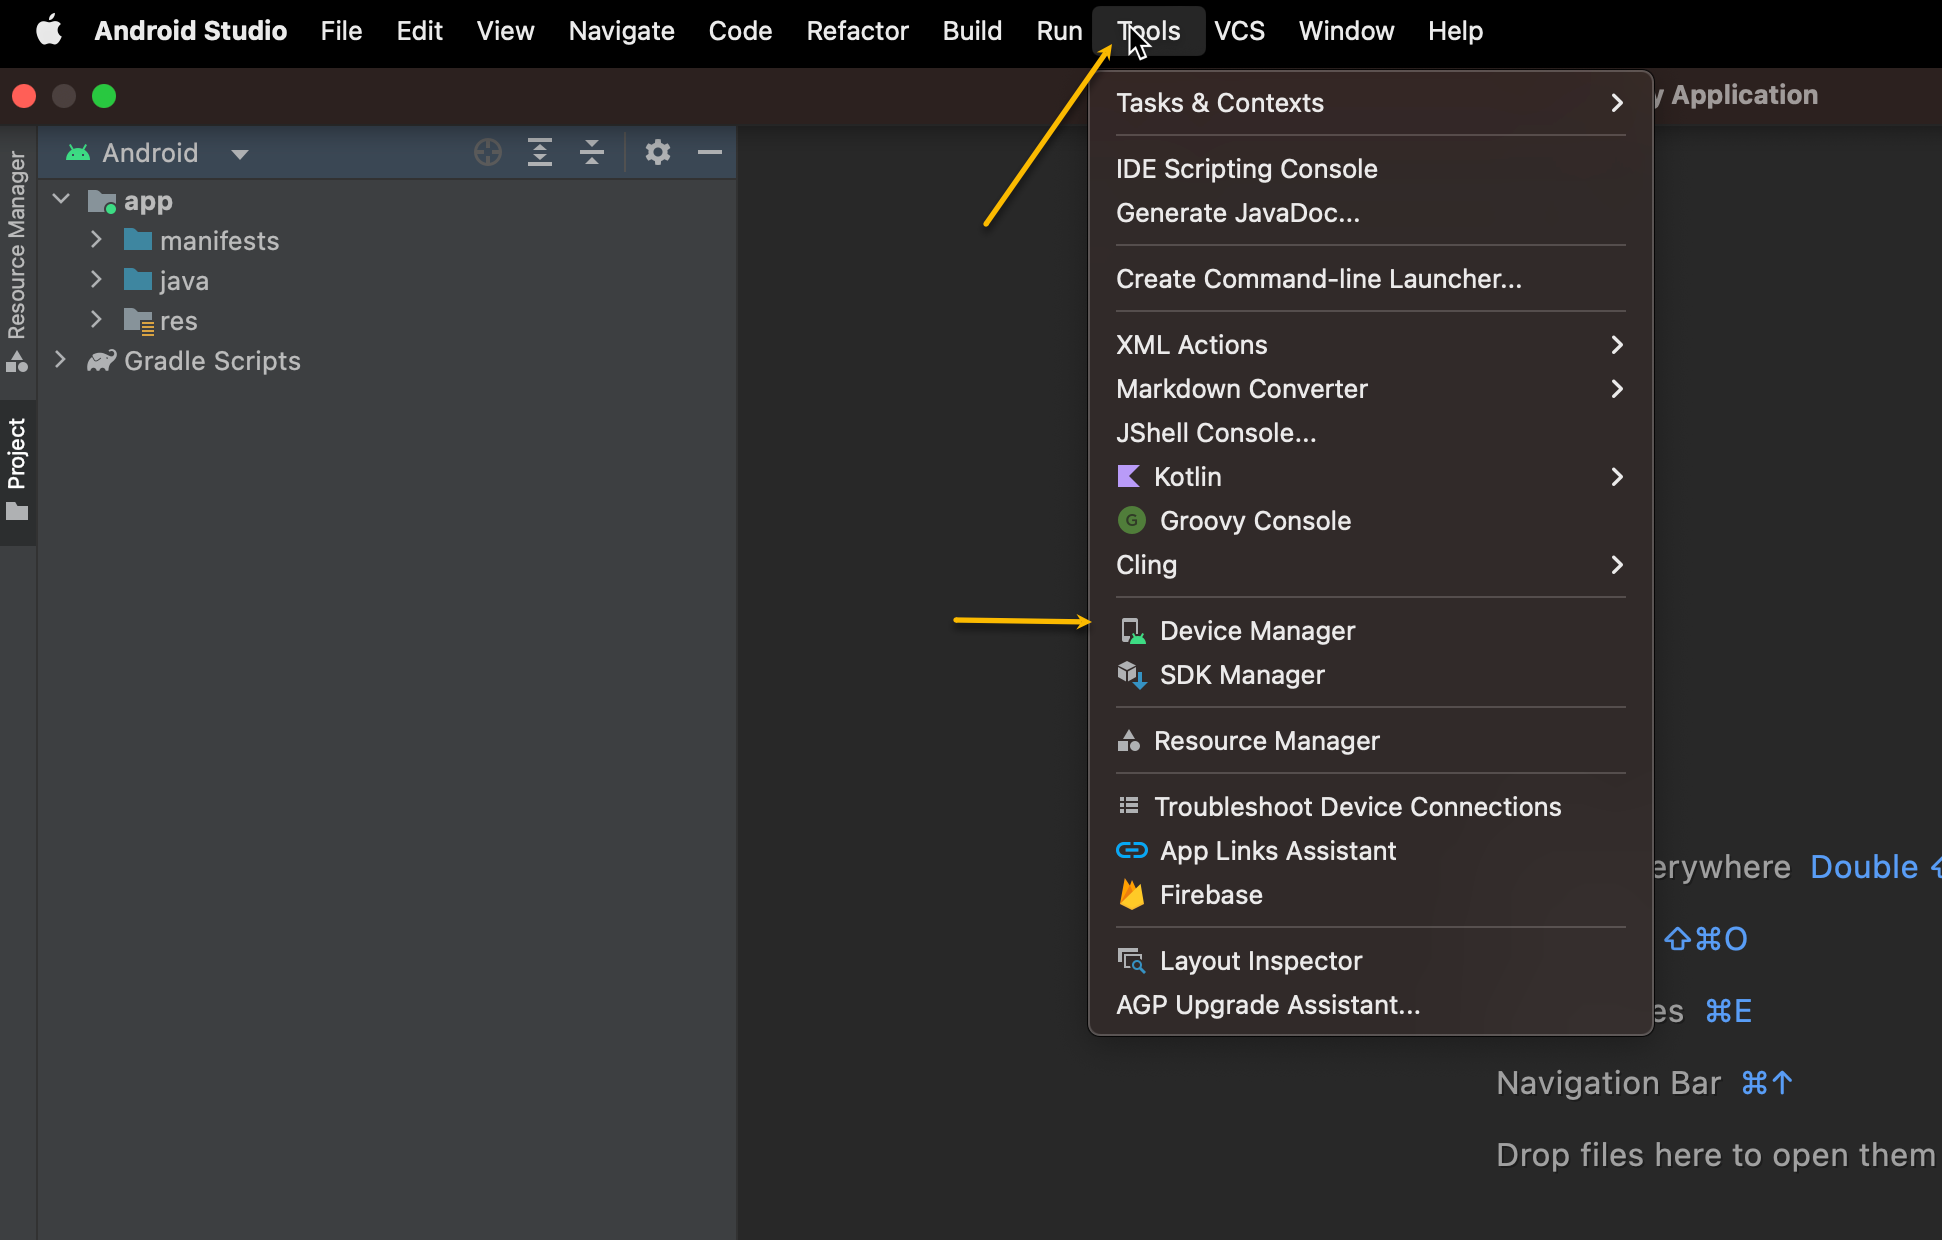
2.2.9 Android Studio
You can Open and Launch Android Studio and have "Device Manager" under "Tools" menu
2.2.10 Appium Inspector
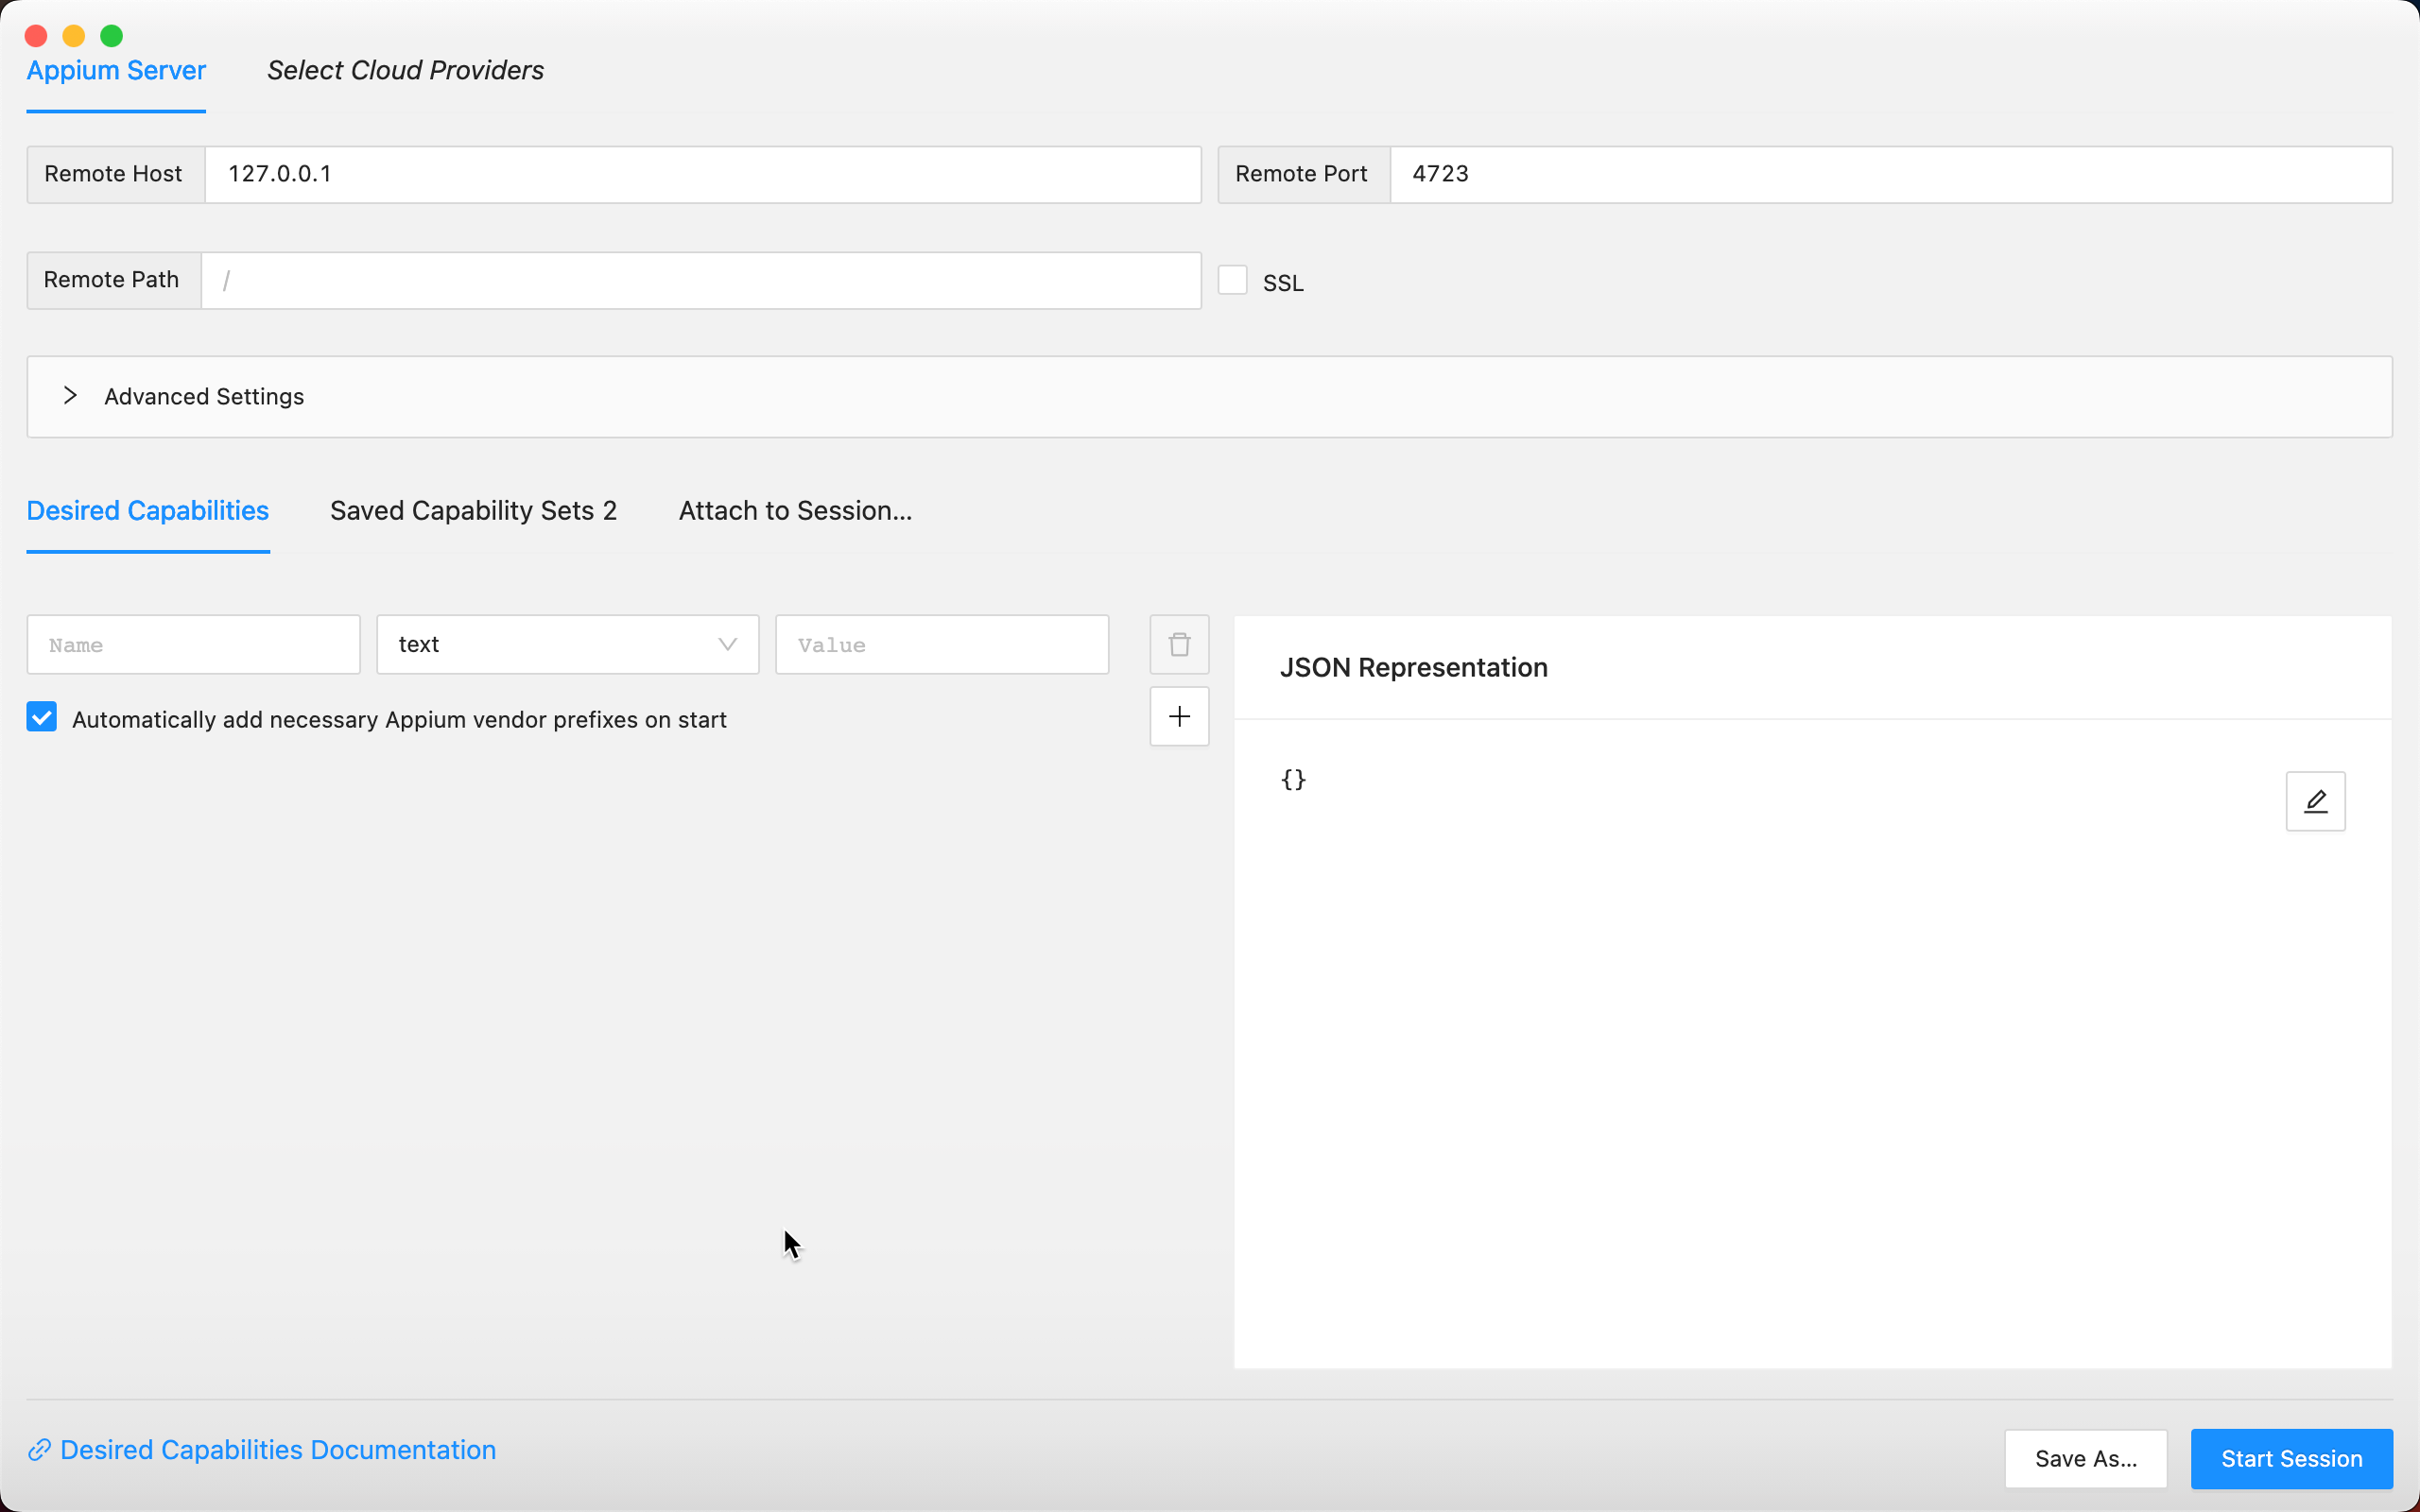
You can launch Appium Inspector, and to connect to any App you need to specify "Desired Capabilities" in a specific syntax which would allow you to inspect the elements and prepare locators which you can use in your test code
Subscribe to my newsletter
Read articles from Himanshu Pandey directly inside your inbox. Subscribe to the newsletter, and don't miss out.
Written by
