Jenkins Blog's Basic To Advanced With a Project
 SAFIA KHATOON
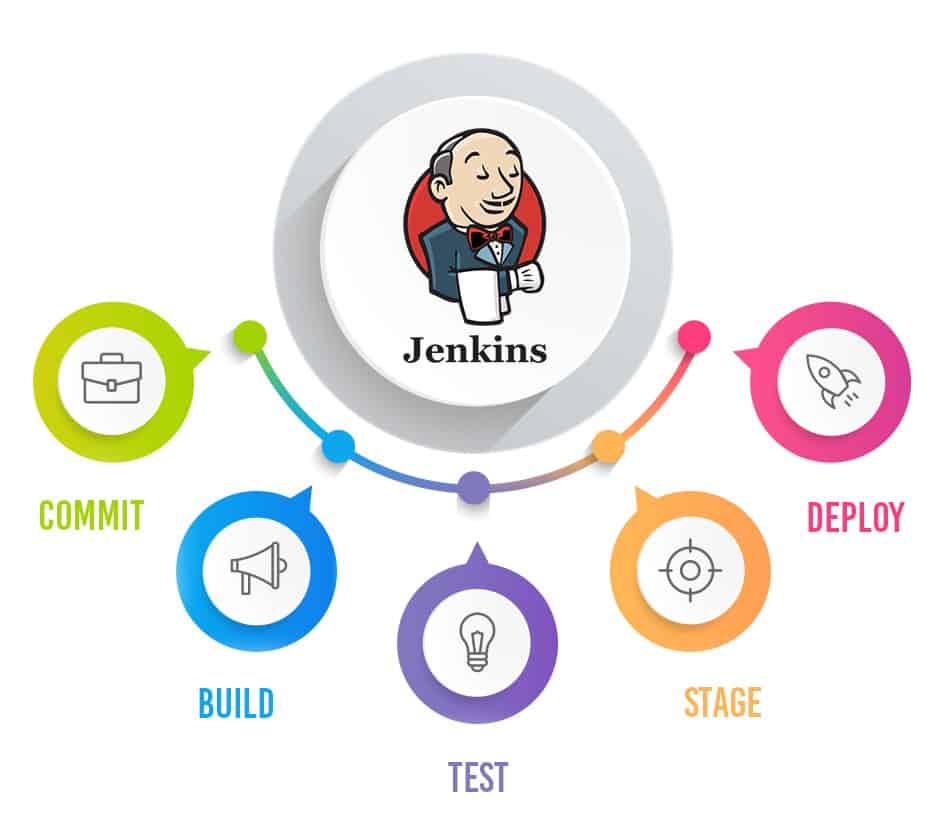
What is Jenkins?
Jenkins is an open-source automation tool written in Java programming language that allows continuous integration.
Jenkins builds and tests our software projects which continuously makes it easier for developers to integrate changes to the project, and makes it easier for users to obtain a fresh build.
It also allows us to continuously deliver our software by integrating with a large number of testing and deployment technologies.
Work Flow:

History of Jenkins
Kohsuke Kawaguchi, who is a Java developer, working at SUN Microsystems, was tired of building the code and fixing errors repetitively. In 2004, he created an automation server called Hudson that automates build and test tasks.
In 2011, Oracle who owned Sun Microsystems had a dispute with Hudson's open-source community, so they forked Hudson and renamed it Jenkins.
Both Hudson and Jenkins continued to operate independently. But in a short period, Jenkins acquired a lot of contributors and projects while Hudson remained with only 32 projects. Then with time, Jenkins became more popular, and Hudson is not maintained anymore.
Advantages and Disadvantages of using Jenkins
Advantages of Jenkins:
It is an open-source tool.
Jenkins is not a tool it is a framework.
It is free of cost.
It supports 1000 or more plugins to ease your work. If a plugin does not exist, you can write the script for it and share it with the community.
It is built in java and hence it is portable.
It is platform-independent. It is available for all platforms and different operating systems. Like OS X, Windows or Linux.
Jenkins architecture is master-slave architecture.
Disadvantages of Jenkins
All plug-ins are not compatible with the declarative pipeline syntax.
Jenkins has many plug-ins in its library, but it seems like they are not maintained by the developer team from time to time. This is when it becomes very important that whatever plug-ins you are going to use; are getting a regular update or not.
Lots of plug-ins have a problem with the updating process.
It is dependent on plug-ins; sometimes, you can't find even basic things without plug-ins.
Jenkins UI is not user-friendly in comparison to current UI Technologies. It cannot be very clear for the first-time user.
Managing of Jenkins dashboard is hard when we have too many jobs to be executed.
What is CI/CD pipeline
What is a pipeline?
The pipeline is like a step-by-step process to doing anything.
the pipeline is used the process is called first come first served(FCFS).
What is CI/CD?
CICD stands for continuous integration continuous delivery or deployment.
CI/CD is not a tool it is a methodology.
it is a methodology of SDLC(software development life-cycle)
This is the process of developing any software The advantage we have with this process is that things are automated. If there is any mistake, it will be caught in advance. we don't have to go any further.
Why CI/CD is used? why it is popular in the market?
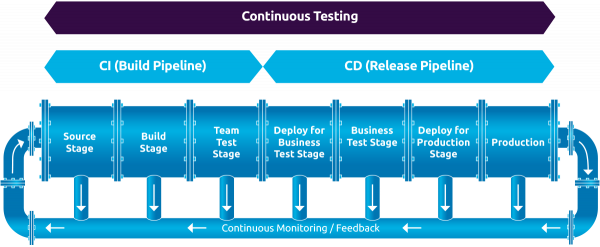
example:- Suppose you wrote 50 lines of code today, so that code will be built and tested today itself. And if there is some mistake in the code, then it will be known today itself and the developer will fix it. The next day he will write further code, in this way things will be automated and life will be easier.
But this was not the case before Jenkins, at that time the entire code of 50,000 lines or something was written, then the build was done, and then the test was done. So it used to have a lot of problems, funding the bug, 50,000 lines, and many other problems before Jenkins.
That's why it became so popular in the Market.
Continuous Integration = continuous build + continuous testing
bugs = error
job = task = item
what is the difference between deployment and delivery
continuous delivery:-
Suppose you wrote your code, built it, tested it and after doing everything gave that app to the user, then it is not your responsibility How to run the app, and how to do it, that is the problem of the user.it is called delivery
continuous deployment:-
Suppose you wrote your code, built it, tested it and after doing everything You installed that app by going to the user's office, how to use the app, and telling everything the user about that app. it is called deployment.
what are plugins?
Plugging is the word used to connect something.
do you run Jenkins on a dedicated server?
yes
what is diffrence between sudo apt and sudo apt get
The first difference you will note among the apt and apt-get is the command itself. For instance, if you want to use apt-get update to update system repository index, you would run:
$ sudo apt-get update
Now with the apt, you simply need to run:
$ sudo apt update
The apt update command not just update the repository index but also tells if and how many new versions of the software are available in the repository.
Linked Project:
A linked project is simply nothing, it is something that when one project completes, another project starts.
it is of two types:
upstream linked project
An upstream-linked project is something where one task gets completed and another automatically starts.
example: here will be the first big active
Here you will put the information on post-build action may the second job inside the first job.
- Downstream linked project
Both are the same but one difference is here will be the second big active.
Here you will enter the information of the first job by going to the post-build action inside the second job.
USER MANAGEMENT:
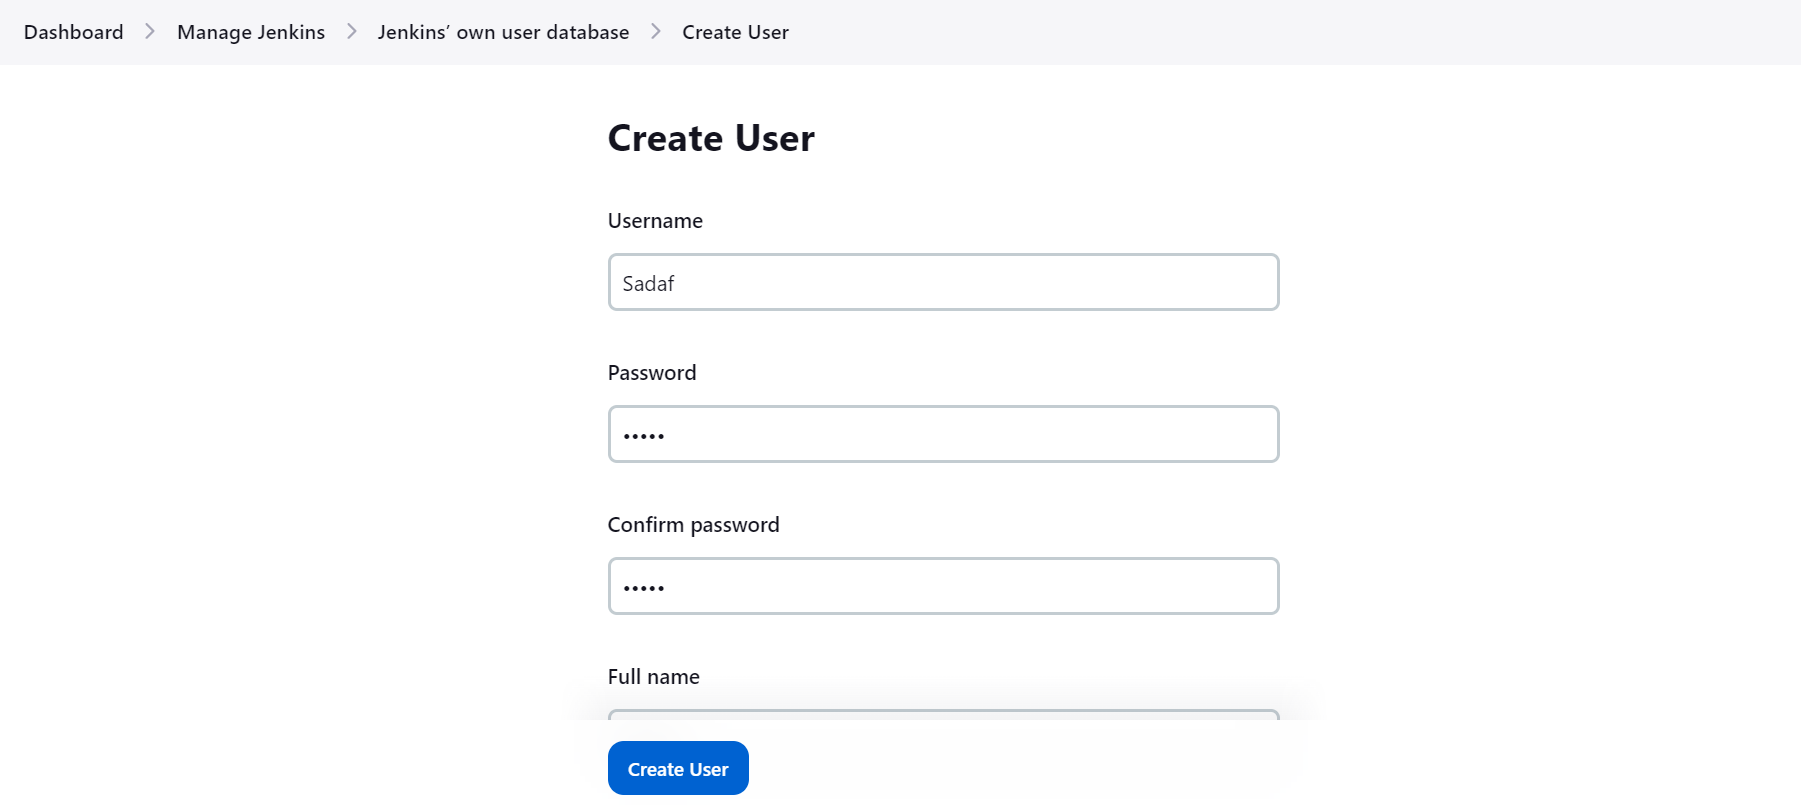
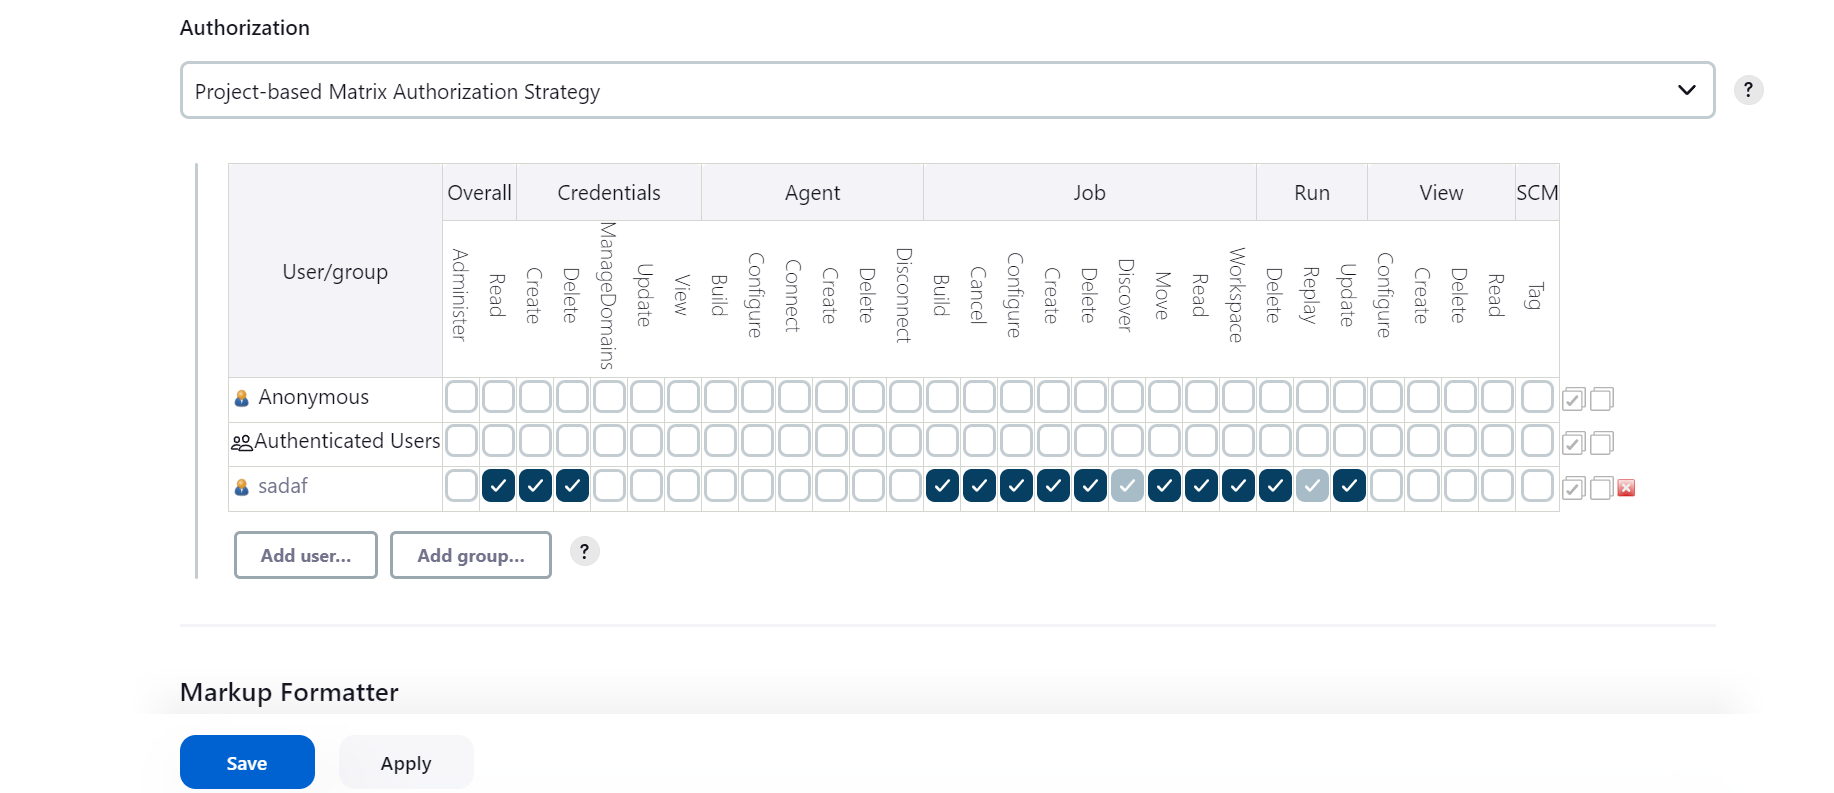
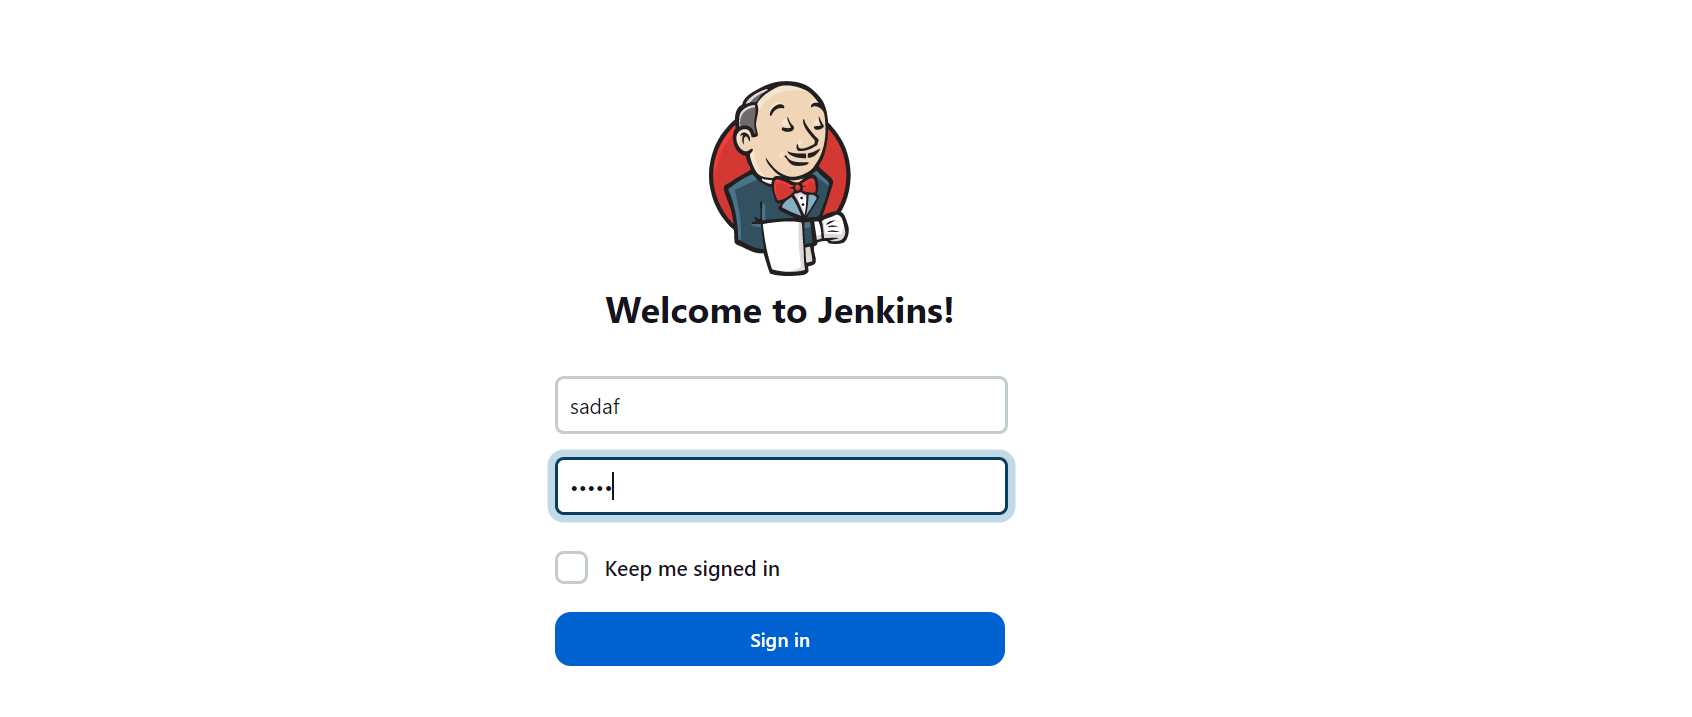
In User, management creates a user and defines what permissions are to be given to that user.

Click the create user


Give Permission to Sadaf user

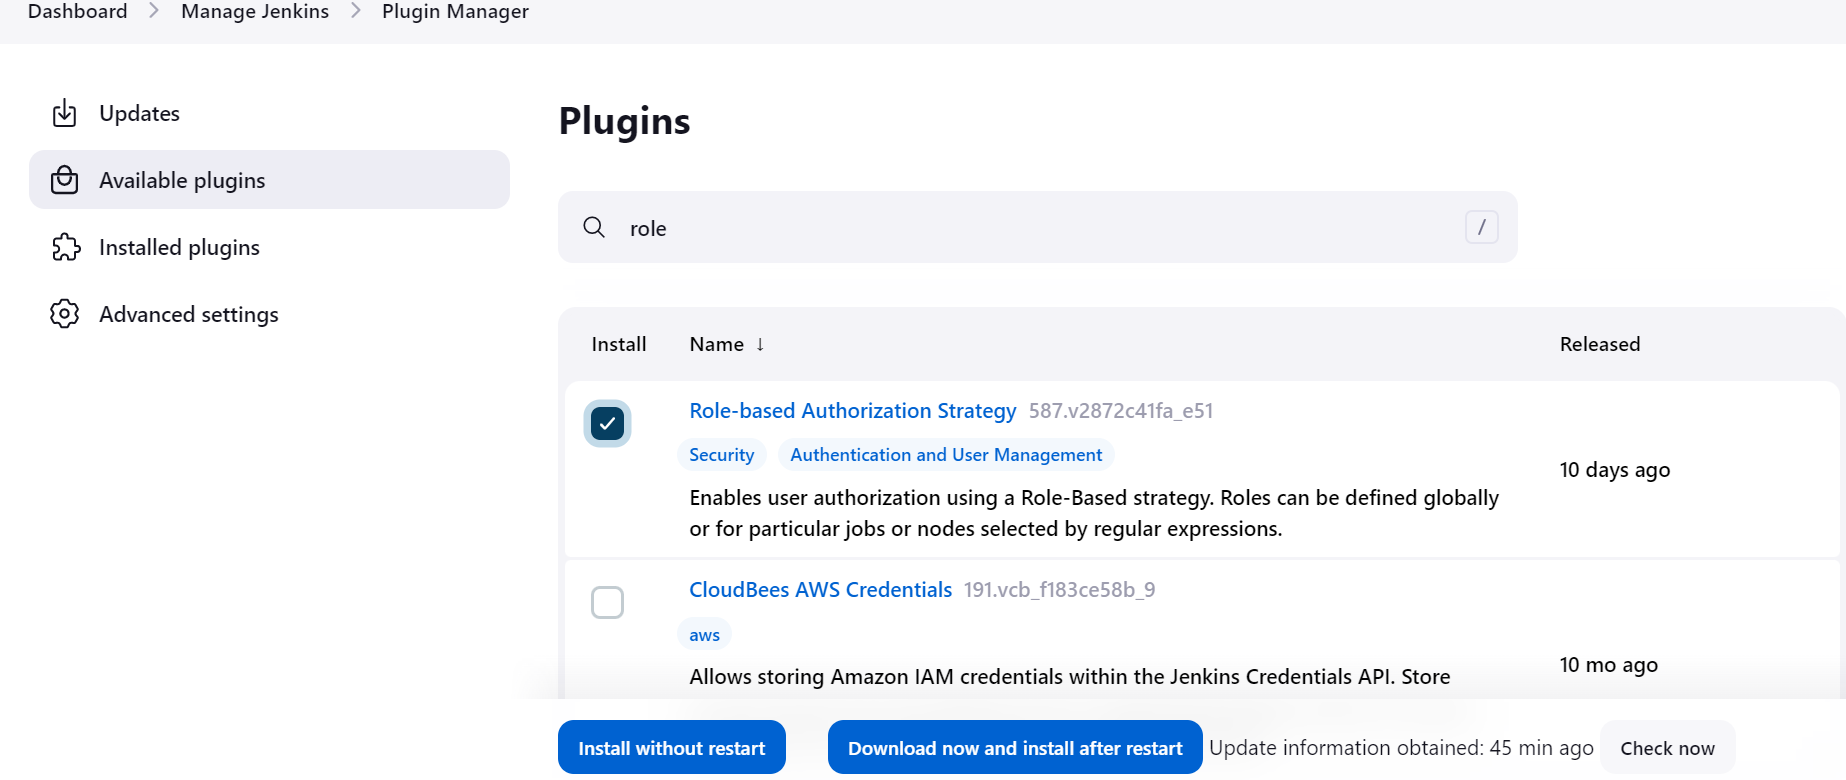
install plugins

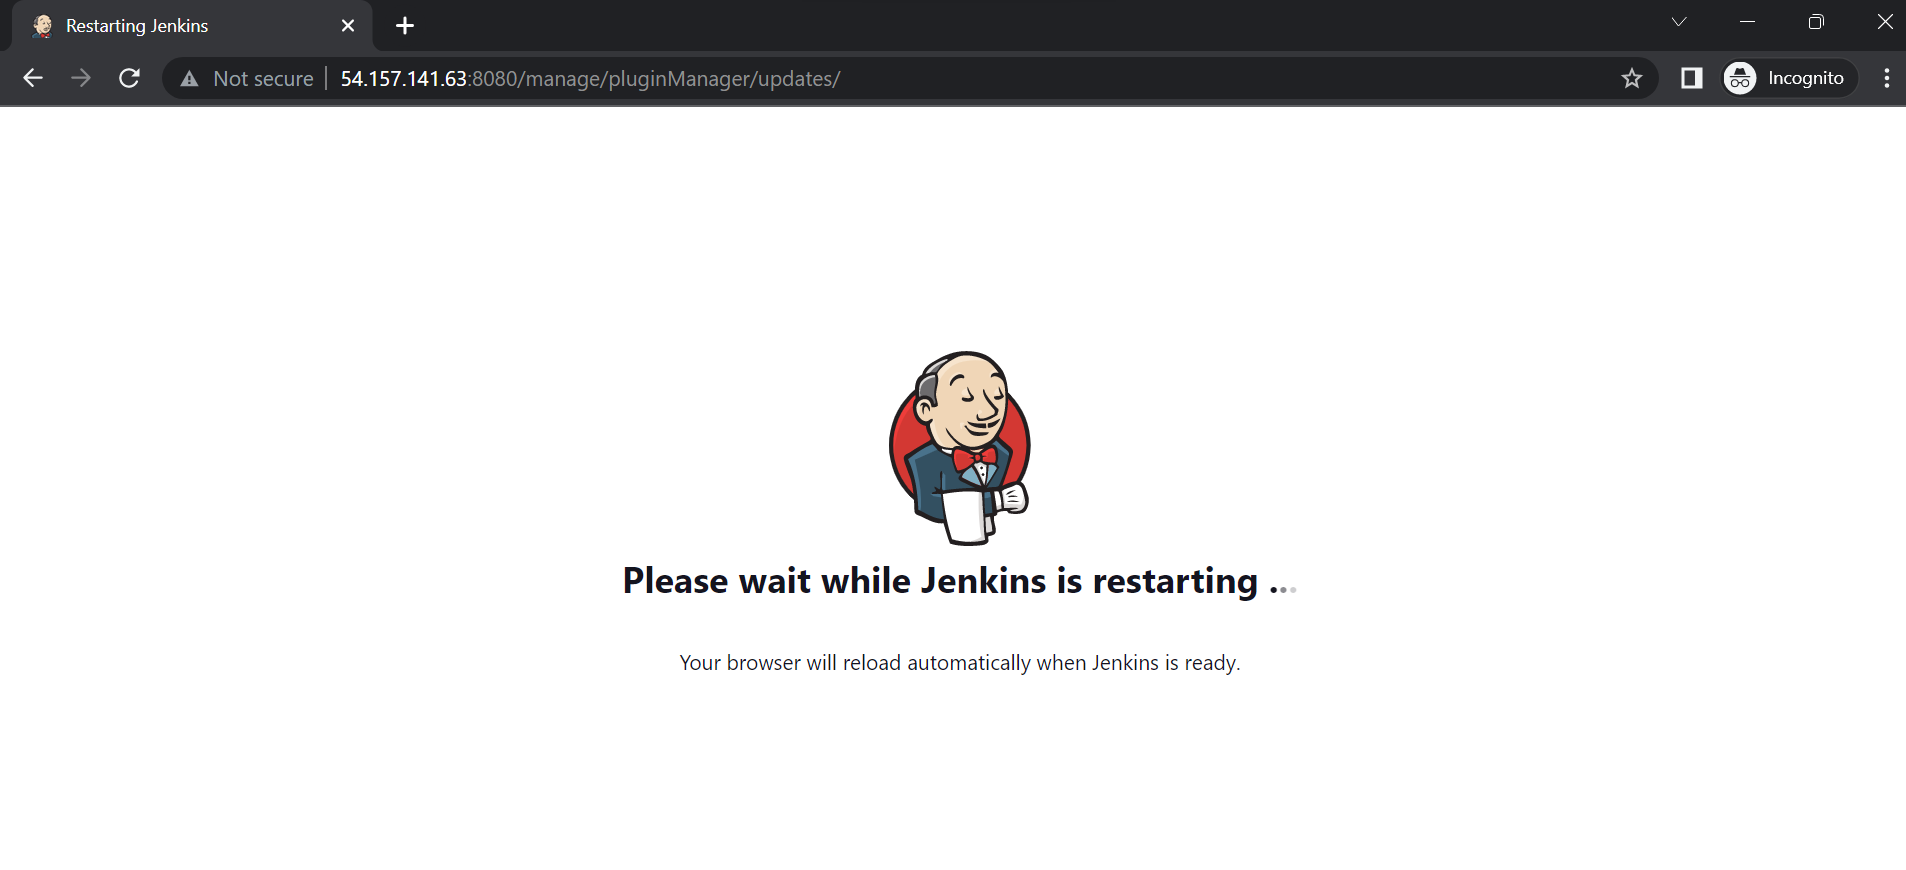
restart Jenkins



Master-Slave Concept
Jenkins slave is used to executing the build jobs dispatched by the master. We can configure a project to always run on a particular slave machine or a particular type of slave machine, or simply let Jenkins pick the next available slave/node.

Hands-on:
Installing Jenkins on Ubuntu
create an instance in AWS

update your instance:
sudo apt-get update

install java:
sudo apt install openjdk-11-jre

To check the version of java on your system, use the following command:
java -version

Step 1 — Installing Jenkins
First, add the repository key to your system:
wget -q -O - https://pkg.jenkins.io/debian-stable/jenkins.io.key |sudo gpg --dearmor -o /usr/share/keyrings/jenkins.gpg
The gpg --dearmor command is used to convert the key into a format that apt recognizes.
Next, let’s append the Debian package repository address to the server’s sources.list:
sudo sh -c 'echo deb [signed-by=/usr/share/keyrings/jenkins.gpg] http://pkg.jenkins.io/debian-stable binary/ > /etc/apt/sources.list.d/jenkins.list'
The [signed-by=/usr/share/keyrings/jenkins.gpg] portion of the line ensures that apt will verify files in the repository using the GPG key that you just downloaded.
After both commands have been entered, run apt update so that apt will use the new repository.
sudo apt update
sudo apt-get install jenkins
Now that Jenkins and its dependencies are in place, we’ll start the Jenkins server.
Step 2 — Starting Jenkins
now that Jenkins is installed, start it by using systemctl:
sudo systemctl start jenkins.service
Since systemctl doesn’t display status output, we’ll use the status command to verify that Jenkins started successfully:
sudo systemctl status jenkins

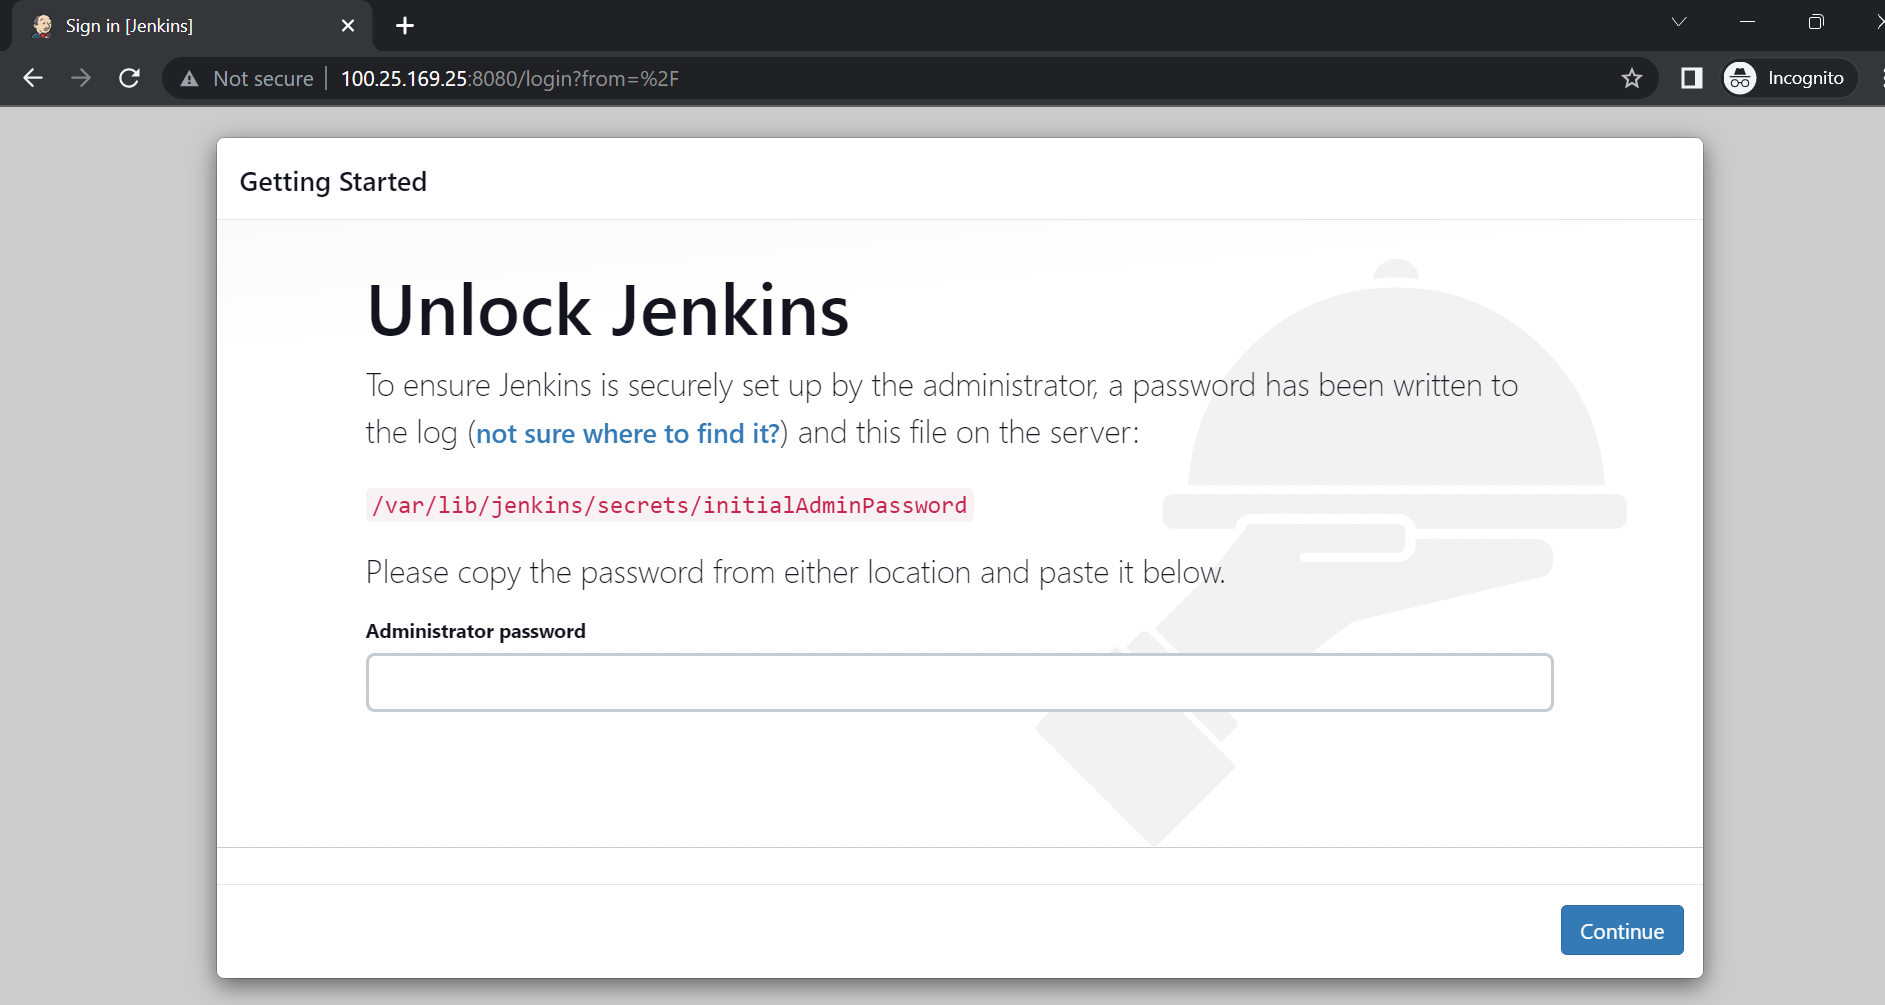
go to your terminal
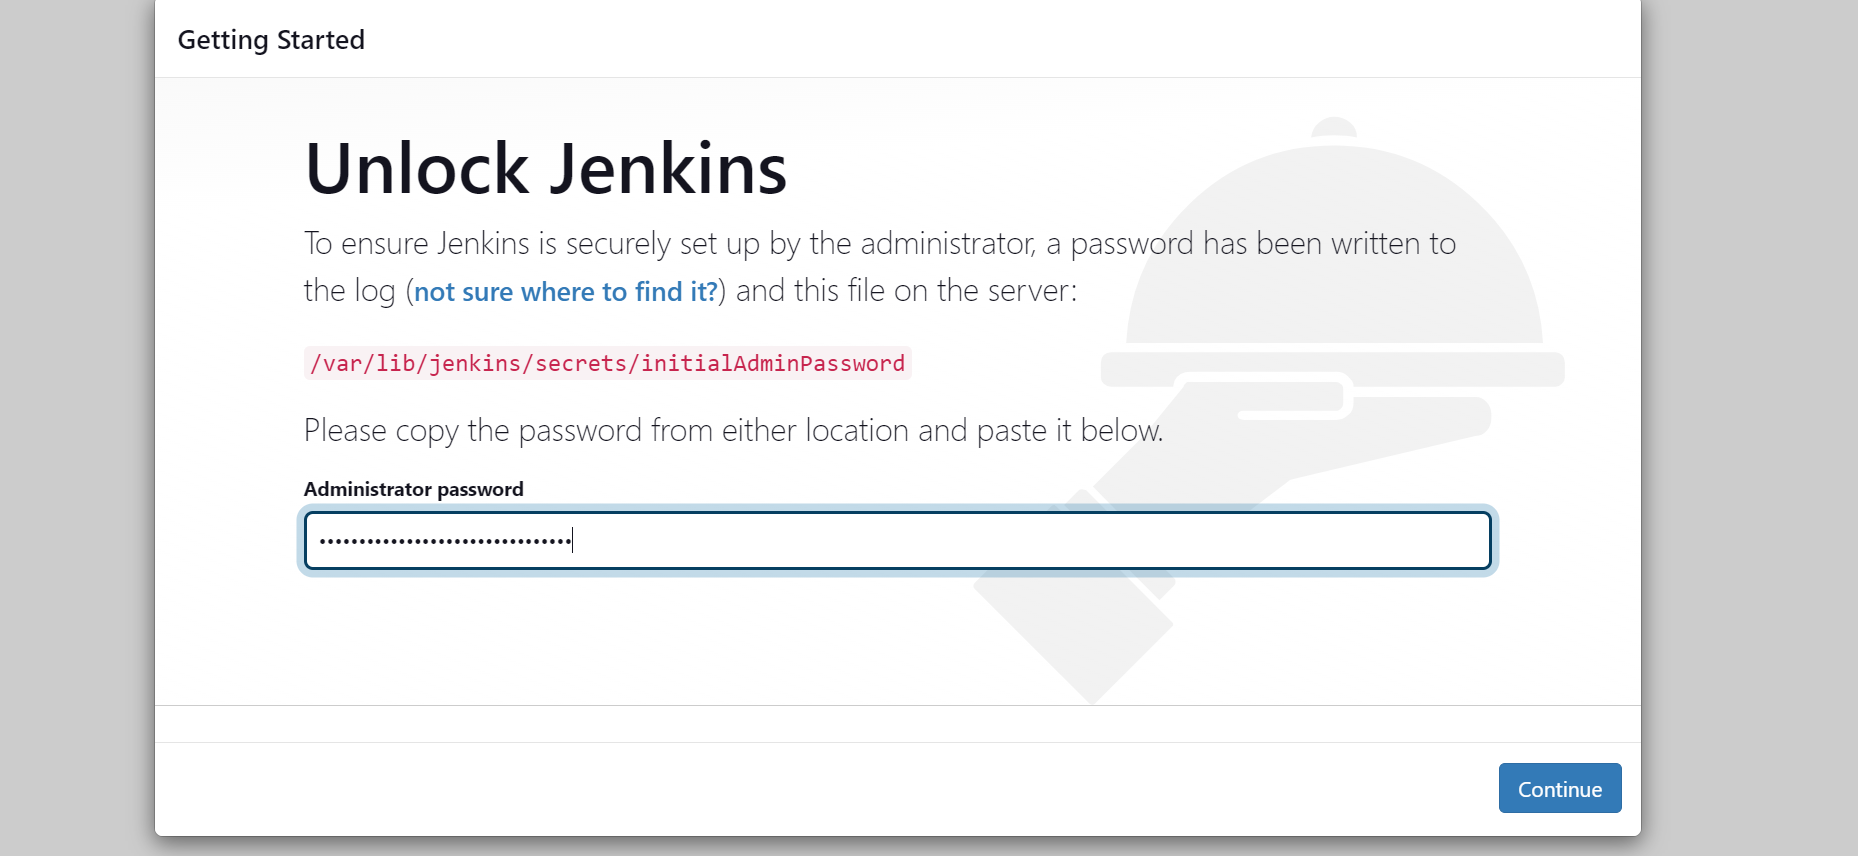
sudo cat /var/lib/jenkins/secrets/initialadminpassword

copy this password: 9f48d46e86a443d7b5171e45cef18f2d
and paste it here.
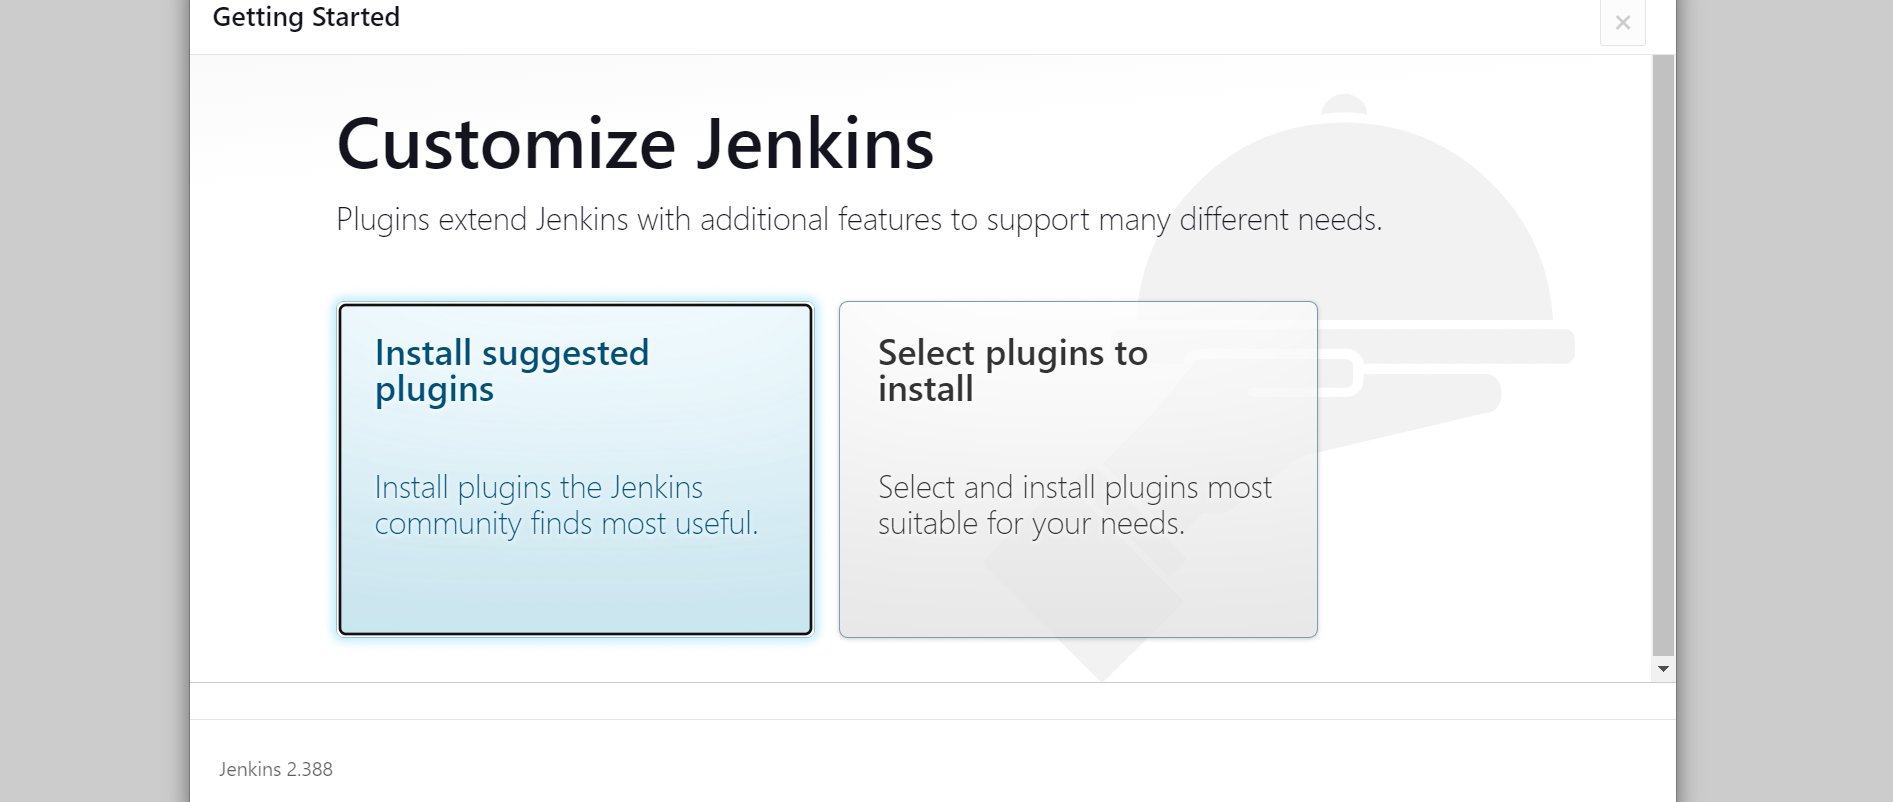
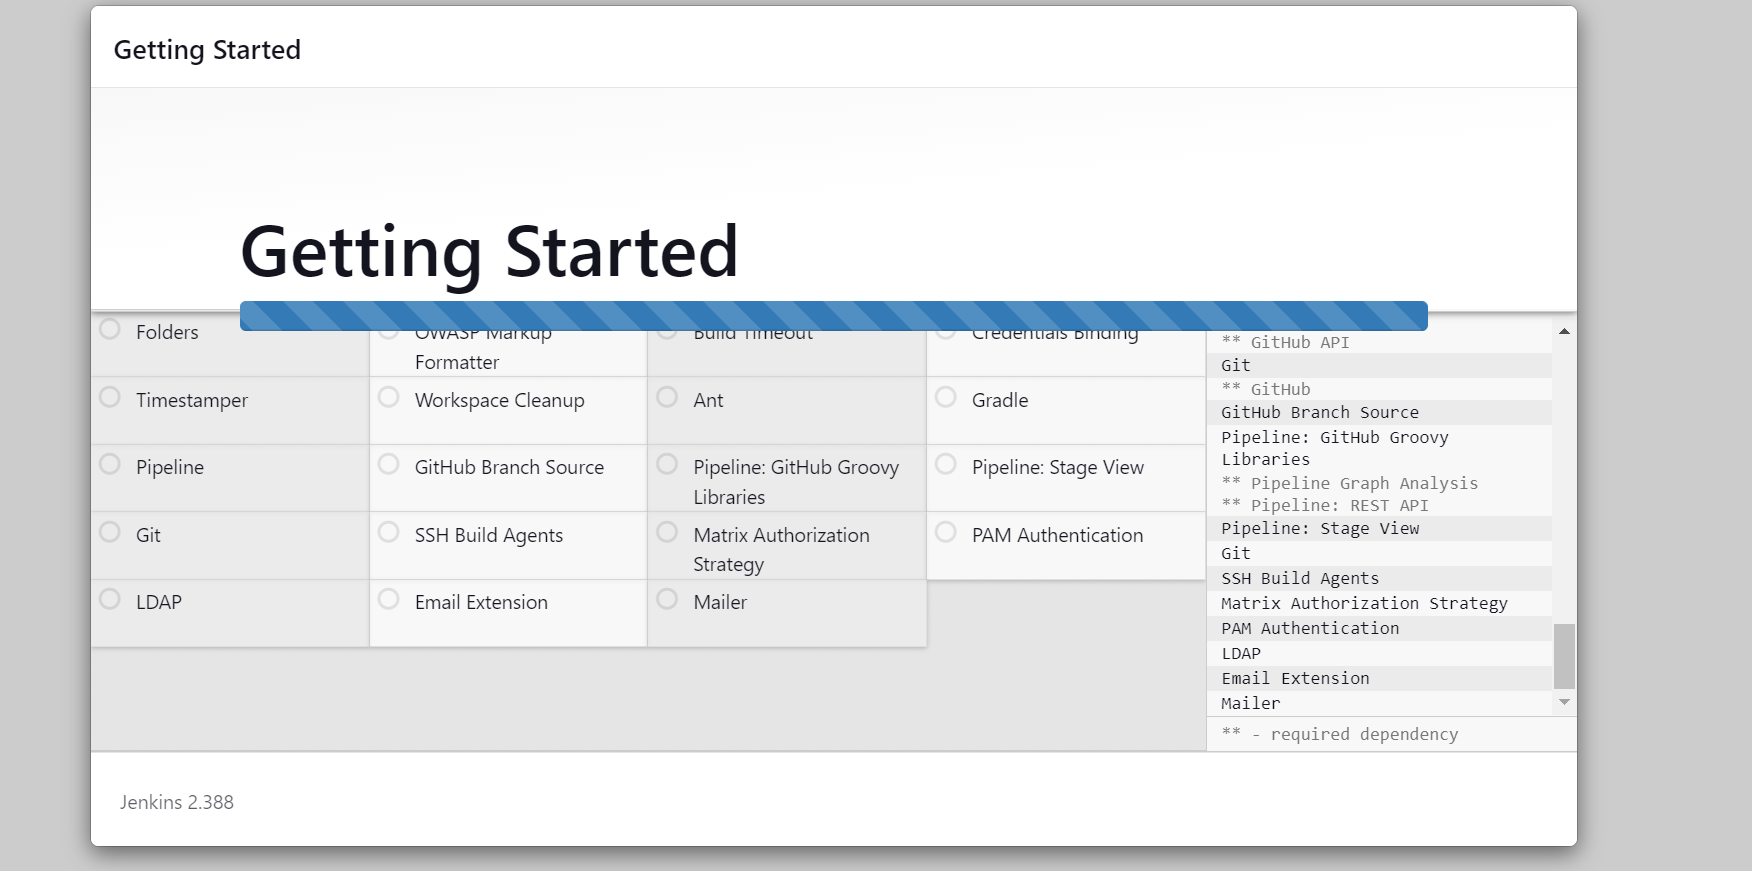
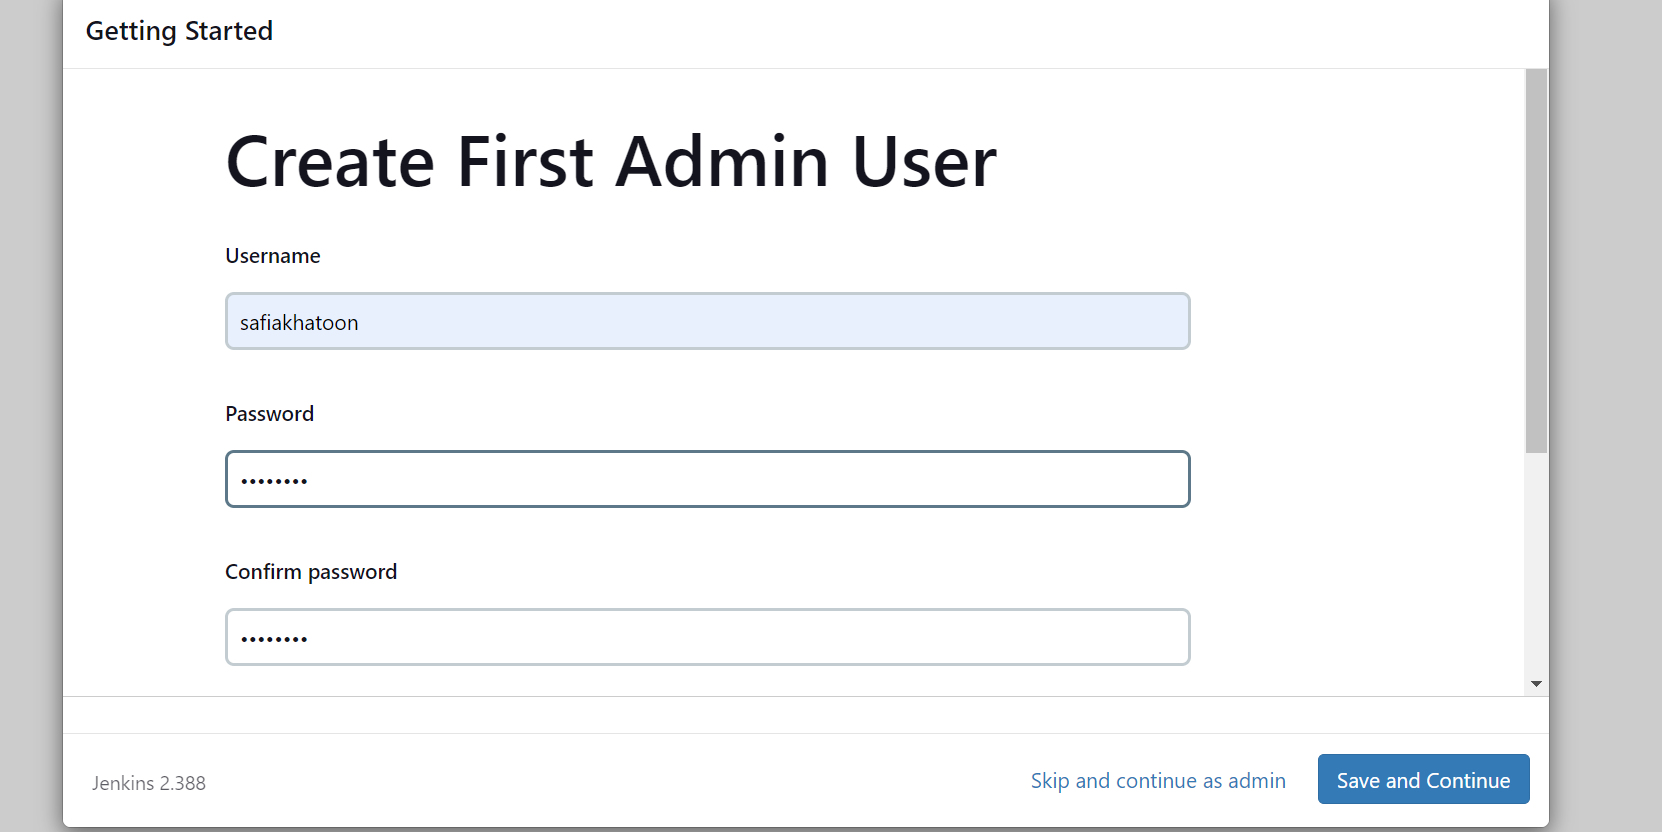
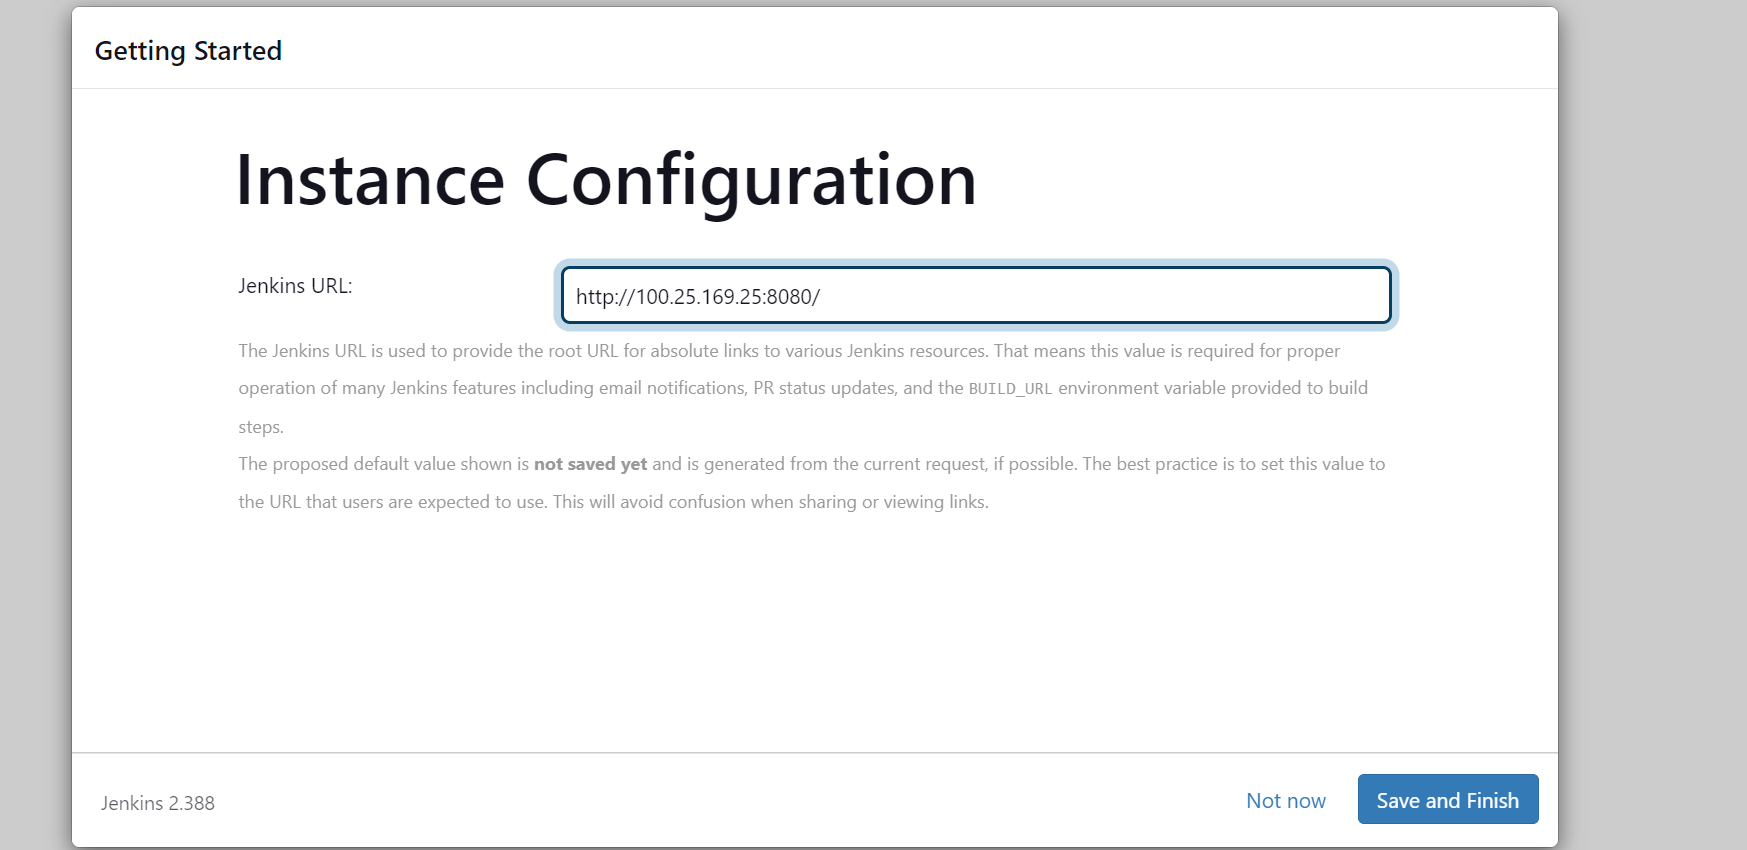
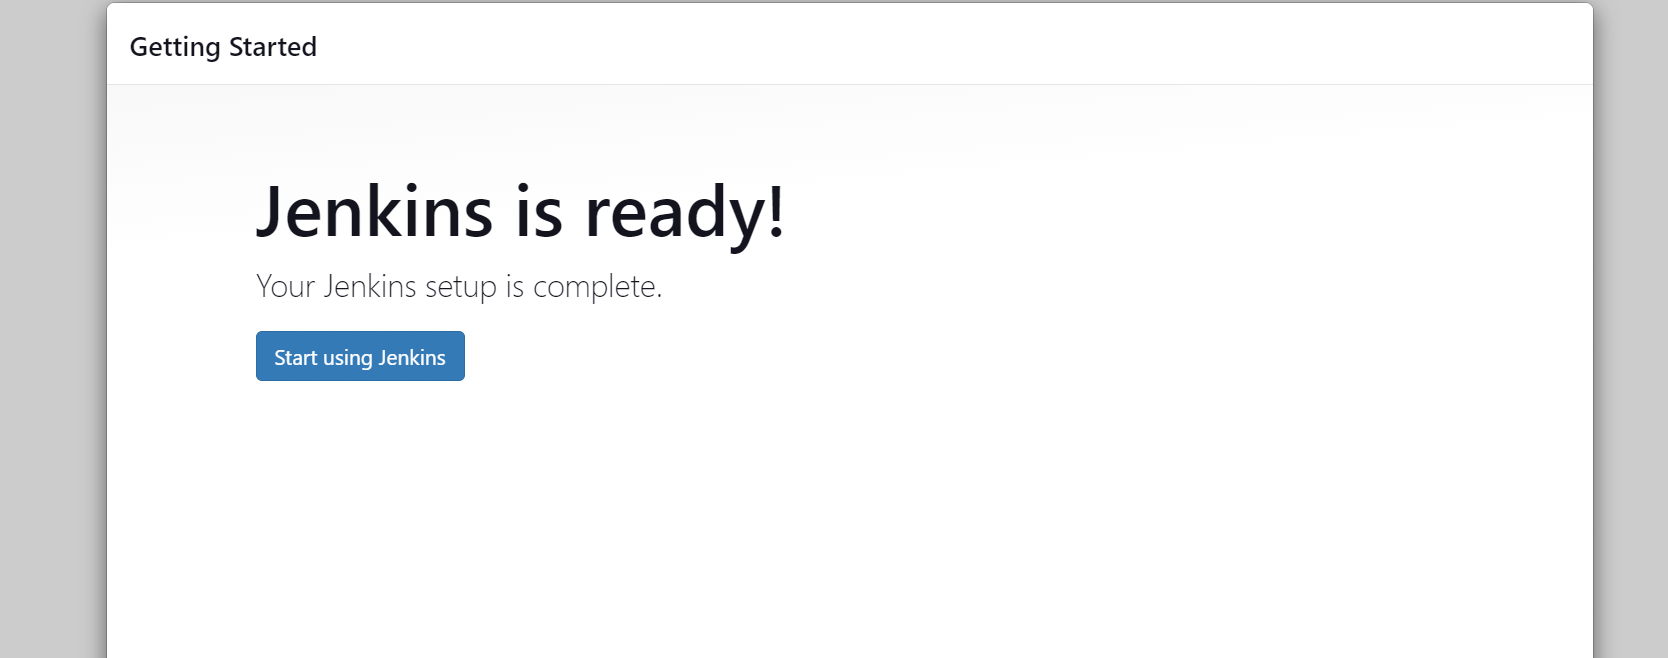
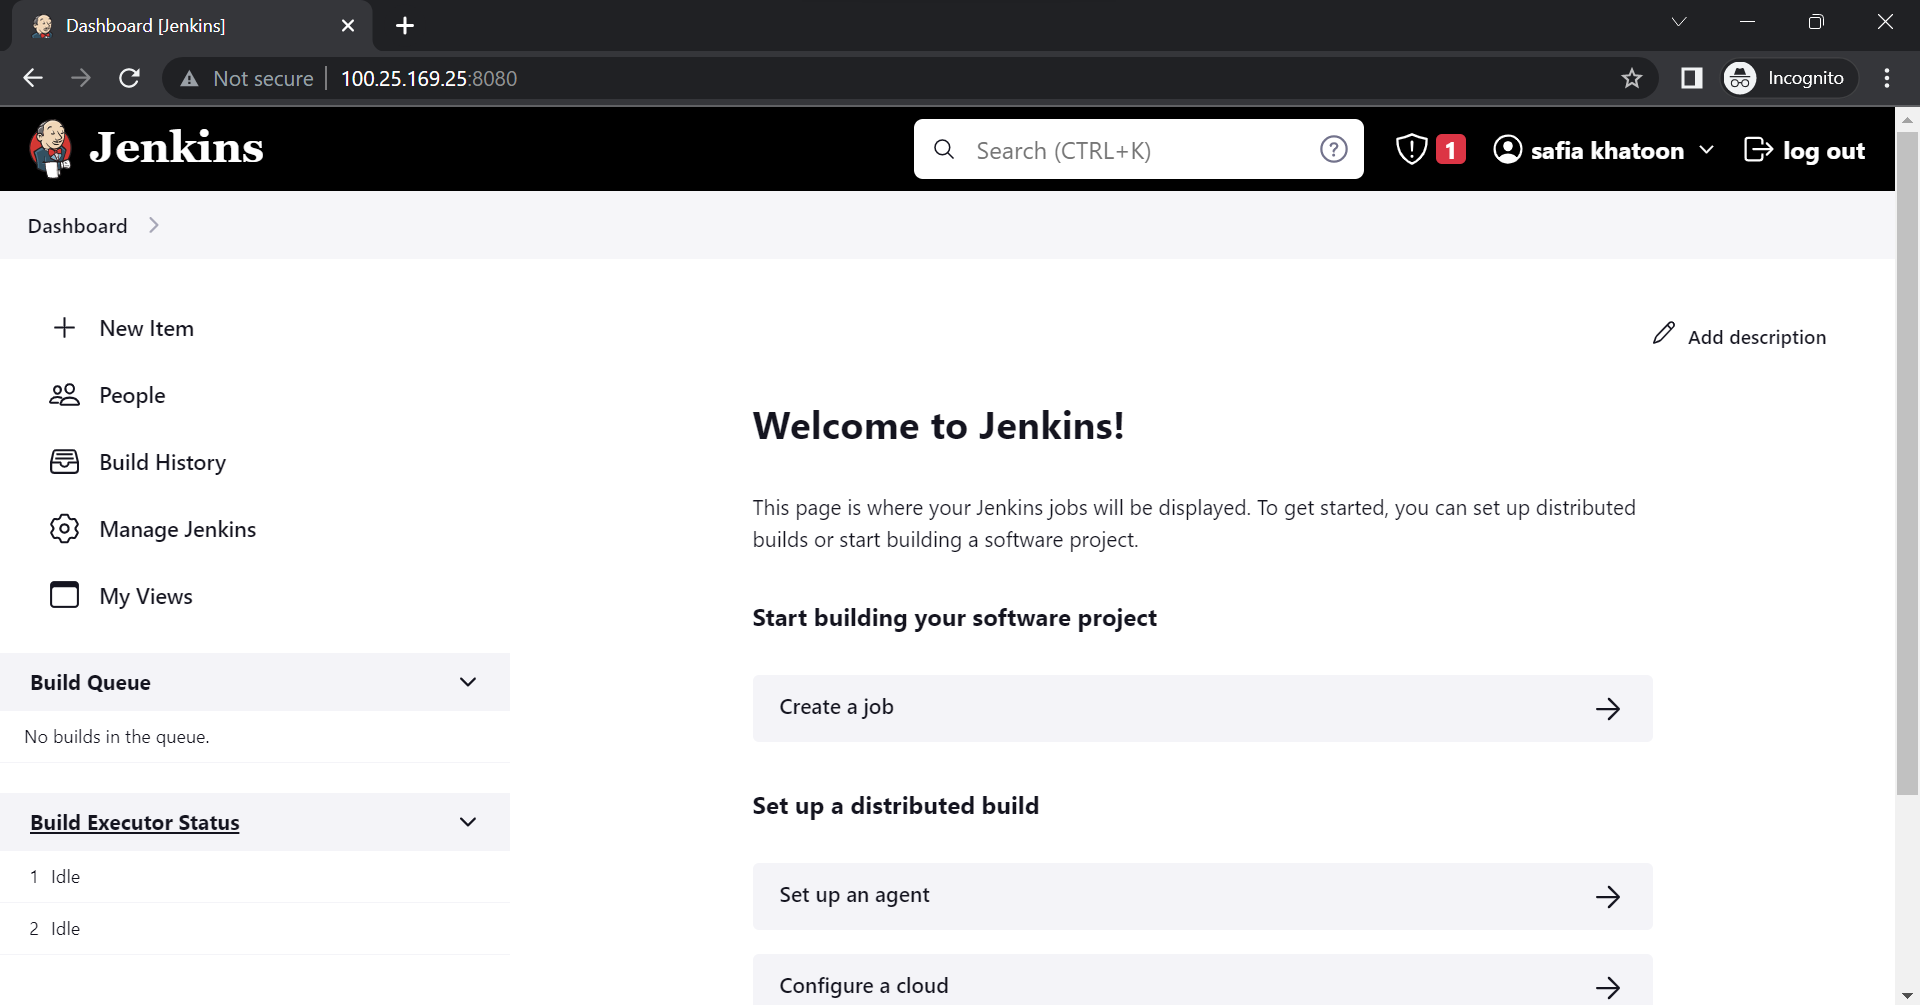
project 1 :(Freestyle project)
create a first and simple job
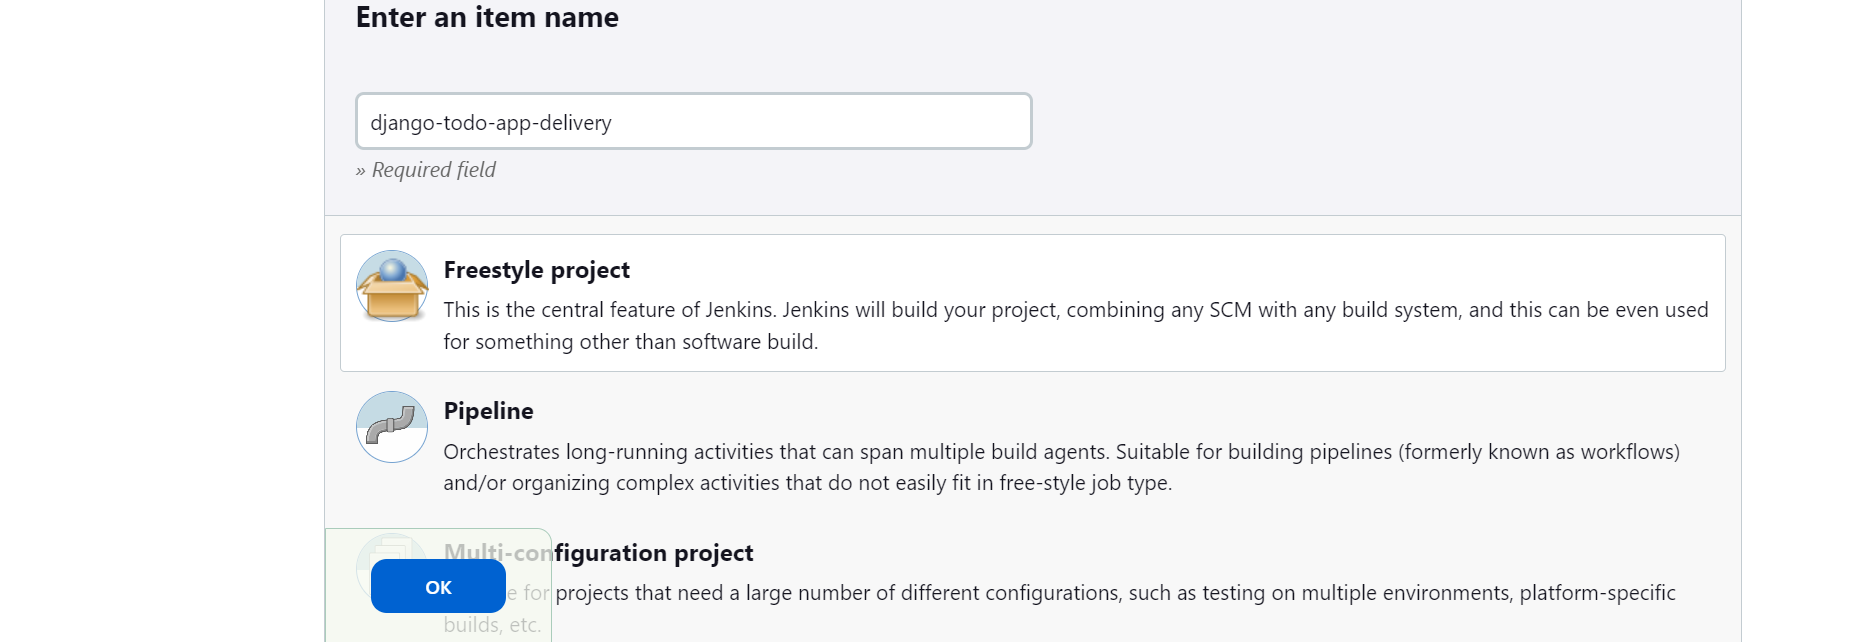
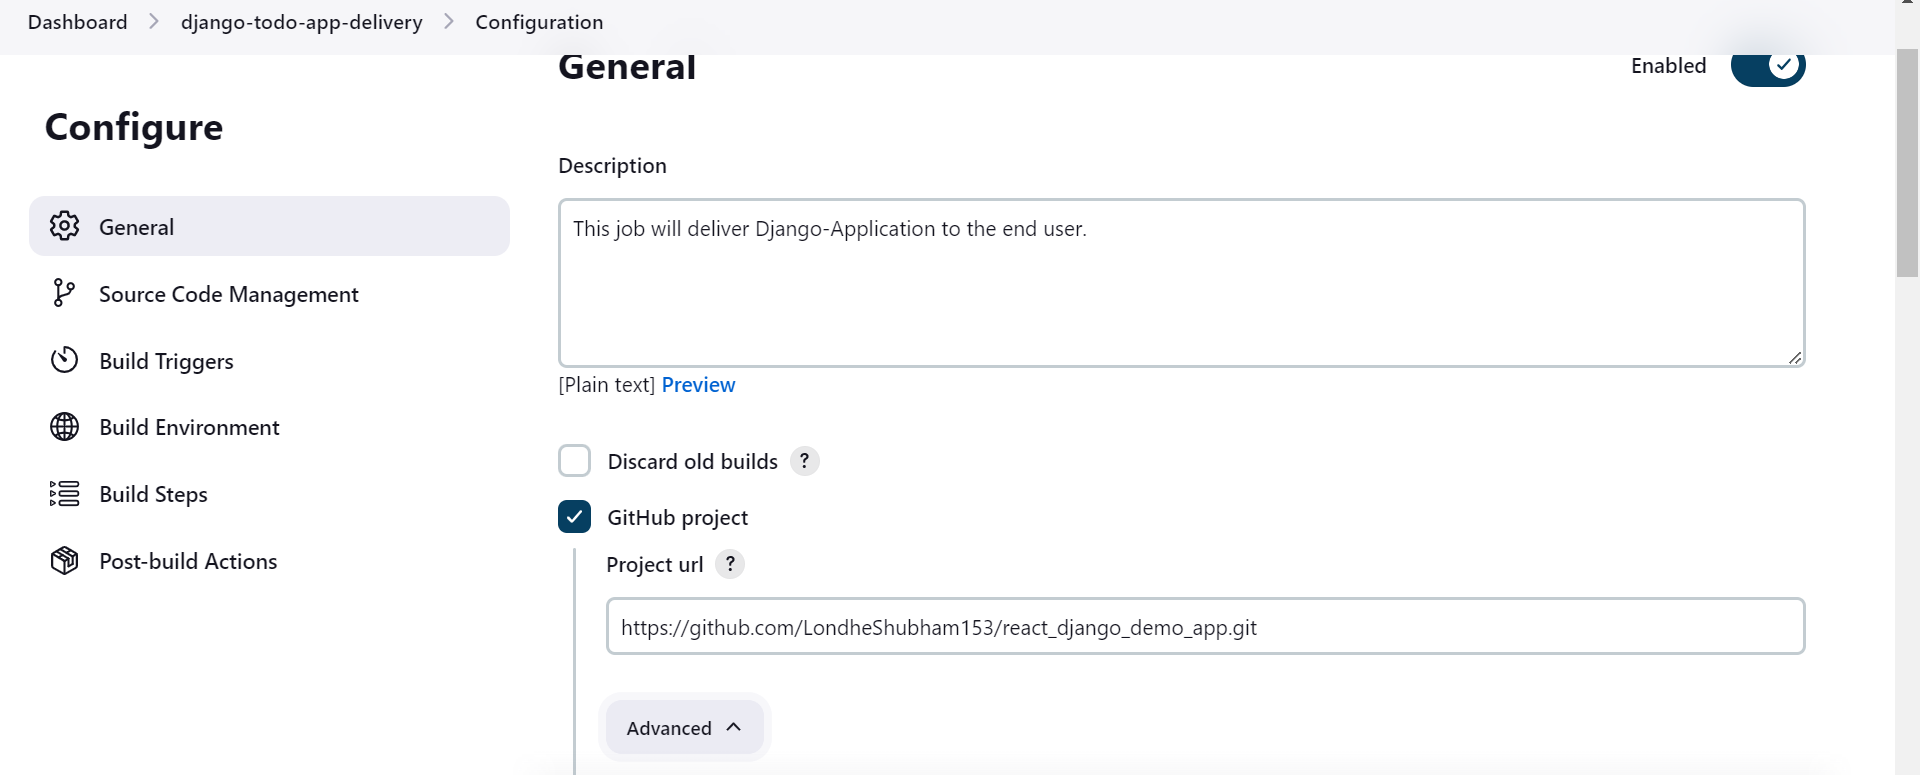
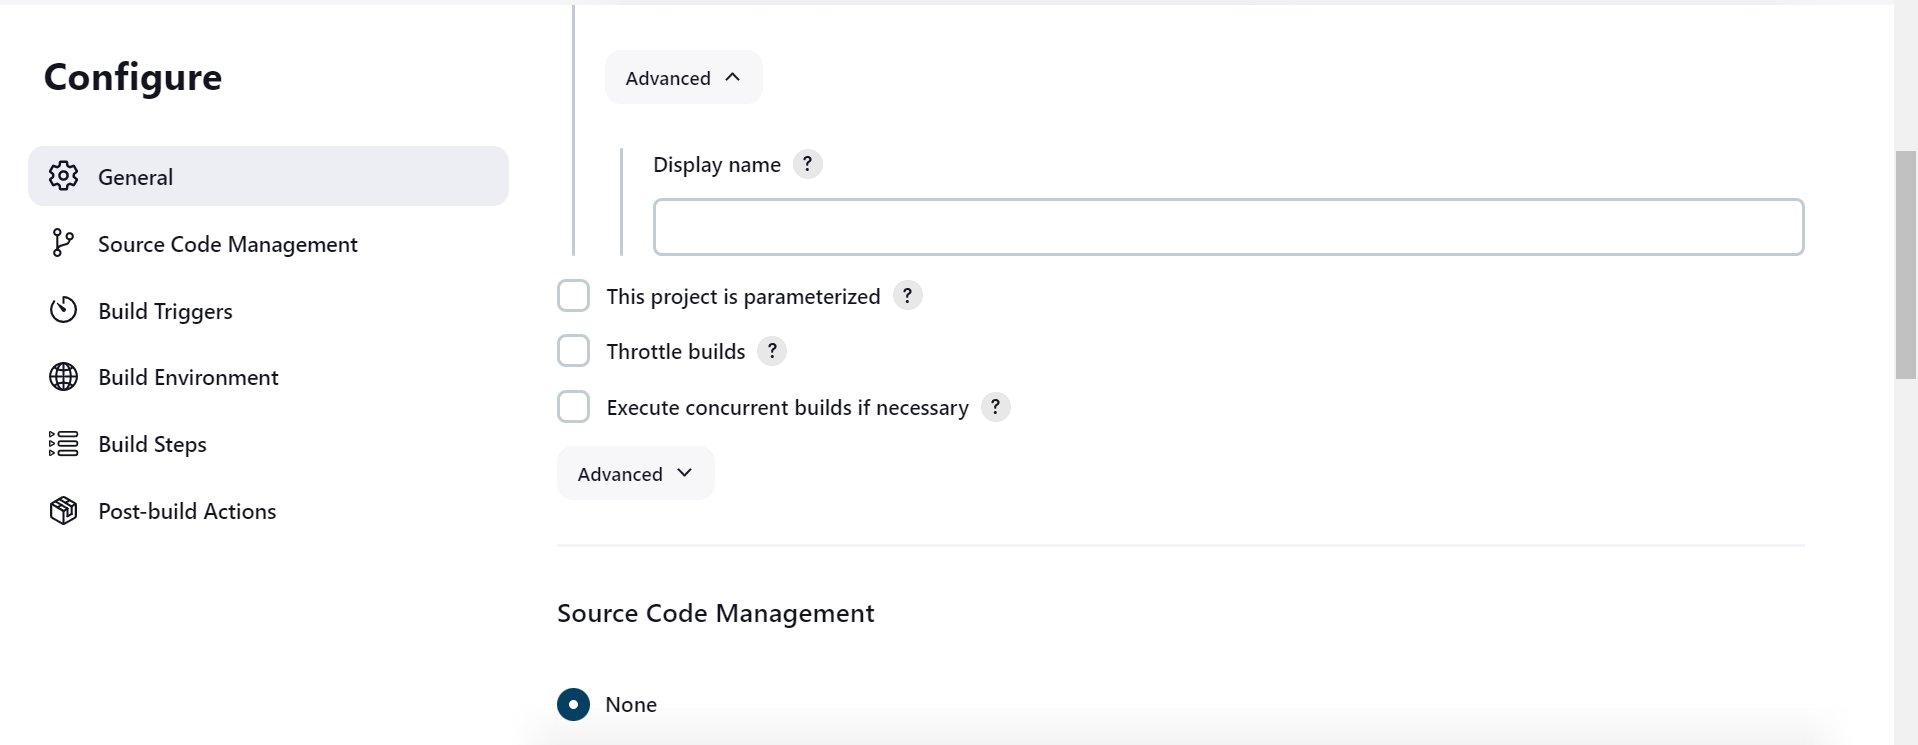
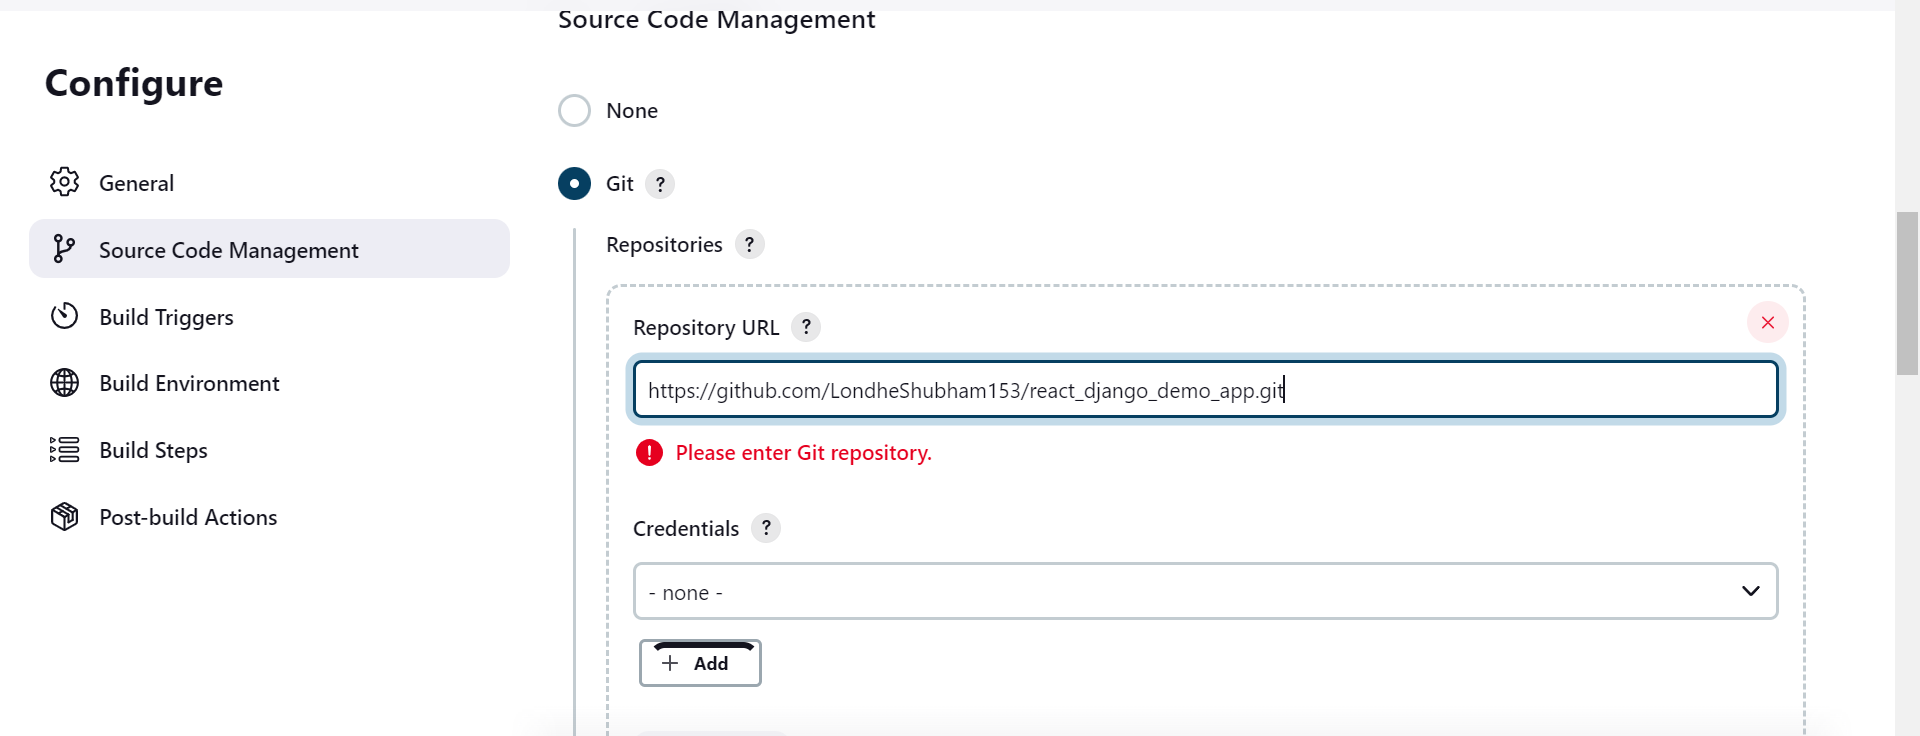
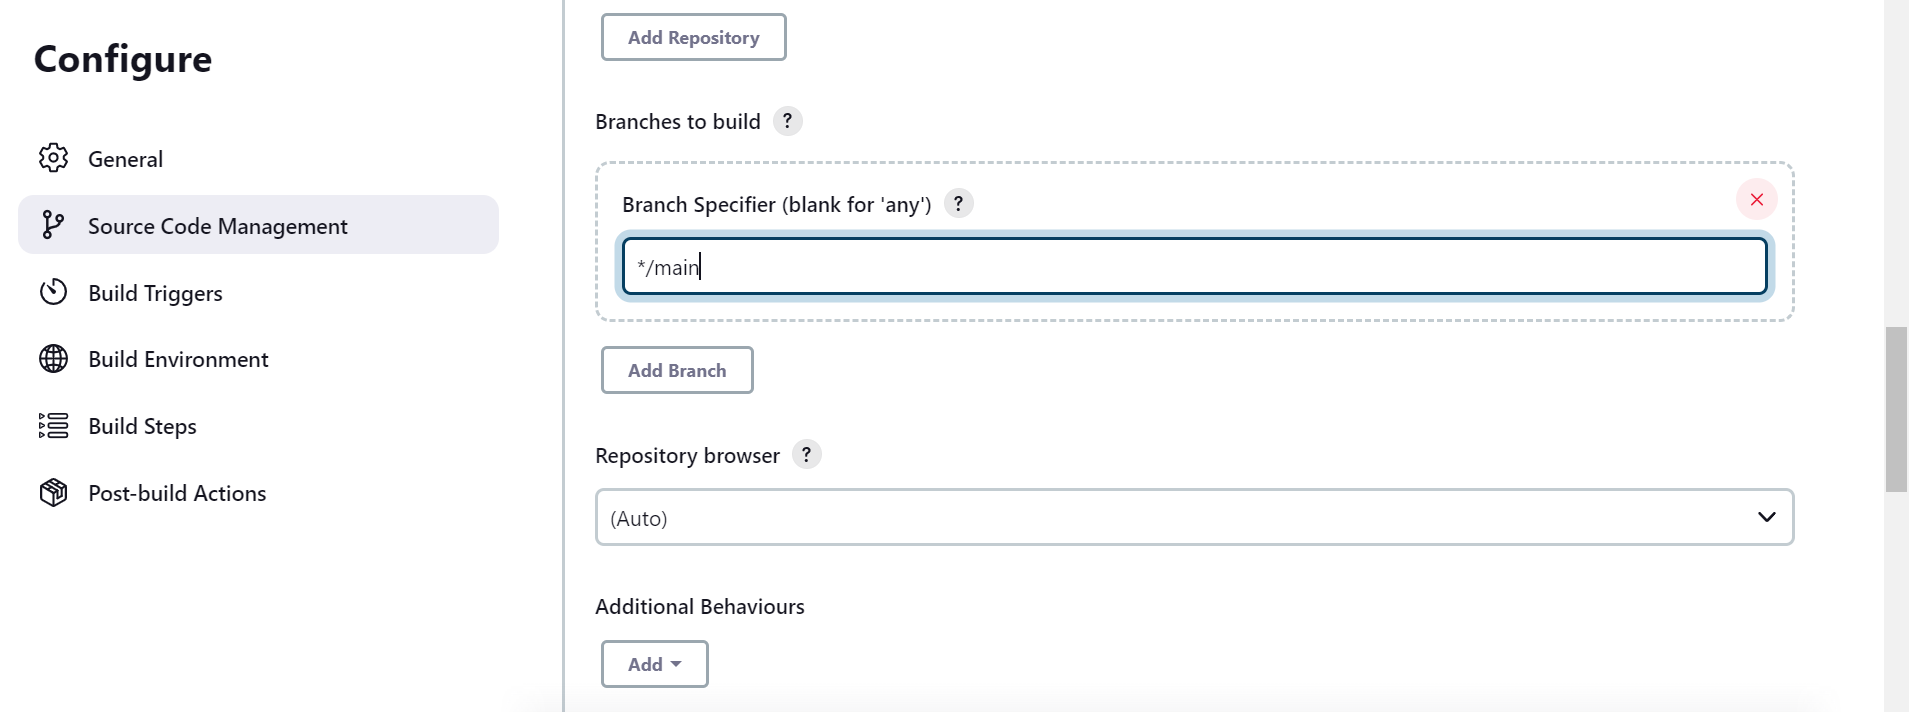
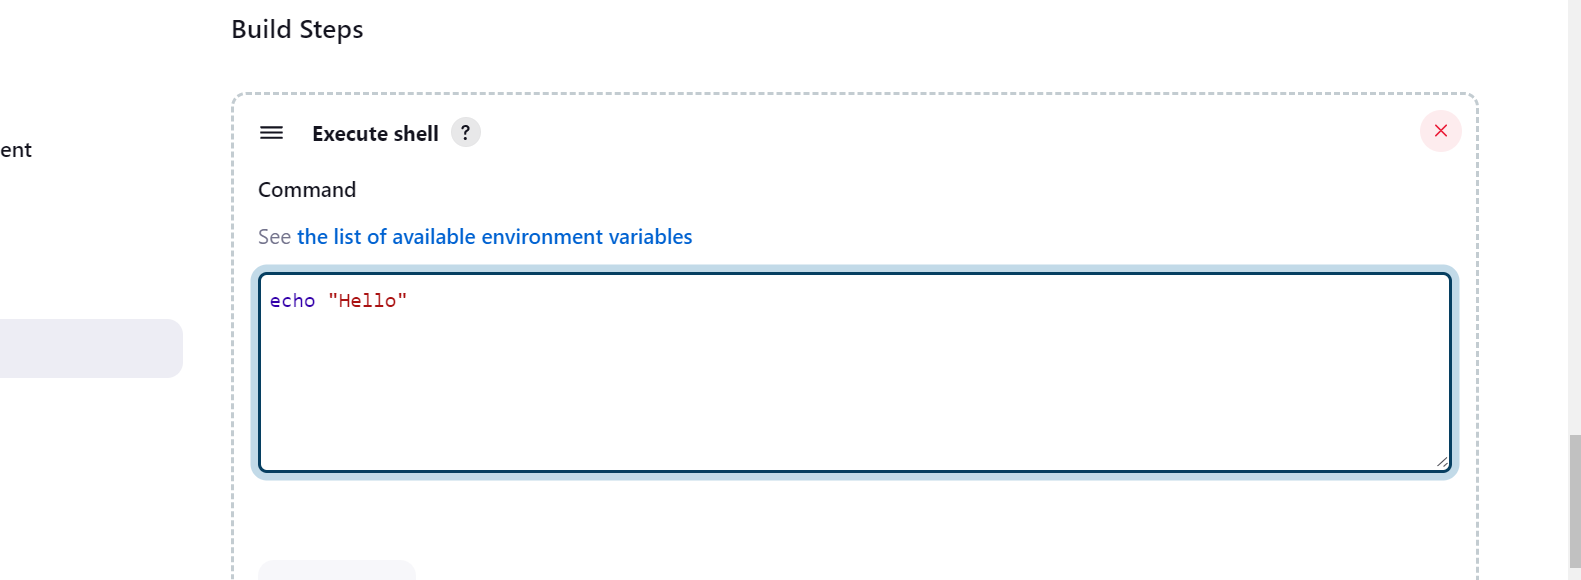
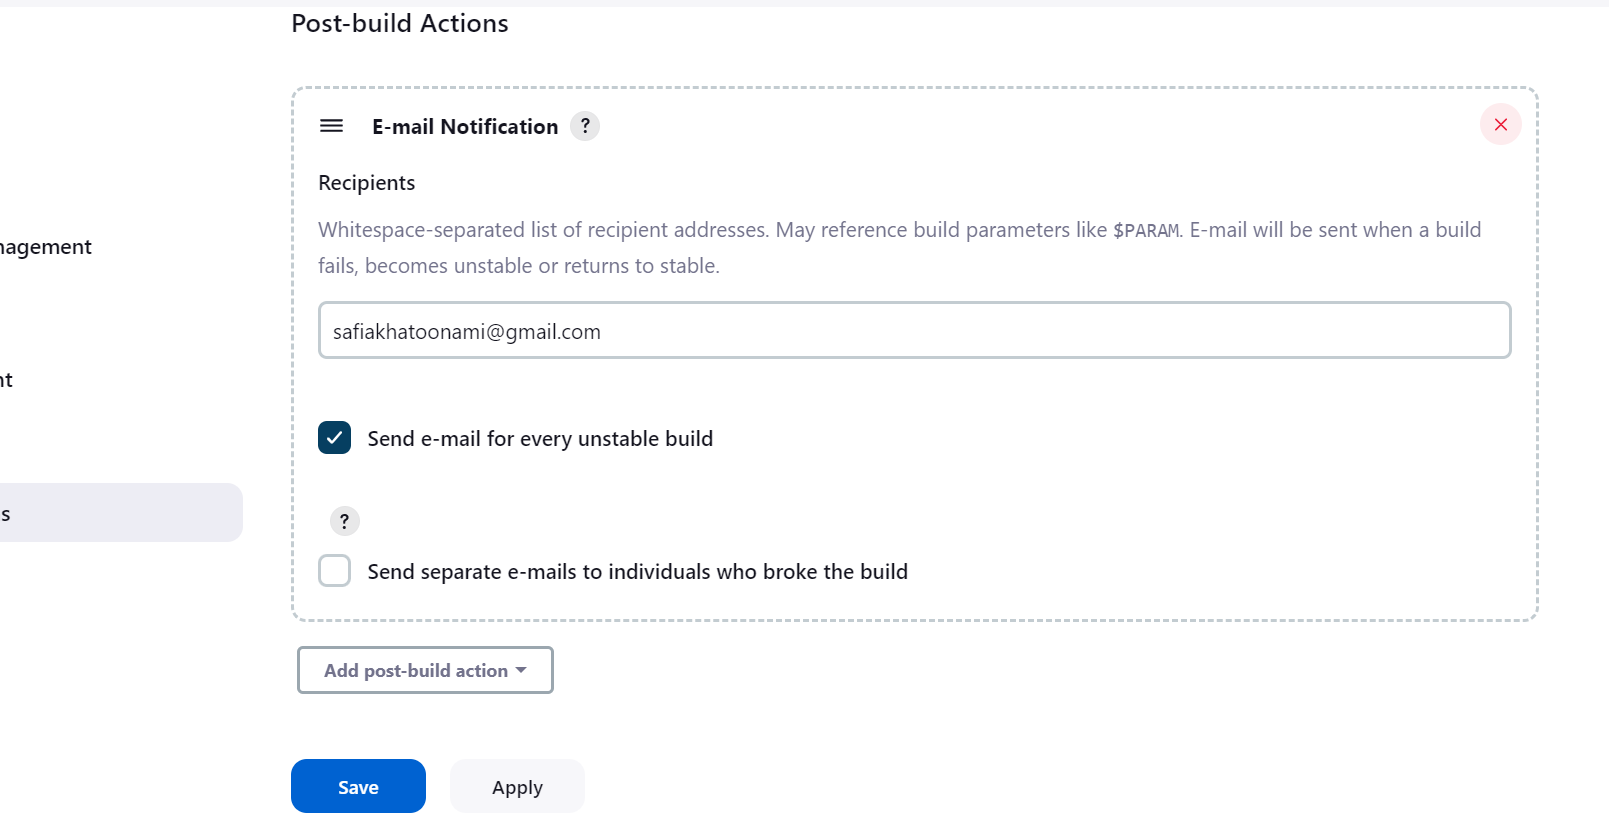
apply and save
go to dashboard
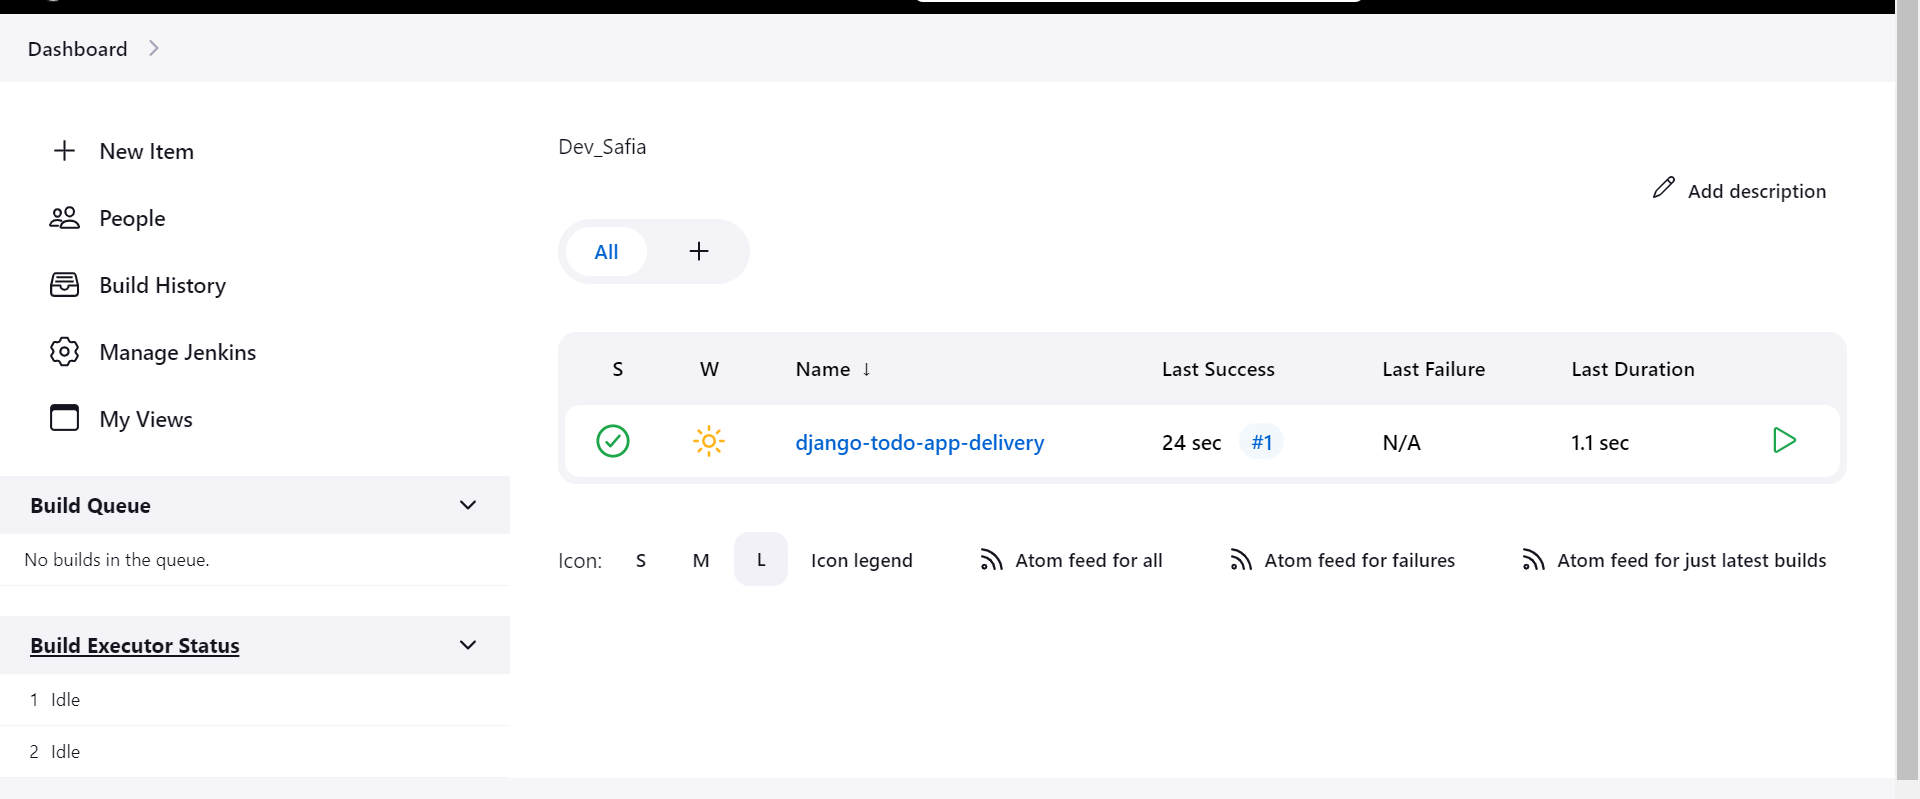
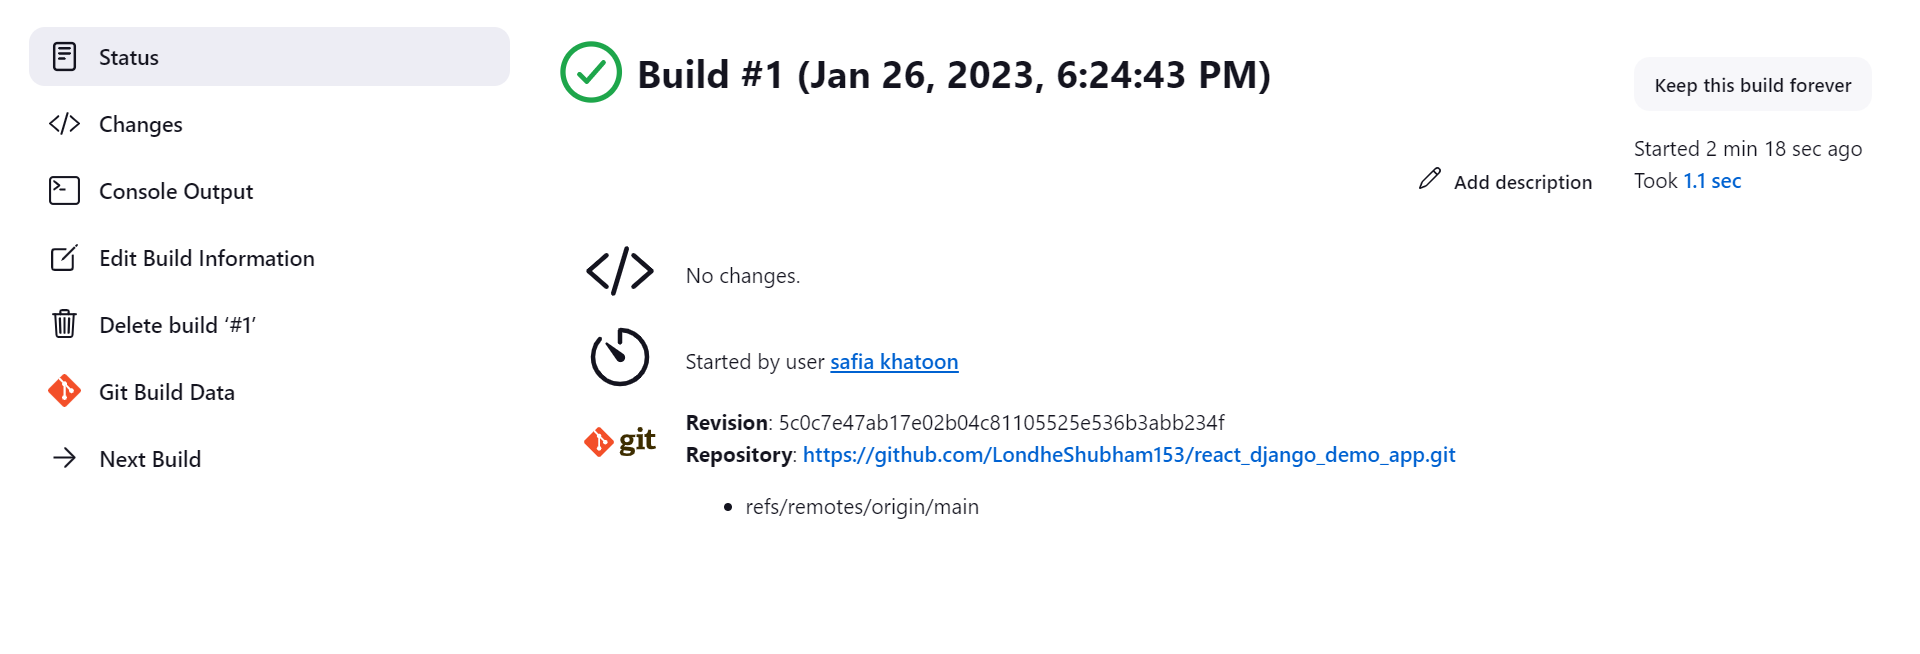
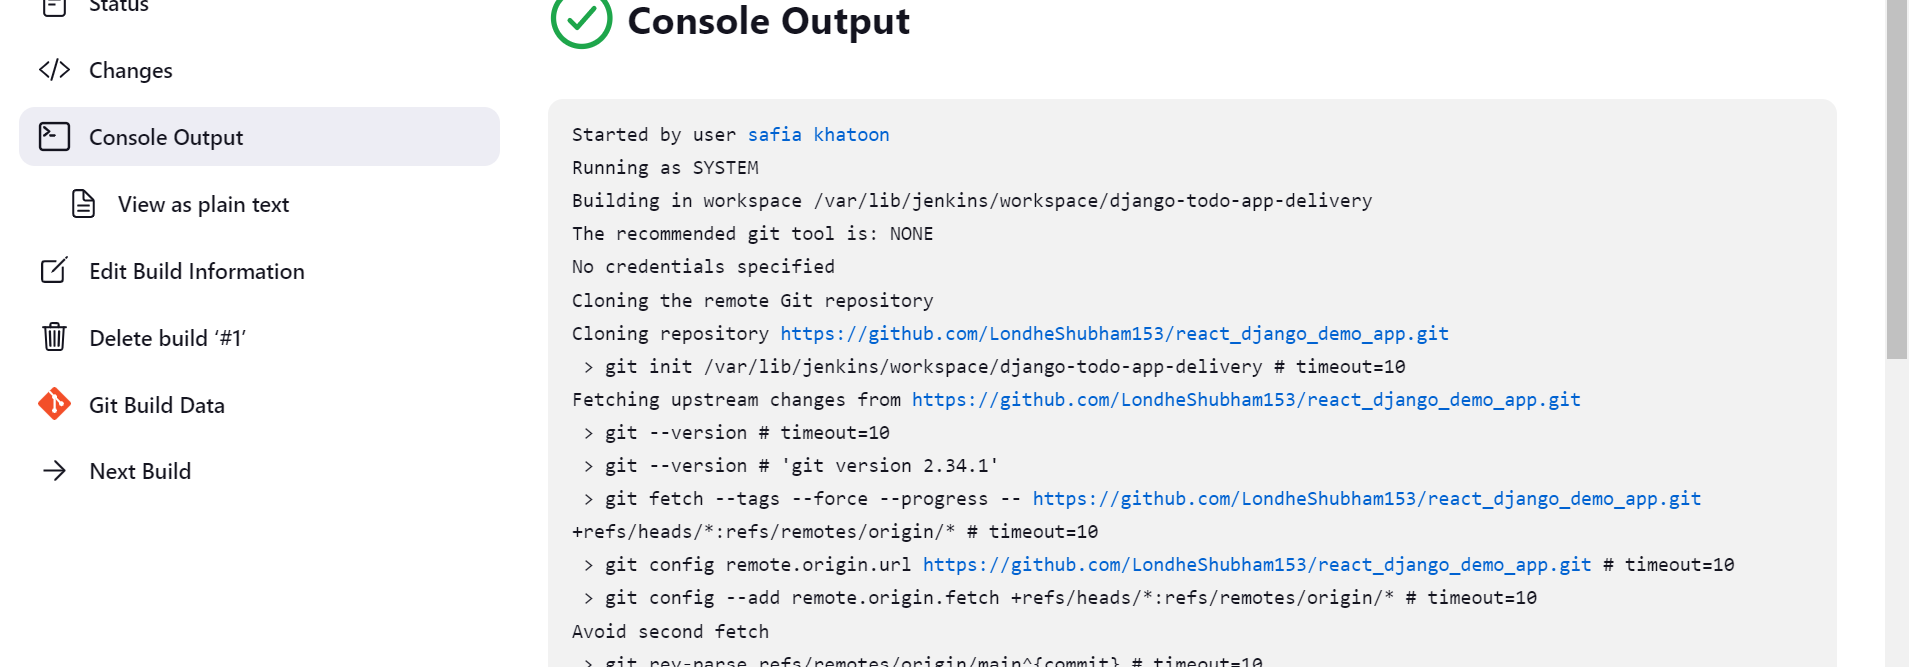


if you build through the docker then first you install docker in your system:
sudo apt-get install docker.io
sudo usermod -a -G docker $USER
sudo reboot
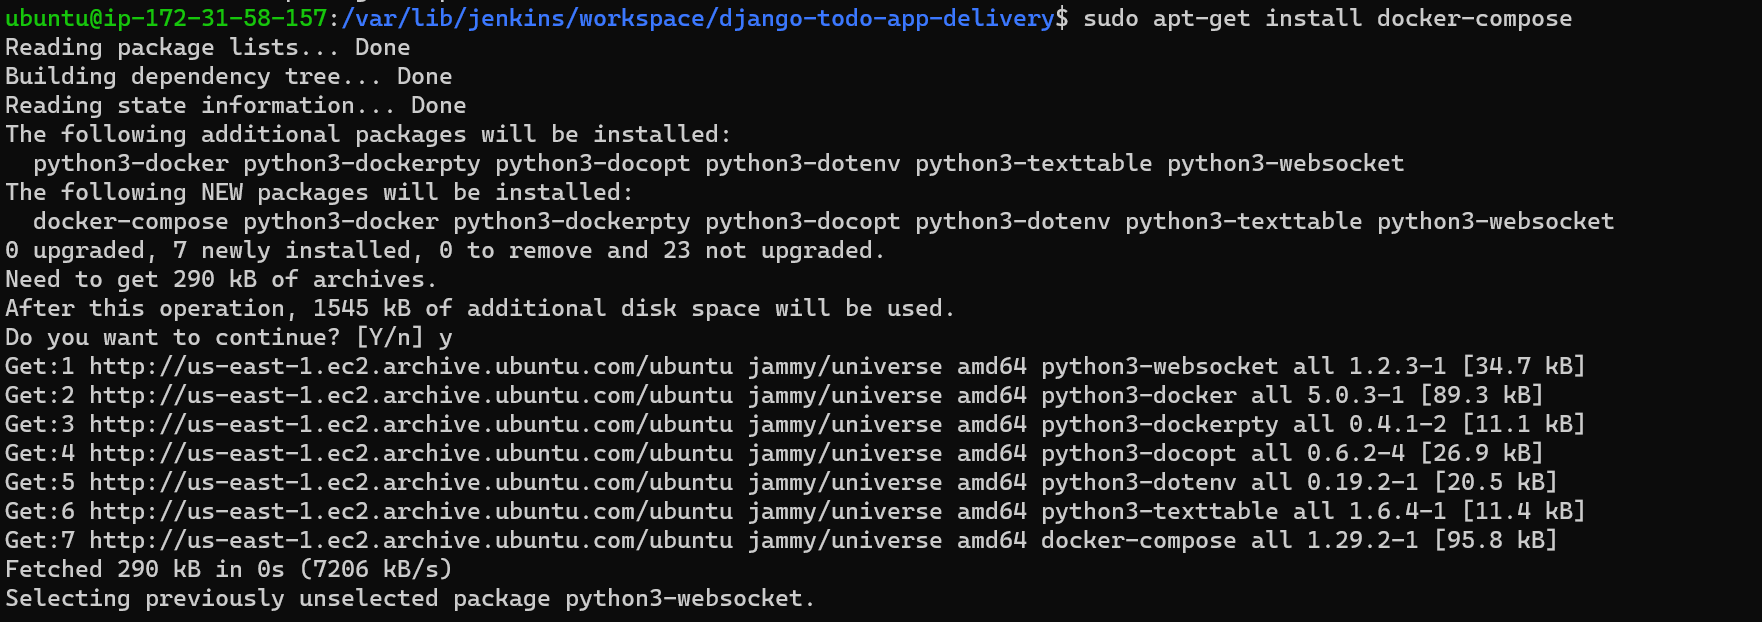
sudo apt-get install docker-compose

sudo docker-compose up

docker ps

sudo usermod -aG jenkins
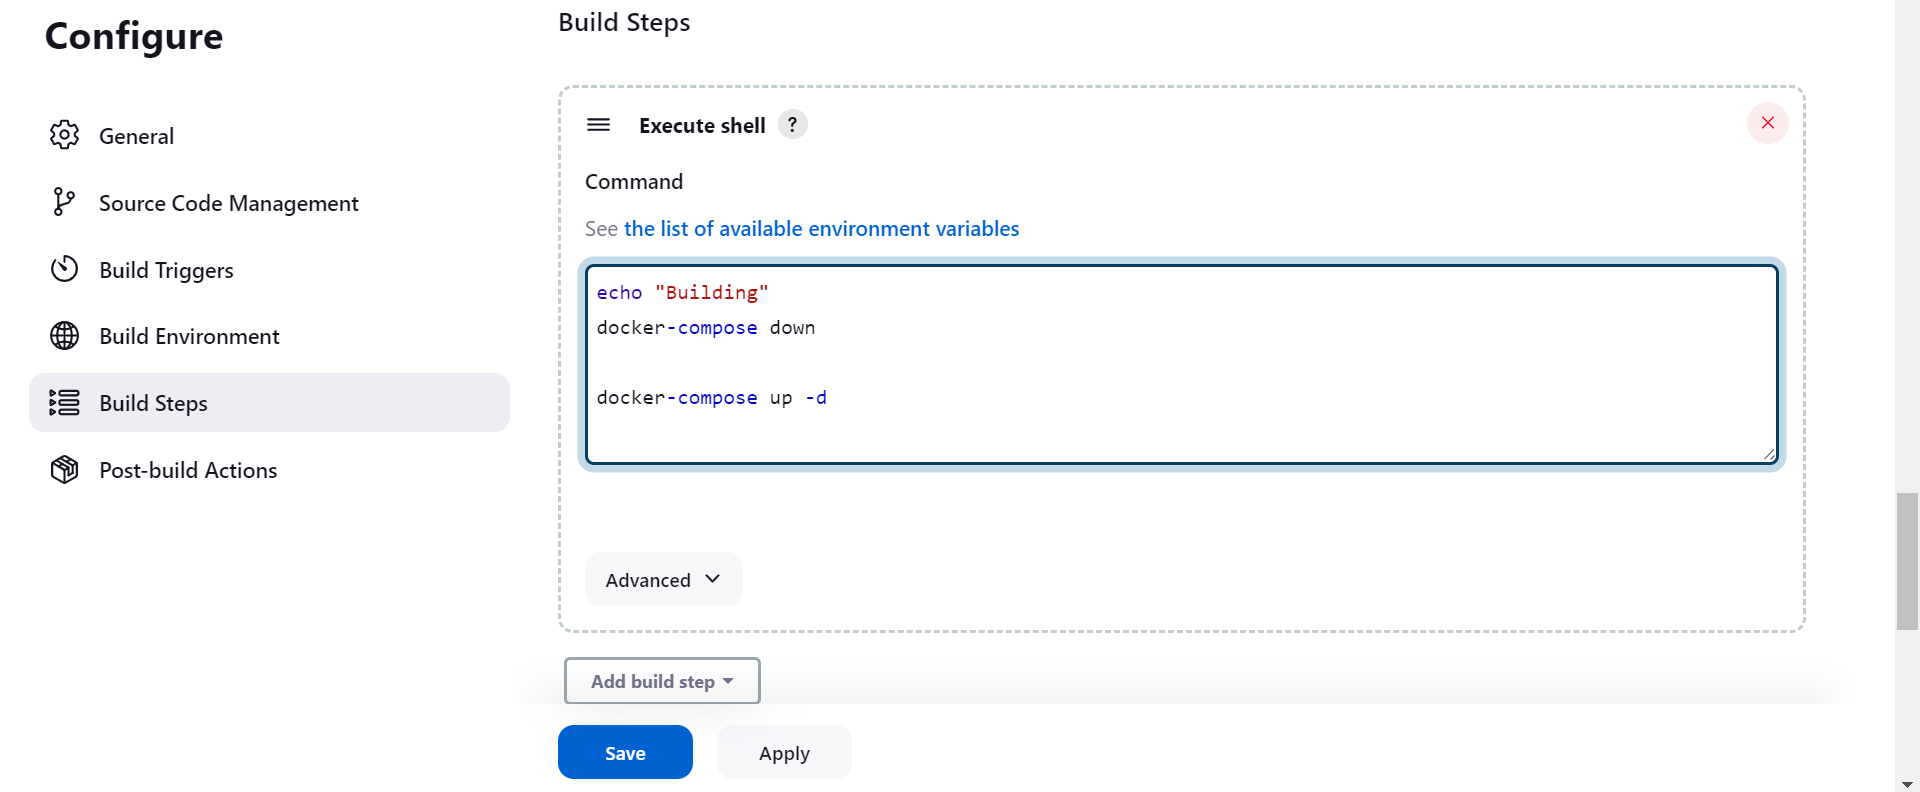
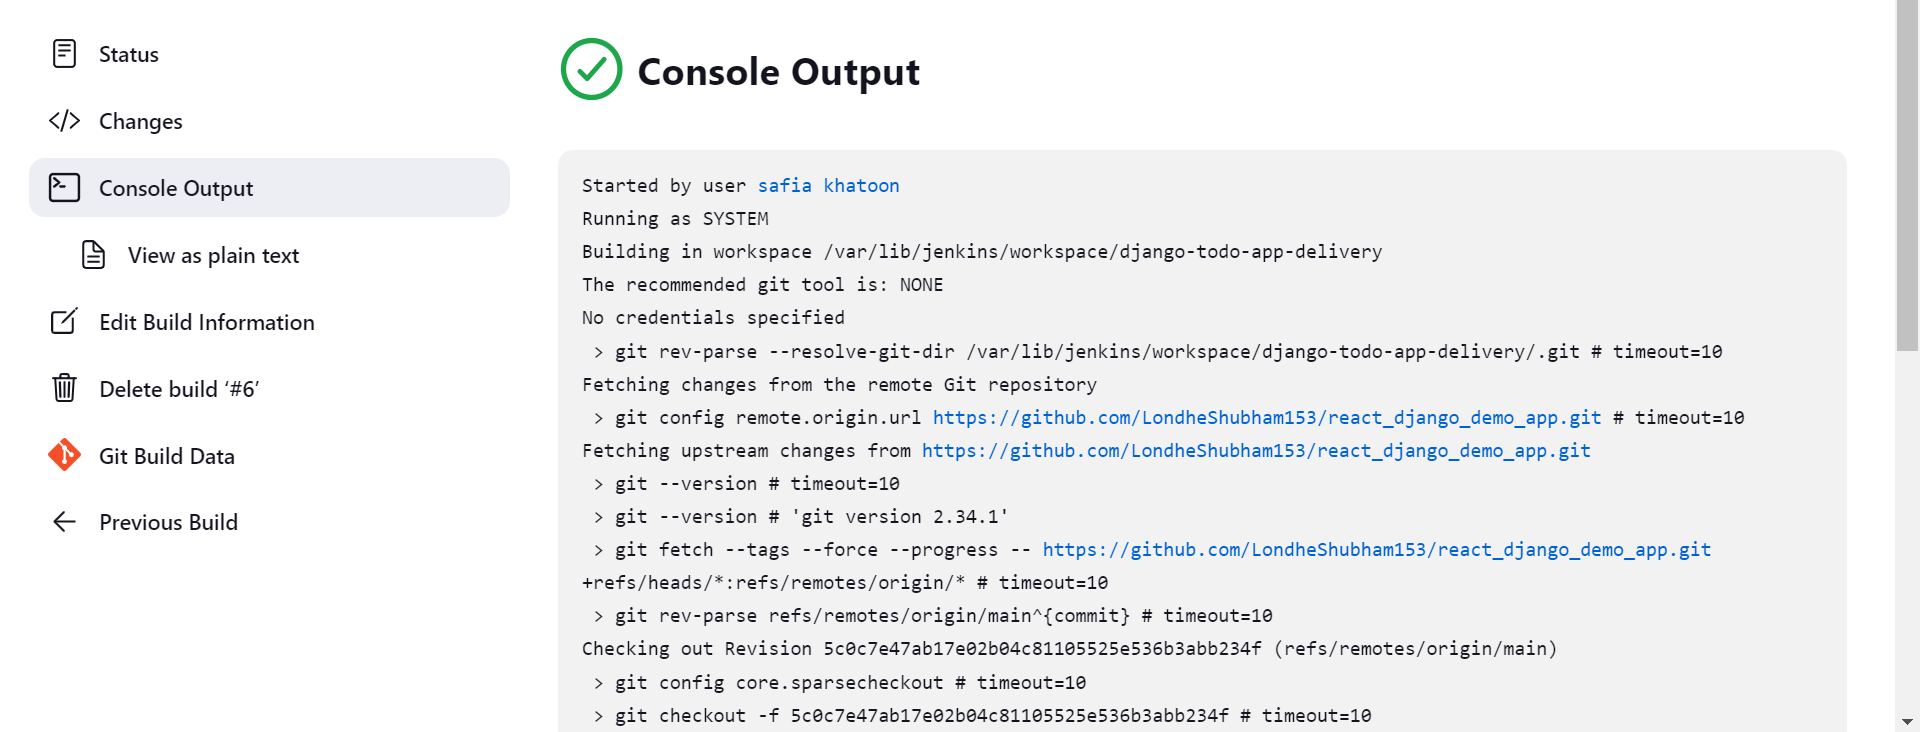
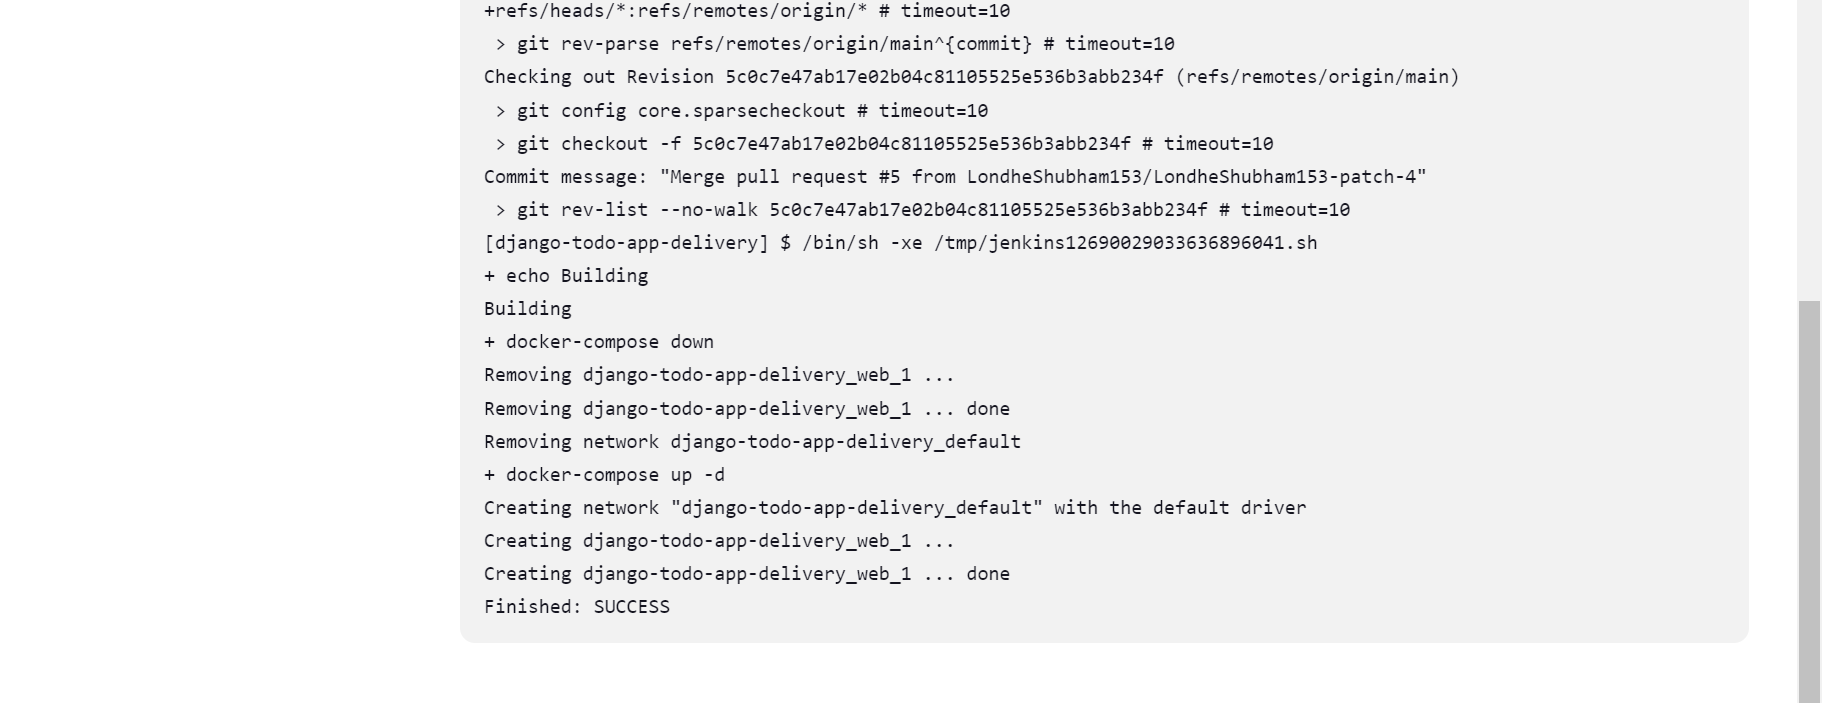

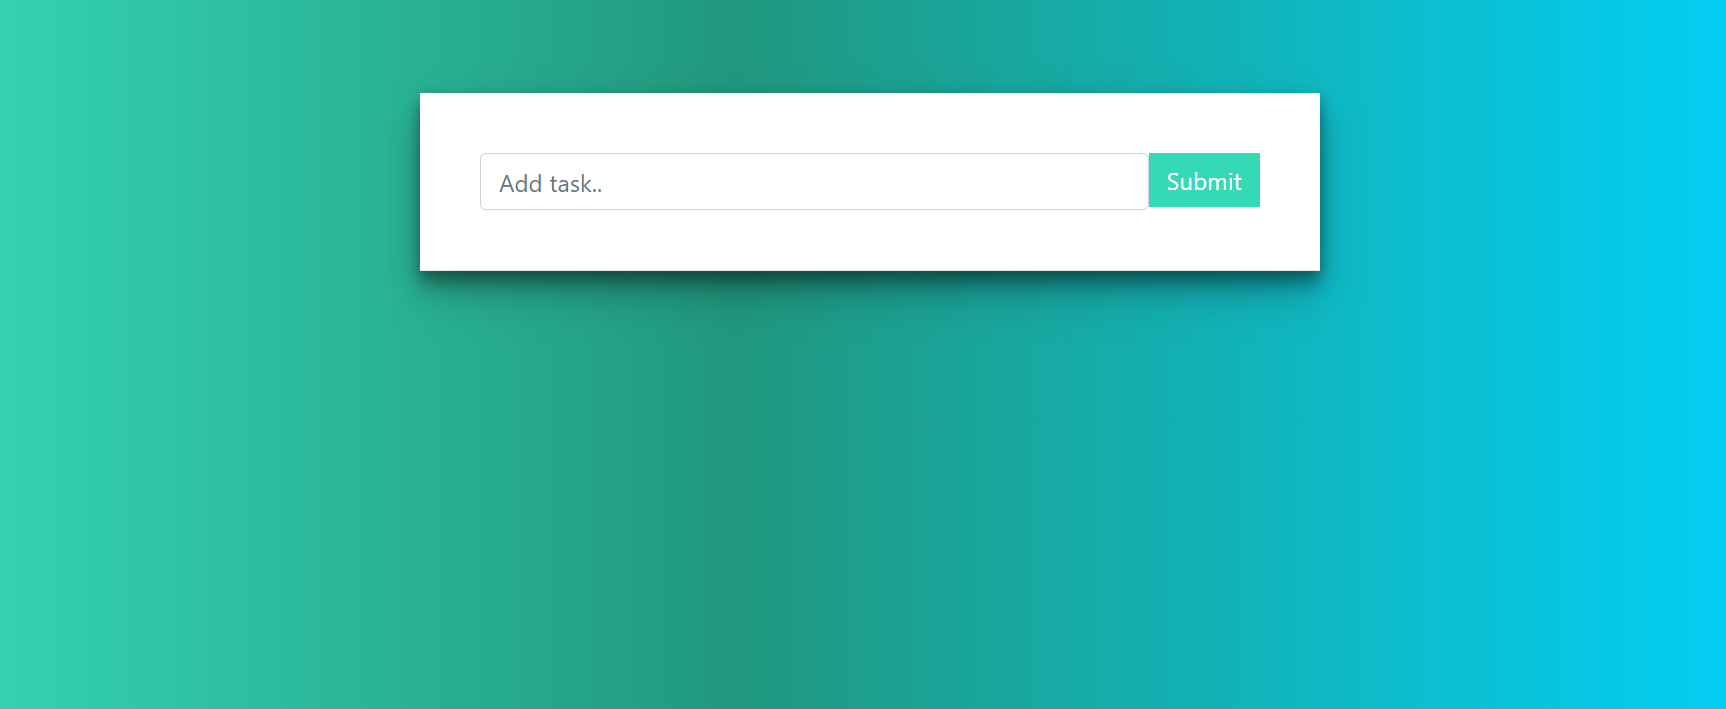
project 2 (using webhook)
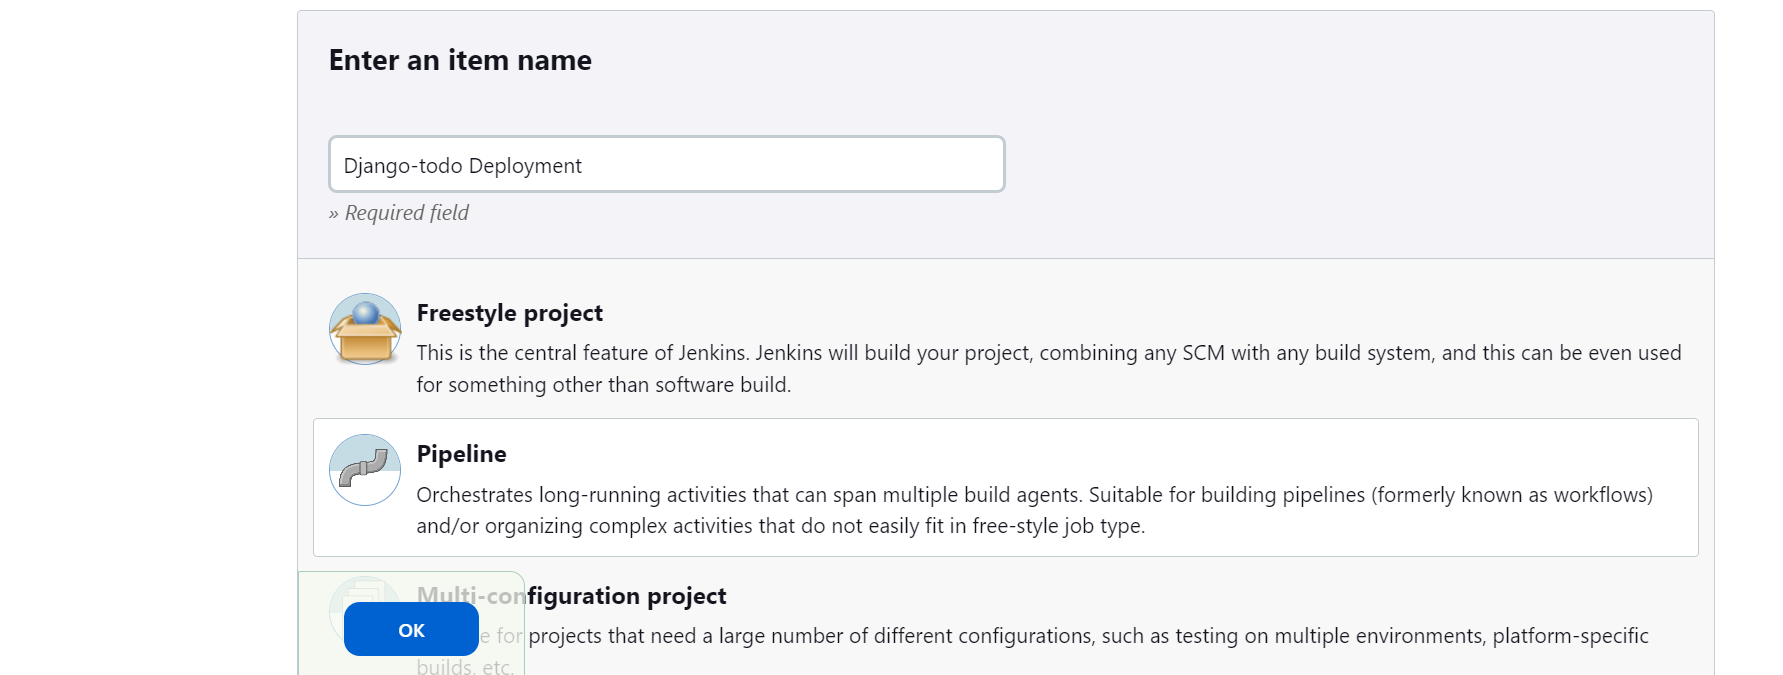
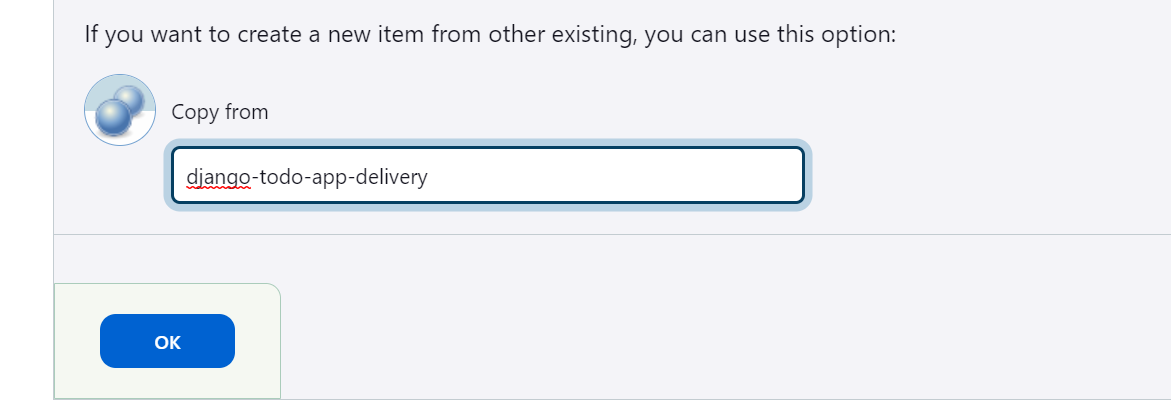
if you copy your first project into the second then you use this
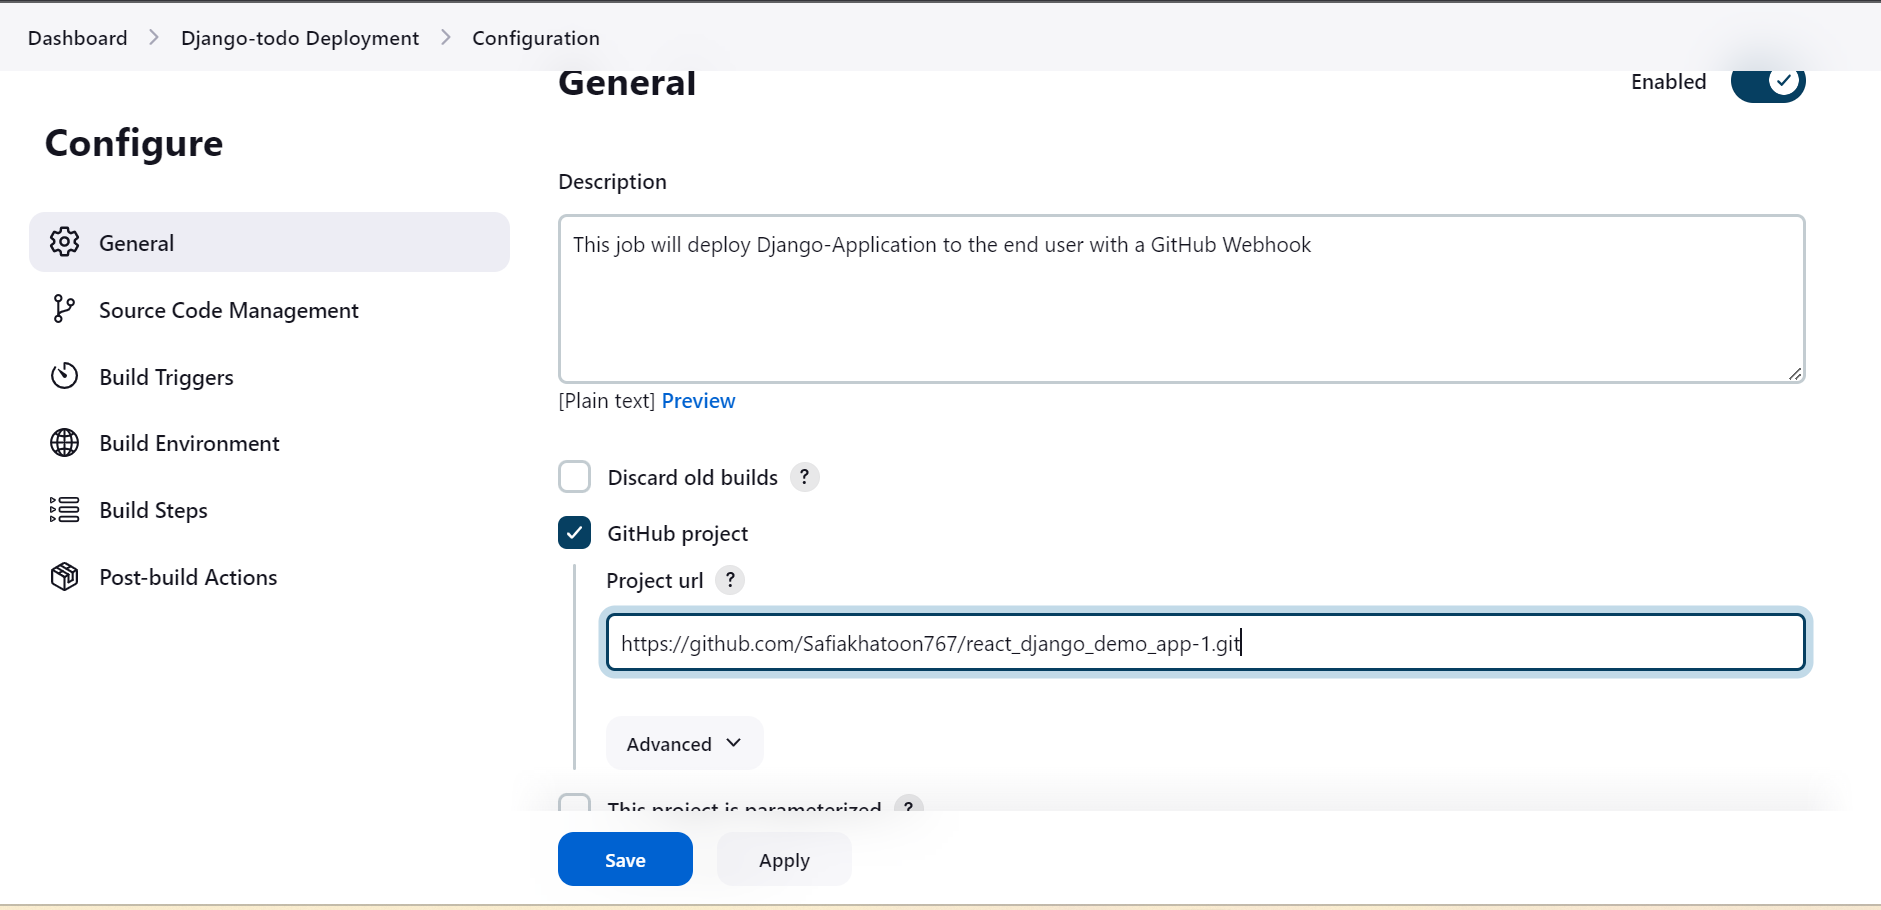
what is a webhook?
Webhooks are user-defined HTTP callbacks (or small code snippets linked to a web application) which are triggered by specific events.
example :-If there is any code push or any changes on GitHub, then he pushes those changes in Jenkins.
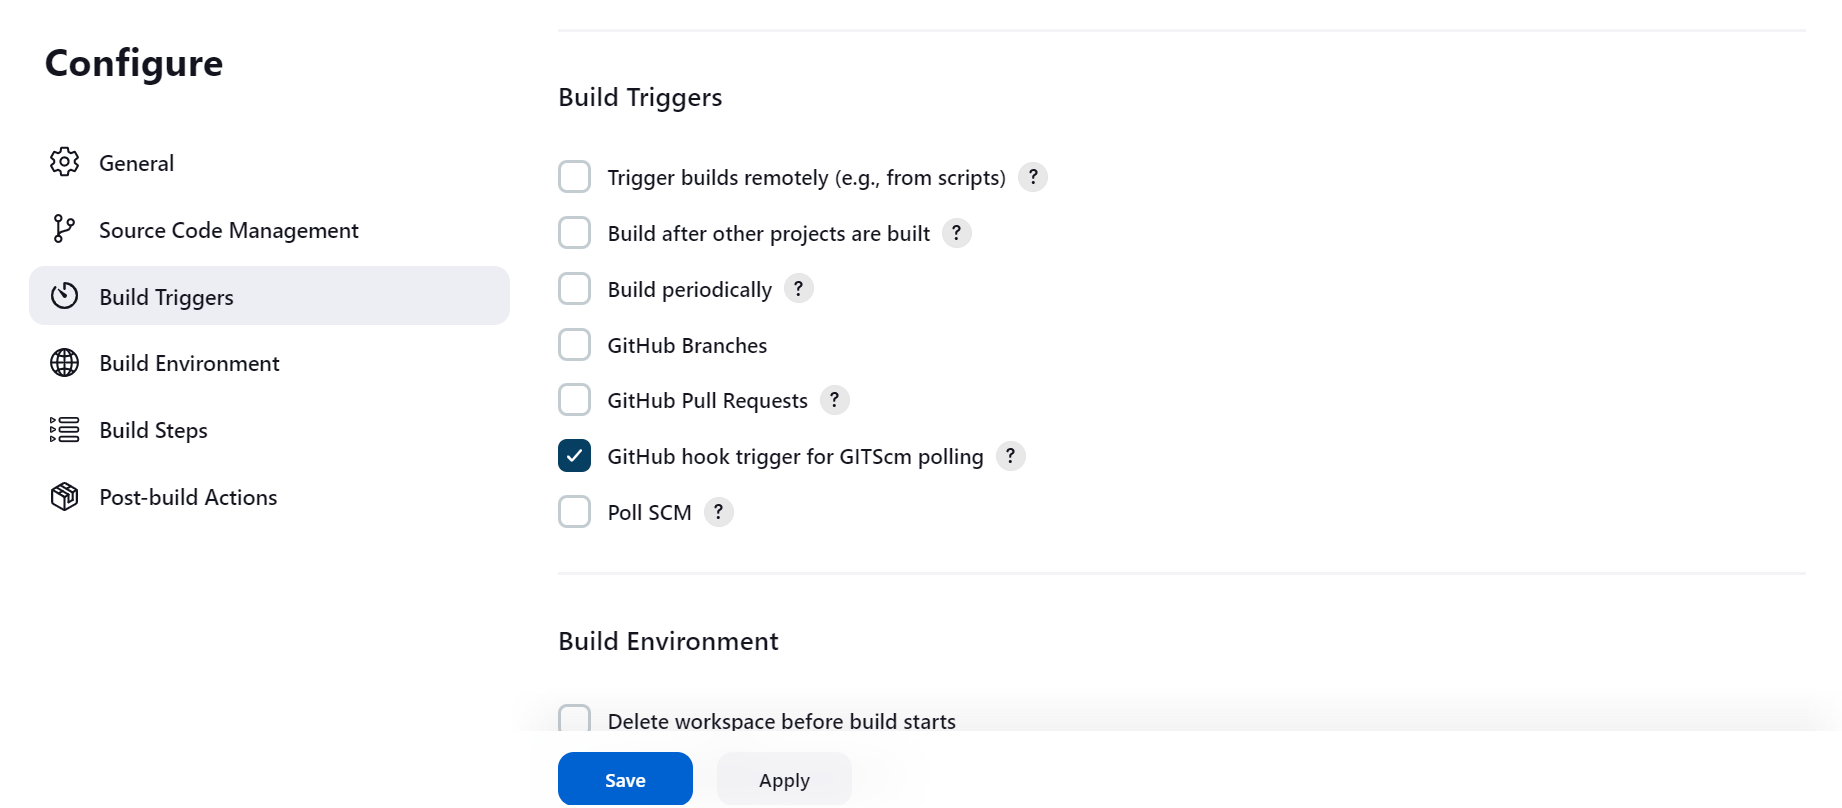
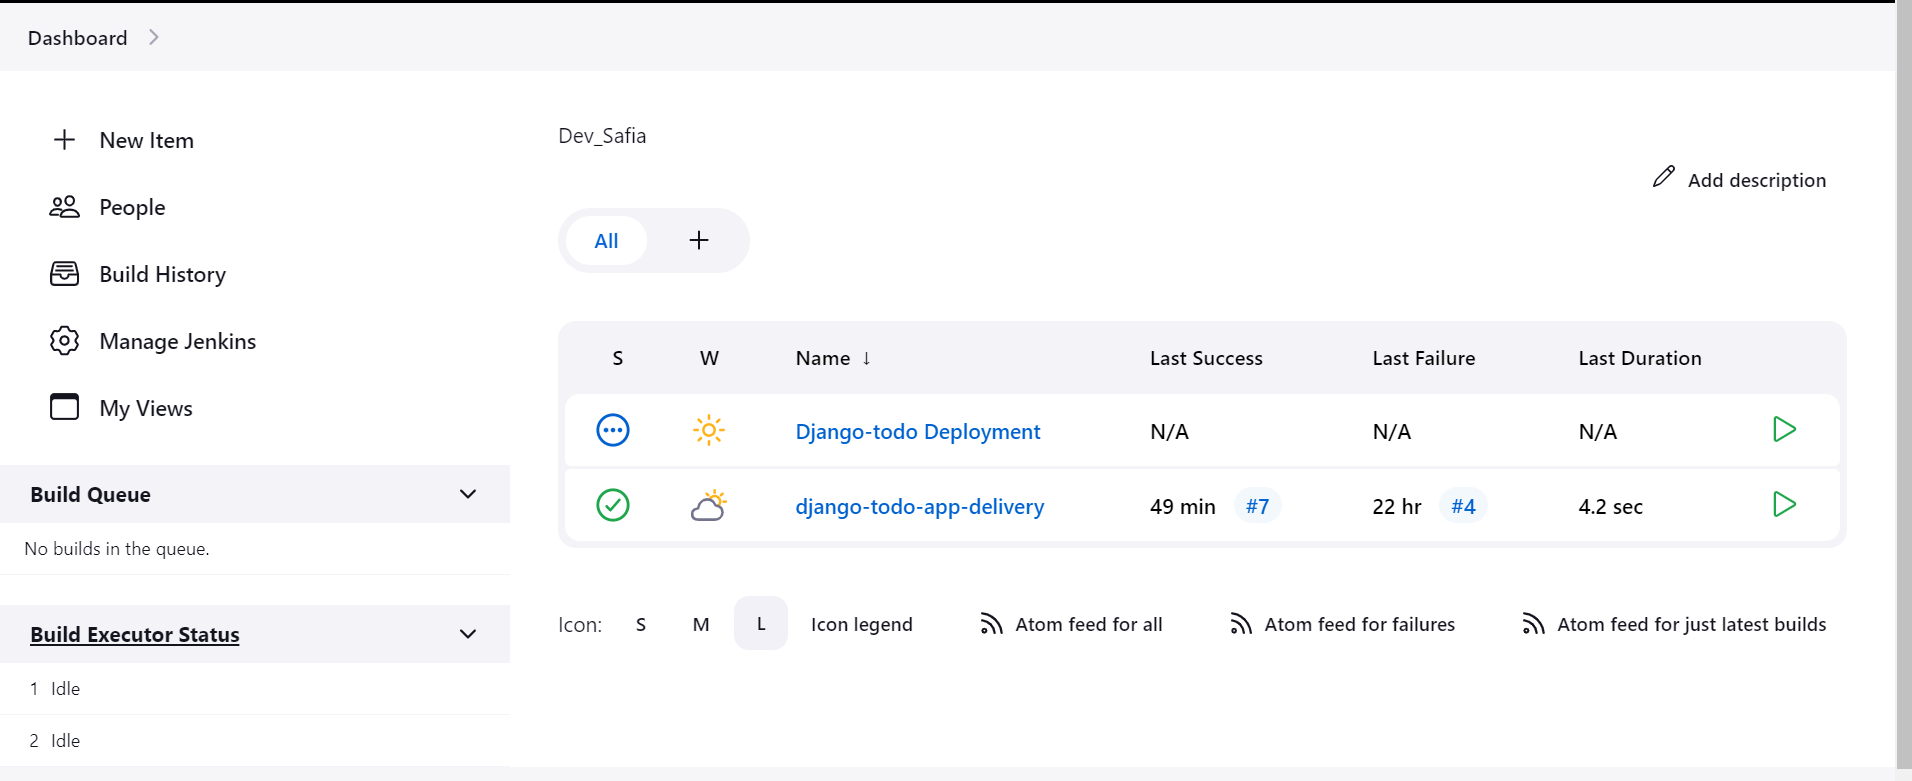
First, you create a webhook
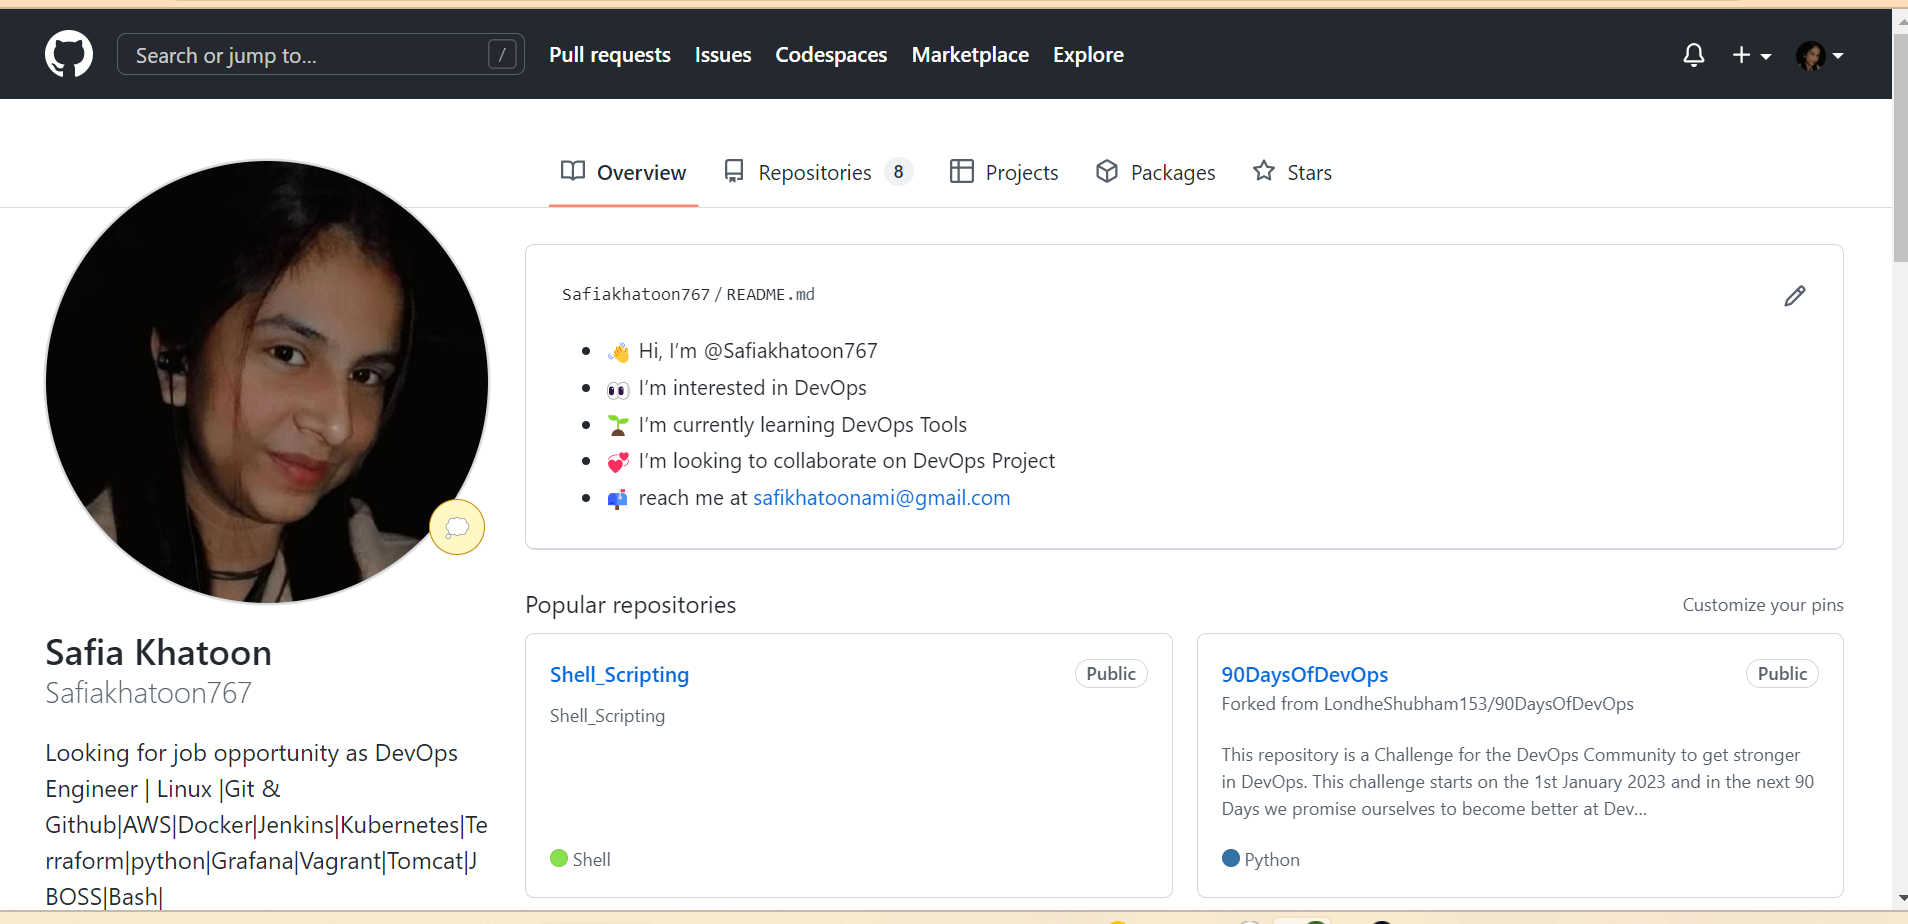
step 1:
go to your GitHub
step :2 Go to your repo
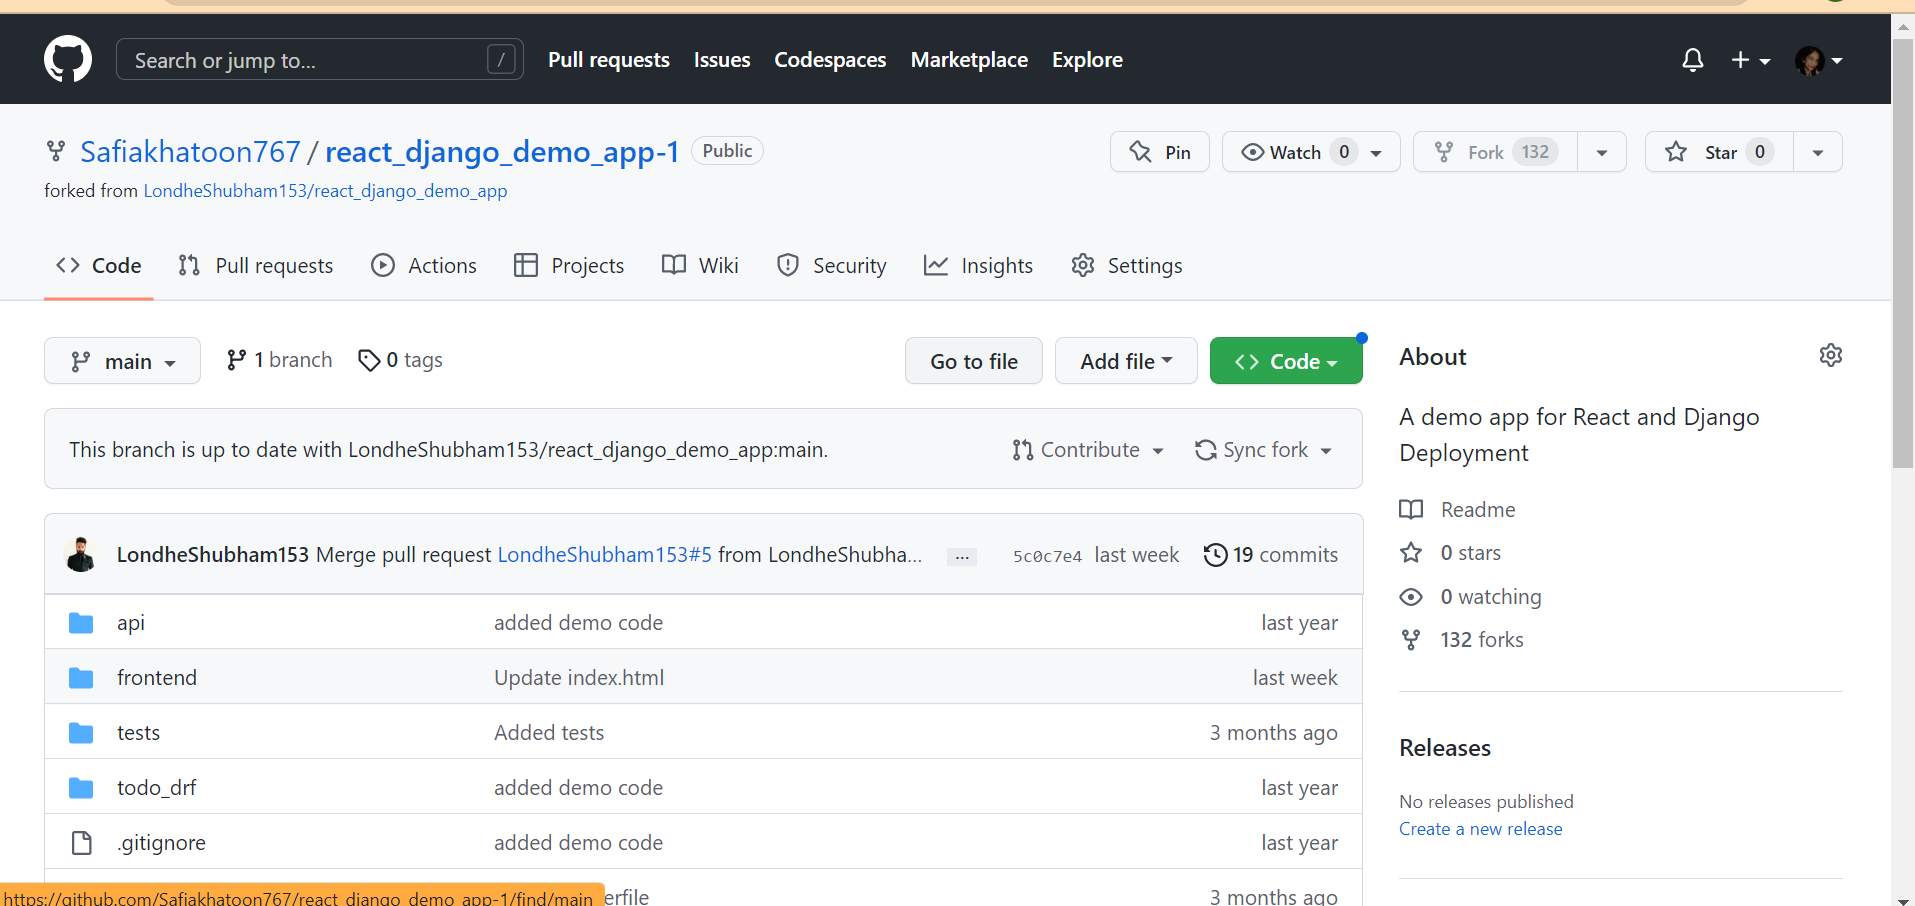
step :3 go to repo setting and then webhook and add webhook

step:4 copy your Jenkins server IP

very important-steps:
make sure your Jenkins is restarted
and Jenkins port is accessible anywhere
in jenkins github integration plugging is installed
step:5 and paste it here
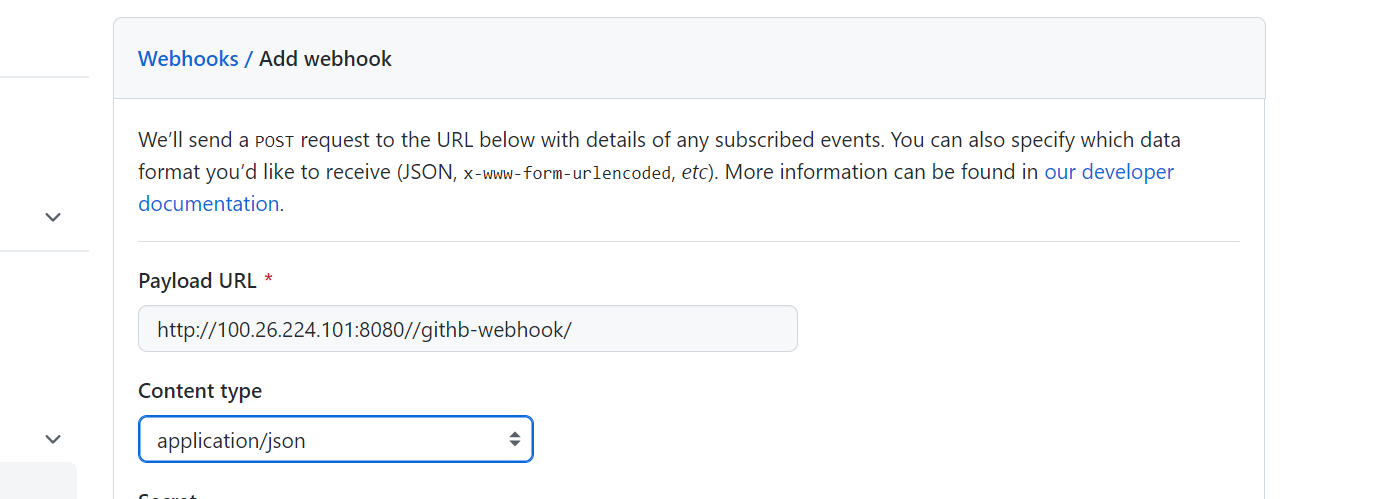
step:6 add webhook
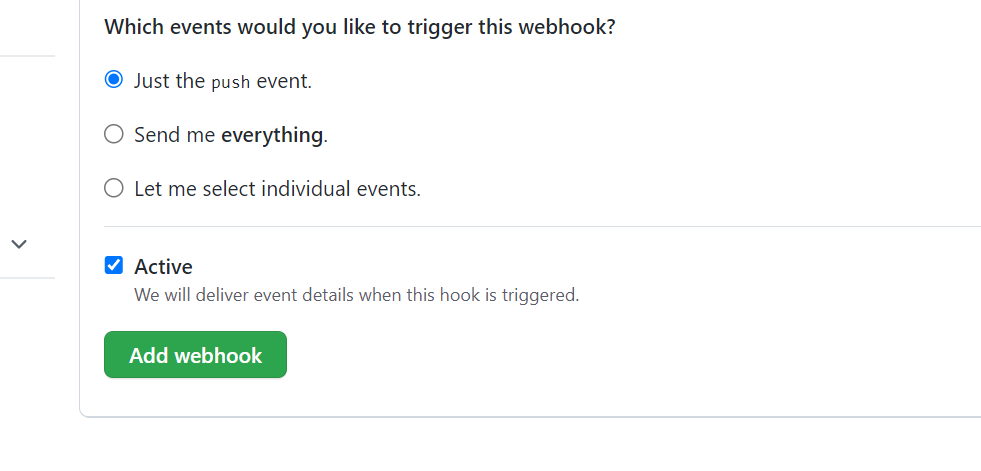
step:7

make sure there is a tick otherwise, your webhook is not connected
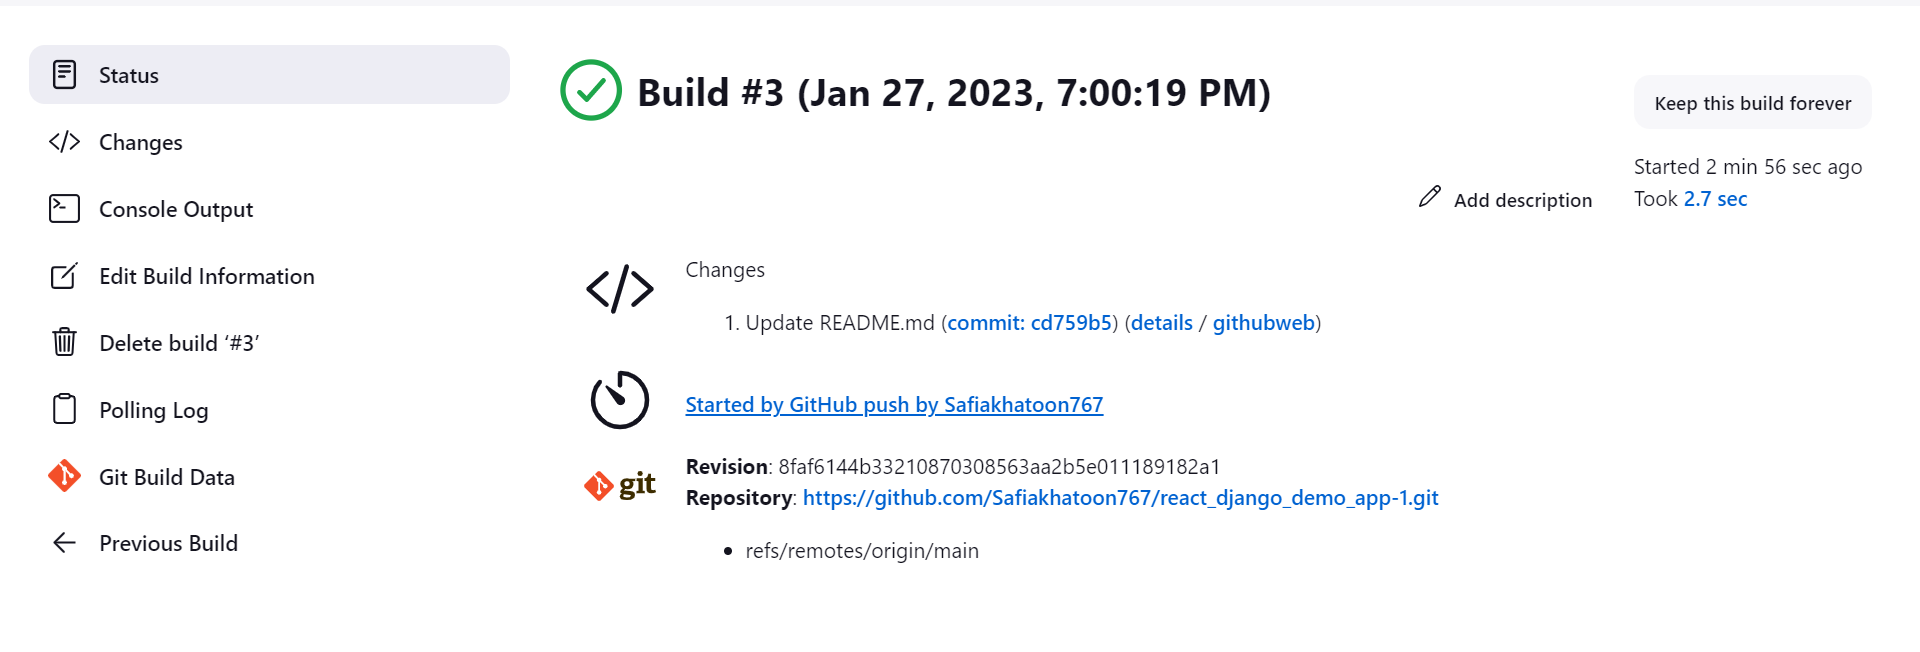
And when it will be connected, then go to the readme file of your Gib and make some changes.and then commit chnages
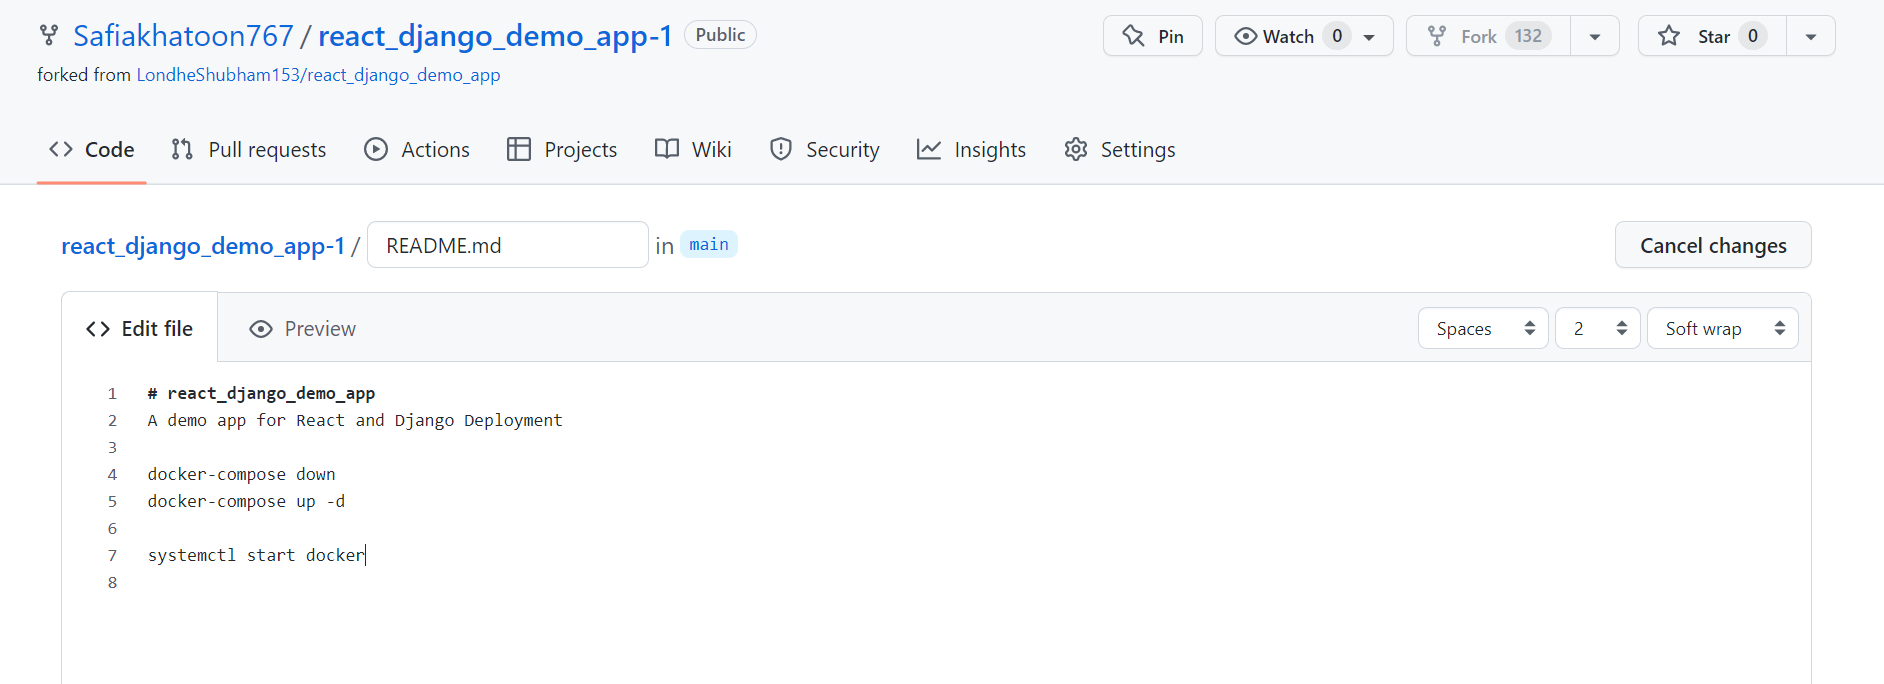
propose changes

create pull request

merge pull request
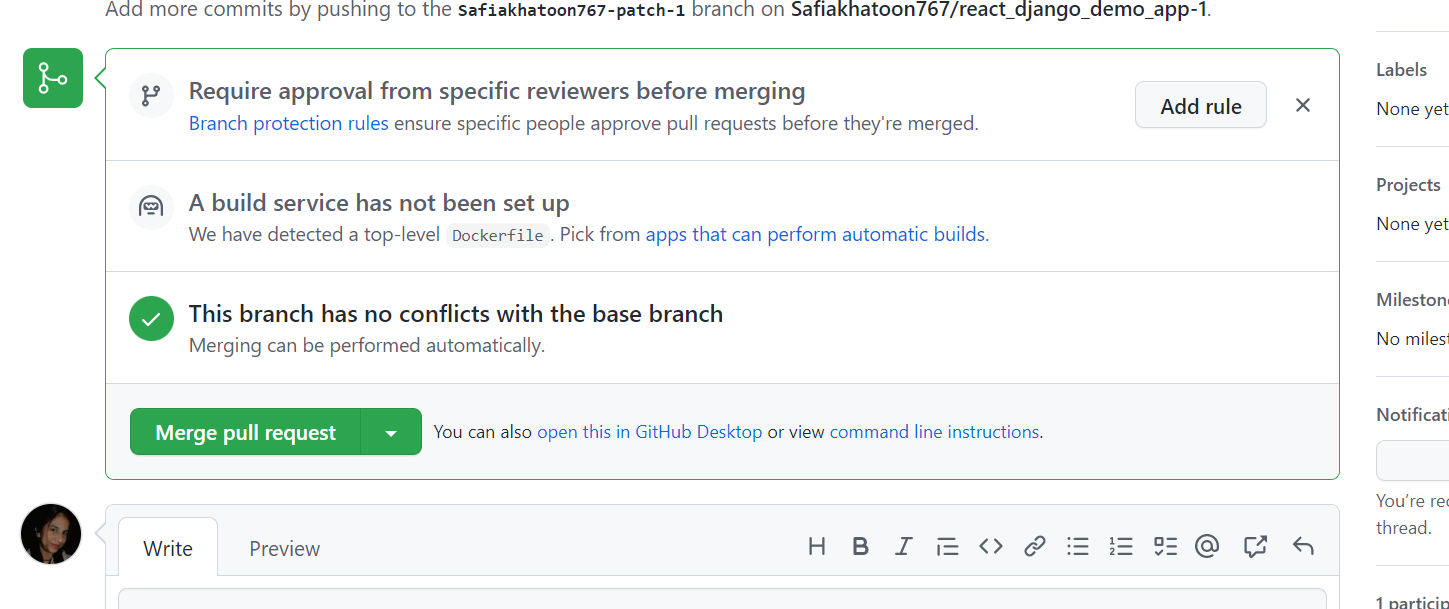
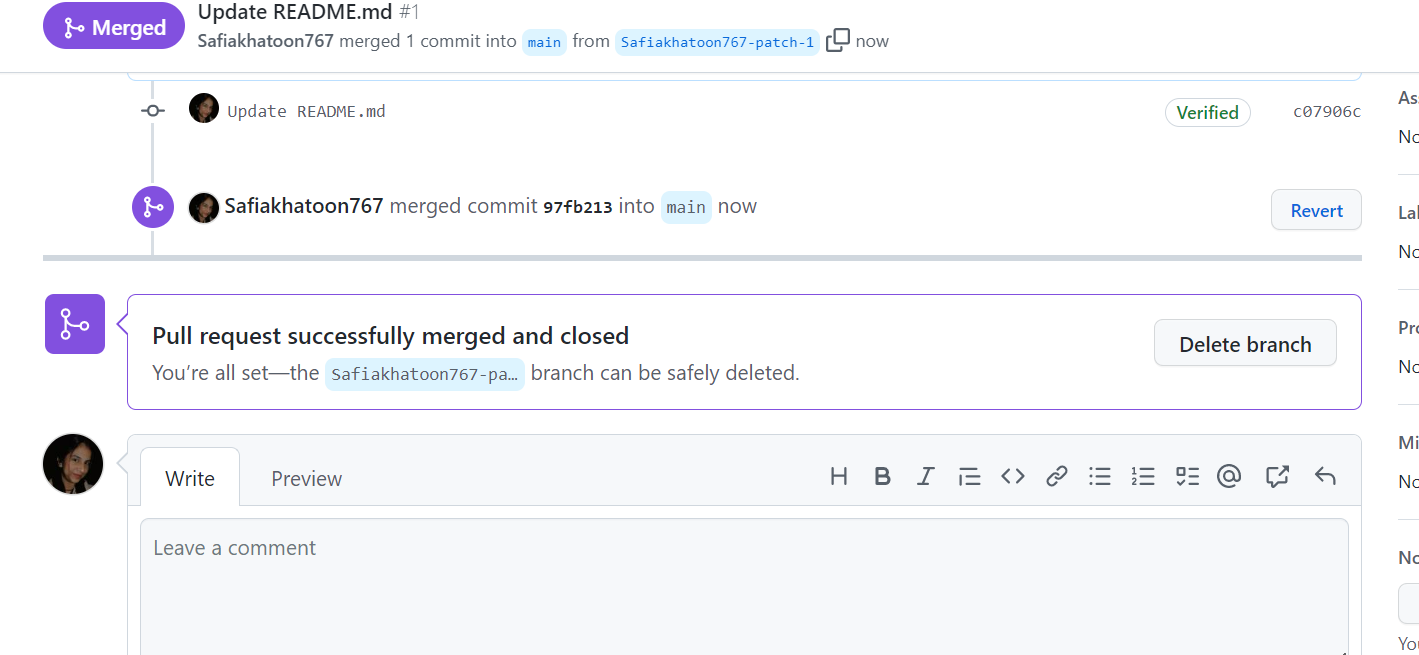
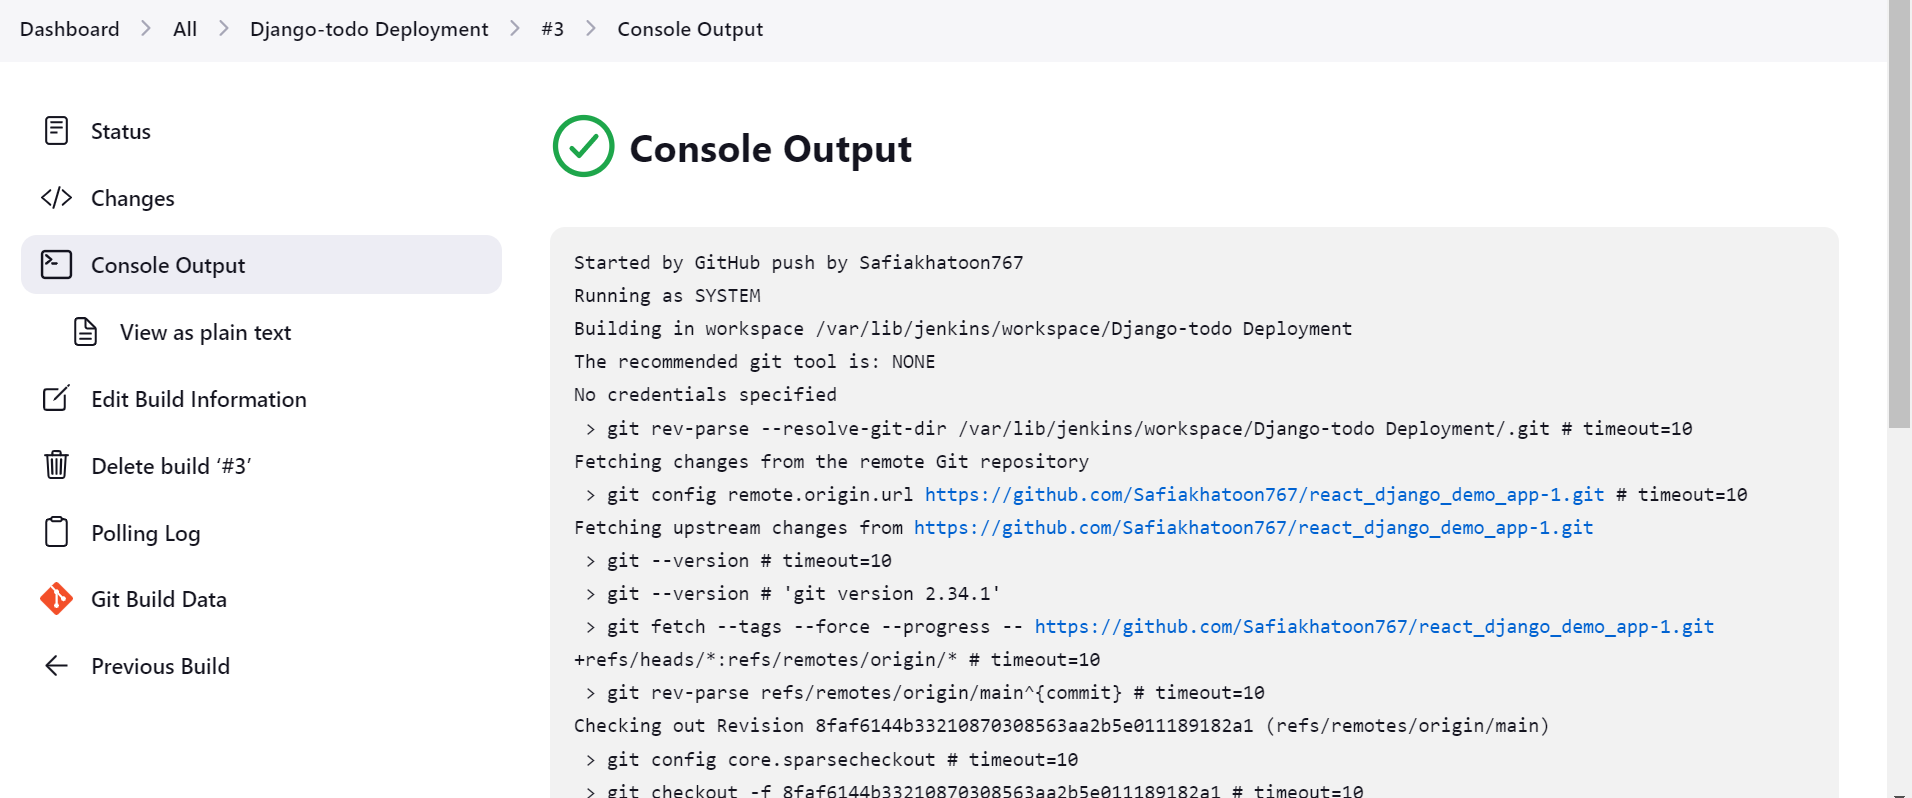
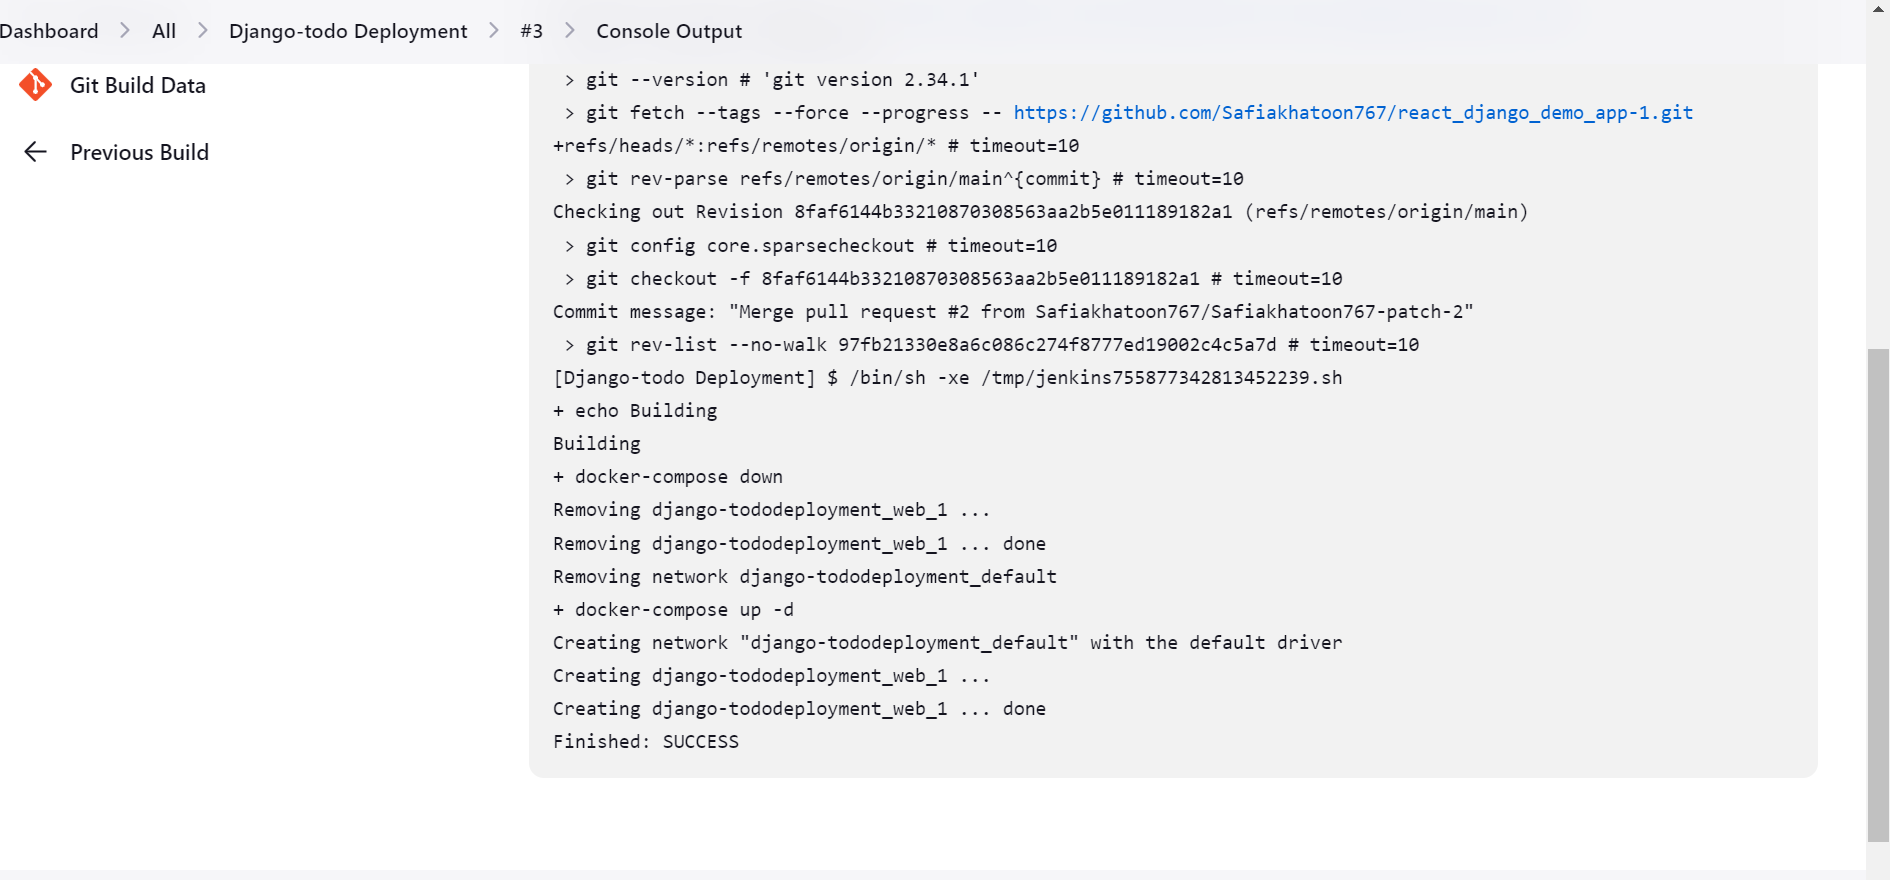
Pipeline will be automatically created as soon as you merge
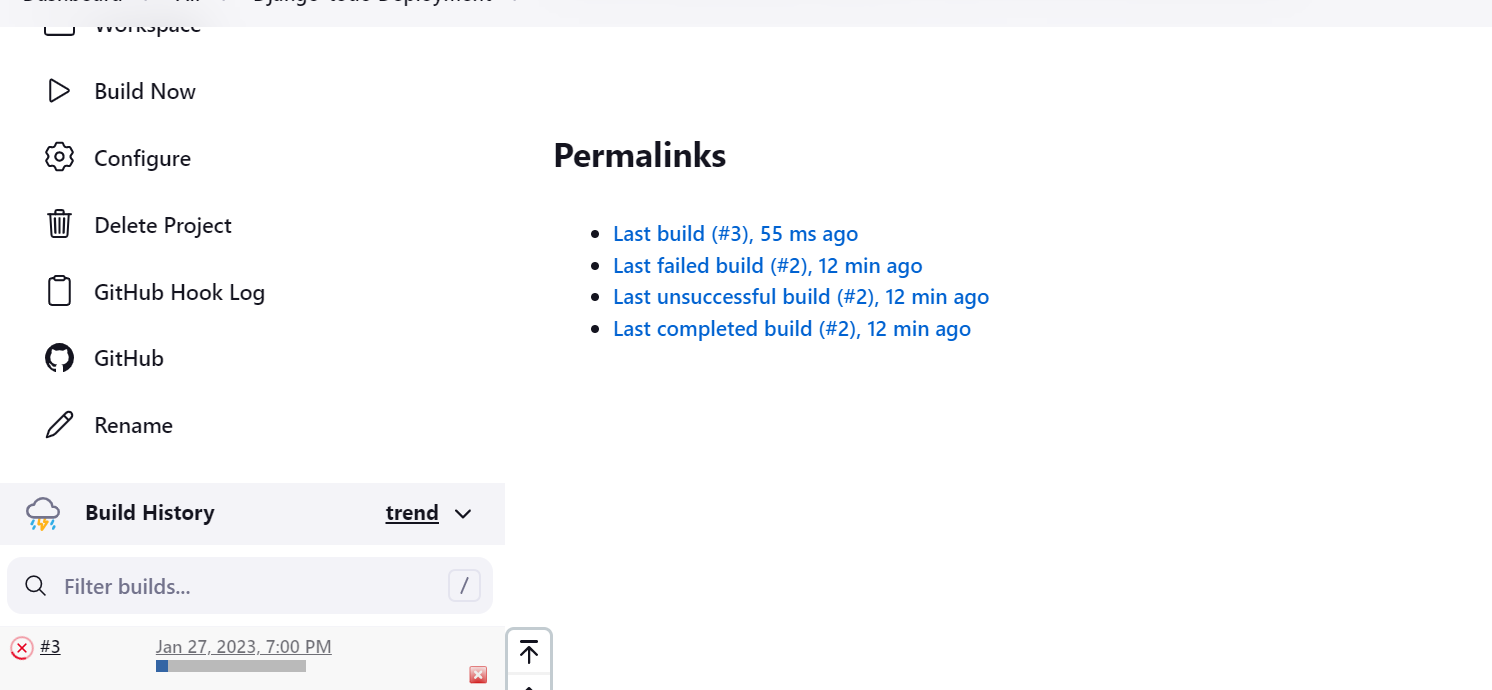

PROJECT 3 (USING Declarative PIPELINE)
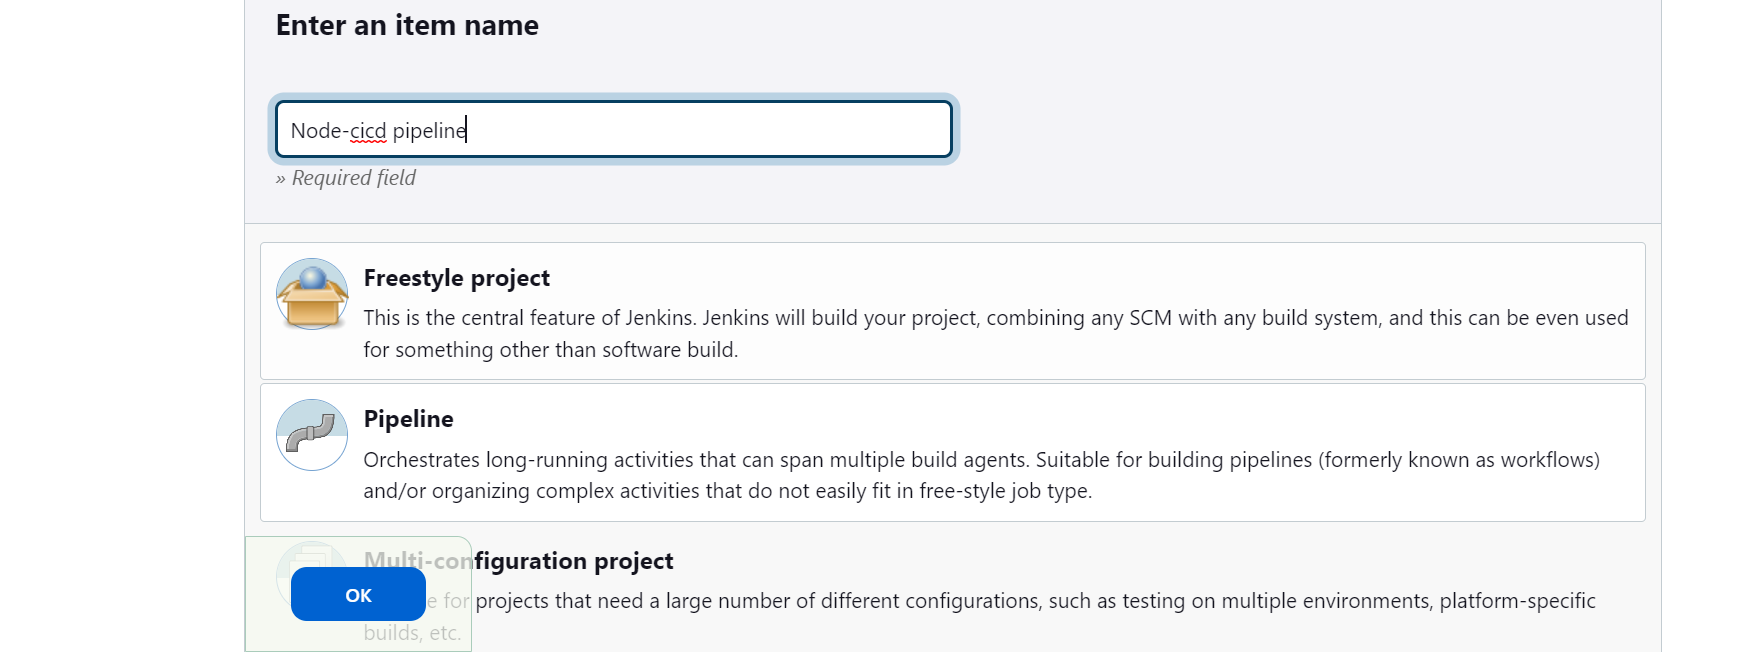
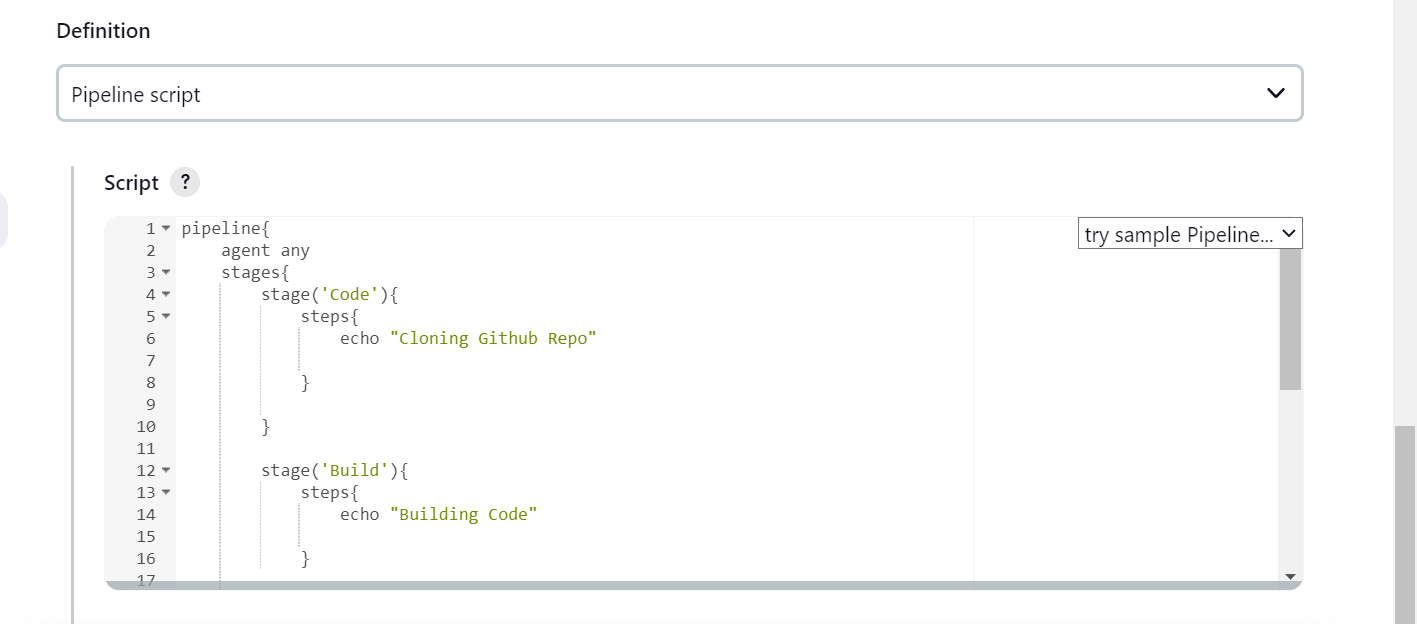
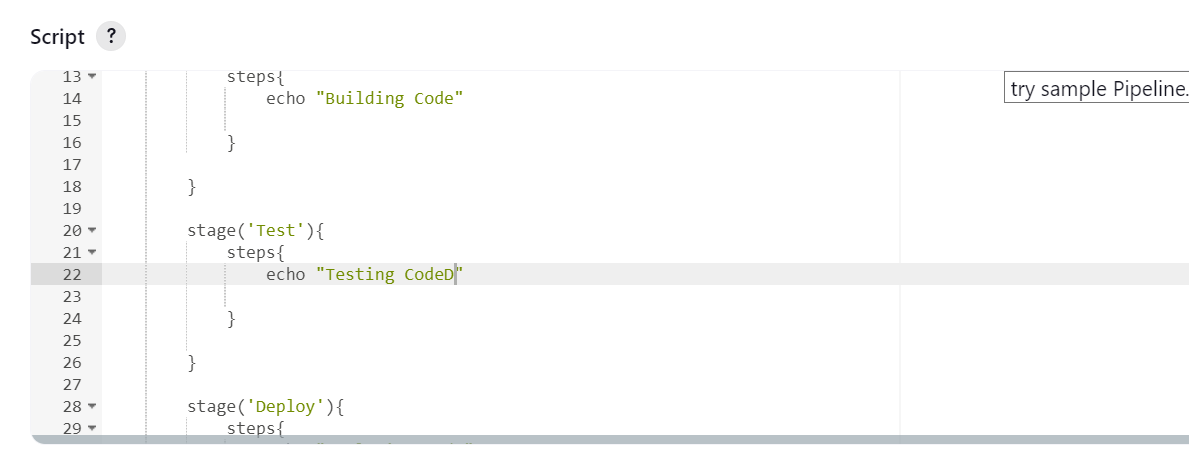
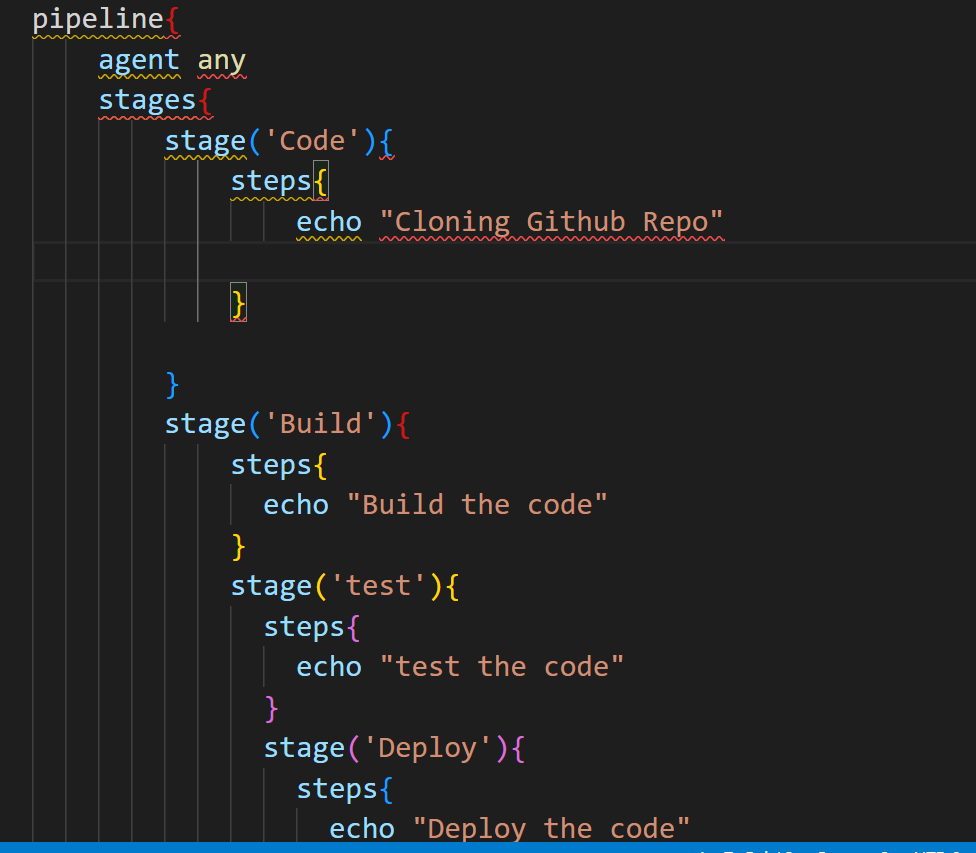
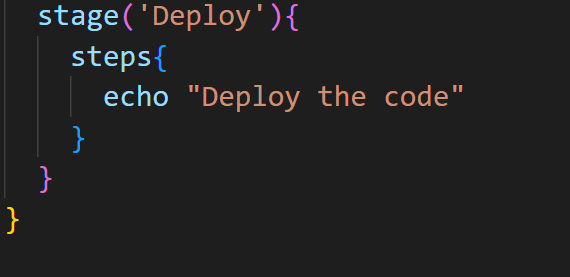
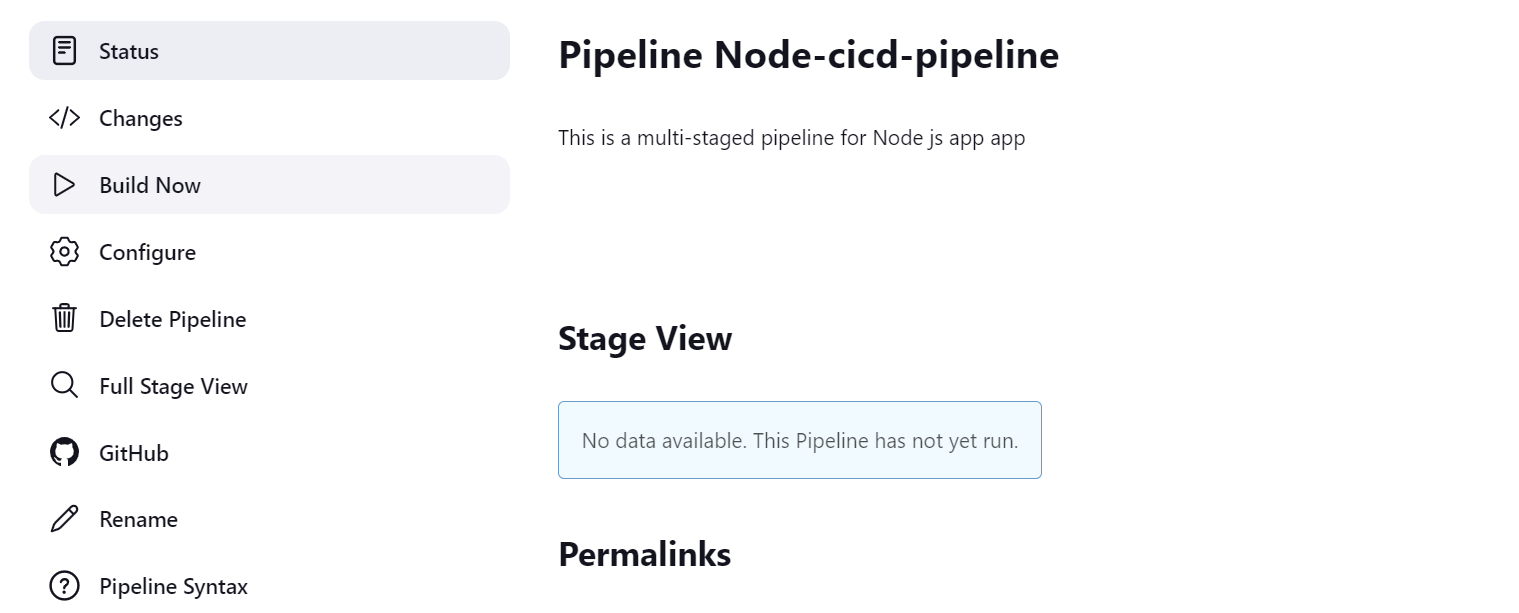
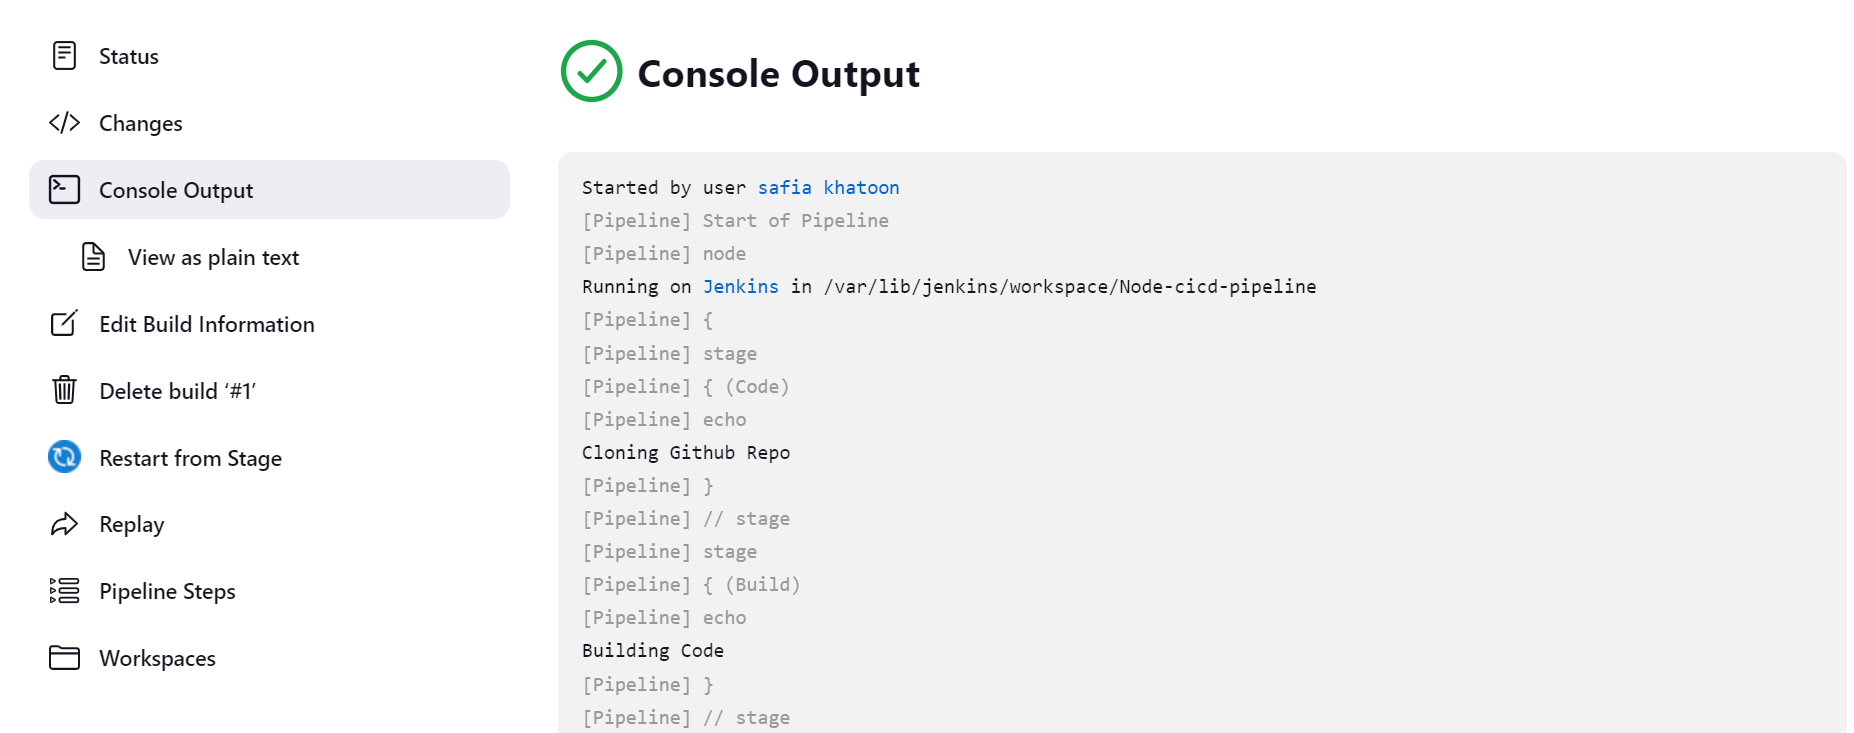
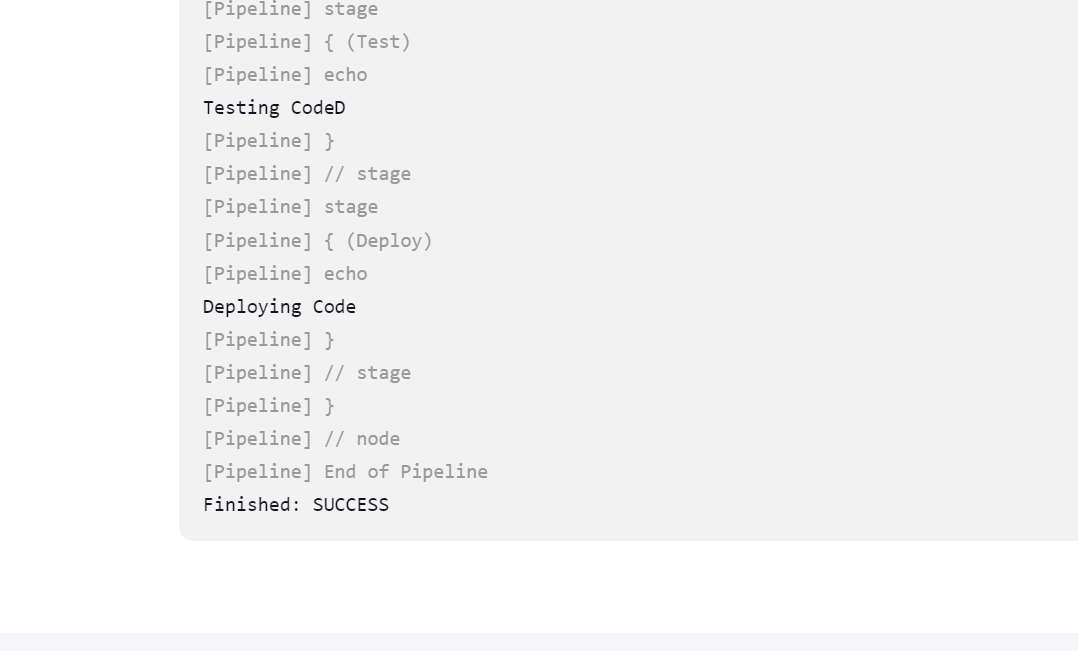
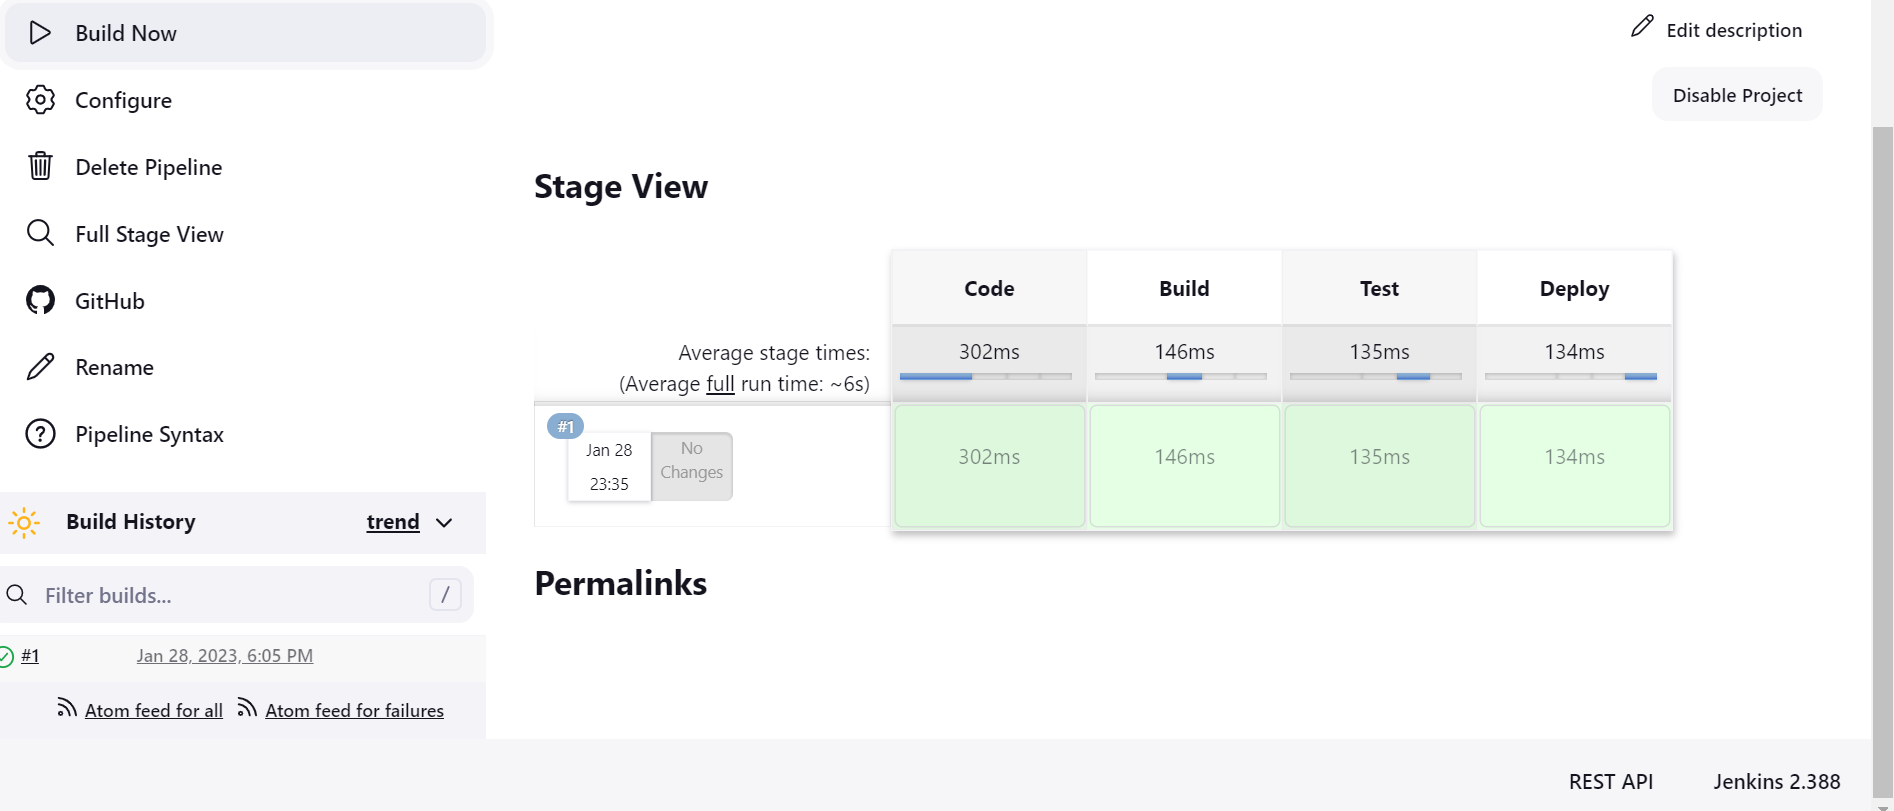
the pipeline is nothing it is a stage to doing work stage 1 is building the coding stage 2 is testing the code step 3 deploys the code.
step :1
step:2
copy code from your repo
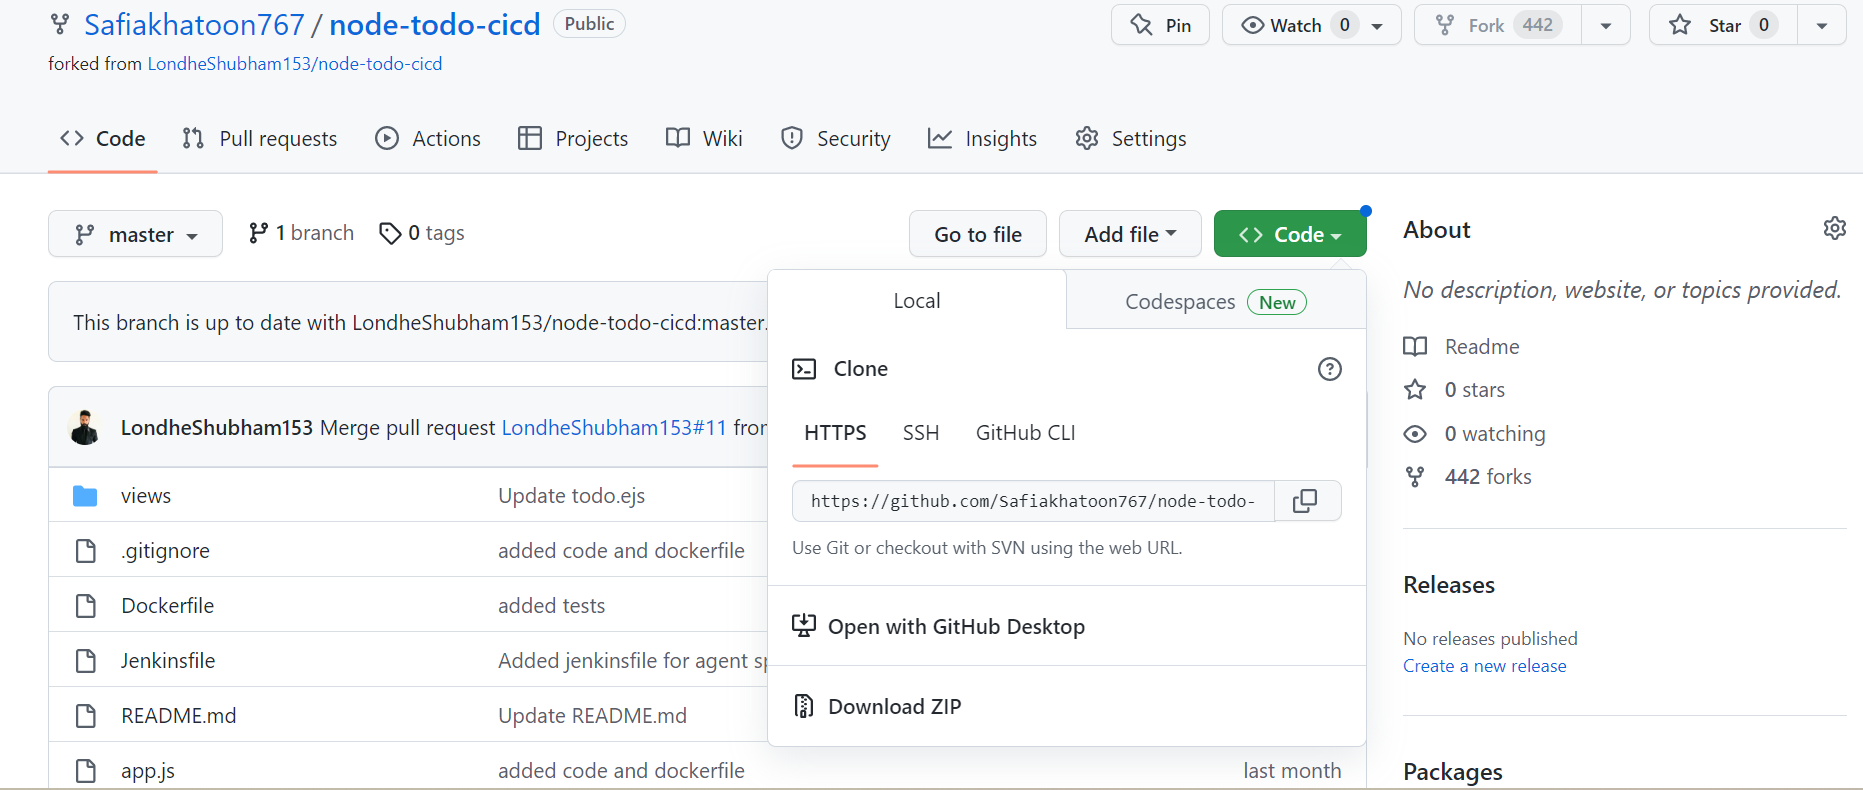
step:3
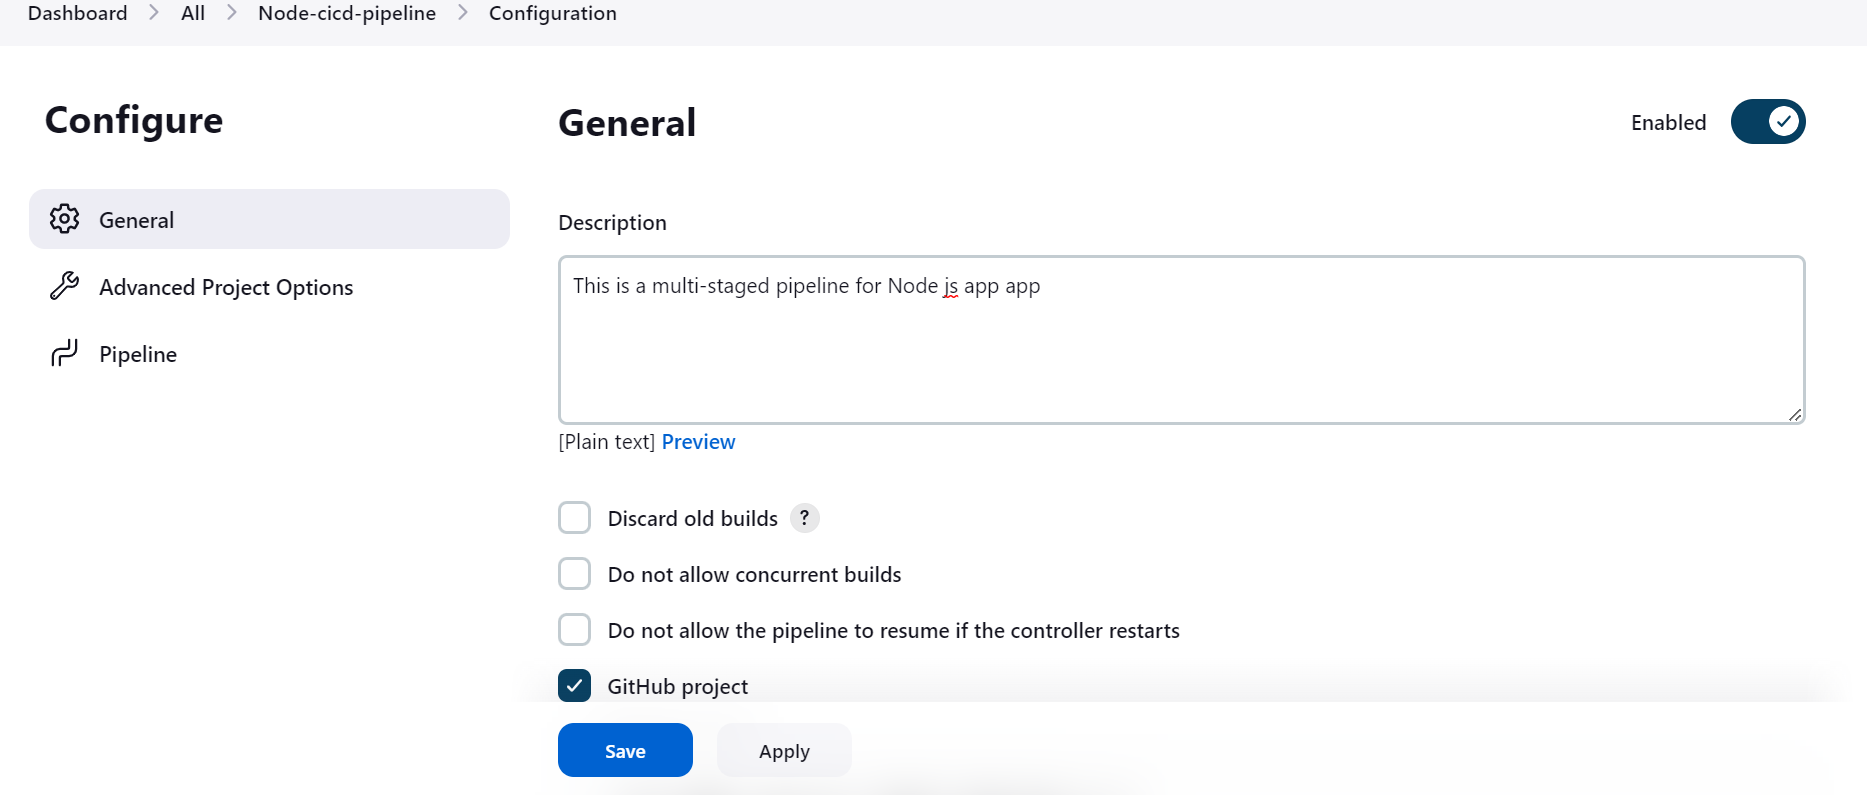
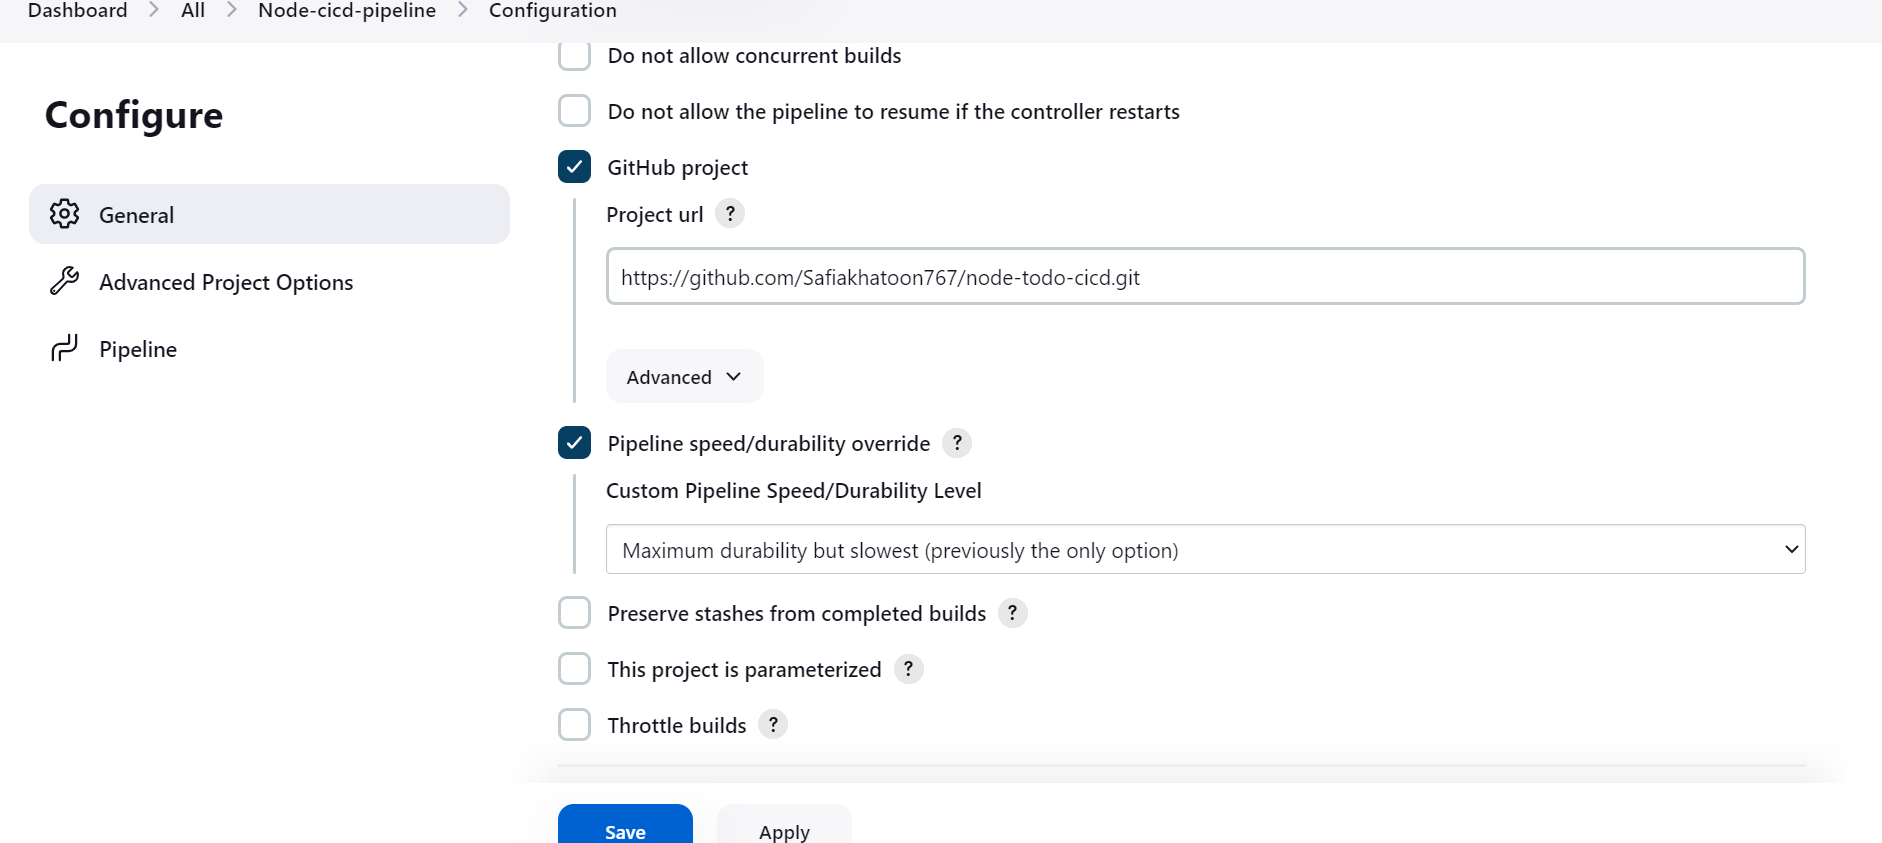
what is an agent?
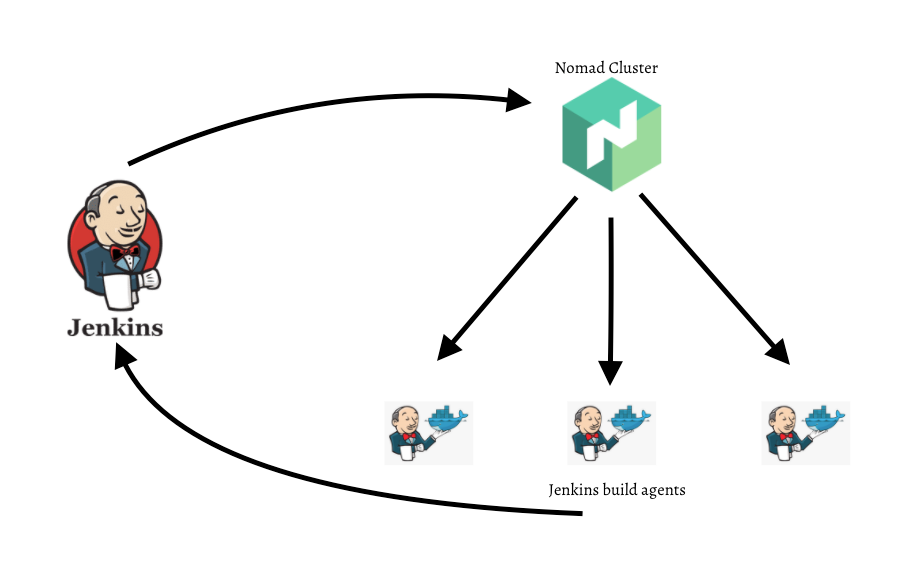
an agent is typically a machine, or container, which connects to a Jenkins controller and executes tasks when directed by the controller.
what are stages?
stages are nothing it is a step to doing things.

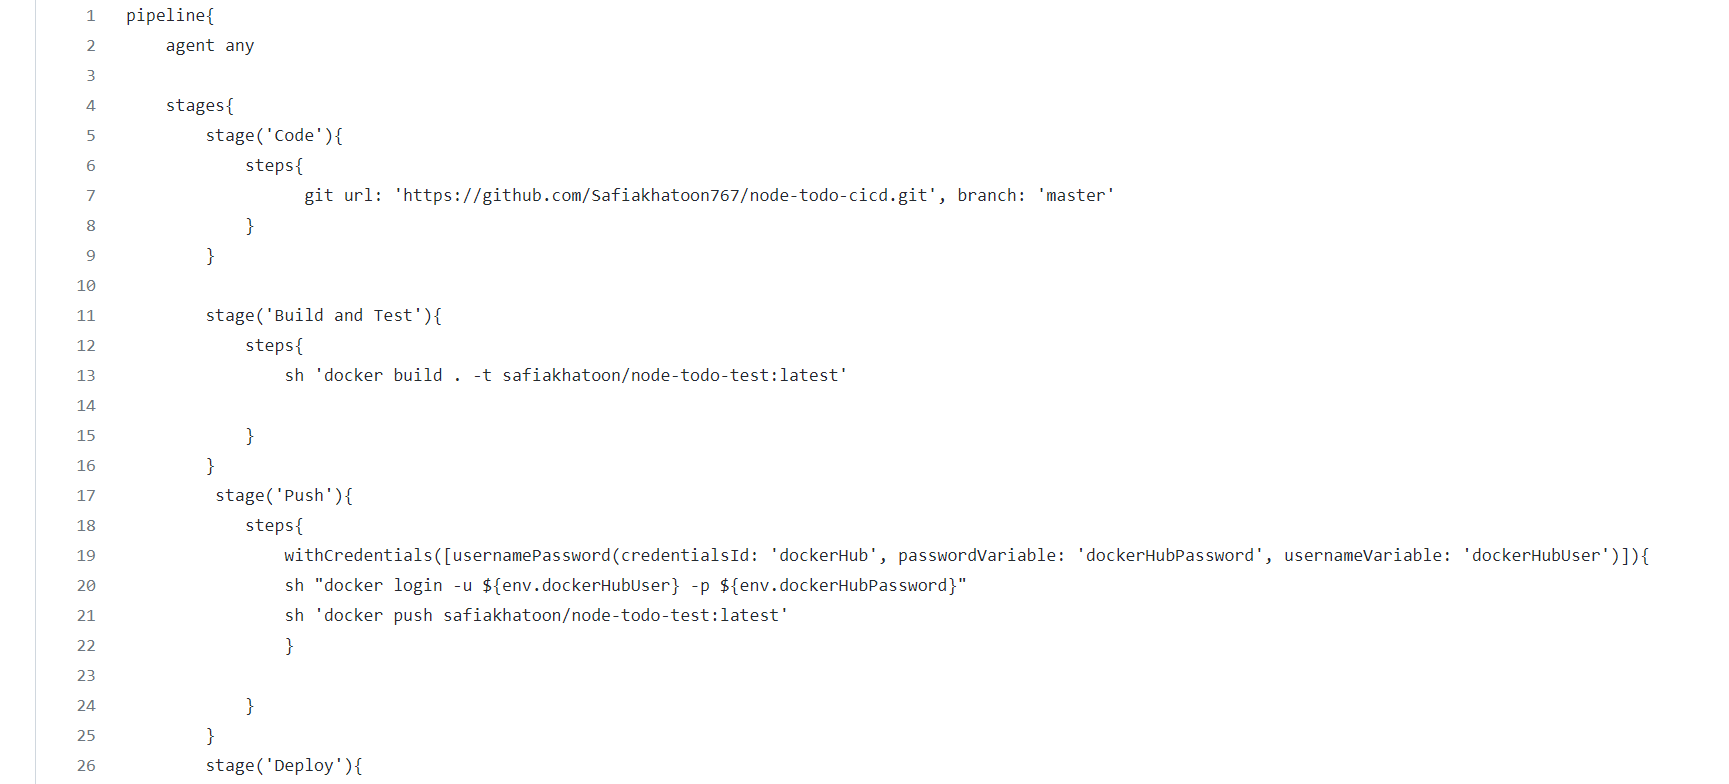
it's a groovy syntax(code)

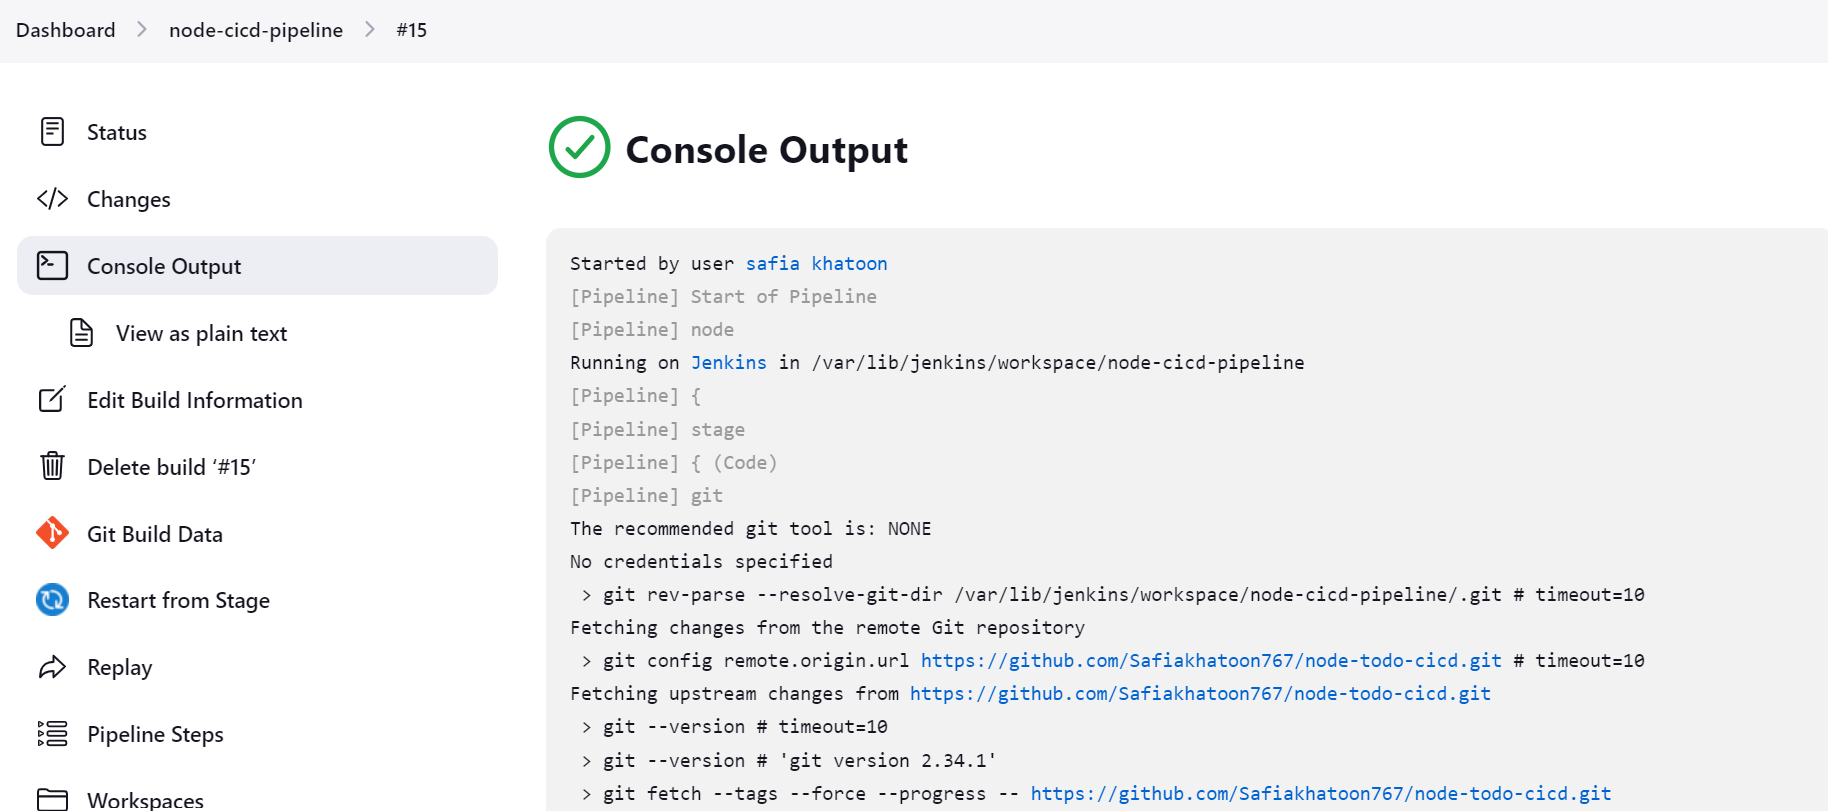
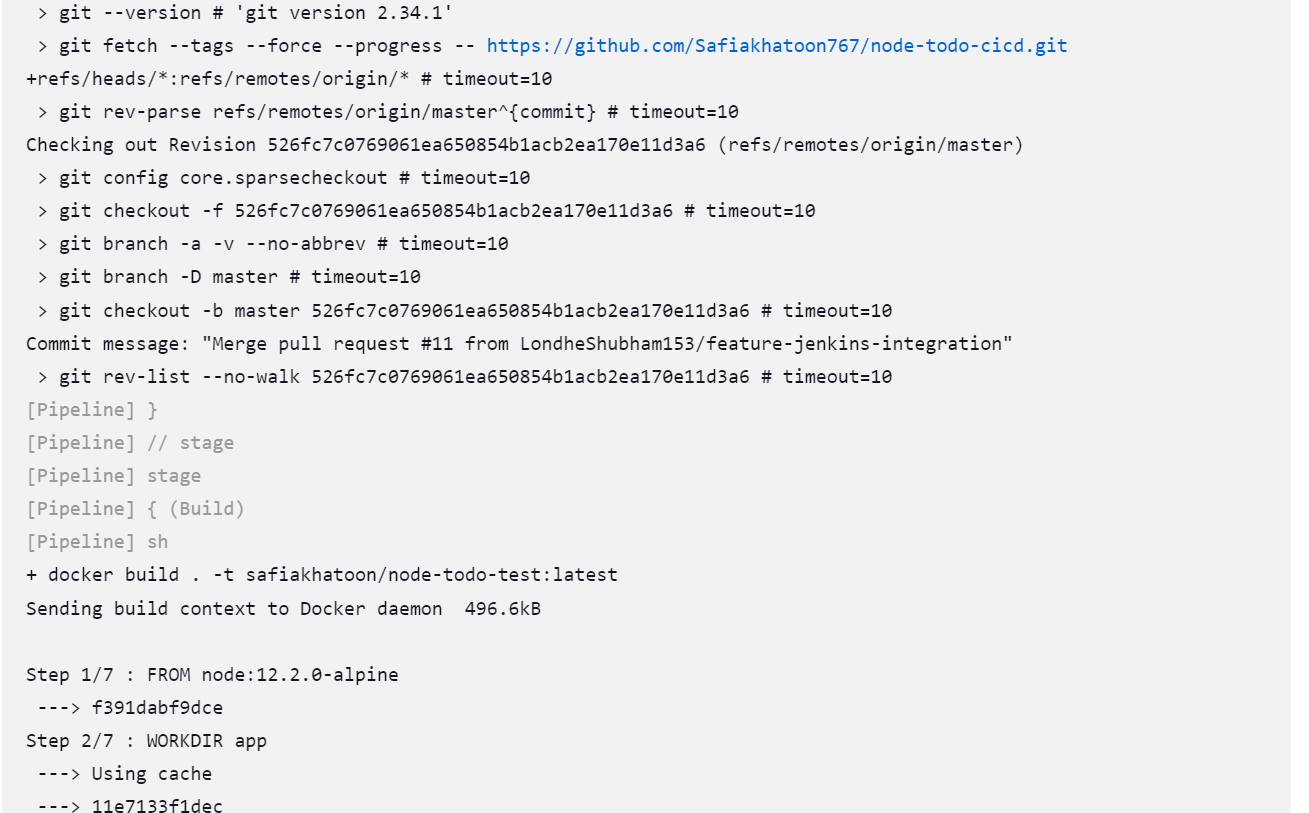
Step:4 (Click Build Now)

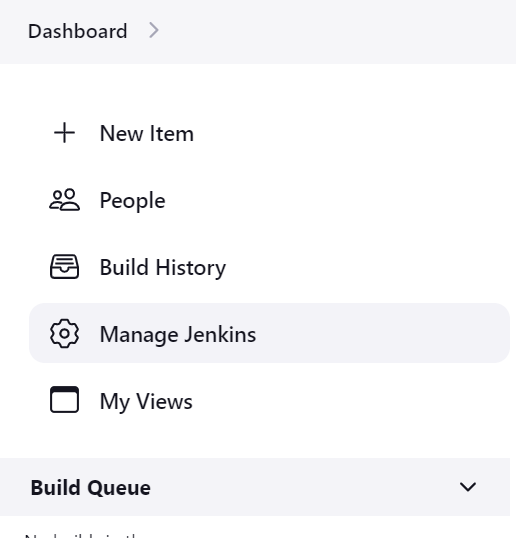

go to global
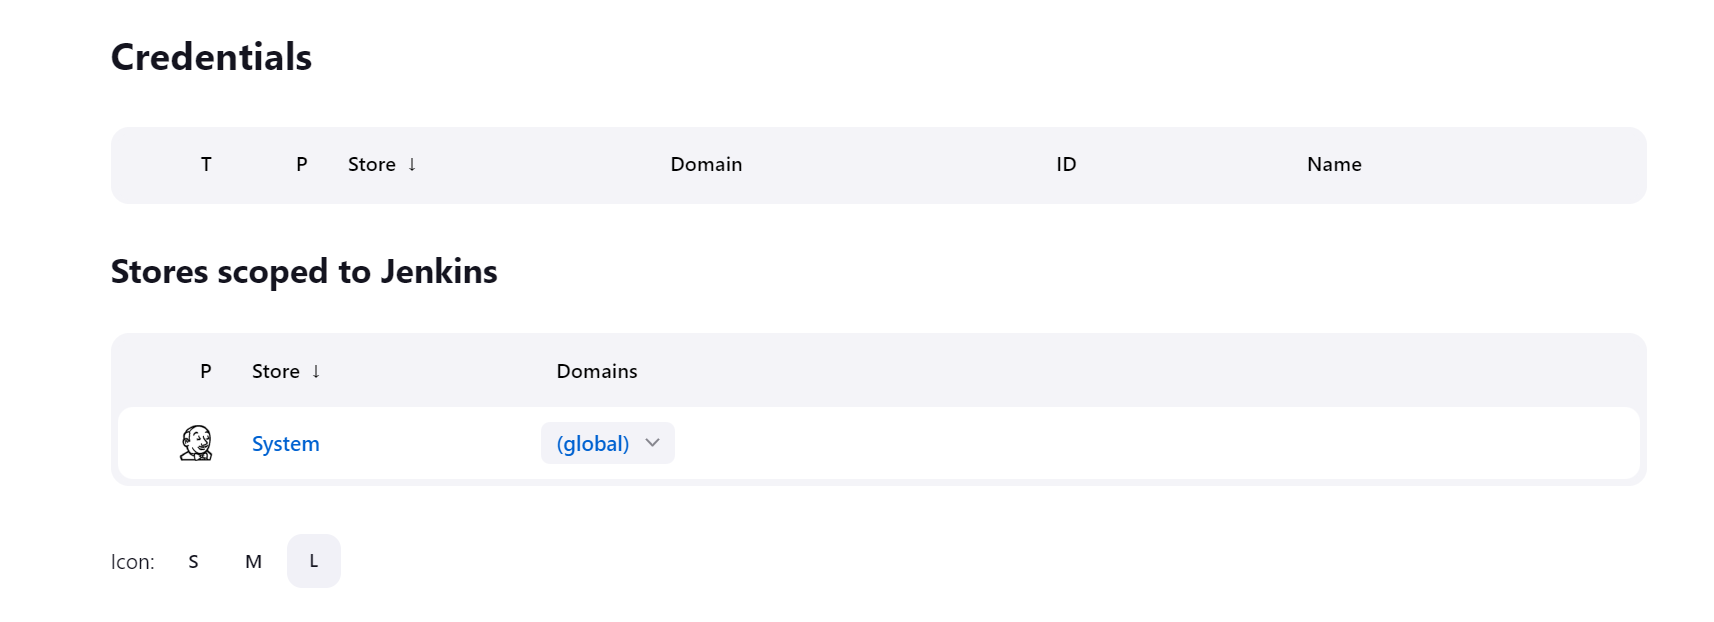
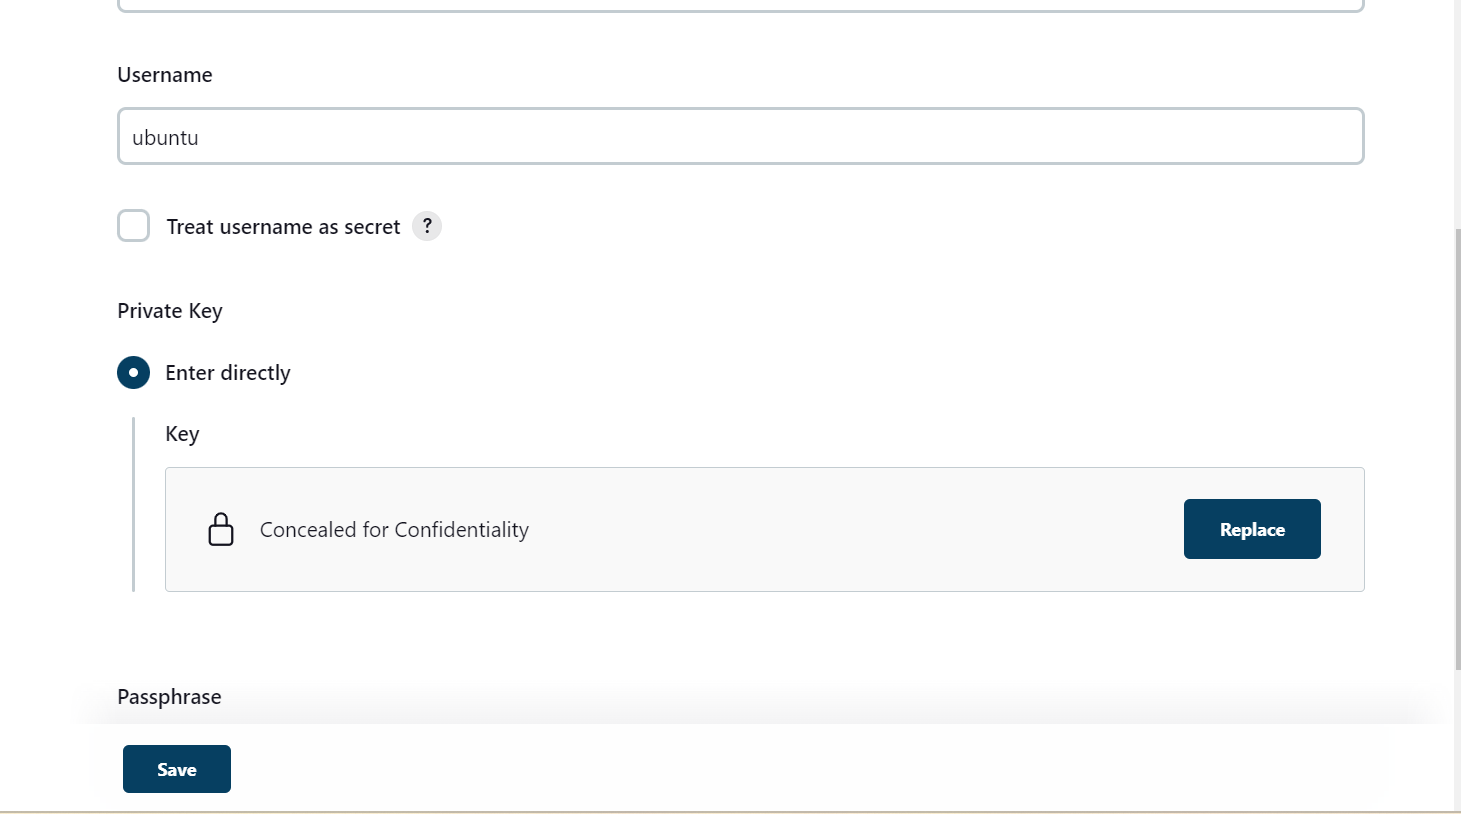
add credential

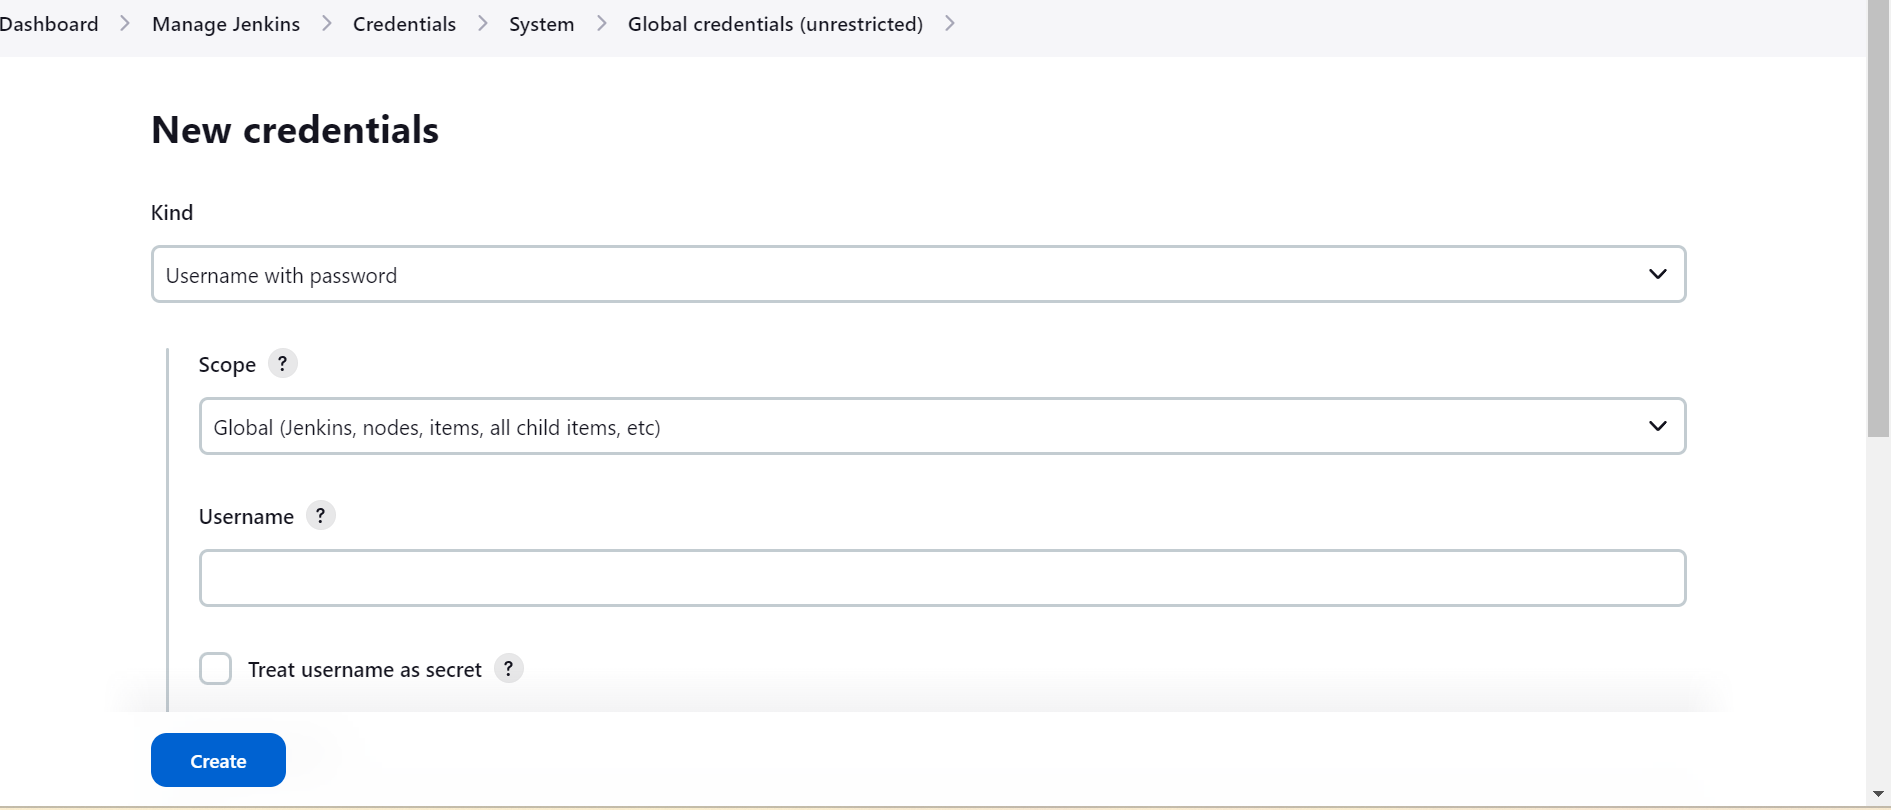
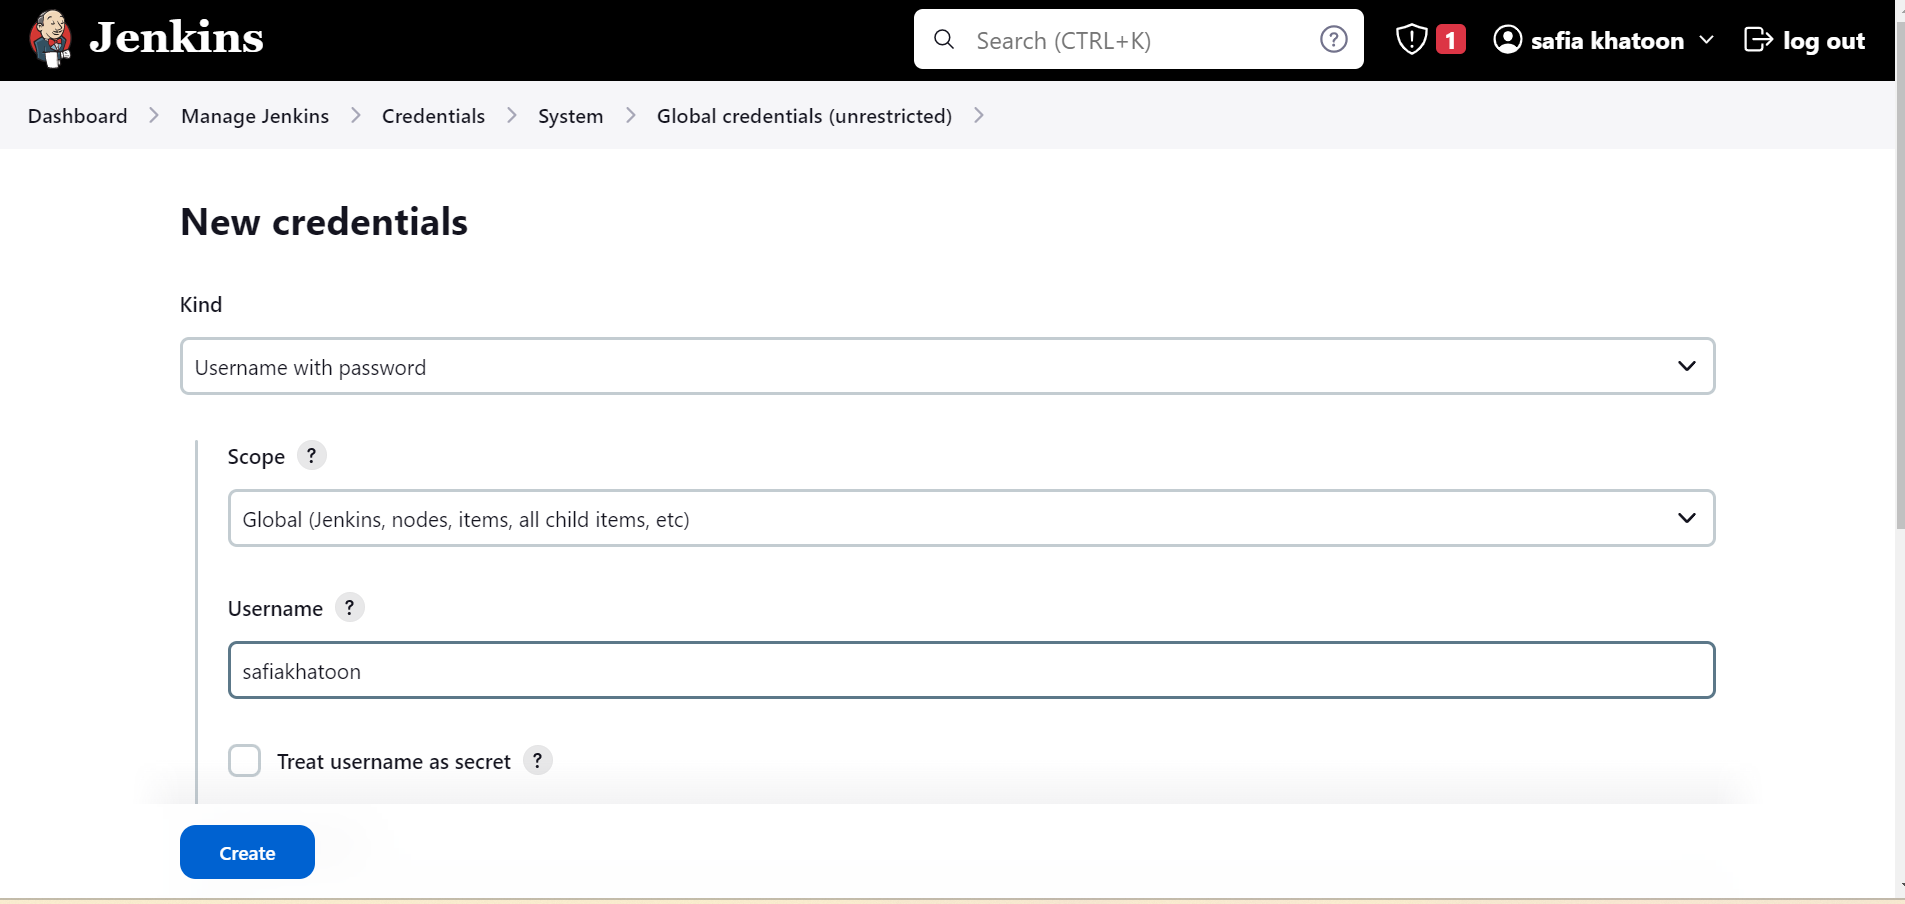


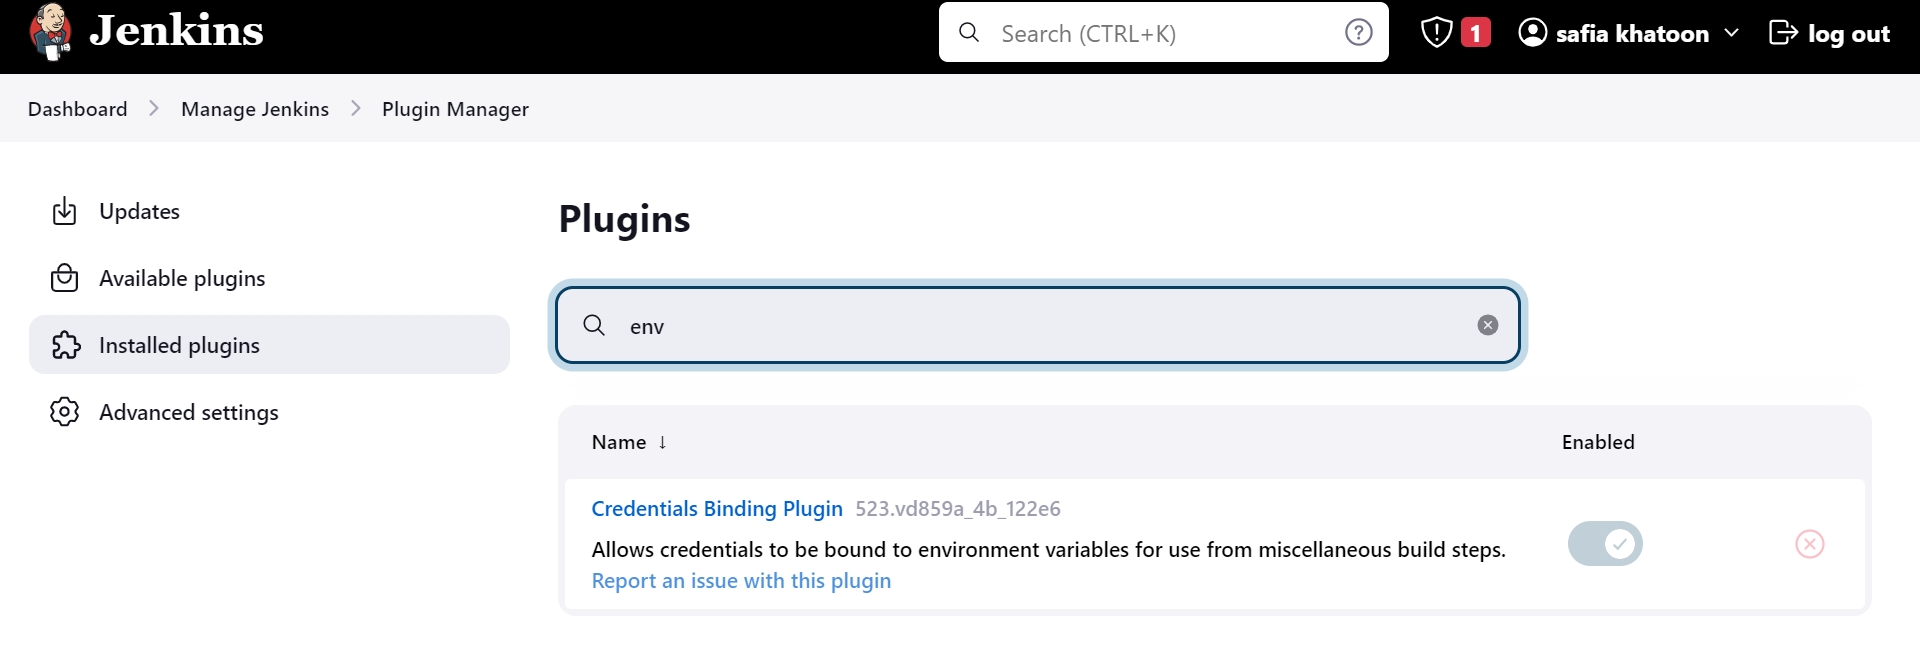
make sure you install the credentials binding plugin
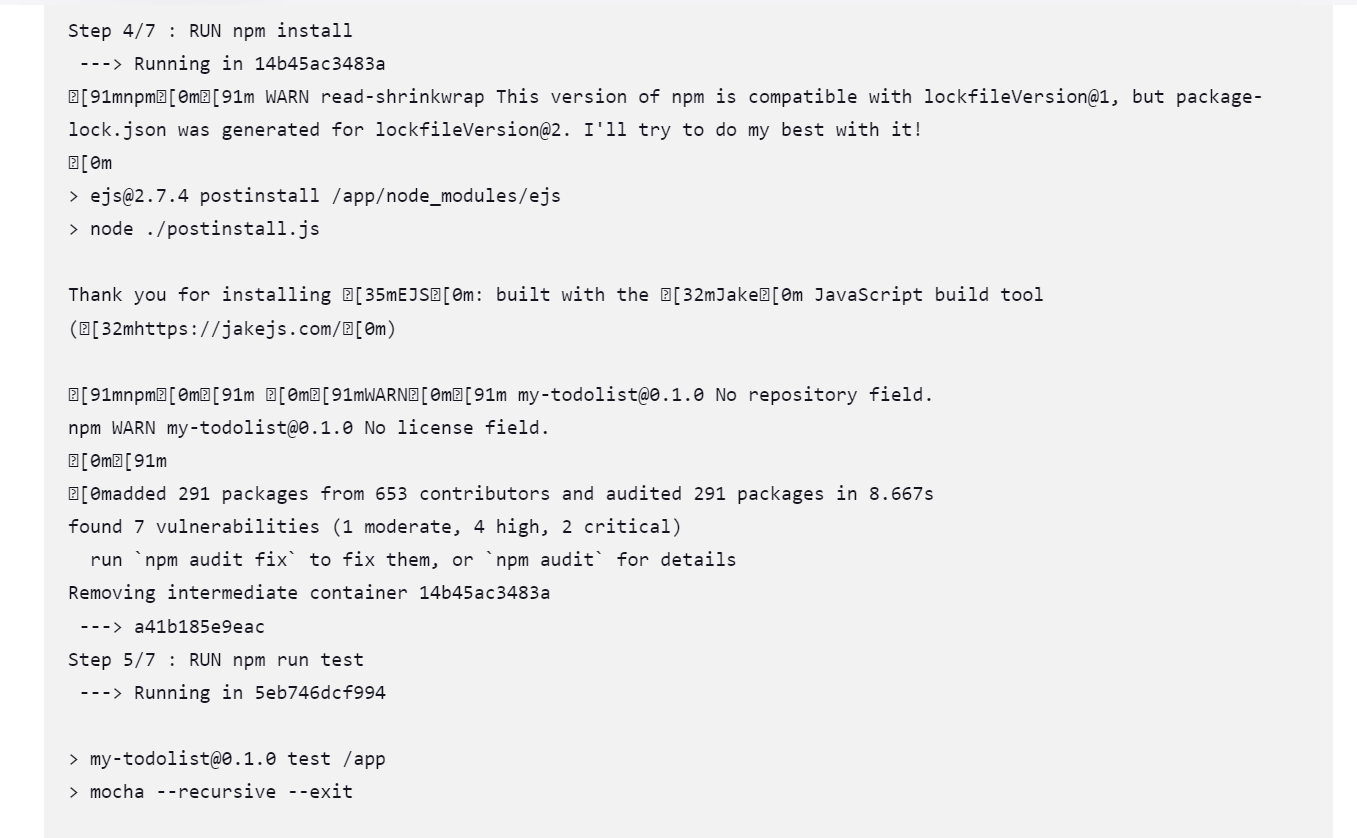
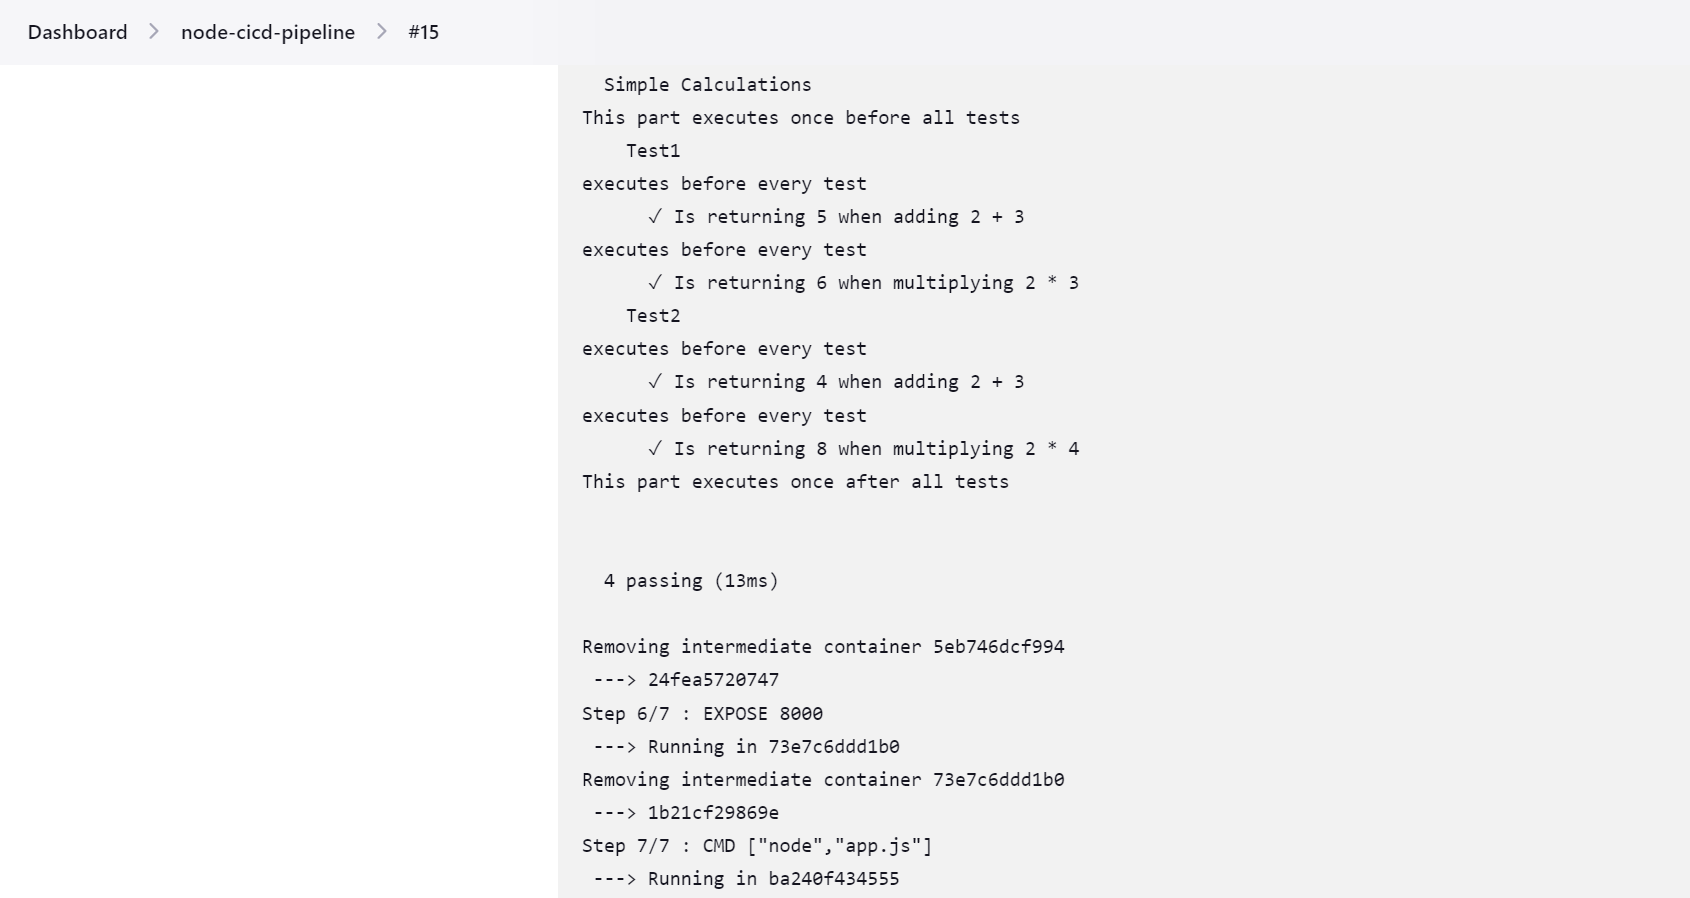
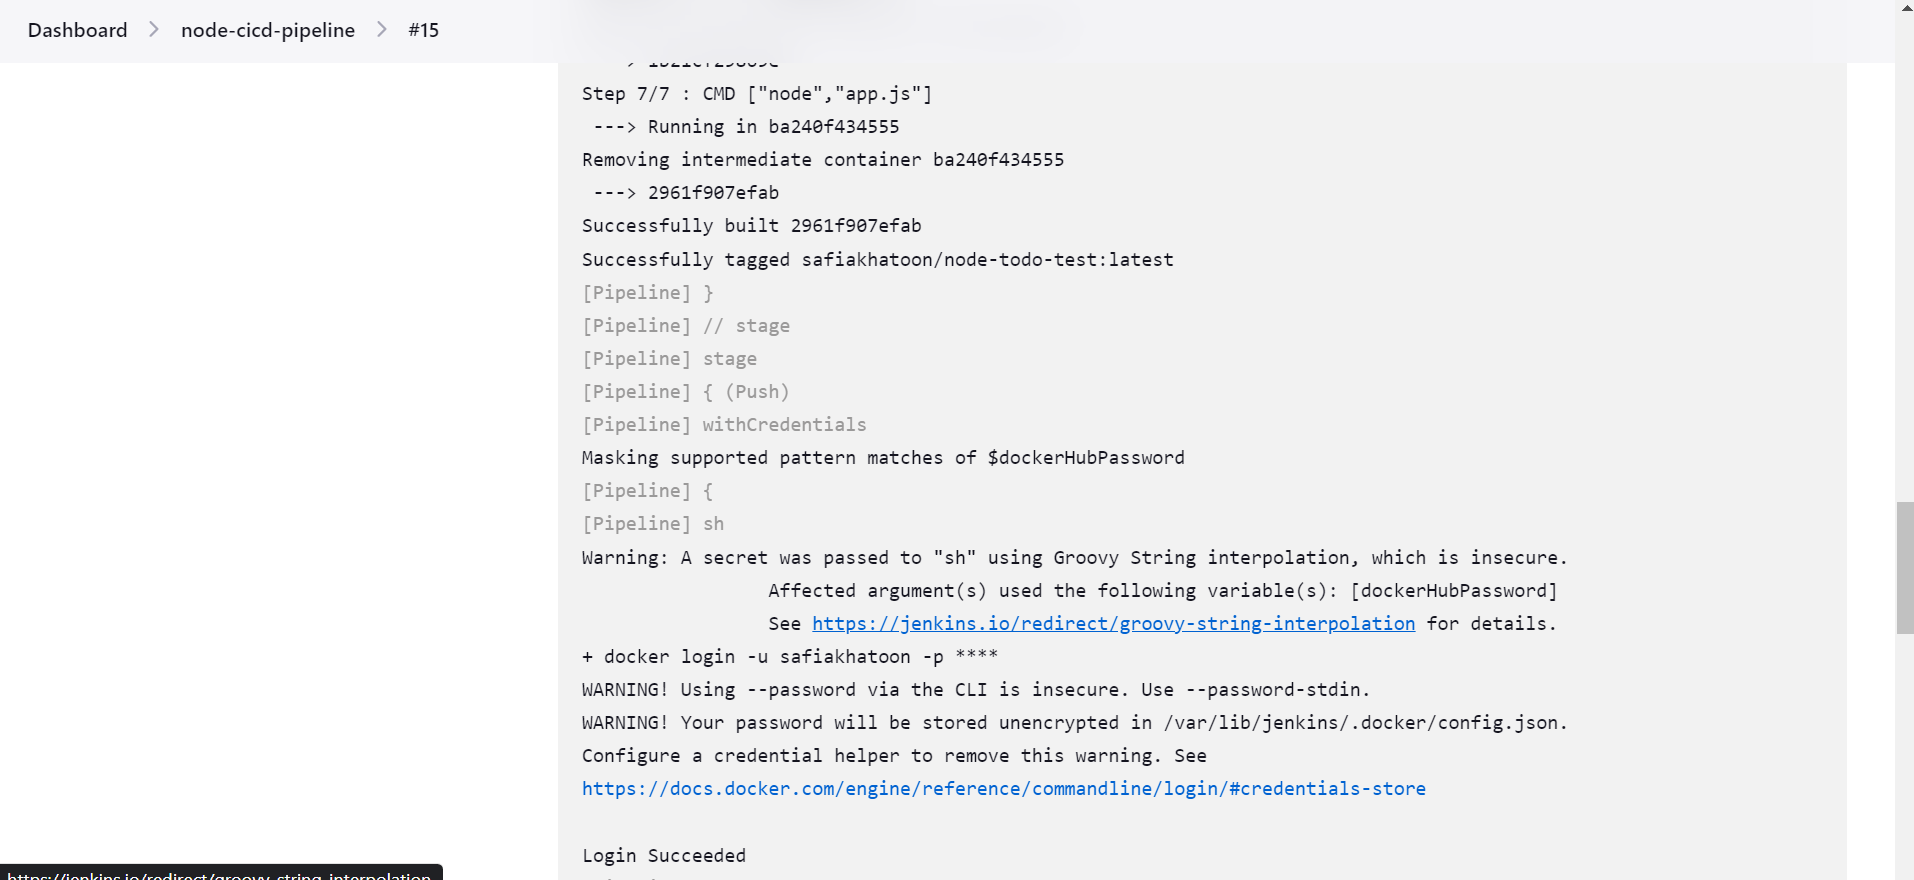
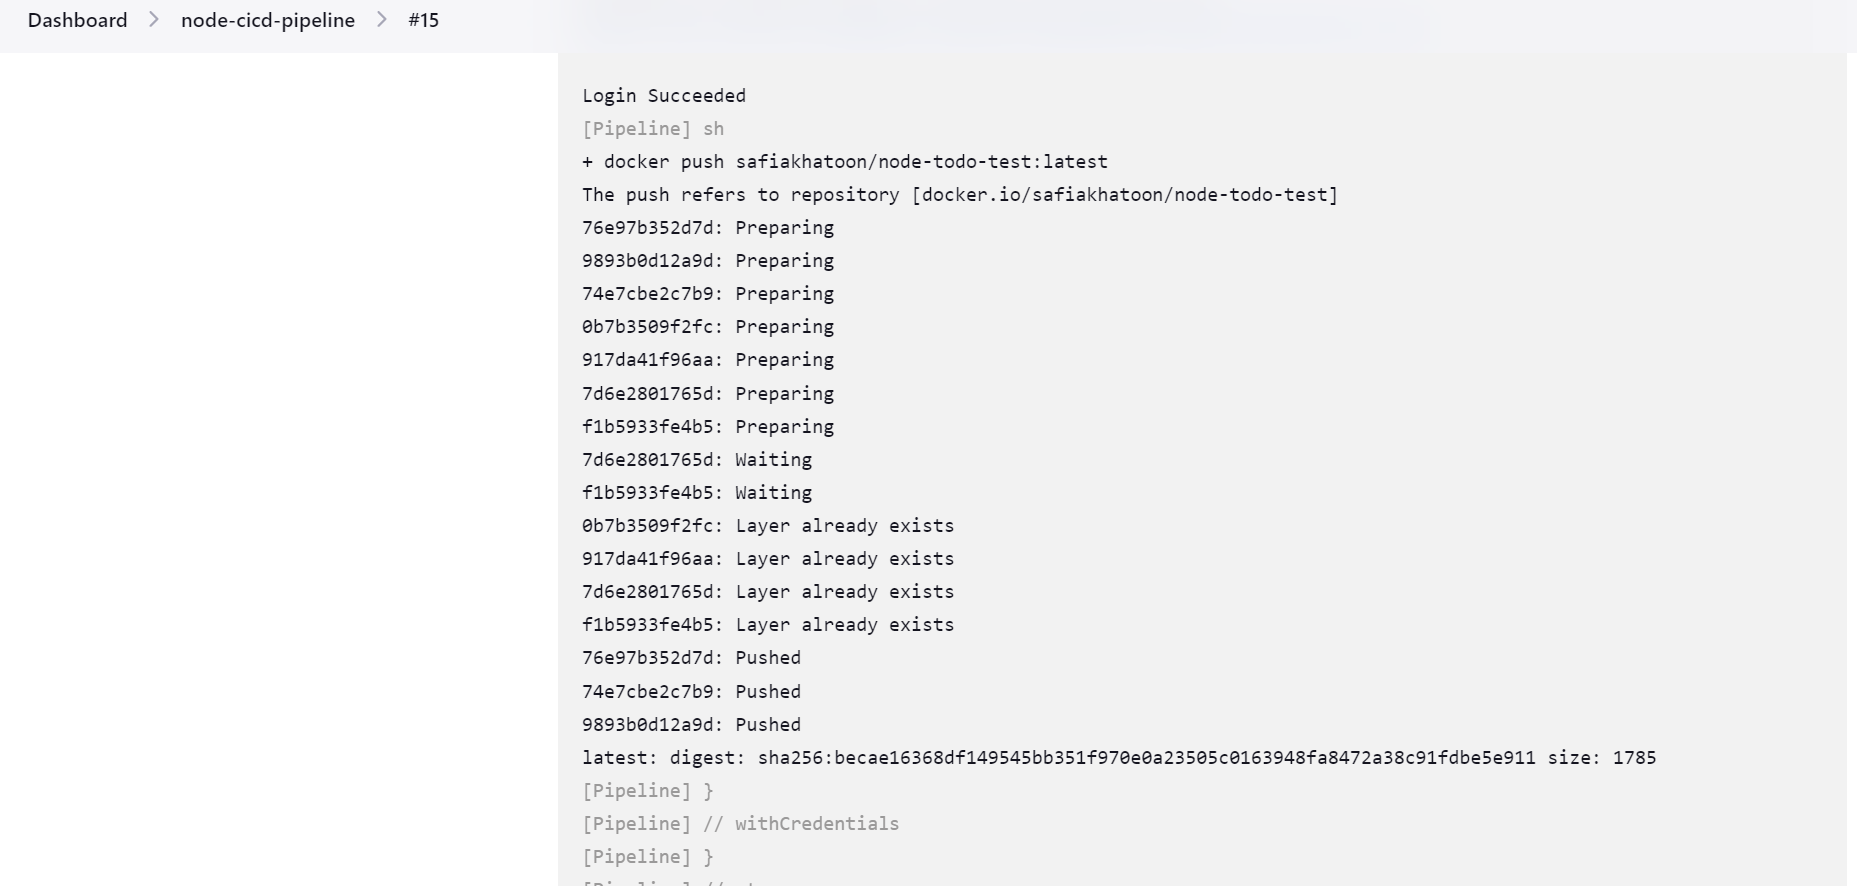
groovy code to build pipeline

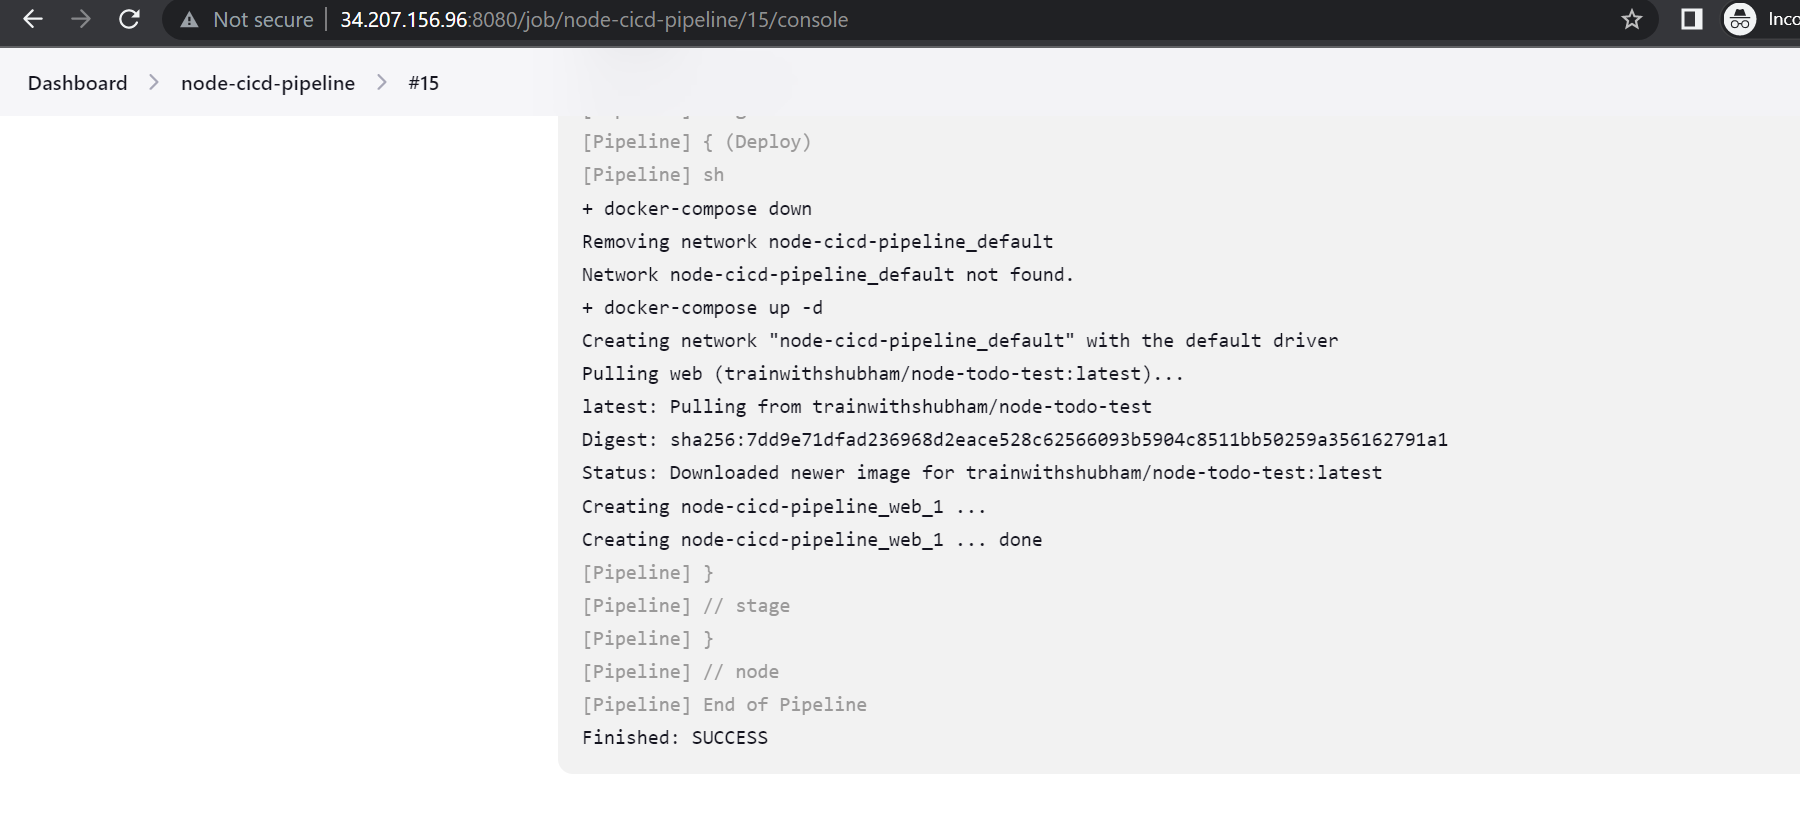
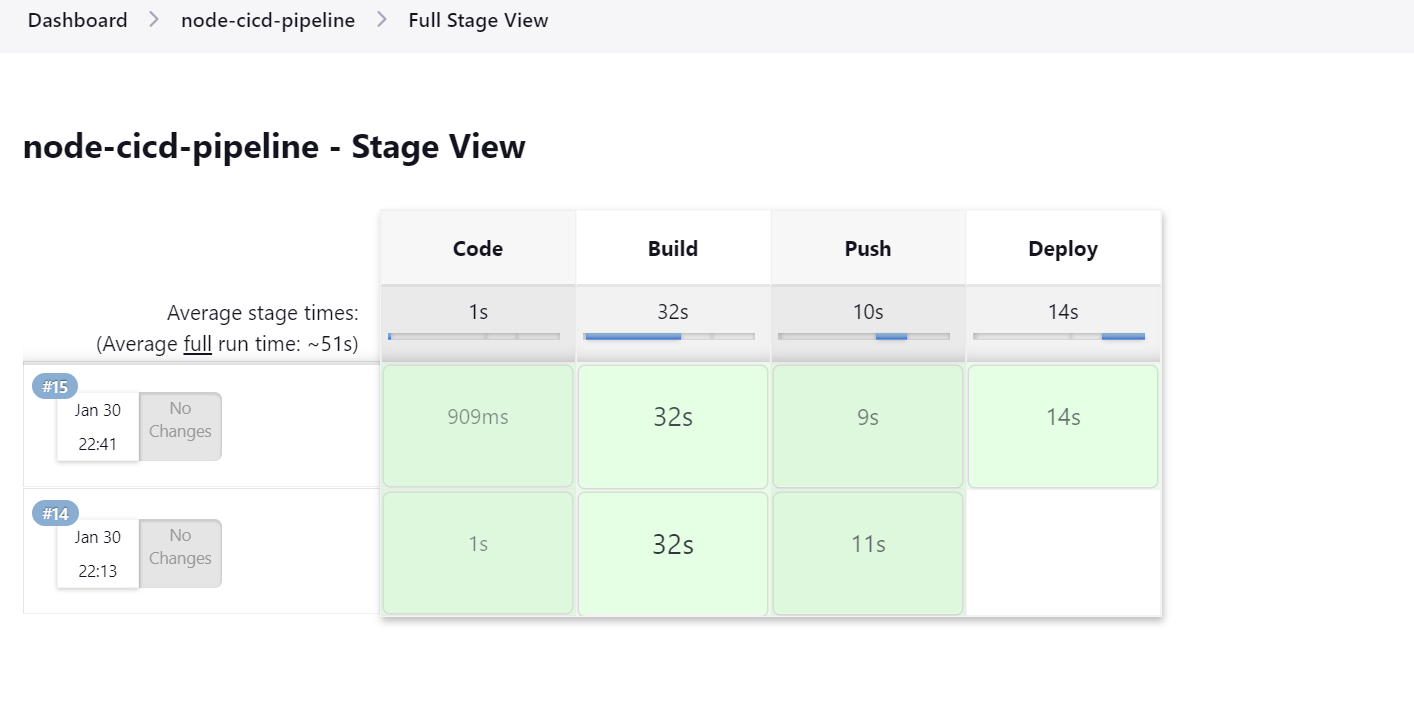

Difference between Freestyle and pipeline project
Freestyle projects -
This is a general-purpose project that is meant to build or run simple jobs like allowing you to specify the version control system from which you need to extract code and build it and call tests if available. This type of project is meant to orchestrate simple jobs for a project.
Pipeline projects-
This is a new type of Jenkins project that is applicable when you need to set up a continuous delivery pipeline or say you want to define the deployment pipeline as code. Let us take an example wherein you need to orchestrate all the stages in delivering an application as one single pipeline project-
App build -> Unit testing -> Deliver -> Testing -> Deploy
Agent(Hands-On)
step 1
create an agent instance

step 2
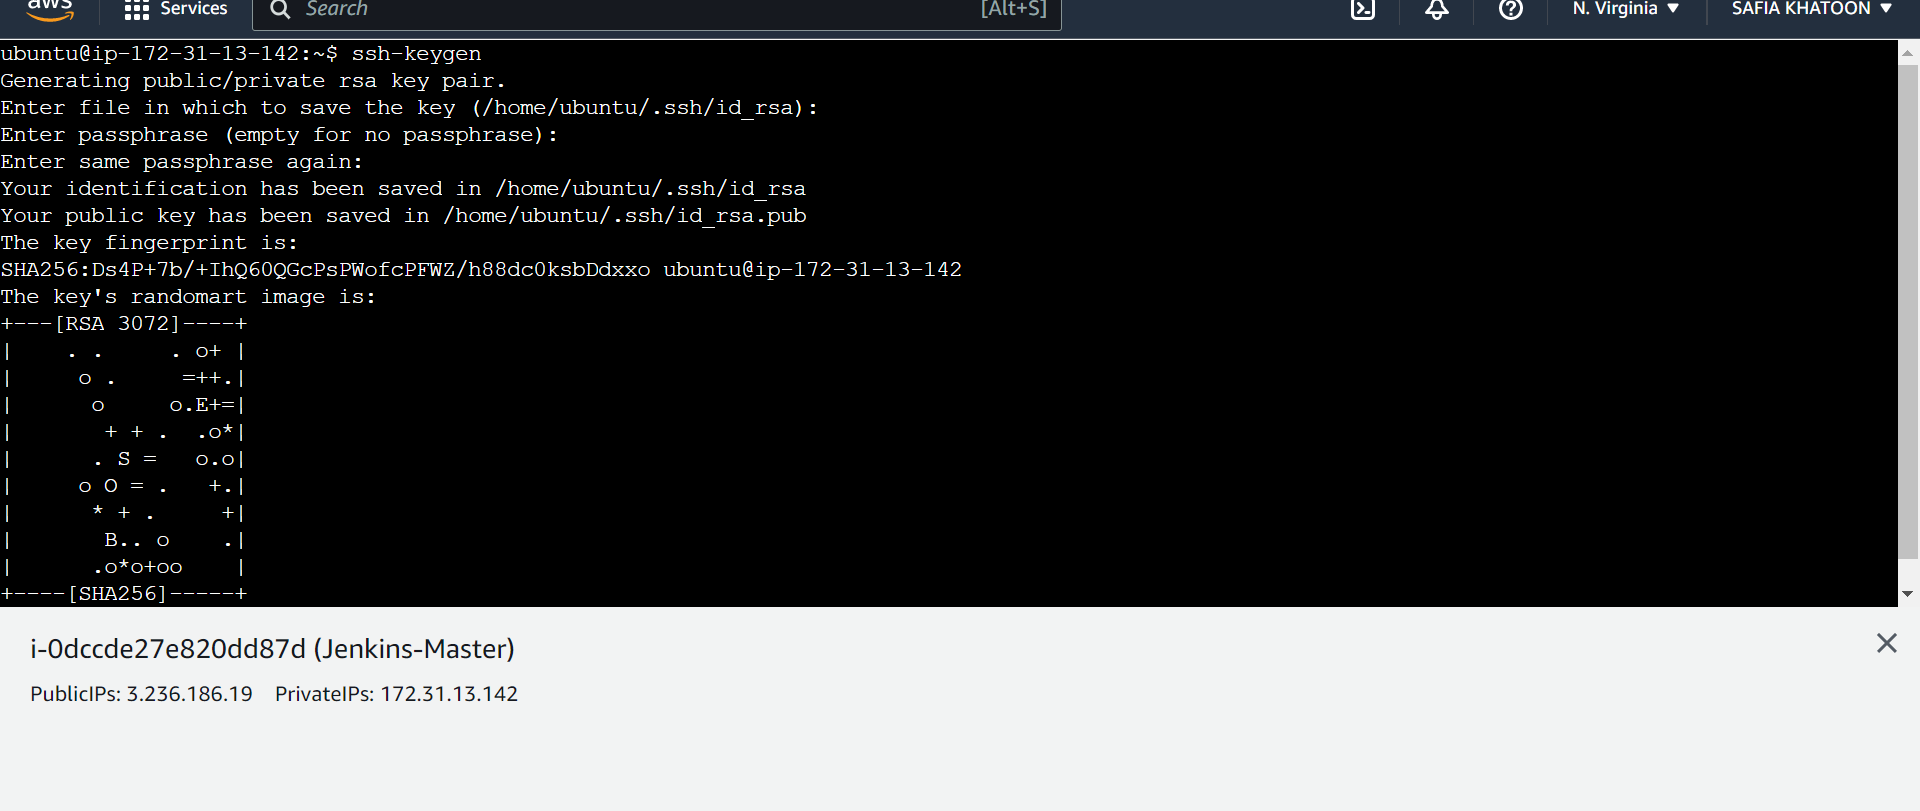
Go in Master
Generate SSH key

step 3
Go to Agent -1

step 4
Go to Mater
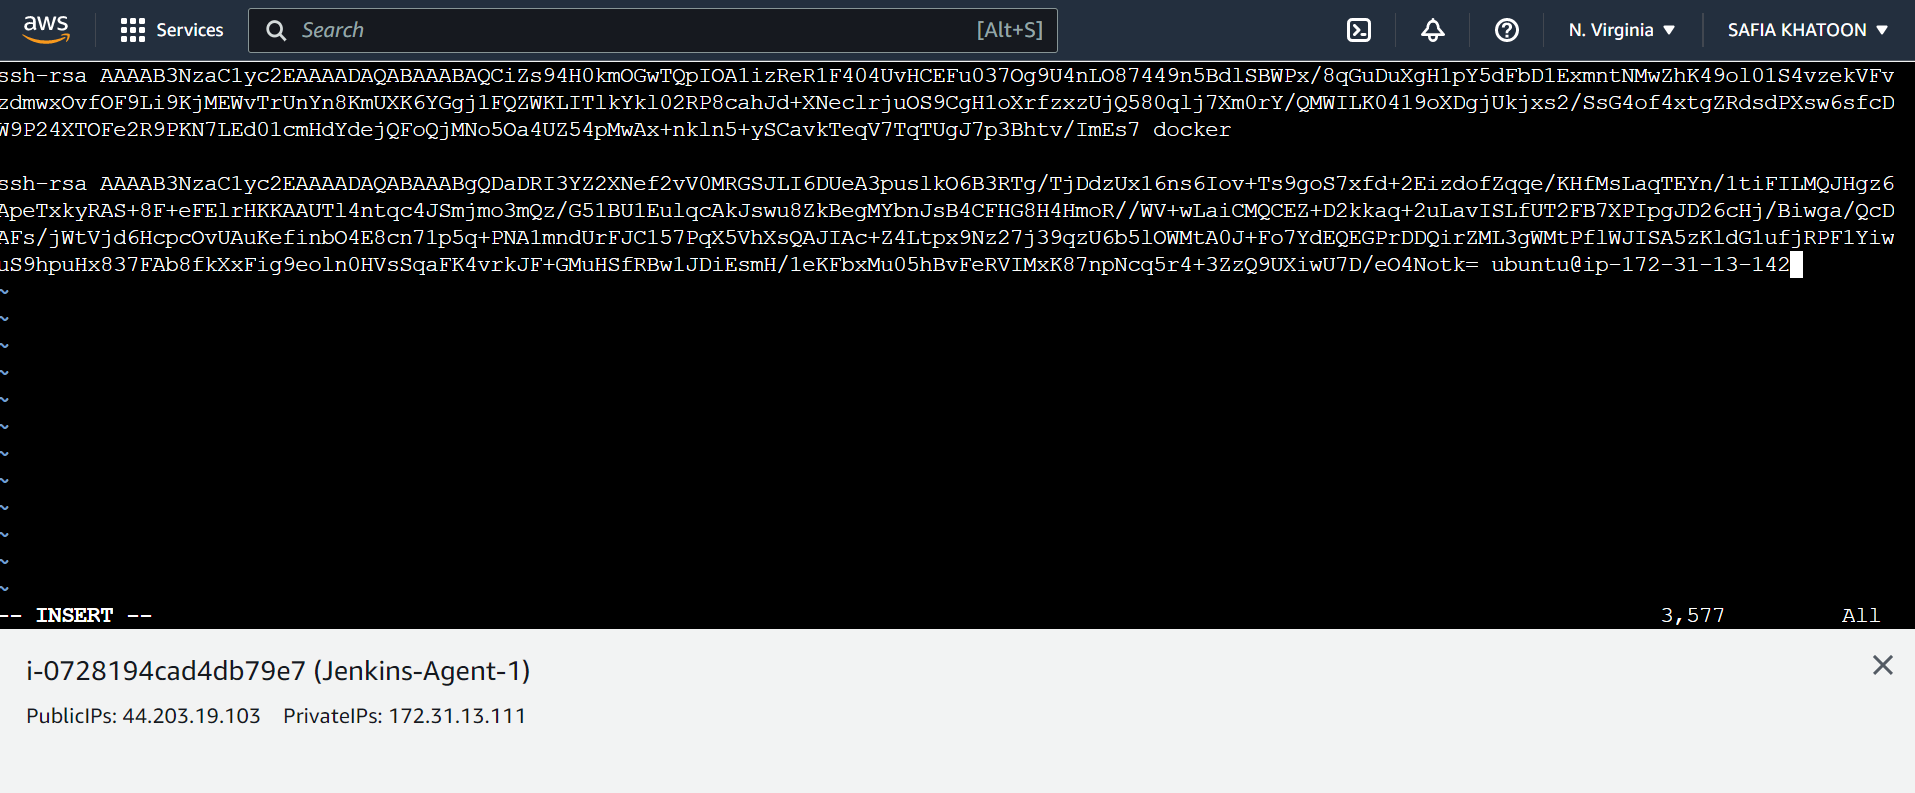
copy this pub key and paste the key in Jenkins -Agent -1

step 5
Go to Jenkins-Agent-1


step 6
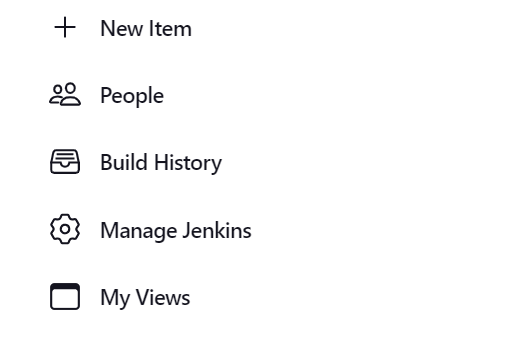
Go to Jenkins
Go to manage Jenkins
step 7
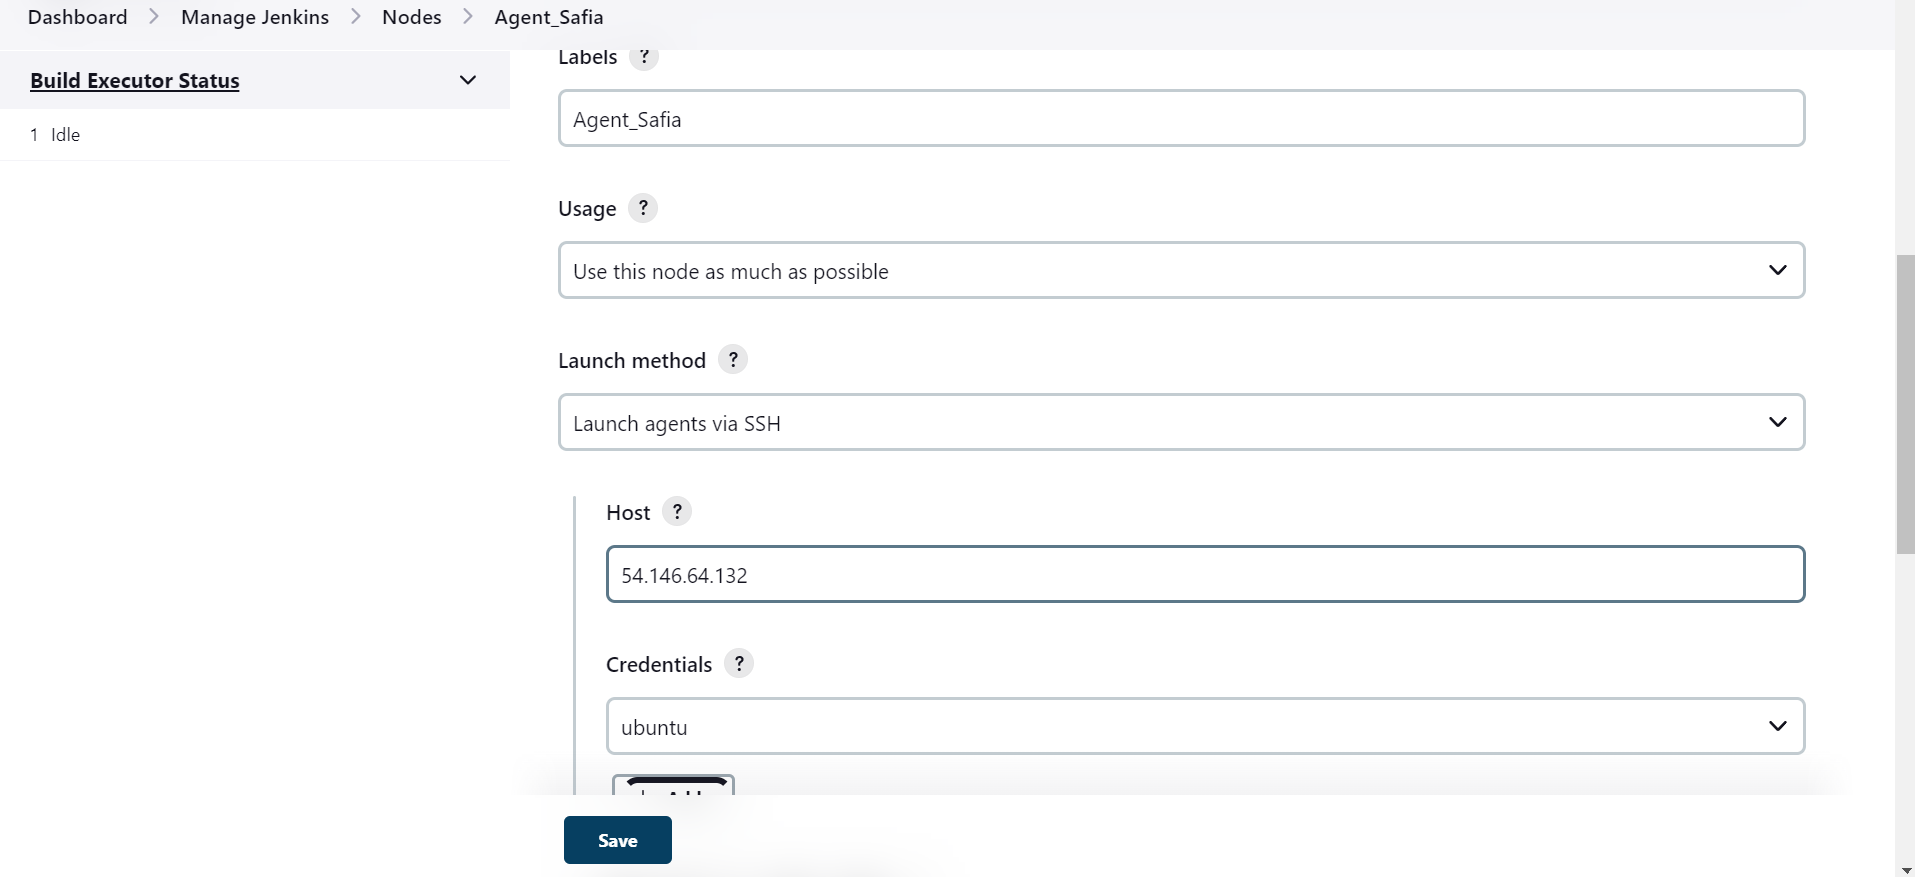
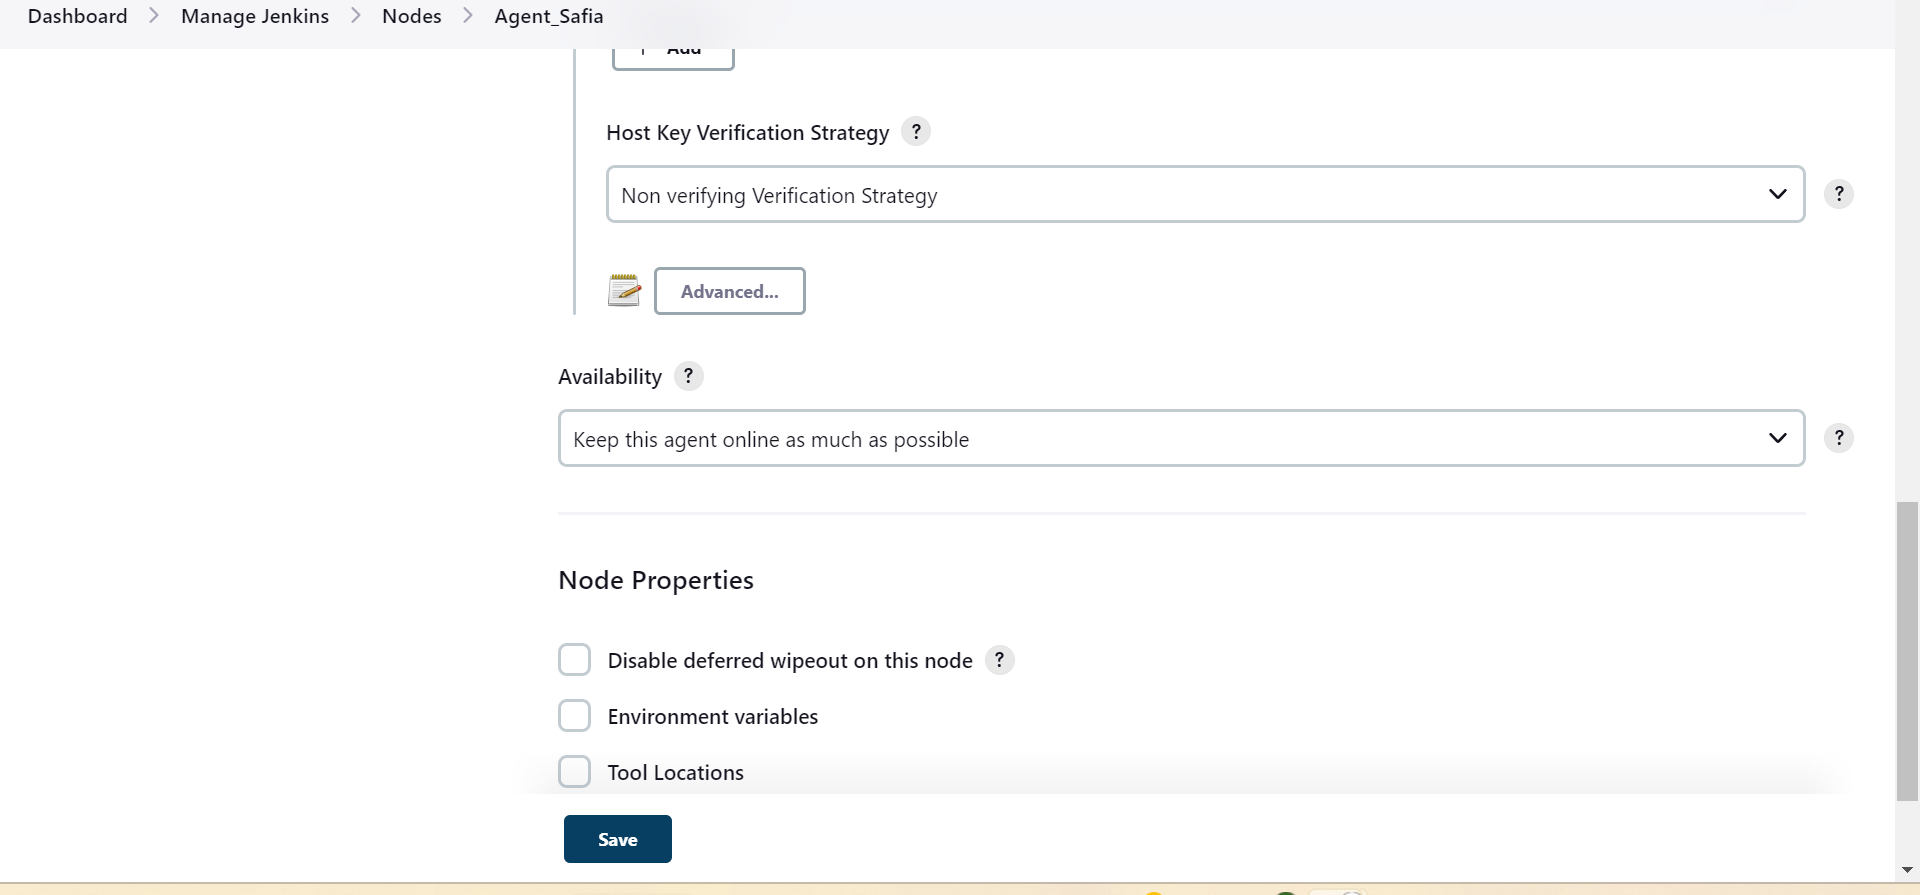
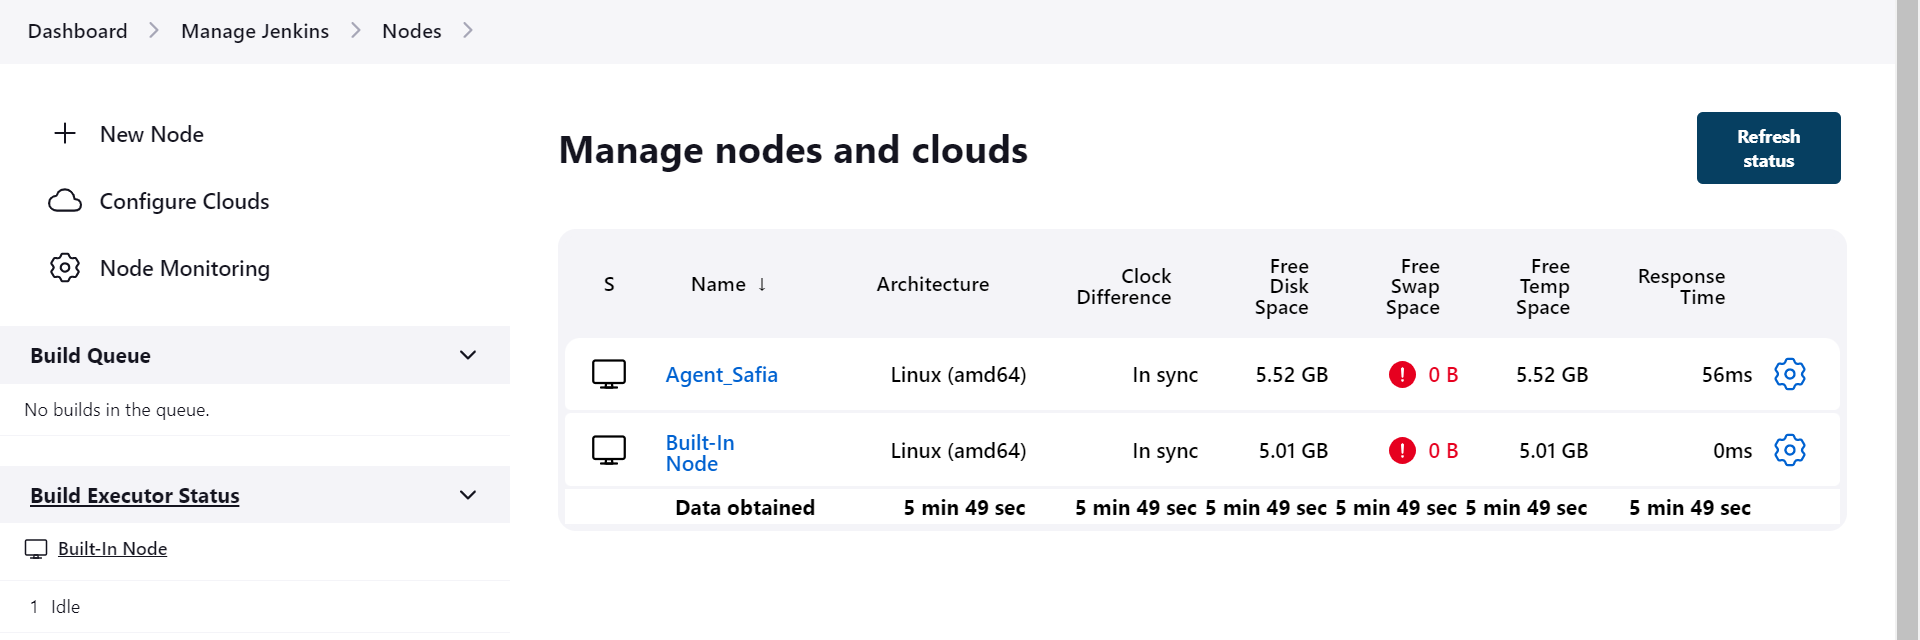
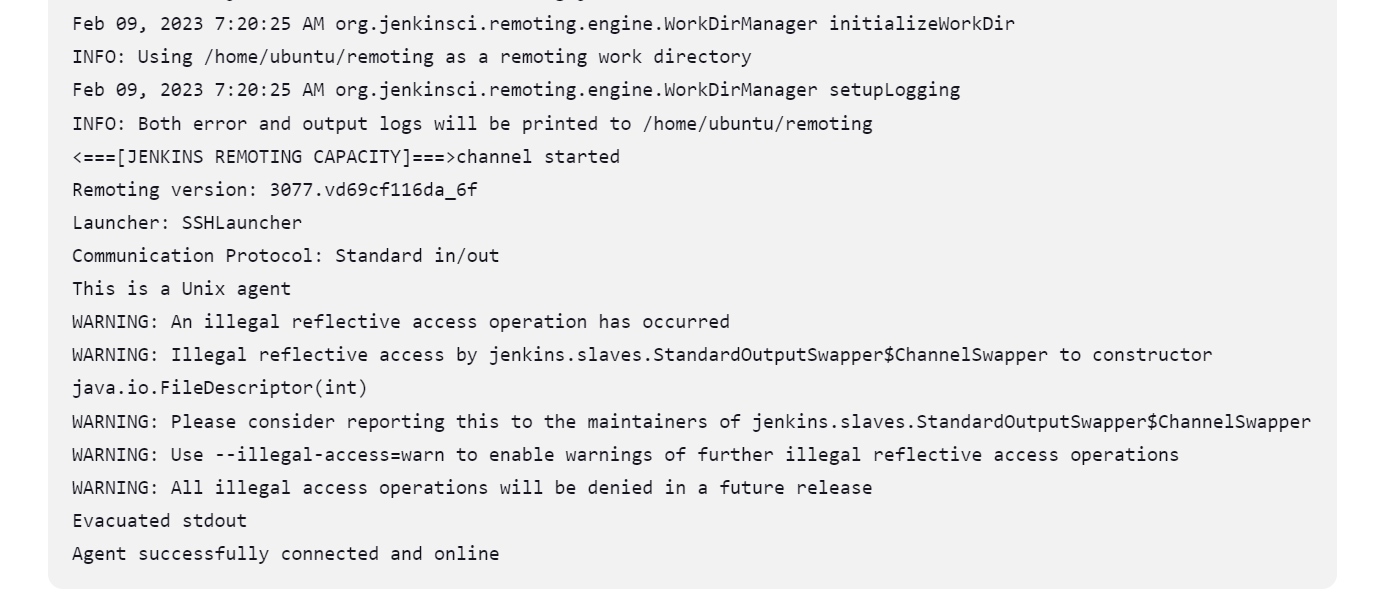
setup agent

create
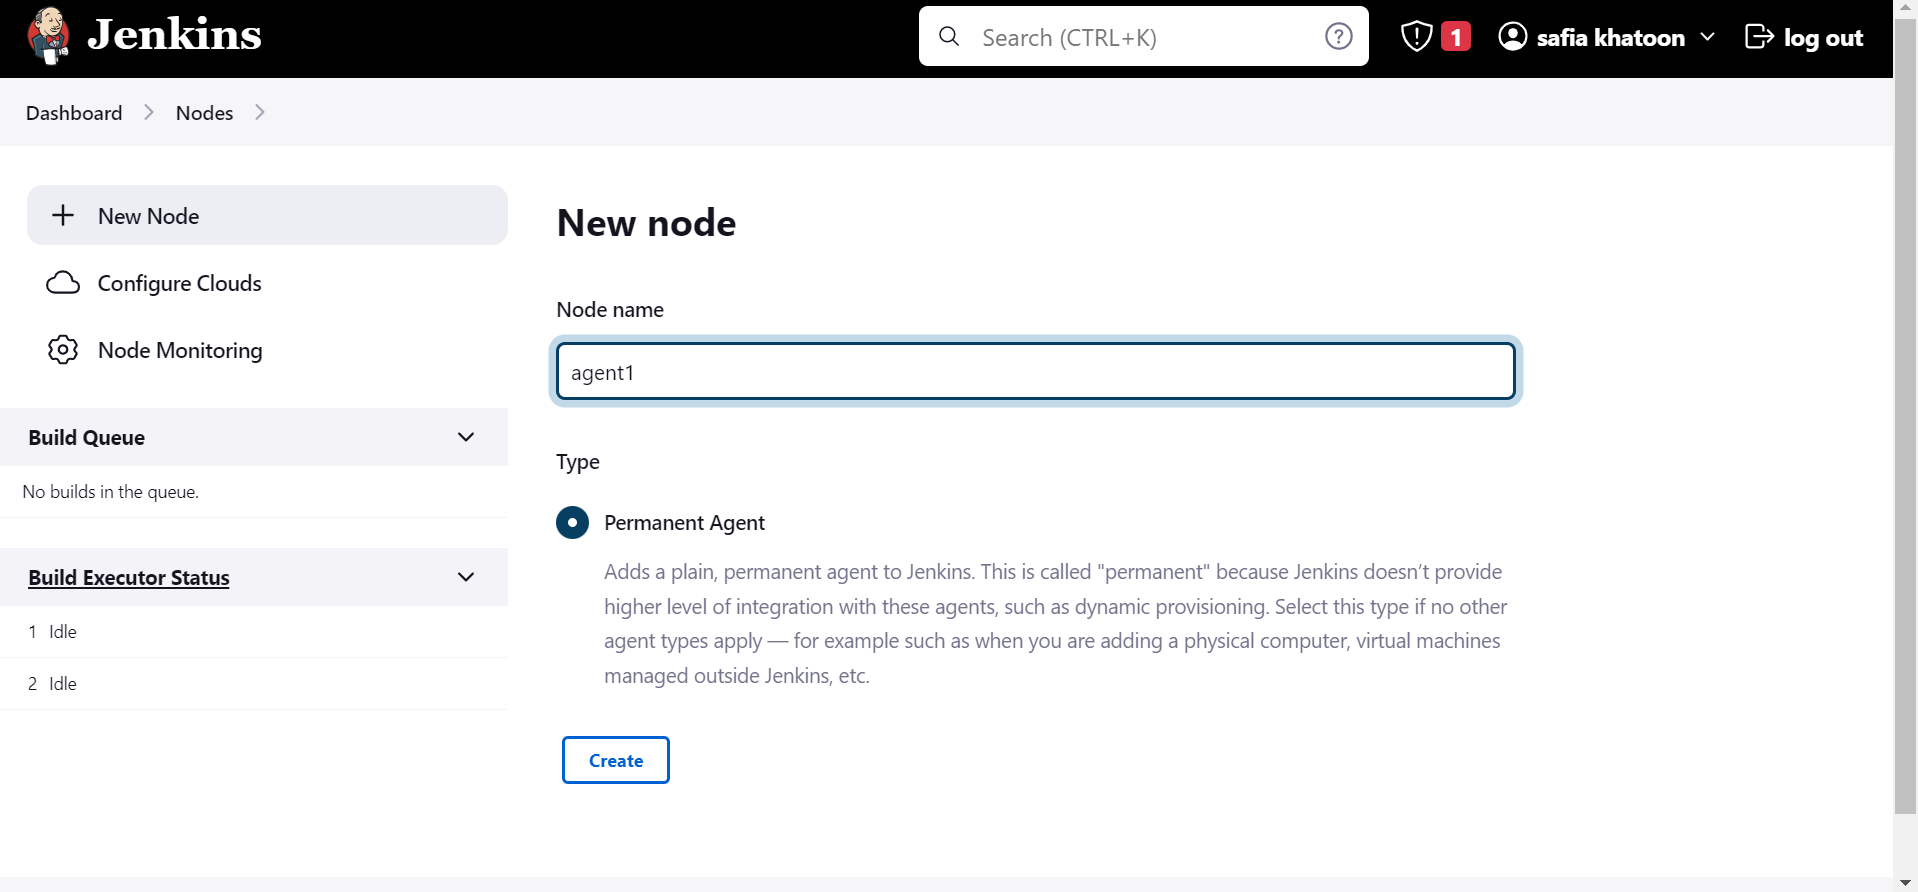
step -8
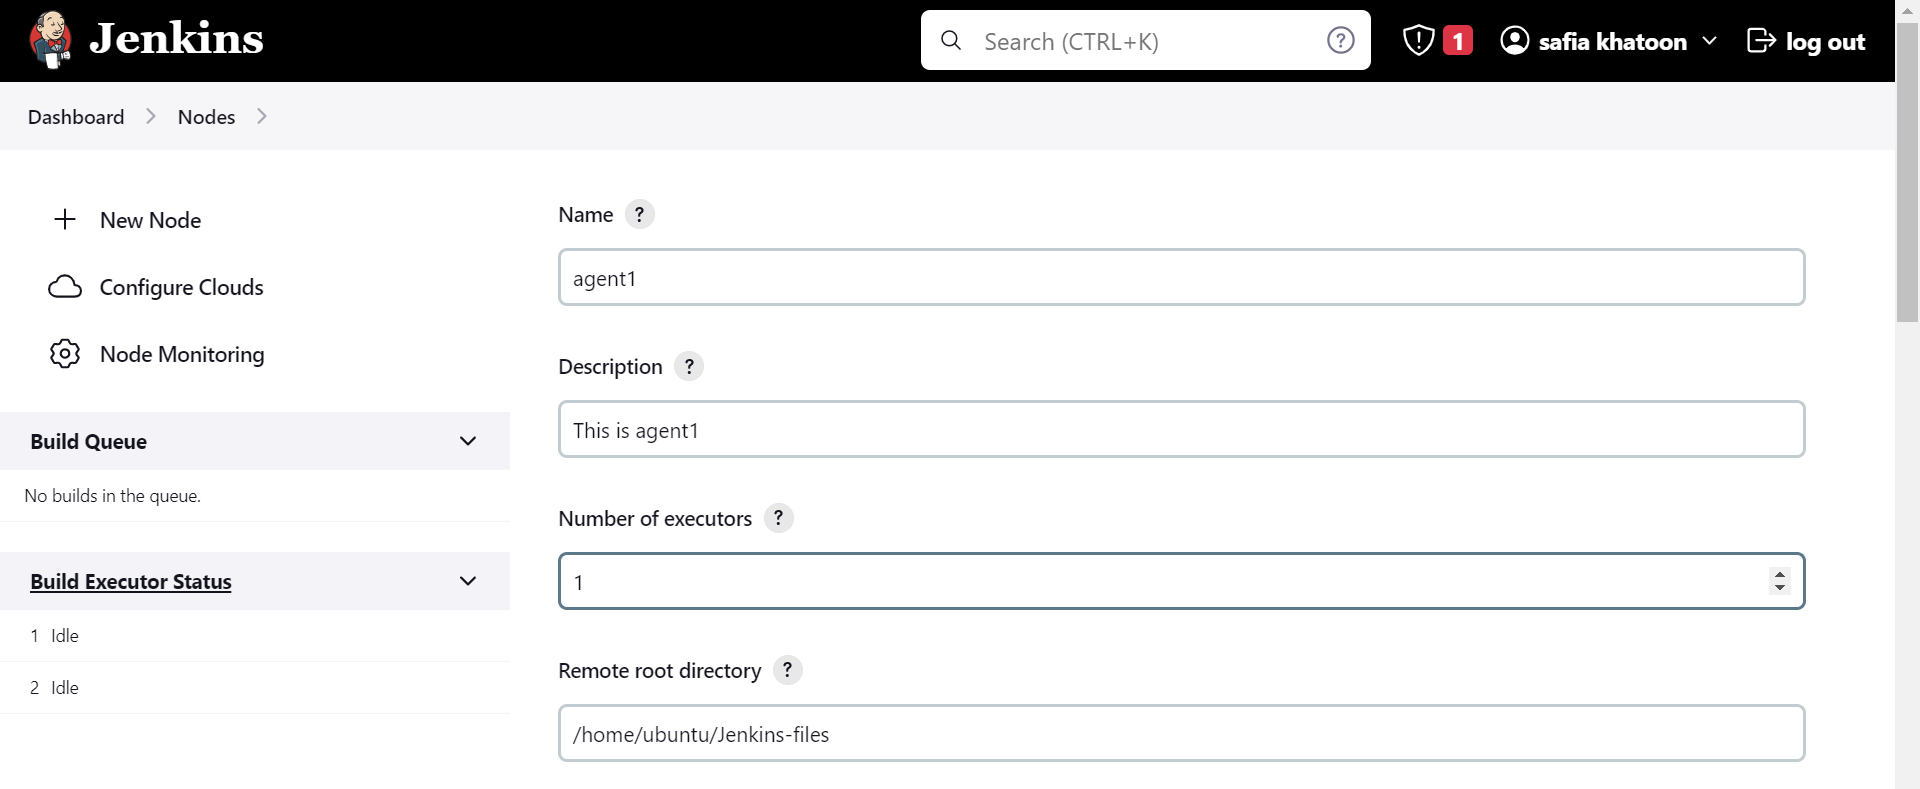
host Ip is your Agent-1 Public Ip

Click On Add
copy the private key

click on add

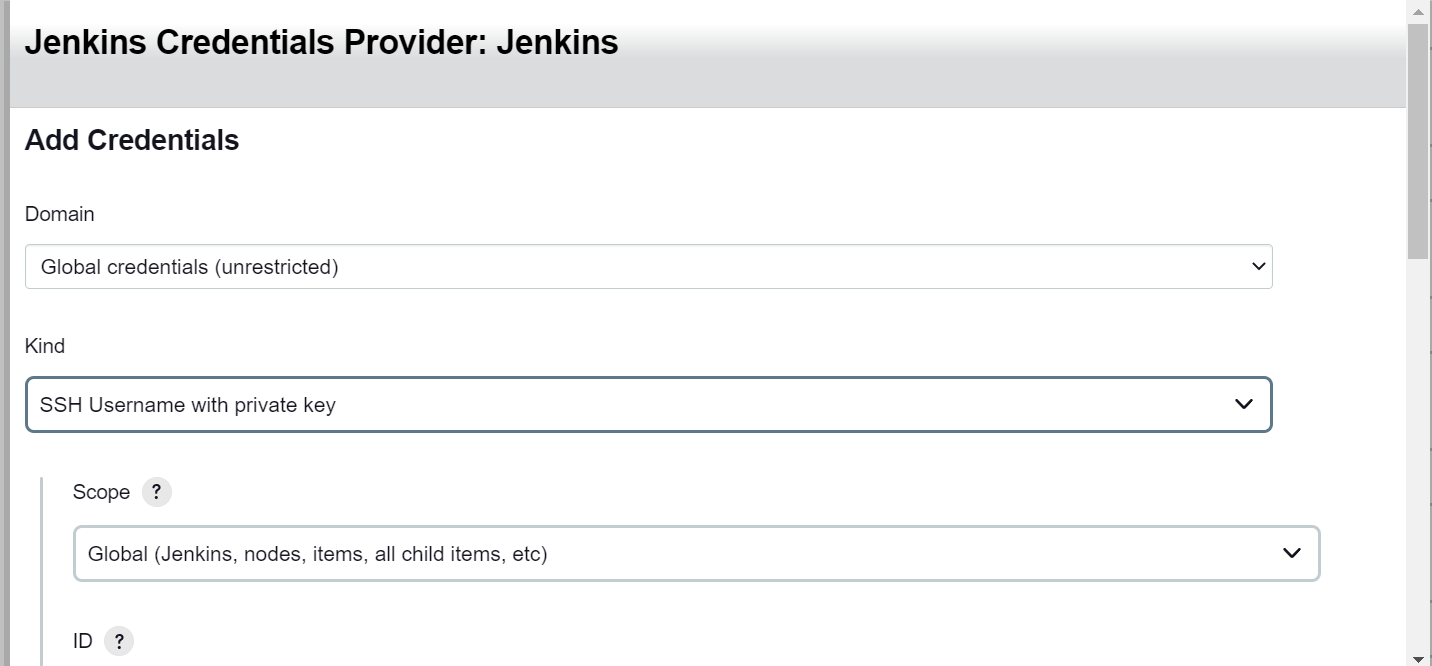
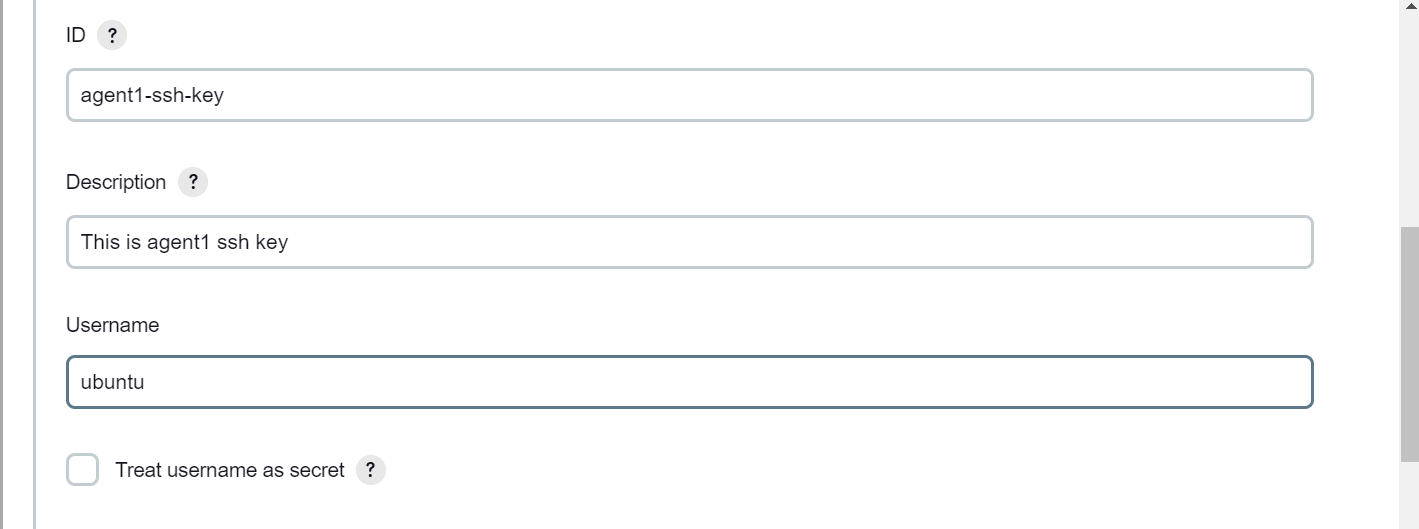
paste it here private key of your master and then add


save

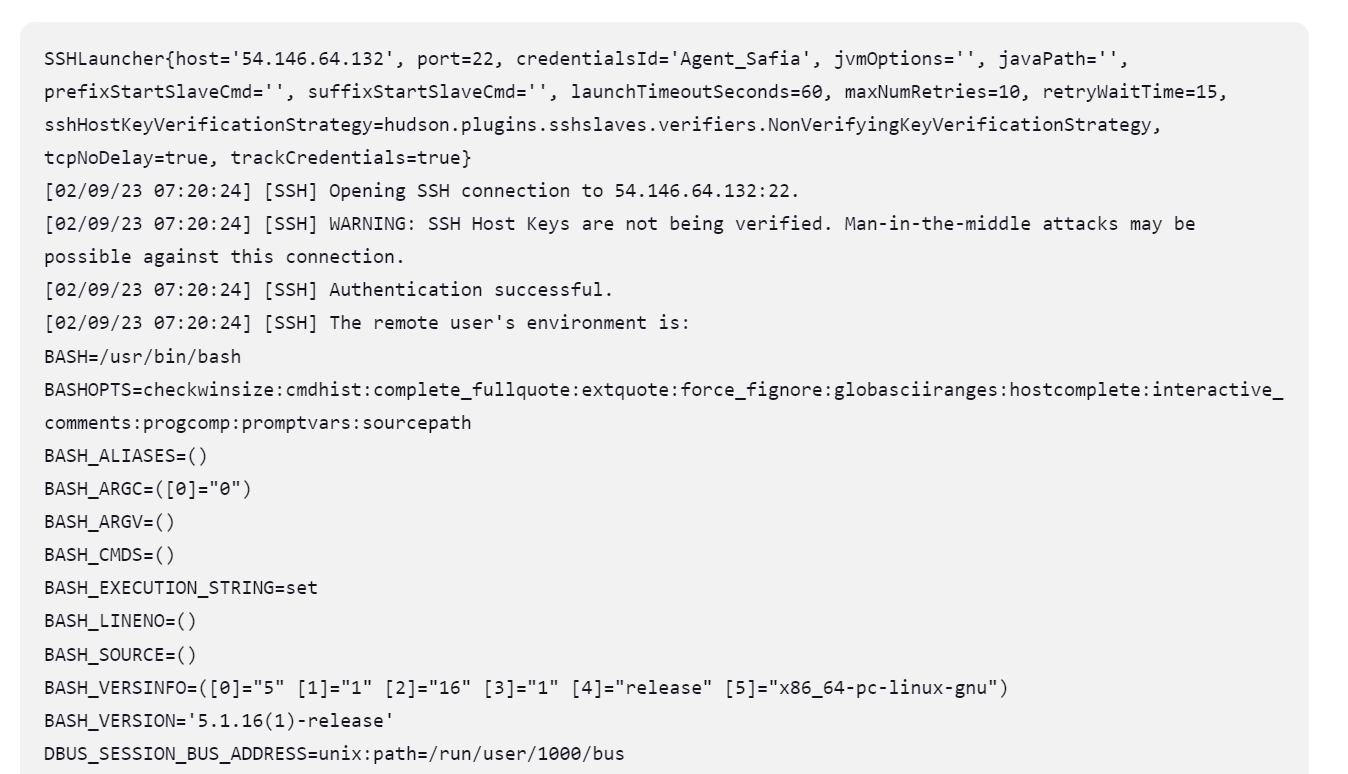
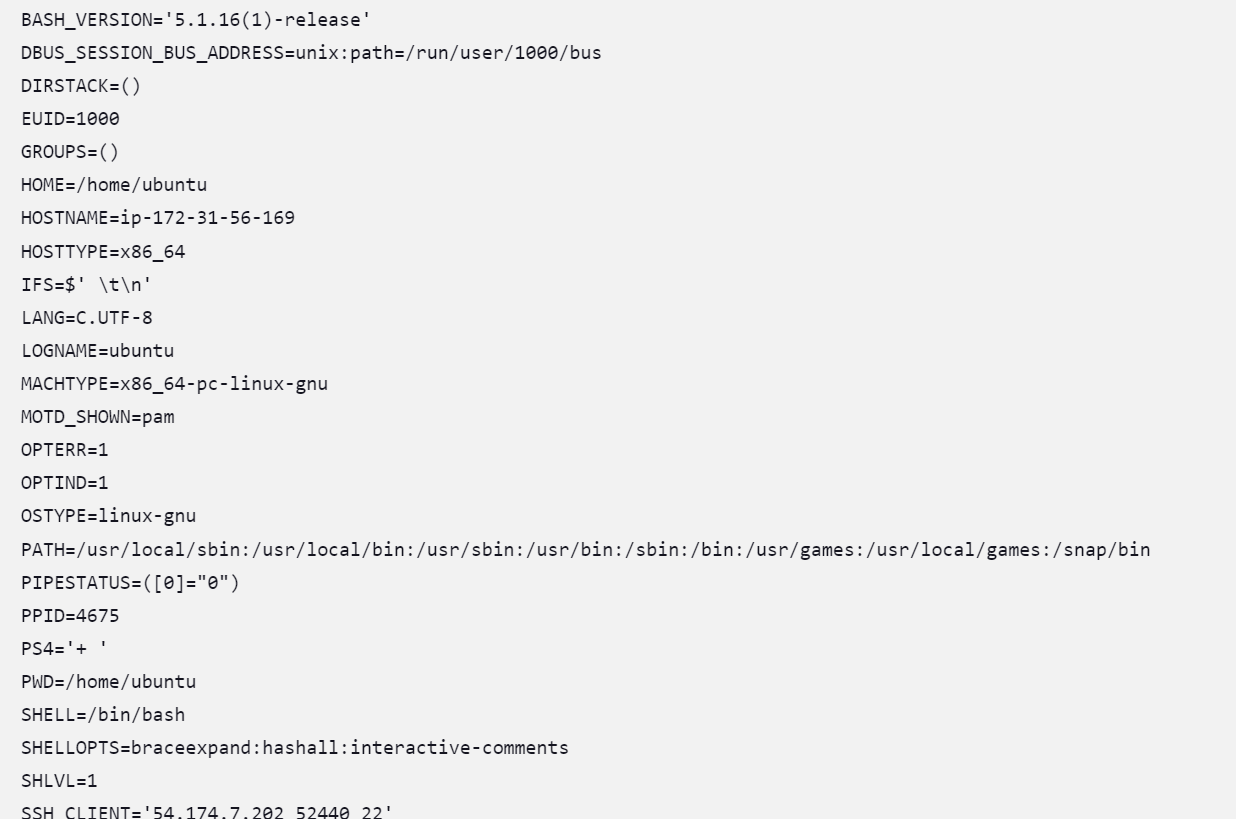
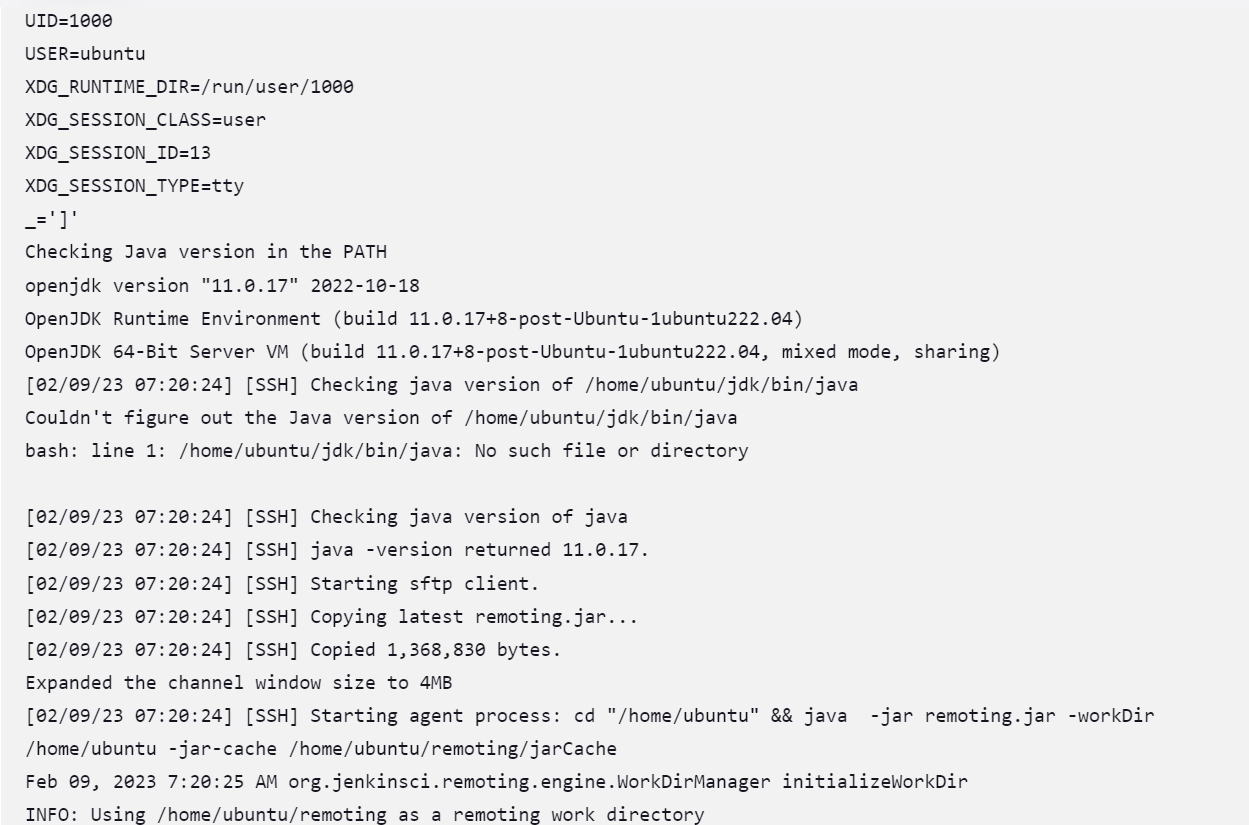
when you get this type of error then how to solve the error
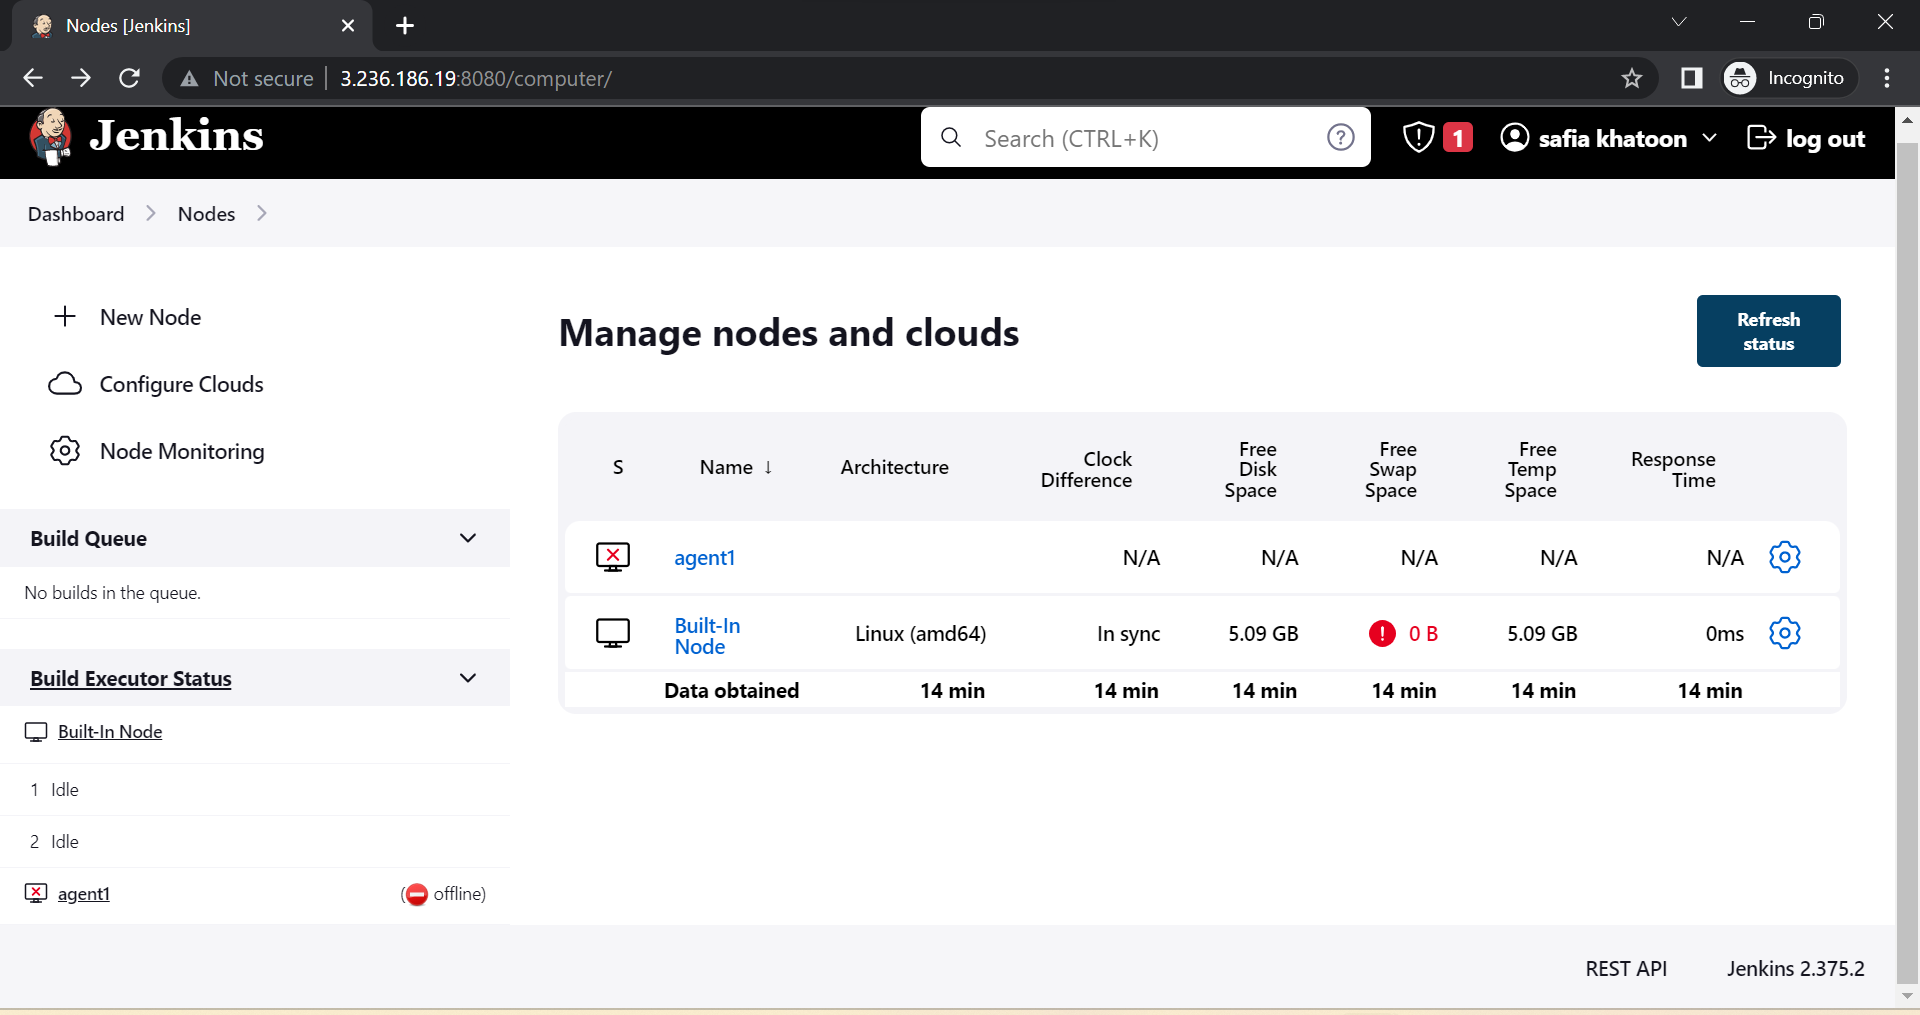
Solution:
you don't use connect ec2 instance
you always connect with the help of putty or PowerShell
Go to puttyGen
Go to Load
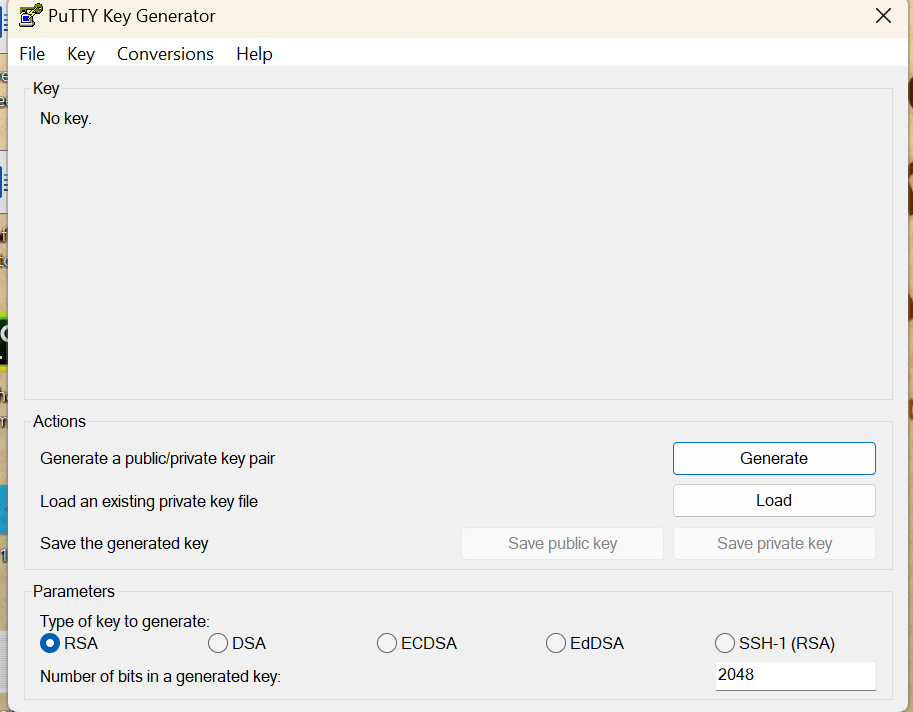
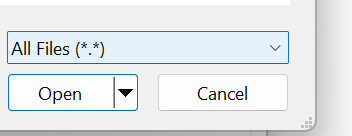

copy public IP:

Go to Putty:
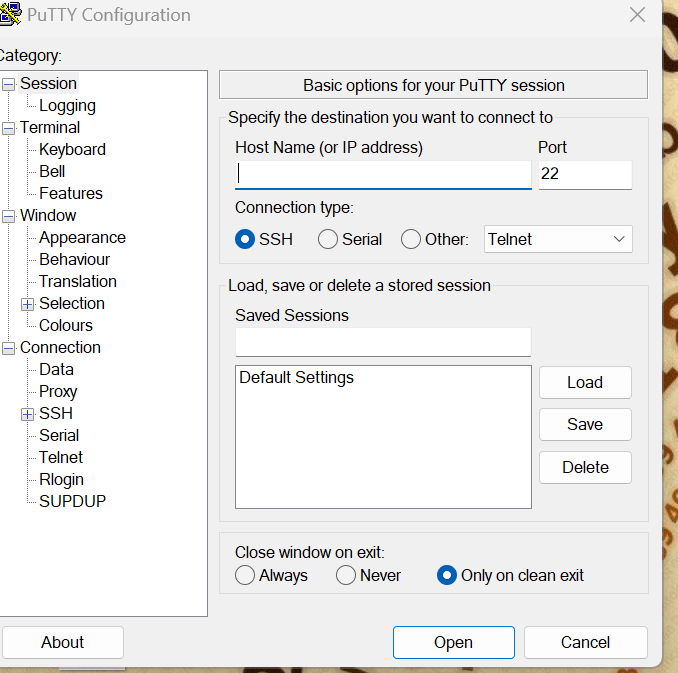
paste public ip
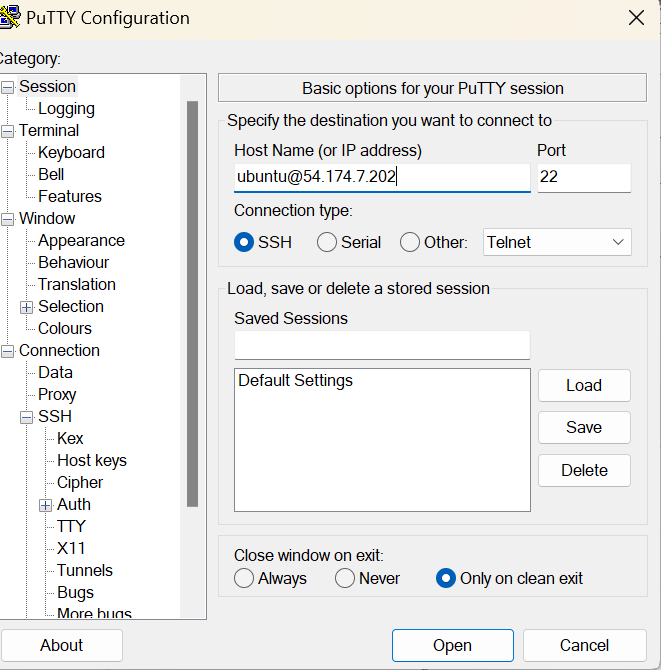
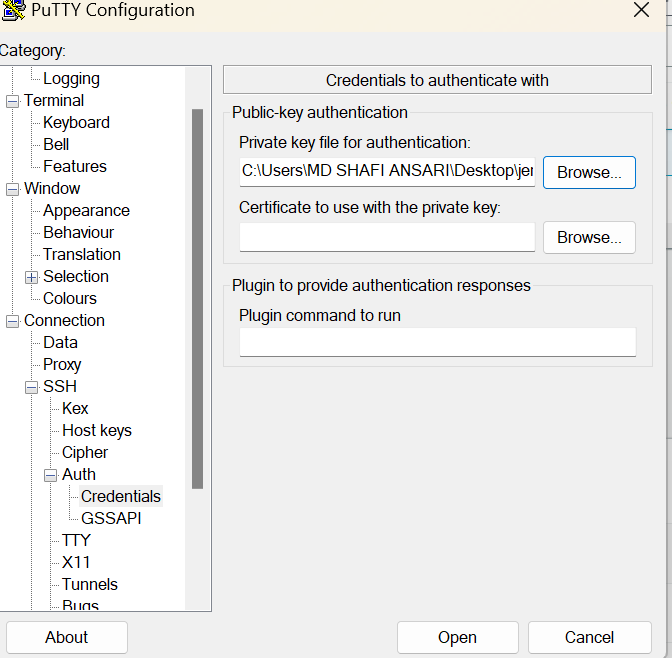
Go to ssh ---------------------Auth -------------------------------Credentials
and browse the key.

Go to global




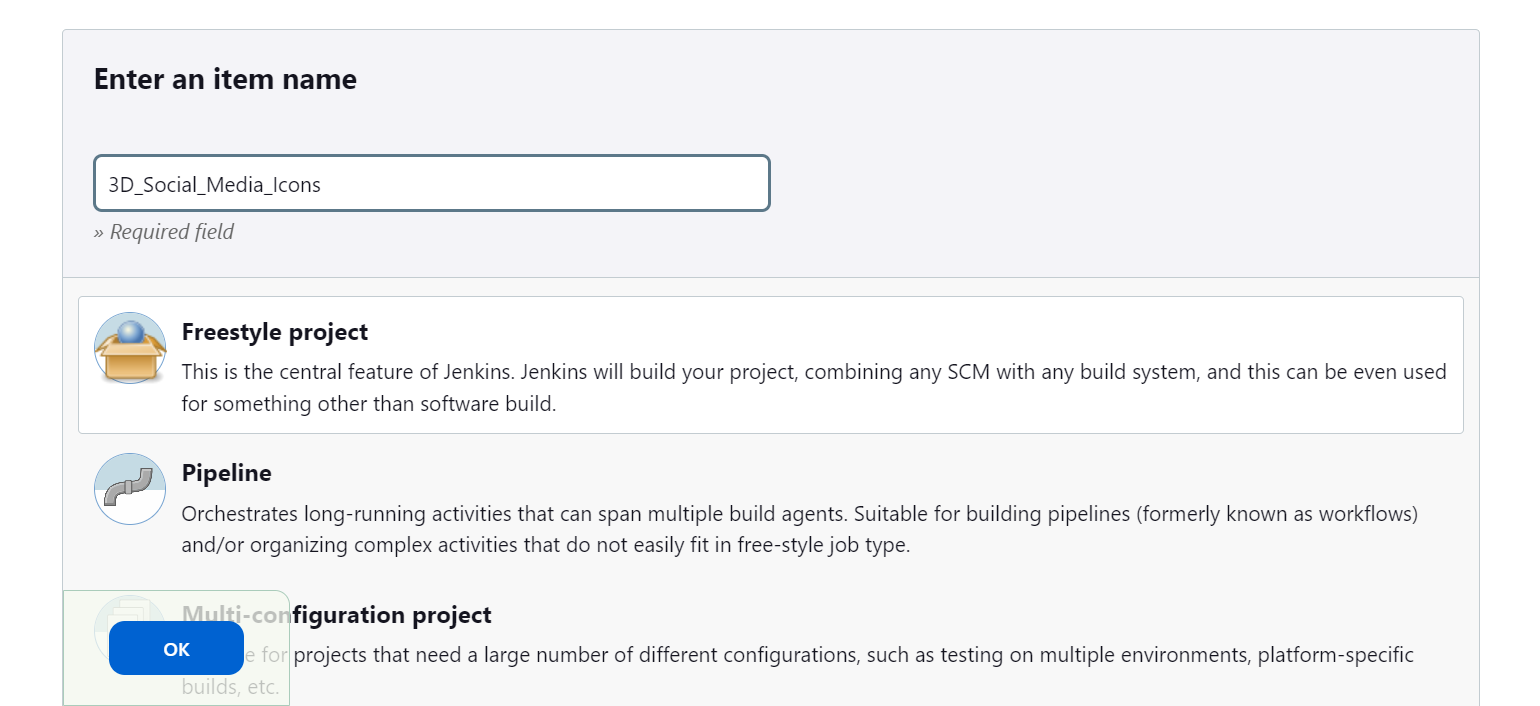
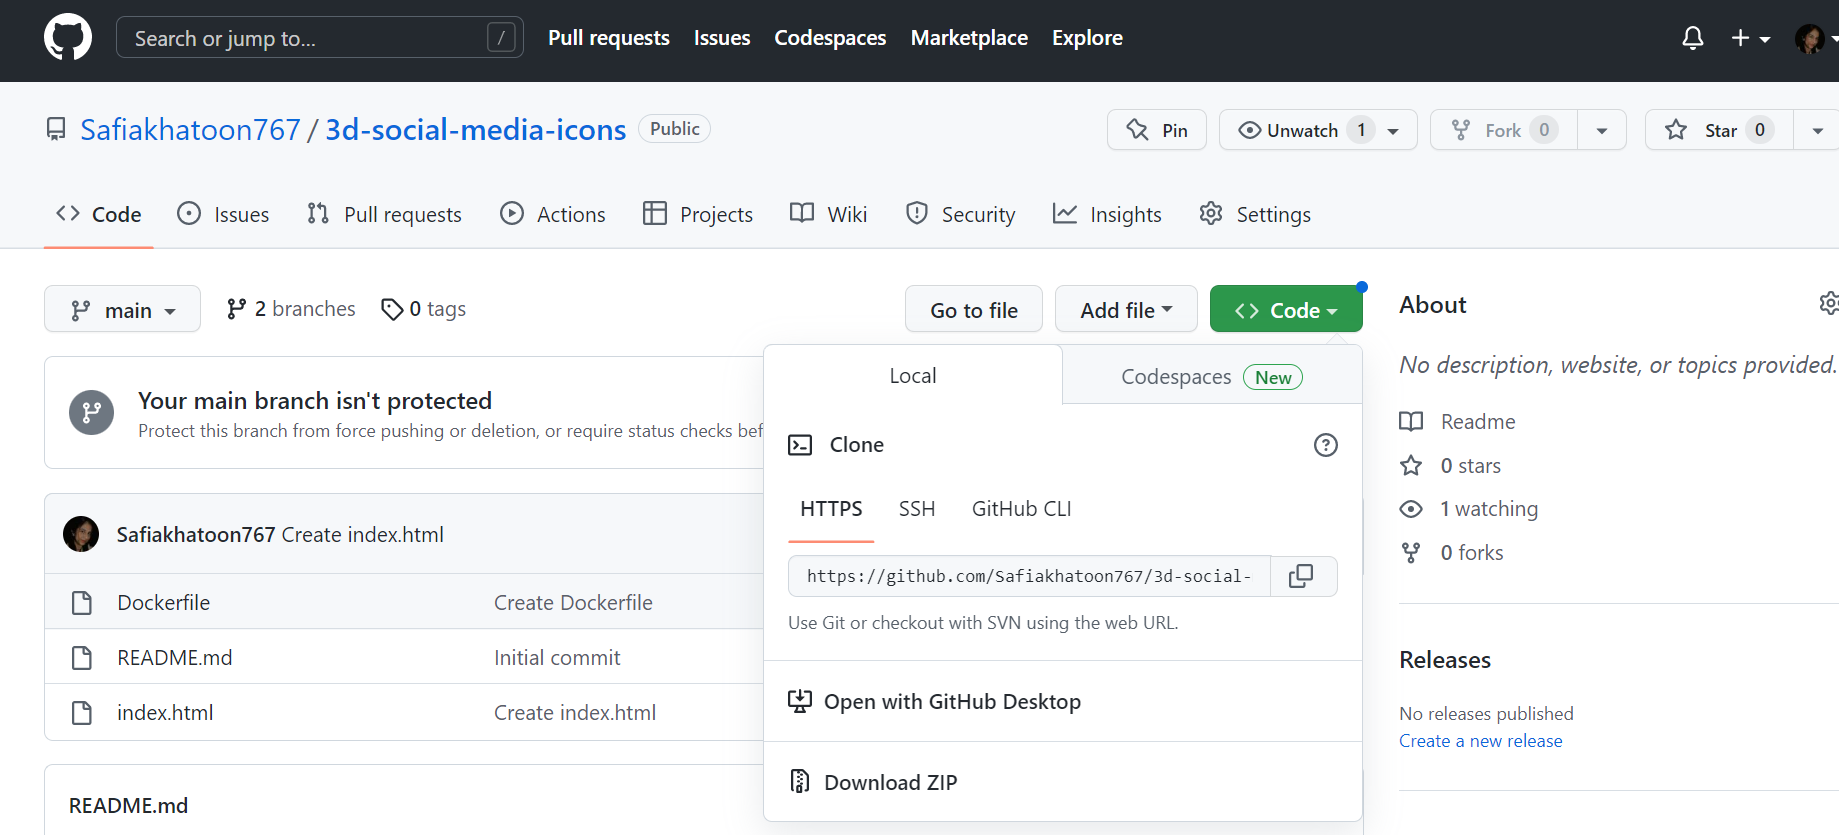
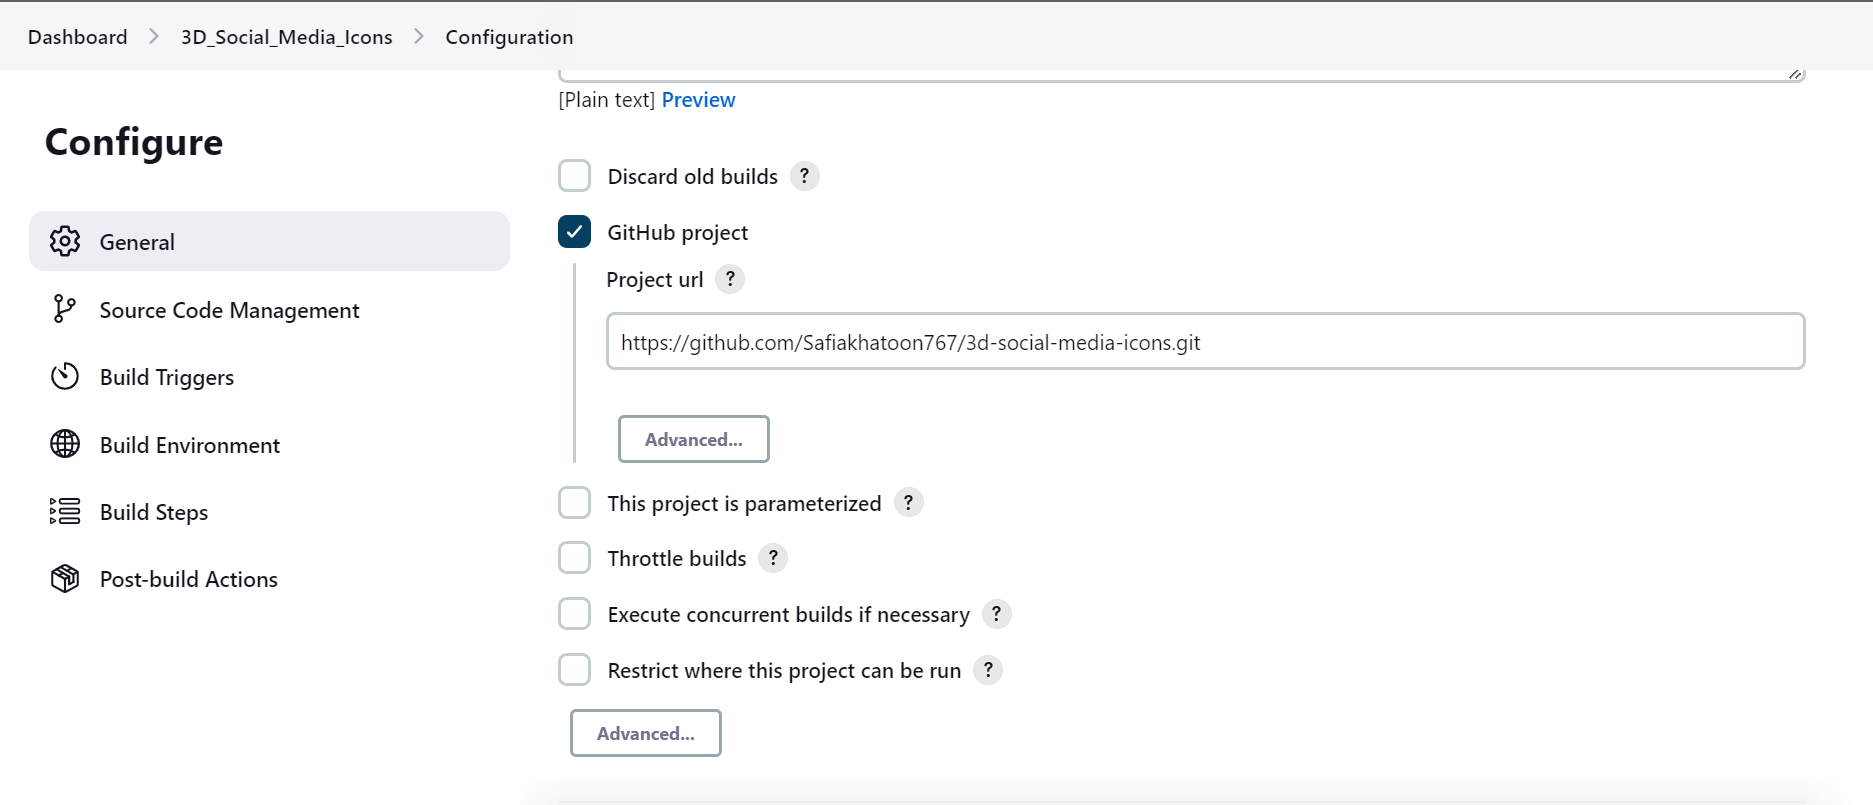
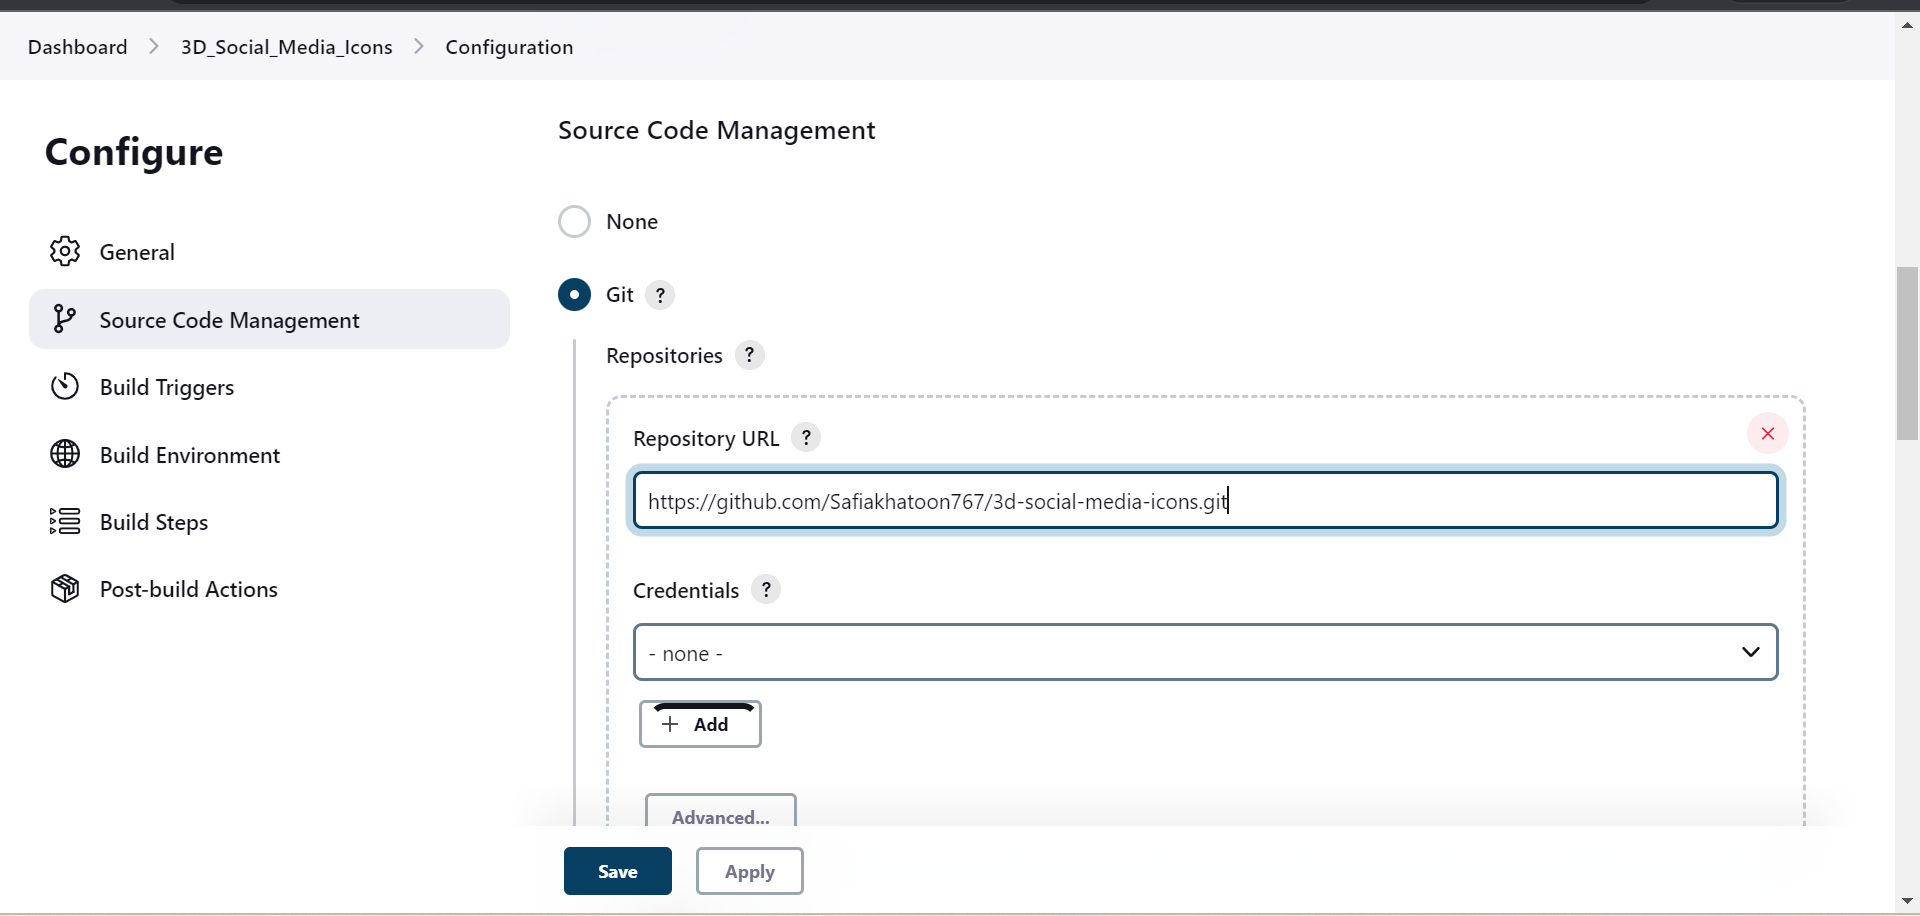
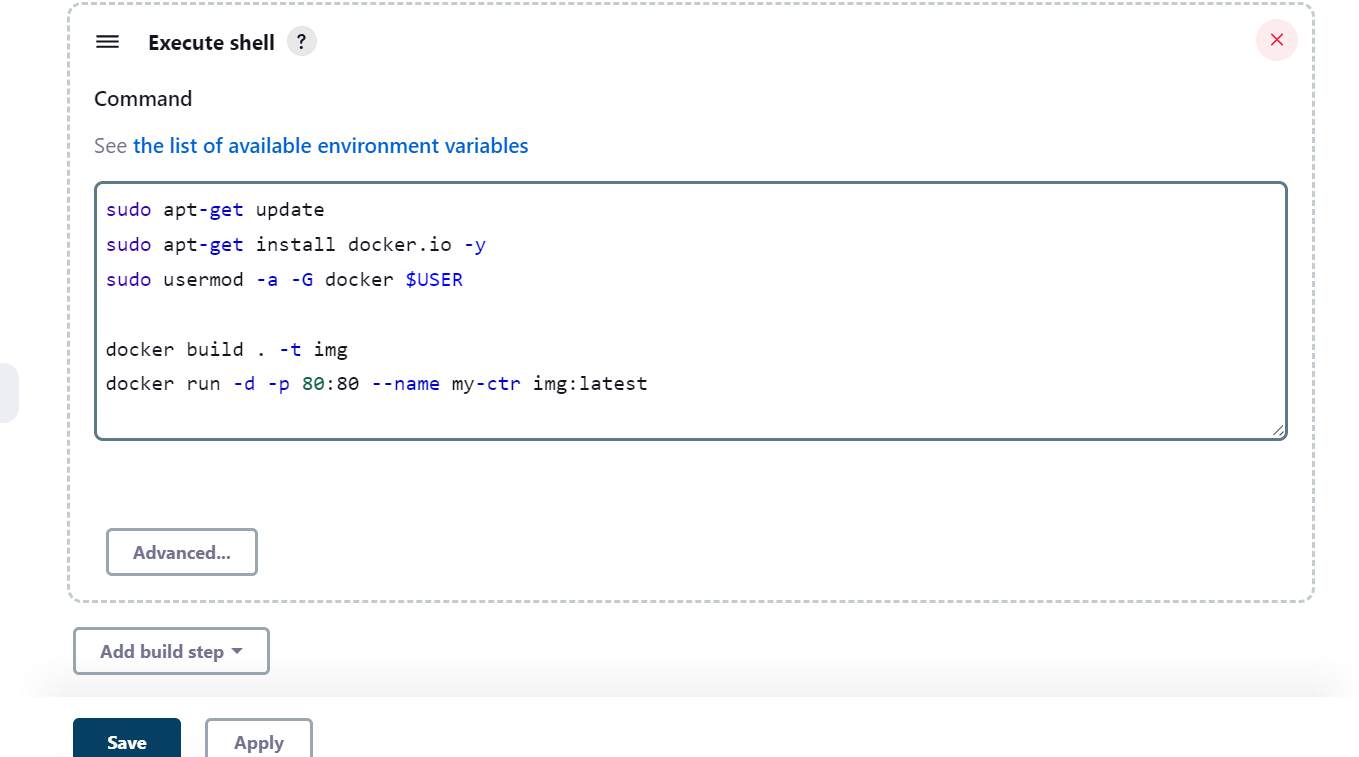
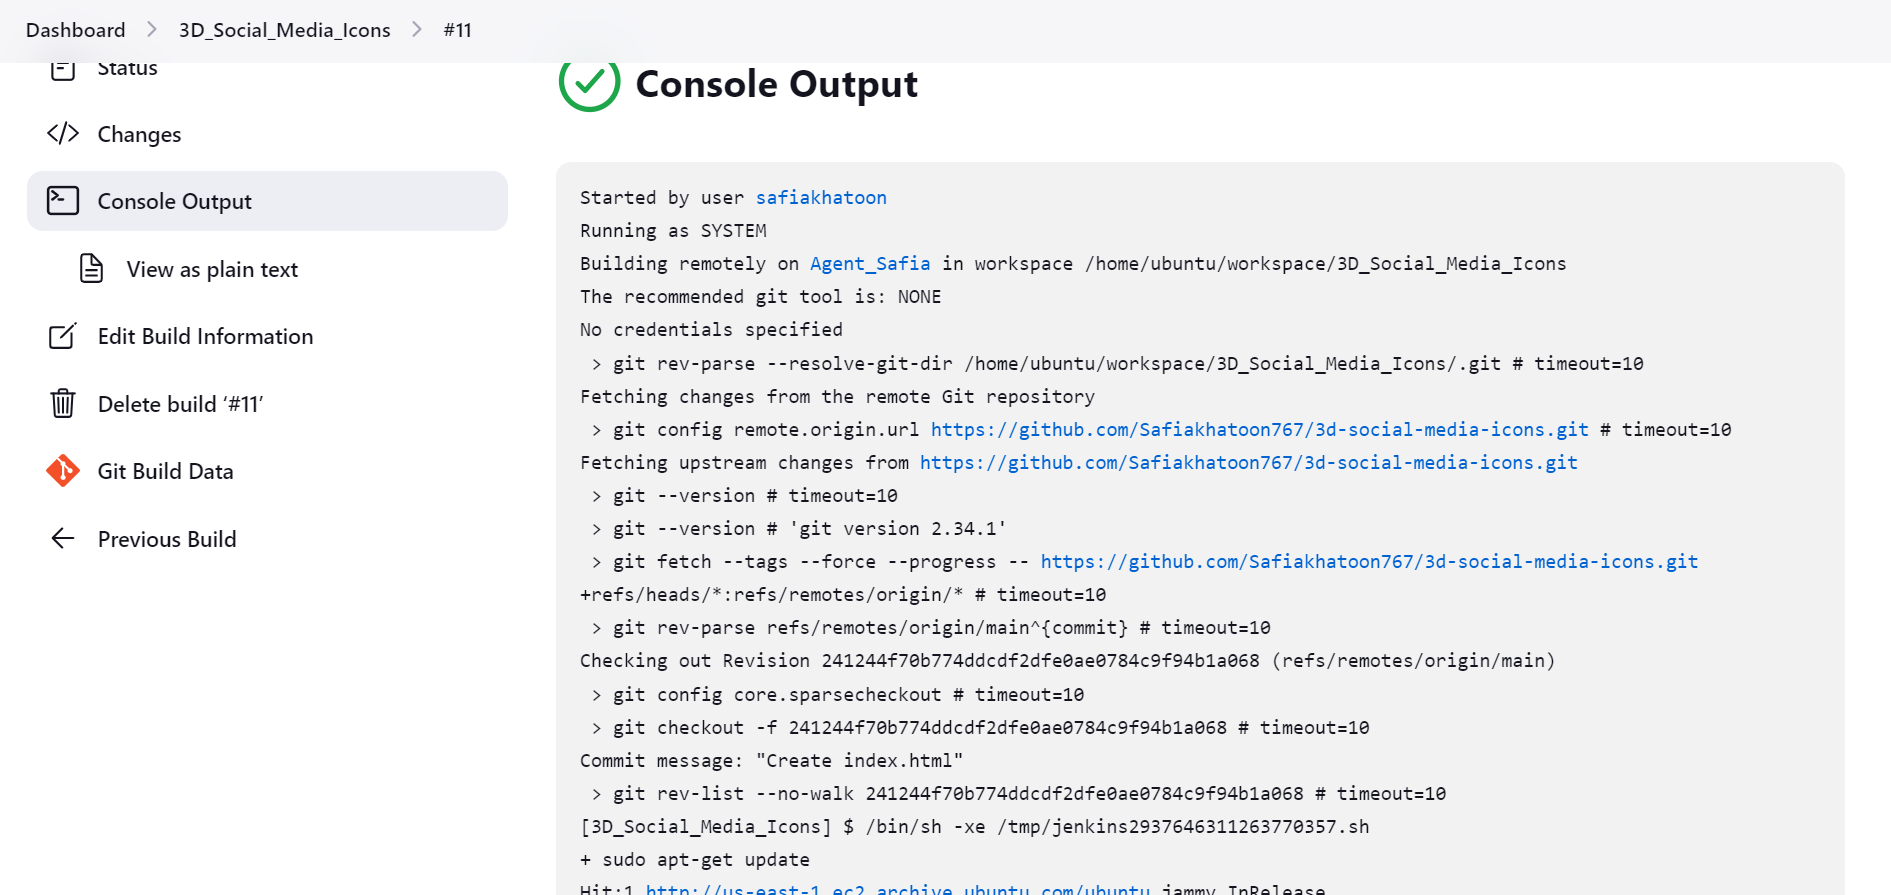
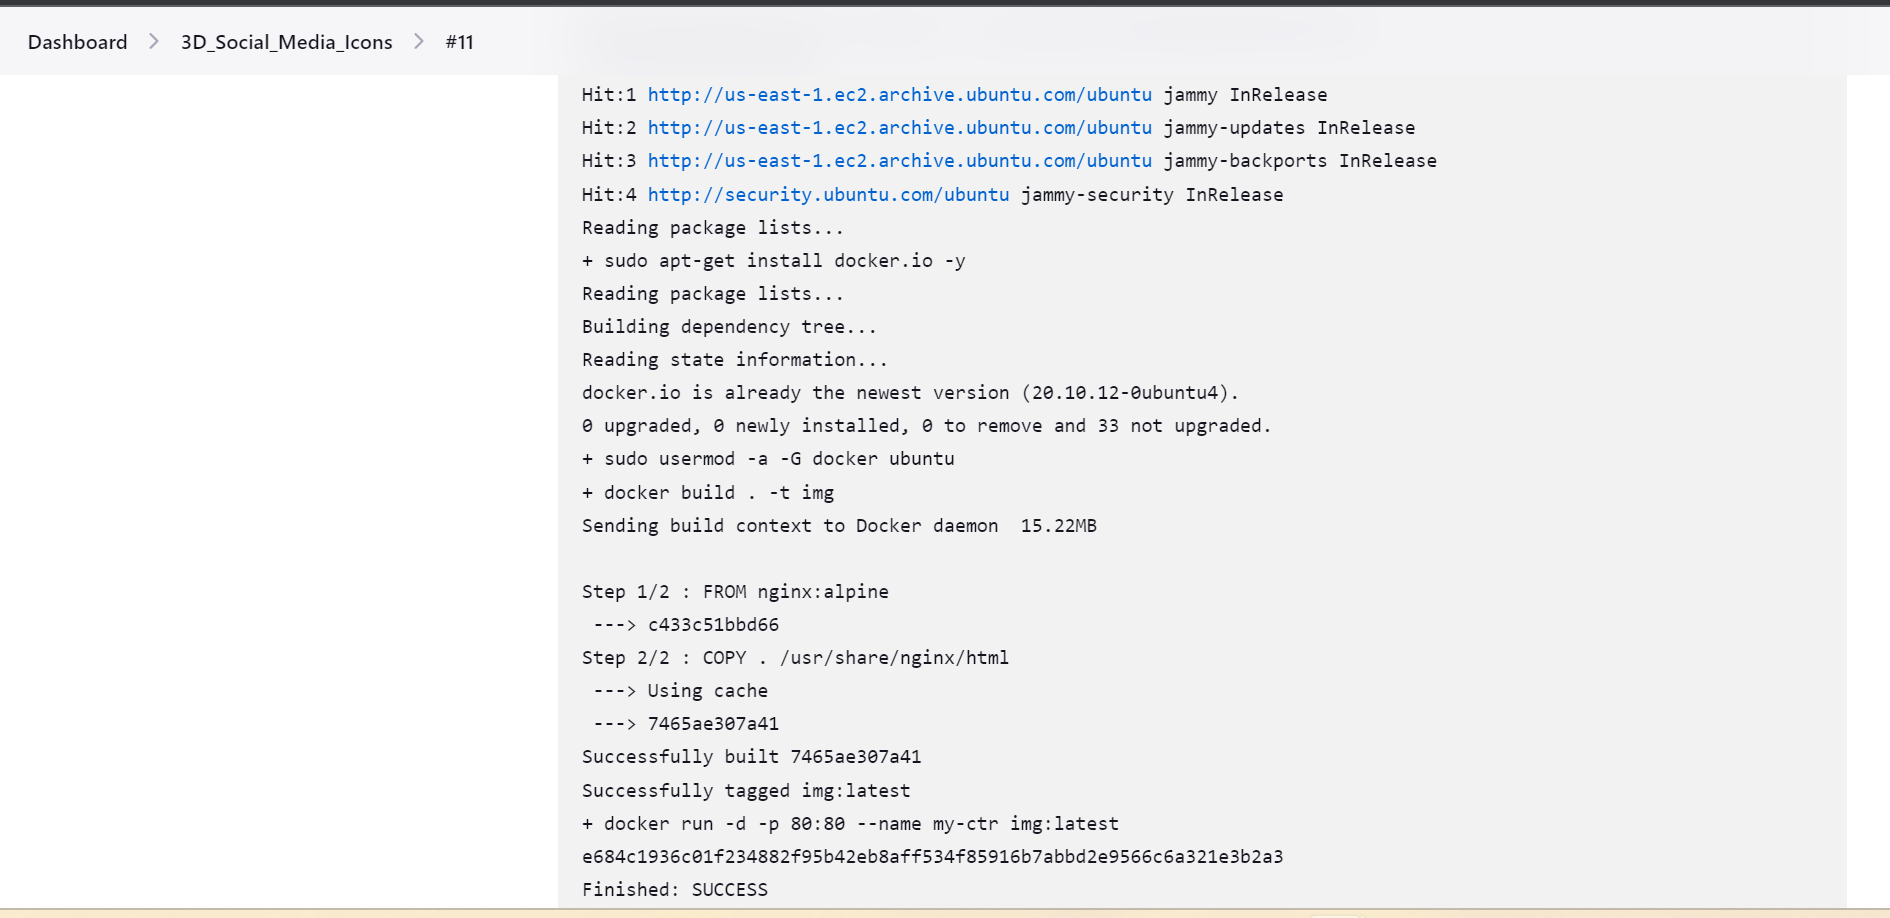
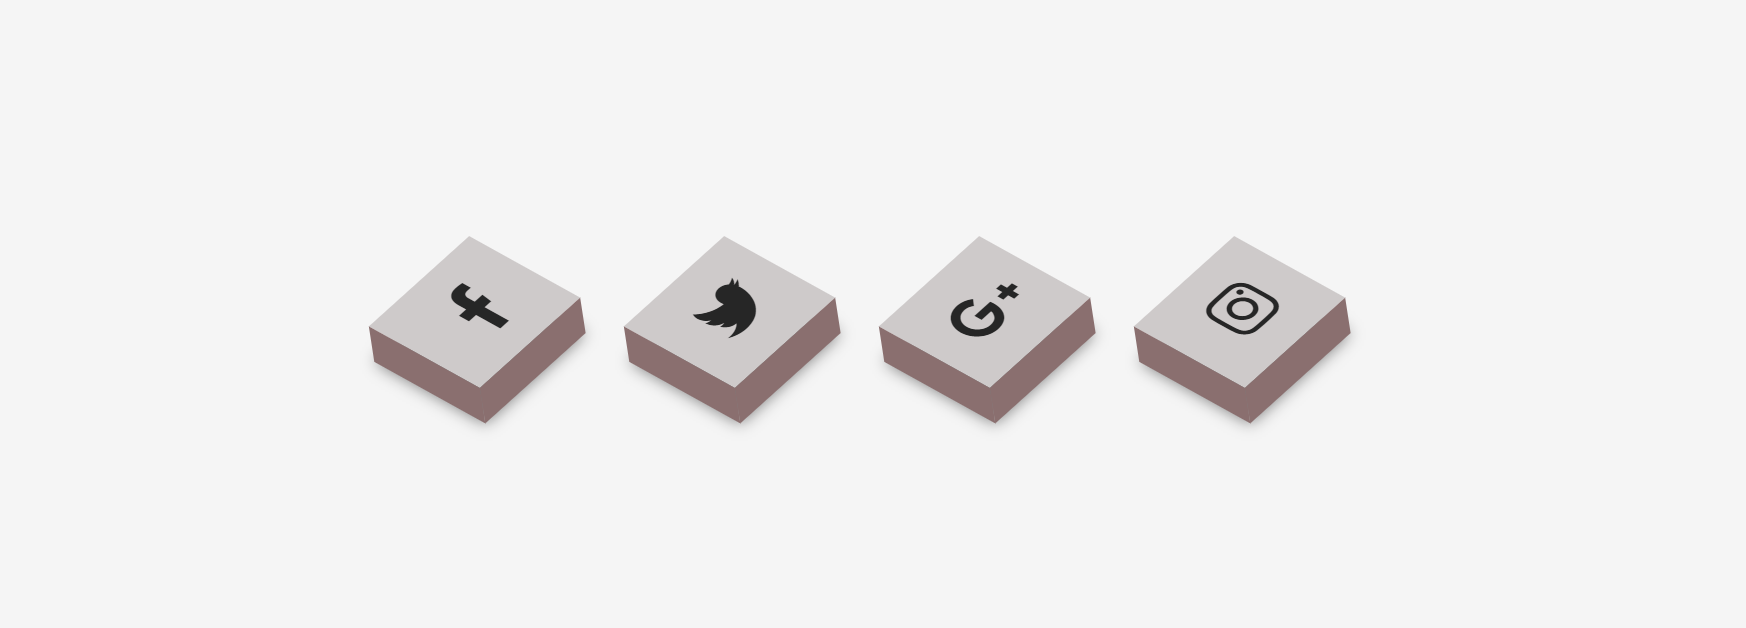
Project4: Let's Deploy 3D_Social_Media_Icons-App-via Jenkins on Agent 😃


Thank you for reading this blog. Hope it helps.
— Safia Khatoon
Happy Learning:)
Subscribe to my newsletter
Read articles from SAFIA KHATOON directly inside your inbox. Subscribe to the newsletter, and don't miss out.
Written by

SAFIA KHATOON
SAFIA KHATOON
Hi! My name is Safia Khatoon. I am complete my Bachelors in Technology from RTC Institute Of Technology. My specialisation in Computer Science and Engineering.I love contributing to Open Source with the help of the skills I gain. Also, I'm working on my YouTube Channel as well where I teach about DevOps tools and make technical content. You can have a look at it through my profile. Feel free to reach out to me! I'd be happy to connect with you.