Setting up environment for React Native
 Shrutika Dorugade
Hello guys, welcome to my blog. This is my first blog where I am going to explain to you the tools we need to get started with React Native.
VS Code:
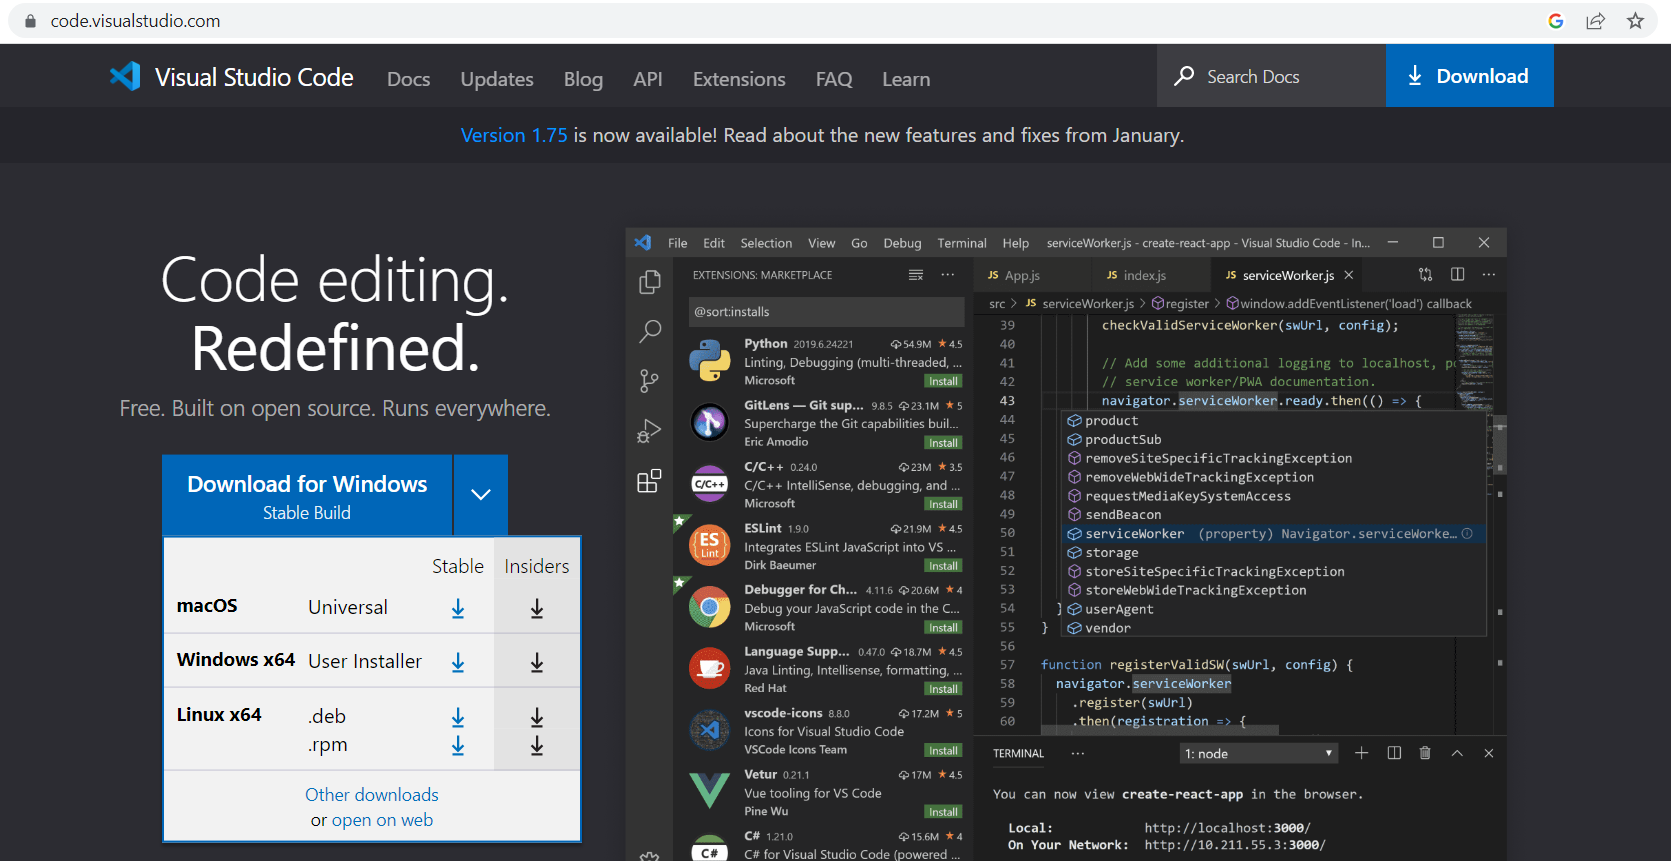
The first and most important thing is having a code editor and here you can go with VS code as it is a lightweight and easy-to-use tool. To install VS code, you can go to the official site https://code.visualstudio.com/ and download installer suitable for your machine. You can refer to the below screenshot for the same:
Node.js and Java
Ok, so you might have thought why I have mentioned both tools in one heading. Let me answer your query. Instead of installing them separately, we can install them in one go using a very simple command. For that, you will need to install Chocolatey.
Installing Chocolatey:
Open windows powershell in admin mode.
Before installing chocolatey you need to check your execution policy so in PowerShell type the below command:
Get-ExecutionPolicyIf it is not
AllSignedthen set it toAllSignedas shown below:Set-ExecutionPolicy AllSignedYou will get one question, answer it with Y.
Make sure the policy has changed by using the get command.
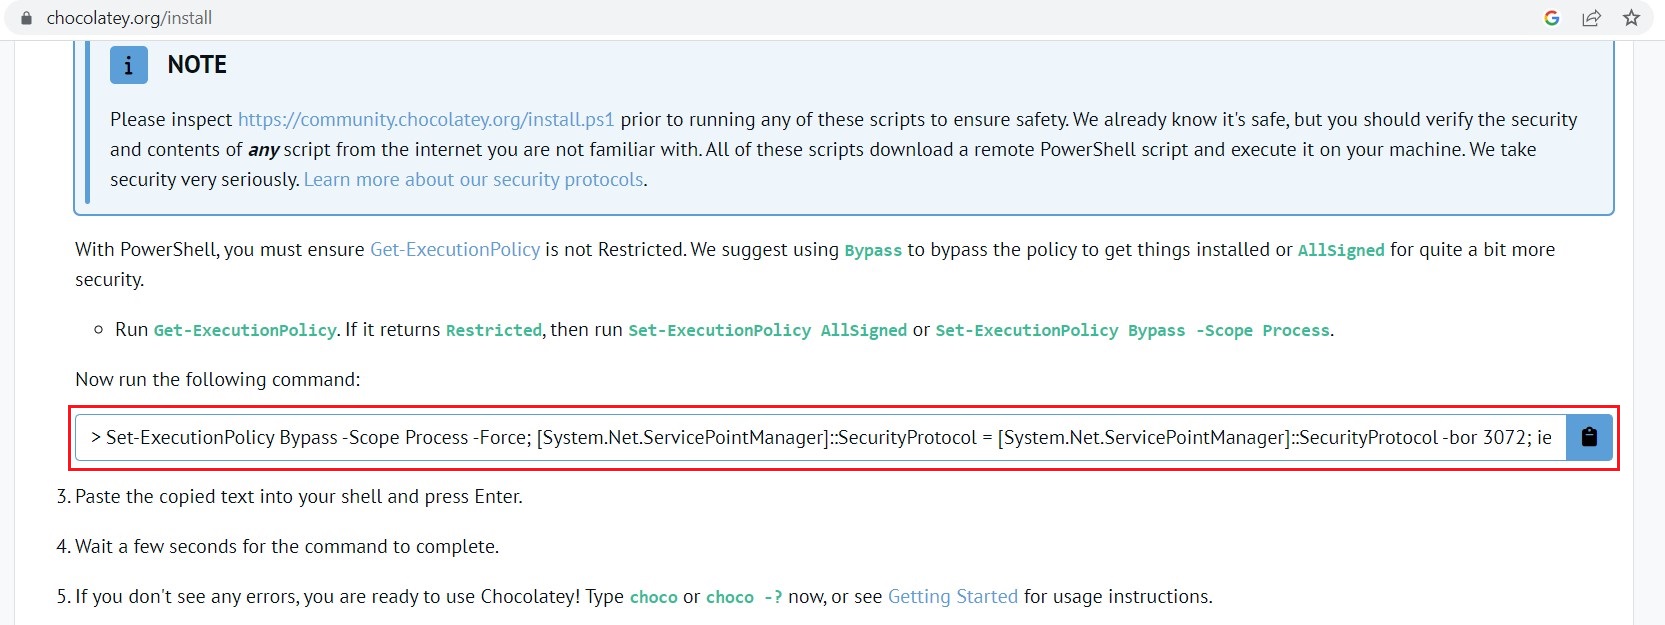
Now go to https://chocolatey.org/install and scroll down you will find the command to install Chocolatey. Copy it and run it in PowerShell. Refer to the below screenshot:
Installing Java (OpenJDK) and Node.js:
We have installed Chocolatey. Now it's super easy to install Java and Node using one simple command. Open a fresh command prompt and run the below command:
choco install -y nodejs-lts microsoft-openjdk11
Note: Forgot to mention one thing above. One advantage of Chocolatey is that it takes care of setting execution paths and environment variables for you.
Just verify once that Java and Nodejs are properly installed on your machine using the commands java --version and node -v respectively.
Android Studio
I know the android studio is a very heavy tool and if you have a low RAM machine then it becomes very hard to execute all things. But here you don't need to worry. We are installing android studio to take advantage of some of the packages which come up with android studio.
Download the installer and double-click on it once downloaded.
Android studio setup window will appear. Click on Next->Next.
On the next screen, you can choose any other location if you want.
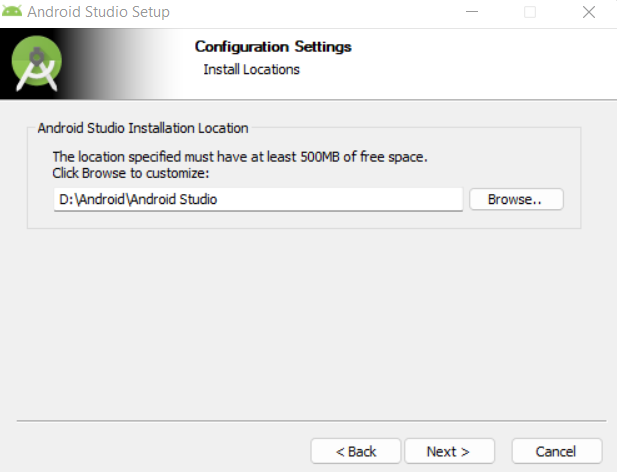
On the next screen, keep everything as it is and click on Install.
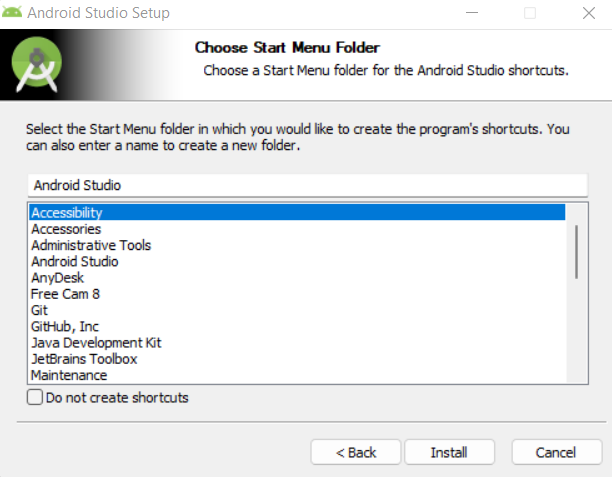
Once installation completes then click on Next and then click on Finish.
The main component which we need here is adb
(Android Debug Bridge)so that we can run our react native app on our mobile device. To check if it is properly installed run the below command in your cmd:adb --versionIf you get adb is not recognized error then please set
sdk\platform-toolspath in environment variables. For most of the window users below is the path:C:\Users\{Your Username}\AppData\Local\Android\Sdk\platform-toolsWait wait, I know you might be searching now
Edit System Environment Variablesto set the path. But here is a better way to set a path using a very simple command:path C:\Users\{Your Username}\AppData\Local\Android\Sdk\platform-tools
Hush!!! So many steps. Now you can take a breath as here we have come to an end of this article. Congratulations! now you can go ahead with creating your first react native app.
At the end, I would like to thanks Hitesh Choudhary who encouraged me to write this article on Hashnode and many thanks to Hashnode for giving an amazing blogging experience to developers like me.
Subscribe to my newsletter
Read articles from Shrutika Dorugade directly inside your inbox. Subscribe to the newsletter, and don't miss out.
Written by

Shrutika Dorugade
Shrutika Dorugade
I am a software engineer at Accenture and an Tech enthusiast who have decent knowledge in Spring Boot and MERN stack
