Creating a Minimal Linux System for the BeagleBone Black with Buildroot
 Bill Van Leeuwen
If you've been following my earlier blogs, this is a continuation of my independent study course on Embedded Linux. In the previous blogs, I covered building a Linux system from scratch. But now it's time to upgrade to a build system.
I'm going to be using Buildroot in this tutorial. I chose Buildroot as it is one of the less complex and more widely used build systems in the embedded Linux space. Yocto is arguably better for a production scenario but takes much longer to master due to its complexity. Buildroot is simple but lacks many of the bells and whistles that Yocto has.
Much of this blog is based on bootlin's training documentation, so it may be more useful for you to follow along with that as well as this blog.
What is a Build System?
A build system is a lot of things and can look very different depending on the project. A build system in its easiest description is translating source code into binary files to be run on a system.
A simple build system could be a single makefile that compiles a single C program. Example below:
#include <stdio.h>

int main(){
    printf("Hello World!\n");
CC=gcc

hello:
        $(CC) hello.c -o hello
This is likely one of the simplest forms of build systems possible. It might almost be stretching it calling it a 'system' because of how minimal it is.
Buildroot is similar to this (but much much more complex). It does what this simple makefile does, except it compiles the Linux kernel, bootloader, any modifications you have, and many more, all according to the configurations you input.
Embedded Linux build systems automate so much that building from scratch is essentially obsolete except in some very interesting edge cases.
Getting Buildroot
First, as always, clone the git repository:
git clone https://git.buildroot.net/buildroot
Switch into the cloned repo, and checkout the newest build
cd buildroot
git checkout 2022.11
Configuring Buildroot
Buildroot uses the same menuconfig we saw in earlier blog's that crosstool and the Linux kernel does, so enter that with:
make menuconfig
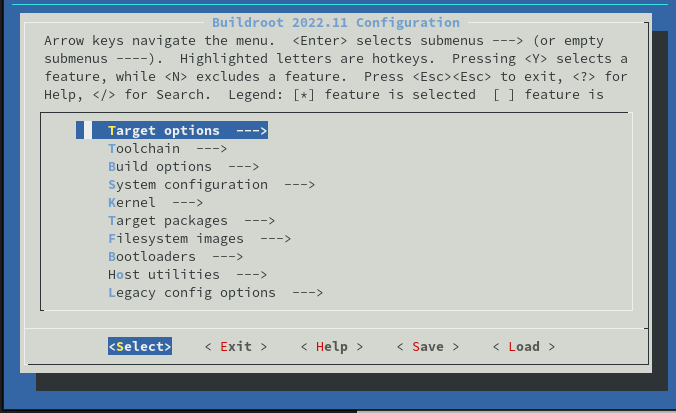
I'm closely following Buildroot's Training Document here With the largest change being that my BeagleBone is the non-wireless version, and thus uses a different device tree.
Do experiment with these options on your own time, or take some time to see what other options are available in the menuconfig. There are quite a few interesting options that are easy to implement.
In Target Options:
Select
ARM (little endian)as the Target ArchitectureSelect
cortex-A8as the Target Architecture Variant
In Toolchain:
Set toolchain type to
External toolchain. (This will save us a lot on build time).Set the Toolchain under Toolchain External Options as
ARM 2021.07.
In System Configuration:
Set the System hostname to something of your preference. I used
billbeaglebone.Set the System banner as well to anything of interest. This is a line of text that will print every time you turn the system on. Mine is
Bill's Embedded Linux!Enable root login with password and set this password.
In Kernel:
Enable Linux Kernel, the default should be the newest kernel (at the time of reading 6.0), this is fine for our use.
Define the Defconfig name as
omap2plus.Make sure the Kernel binary format is
zImage.Define the In-tree Device Tree Source File name as
am335x-boneblack.Enable Needs host OpenSSL
In Target Packages:
Enable BusyBox.
Optional: For a later blog, we will be debugging a program on the board using GDB and Valgrind. In Debugging, profiling and benchmark enable
GDBandgdbserver, as well asvalgrind.Optional: in Networking applications enable dropbear. This is an SSH client that will be convenient to use later.
Optional: For a little fun, in Games enable
ascii_invaders.Take a look around here at all the packages you can include so simply with Buildroot. If you followed the last blog series on creating an embedded Linux system from scratch, you might appreciate just how easy this is.
In Bootloaders:
Enable U-Boot.
Define the U-Boot configuration as
am335x_evm.Set the Build system
Kconfig.Check that the U-Boot Version is set
2022.04.In U-Boot binary format, enable only
u-boot.img.Enable Install U-Boot SPL binary image, and set U-boot SPL/TPL binary image name(s) to
MLO.
This finishes our configuration! Go ahead and save before exiting.
Building Your System
For curiosity, Bootlin notes we should save the build log. If you don't care about this, you can just run make. But if you're interested like I am to see the build log, run make 2>&1 | tee build.log which will save the make and terminal logs to a build.log file.
The first time you build will take a while. Skip to 'Prepping the SD Card' in the interest of time.
Once the build is done, and you've dealt with any errors that may have come up (I had to install perl on my system), you should see these output files in the output/images directory.
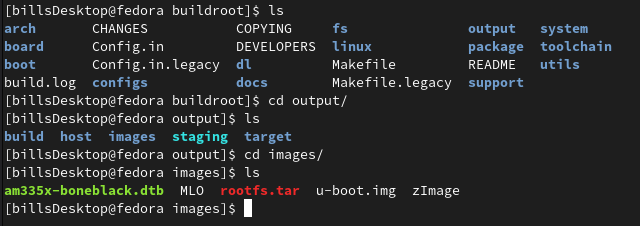
Prepping the SD Card
You should use a good SD card for this. At first I tried the Kingston CANVAS Select Plus, but experienced issues with the read/write speeds. I upgraded to the SanDisk Extreme and had no issues.
We need to create two partitions on our card. You can use command line tools, or something easy like GParted.
Create two partitions, the first a FAT32 filesystem with 128Mib, and the second a ext filesystem taking up the remaining space on the card.
You should end up with partitions looking similar to this:
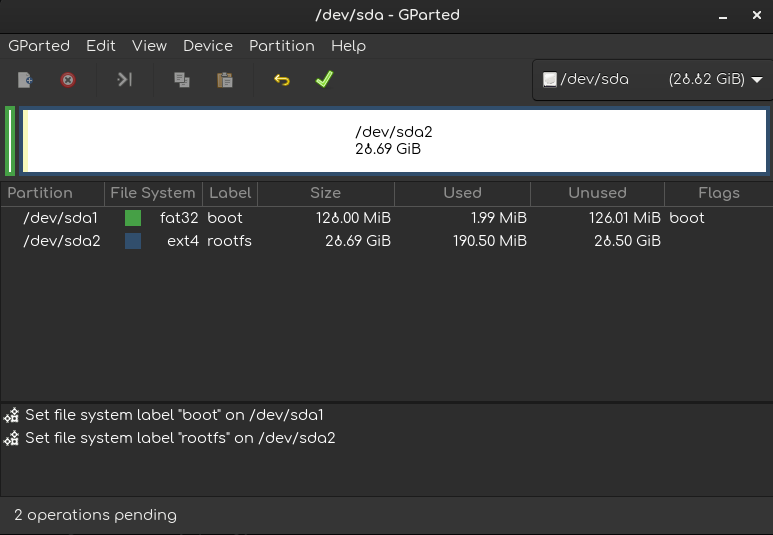
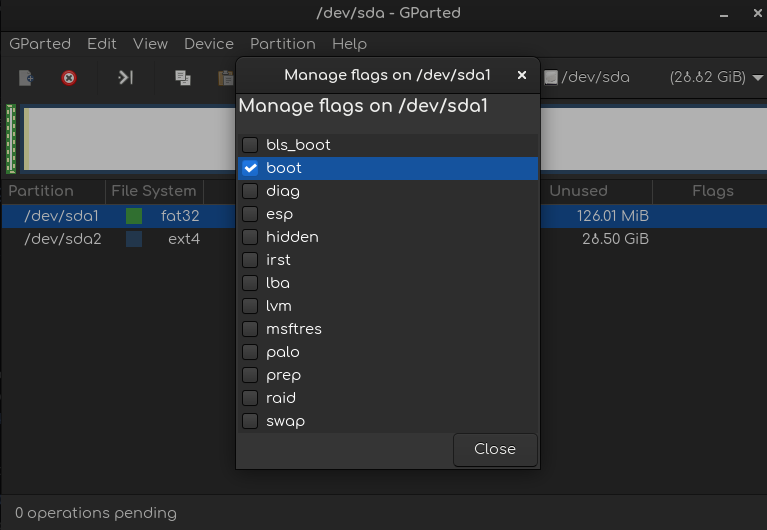
Label the partitions as I did for ease of use, and set the boot flag on the boot partition by left-clicking, and selecting Manage flags .
Prepping Our Linux System
Once the build finishes, and you have your SD Card formatted, we are ready to move our files over to the BeagleBone.
Follow the steps in my earlier blog to connect a serial adapter, and install picocom .
Copy the files from the output/images directory onto the boot partition like so:
#On Fedora Linux, the SD card is mounted at /run/media/$USER/partitionname, this may be different depending on your distro.
cp MLO u-boot.img zImage am335x-boneblack.dtb /run/media/$USER/boot/
We can create a file to give U-Boot commands without setting the bootloader manually. Create a folder and file in the boot partition:
mkdir extlinux && touch extlinux/extlinux.conf
Fill this file with the following text:
label buildroot
        kernel /zImage
        devicetree /am335x-boneblack.dtb
        append console=ttyO0,115200 root=/dev/mmcblk0p2 rootwait
If you follow this from my earlier blog, you might notice this is very similar to the commands we gave to U-Boot manually.
Finally, we need to unpack our root file system now to the second partition:
sudo tar -C /run/media/$USER/rootfs/ -xf rootfs.tar
Now our card is ready for the BeagleBone!
Booting Our System
With your serial adapter plugged into your PC, start up a picocom terminal:
picocom -b 115200 /dev/ttyUSB0
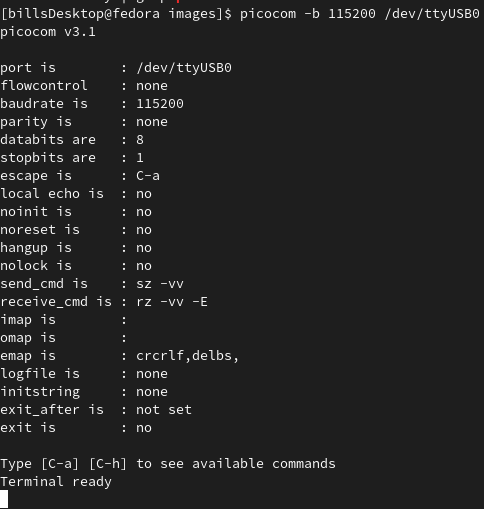
Now, unmount the SD card's partitions, and insert the card into the board.
While plugging in the board, hold down the USR button to force the system to boot from the SD card.
You should see U-Boot and kernel output similar to this:
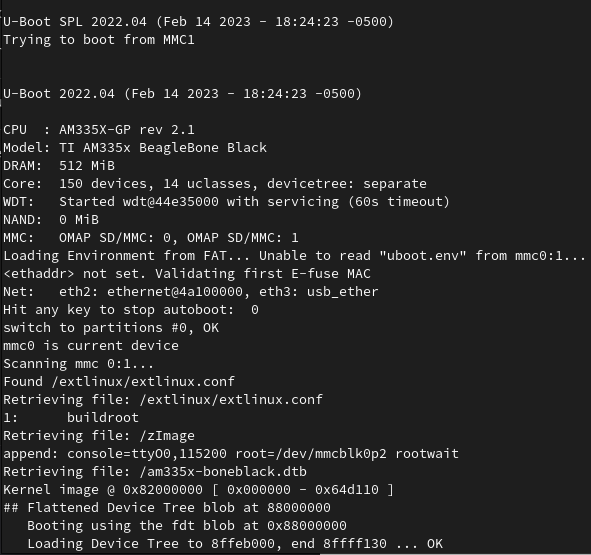
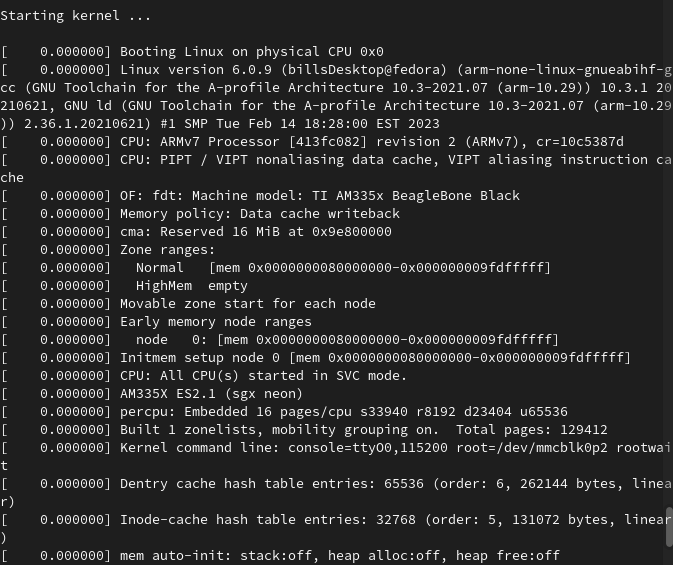
Finally followed with the banner you set in the Buildroot menuconfig.
Login as root with the password you supplied:
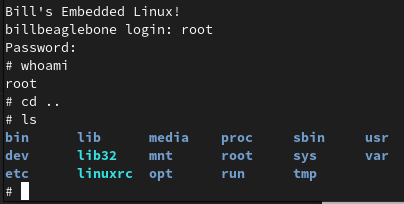
And you've now installed a Buildroot Linux system on the board!
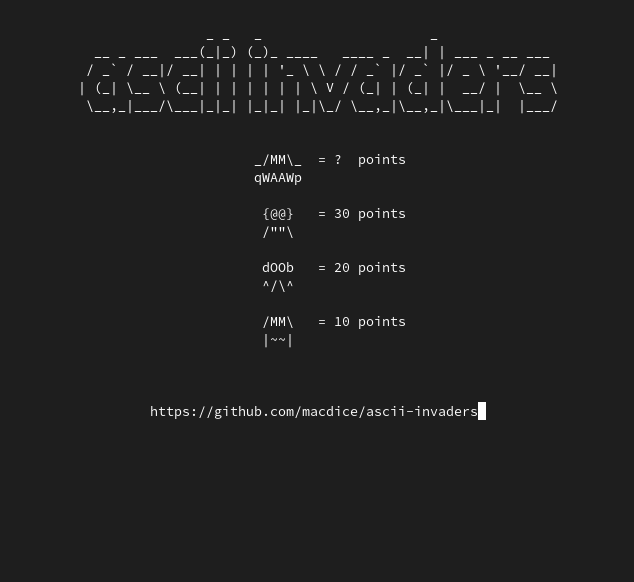
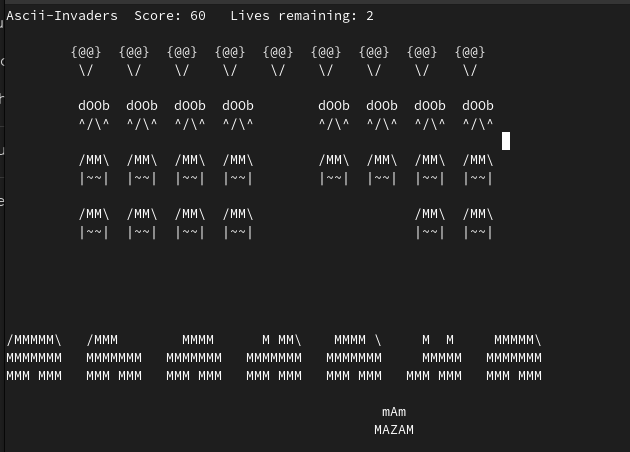
If you followed the optional steps in the config step, enjoy some ascii_invaders:
This finishes the tutorial. Thanks for reading!
Subscribe to my newsletter
Read articles from Bill Van Leeuwen directly inside your inbox. Subscribe to the newsletter, and don't miss out.
Written by
