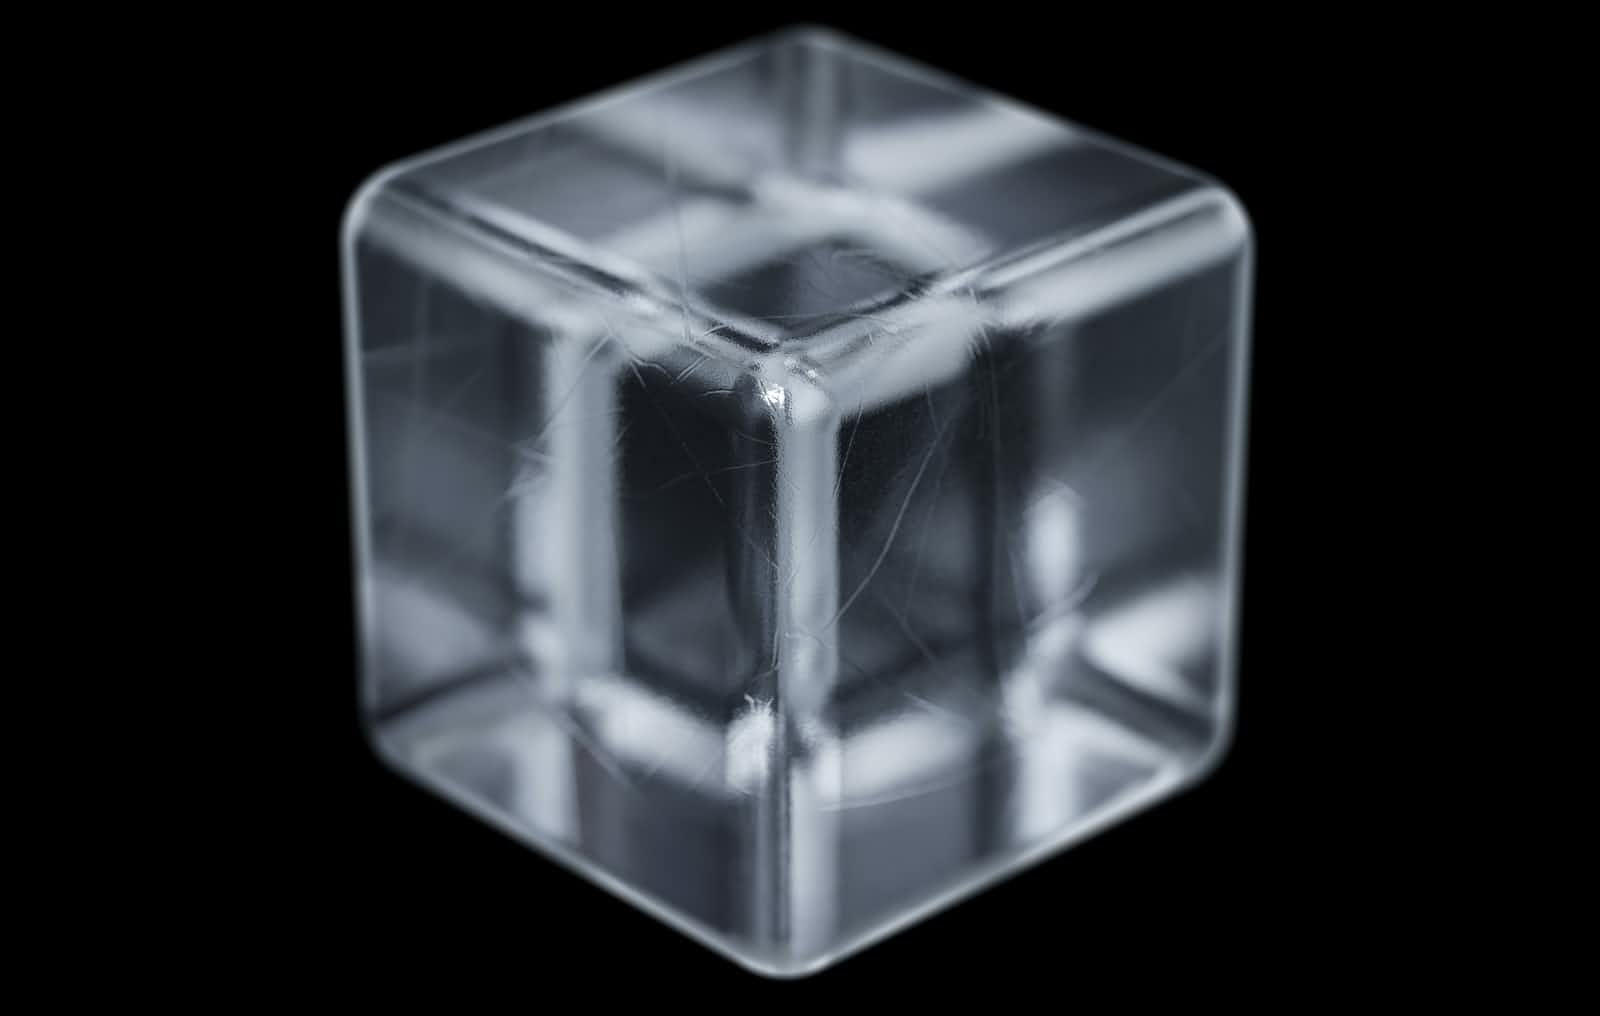
Camera Animation using React Three Fiber and GSAP
 Vaisakh Np
Libraries/Frameworks Used
React-three-fiber: It's an up & coming library that builds on top of ThreeJS. We can use normal JSX syntax because it is much easier to use React-three-fiber than writing using plain ThreeJS. Think of it as similar to React-JSX instead of HTML + JS.
GSAP: Animation Library used to help us create fast & snappy animations on the go.
Getting Started
Create a React project using Typescript and ThreeJS
Install dependencies
npm install three typescript webpack webpack-cli ts-loader --save-dev
- Install all modules to use react-three-fiber and GSAP libraries
npm install @react-three/fiber @react-three/drei @types/three gsap
Start the project
npm start
Setting up the Scene and Controls
Setup a basic
<Canvas>...<Canvas/>component in the app.js file or wherever else you want, like so//App.tsx import { Canvas } from "@react-three/fiber"; import { Vector3 } from "three"; const App = () => { const cubeScale = new Vector3(10, 5, 10); return ( <> <Canvas style={{ height: "100vh" }} camera={{ position: [10, 10, 10], }} > <mesh scale={cubeScale}> <boxBufferGeometry /> <meshStandardMaterial color={0x00ff00} /> </mesh> </Canvas> </> ); }; export default App;Creating the Canvas component automatically setups a scene for us with a camera, and lights. The position and other props of the camera and lights can be edited as mentioned here.
We can add our own custom camera and make our scene use it as the default one too, but that's not the objective of this article
We will create a separate component for the camera named
Camera.tsxsince creating components is a core functionality of React and is a good practice. Note as mentioned before, we will only add camera controls to help rotate the camera.//Camera.tsx import { OrbitControls } from "@react-three/drei"; import { useThree } from "@react-three/fiber"; import { useRef } from "react"; import { Vector3 } from "three"; const CameraControls = () => { //Initialize camera controls const { camera, gl: { domElement }, } = useThree(); const ref = useRef(null); // Determines camera up Axis camera.up = new Vector3(0, 1, 0); // return the controls object return ( <OrbitControls ref={ref} args={[camera, domElement]} panSpeed={1} maxPolarAngle={Math.PI / 2} /> ); }; export { CameraControls };With this setup, we now have a functional scene with the camera setup and the camera controls setup.
Call
Camera.tsxcomponent from the main Canvas.//App.tsx import { Canvas } from "@react-three/fiber"; import { Vector3 } from "three"; import { CameraControls } from "./Camera"; const App = () => { const cubeScale = new Vector3(10, 5, 10); return ( <> <Canvas style={{ height: "100vh" }} camera={{ position: [10, 10, 10], }} > <mesh scale={cubeScale}> <boxBufferGeometry /> <meshStandardMaterial color={0x00ff00} /> </mesh> <CameraControls /> </Canvas> </> ); }; export default App;
Now we should be able to rotate the camera around a fixed point
Adding Animation to Scene
Next, we add animation to the camera on the occurrence of an event. As an example, we'll take a button click as the event.
First, we use state variables for keeping track of the position and the target of the camera. Then pass it on the Camera controls
  //App.tsx
  import { Canvas } from "@react-three/fiber";
  import { useState } from "react";
  import { Vector3 } from "three";
  import { CameraControls } from "./Camera";

  const App = () => {
    const cubeScale = new Vector3(10, 5, 10);
    const [position, setPosition] = useState({ x: 10, y: 10, z: 10 });
    const [target, setTarget] = useState({ x: 0, y: 0, z: 0 });
    return (
      <>
        <Canvas
          style={{ height: "100vh" }}
          camera={{
            position: [10, 10, 10],
          }}
        >
          <mesh scale={cubeScale}>
            <boxBufferGeometry />
            <meshStandardMaterial color={0x00ff00} />
          </mesh>
          <CameraControls position={position} target={target} />
        </Canvas>
      </>
    );
  };
  export default App;
Next, we update the
Camera.tsxso that on each update of the camera target or position the camera animation function will execute.So, first we define the props
PositionandTarget//Camera.tsx import { OrbitControls } from "@react-three/drei"; import { useThree } from "@react-three/fiber"; import { useRef } from "react"; import { Vector3 } from "three"; interface Point { x: number; y: number; z: number; } interface Props { position: Point; target: Point; } const CameraControls = ({ position, target }: Props) => { //Initialize camera controls const { camera, gl: { domElement }, } = useThree(); const ref = useRef(null); // Determines camera up Axis camera.up = new Vector3(0, 1, 0); // return the controls object return ( <OrbitControls ref={ref} args={[camera, domElement]} panSpeed={1} maxPolarAngle={Math.PI / 2} /> ); }; export { CameraControls };Then, add an animation function that will be called each time the animation needs to be executed. The properties that need to be animated are namely the Position and the Target.
To animate an individual property we could also use
  gsap.to(animatedObjectRef, {
        duration: 2,
        repeat: 0,
        x: target.x,
        y: target.y,
        z: target.z
      });
This would create an animation where the
animatedObjectRefwould move to target coordinatesBut since here in our case, we need to not only move the camera but also animate the camera focus changing to a new target. We can have 2
gsap.to()function calls animating the target and position, side by side, which will lead to one animation after the other. But, what we want is one single fluid animation where both animations happen together concurrently.In this case, we can use another function of the GSAP library called the
timeline()functiongsap.timeline().to(animatedObjectRef1, { duration: 2, repeat: 0, x: position.x, y: position.y, z: position.z, ease: "power3.inOut", }); gsap.timeline().to(animatedObjectRef2, { duration: 2, repeat: 0, x: position2.x, y: position2.y, z: position2.z, ease: "power3.inOut", }, positioningAnimationTimeline );The
gsap.timeline().to()function is similar to thegsap.to()except for thepositioningAnimationTimelineargument which helps to control exactly where the animation is placed in the timeline. The default value is'>'which stands for end of the previous animation.You can read about all the available options here in the
#Positioning animations in a timeline section.
Since we need both animations to run concurrently, we can use
'<'which means that the animation will run at the start of the previous animation, or in other words will run together with the previous animation.To animate the camera position we can use the
cameraobject that we destructred from theuseThree()hook and the target value for the camera we can use the ref of theOrbitControlsfunction cameraAnimate(): void { gsap.timeline().to(camera.position, { duration: 2, repeat: 0, x: position.x, y: position.y, z: position.z, ease: "power3.inOut", }); gsap.timeline().to( ref.current.target, { duration: 2, repeat: 0, x: target.x, y: target.y, z: target.z, ease: "power3.inOut", }, "<" ); }Now since this function needs to be called each time the position or the target is updated we can avail use of the
useEffect()hookuseEffect(() => { cameraAnimate(); }, [target, position]);The
Camera.tsxwill now look like//Camera.tsx import { OrbitControls } from "@react-three/drei"; import { useThree } from "@react-three/fiber"; import gsap from "gsap"; import { useEffect, useRef } from "react"; import { Vector3 } from "three"; interface Point { x: number; y: number; z: number; } interface Props { position: Point; target: Point; } const CameraControls = ({ position, target }: Props) => { const { camera, gl: { domElement }, } = useThree(); const ref = useRef<any>(null); camera.up = new Vector3(0, 1, 0); function cameraAnimate(): void { if (ref.current) { gsap.timeline().to(camera.position, { duration: 2, repeat: 0, x: position.x, y: position.y, z: position.z, ease: "power3.inOut", }); gsap.timeline().to( ref.current.target, { duration: 2, repeat: 0, x: target.x, y: target.y, z: target.z, ease: "power3.inOut", }, "<" ); } } useEffect(() => { cameraAnimate(); }, [target, position]); return ( <OrbitControls ref={ref} args={[camera, domElement]} panSpeed={1} maxPolarAngle={Math.PI / 2} /> ); }; export { CameraControls };Great! We're done with most of the work now. Now everytime we update the position or the target states then the camera will animate
Now we can add a few Buttons in the
App.tsxwith a bit of styling and on click of each button there will be an update of the states.//App.tsx import { Canvas } from "@react-three/fiber"; import { useState } from "react"; import { Vector3 } from "three"; import { CameraControls } from "./Camera"; const App = () => { const cubeScale = new Vector3(10, 5, 10); const [position, setPosition] = useState({ x: 10, y: 10, z: 10 }); const [target, setTarget] = useState({ x: 0, y: 0, z: 0 }); function onChange(idx: number = 0) { let position = { x: 10, y: 10, z: 10 }; let target = { x: 0, y: 0, z: 0 }; if (idx === 1) { position = { x: 0, y: 20, z: 20 }; target = { x: 0, y: 10, z: 0 }; } else if (idx === 2) { position = { x: 20, y: 0, z: 20 }; target = { x: 0, y: 0, z: 10 }; } setPosition(position); setTarget(target); } return ( <> <Canvas style={{ height: "100vh" }} camera={{ position: [10, 10, 10], }} > <mesh scale={cubeScale}> <boxBufferGeometry /> <meshStandardMaterial color={0x00ff00} /> </mesh> <CameraControls position={position} target={target} /> </Canvas> <div style={{ position: "absolute", right: 0, top: "50vh", display: "flex", flexDirection: "column", }} > <button onClick={() => onChange(0)}>Position 1</button> <button onClick={() => onChange(1)}>Position 2</button> <button onClick={() => onChange(2)}>Position 3</button> </div> </> ); }; export default App;Here we see that the buttons are added outside the
Canvaselement since it is used to render graphics, animations, and other visual content using JavaScript and WebGL.Here's a Code Sandbox for you to experiment around and cross check the code.
That's all there is for using some basic smooth camera animations in your Three-fiber application.
Thank you for reading. Comment if you have any issues or suggestions to do this more easily or efficiently.
Subscribe to my newsletter
Read articles from Vaisakh Np directly inside your inbox. Subscribe to the newsletter, and don't miss out.
Written by

Vaisakh Np
Vaisakh Np
A web developer looking to learn and build the most breathtaking projects. Interested in all things Javascript/Typescript. Hopping from one framework to another.