Debugging Dilemmas: A Comedic Journey Through the Code
 Chioma Uche-Nwosu
Ah, debugging. The bane of every developer's existence. It's that amazing time we spend staring at lines of code, trying to figure out the tiniest error.
As a developer, debugging makes me question my sanity. I imagine it is like playing hide-and-seek with a mischievous toddler that thinks it is funny to move from hiding spot to hiding spot without noticing when you are getting close to them. Suddenly, you realize your small creature was just a missing semicolon. Even so, debugging can be humorous at times. There's a certain absurdity that you can't help but appreciate, even when you feel like you're losing your mind.
Laugh along with me as I share my epic journey of debugging. There was a pesky bug hiding in the shadows, taunting me with its elusiveness. After the eighth day, I decided I would quit and pursue a degree as a florist instead. But then I finally found the bug.
So much for my new career path!
The Debugging Process: From Start To Finish
It all started when I began developing a child tracker app (I'm currently still building it). The app notifies parents when their children's devices enter or leave their homes. This is how the app works:
A geofence is set up in the child tracker app to create a virtual boundary around a specific area, in this case, the child's home. A geofence is simply a virtual geographic perimeter defined around a specific area.
The child carries a device (their phone) that is capable of transmitting their location data.
When the child leaves or enters the geofenced area, the device sends an alert to the parent's device, notifying them of the child's location and whether they have entered or exited the designated area.
The parents can view the child's location data on a map within the tracker app.
Start
To start building this child tracker, I had to be conversant with the following topics in Android:
Location services - to track the child's location and set up geofences.
Data storage - to store and retrieve data.
Push notifications - to send notifications to parents to notify them when their child leaves or enters a said geofence.
Security and privacy - protection of the privacy and security of the child and their location.
I learned a little about each topic and started building the app. I started a new project and designed and built the app's user interface. Once I was done with the UI, the next step was to add a map view. Creating a map view gives you a view of a map.
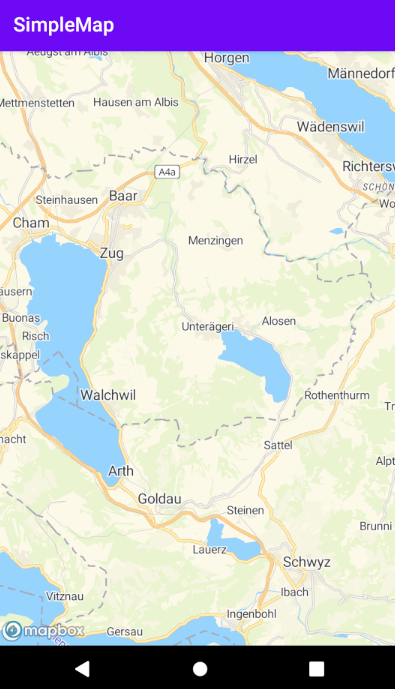
This ought to be the simplest part of the entire project, but nope, my debugging story had to start here.
I thought I had it all figured out. I was confident as I tackled what seemed like a straightforward coding task. But as it turns out, I had underestimated the power of a tiny bug to turn my world upside down.
Build
The first time I ran my code, my Android emulator crashed.
I tried it three more times, and it crashed again.
Insanity is doing the same thing over and over again and expecting different results.
~ Albert Einstein.
At the time, I saw no red lines in my code, so I assumed all was well until I checked my logcat.
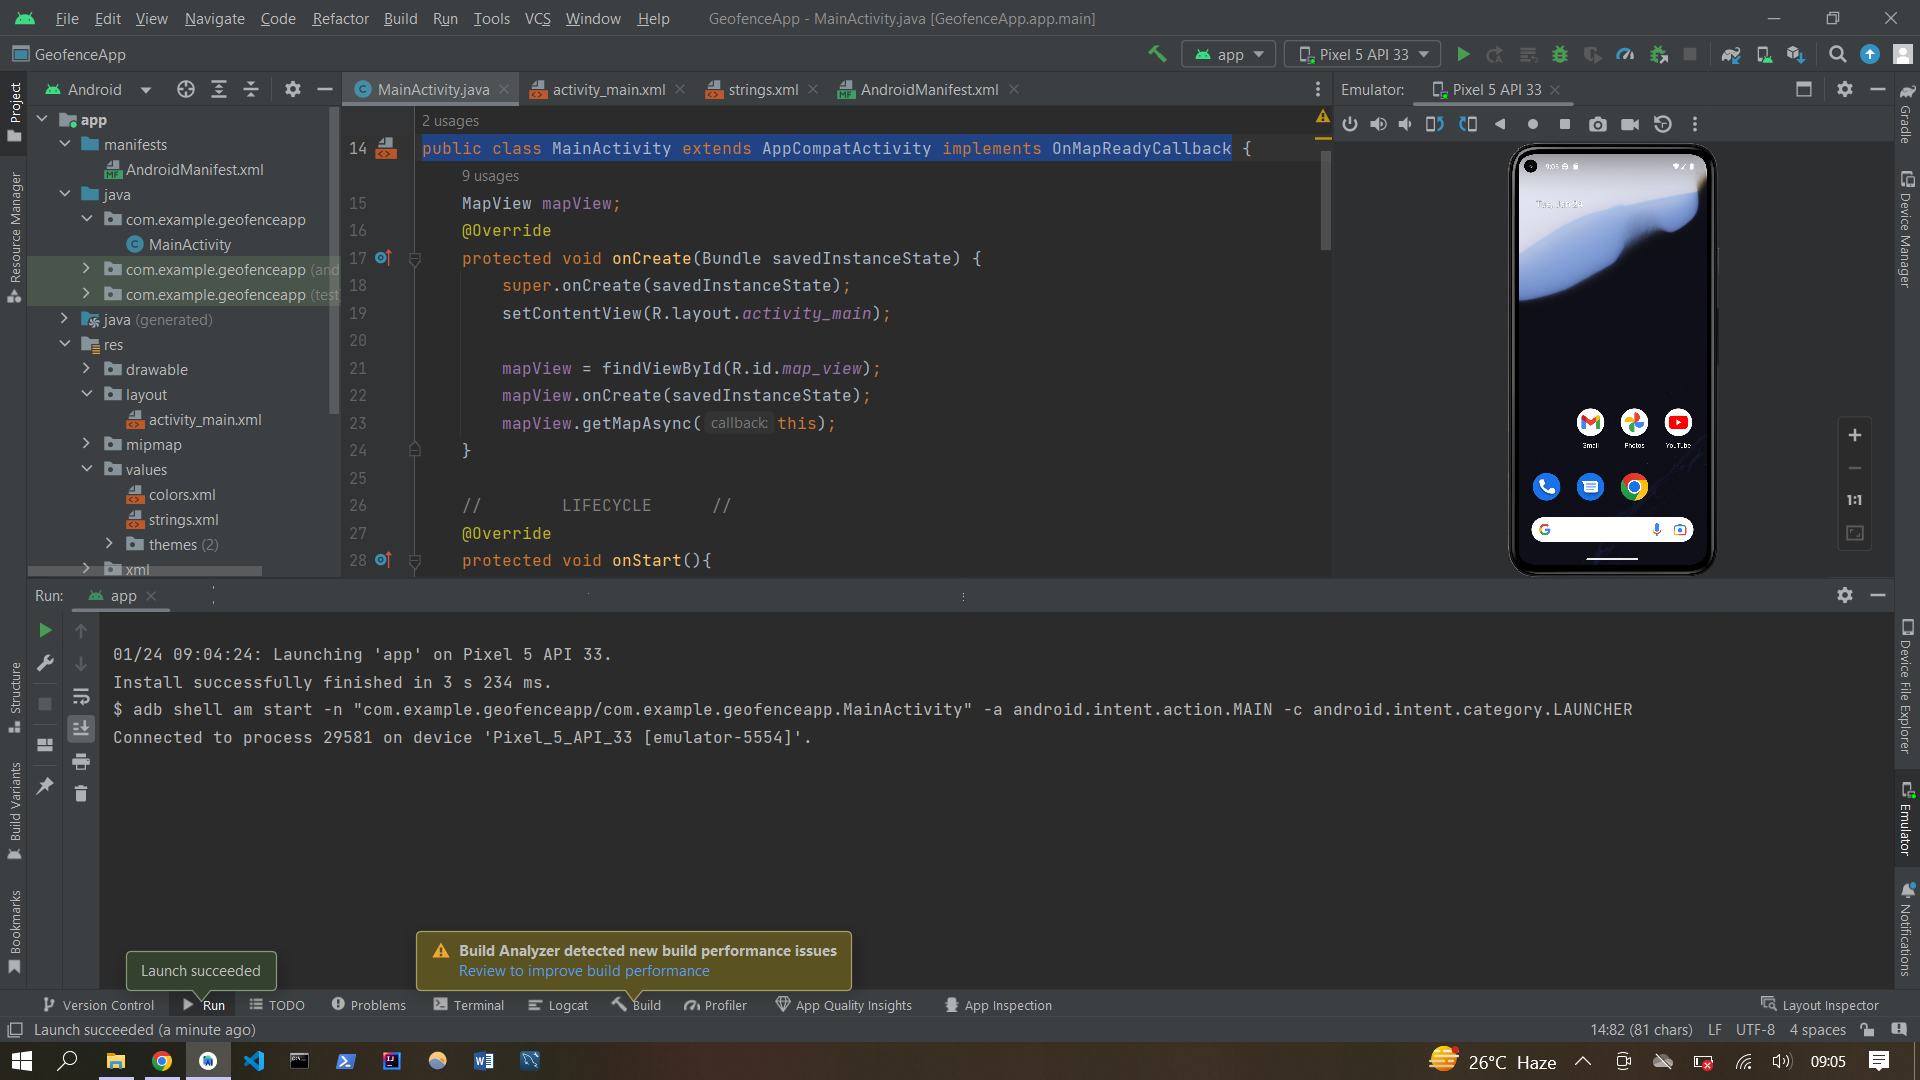
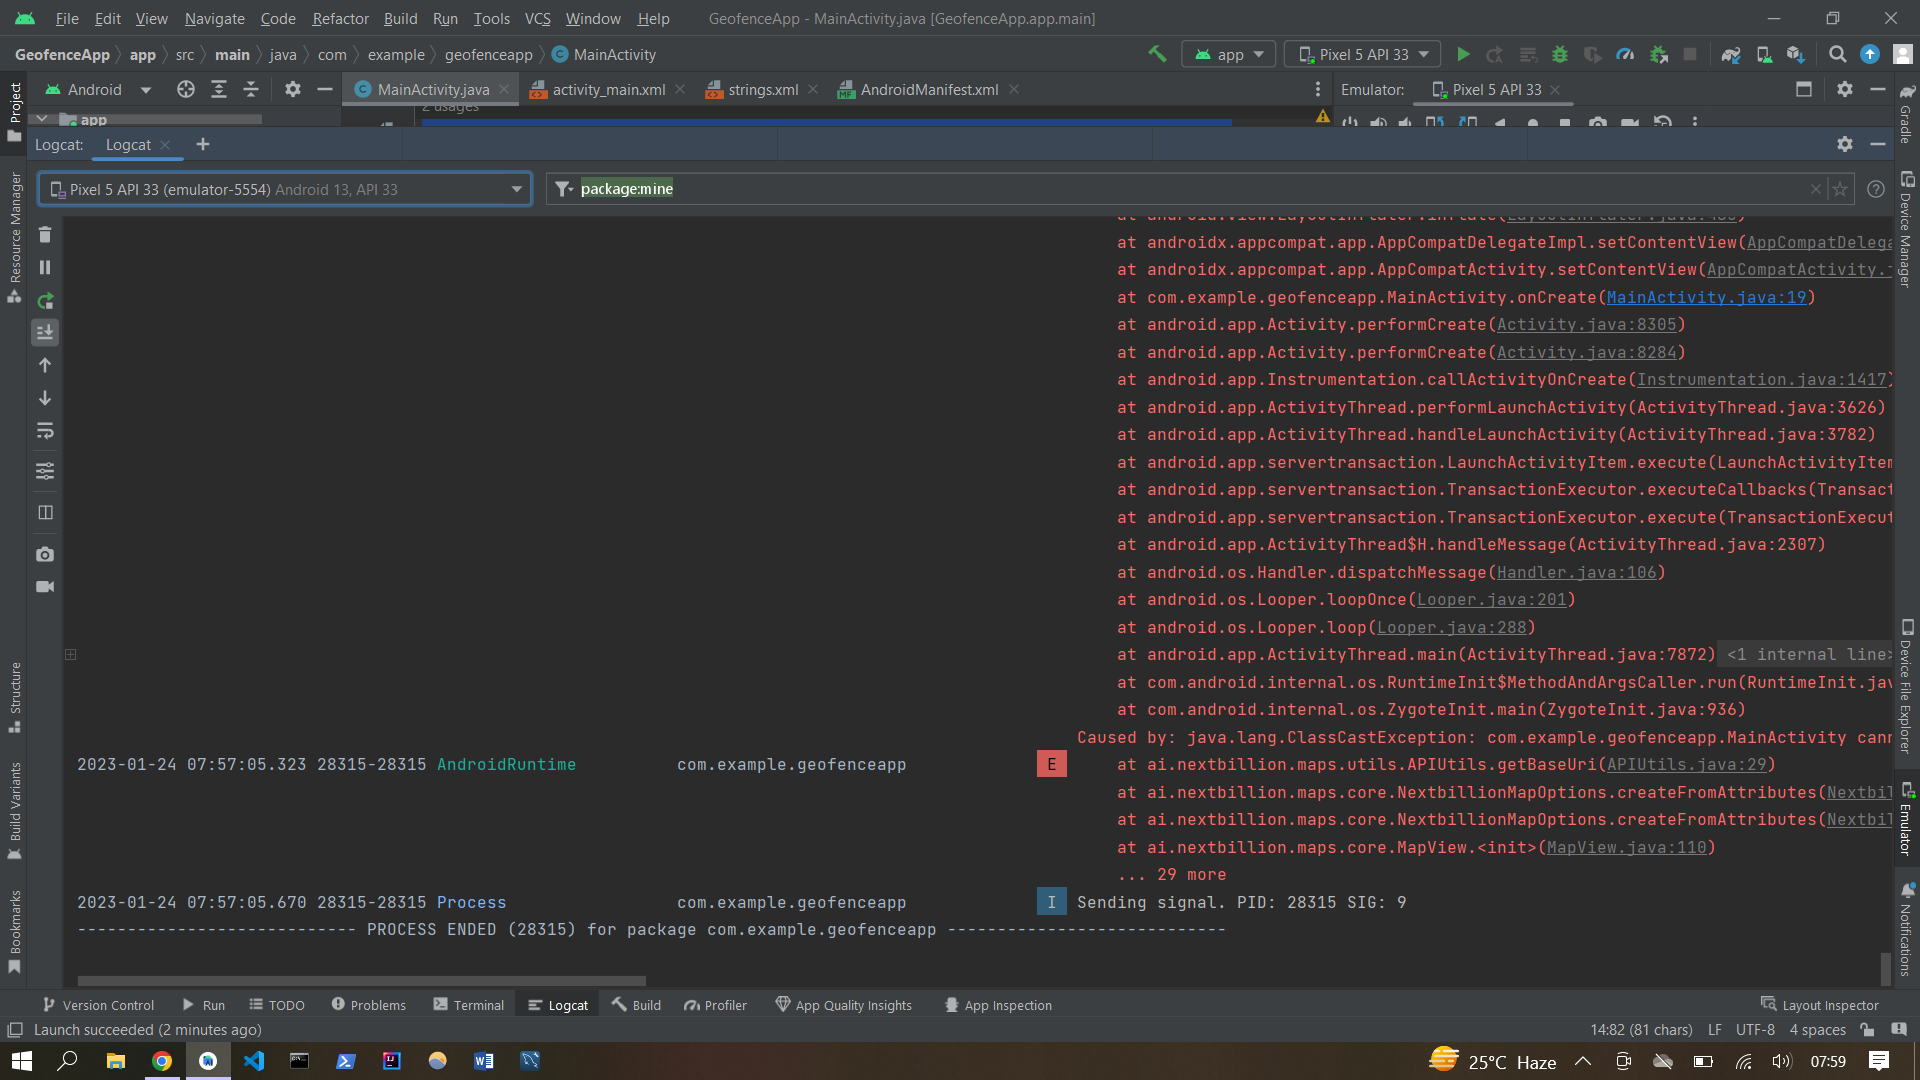
I thought to myself, "It's never that deep." "Just take a look at your code one more time, understand the error, and fix it." I fixed it and checked my logcat. I was sailing smoothly until I came face-to-face with the bug that inspired me to write this article.

At the time, I had never faced any errors with my Android Gradle Plugin or Gradle version. So I thought to myself, "It must just be that I need to restart my laptop," because sometimes that's all a code needs to be fixed. I was wrong.
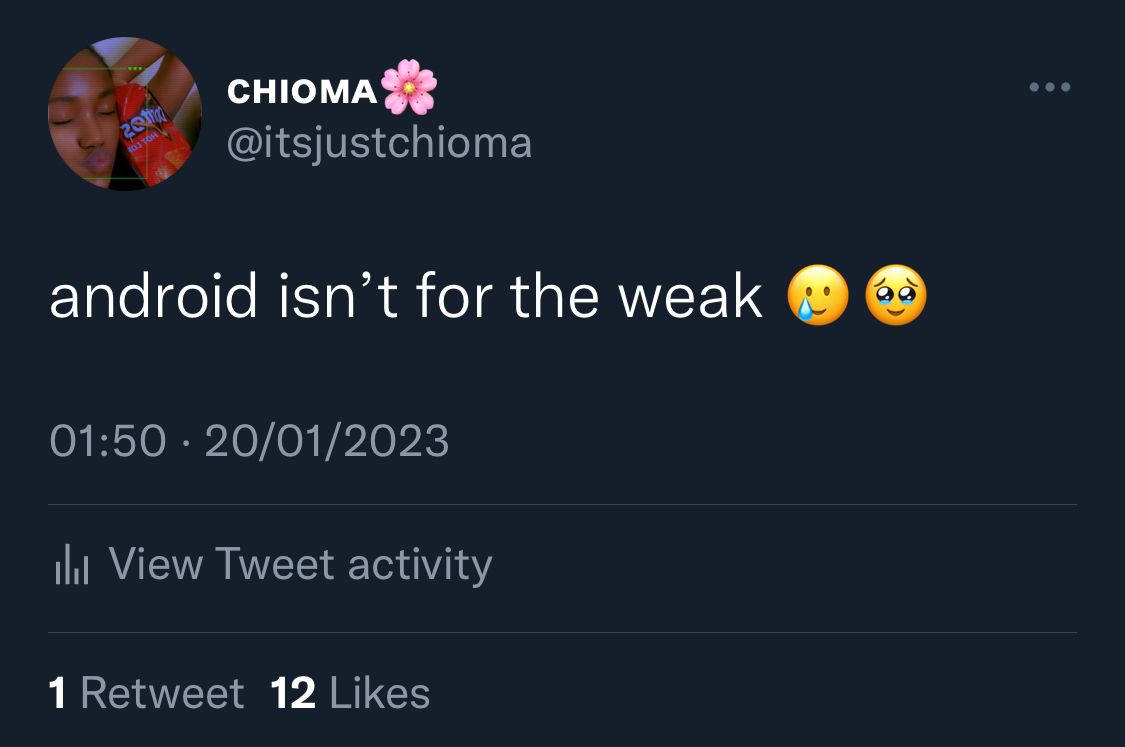
That was my second day working on the project, and this error seemed persistent. I searched on Google, and the results mostly gave me the following results:
Upgrade my gradle.
Use an API level of 30 and above.
Invalidate caches and restart.
Check my internet connection.
Disable offline mode.
I started by upgrading my Gradle. I clicked on File > Project Structure > Project. At that moment, my Android Gradle Plugin version was 7.2.1 and my Gradle version was 7.3.3. So I upgraded them to 7.3.0 and 7.4.1, respectively.
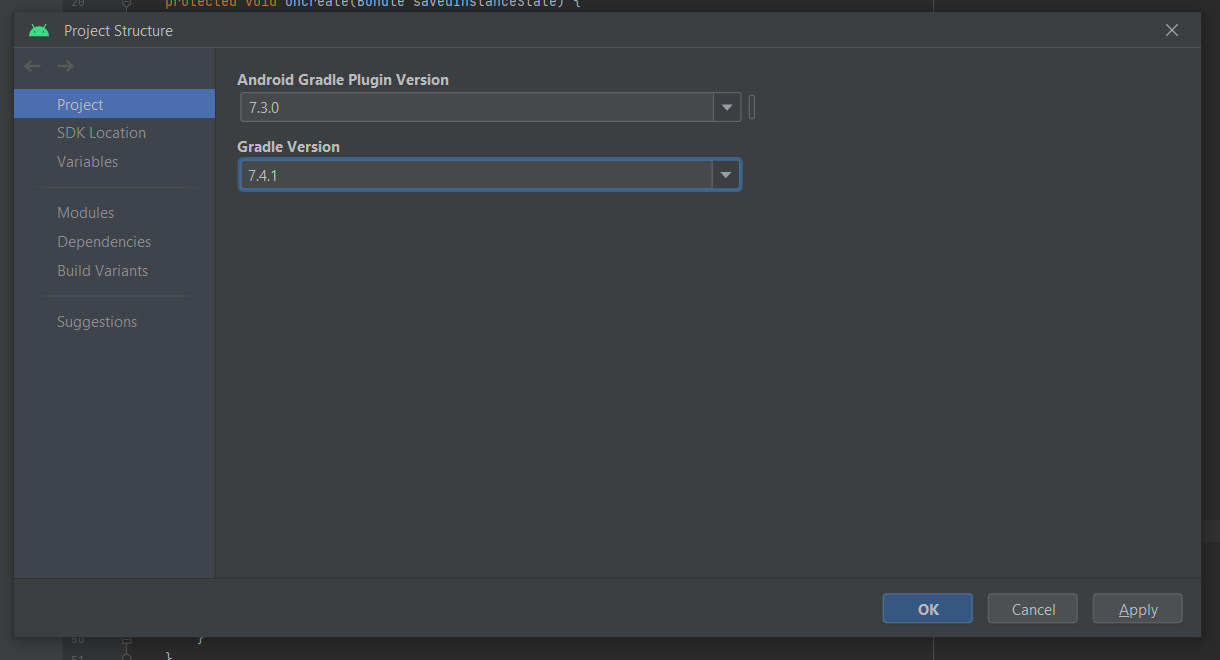
I clicked on "Apply" and then "OK," and I still got the same error. I tried upgrading to different versions of my grade, but it yielded nothing.
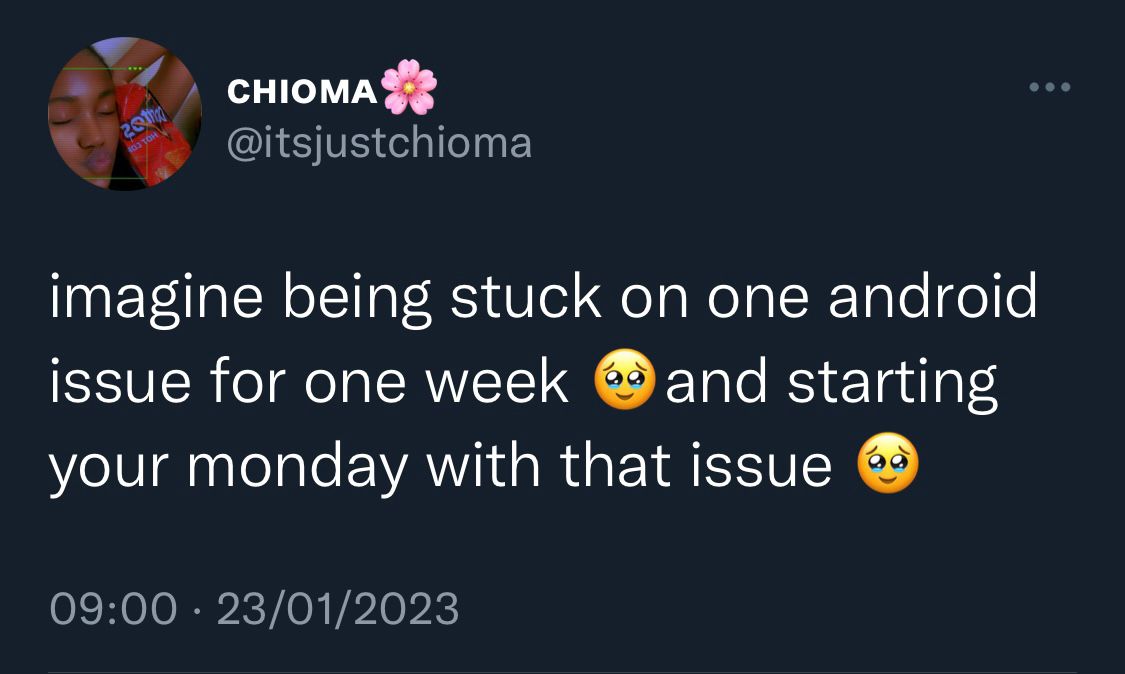
It was so frustrating, so I created a new project and just pasted the old code there. Nothing changed. I was so overwhelmed that I decided to call it a day.
From day four to day seven, I created a new project, but this time, I invalidated caches and restarted.
File > Invalidate caches > Invalidate and restart
I used a very stable internet connection to download dependencies. That error didn't go away. Finally, I disabled offline mode on my gradle.properties file.
All efforts were futile.
Finish
At this point, I was ready to throw in the towel. My eyes were bloodshot from staring at the code for so long, and my brain felt like it was about to explode. I was at a loss, with no clue on how to proceed. So I did what any developer would do: I turned to Twitter for help. I reached out to some Android developers.
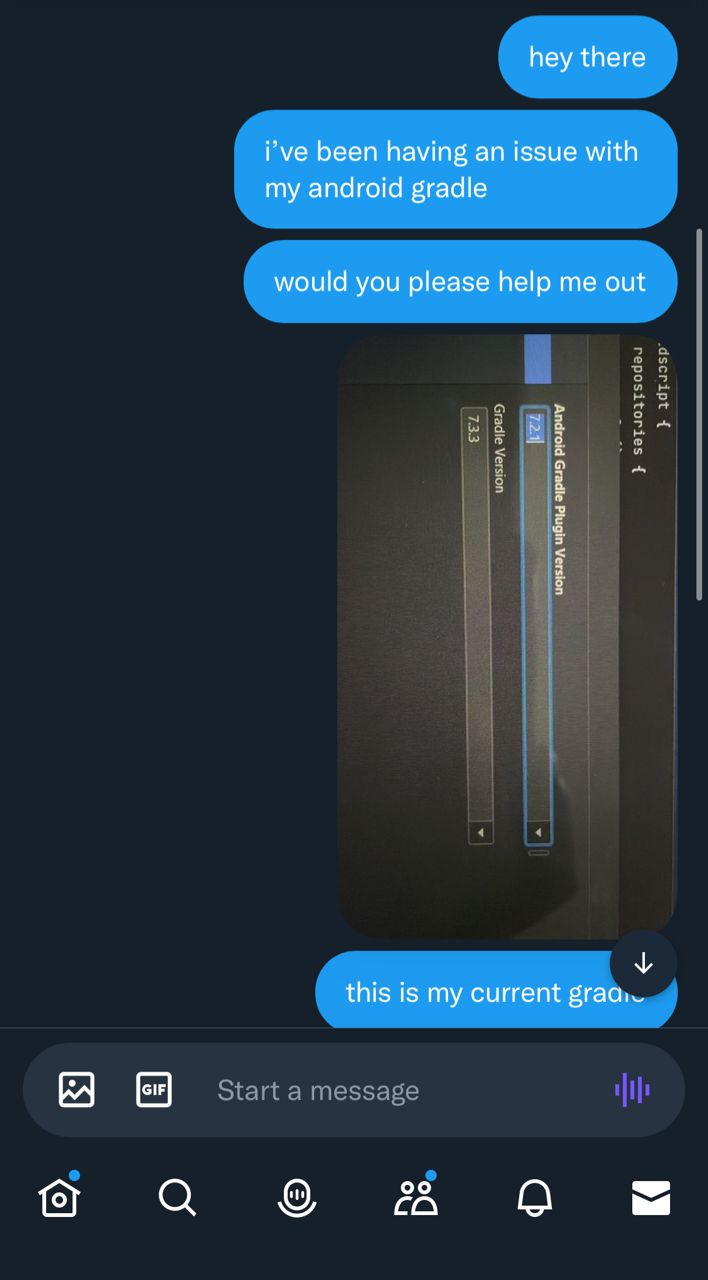
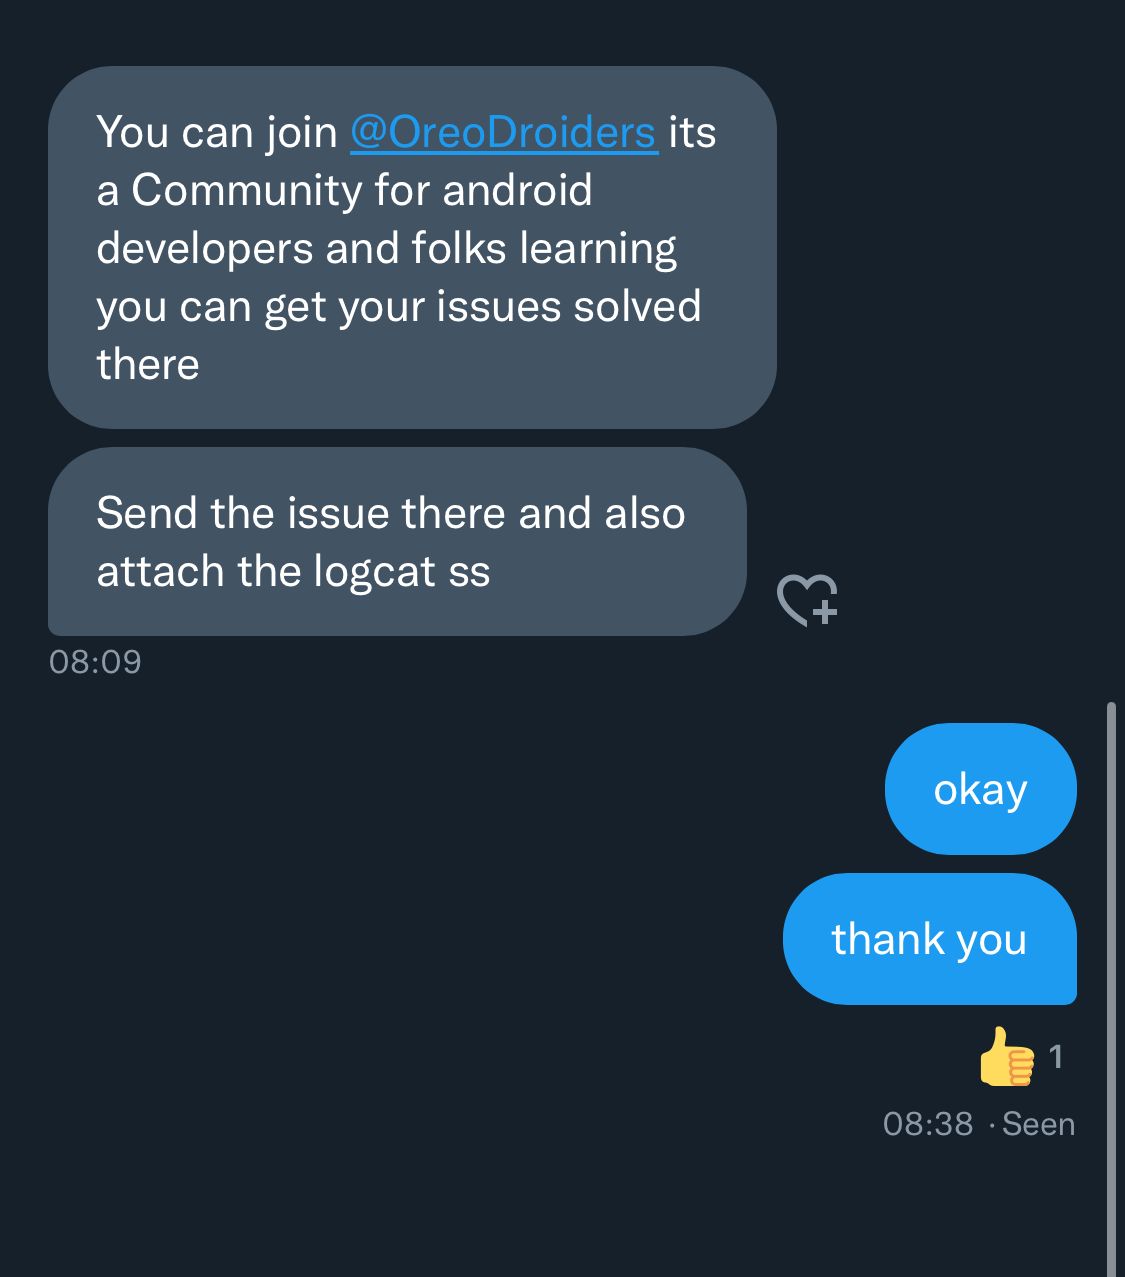
This was my last shot. I joined the WhatsApp group and described my error to them. Just when I thought all hope was lost, a kind soul responded to my messages.
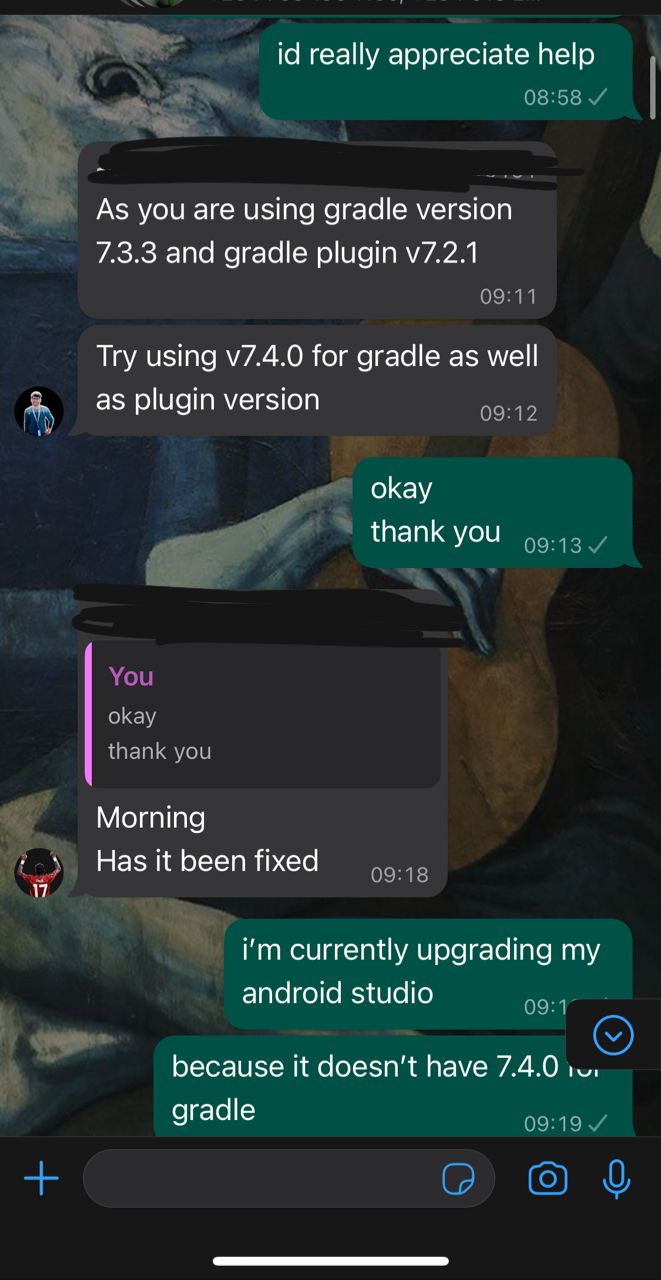
With a glimmer of hope in my heart, I rushed to my project to upgrade my Gralde. And then it hit me.
What version of Android Studio was I using? 2020? How did I not think to upgrade? That was the moment of realization that hit me hard. Of course, my Android Studio didn't have the latest version of Gradle. How could it? No wonder I was getting errors left and right.
After realizing my Android Studio was outdated, I hit that upgrade button so fast. And just like that, I was able to upgrade my grade versions to 7.4.0 and 7.6.
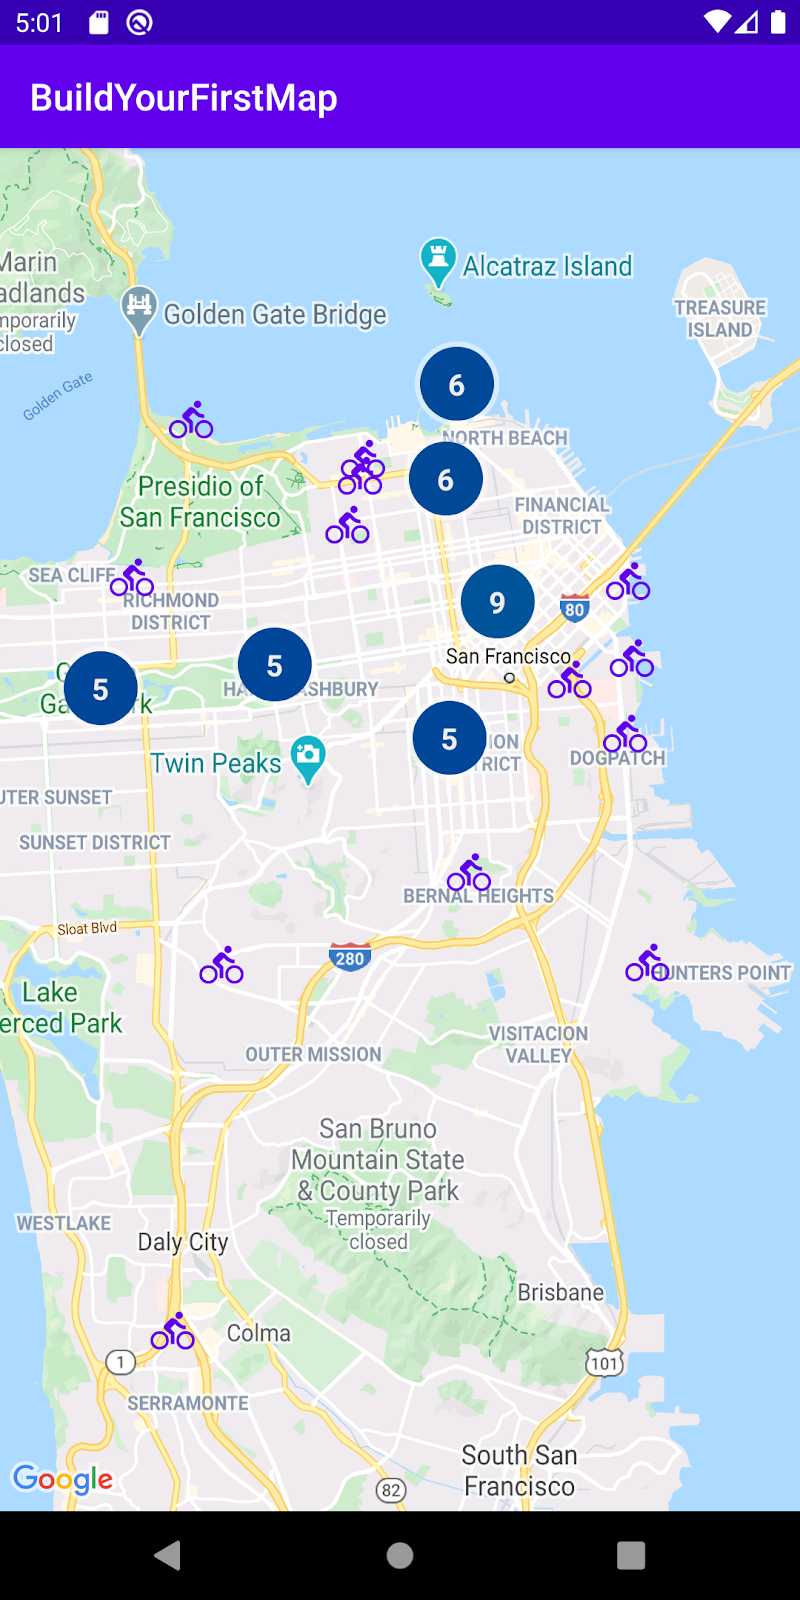
Lo and behold, my map view appeared without a hatch. It was like magic.
What did I learn?
This experience with the bug taught me the following things:
The value of persistence: Fixing a bug can be a frustrating experience, especially if it takes longer than expected. However, this taught me the value of perseverance and the importance of not giving up until a solution is found.
The joy of problem-solving: Despite the frustration, fixing a bug can also be incredibly rewarding. You get to flex your problem-solving skills and experience a sense of satisfaction once the bug is finally fixed.
The benefits of asking for help: Sometimes, a bug can seem impossible on your own. This taught me the importance of reaching out to others for help and not being afraid to ask questions or collaborate.
Conclusion
Thank you for taking the time to read about my debugging dilemma. Please like and share this article. You can always reach out to me on Twitter and Email.
Thanks for reading! Ciao!
Subscribe to my newsletter
Read articles from Chioma Uche-Nwosu directly inside your inbox. Subscribe to the newsletter, and don't miss out.
Written by

Chioma Uche-Nwosu
Chioma Uche-Nwosu
software engineer. technical and content writer. avid reader