Building a Sleek and Lightweight Portfolio Website with HTML/CSS/Javascript
 Patrick Skinner
Github Repository: https://github.com/PSkinnerTech/pskinnertech-cv
Live Link: https://elaborate-melba-f7f270.netlify.app/
Building a portfolio website is an essential task for every developer, and it requires a combination of technical skills and creativity. As a software engineer, I wanted to build my own portfolio using basic HTML/CSS/JavaScript while also creating a visually appealing and user-friendly website that can be accessed from any device.
Image Storage Method
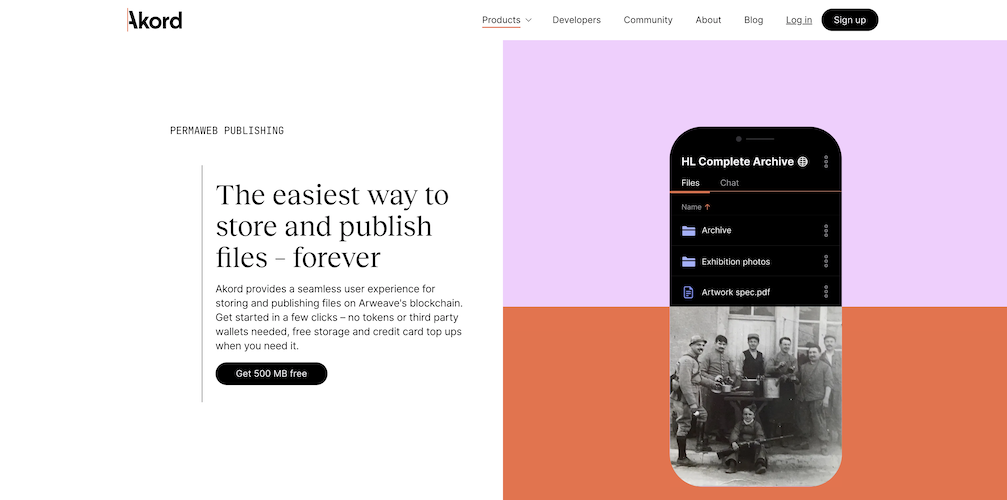
One of the unique features of my portfolio website is that all the images are actually stored on the Arweave blockchain. This means that the images are available to me forever, removing any concerns about how the files are stored and whether the links to the files are ever at risk of breaking. I used an app called Akord to provide a seamless user experience for storing and publishing files on Arweave's blockchain.
Graphics
Another important aspect of my portfolio website is the graphics. I created all the graphics myself using Adobe Photoshop and/or Adobe Illustrator. To make the logo spin, I used CSS Webkit Keyframes.
Spinning Logo CSS
.prt_logo_wrapper img {
  position: fixed;
  left: 50px;
  top: 50px;
  z-index: 2;
  -webkit-animation: rotate 2s linear infinite;
  -moz-animation: rotate 2s linear infinite;
  -o-animation: rotate 2s linear infinite;
  -ms-animation: rotate 2s linear infinite;
  animation: rotate 2s linear infinite;
}
@-webkit-keyframes rotate {
  100% {
    -webkit-transform: rotatey(360deg);
  }
}
@-moz-keyframes rotate {
  100% {
    -moz-transform: rotatey(360deg);
  }
}
@keyframes rotate {
  100% {
    transform: rotatey(360deg);
  }
}
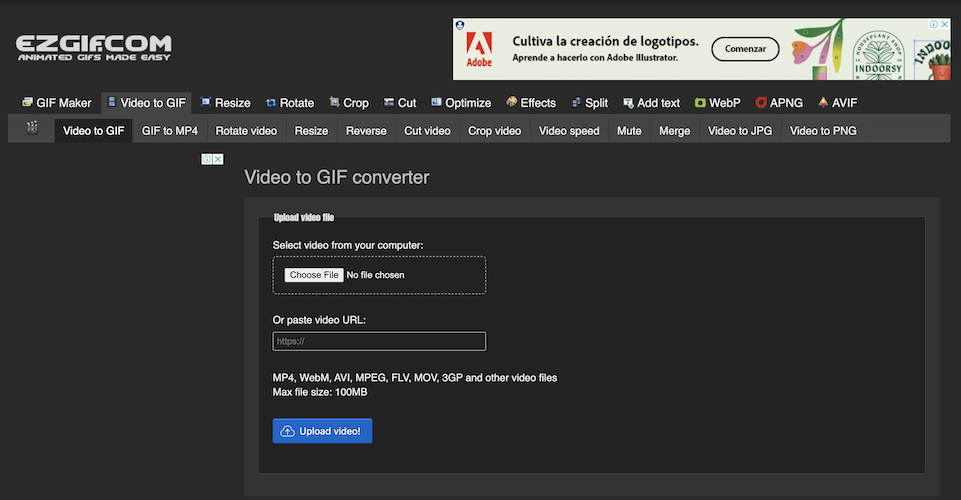
The logo is just a PNG file that I created in illustrator, and the loader is a GIF file that I made with the logo using ezgif.com.
I also took the photos of myself using my professional camera (Sony A7RIII with a Sony 50mm 1.8f Prime Lens) and edited them in Photoshop, leveraging my 4 years of experience as a freelance photographer.
HTML Structure
I had to decide on the layout and structure of my website. I wanted a one-page website with different sections for my portfolio, about me, contact information, and my strengths. However, I also wanted to make it look like a multi-page website by using vertical and horizontal sliders to navigate between sections. Additionally, you'll notice that my website actually has no <header>. To make it slide smoothly from section to section, I decided to go without that and independently add the footer into each necessary section.
Main Wrapper
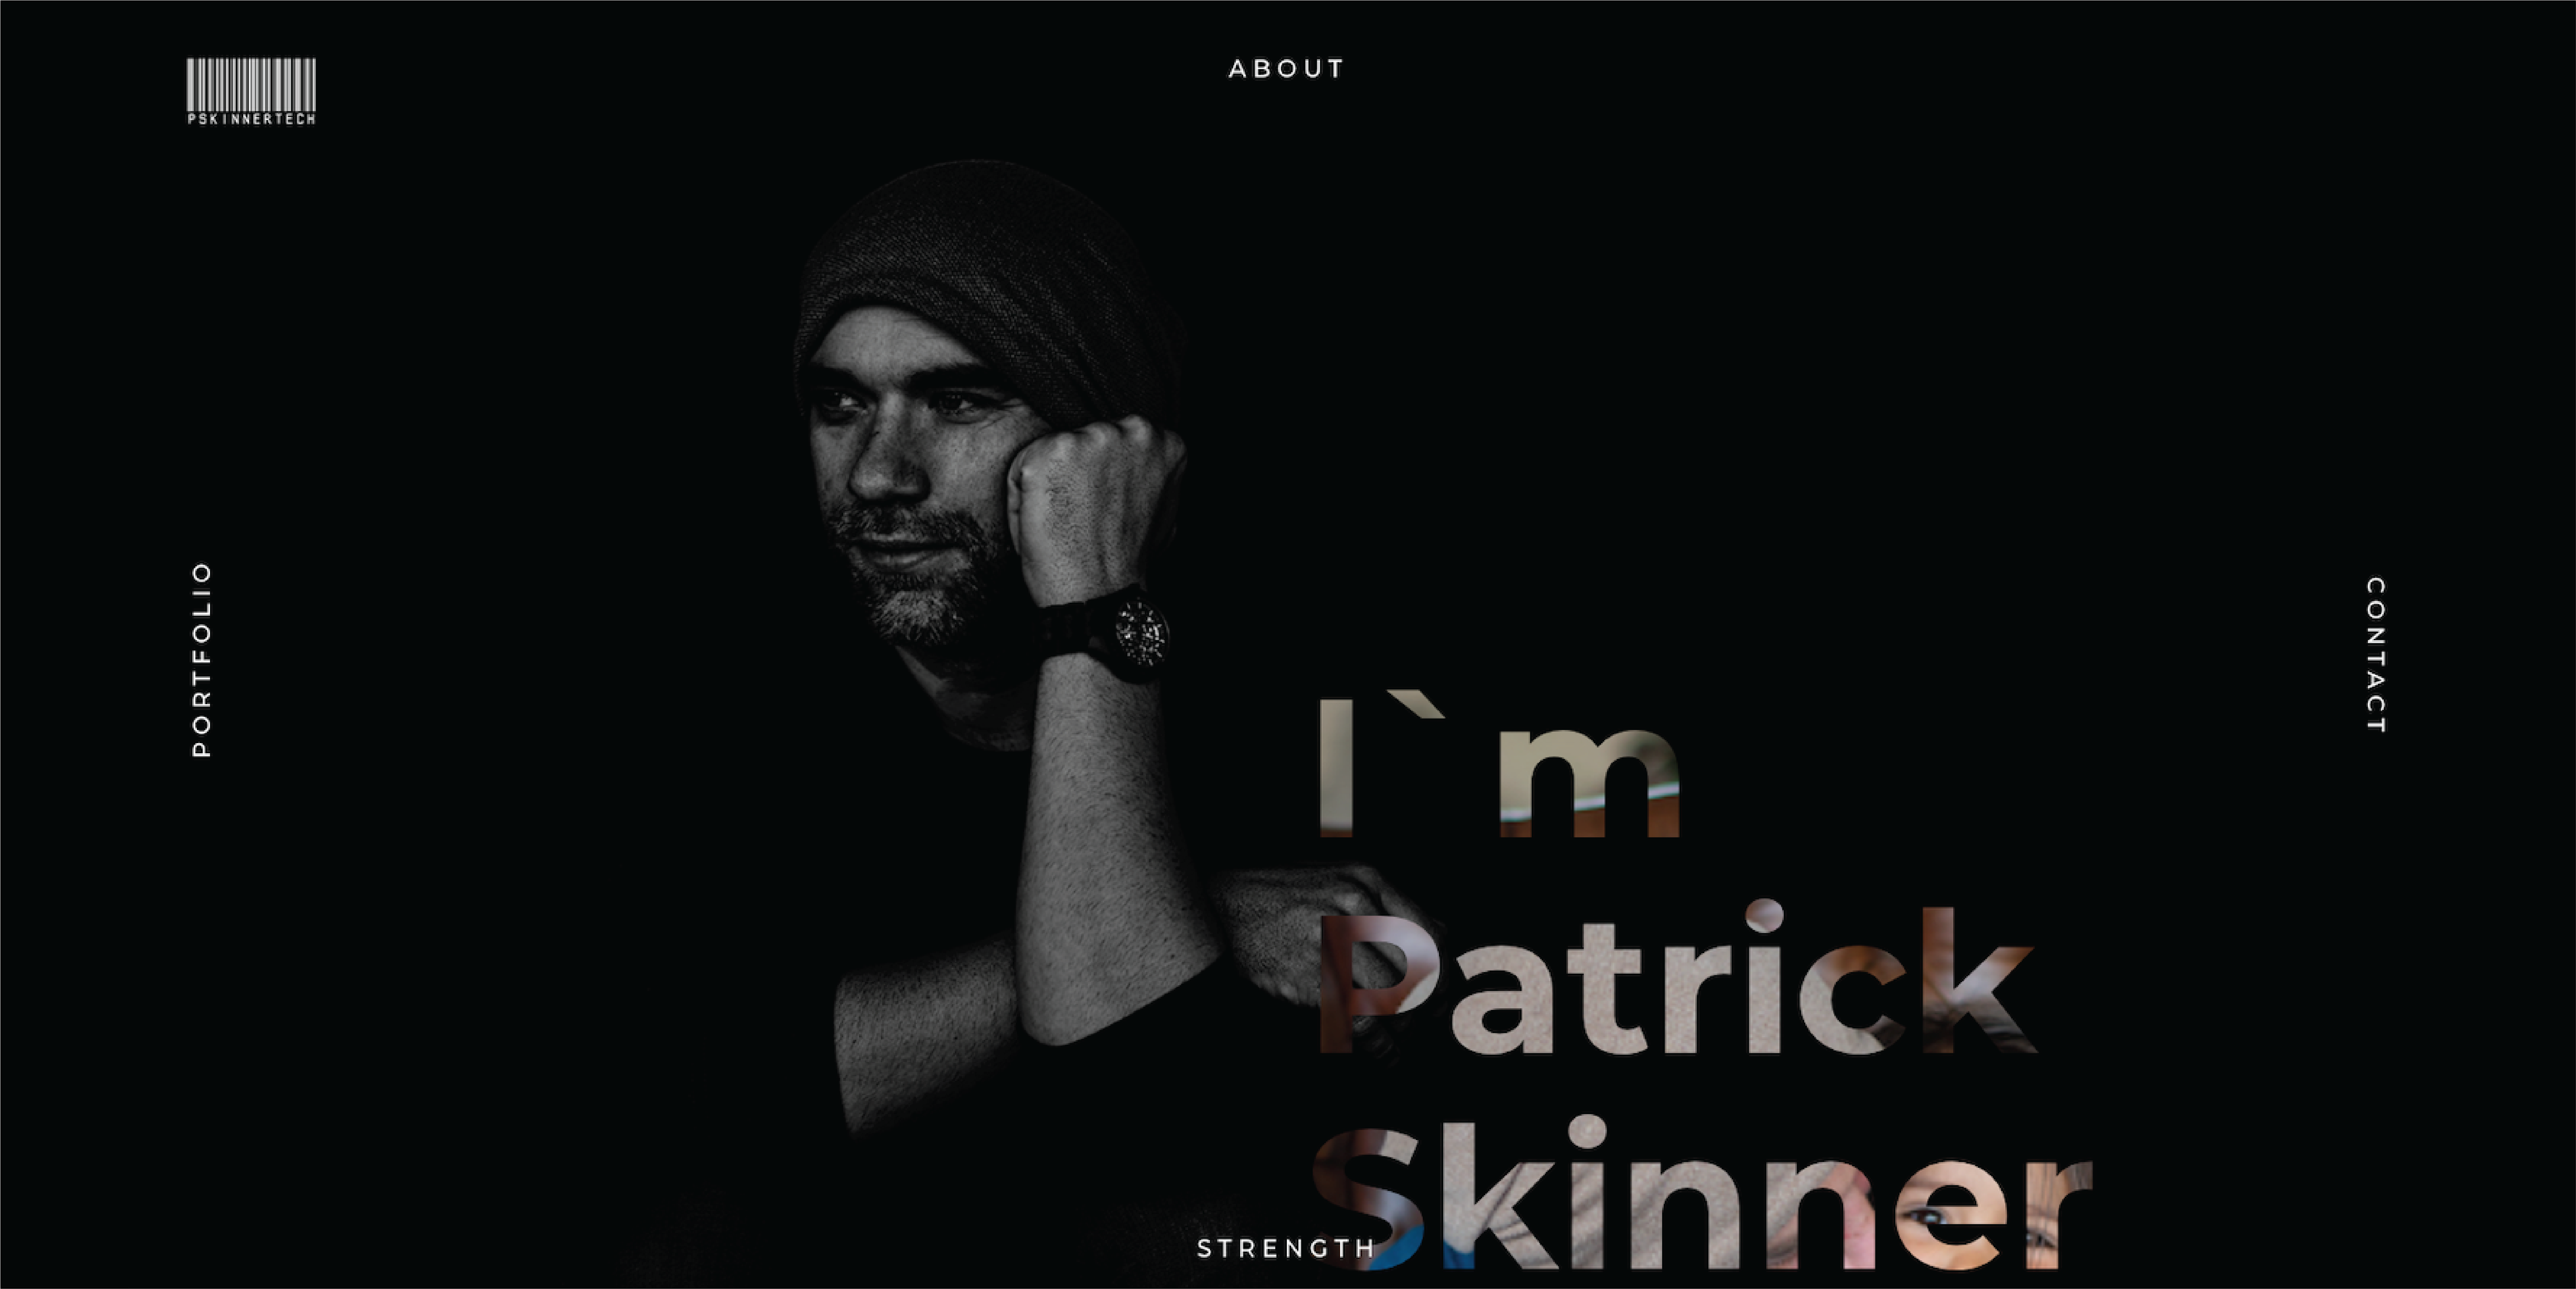
Once I had a clear vision for my website's layout, I started coding the HTML structure. I created a main wrapper that loads after the loader is complete, featuring a picture of me and the text "I'm Patrick Skinner." To add a fun touch, I included an image of my daughter photo-bombing me during my headshot session, hidden within the text.
Home Page Div
<div class="prt_home_wrapper">
            <div class="prt_logo_wrapper">
                <a><img src="images/header/logo.png" alt="Logo" id="prt_close_tab"></a>
            </div>
            <div class="prt_menu_wrapper">
                <a href="#about" class="prt_top">about</a>
                <a href="#contact" class="prt_right">contact</a>
                <a href="#services" class="prt_bottom">strength</a>
                <a href="#portfolio" class="prt_left">portfolio</a>
            </div>
            <div class="container">
                <div class="row">
                    <div
                        class="col-xl-6 offset-xl-6 col-lg-6 offset-lg-6 col-md-5 offset-md-5 col-sm-10 offset-sm-2 col-xs-12 offset-xs-0">
                        <h1>I`m Patrick Skinner</h1>
                    </div>
                </div>
            </div>
        </div>
Supporting CSS
.prt_menu_wrapper a.prt_top {
  top: 45px;
  left: 0px;
  right: 0px;
  width: 100px;
}
.prt_menu_wrapper a.prt_bottom {
  bottom: 45px;
  left: 0px;
  right: 0px;
  width: 150px;
}
.prt_menu_wrapper a.prt_left {
  top: 50%;
  left: -15px;
  transform: rotateZ(-90deg);
  margin-top: -15px;
}
.prt_menu_wrapper a.prt_right {
  top: 50%;
  right: 0px;
  transform: rotateZ(90deg);
  margin-top: -15px;
}
About Wrapper
Next, I moved on to the "about" section, which I kept simple and straightforward. I wanted to highlight my educational background and work experience, and I incorporated some mouseover functions to add some interactivity.
Portfolio Wrapper
The portfolio section was a bit more challenging, as I wanted to showcase my recent projects while keeping the UX simple and intuitive. I decided to feature my AI-powered web apps and my blog, and I used HTML/CSS to create image overlays that provide a brief description of each project when hovered over.
Strength Wrapper
For the "strengths" section, I wanted to create an eye-catching animation to showcase my skills. I used an appear() function within the custom.js file to create the animation, and I included images formatted in illustrator and hosted on the Arweave blockchain.
Contact Wrapper
Finally, I added a contact section and used a Javascript function from EmailJS to handle my incoming contact requests.
//Within the <head> of index.html

<script type="text/javascript">
   (function(){
      emailjs.init("<EmailJS Account Public Key>");
   })();
</script>
<script src="index.js"></script>

//Contact Form

<div class="prt_contact_info"><div class="col-12">
    <form>
        <h1>CONTACT ME:</h1>
        <p>For hiring or other inquires, fill out the form below.</p>
        <br>
        <input type="text" id="name" placeholder="Your Name" required>
        <input type="email" id="email" placeholder="Your Email" required>
        <textarea id="message" placeholder="Your Message" rows="4" required></textarea>
        <button type="button" class="prt_btn submitForm" form-type="contact" onclick="sendMail(); reset(); return false">Send</button>
    </form>
</div>
//Within index.js showing the contact form handling function

function sendMail() {
  var params = {
    name: document.getElementById("name").value,
    email: document.getElementById("email").value,
    message: document.getElementById("message").value,
  };
  const serviceID = "<EmailJS Account Public ID>";
  const templateID = "<EmailJS Template Public ID>";

  emailjs
    .send(serviceID, templateID, params)
    .then((res) => {
      document.getElementById("name").value = "";
      document.getElementById("email").value = "";
      document.getElementById("message").value = "";
      console.log(res);
      alert("Message sent successfully!");
    })
    .catch((err) => console.log(err));
}
Note: This form is a very simple and straightforward approach, so I plan on adding to my portfolio a custom Typeform clone. So, stay tuned.
Closing Comments
Overall, building my portfolio website was a fun experience that allowed me to showcase my technical and creative skills. Being able to add the Easter Egg image of my daughter photo-bombing my photoshoot while still maintaining a very professional feel to the website allows me to display my ability to maintain a highly professional approach to my work while still allowing my creativity and personality to flow naturally within my work. Let me know what you thought about this website and if you have any questions about its build.
Subscribe to my newsletter
Read articles from Patrick Skinner directly inside your inbox. Subscribe to the newsletter, and don't miss out.
Written by

Patrick Skinner
Patrick Skinner
As a former Paratrooper Medic and Mass Casualty Coordinator, I made the leap into software engineering. Through my journey, I've continued to grow and learn, and I'm eager to share my knowledge with others. As a self-taught software engineer, I'm passionate about empowering others to pursue their dreams and learn new skills. Active Member of Developer DAO.

