Jenkins CICD with GitHub Integration
 Muhammed Rameez
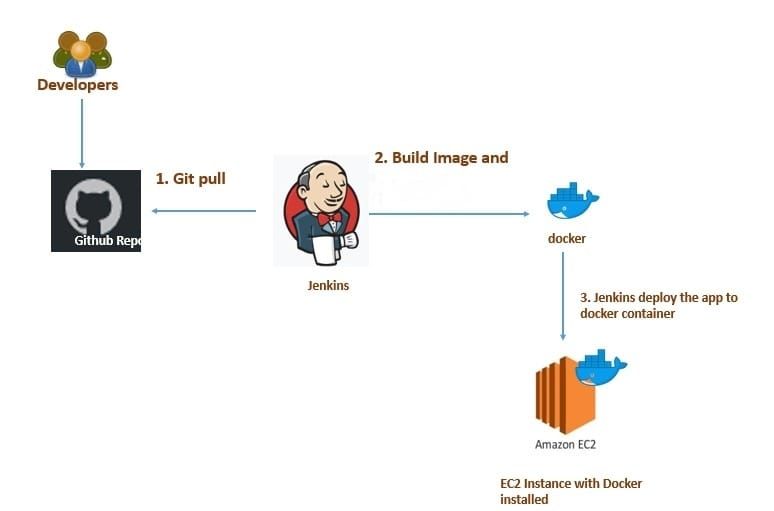
In this article we will be deploying a node.js application on EC2 instance and we will create a CICD pipeline using Jenkins.
Tools we will be using in the project:
AWS-EC2
GitHub
Docker
Jenkins
What is CICD pipeline?
CI/CD (Continuous Integration/Continuous Deployment) pipeline is a set of automated processes that helps to integrate code changes, build, test, and deploy applications continuously. The primary goal of a CI/CD pipeline is to enable fast and reliable delivery of changes to production.
A typical CI/CD pipeline consists of several stages, including:
Code Integration: In this stage, developers integrate their code changes into a shared repository.
Build: In this stage, the CI system builds the code and runs any necessary tests.
Test: In this stage, the code is tested using various testing techniques, including unit tests, integration tests, and end-to-end tests.
Deployment: In this stage, the code is deployed to production or a staging environment.
Monitoring: In this stage, the system monitors the deployed application for performance and stability.
Step 1: Create EC2 instance and ssh into it
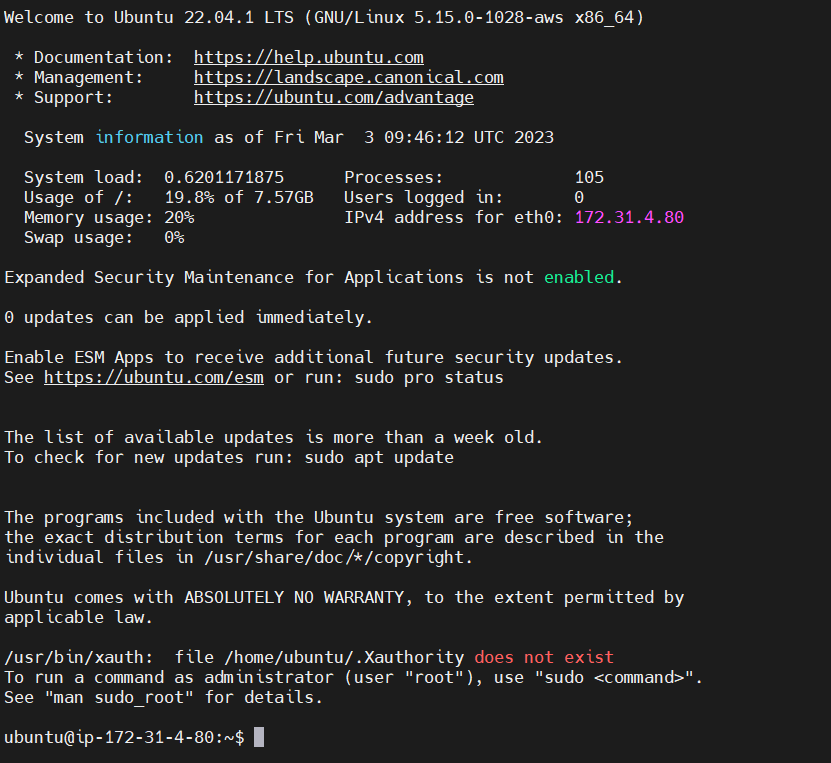
Step 2: Install Jenkins on the server
Use the below link for the installation.
https://medium.com/@mhmdrameez/install-jenkins-on-aws-59ee029cd122
Jenkins is Accessible
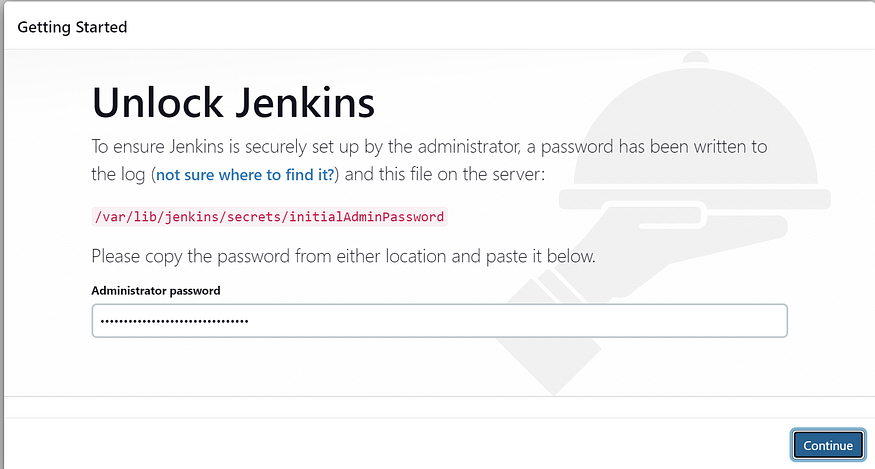
get this password from this
sudo cat /var/lib/jenkins/secrets/initialAdminPassword

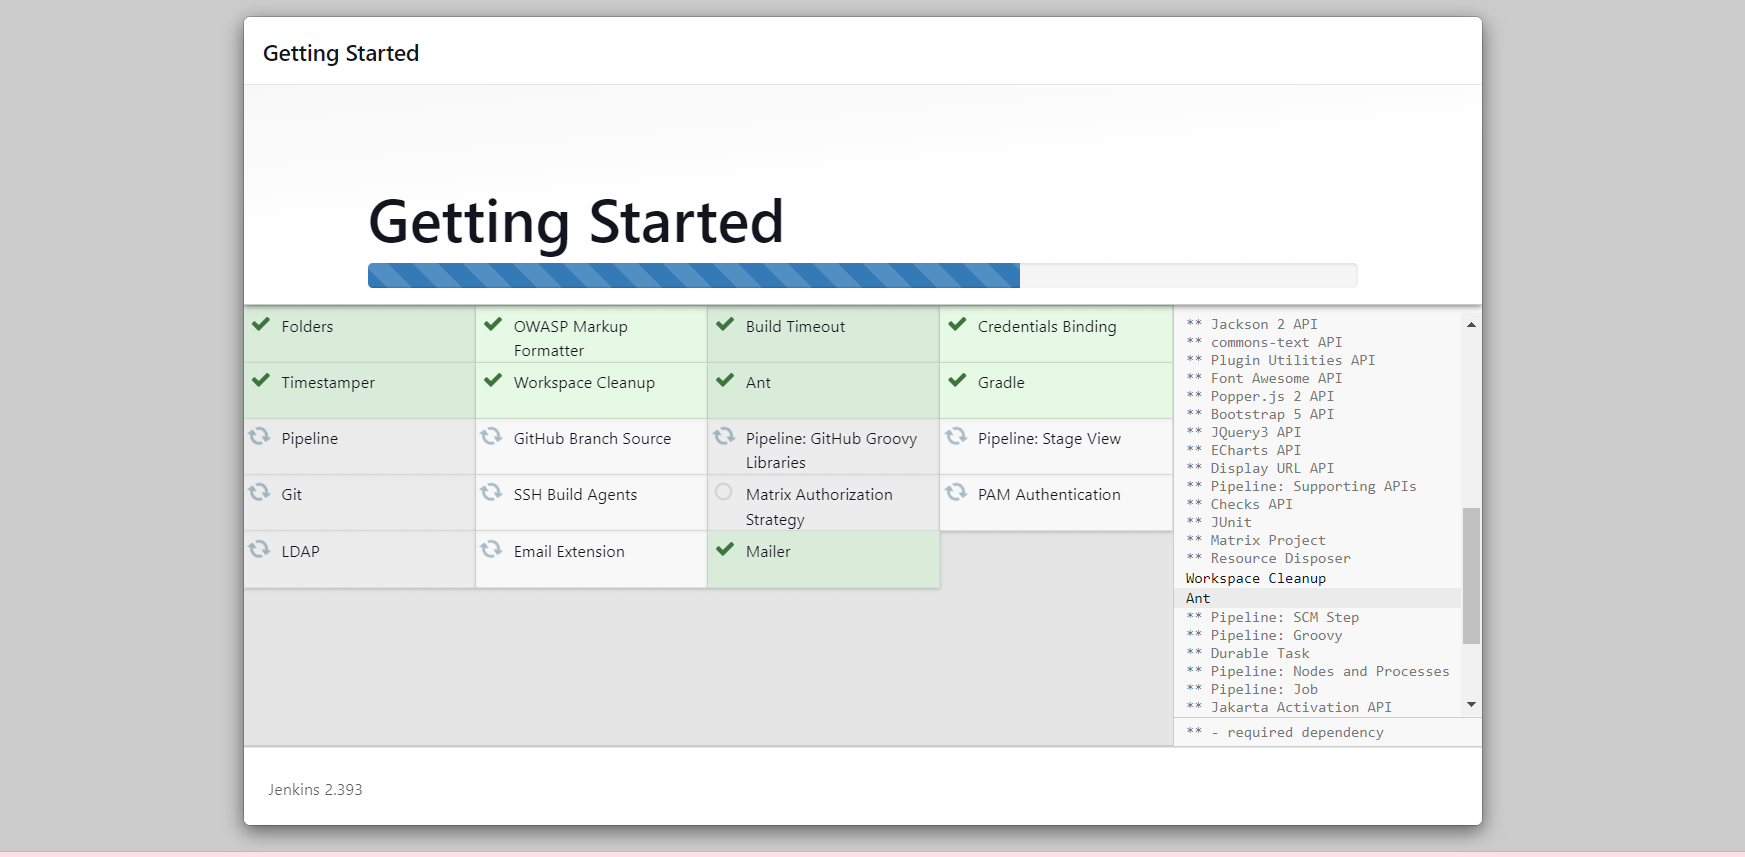
Set username and password
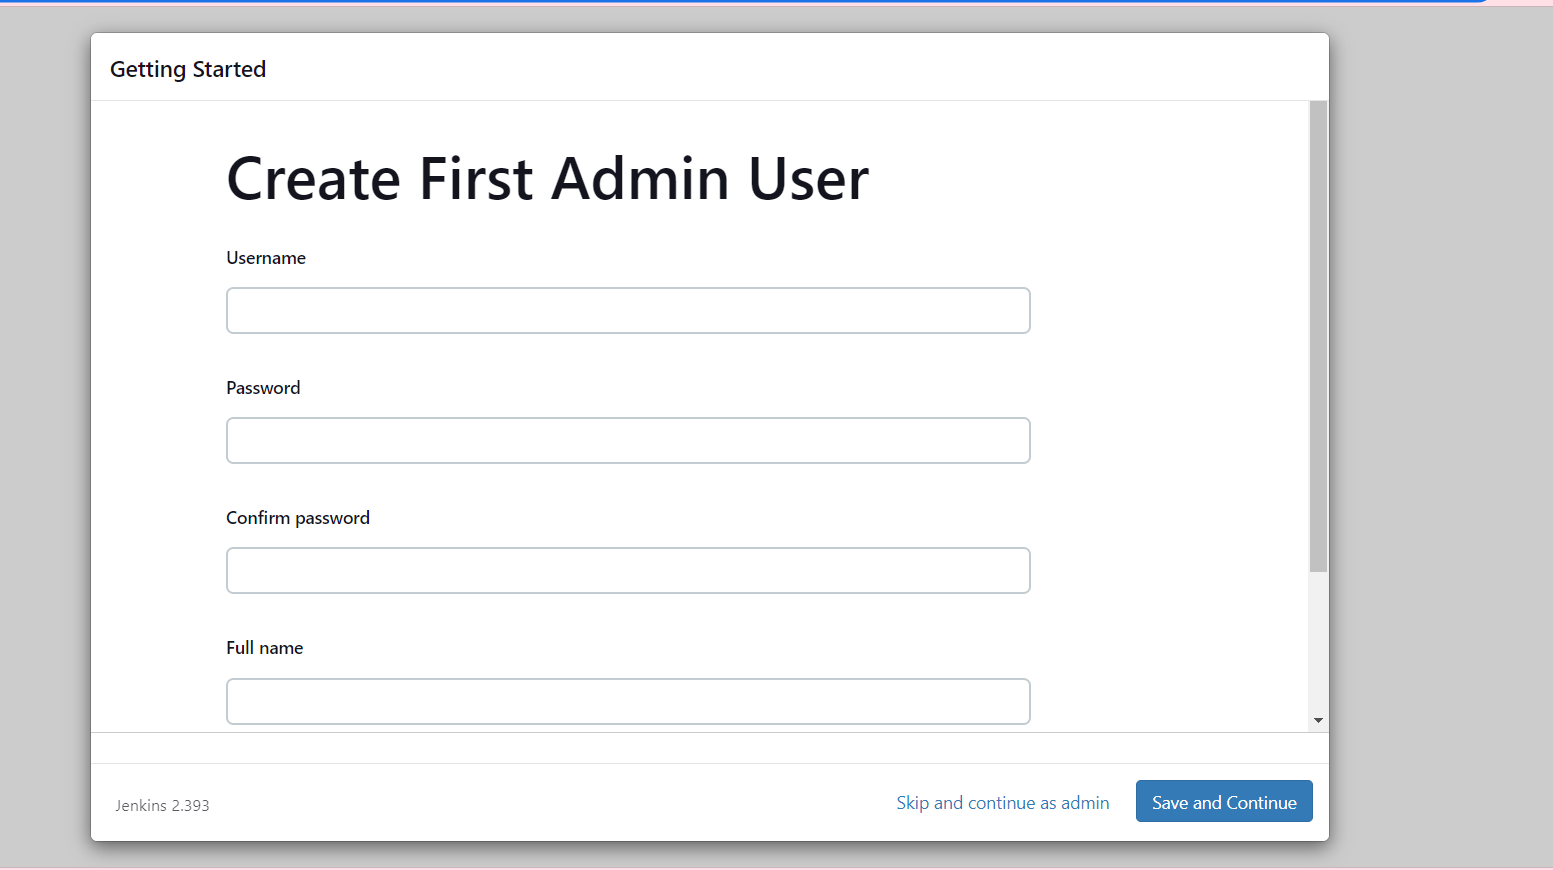
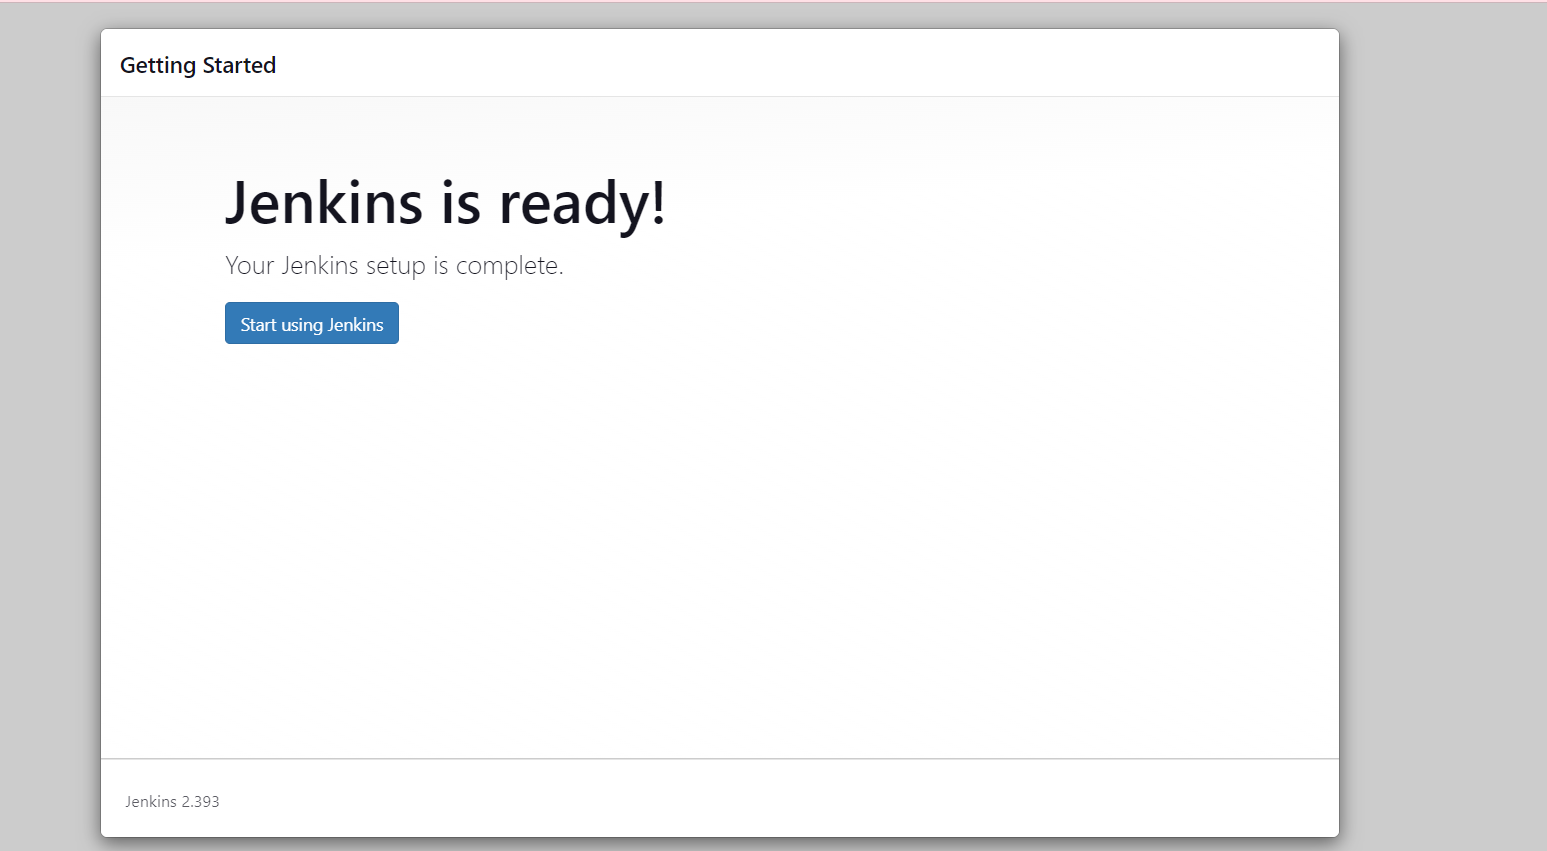
Before starting with the Jenkins configurations we need to add the public key so that we can create a bridge between jenkins and Github for accessing the source code from the Github repo.
Go to your EC2 instance and type command
#ssh-keygen
It will create 2 keys. CD to .ssh and check the keys.
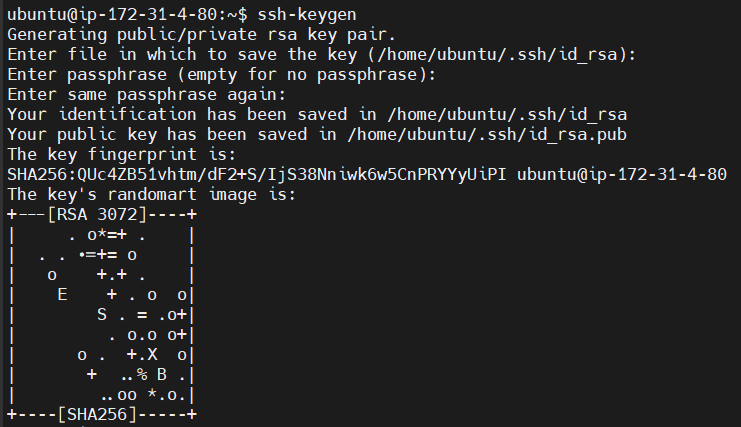

We need to add the Public key to Github so that we can create the bridge.
Go to Github -> setting -> SSH key ->Add new key -> do cat id_rsa_pub in the EC2instance and copy the key -> give a name to the key -> paste the copied key.
Create a item in jenkins -> Add the URL of the repo
repo link:https://github.com/mhmdrameez/node-todo
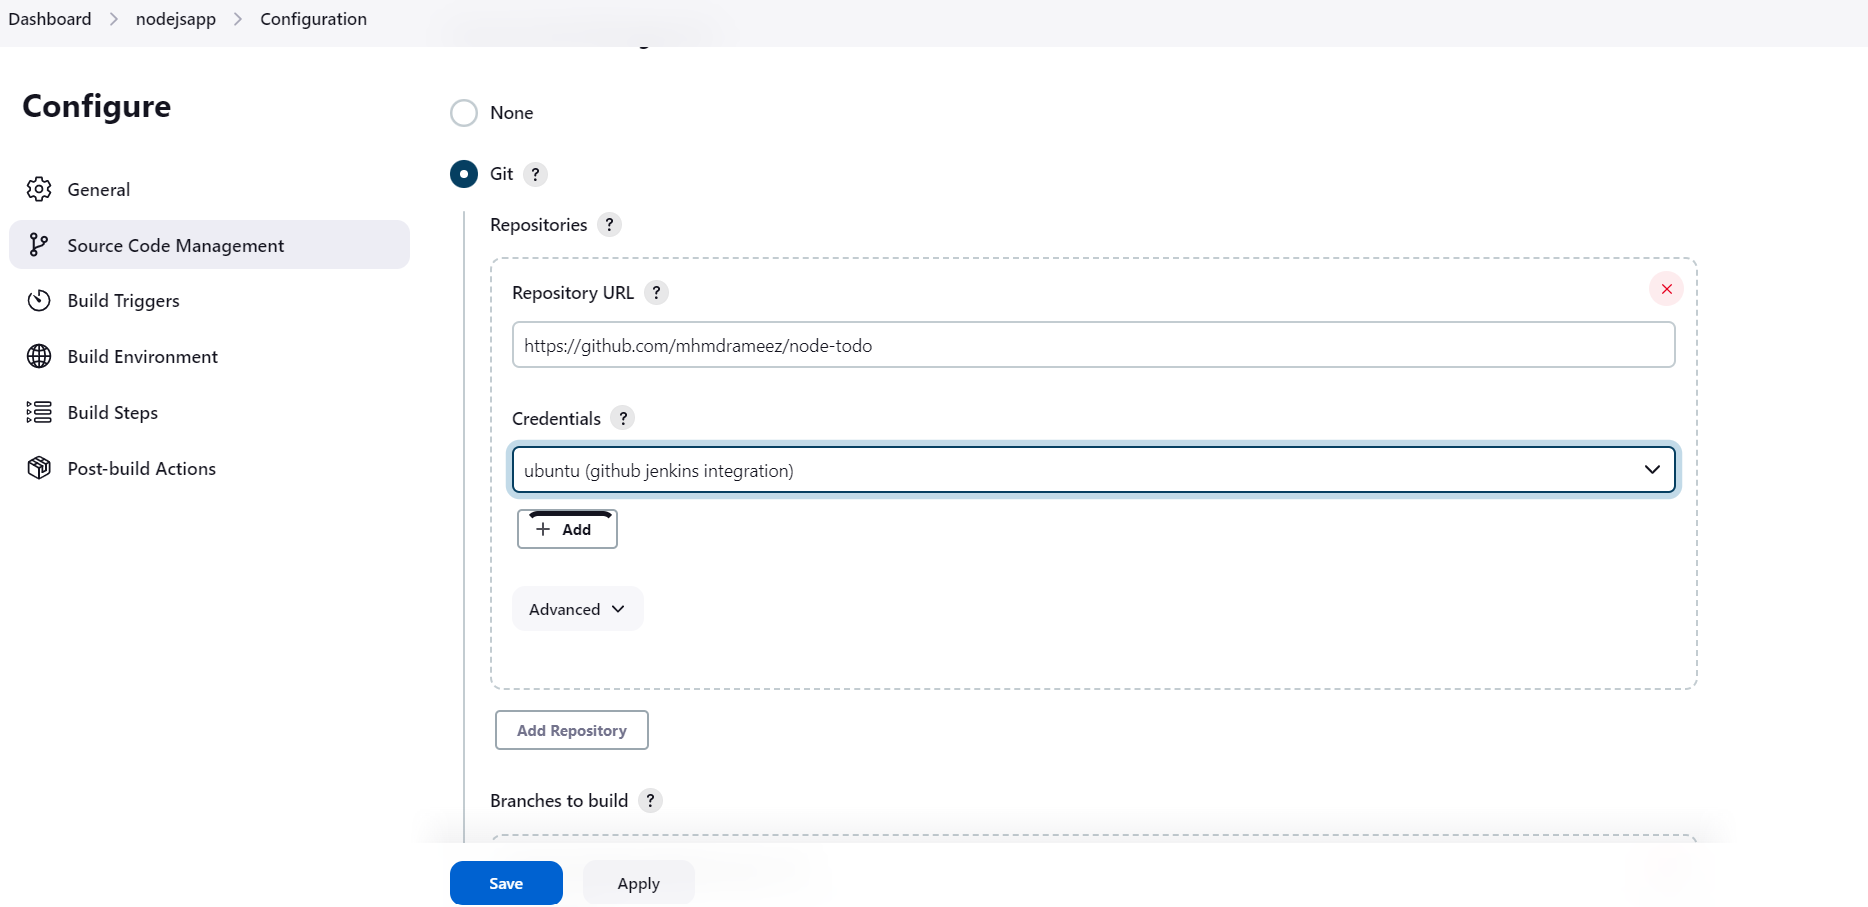
Now we will add the credentials so that jenkins can access the code from the Github.
In Source Core Management
Go to Add credentials
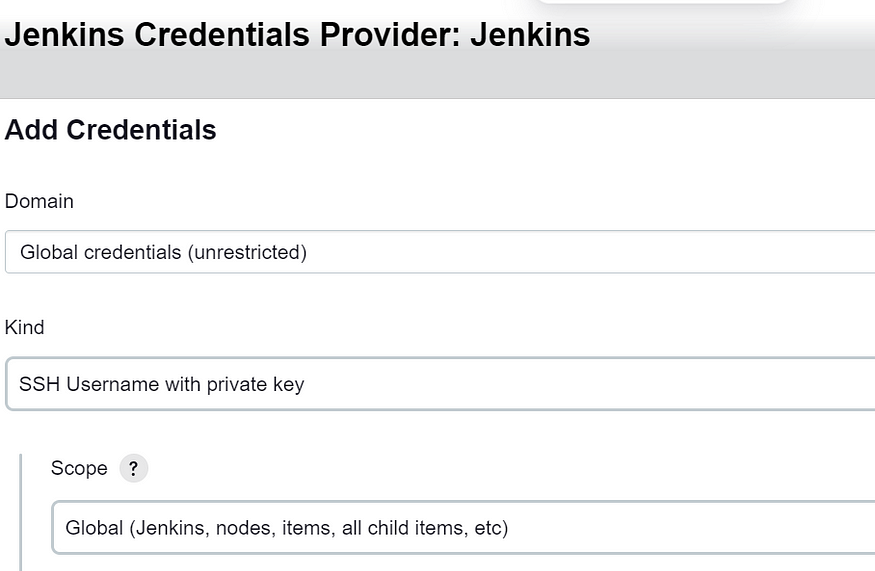
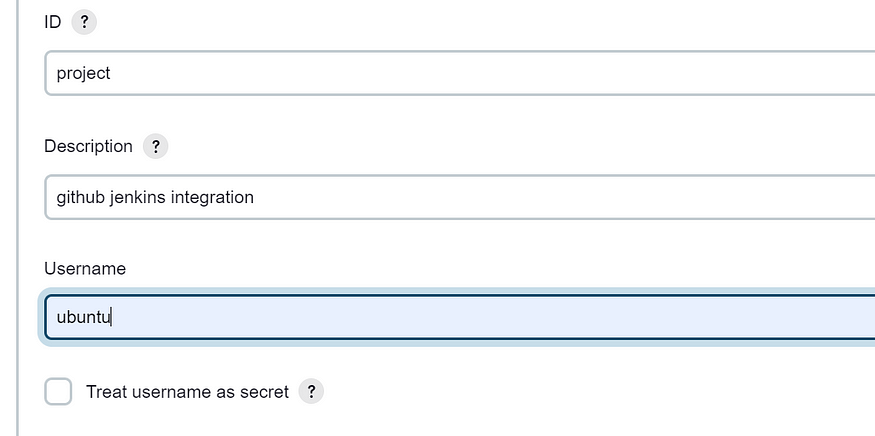
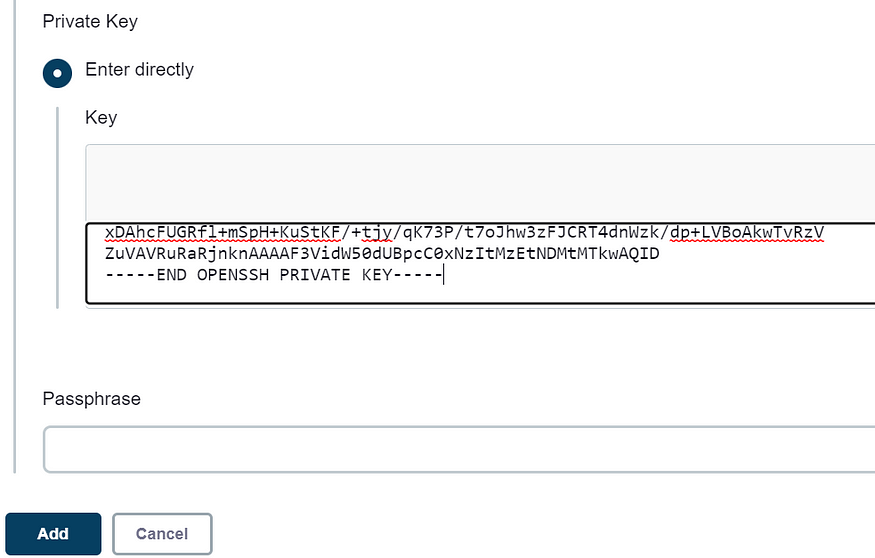
Click on Add -> save it
Now we are all ready to Build the job now. Click on Build now.
It will get build.
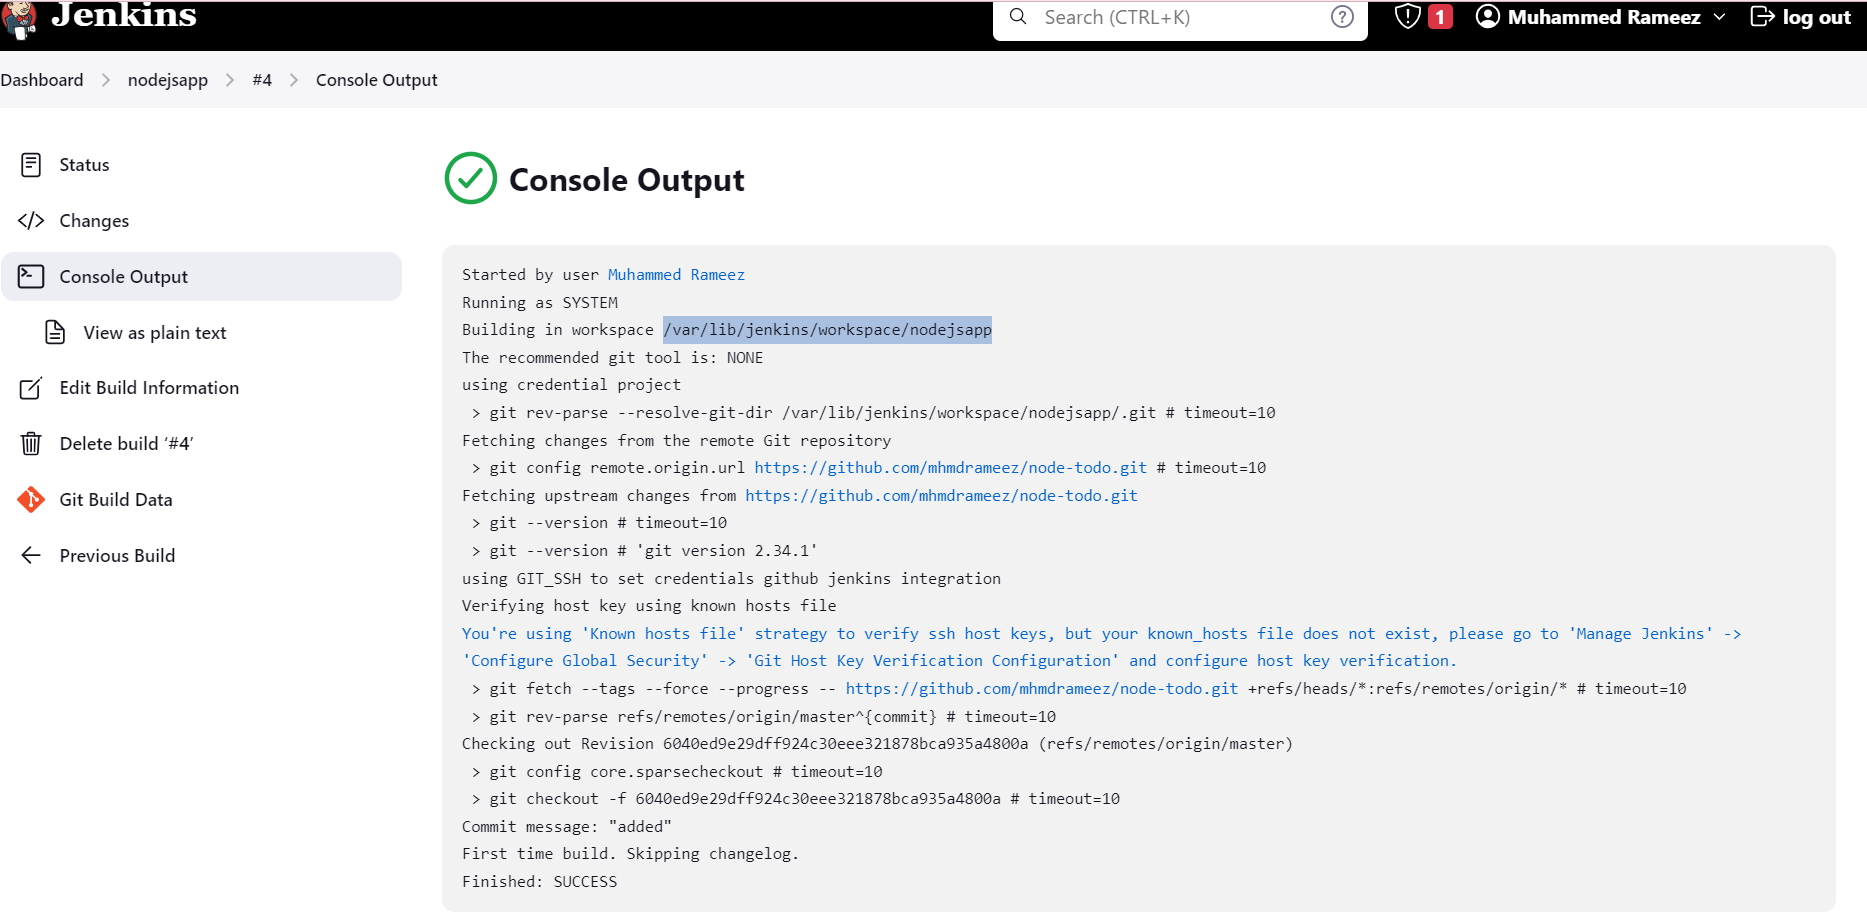
Go to instance and check if the repo is cloned there.

Now check the readme and install the necessary dependencies.
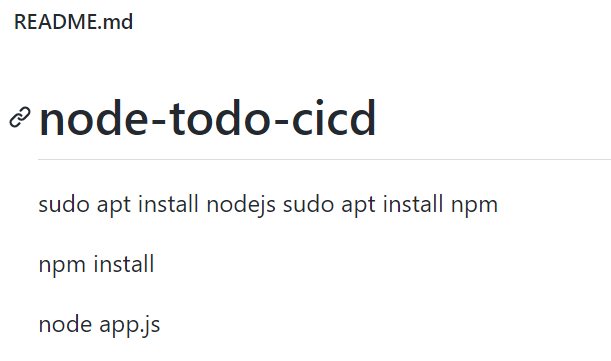
After executing all these commands. check if you can access the URL . It is not accessible as we have not given access to the port 8000.

Go to instance -> Security -> Edit inbound rules -> Add rule

Save it.
Now take public ip of the instance and port 8000 and you can access the application.
adding the public ip with port number 8000
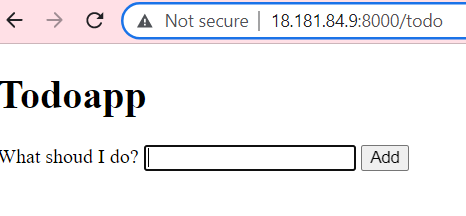
Now we will dockerize the application so that it can be accessed anywhere by anyone.
Go to instance -> install docker
$ sudo install docker.io
Create your Dockerfile
FROM node:12.2.0-alpine
WORKDIR app
COPY . .
RUN npm install
EXPOSE 8000
CMD ["node","app.js"]
Now build the image using this Dockerfile.
#docker build . -t todoapp
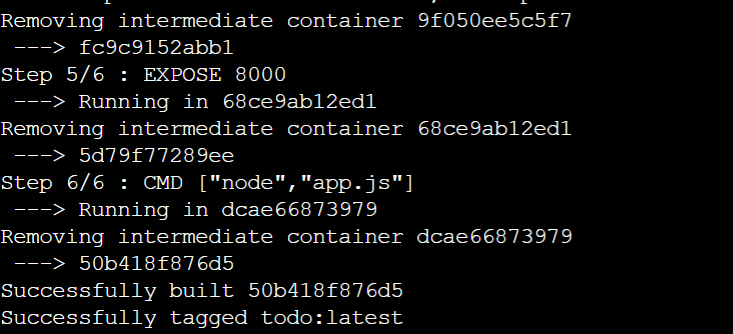
Image (todo:latest) has been created successfully.
Now we will create container from this image.
#docker run -d --name todoappnode -p 8000:8000 todo:latest
Container will be created after this.

Try accessing the same using the public IP and port 8000.
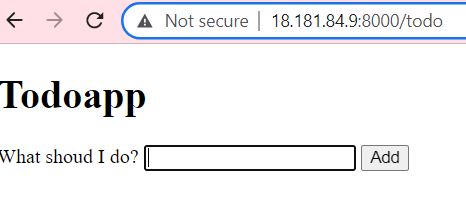
It is accessible.
Now we will automate this process by adding the commands in the shell.
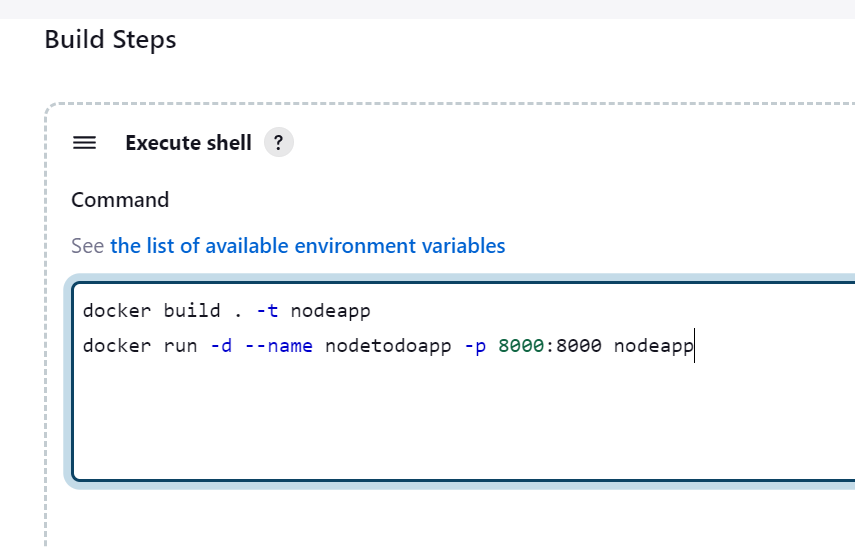
Build is successsful. We can access the same on browser.
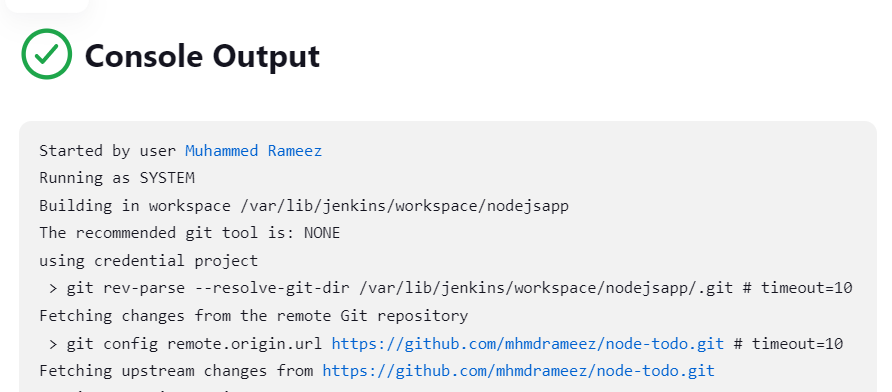
Now all the processes that we were doing manually will be performed automatically as we did the automation.
Now we will configure web-hook so that every time there is any updation, deletion on the repository the job should be automatically triggered and it should perform the upcoming processes.
Kill the existing container first.
Jenkins -> Manage Jenkins -> Manage Plugins -> Install github integration plugin
Go to repository settings -> webhook -> Add webhook -> Payload URL add jenkins URL here -> (http://18.181.84.9:8000/github-webhook/)
Content type -> application.json
Add webhook.
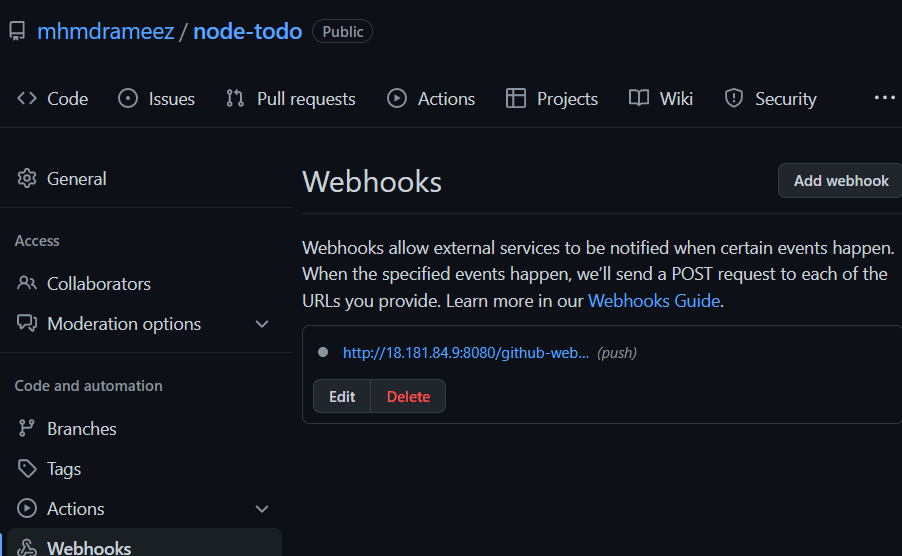
It has been added successfully.
Go to jenkins -> configure -> tick this

Now just update something in the repo and your job will be triggered automatically.


So the build is successful.
Resources used :
Github :https://github.com/mhmdrameez/node-todo
Notes : https://docs.google.com/document/d/1qos4eUfY4vZojjnZLSGw8D3A46Yy2r42uiZPyPxL17A/edit#
Please, feel free to drop any questions in the comments below. I would be happy to answer them.
If this post was helpful, please do follow and click the like ❤️ button below to show your support 😄
𝐂𝐨𝐧𝐧𝐞𝐜𝐭 𝐦𝐞 𝐨𝐧 𝐋𝐢𝐧𝐤𝐞𝐝𝐢𝐧 𝐚𝐧𝐝 𝐇𝐚𝐬𝐡𝐧𝐨𝐝𝐞 𝐟𝐨𝐫 𝐦𝐨𝐫𝐞 𝐋𝐢𝐧𝐮𝐱 𝐚𝐧𝐝 𝐃𝐞𝐯𝐎𝐩𝐬 𝐛𝐥𝐨𝐠𝐬.
Subscribe to my newsletter
Read articles from Muhammed Rameez directly inside your inbox. Subscribe to the newsletter, and don't miss out.
Written by
