How to install & configure LAMP, virtual host with multi PHP versions in AWS EC2 CentOS 8.
 Anil Kushwaha
Here's a step-by-step guide to installing and configuring LAMP with Virtual host and Multi PHP Versions in AWS CentOS 8:
For CentOS, it is necessary to launch CentOS 8 instance from AWS market place and connect to it over SSH and execute all the steps given below to get it done.


Step 1: Update the system
#sudo dnf update
Step 2: Install Apache web server
#sudo dnf install httpd
Step 3: Start and enable Apache web server
#sudo systemctl start httpd
#sudo systemctl enable httpd
Step 4: Install MariaDB (MySQL alternative)
#sudo dnf install mariadb-server mariadb

Step 5: Start and enable MariaDB
#sudo systemctl start mariadb
#sudo systemctl enable mariadb
Step 6: Follow the steps of their installation for MariaDB installation, rest I will bring the blog of its installation process later.
#sudo mysql_secure_installation

Step 7: Install PHP and required modules
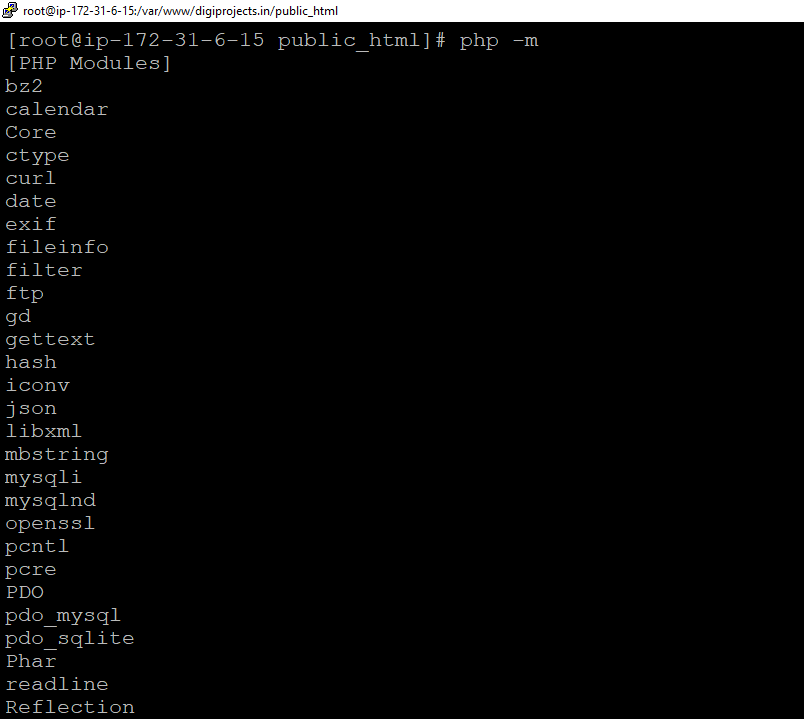
#sudo dnf install php php-mysqlnd php-opcache php-gd php-curl php-mbstring php-json

Step 8: Verify PHP installation
#php -v

Install the Remi repository:
You can add the both repository to your system using the below commands:
#sudo dnf install https://rpms.remirepo.net/enterprise/remi-release-8.rpm
The command above will also enable the EPEL repository.
First let’s discover what versions of PHP 7 are available on Remi:
#sudo dnf module list php
Step 9: Install additional PHP versions (if required)
#sudo dnf install php73 php73-php-mysqlnd php73-php-opcache php73-php-gd php73-php-curl php73-php-mbstring php73-php-json
#sudo dnf install php74 php74-php-mysqlnd php74-php-opcache php74-php-gd php74-php-curl php74-php-mbstring php74-php-json
Step 10: Verify additional PHP versions
#php73 -v
#php74 -v

Step 11: Install PHP-FPM (FastCGI Process Manager)
#sudo dnf install php-fpm
Step 12: Configure PHP-FPM for each additional PHP version in /etc/opt/remi/phpXX/php-fpm.d/www.conf (replace XX with the version number)
#sudo nano /etc/opt/remi/php73/php-fpm.d/www.conf
#sudo nano /etc/opt/remi/php74/php-fpm.d/www.conf
Change the following settings in individual php file.
#listen = /run/php/phpXX-fpm.sock
OR (Here, Use any one of them)
listen = /var/opt/remi/php81/run/php-fpm/www.sock
user = apache
group = apache
listen.owner = apache
listen.group = apache
listen.mode = 0660


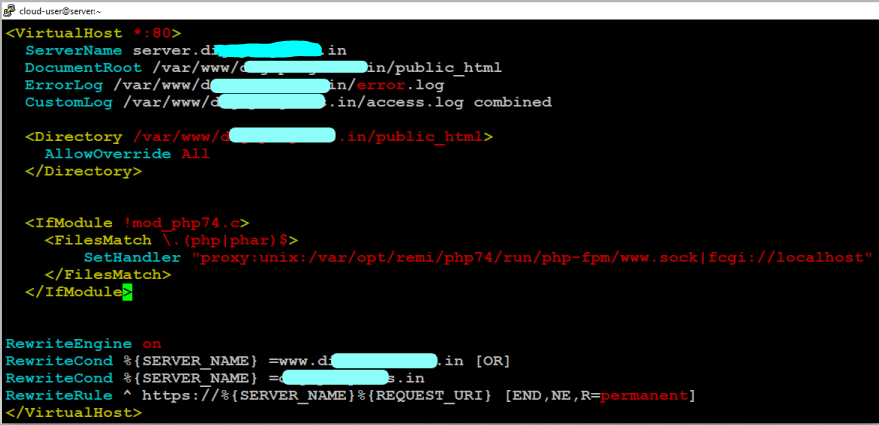
Step 13: Create virtual host configuration files in /etc/httpd/conf.d/ and keep your website name as per your choice here.
#sudo vim /etc/httpd/conf.d/example.com.conf

Example virtual host configuration for example.com(Replace your website name in example.com):
<VirtualHost *:80>
ServerName server.django.in
DocumentRoot /var/www/django.in/public_html
ErrorLog /var/www/django.in/error.log
CustomLog /var/www/django.in/access.log combined
<Directory /var/www/dajngo.in/public_html>
AllowOverride All
</Directory>
<IfModule !mod_php74.c>
<FilesMatch .(php|phar)$>
SetHandler "proxy:unix:/var/opt/remi/php74/run/php-fpm/www.sock|fcgi://localhost"
</FilesMatch>
</IfModule>
RewriteEngine on
RewriteCond %{SERVER_NAME} =www.django.in [OR]
RewriteCond %{SERVER_NAME} =django.in
RewriteRule ^ https://%{SERVER_NAME}%{REQUEST_URI} [END,NE,R=permanent]
</VirtualHost>
Step 14: Create the directory for the virtual host
#sudo mkdir -p /var/www/example.com/public_html

Step 15: Set ownership and permissions for the directory
#sudo chown -R apache:apache /var/www/example.com/public_html
#sudo chmod -R 755 /var/www/example.com/public_html
Step 16: Reload Apache web server
#sudo systemctl reload httpd
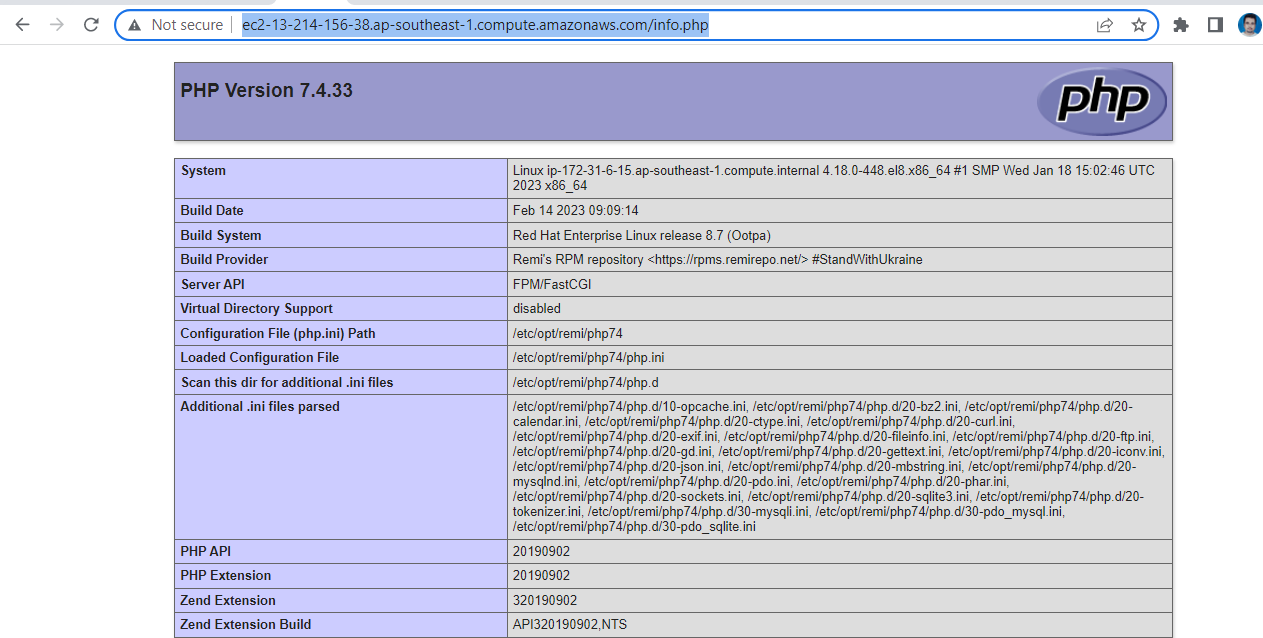
Step 17: Test the virtual host by creating a PHP info page http://ec2-13-214-156-38.ap-southeast-1.compute.amazonaws.com/info.php

All Done.
Thanks, Anil Kushwaha
Subscribe to my newsletter
Read articles from Anil Kushwaha directly inside your inbox. Subscribe to the newsletter, and don't miss out.
Written by

Anil Kushwaha
Anil Kushwaha
As a technology enthusiast with a passion for efficient operations, I specialize in Linux, AWS Cloud, Prometheus-Grafana, Security, Virtualization, and Git. With a deep understanding of these technologies, I am able to streamline development processes and ensure smooth operations for businesses.