How to Configure cloudcannon collections to enable Post & Page content editing?
 José Horta
Next.js is one of the most popular React-based SSGs. CloudCannon makes it easy to store your content in your Git Repository and have non-developers update it. Better yet, the editing is all done in context with minimal configuration.
Intro
This guide will walk through the steps required to get your Next.js site you previously built, editable, and living on CloudCannon.
Hands-on Lab:
Effort: 25 mins
Objectives
After completing this reading, you will be able to:
Edit your deployed Static Site within cloudcannon UI.
Configure cloudCannon collections locally to enable Posts content editing.
Configure cloudCannon collections locally to enable Pages content editing.
Make Git-based changes through the CloudCannon UI.
Prerequisites
If you intend to run this lab on your system, please ensure you have the following:
A basic understanding of working with the terminal.
A Laptop or PC with Windows installed
A Internet connection
Git installed on your local machine. For more details on accomplishing this, review Installing & Setting Up Git on Windows.
A GitHub account.
The latest version of Visual Studio Code is installed on your machine.
The cloned demo website starter deployed to cloudcannon already up and running.
Note: This is a follow-up tutorial, it does require you to have created the Hands-on-Lab, as covered in the article How to deploy Jamstack sites to cloudcannon to make the most out of it.
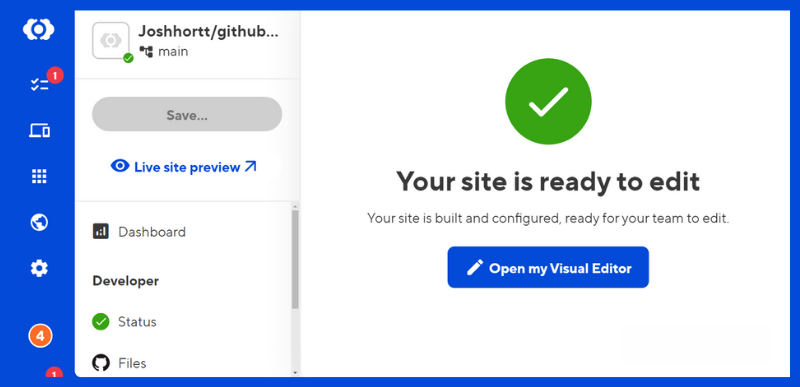
So let’s get started with another capability of cloudcannon that can give us the ability to actually manage and edit this content inside of our project.
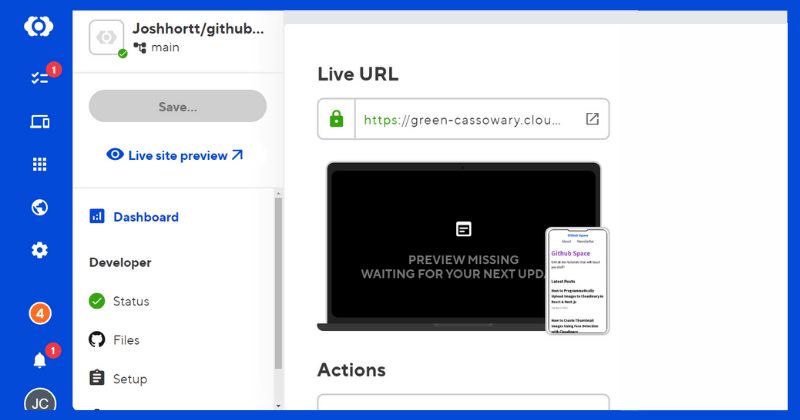
We can actually go through and mainly find all the files here,
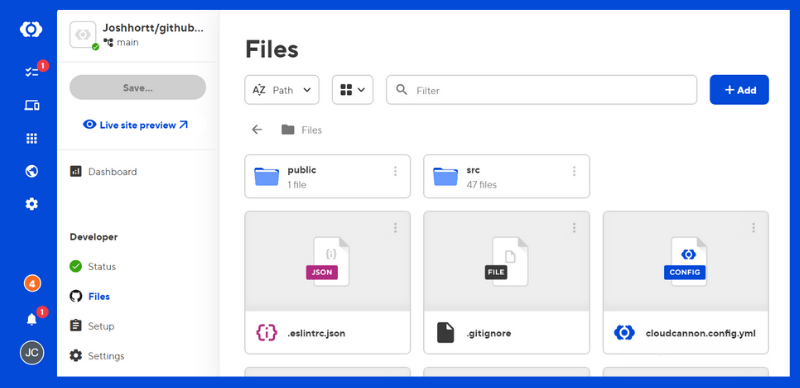
that we actually want to edit such as if we wanted to edit our homepage,
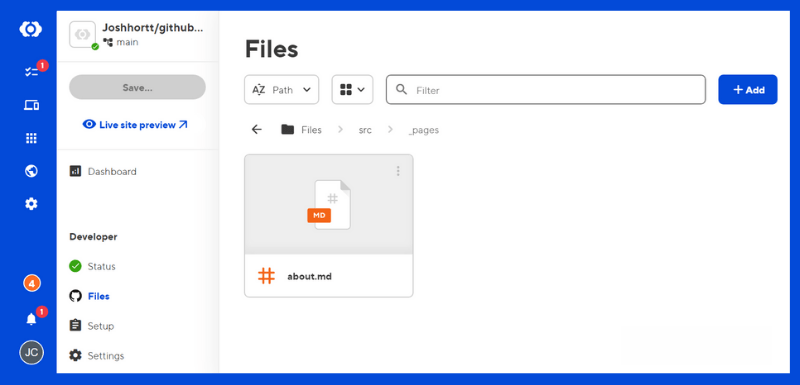
or the about page or any other page, we can edit the source right here:

But we have other options by using a configuration locally in our project so that cloudcannon can actually see what we define as our content.
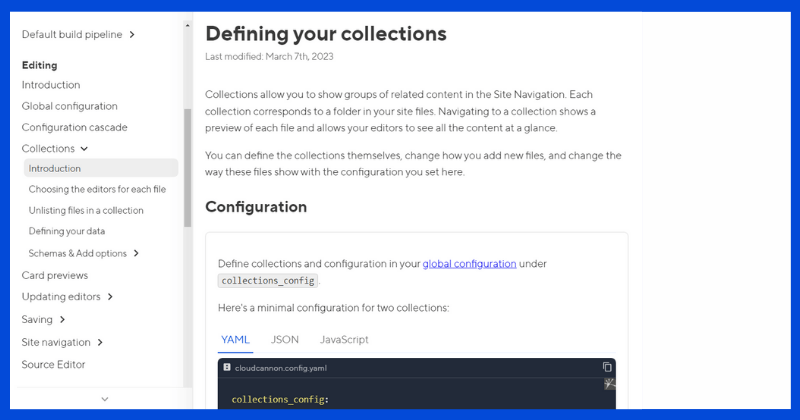
If we head over to the cloudcannon documentation,what we ultimately want to do is Defining our collection, and we can do that by defining our collections Configuration along with all the other options that we're going to actually need, which we're going to walk through now.
Note: It's recommended to spend some time to read Cloudannon Documentation
I'm going to create a file in the root of my project called cloudcannon.config.js
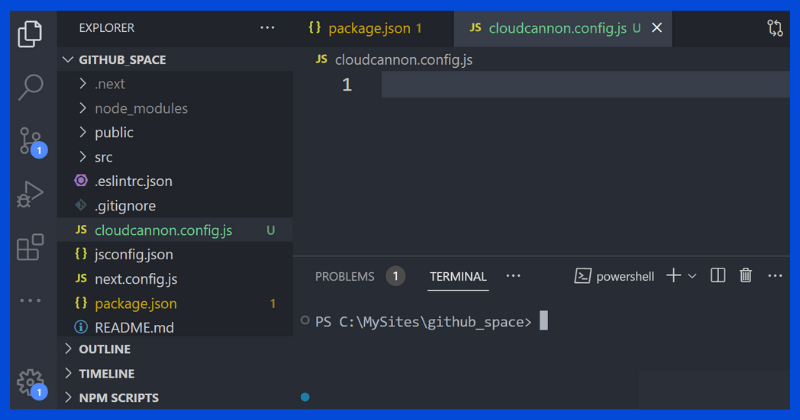
Then I start by defining our collection configuration.
Let's walk through this new code:
1 - I start by defining a module exports. I'm going to set that to a new object.
2 - Then we want to add a key for our actual collection of content that we're about to set up, and we have two things that we want to eventually set up.
Our pages and our posts.

3 - Following that, I insert the following block of code into our Posts collection:
   posts: {
      name: "Posts",
      path: "src/_posts",
      parser: "frontmatter",
      output: true,
      url: "/posts/[slug]",
    },
Note: If we look inside of the pages directory & posts directory we have the setup that shows:
/posts/[slug]
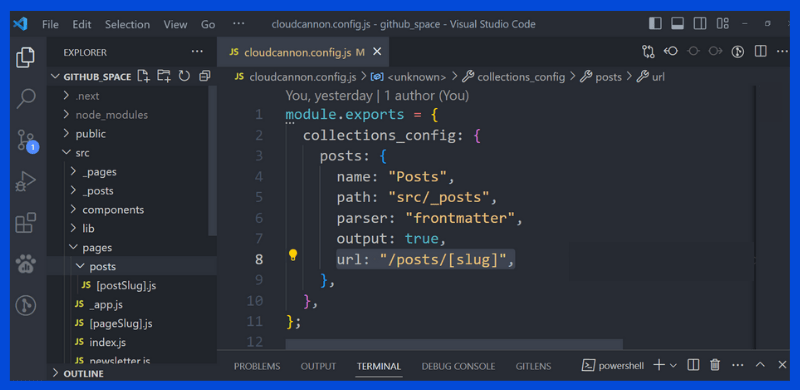
Note: When I add
/posts/[slug]it's not going to be something that has to line up one-to-one with the actual name of that javascript file [postSlug].js. It's going to just be this slug in the brackets because that's what cloudcannon is going to understand as the slug. Now that we have our post finally set up, let's get this up to cloudcannon and see what happens this time after we commit these changes.
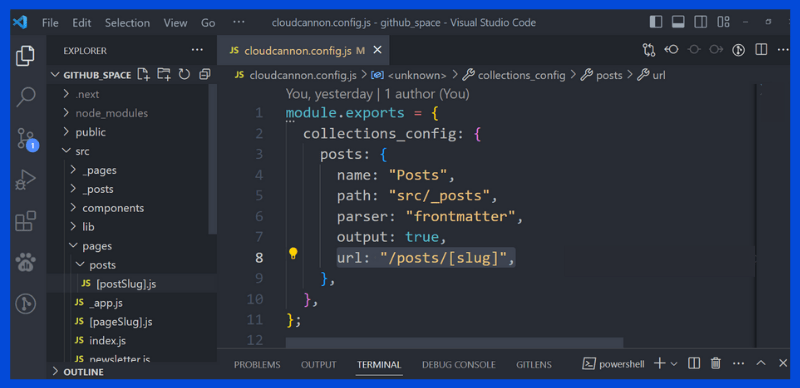
We save the file, and then we're going to commit and push these changes to Github.
$ git add .
$ git commit -m "Add Posts object to collection config"
$ git push -u origin main
Note: Cloudcannon automatically updates these changes for us.
We can actually see that under Files. We now have another src option where our posts are.
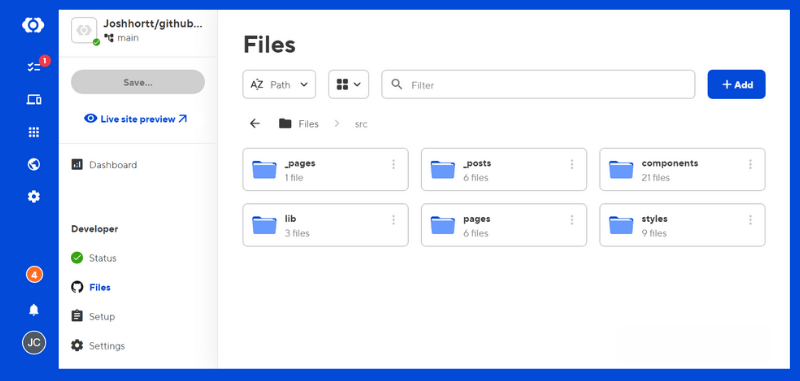
If we click on that we can now see all those different posts that we had locally as files.
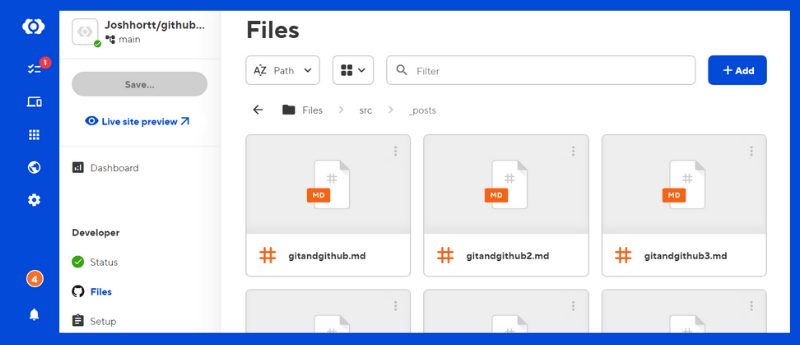
If we click into one again we can see that we can open up one of these posts with a Content Editor,
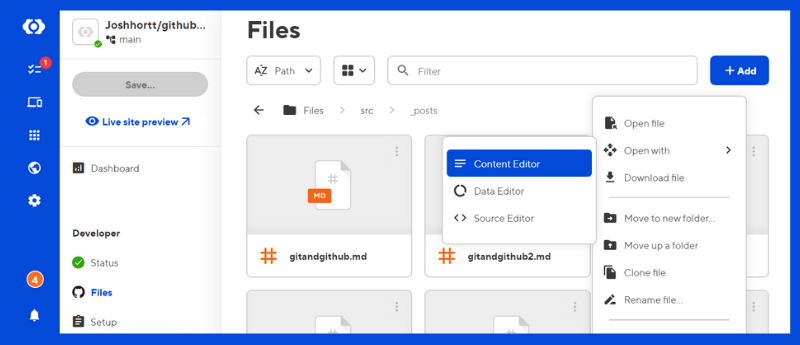
A nice looking editor, not just the source of the code, where we can make changes to any of the content in our site, including all the frontmatter that belongs to each and every one of those markdown files that is visible on the left: Title, Date & Categories.
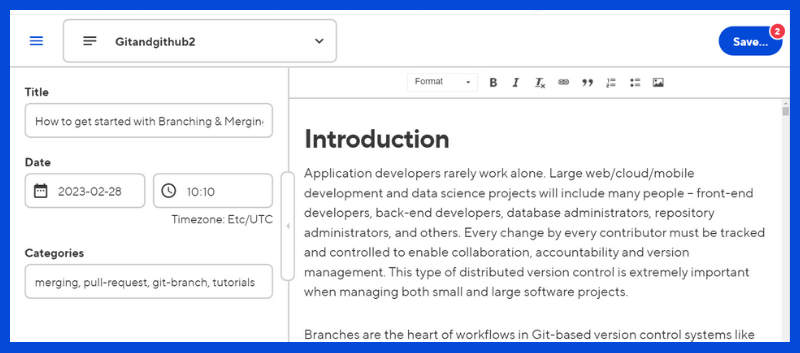
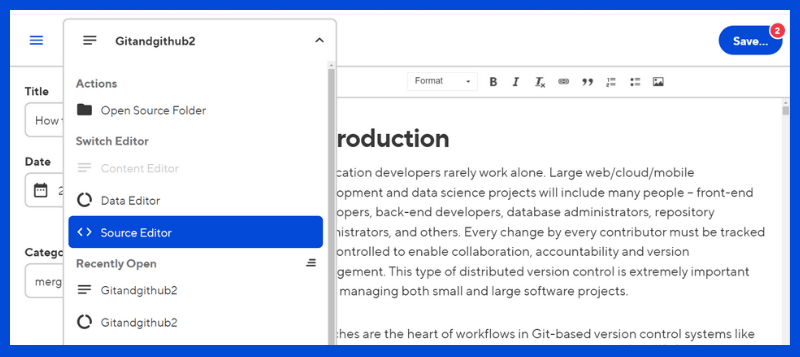
Now the cool thing is we can select this drop-down and we can see that we have a couple of different options for how we want to interact with this file particularly we still have this option to edit the source of it by clicking on the Source Editor.
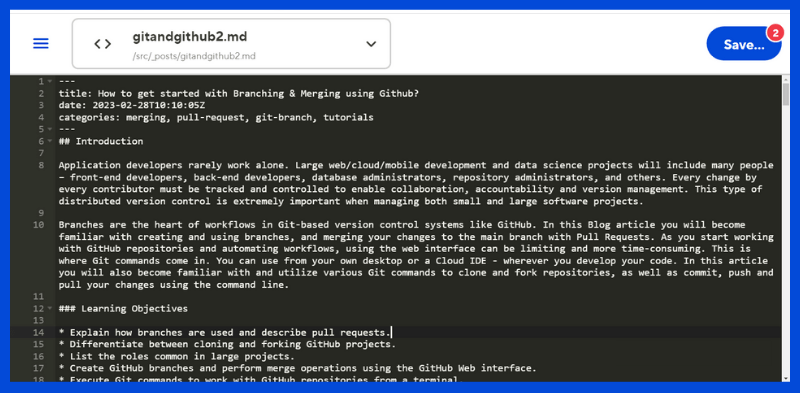
If you're not familiar with the structure of markdown we have this frontmatter at the top which just defines a few data points which is what we saw on the left of the post we had opened with the Content Editor before. The rest of it, is going to be our content which is parsed inside of our project and then we can actually edit it as content, if we prefer right inside this Source editor.
Making Page content editable and making Git-based changes through the CloudCannon UI
But we also want to manage our pages like this right, so I'm going to go ahead and copy & paste this object and I'm going to rename everything instead of posts to pages. You can see the new updated block of code below:
pages: {
      name: 'Pages',
      path: 'src/_pages',
      parser: 'frontmatter',
      output: true,
      url: '/[slug]'
    },
Let's walk through this new code:
Just like I did with Posts before I'm going to make sure that the name is actually capitalized, and the biggest difference here is, we want to make sure that we're passing in the url as the appropriate url. Now, we don't actually have pages in front of the slug like this; if we look at the file inside of pages, it just exists at the root of the pages directory called [pageSlug].js. The way that works is if we don't manually define that file, it's going to fall back to that dynamic page slug and create it using that template, so we're going to leave this just as /[slug] where it's going to be able to create those files for us.
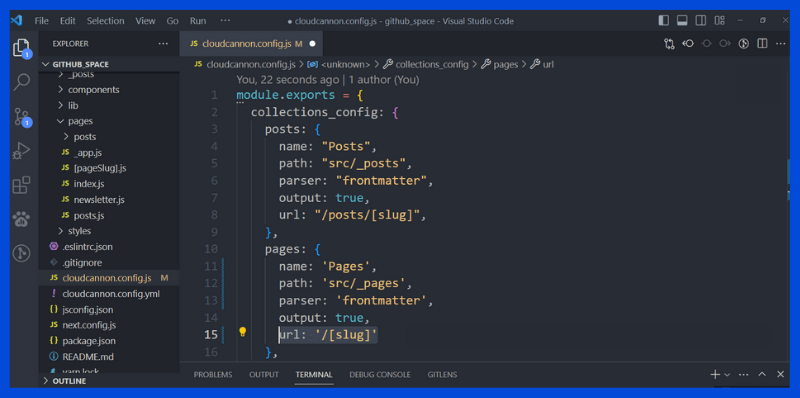
Here's the final javascript code of cloudcannon.config.js
module.exports = {
  collections_config: {
    posts: {
      name: "Posts",
      path: "src/_posts",
      parser: "frontmatter",
      output: true,
      url: "/posts/[slug]",
    },
    pages: {
      name: "Pages",
      path: "src/_pages",
      parser: "frontmatter",
      output: true,
      url: "/[slug]",
    },
  },
};
Just like before, once it is finished, we're going to commit and push these changes to Github.
$ git add .
$ git commit -m "Add Pages object to collection config"
$ git push -u origin main
Note: Just like before, Cloudcannon automatically updates these changes.
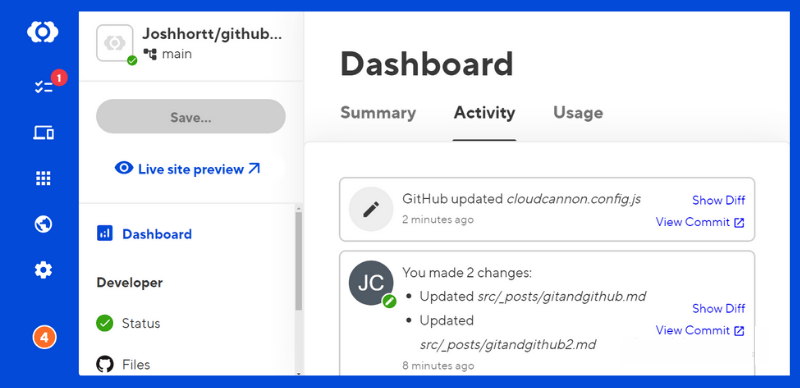
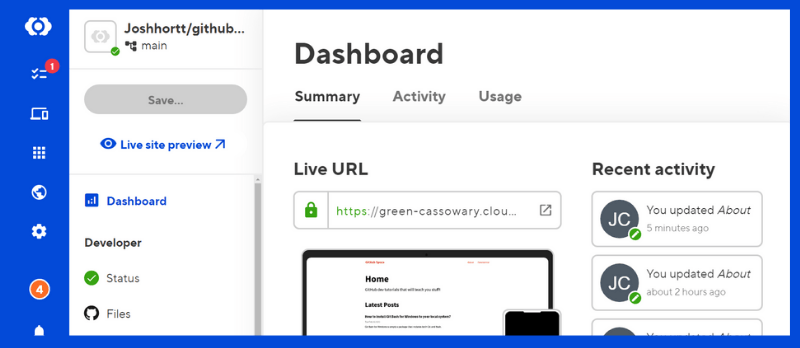
We can see now in our Dashboard that Github updated the cloudcannon.config.js file in just a matter of seconds.
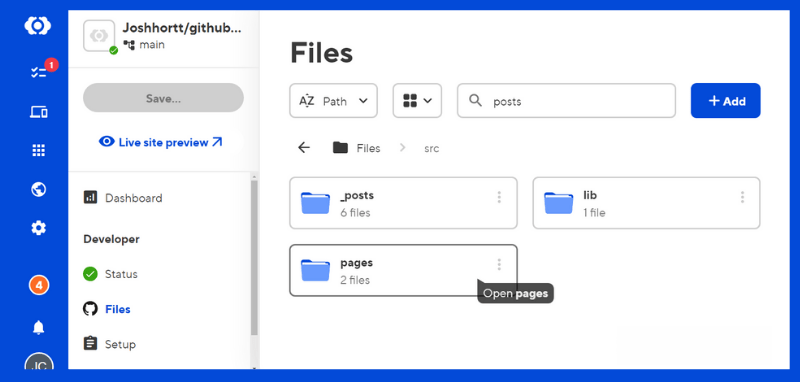
We have the pages area:
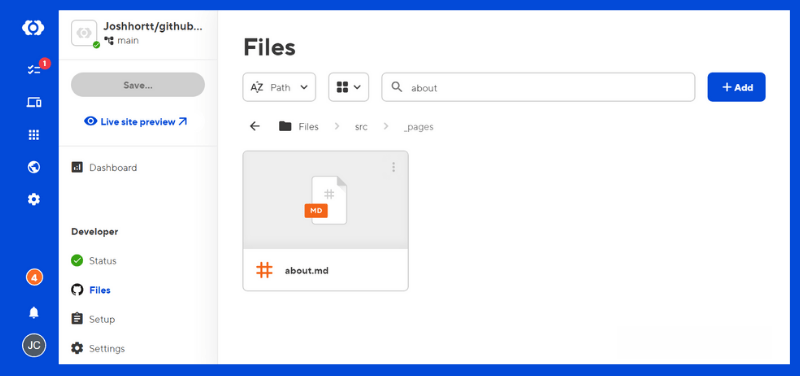
Where we can select our about page and edit any of the content that we'd like.
Now in terms of actually editing content, we can do this right inside of this Content editor.
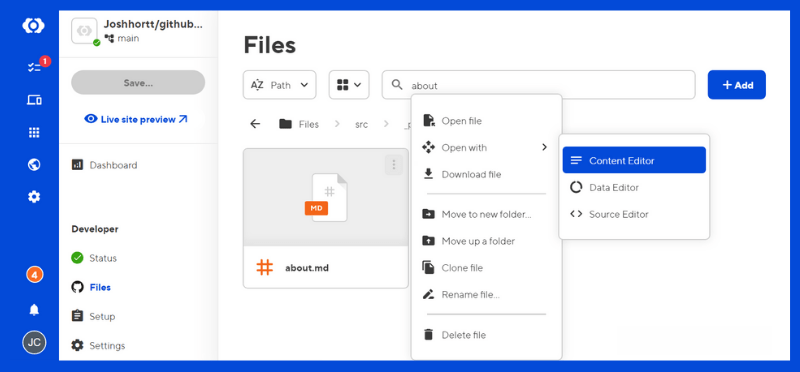
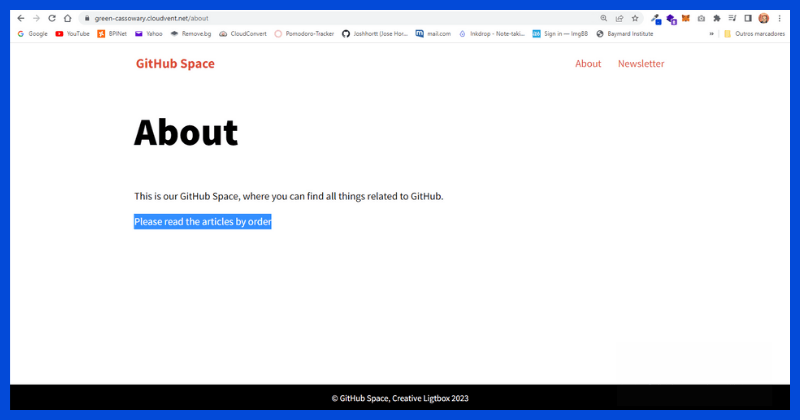
For instance, if I wanted to add a new sentence, "Please read the articles by order"
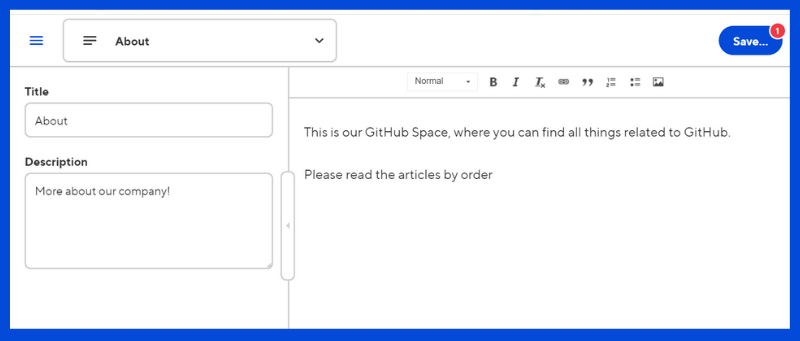
And I click save
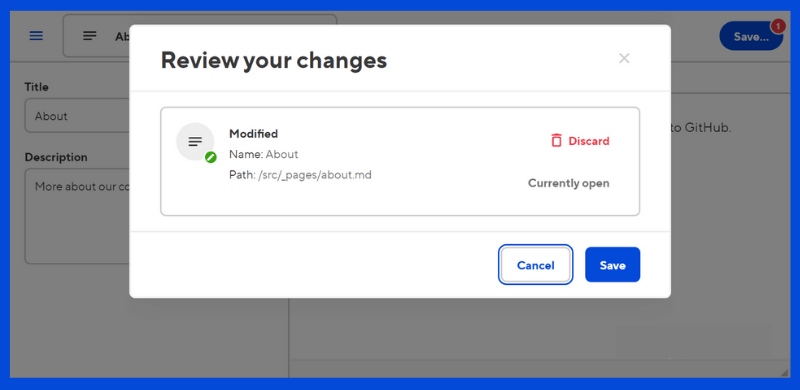
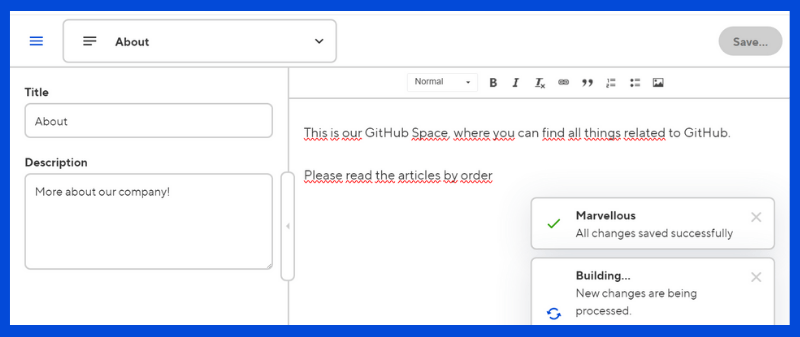
What that's going to do is actually update that file inside of my Git project repository, since these files are Git based and then it's going to Redeploy which we saw just happened automatically.
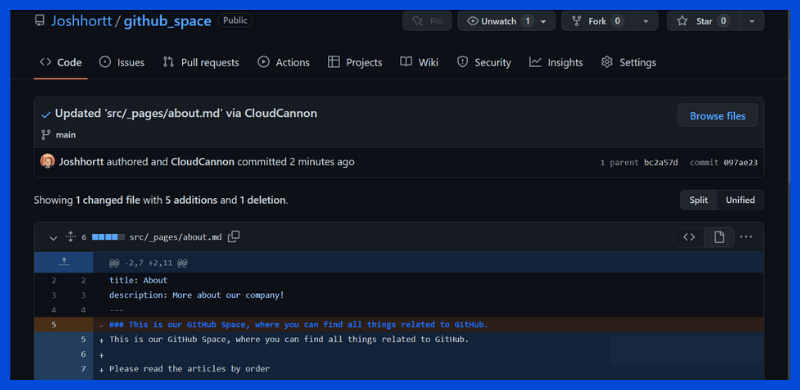
If we look back at our GitHub project we can see that we have this new commit called updated source pages about via cloudcannon where it actually adds that change and removes the heading 2 from the first sentence.
And to prove that it works we can see once it's done we can actually head back to our Dashboard and see that the About page was just updated.
Now to see it in real-time, open up our site. We can navigate over to the about page and we see that the sentence is now added and live...
Summary
In addition to providing us with a great way to manage our content directly using the Content Editor, cloudcannon also allows us to edit and redeploy our production projects out to the web very quickly.
Are you a fan of the jamstack let me know in the comments and let me know what's your favorite part of building with the Jamstack.
What's Next?
If you want to follow along with more advanced stuff in the next article. I'll talk about A Step-by-Step Guide to Installing Pre-Configured Cloudcannon Themes for Your Jamstack Project Thanks for the read! Now go practice & build something awesome!
Subscribe to my newsletter
Read articles from José Horta directly inside your inbox. Subscribe to the newsletter, and don't miss out.
Written by

José Horta
José Horta
Full Stack Web Developer based in Portugal. Experienced in designing UI Web Components & developing .Net & React Applications.