Web-Application Deployment Using Nginx Web Server
 Deepak Patil
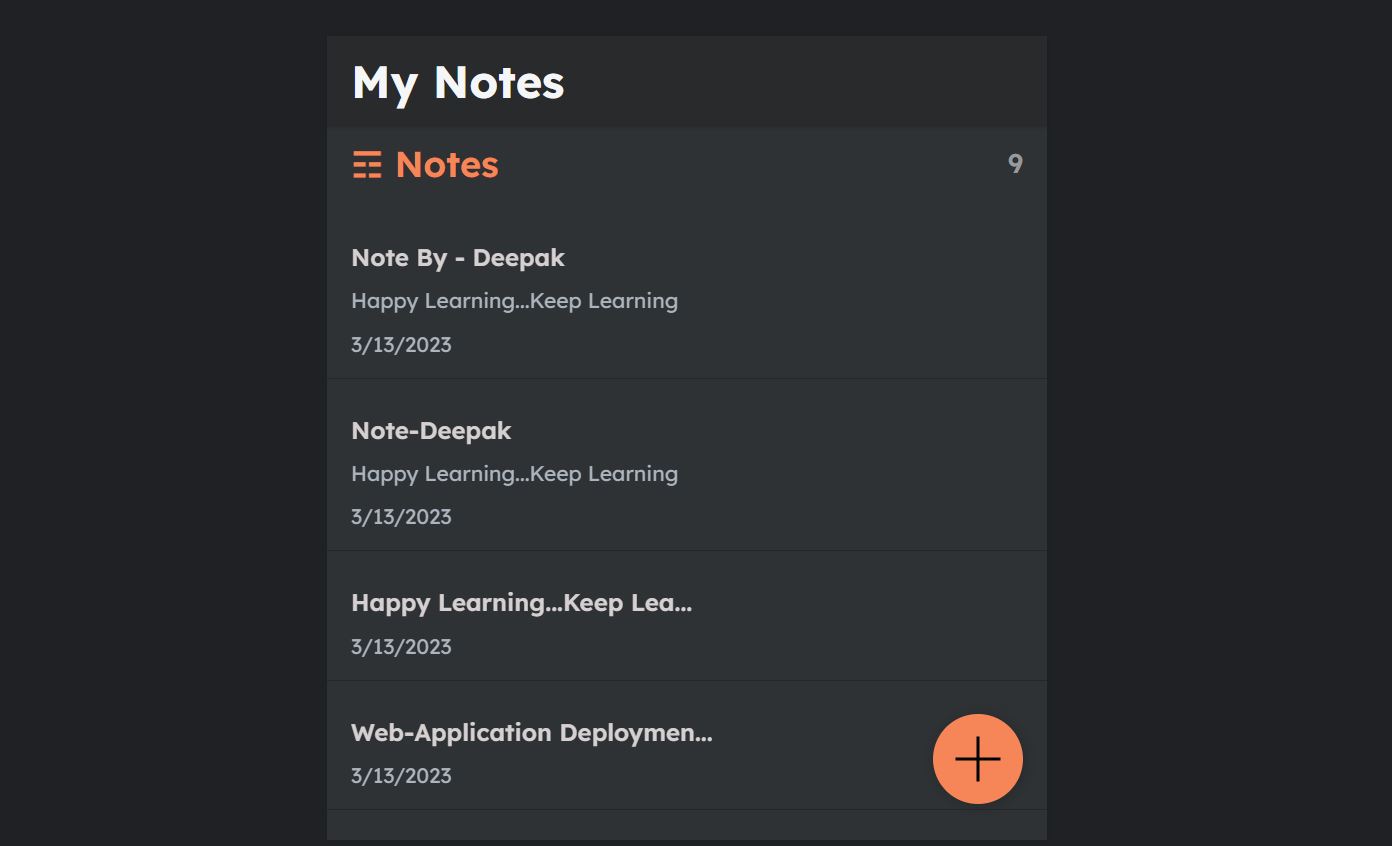
Overall, this project demonstrated how Nginx Web Server can be used to deploy web applications in a scalable, secure, and reliable manner, and how Docker can be used to package and deploy these applications with ease.
The technology stack used in this project included Amazon EC2, GitHub, Docker, and Nginx. Amazon EC2 provided the virtual server that hosted our application, GitHub allowed us to store and version control our application code, Docker allowed us to package and deploy our application in a containerized environment, and Nginx provided the web server and reverse proxy functionality.
What Is a Web Server?
A web server stores and delivers the content for a website – such as text, images, video, and application data – to clients that request it. The most common type of client is a web browser, which requests data from your website when a user clicks on a link or downloads a document on a page displayed in the browser.
A web server communicates with a web browser using the Hypertext Transfer Protocol (HTTP). The content of most web pages is encoded in Hypertext Markup Language (HTML). The content can be static (for example, text and images) or dynamic.
A web server might also cache content to speed the delivery of commonly requested content. This process is also known as web acceleration.
What is Nginx Web Server?
Nginx (pronounced "engine x") is a popular open-source web server software that is designed to handle high-traffic websites and applications. It is known for its high performance, reliability, scalability, and low resource consumption. It is a web server used for serving static web files 📂.
It is commonly used as a reverse proxy server, load balancer, indexing and HTTP cache. It can also be used as a front-end web server or as a proxy for Apache or other web servers. It also has robust security features and can be easily integrated with other tools and technologies such as SSL/TLS encryption, HTTP/2, and Docker.
Nginx Architecture
For understanding the further configuration settings of Nginx, we need to get a glimpse of Nginx understanding before that.
Nginx uses the Master-Slave architecture, where we have a master who reroutes our request to any of the workers under it by distributing the load on the server, then the Proxy cache is looked for faster response, else after failing to do So the webpage is loaded from the memory itself. An image demonstration will help to understand this structure more clearly.

Features of Nginx
High-performance: Nginx is designed to handle a large number of concurrent connections with low memory usage and high efficiency.
Scalability: It is designed to be highly scalable, allowing it to handle large volumes of traffic and requests.
Load balancing: Nginx can distribute incoming traffic across multiple servers, helping to balance the load and improve performance.
Reverse proxy: Nginx can act as a reverse proxy, enabling it to handle requests and route them to appropriate backend servers.
Caching: Nginx can cache content in memory or on disk, reducing the load on backend servers and improving performance for users.
Security: Nginx includes a variety of security features, such as SSL/TLS support, access controls, and HTTP/2 support.
Easy to configure: Nginx is easy to configure and can be customized to meet the specific needs of different applications.
Overall, Nginx is a versatile and powerful web server that can handle a variety of use cases, from small websites to large-scale applications.
What is Reverse Proxy?
In this project, we will majorly focus on the Reverse Proxy of the Nginx server
Reverse Proxy: server that sits between client devices (such as web browsers) and a web server.
It receives requests from clients, processes them, and forwards them to the web server, which responds back through the reverse proxy to the client. This way, the client never directly communicates with the web server, keeping the server's true location hidden and providing additional security and performance benefits.
Application Deployment Using Nginx Web Server
1. Launch EC2 Instance:
Launch an instance named with Ubuntu AMI,t2.micro instance type, and make sure to add inbound traffic rules for HTTP, and HTTPS in addition to SSH.

2. Install Nginx on the server
To install nginx server use the following command
sudo apt-get update First, connect to the server and update
sudo apt install nginx -y Install nginx server
nginx -v Check the nginx version
sudo systemctl status nginx Check the status of nginx
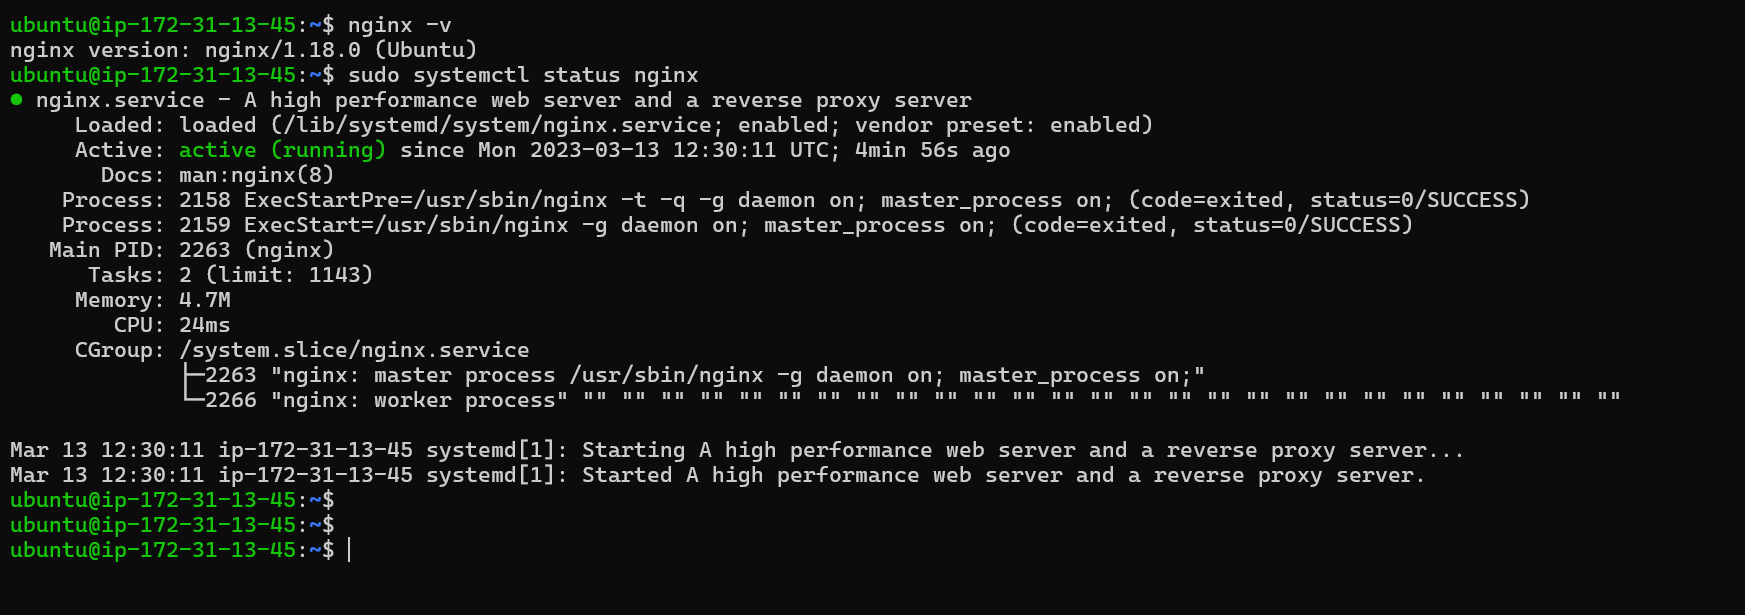
3. Check Nginx From Browser
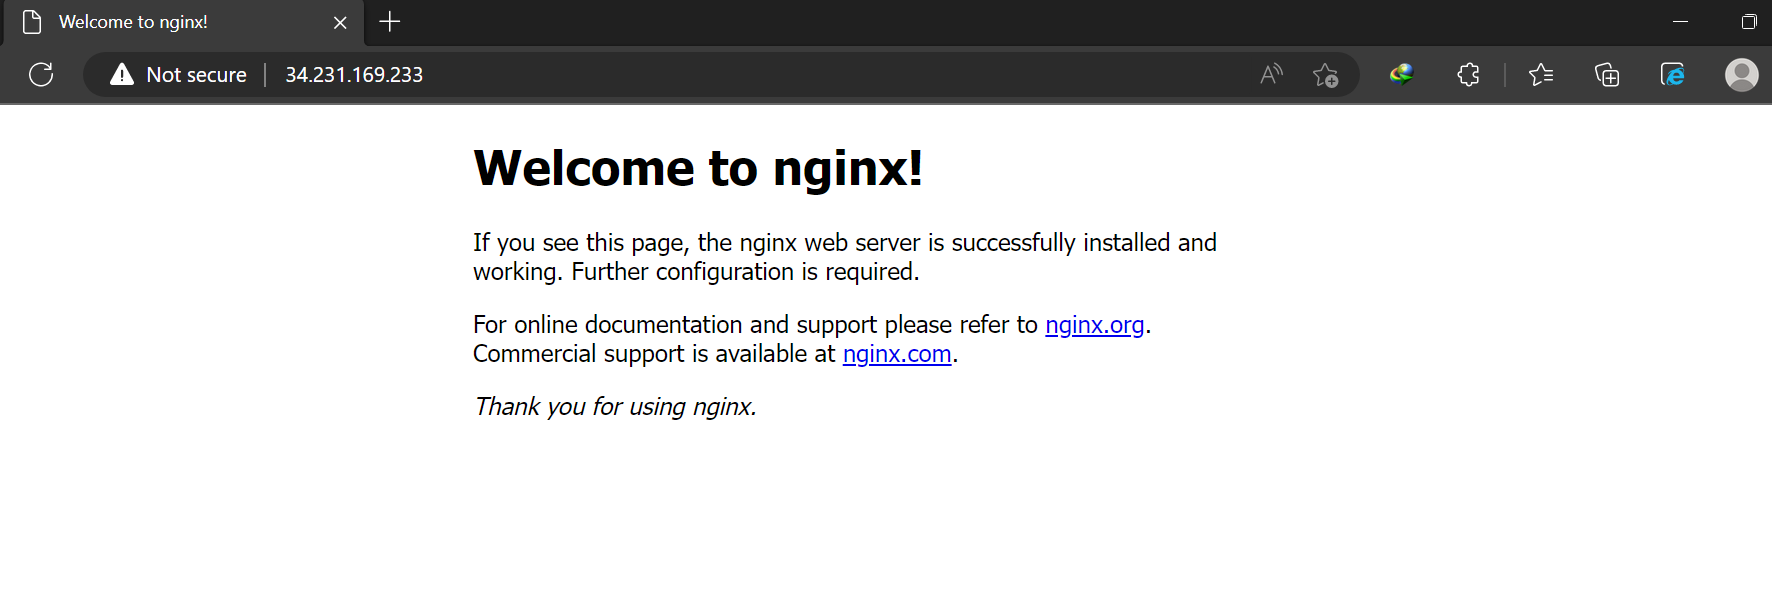
- To check the working status of the Nginx server, copy and paste the
Public IPof the instance over the browser address bar.
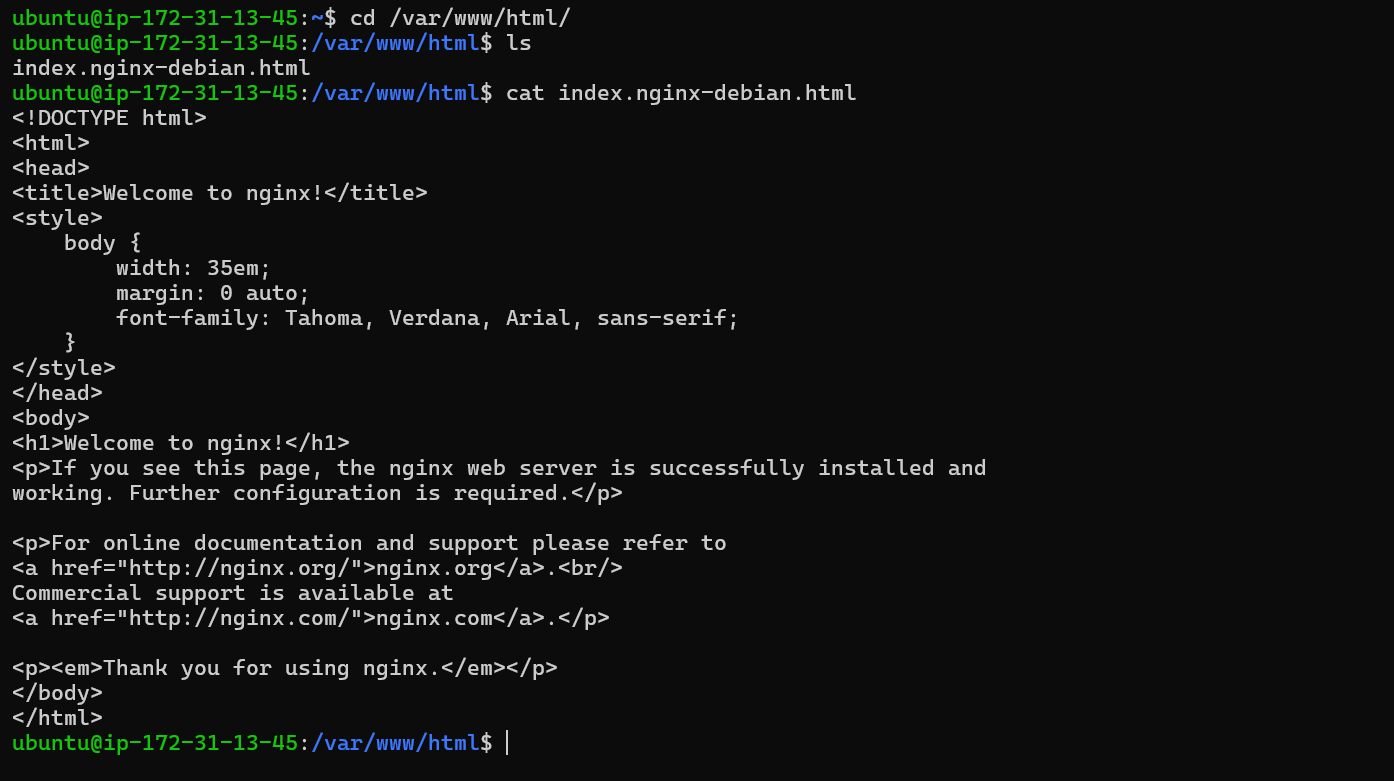
- We can view the homepage details stored in the index file on its path
/var/www/html.
Installation and configuration files of the Nginx server can be seen at
/etc/nginxpath wherenginx.confis the configuration file of the Nginx Server.sites-enabledandsites-availableare responsible for website deployment and configuration respectively.

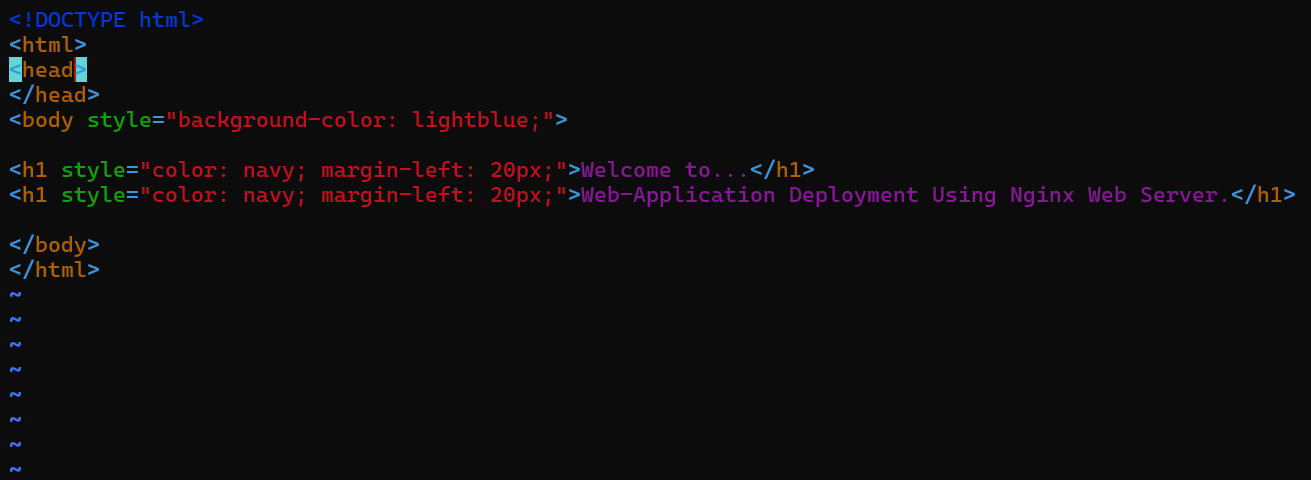
To better understand the concept of static web files serving feature of the Nginx server, create another index file with different HTML codes and save it in
/var/www/html/, default root path of the nginx serverNote:Here, I have stopped my EC2 instance that's why the public IP address has been changed.


4. Clone The Source Code
Let's start the amazing part of this project by cloning the source code to this server using Git.
sudo apt install git -y : To Install the git on the server
git --version : Check the git version
git clone [repository-url] : To clone the source code from the repository

5. Install Docker on the Server
Install docker in this server by using the following command & also check its version by the command
sudo apt install docker.io -y : To install docker
docker --version : To check the docker version
sudo usermod -aG docker $USER : To get the root permissions, we add the current login user to the docker group and reboot the docker service.

6. Modify Dockerfile
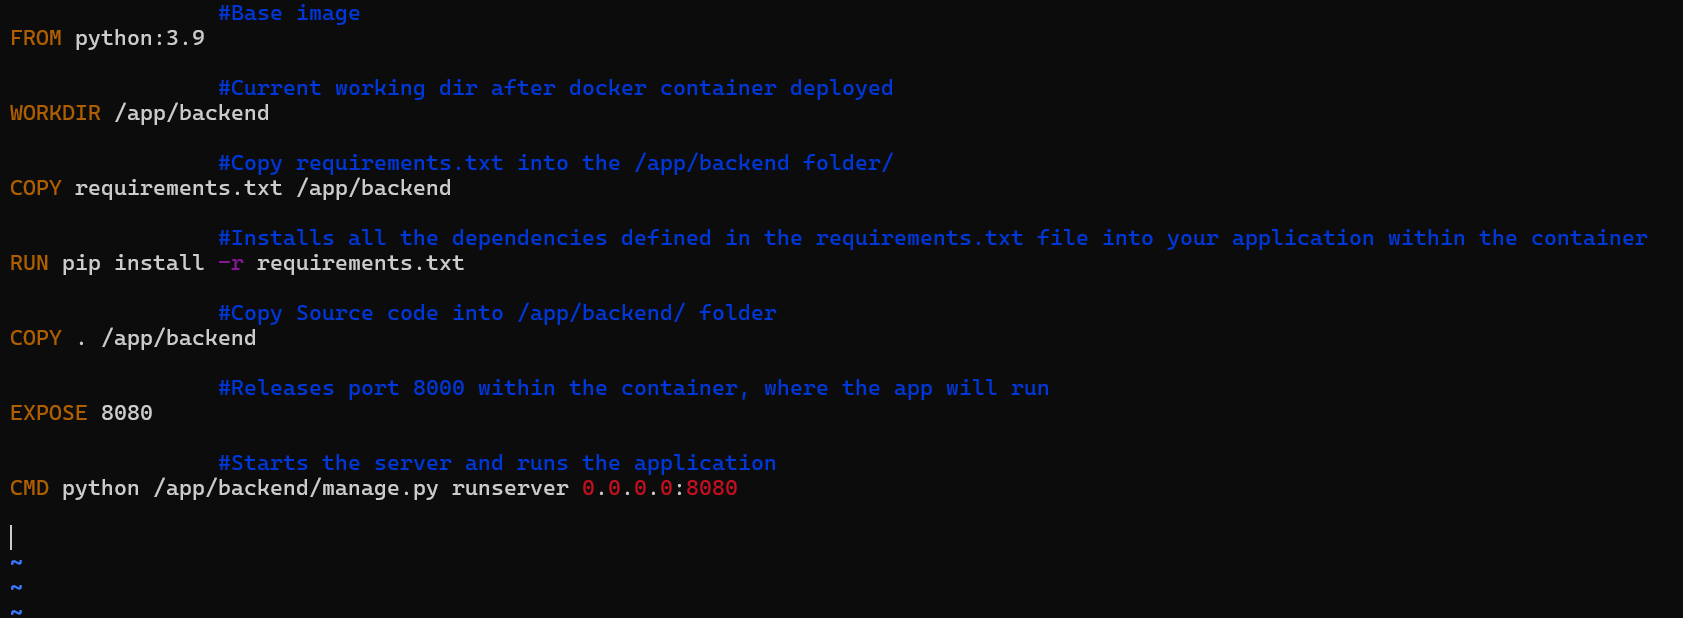
Go to the source code and modify the Dockerfile and save it.

7. Build Docker Image using Dockerfile
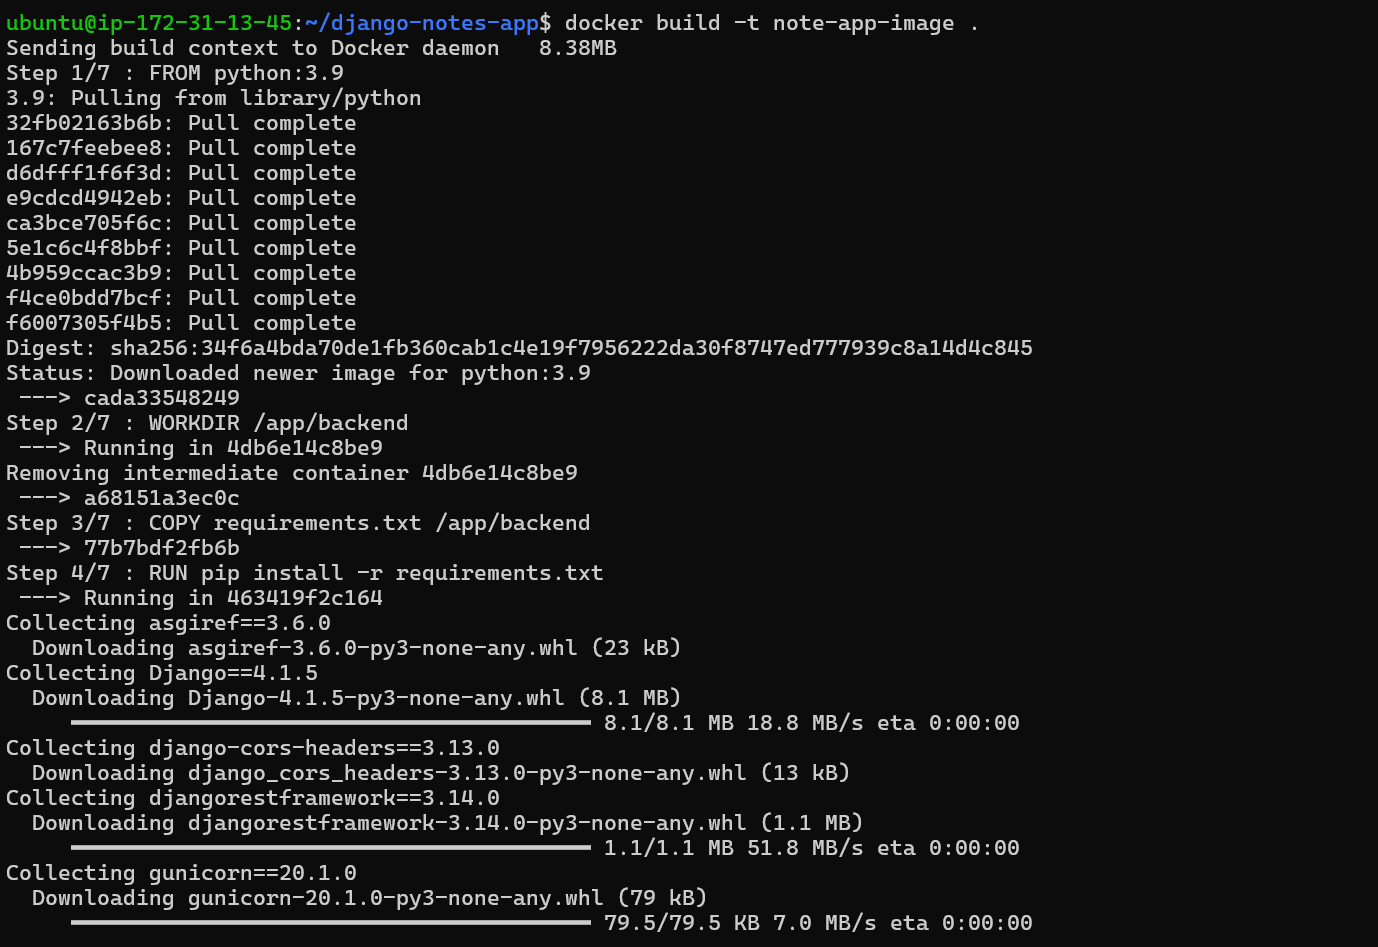
Build a docker image using the following command
docker build -t [image-name] .
docker images : To check the images in the docker host

8. Run the container from the image
Deploy the container using the following command
docker run -d --name[container-name] -p [host-port]:[container-port> [image-name]
docker ps - To check the container is running
curl -L [local_url]:[External-Ip] - Check the note app working over the local system.

9. Configure Frontend using Reverse Proxy
Run this application through the Reverse Proxy, not by exposing its external IP publicly on the browser. So get inside the/etc/nginx folder 📂 & switched to the 'sites-enabled' a folder that is only responsible for web deployment. Edit the default file present inside it.

Here location / is for the frontend page of the server and we just configure (added) proxy_pass http://127.0.0.1:8080; as a Reverse Proxy & save it.

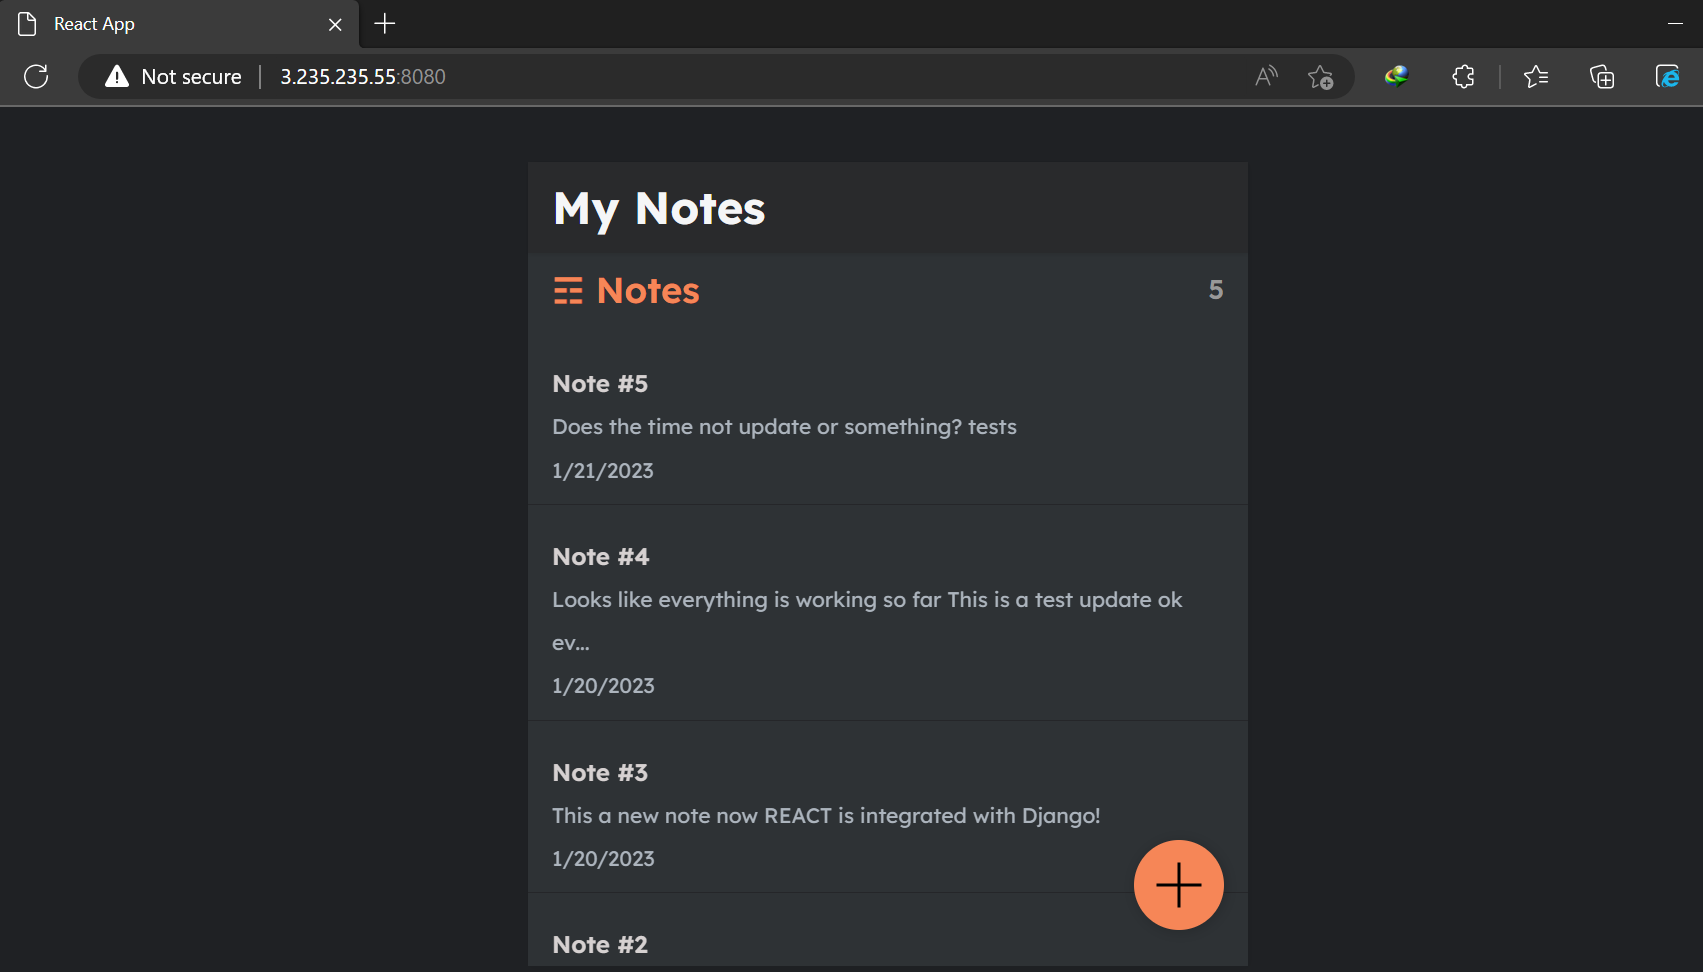
Now, restart the nginx server and make sure the server is in running mode, and copy-paste the EC2 public IP address into the browser and the front-end is accessible
sudo systemctl restart nginx.service - To restart the nginx server.
sudo systemctl status nginx.service - To check nginx server status.
[EC2-public-IP]:8080 - To load the application

10. Configure Backend using Reverse Proxy
The application is now ready but the source code is not updated in the backend to store the data. For this, copy the source code to the Nginx root folder /var/www/html

Now, check backend is working at locally using the following command
curl -L [local_url>:<external-ip]/api

Here we added location /api for the backend page of the server.
Add proxy_pass http://127.0.0.1:8080/api; as a reverse proxy & then save it. Restart the service.

Now, restart the nginx server check the nginx status, and refresh the browser to add notes
sudo systemctl restart nginx.service - To restart the nginx server.
sudo systemctl status nginx.service - To check the nginx server status.
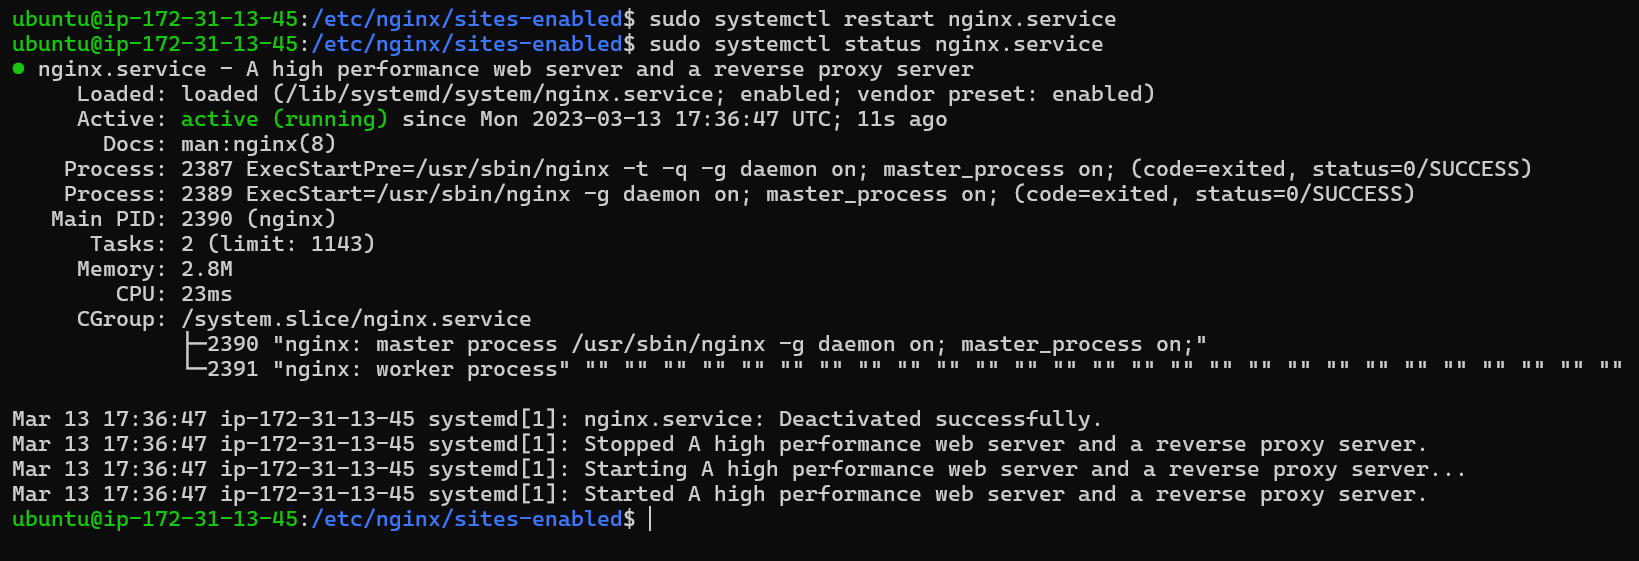
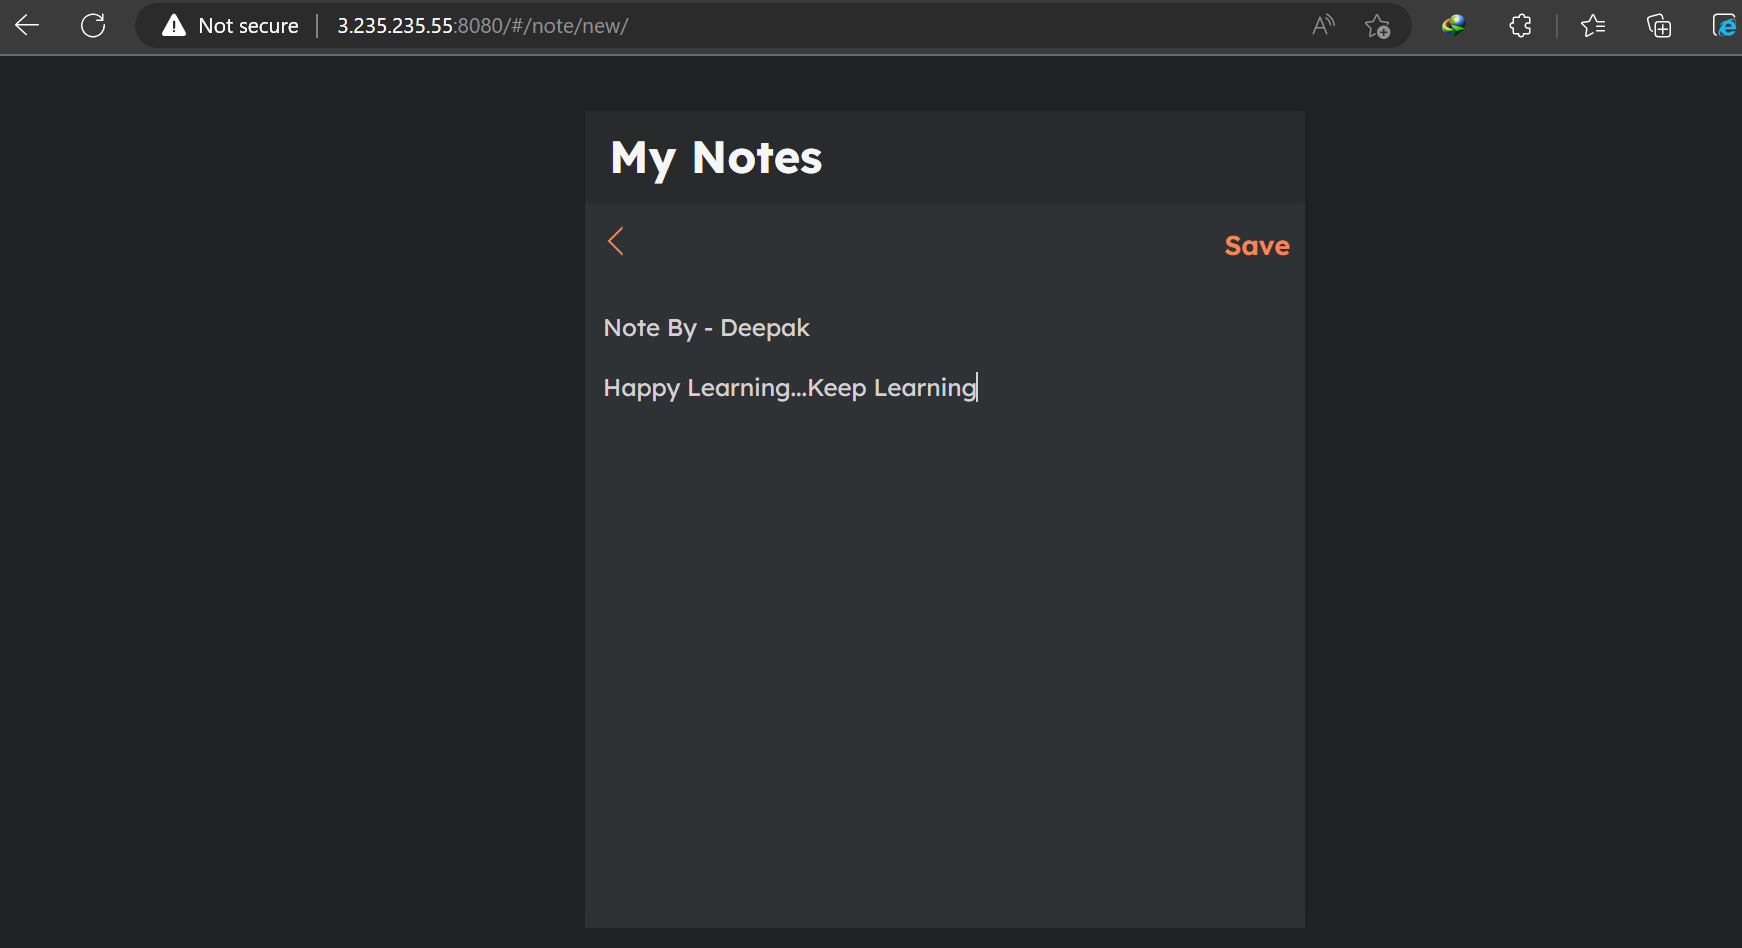
Now, add some notes and save and check the data is reflecting as it is saved in the backend
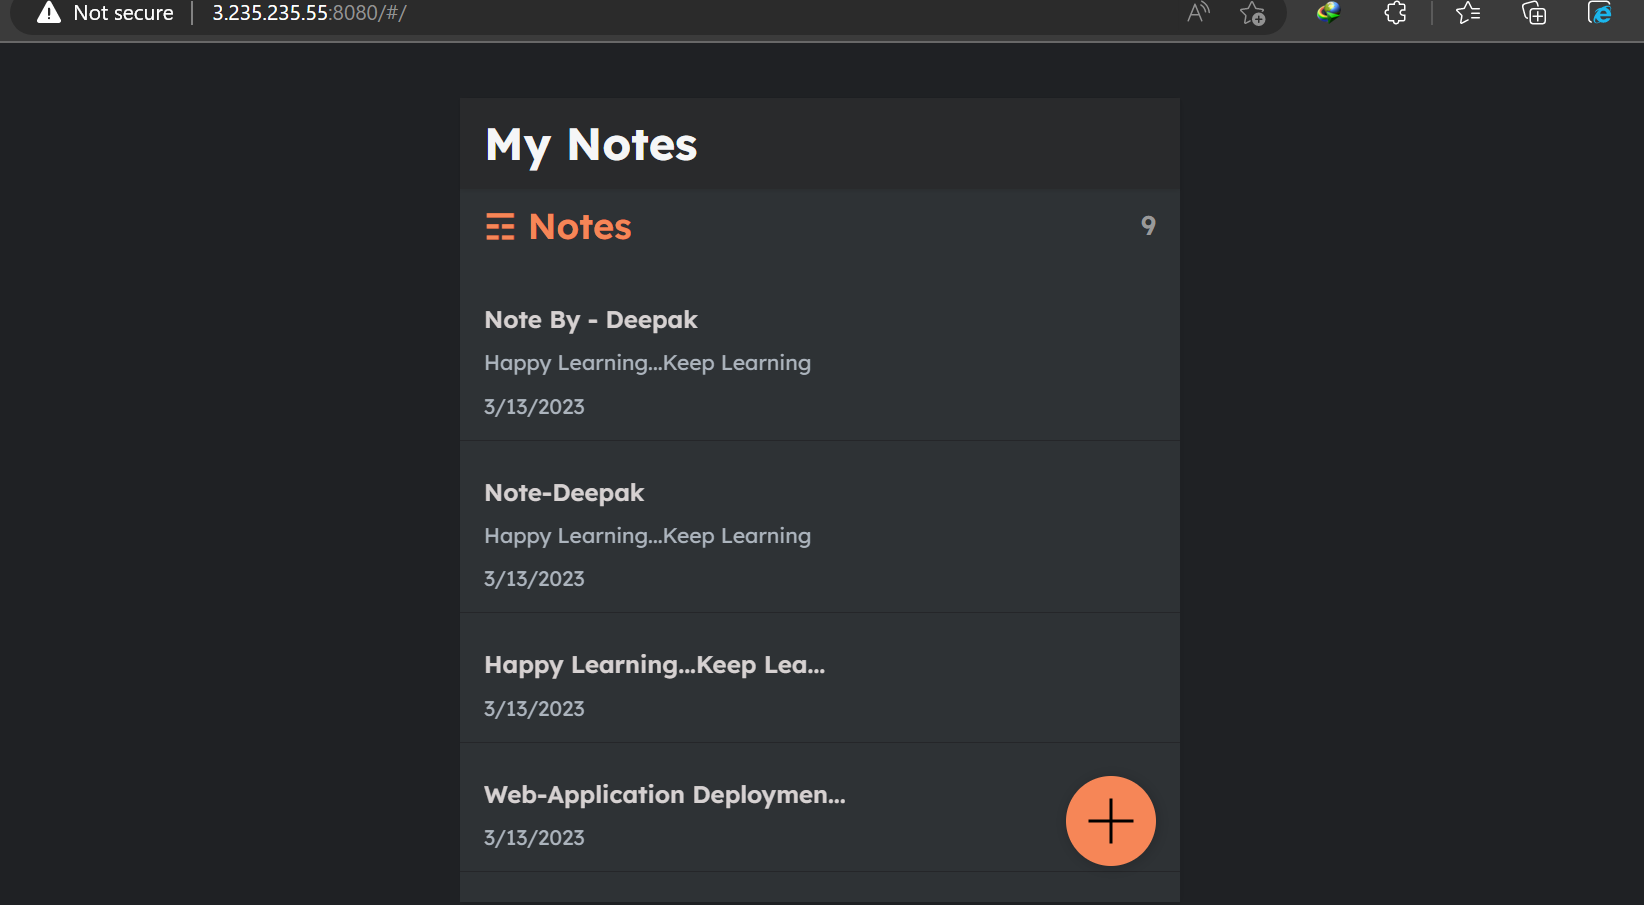
That's all our web application is deployed using the Nginx server.
Reference: see this video for more details.
Thank you for reading the article.
Thanks for your valuable time.
Happy Learning !... Keep Learning ! 😊
Subscribe to my newsletter
Read articles from Deepak Patil directly inside your inbox. Subscribe to the newsletter, and don't miss out.
Written by

Deepak Patil
Deepak Patil
Hey there! I am Deepak!! Passionate About Cloud & AWS☁️| DevOps ♾️ Technologies 👩🏻💻 And Skilled with Git 🔀 | Docker 🐳 | Kubernetes ☸ | Jenkins 🛠️ 👏 Welcome to my blog!!