Setup Nexus on EC2 instance:
 Siddhant Gupta
Table of contents
Step-1: Install Docker
sudo apt update
sudo apt install docker.io
Step-2: Pull the nexus image from Docker:
sudo docker pull sonatype/nexus3
Step-3: Run the Nexus Container
sudo docker run -d -p 8081:8081 -p 8083:8083 --name nexus sonatype/nexus3
Step 4: Add insecure registry :
#Login as root user
sudo su

cd /etc/docker

#If not present then create a new file daemon.json
vi daemon.json
#and add:
{ "insecure-registries":["nexus_machine_ip:8083"] }
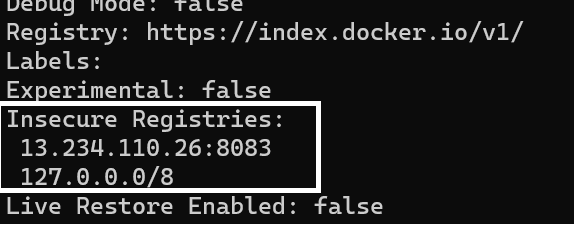
Once that's done we need to execute systemctl restart docker this is to apply new changes, also we can verify whether the registry is added or not by executing docker info
Step-5: Access UI of Nexus:
http://<EC2-instance-public-IP>:8081
Step-6: Get Password:
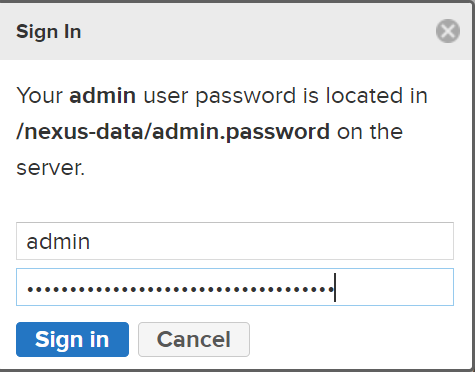
Exec inside Docker container
docker exec -it nexus /bin/bash

#And cat the above directory mentioned to get the password.
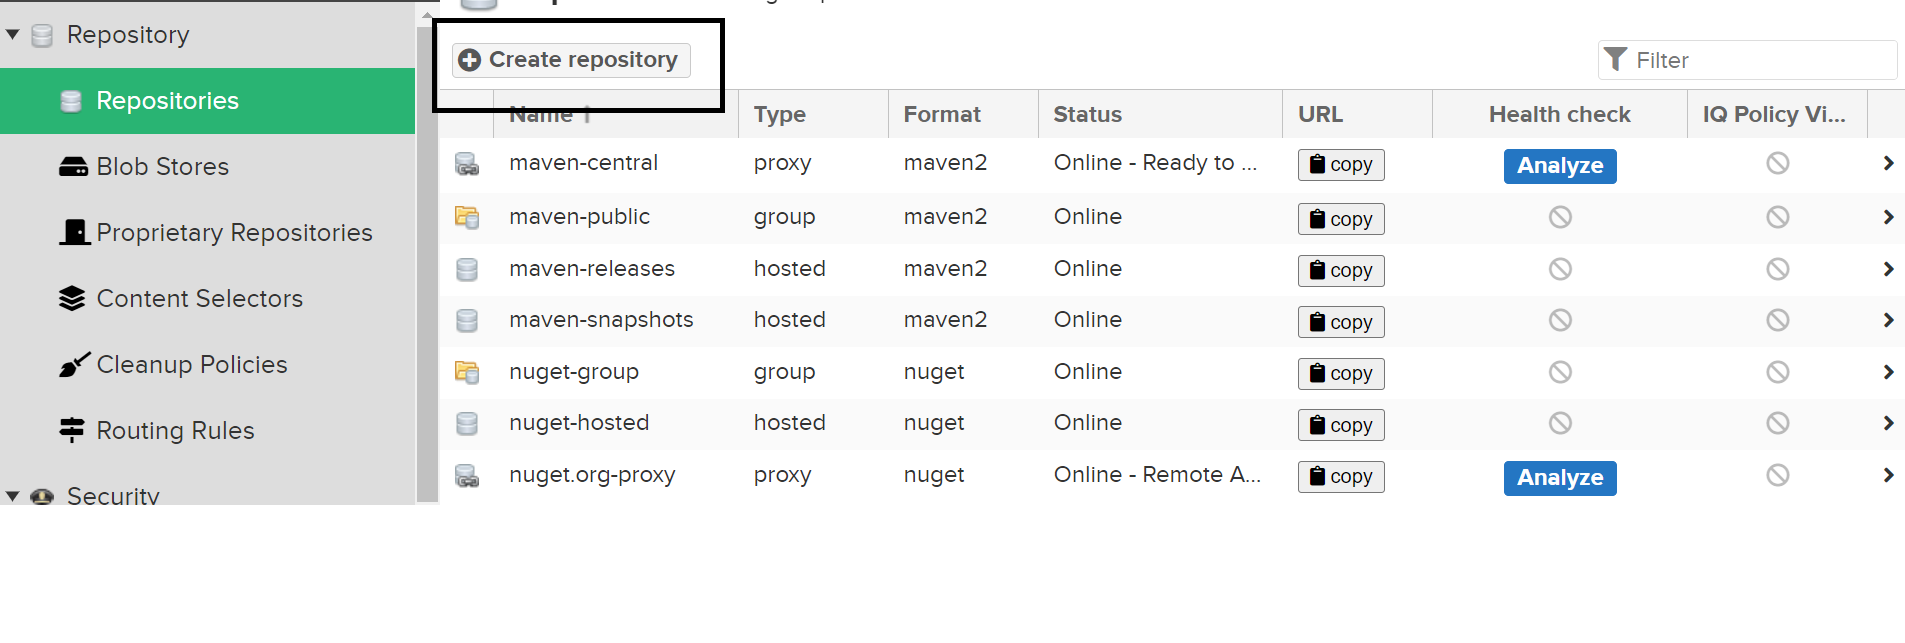
Step-7: Create a docker hosted repo:

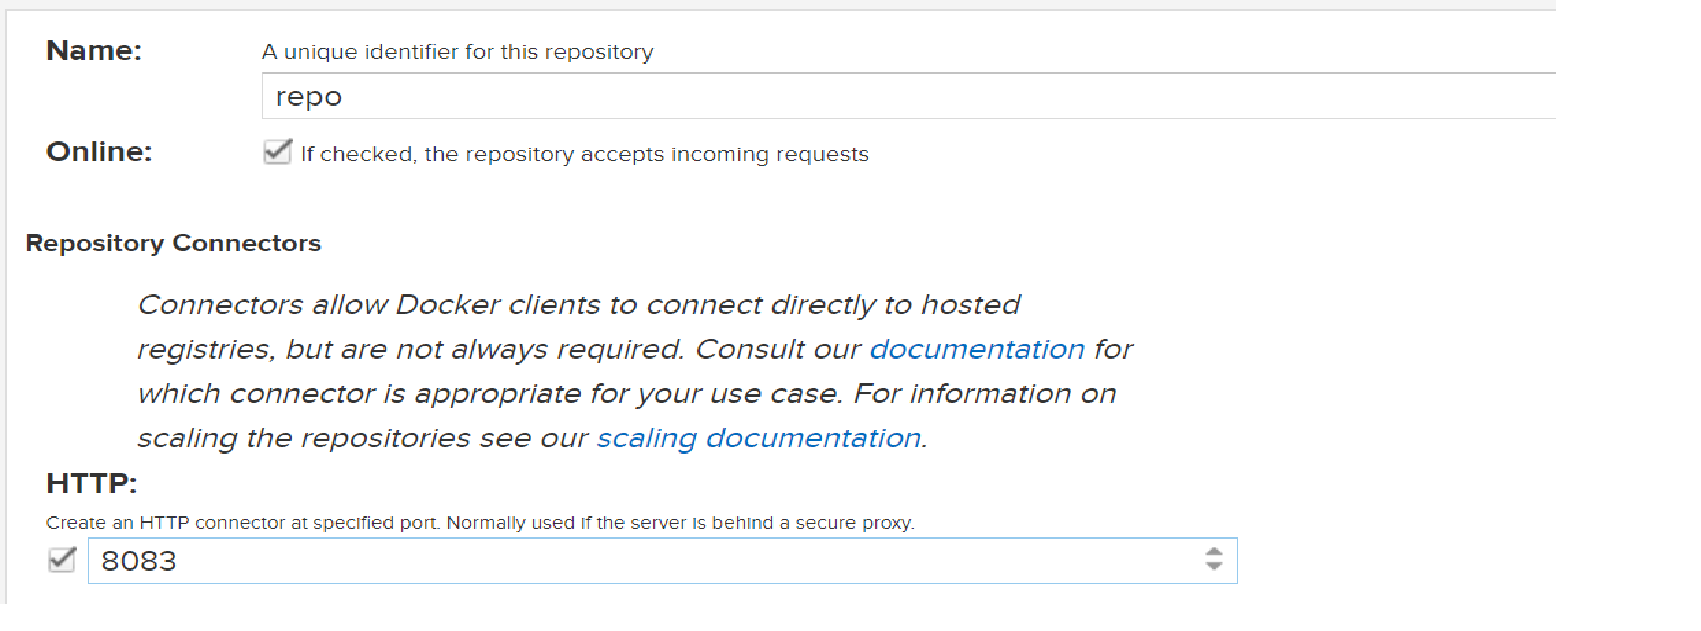
Step-8: Through CLI login into your docker hosted repo:
docker login -u nexus_username -p nexus_pass nexus_ip:8083

Step-9: Let's try to push the image to our Docker hosted repo on Nexus:
#Pull any image from docker hub
docker pull nginx

#Change the tag of image:
docker tag <imageName> nexus_ip:8083/repository/<Docker_Hosted_repo_name>/<repo_name>

#Example:
docker tag nginx 13.234.110.26:8083/repository/repo/nginx

Push the image:
docker push 13.234.110.26:8083/repository/repo/nginx

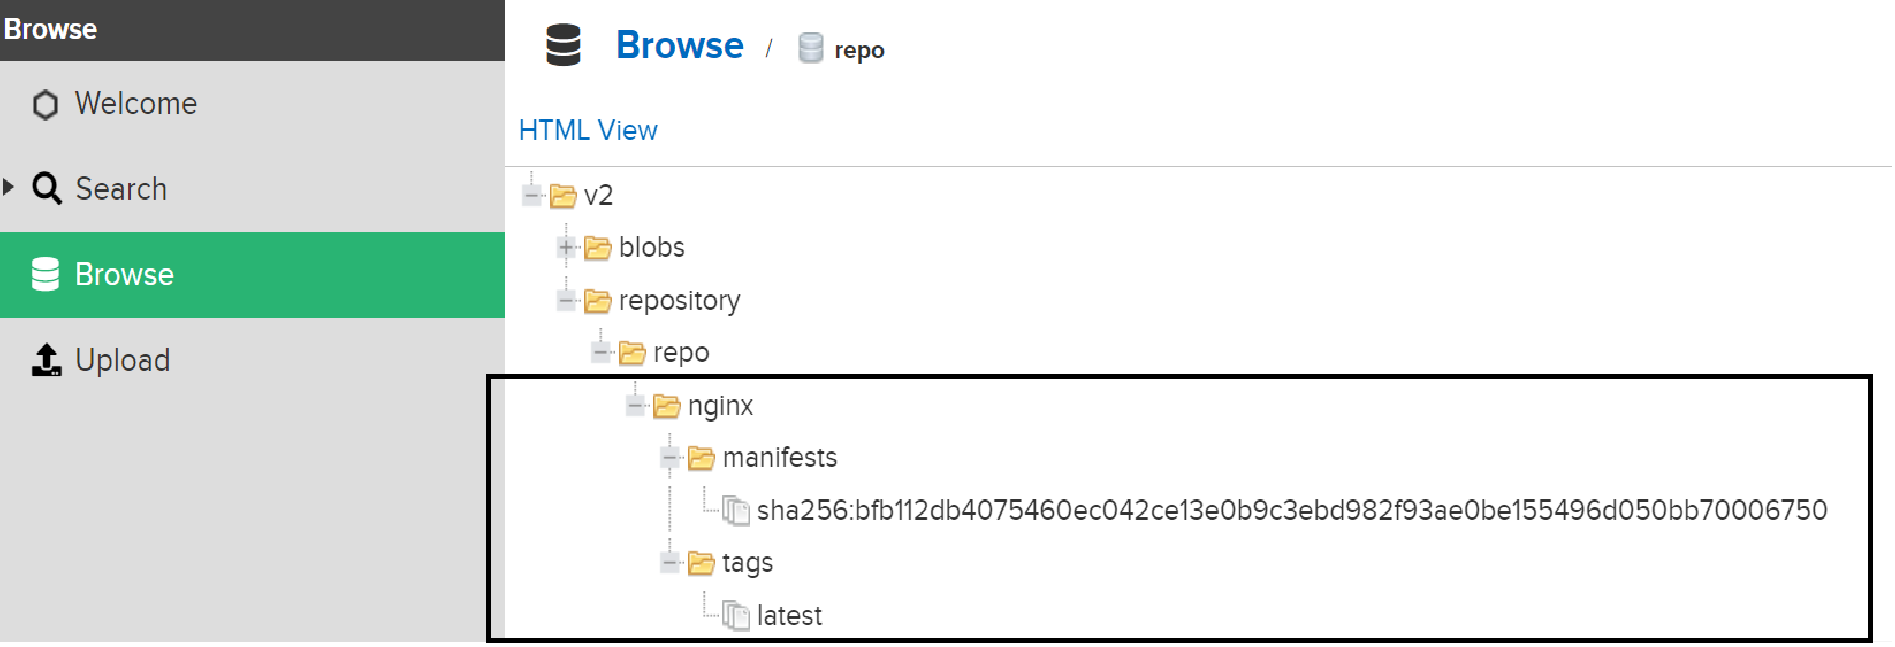
HURRRAAAYYY!!!!!!!!!!!!!!!!😍
Hope this blog helped you in setting up the private repository.
Do follow for more!
Subscribe to my newsletter
Read articles from Siddhant Gupta directly inside your inbox. Subscribe to the newsletter, and don't miss out.
Written by
