My Phishing Trip
 Jun Hao Dennis Lou
Hello Everyone,
My name is Dennis and I had encountered a phishing attack back in 2012. This resulted in me losing my valuable game account which I had heavily invested my time and effort into grinding, and it was gone due to my naiveness. These sophisticated phishing attacks involve some form of social engineering which gets people to fall for a "bait". In my case, was that I won a prize and all I had to do was simply log into my account to redeem it. You can probably guess what my 12-year-old self did next...
Thankfully, what was lost was nothing much of major importance. However, I'd like my reader to consider the potential consequences if it had been of major importance like someone's banking credentials or personal details, which leads me to the purpose of this blog.
The purpose of this blog is to detail my experience of creating a phishing campaign to understand how these phishing attacks are created, raise awareness of the dangers of phishing emails and learn how to spot these phishing messages. What better way to understand and learn than by creating one yourself?
Outline of some of the tools I'll be using:
Gophish (Phishing Tool)
MailHog (Server Mail Transfer Protocol (SMTP) Server/Personal Online Mailbox)
Visual Studio Code (For HTML coding)
Creating the Phishing Rod and Bait
Overview:
I began by setting up the basic tools needed to make the "Phishing Rod", followed by creating a phishing email and a fake landing site as the "Bait". Thereafter, I went on a "Phishing Trip" to phish myself.
Step 1: Installing Gophish & Mailhog
Downloading of Gophish and MailHog to demonstrate the phishing attack.
Configure and run Gophish:
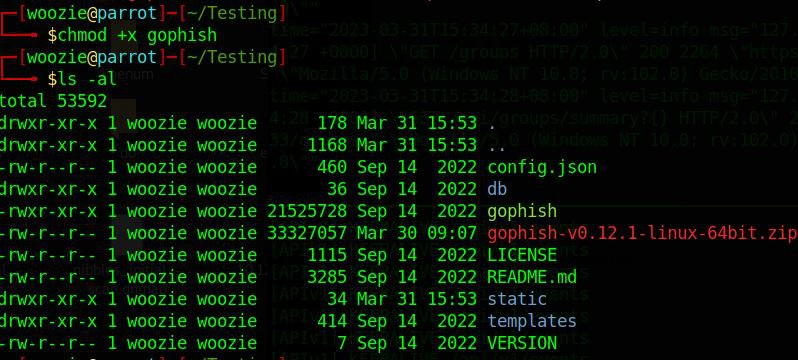
Before executing Gophish, I had to change the execution permissions of the program "gophish". By default, it's set to rw (read,write) permissions.
With "chmod +x", I was able to add the executable permission to it to be able to run the program.
Running MailHog:
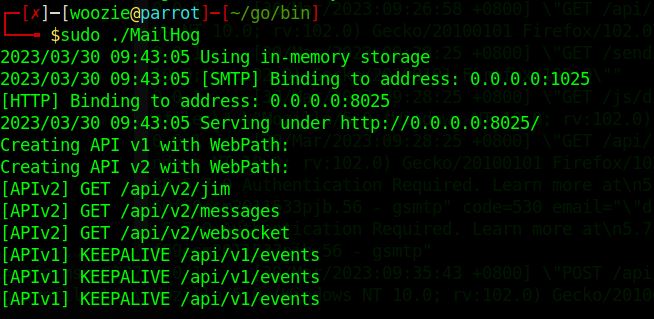
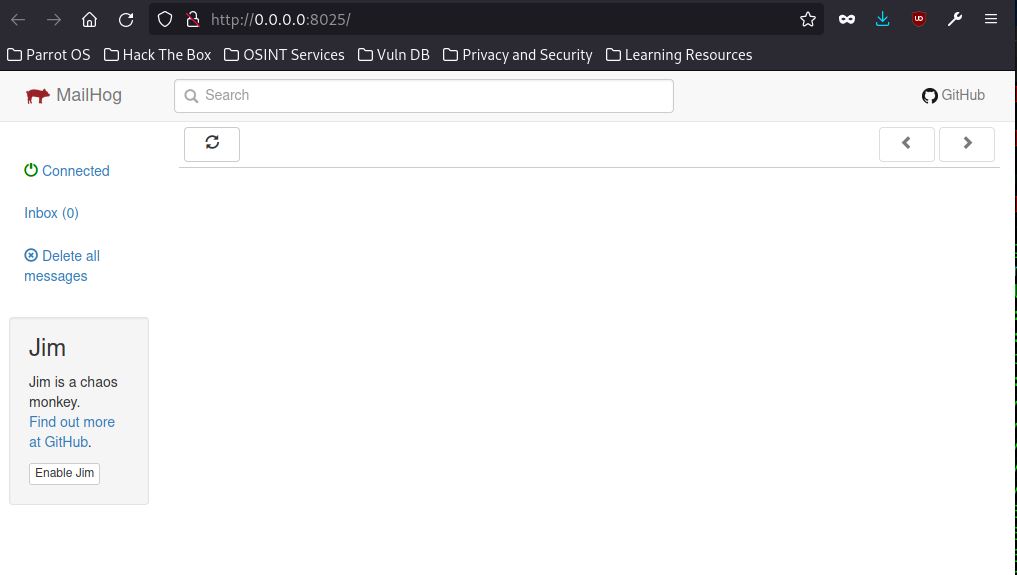
MailHog was relatively straightforward, 2 sets of commands were needed to get the SMTP server (personal online mailbox) running.
Step 2: Gophish Admin Page
After executing Gophish, there will be a set of credential details given and from there I had to change the generated credentials into mine.

Changed the password after login in with the generated credentials.
Logged in to view the Gophish portal.
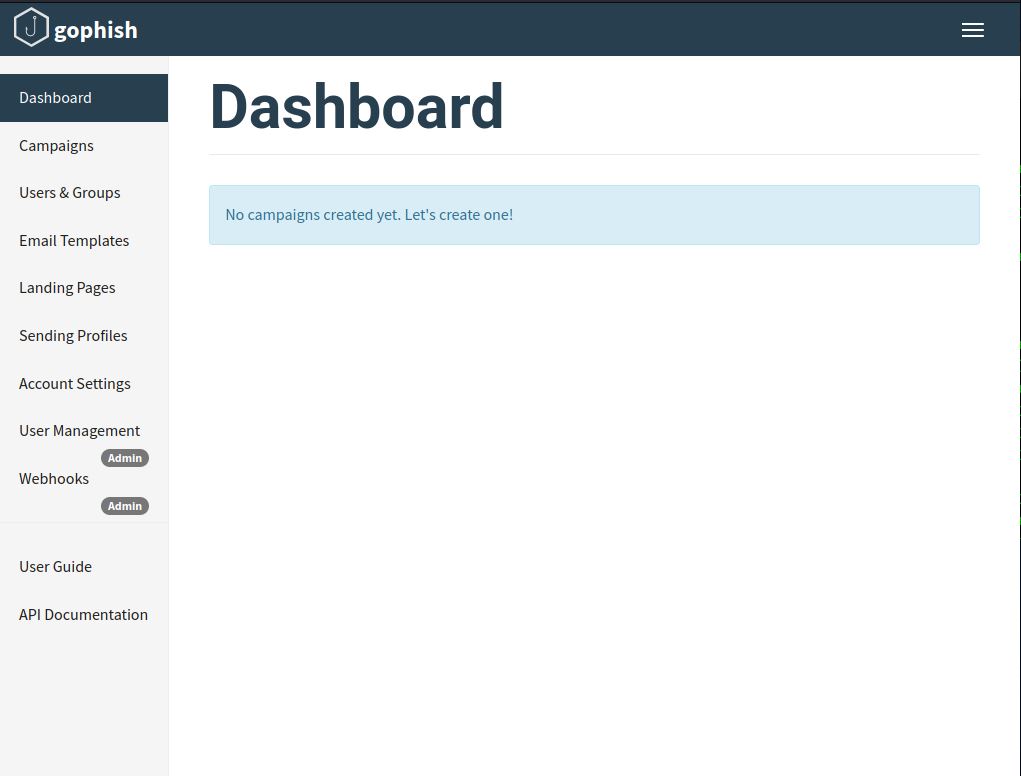
Step 3: Creating the Sending Profiles
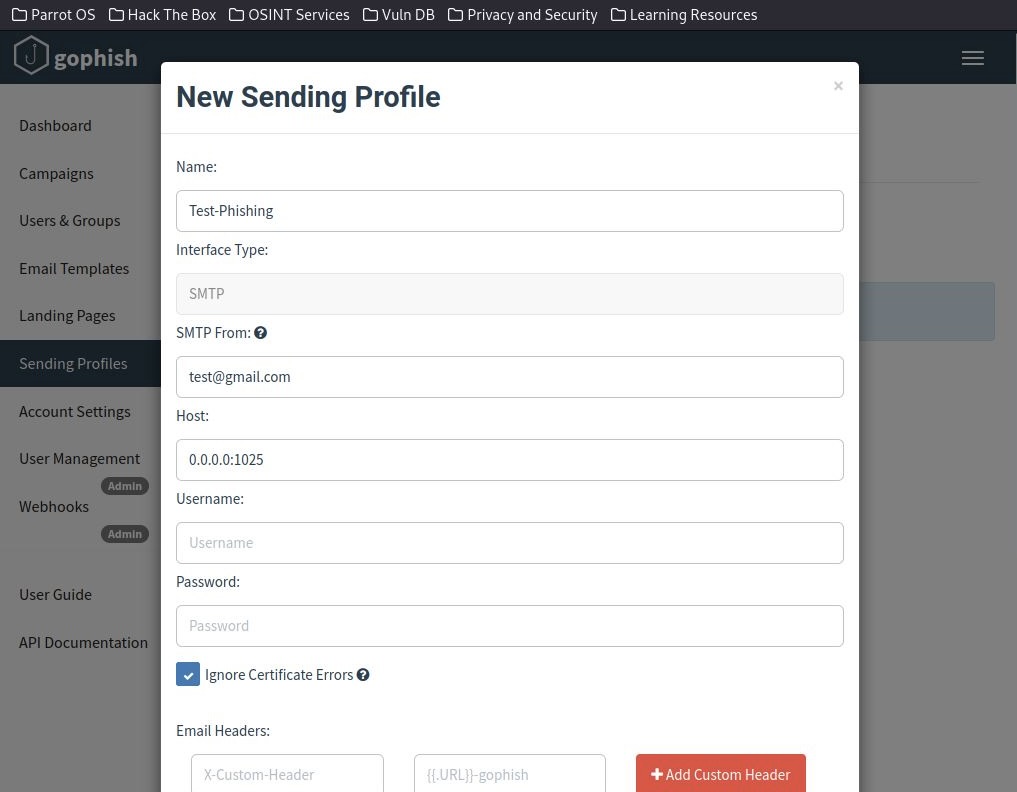
The sending profile was used to replicate a test to observe if I would be able to receive the phishing email.
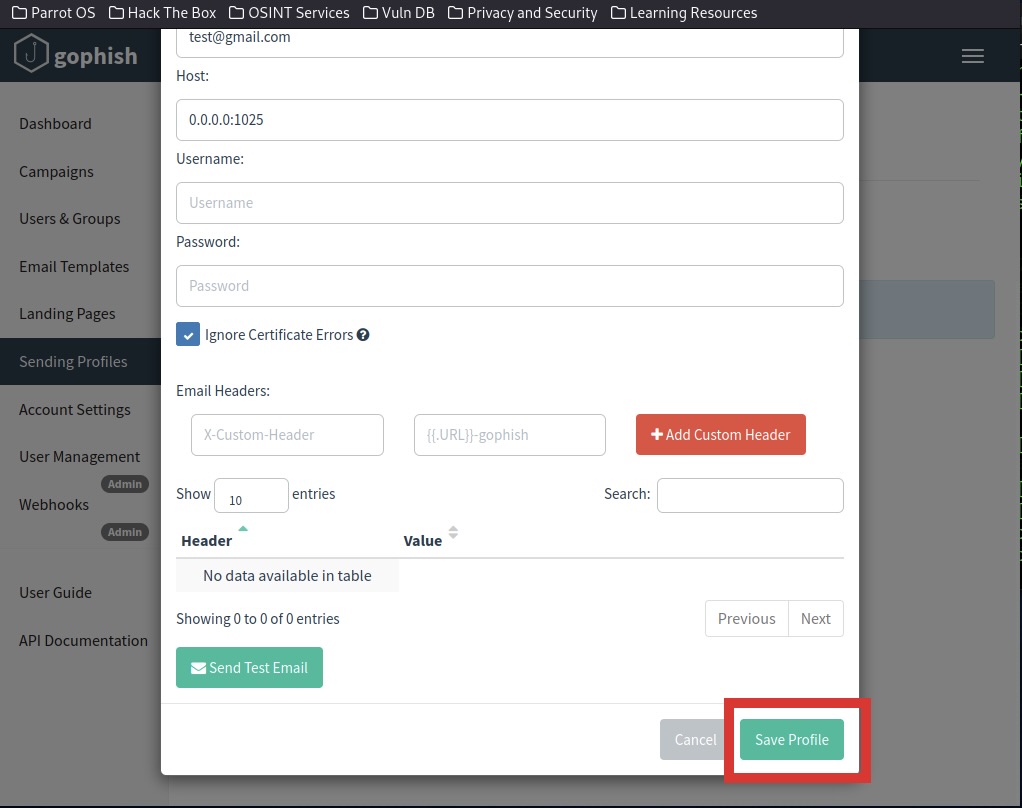
With this, I created a "Test-Phishing" profile and filled in the following testing details.
*Note: The "Host" IP address has to be the MailHog SMTP IP address for the test mail to be received.
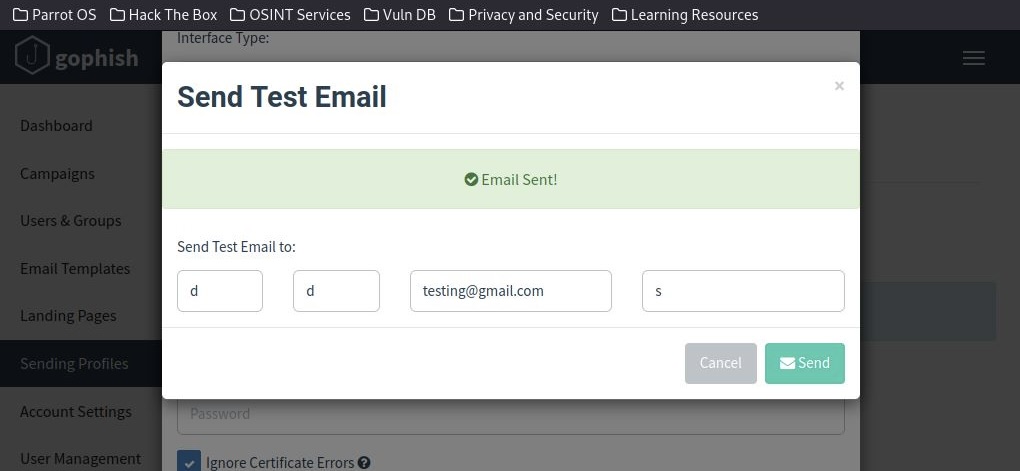
Successfully sent a test email.
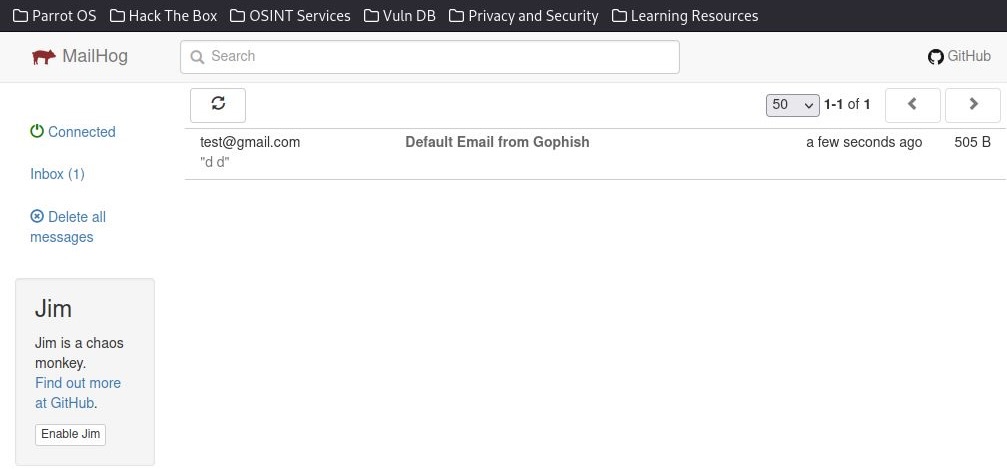
Received successful confirmation of the test mail.
Saved the profile created.
Step 4: Creating Email Templates
For the email template, I searched online for examples of phishing emails and took inspiration from them.
After that, I decided on the idea of using a "PayPal" theme as the structure of the phishing email.
I found this template on Github which gave me some inspiration for the structure of the email that I wanted.
Credits: https://github.com/Dev-Alvin/paypal-email/blob/master/index.html
The original "email structure" looked like this.
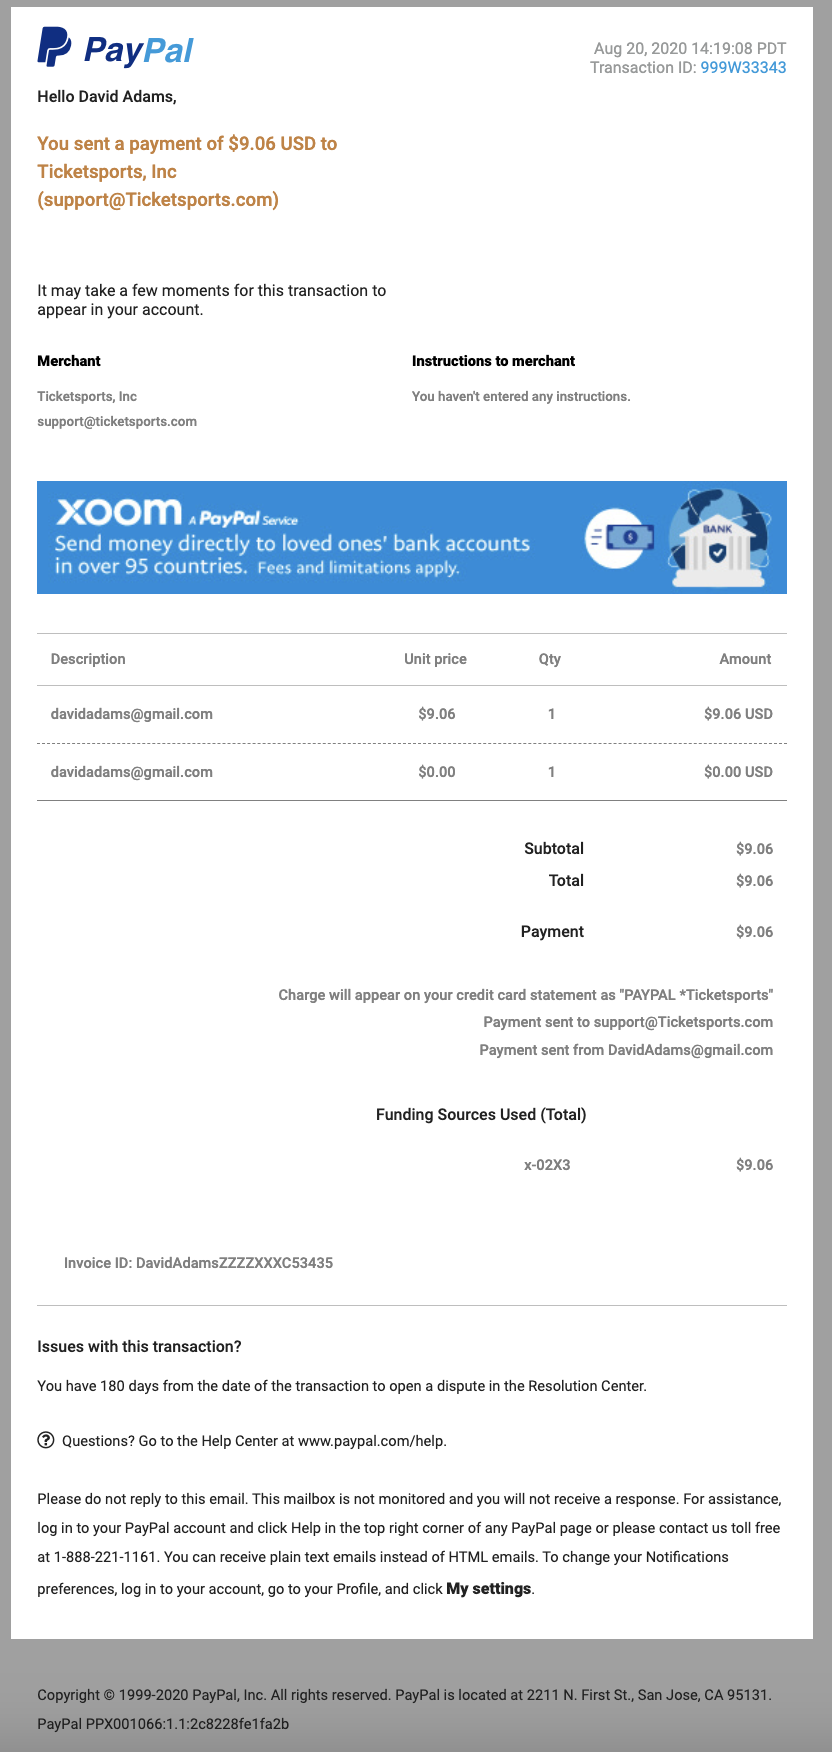
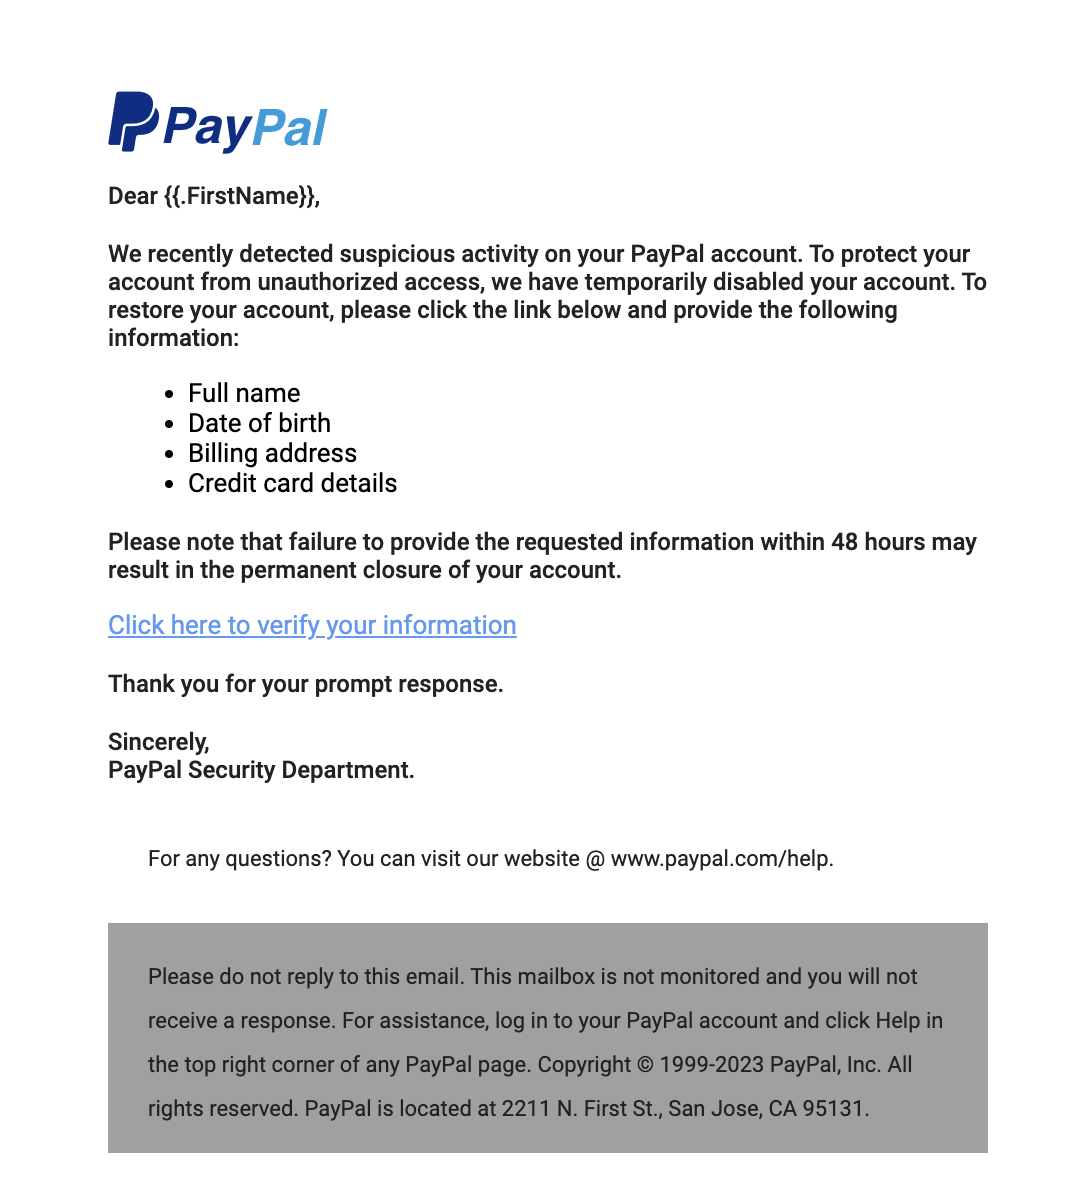
The outline of the HTML code served as my "skeletal" structure and I had tailored it to look like a typical phishing email from PayPal.
This was what I came up with.
With the template done, I transferred the HTML source code into the Gophish and save it.
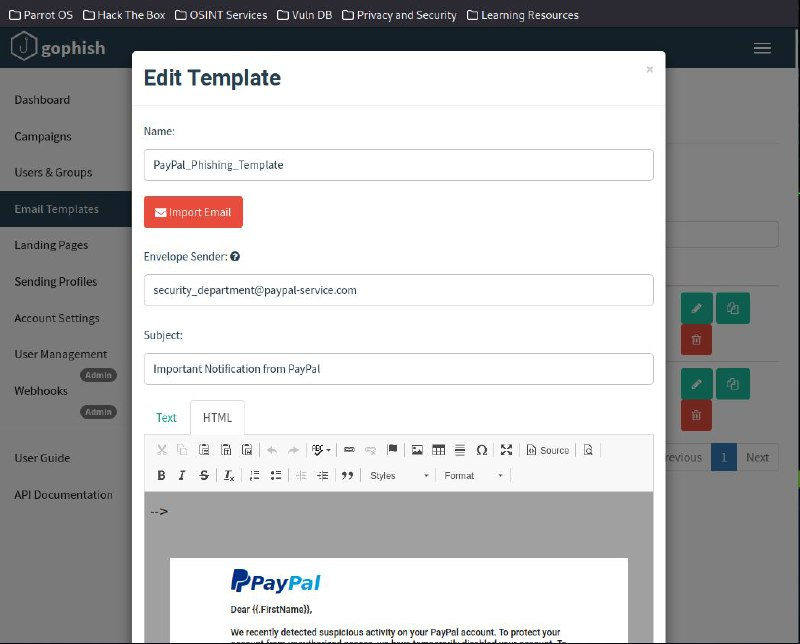
Before this, I had no experience in HTML coding. I understood the code with the help of various YouTube videos and hands-on practice. Eventually, I managed to develop something which I was proud of.
Step 5: Creating Fake Landing Pages
For the landing page, I replicated it as close to the real "PayPal" website.
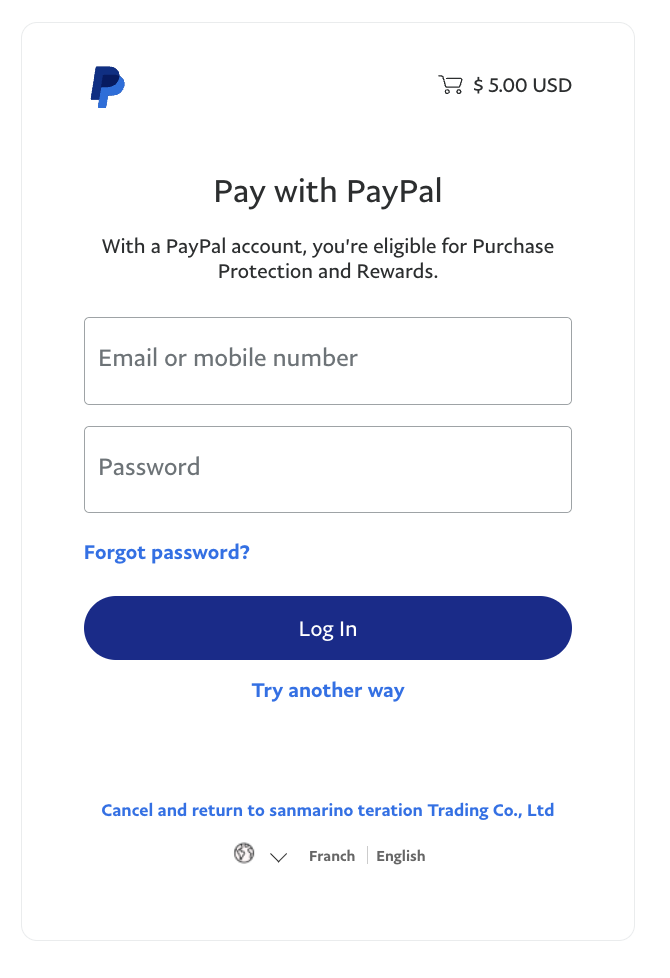
I found a similar template on Github. It had some similarities to the actual PayPal login page but it needed to be modified.
Credits:https://github.com/keanu19970228/paypal_fake_pages/blob/main/paypal.html
The original "fake Landing page" template looked like this.
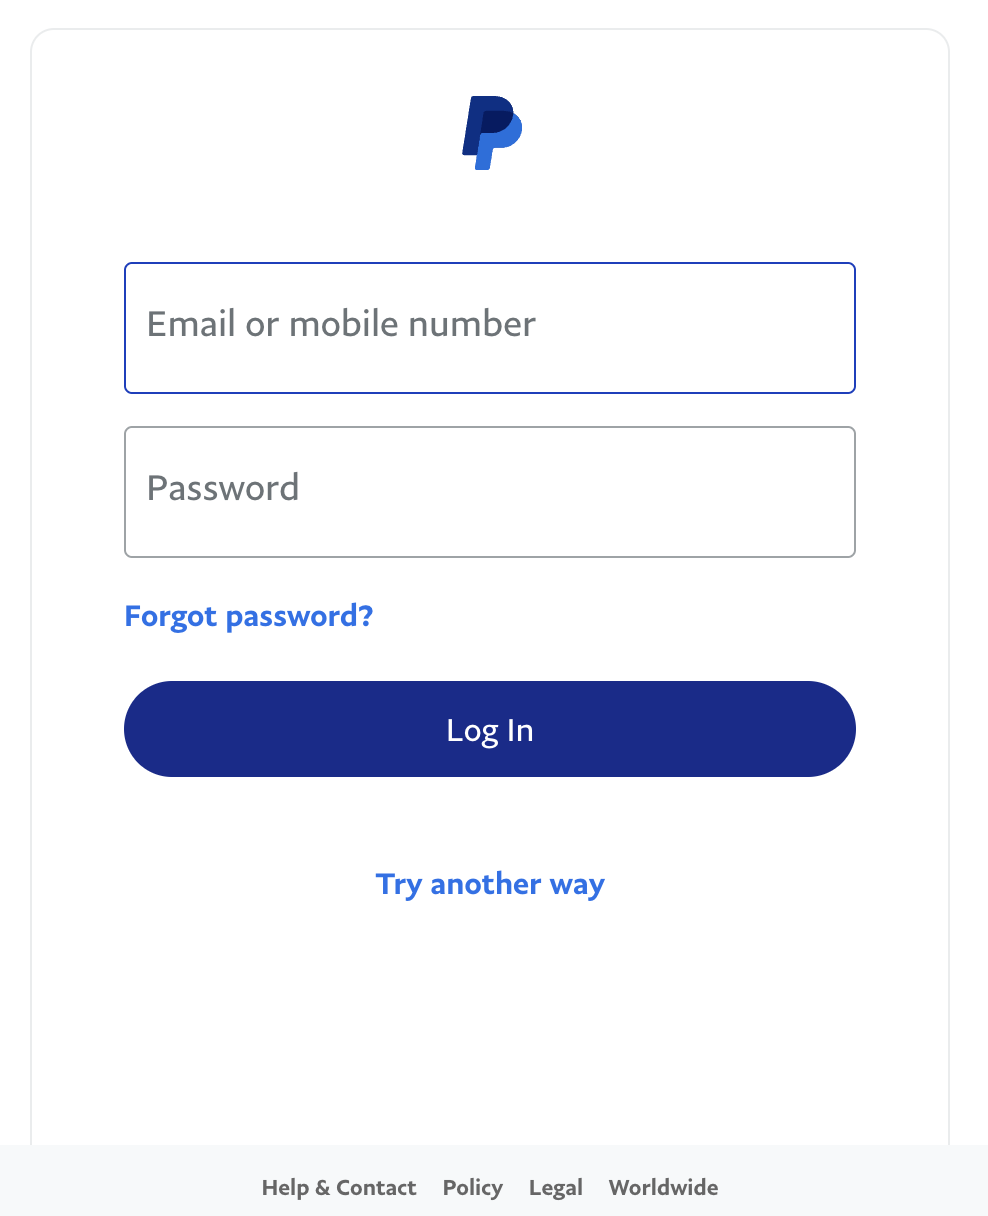
After some modifications, this was the end product.
For comparison purposes, this is what the actual PayPal login website looks like.
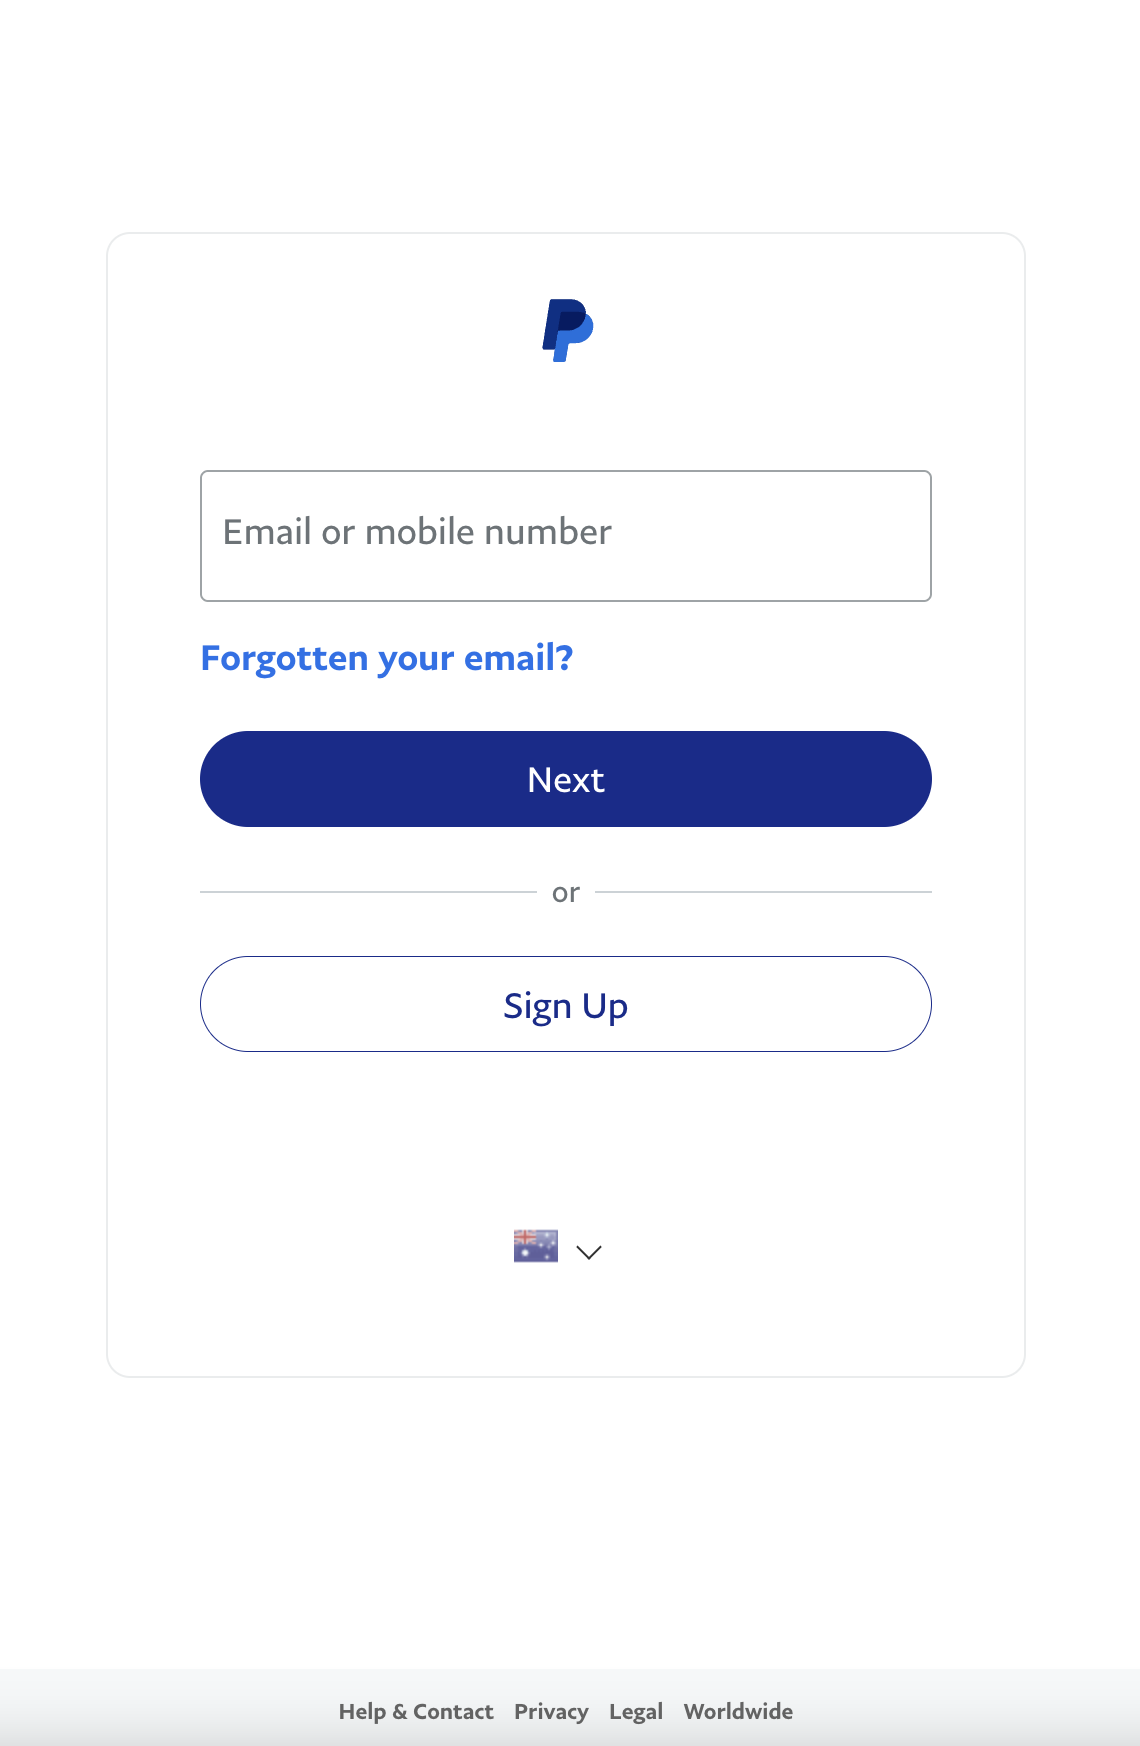
If you look closely between the two, there are some distinct differences. However, if you were not aware of what the actual login page looks like, you may be none the wiser.
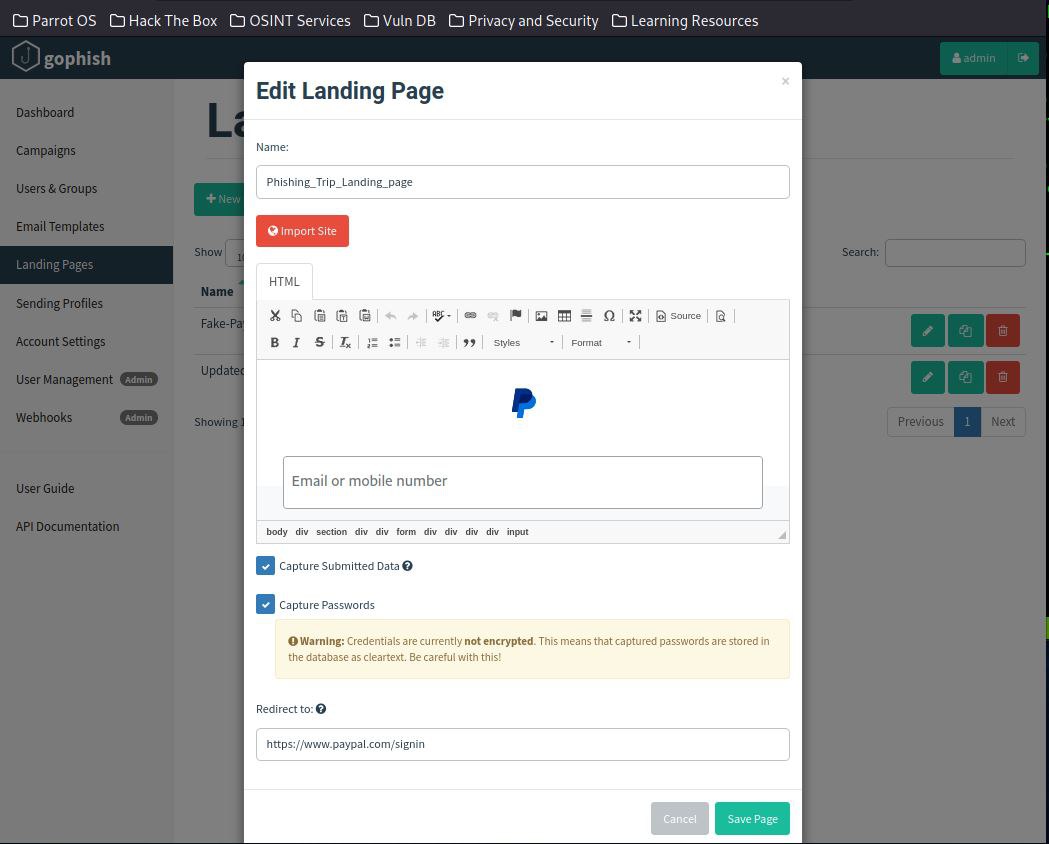
Upon completion, I proceeded to upload the source code for the Fake Landing page. A "Redirect to" link was crucial to make the phishing attack a seamless transition.
Step 6: Creation of the Phishing Campaign
Before creating the campaign, I needed to specify the "Group". The "Group" represented the targeted victims of the phishing attack.
Our kind participant John Doe was selected.
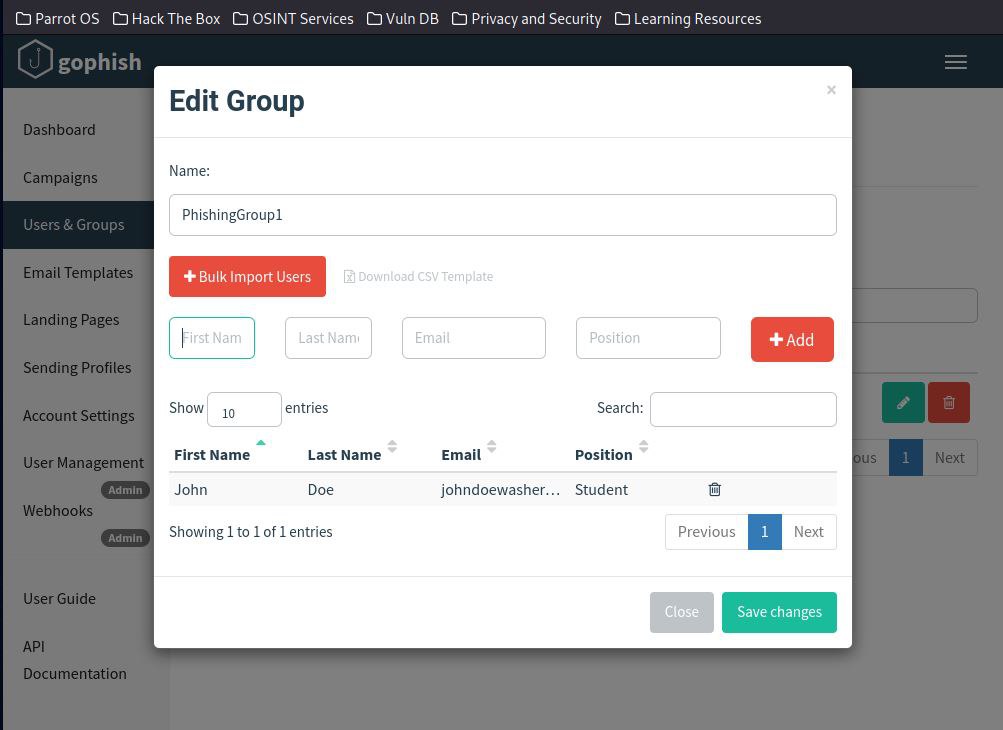
With the group created, I proceeded to fill in the campaign details and ran the campaign.
*Note: the URL has to be accessible by the targeted victim's IP address. Since I phished myself, I used my host IP address to receive the phishing email.
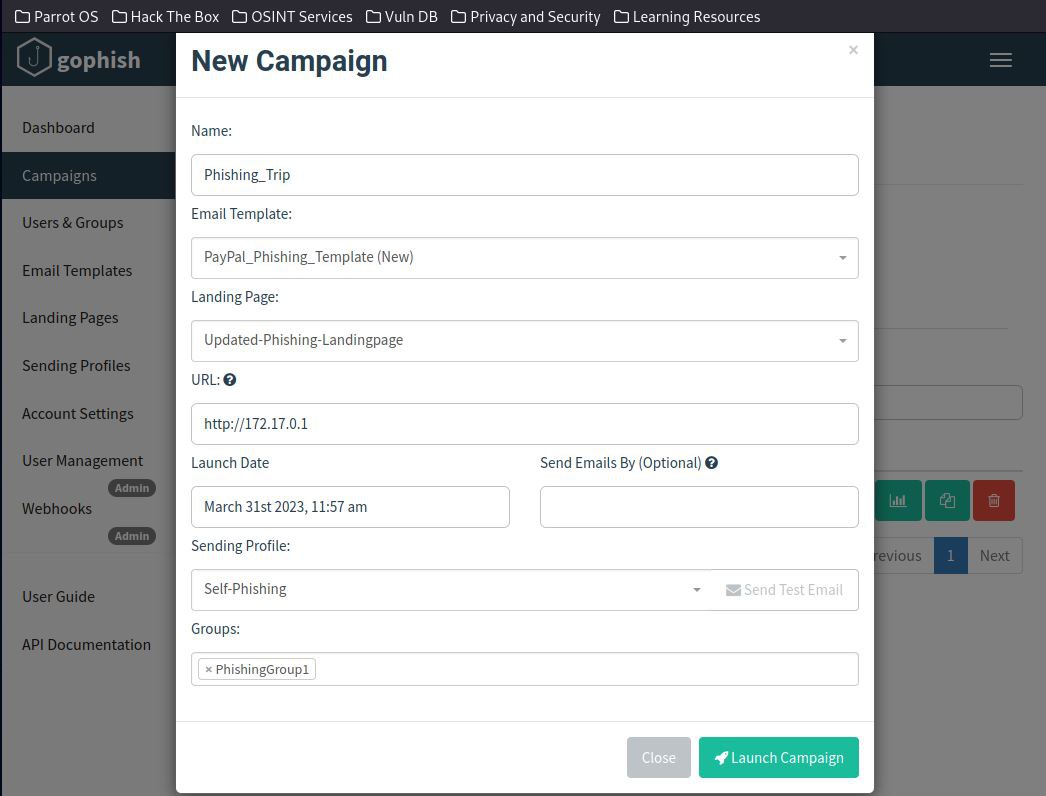
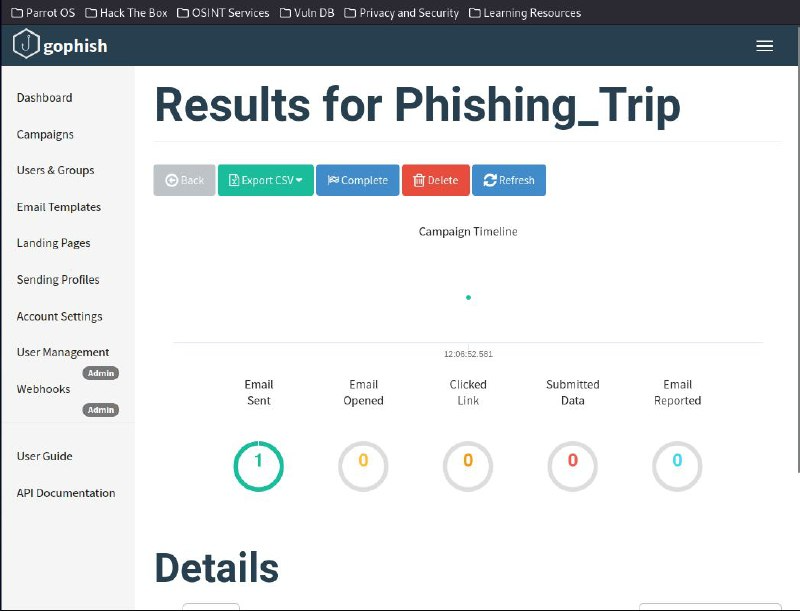
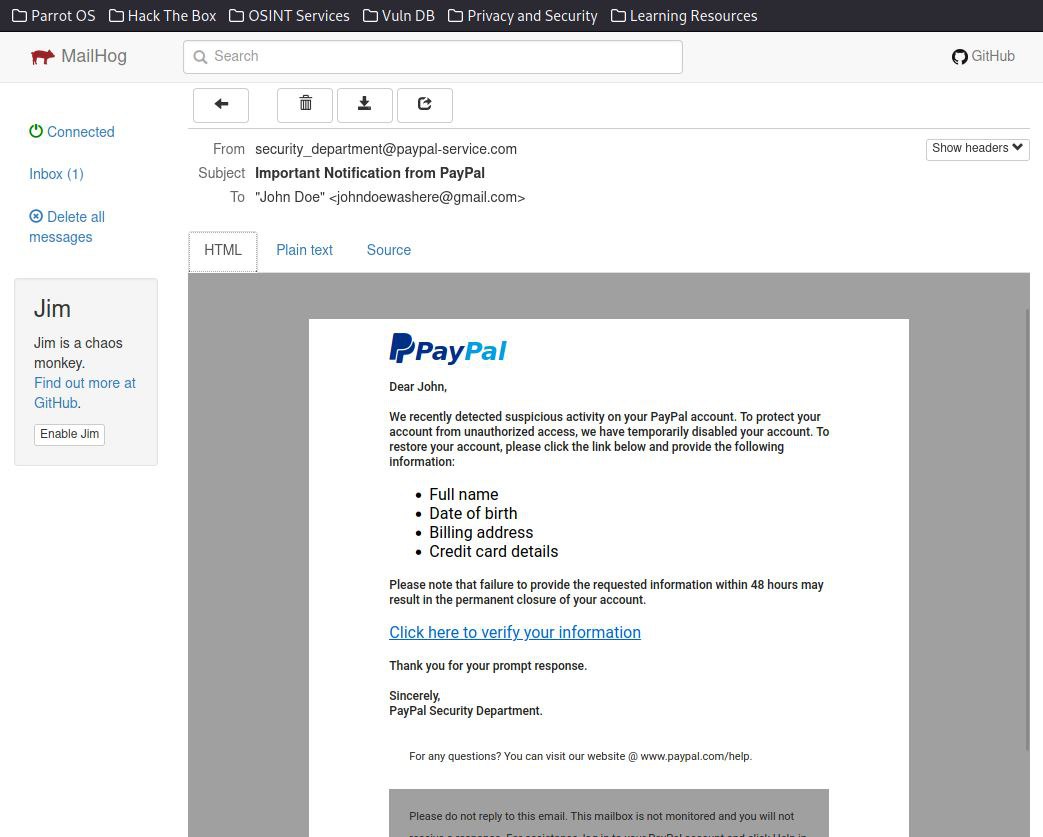
Step 7: Phishing myself (Victim & Attackers Perspective)
Now let's take a look at the perspective of an unsuspecting victim.
"I've received an email from "PayPal", it seems important judging from the subject title."

"It seems that my account is going to be suspended for suspicious activity. I shall log in to re-verify my information again."
"This page does not seem to be malicious in any way as it looks like the actual PayPal login page."
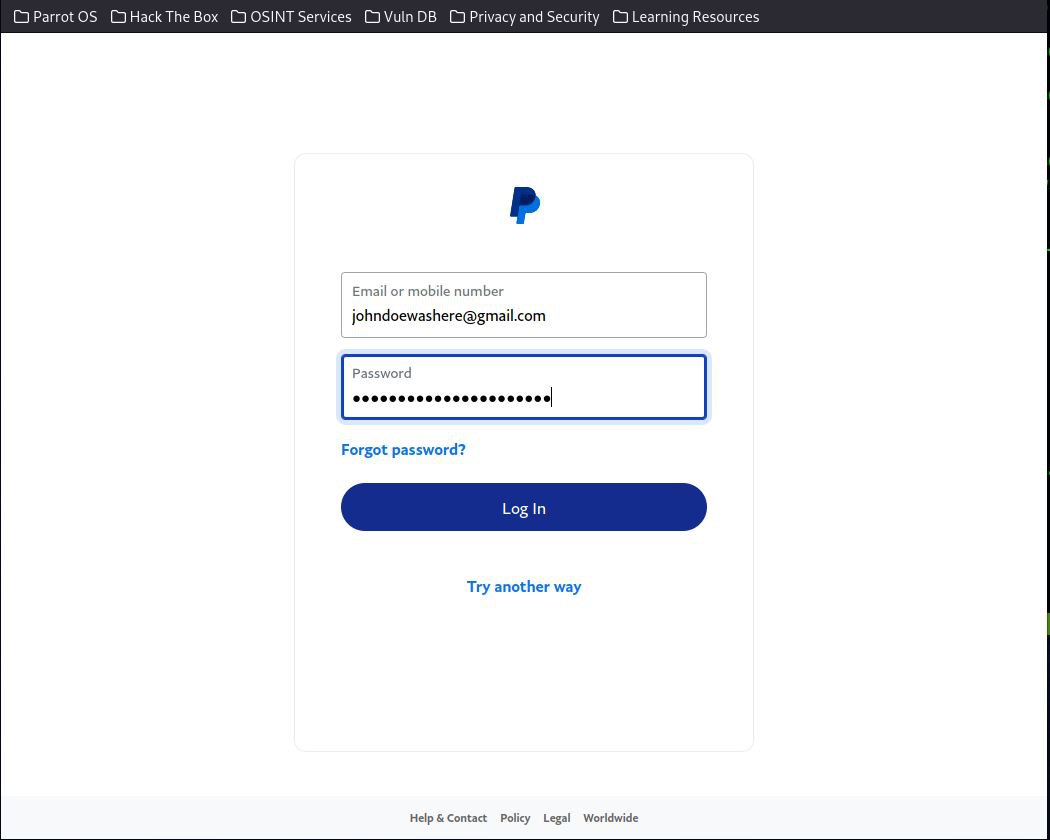
"Wait, I just keyed in my details but I was sent back to the login page again? It must be some kind of bug."
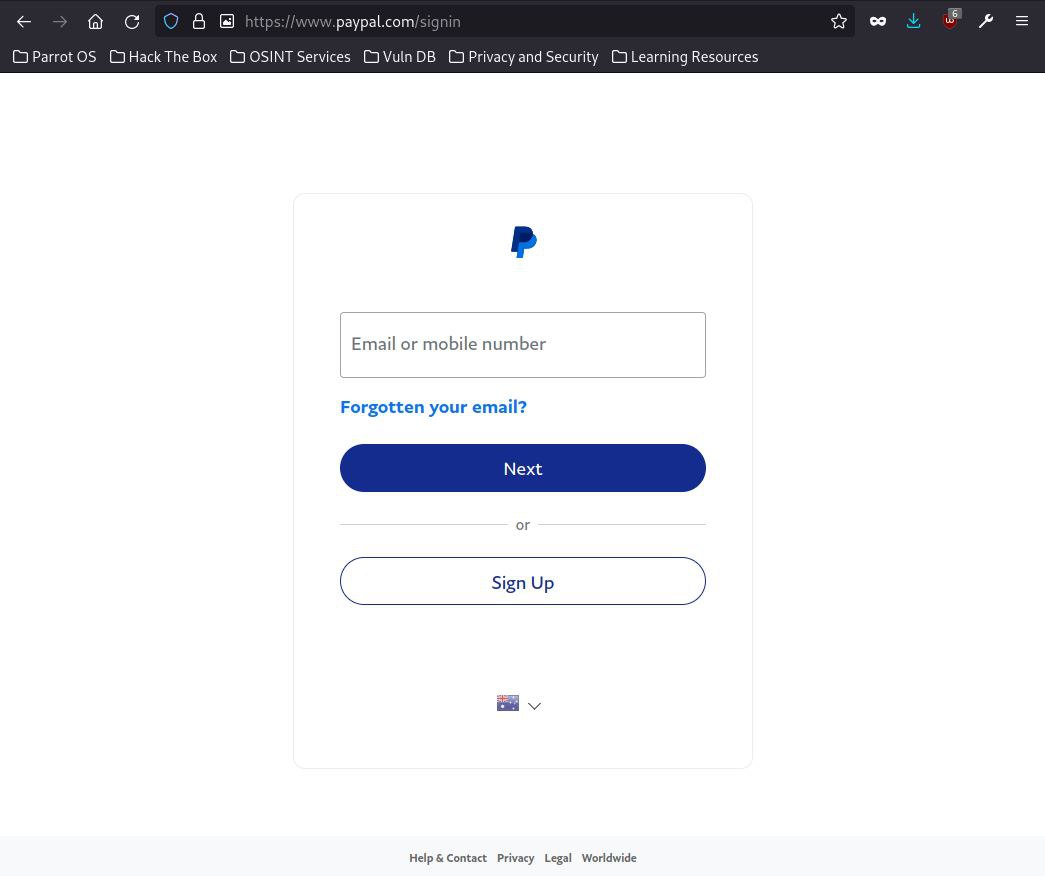
This is when the credentials are in the hands of the malicious threat actor and the unsuspecting victim has no clue.
On the other hand, let's take a look at the perspective of a malicious threat actor.
"Look here, one of my phishing email sent out was successful."
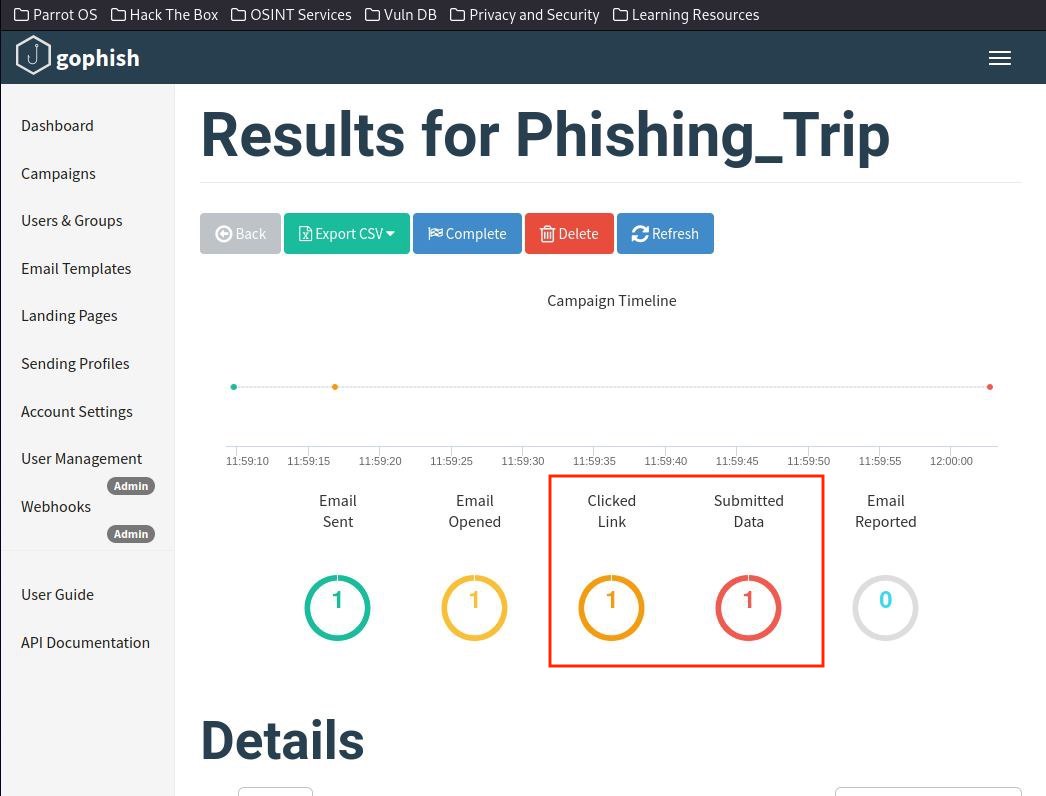
"It's time to take a look at the data submitted and exploit it for malicious intent."
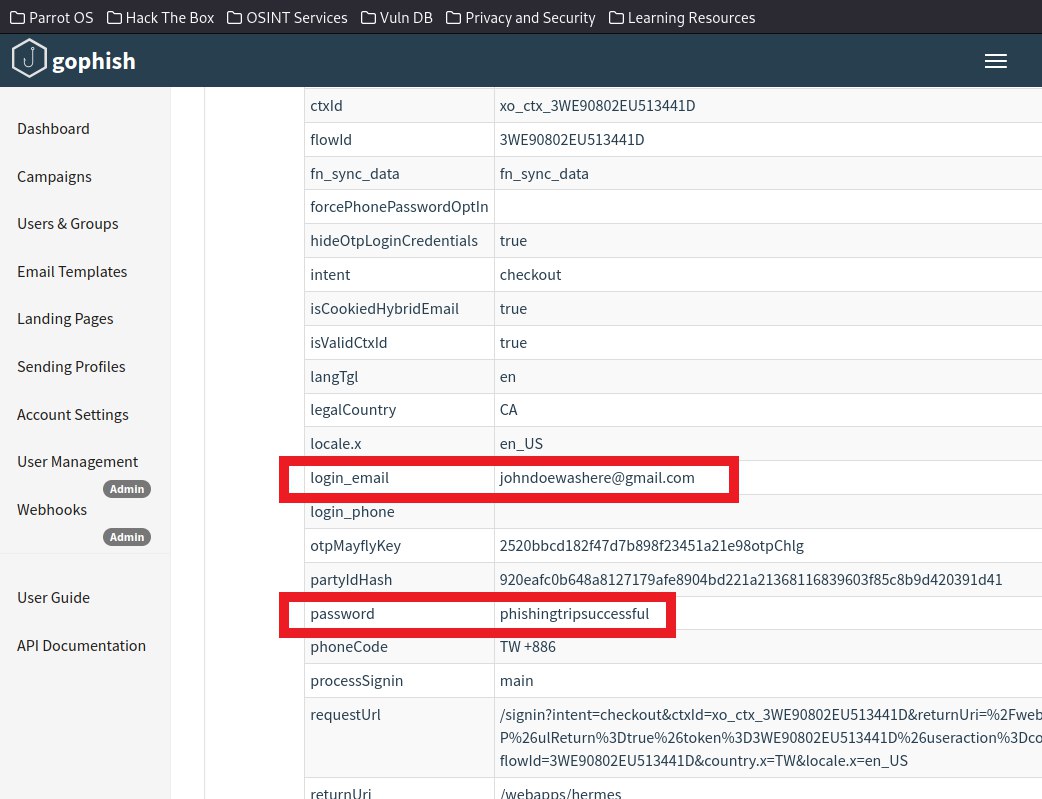
From the two perspectives, it goes to show how severe phishing can be. The victims are usually clueless till they realise that damages have been done and the malicious threat actor has easily attained their credentials.
Reflection Time:
What are some challenges that I faced?
Are there any other types of phishing? If so, what are they?
What are some ways to spot these suspected phishing emails?
This concludes my Phishing trip, I hope that my readers have learned something new.
Thank you for reading, Have a good day/night.

Subscribe to my newsletter
Read articles from Jun Hao Dennis Lou directly inside your inbox. Subscribe to the newsletter, and don't miss out.
Written by
