How to Fetch Data From an API Using React
 Qasim Amin
What is an API?
API is an abbreviation for "Application Programming Interface." In the context of APIs, the term "application" refers to any software that performs a specific function. Interface can be viewed as a service agreement between two applications. This contract specifies how the two will communicate with one another through the use of requests and responses.
How To Use An API
To use an API, you need to retrieve information from a web server or application. You can initiate this request using its URL. Furthermore, accessing its request body, request verbs, headers, and other features that are located in its application. Many languages, such as React, have a built-in feature or variable that allows you to grab information from an API that can come from the website's URL.*
APIs in React - Setting Your Project Up
The first step in using APIs in React is to create a project using your command prompt or window shell. Using the command,npm create-react-app you can create a new project. Once you create your new project, you want to cd into your project and continue by typing code . into your console line. Then it should come up with your Visual Studio Code project in a new tab like this.
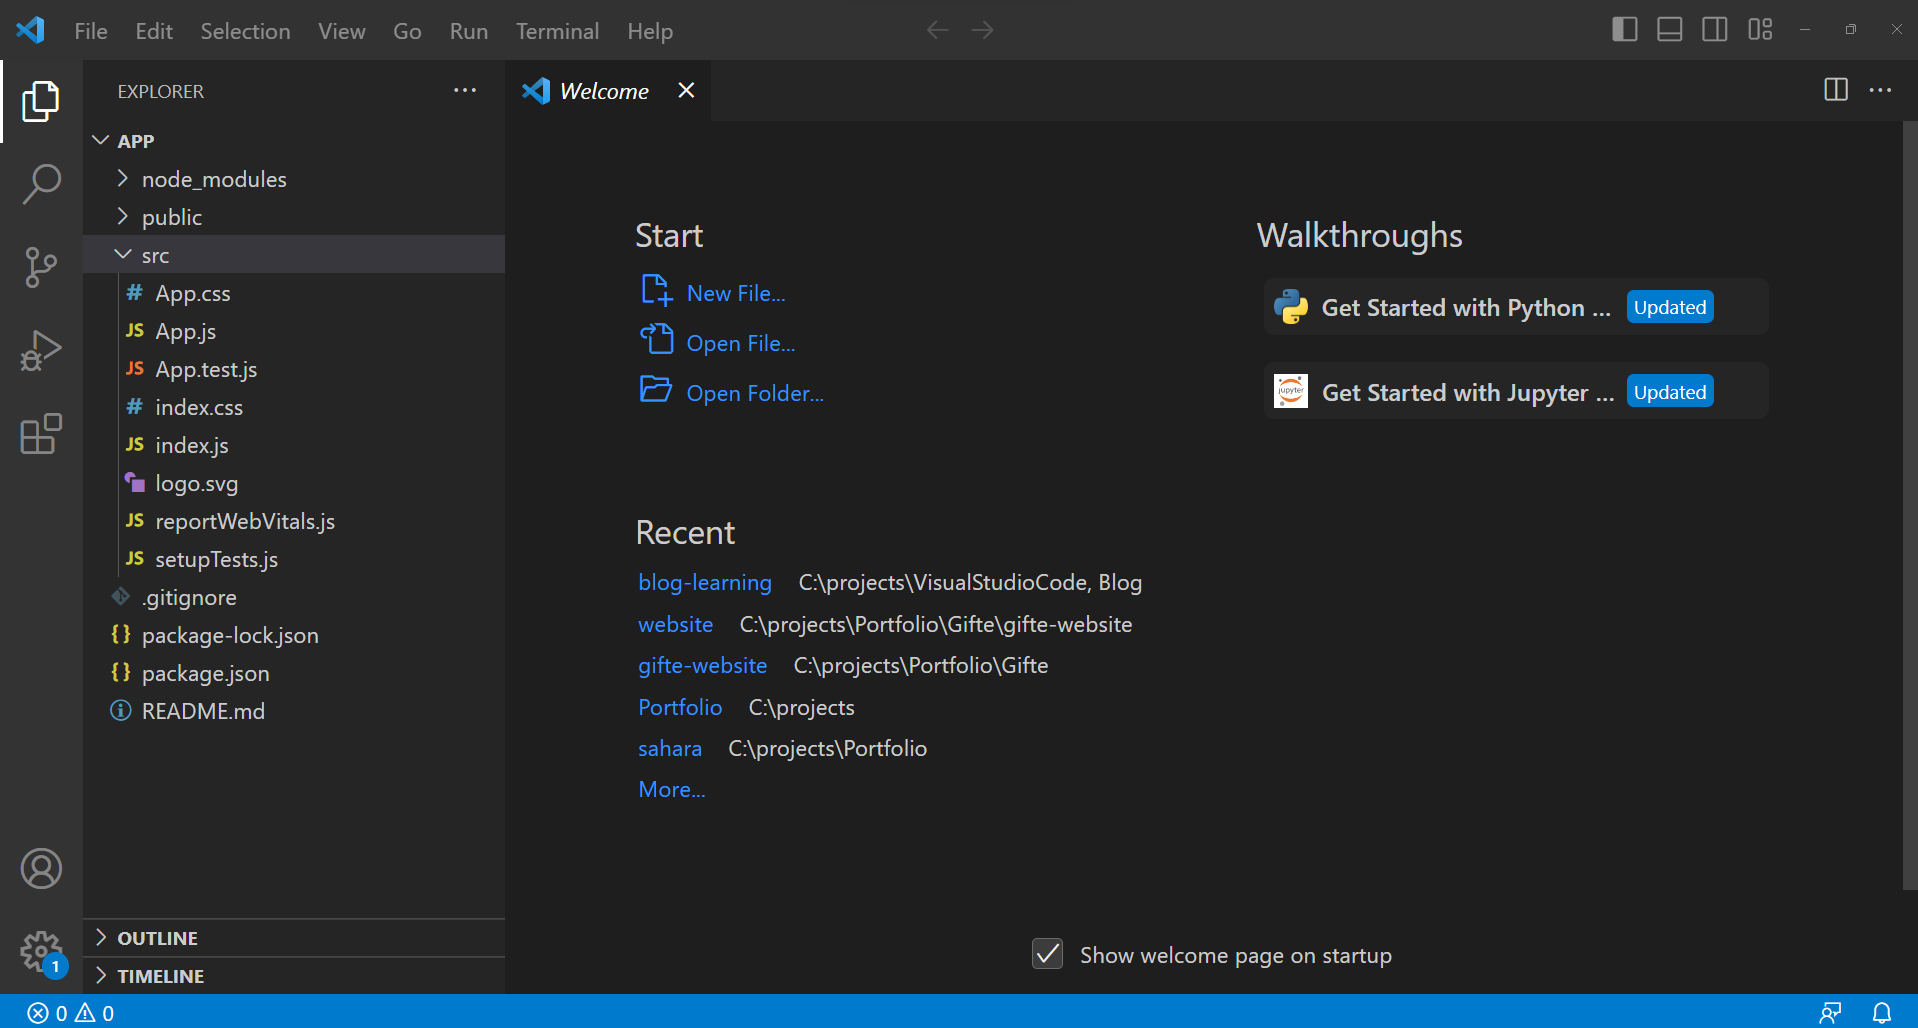
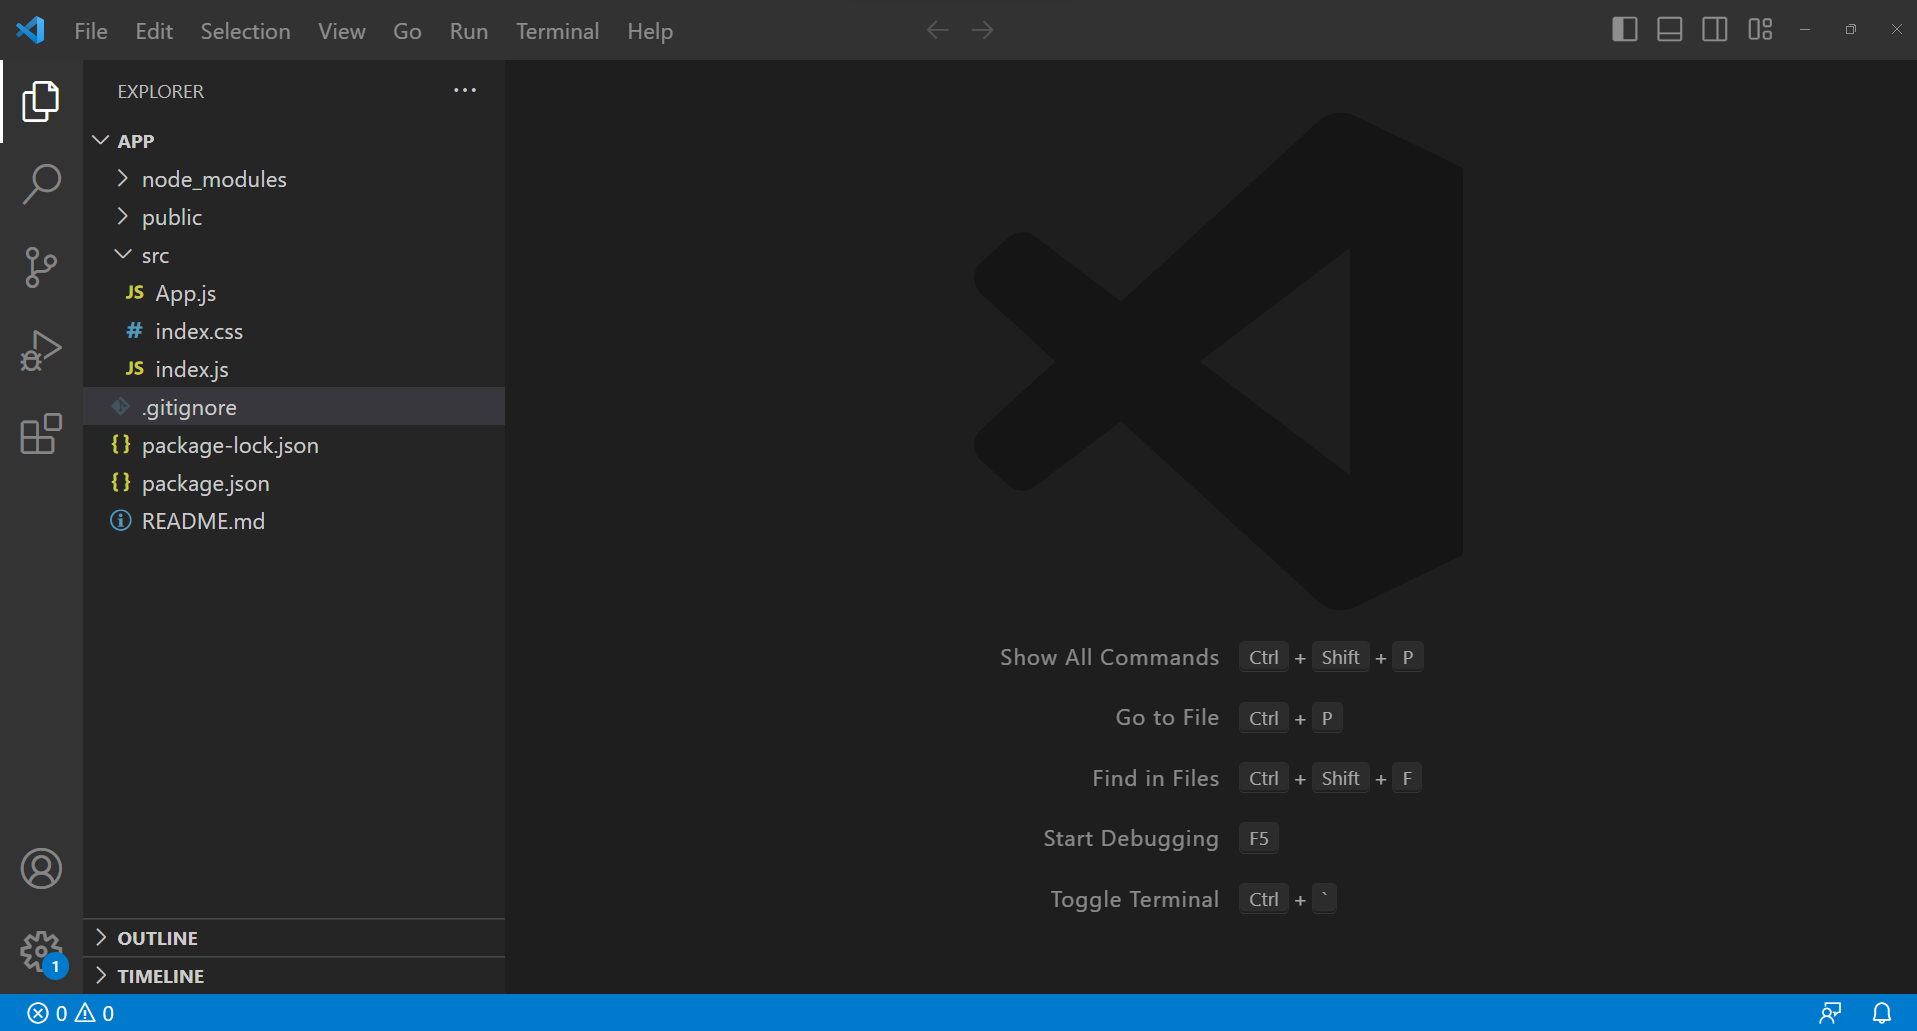
Now, once you have this up and running, we are going to do a bit of a cleanup. Get rid of the App.css, App.test.js, logo.svg, reportWebVitals.j, and the setupTests.js. After doing that, your project should look like this:
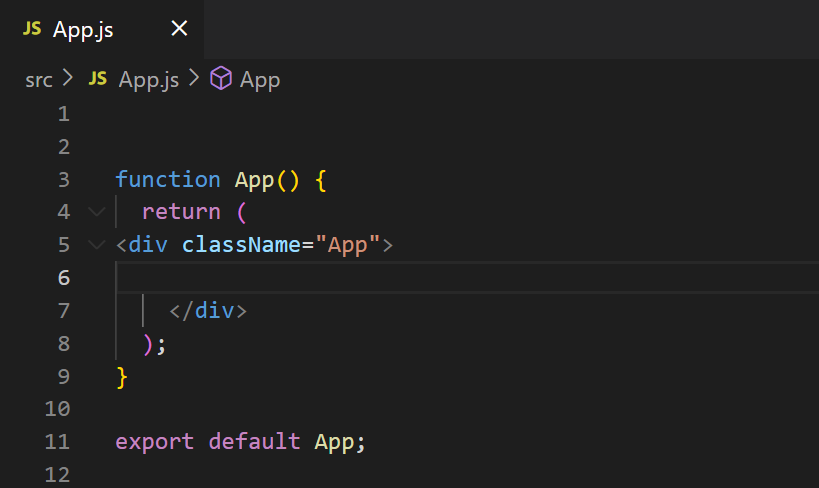
Now that you have deleted these files, we need to get rid of some code. First, you need to go into App.js and delete all of the imports at the top, as well as all the code inside the div tags. After doing that, it should look something like this:
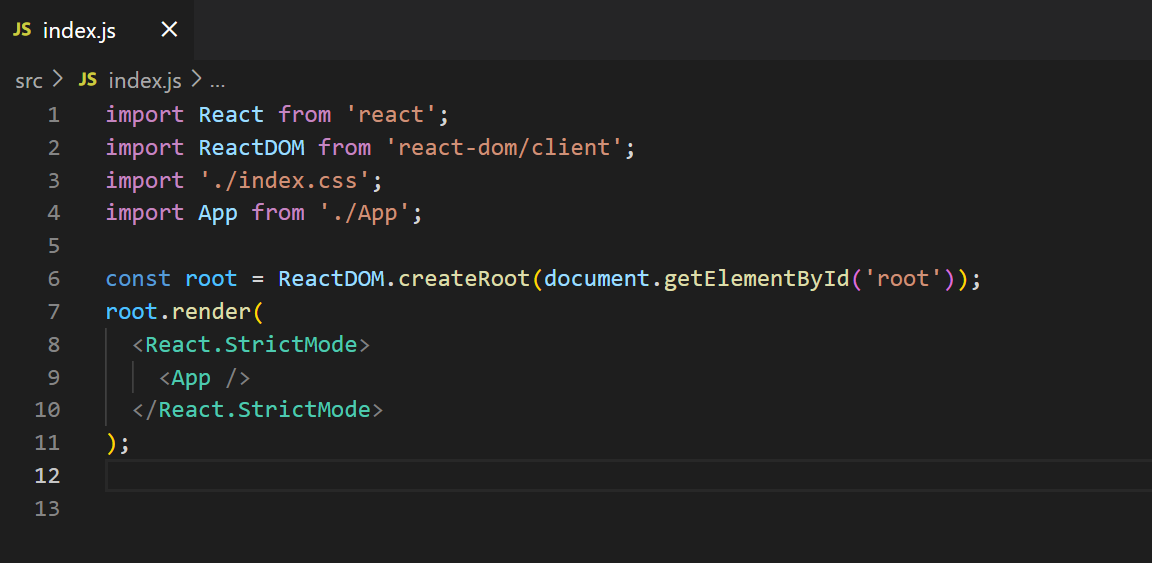
Another file we need to go to is index.js. In there, you need to delete the reportwebvitals import at the top as well as the reportWebVitals at the bottom of the file. After completing this, your index.js file should look something like this:
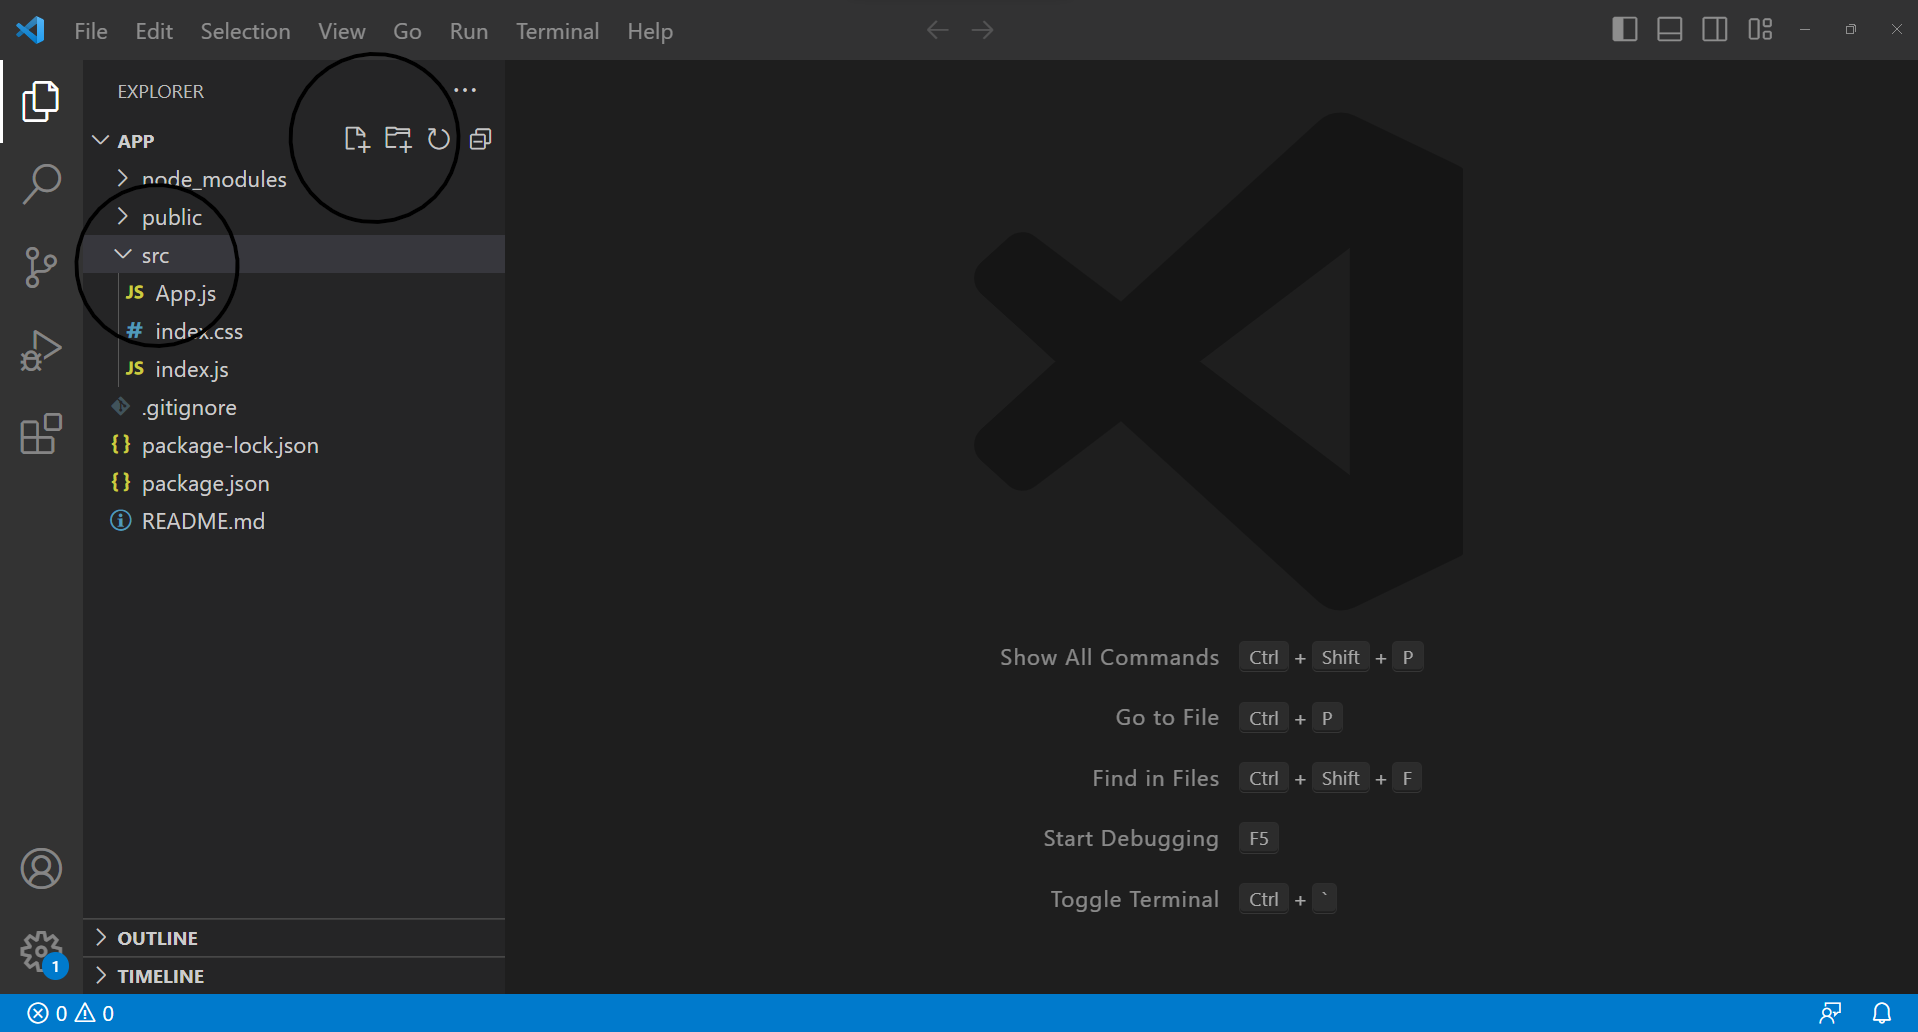
Before we move on to the code, we need to add some folders to your workspace. First, we need to go to the src folder, which is located below the public folder. To create a new folder, you have to right-click on the src folder, and you should see an option that says, "New Folder." You can also click the "Add Folder" button in your workspace, located at the bottom of the three dots. This should appear every time you click on a folder or file.
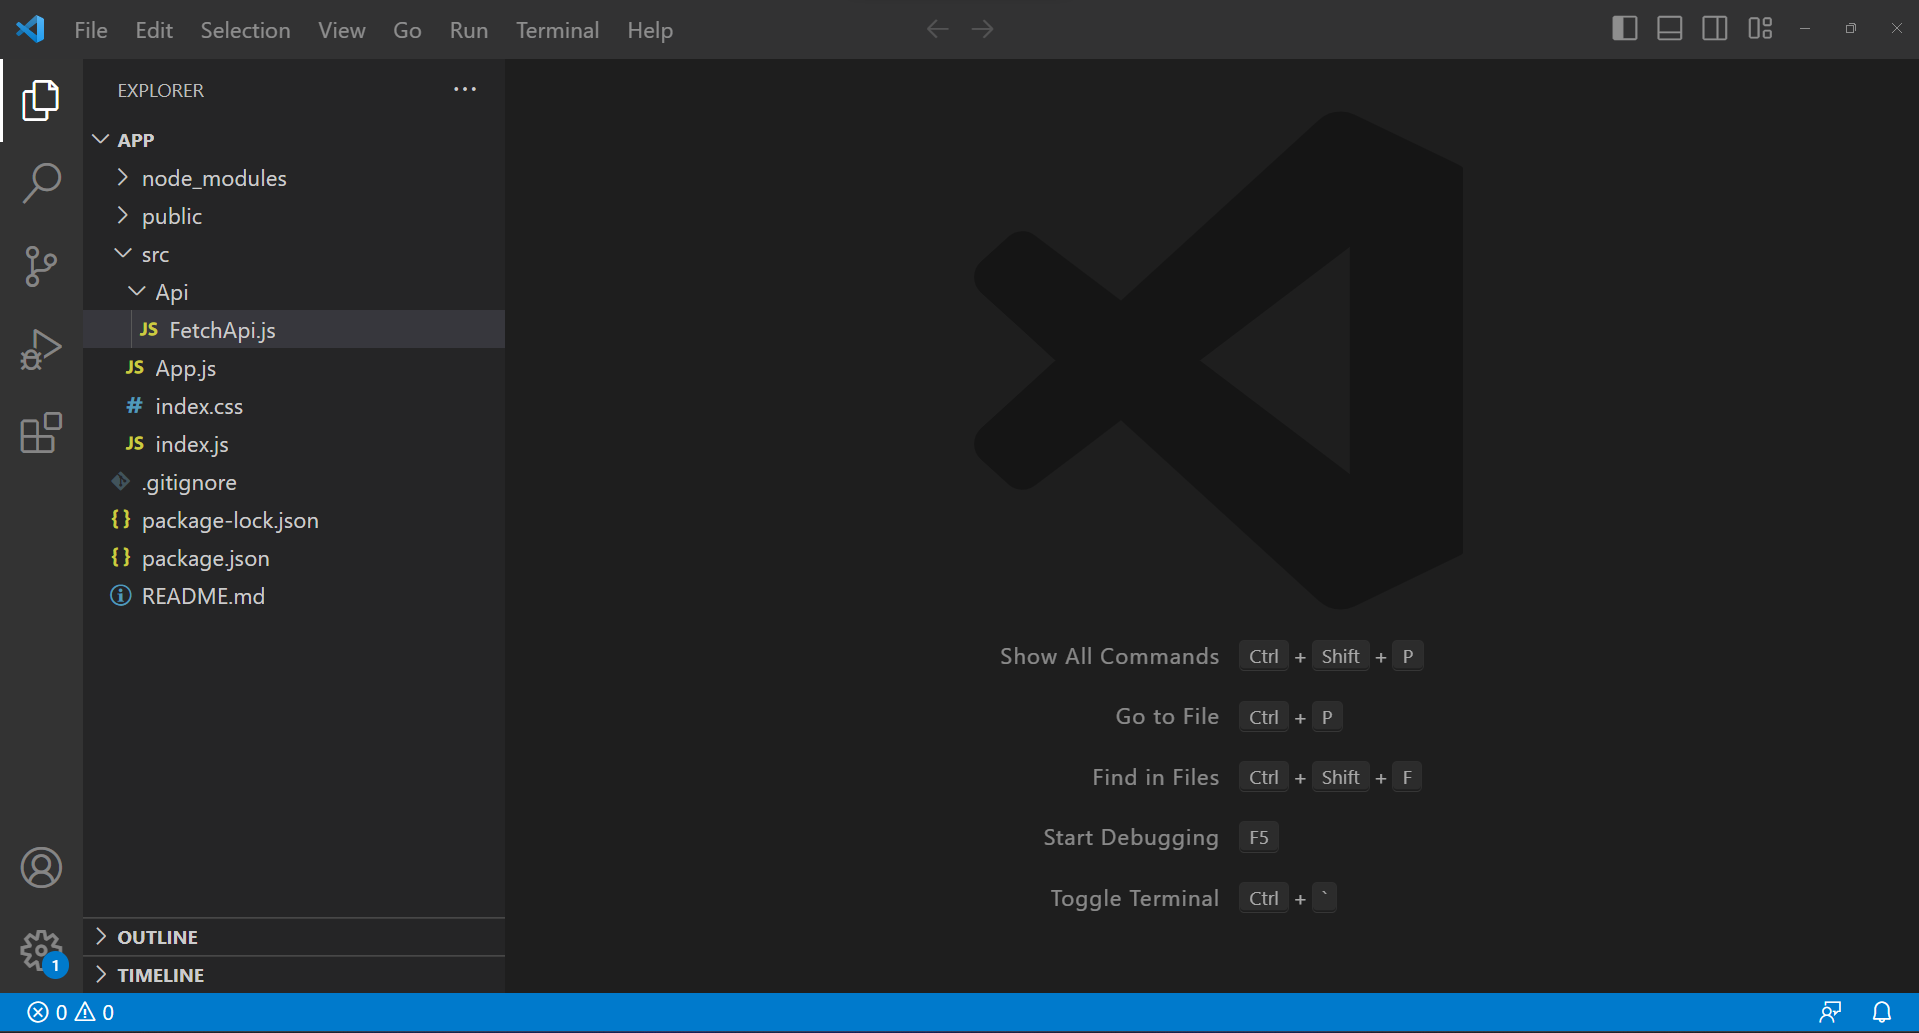
By clicking on it, name the folder "Api" as I will in this example. Inside this folder, create a file named "FetchApi.js" and you should be all set. In completing this, your project should look something like this:
Now that you have completed the setup, we can now move on to the code.
APIs in React - Writing Your Code
The first thing that we have to do is start by coding the application. In the FetchApi file, we are going to make a function.
function FetchApi() {

}
export default FetchApi;
In this example, I am going to be using an API that is completely free. To find it, all you have to do is put his URL into Google, "https://catfact.ninja/fact". As you can see, this API is for generating cat facts. Every time you refresh, another fact comes up.
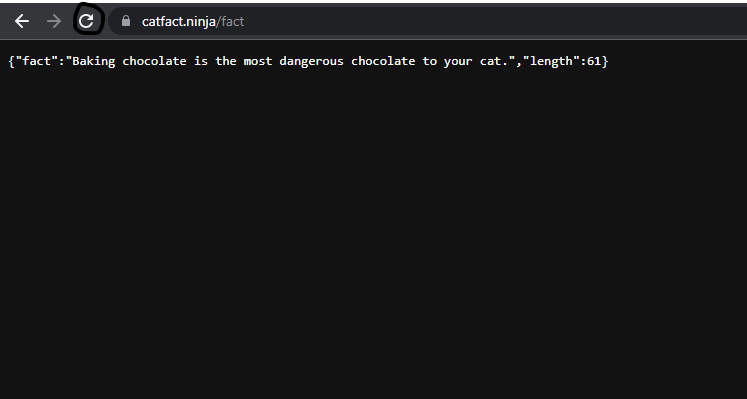
We are going to be requesting this API from our project and collecting the data. Then we will display this data through the use of a button that, when clicked, will request a new fact, therefore generating an infinite amount of facts.
Fetch Method
To display and fetch the URL, I will be using a built-in feature called "Fetch()". This allows for any API URL to be requested and allows for data to be passed between applications.
In this step, we are going to fetch this API data using the Fetch method, as mentioned before.
function FetchApi() {
const [data, setData] = useState([]);
    const apiGet = () => {
        fetch("https://catfact.ninja/fact")
        .then((response) => response.json())
        .then((json) => {
            console.log(json)
            setData(json);
        });
    };

    return (
        <div>
            MyAPI
            <button onClick={apiGet}>FetchAPI</button>
        </div>
    )
}
In the first part, we just create a const, "data, setData" and use it through the use of useState which essentially, controls the state of the information/data. We will be using this later.
Here, we are fetching the URL from the website and then converting it back to Java. The API was displaying the data in a JSON type so that we could distinguish the information that we wished to use. In this method, we are returning a "promise" from the API that will contain data; in this case, it is in the form of a "response." Then we convert it to Java, as mentioned. Then we console log it to the console as well as call "setData" from the const and set its state when "json" has been passed through. To finish it off, go to your "app.js" and add the component name in the div tags like this:
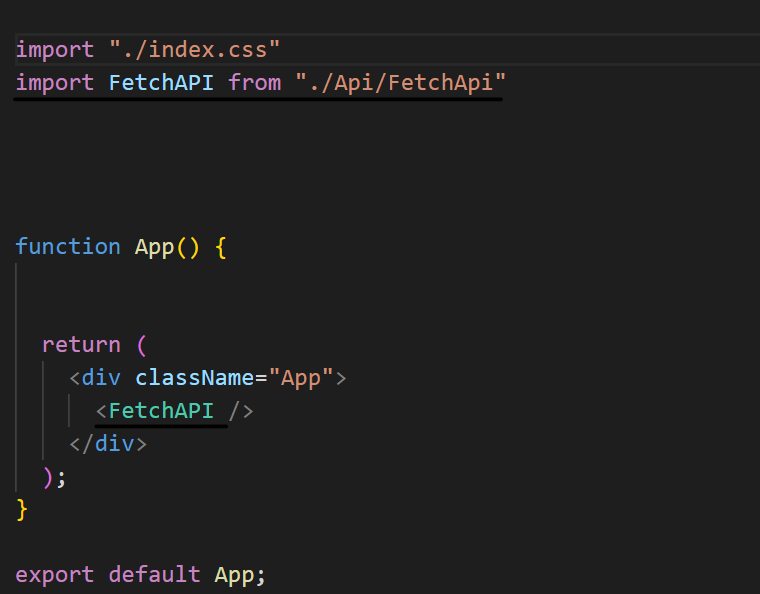
To start up your application, you need to go to your console, or create a new one in Visual Studio Code, and run "npm start." Once your application has started, you can see that on the main page, there is nothing but a button. Well, if you go to inspect or press 12 and go to the console. Every time you click that button, you can see that on the console, text is being printed and every time you press it, a new text appears
Well, what we are going to do with that is convert it from an object to a string using the stringify method.
The first thing that we need to do is go back to fetch.js and use the stringify method.
{JSON.stringify(data.fact)},
{JSON.stringify(data.length)}
This code allows us to dissect the JSON text into parts. In the console, you can see that the text is split into 2 parts. The fact and the length. Using the stringify method, we can use these parts and display them in an orderly fashion. So, using the object we convert it into a string and then use the JSON parts available to us and display them however we want.
import { useState } from "react";

function FetchApi() {
    const [data, setData] = useState([]);

    const apiGet = () => {
        fetch("https://catfact.ninja/fact")
        .then((response) => response.json())
        .then((json) => {
            setData(json);
            console.log(json)
        });
    };

    return (
        <div>
            My API
            <button onClick={apiGet}>Fetch API</button>
            {JSON.stringify(data.fact)},
            {JSON.stringify(data.length)}
        </div>
    )
}

export default FetchApi;
Finish off by implementing the stringify method and that is your final product. If you reopen your application, you can now see that your text will be displayed to the user directly instead of in the console.
If you want you can get rid of the console log so you don't have it showing in your console.
Conclusion
In conclusion, you can see that we have made an application that takes data from an API and displays it on your React app. You can use this method to create nice and neat code and save time and isn't that hard to use.
Subscribe to my newsletter
Read articles from Qasim Amin directly inside your inbox. Subscribe to the newsletter, and don't miss out.
Written by

Qasim Amin
Qasim Amin
I am a 13 year old coder