How to run Medusa on Google Cloud Shell
 Mark Tawanda Munyaka
Introduction
In this tutorial, you will learn how to install, run and test Medusa on Google Cloud Shell.
If you ever tried to run a Medusa project in Google Cloud Shell you may have encountered some issues loading content from the Medusa backend. This is due to CORS. In this tutorial, you will use a workaround to load content from the Medusa backend hosted on Google Cloud Shell.
We will use the default quickstart Next.js storefront provided by Medusa as a means to test the project. You will walk through the steps required to configure Google Cloud Shell to work with Medusa. By the end of this tutorial, you should have a working Medusa app running in a Google Cloud Shell instance.
What is Medusa?
Medusa is an open source composable commerce engine for building ecommerce websites.
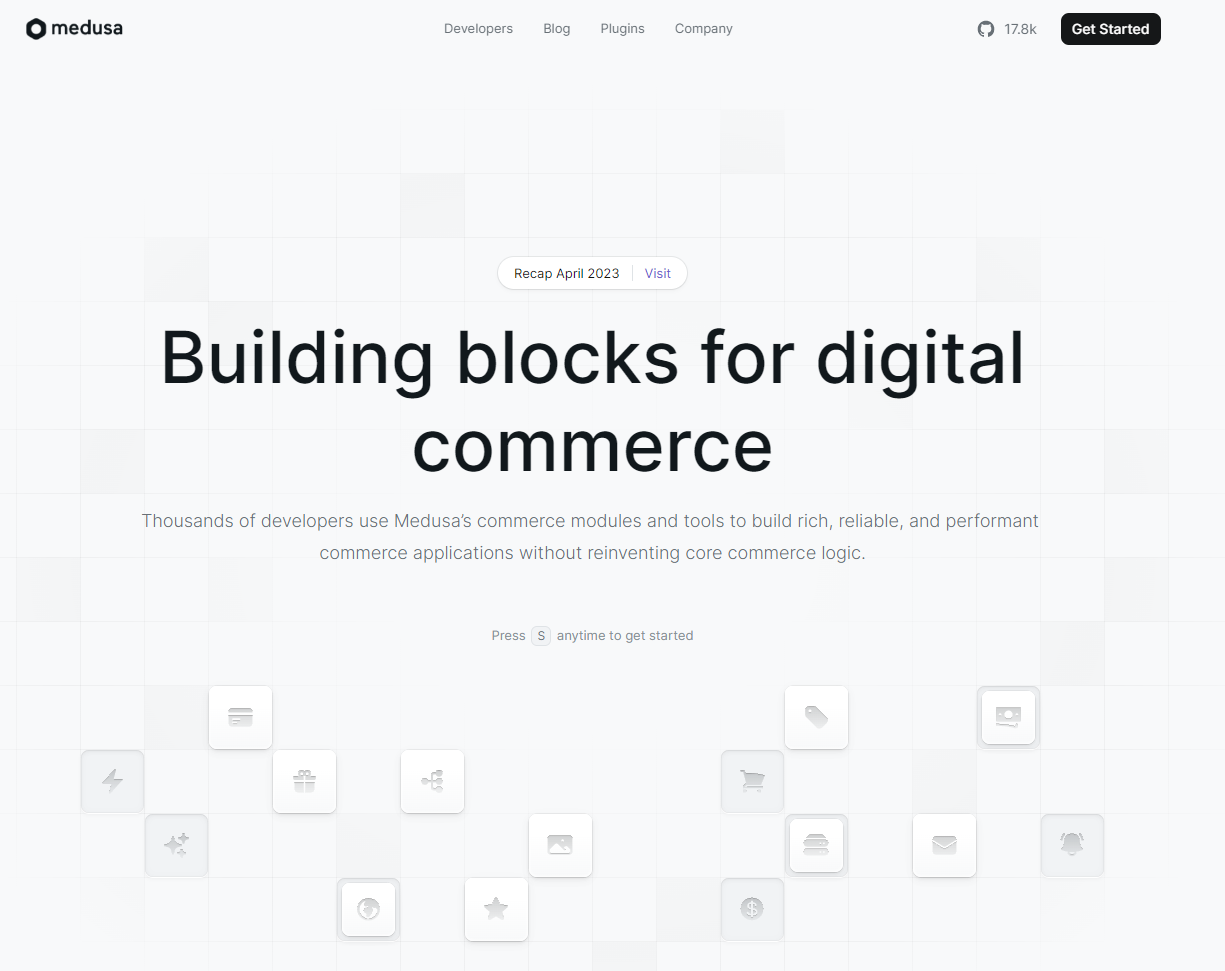
It was built using Express running on Node.js.
It is fully customizable and extensible through the use of commerce modules. You can build webshops, subscription services, digital products stores, ticketing systems, and any other ecommerce solutions.
Here is an architecture example of a full-fledged ecommere app you can build using Medusa.
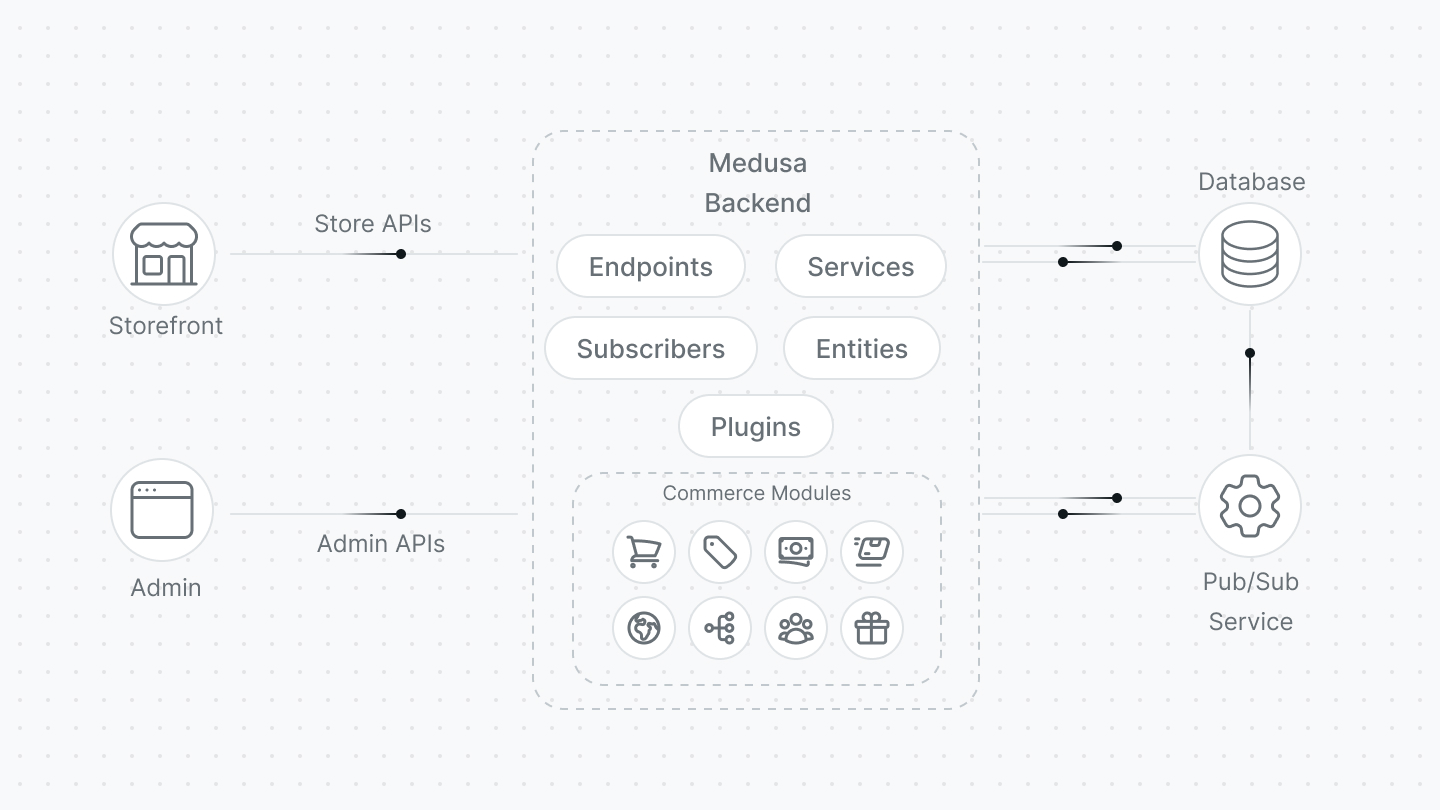
You could think of Medusa as a set of commerce building blocks used to create custom commerce applications. If you want to know more about Medusa, check out their documentation.
What is Google Cloud Shell?
Google Cloud Shell is a free online development and operations environment accessible from any web browser. It provides command-line access to a Linux-based virtual machine instance. This machine comes preloaded with utilities and an online code editor with support for popular programming languages.

Cloud Shell offers a Virtual Machine Instance with the following features:
2 CPUs/4 CPUs
8GB/16GB of RAM
5GB of persistent disk storage in your $HOME folder
50 hours of weekly access
All in all Google Cloud Shell is a suitable environment to quickly test out a Medusa app, especially when you are on the go.
Prerequisites
To follow this tutorial you must have the following:
Google Account: Sign up here
Google Cloud CLI — Download it here
A web browser of your choice
SSH client of your choice
Step 1 — Launch Google Cloud Shell Workspace
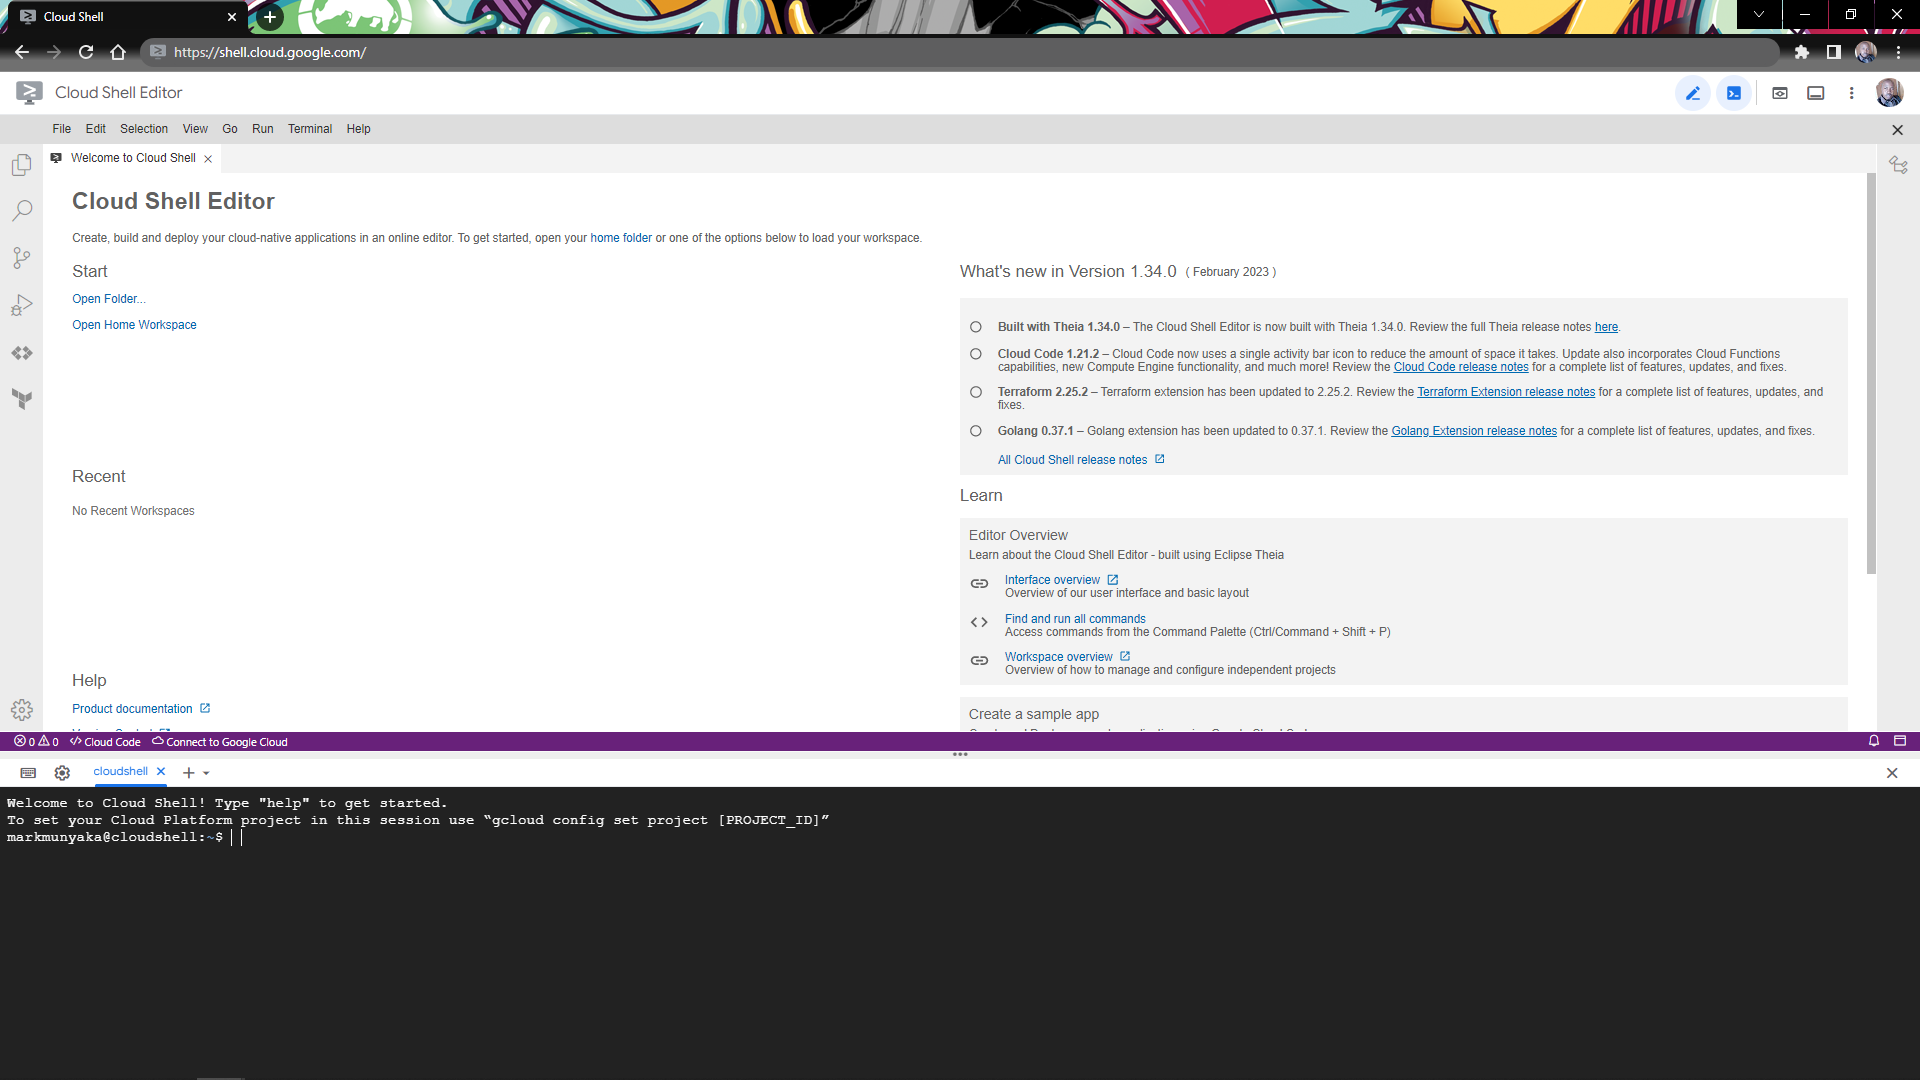
In your browser, log in to your Google Account and open up the Google Cloud Shell by visiting shell.cloud.google.com. This launches your Google Cloud Shell and you will see a window split into two with the Cloud Shell Editor on top and the terminal on the bottom.
In the terminal, you will see the following message, “Welcome to Cloud Shell! Type “help” to get started.”
Step 2 — Setup Medusa backend
Next, you will install Medusa's backend using the Quickstart guide.
Google Cloud Shell comes pre-installed with node, npm and yarn. These are the necessary tools required to install Medusa.
In your Google Cloud Shell terminal window, install the Medusa CLI.
npm install @medusajs/medusa-cli -g
Create a new Medusa project for your backend and seed it with some data.
medusa new my-medusa-store --seed
Start your Medusa backend server
cd my-medusa-store
medusa develop
Your Medusa server should start running on port 9000. Test it, in a new terminal tab. Click on the + icon in the Cloud Shell terminal window to open a new terminal
Enter the following command to test if the Medusa backend is working.
curl localhost:9000/store/products
The beginning of the JSON response should be similar to this:
{
    "products": [
        {
            "id": "prod_01GWTHY98VZ3BHWFJX9DNXJ6PY",
            "title": "Medusa Coffee Mug",
            "subtitle": null,
            "status": "published",
            "external_id": null,
            "description": "Every programmer's best friend.",
            "handle": "coffee-mug",
            "is_giftcard": false,
            "discountable": true,
            "thumbnail": "https://medusa-public-images.s3.eu-west-1.amazonaws.com/coffee-mug.png",
            "profile_id": "sp_01GWTHY89ZKN791N6H948SVA38",
            "collection_id": null,
            "type_id": null,
            "weight": 400,
            "length": null,
            "height": null,
            "width": null,
            "hs_code": null,
            "origin_country": null,
            "mid_code": null,
            "material": null,
Step 3 — Setup Next.js storefront
Next, you will install the Next.js starter storefront to view the products from the server using the Next.js Storefront Quickstart Guide in the Medusa Documentation.
In a new Cloud Shell terminal tab, create a new Next.js project using the Medusa starter template:
npx create-next-app -e https://github.com/medusajs/nextjs-starter-medusa my-medusa-storefront
Set up environment variables for your Next.js storefront:
cd my-medusa-storefront
mv .env.template .env.local
Make sure the Medusa backend server is running and then run the Next.js app:
npm run dev
Your Next.js storefront should start running on port 8000.
Google Cloud Shell has got a Web Preview feature. This allows you to preview your storefront running on port 8000. The Web Preview button can be found on the top right of the Cloud Shell taskbar.

A new tab with the URL of the preview link to the storefront will open. Here’s the storefront.
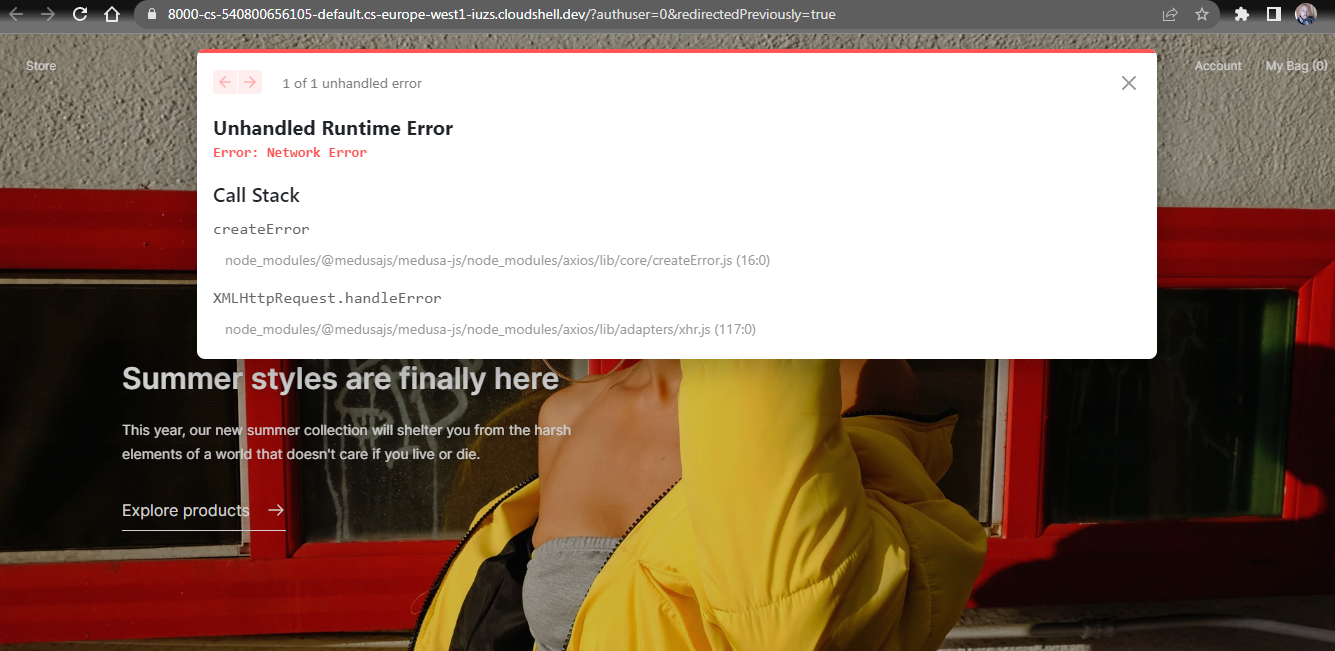
The storefront loads but the products from the backend server do not appear. This is due to a Network Error caused by some CORS issue.
To get around this we will use port forwarding to preview the storefront.
Step 4 — Setup SSH port forwarding
In this step, we will use SSH port forwarding to preview the storefront in your browser. If you want to know more about SSH port forwarding please check out this article.
Make sure you have the following:
Initialize your Google Cloud CLI using these instructions.
Launch your Google Cloud SDK Shell and enter the following command to forward port 9000 for the Medusa server to your local machine’s port 9000.
gcloud cloud-shell ssh --ssh-flag="-L 9000:localhost:9000"
If all works well port 9000 from the remote Google Cloud Shell workspace should be available on your local machine you can test using curl localhost:9000/store/products and you should see the list of products.
Next forward port 8000 for the storefront. Open a new Google Cloud CLI session. Copy the previous command and replace 9000 with 8000.
gcloud cloud-shell ssh --ssh-flag="-L 8000:localhost:8000"
Step 5 — Preview Next.js Starter Storefront
Open a new tab and go to localhost:8000 in your browser. You should see the Next.js starter storefront once again.
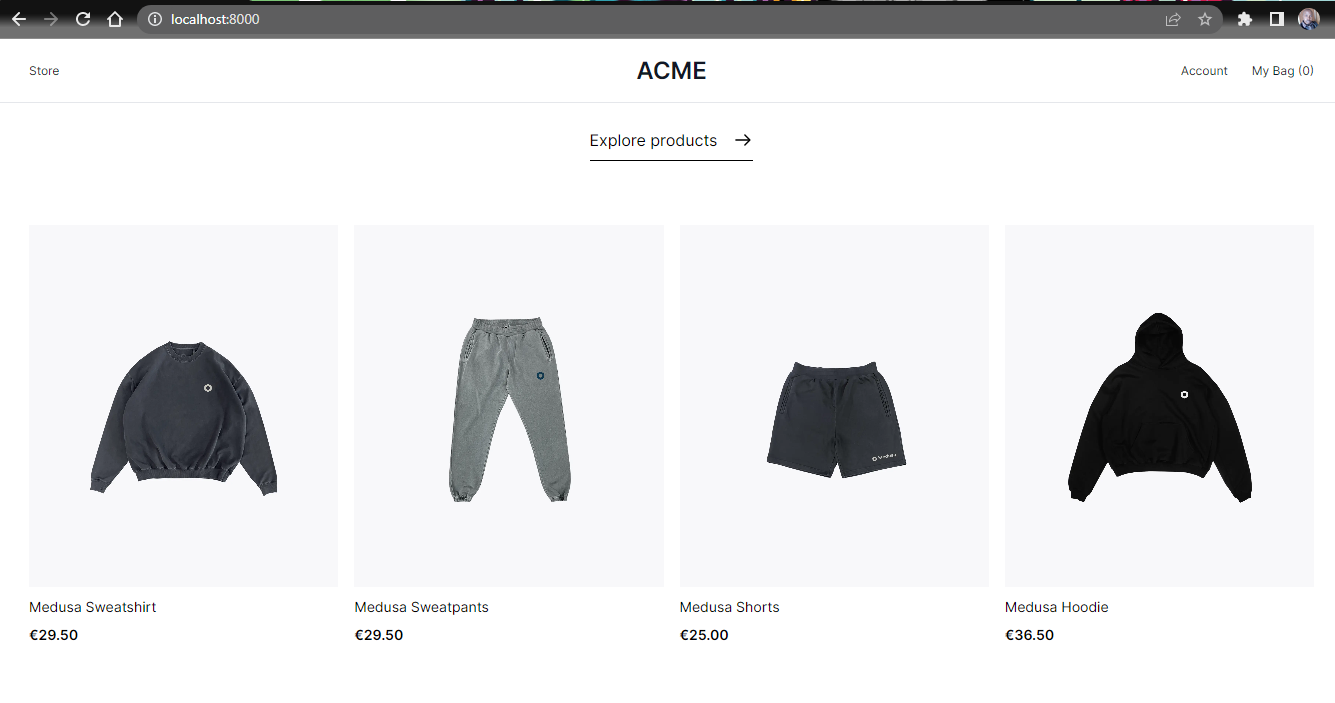
No error message! Everything is working as expected.
The difference now is that the products load and there is no network error. With that done, you have successfully run and tested your storefront.
You can proceed to experiment more with your Medusa-powered commerce store.
Conclusion
Congratulations! You have managed to set up a Medusa backend with a Next.js storefront on an online development environment provided by Google Cloud Shell.
You also learned how to use SSH port forwarding to preview the storefront to bypass any network or CORS issues.
This tutorial has introduced you to Medusa and Google Cloud Shell. You can use these tools to build and test ecommerce applications efficiently. You can now continue to customize and build upon this foundation to create an e-commerce application that meets your specific needs. Keep exploring and have fun building!
Useful Links
Subscribe to my newsletter
Read articles from Mark Tawanda Munyaka directly inside your inbox. Subscribe to the newsletter, and don't miss out.
Written by

Mark Tawanda Munyaka
Mark Tawanda Munyaka
I am a freelance developer and technical writer from Zimbabwe currently based in Lusaka, Zambia. I enjoy coding, reading, and outdoor sports. I love testing out new technologies (web, desktop, mobile) that can help me build cool apps. I am currently dabbling with the JAMStack ecosystem.