How to Install Multiple Java Versions via SDKMAN on Ubuntu ..!
 Suresh Kumar S
Table of contents
SDKMAN! is a tool for managing parallel versions of multiple Software Development Kits on most Unix based systems. It provides a convenient Command Line Interface (CLI) and API for installing, switching, removing and listing Candidates. Formerly known as GVM the Groovy Environment Manager.
It also allows the developers to install JVM-based SDKs like Java, Groovy, Scala, Kotlin, and Ceylon. Maven, Gradle, SBT, Spring Boot, Vert.x, and many others are also supported. SDKMAN! is a free, lightweight, open-source utility written in Bash.
How to Install Multiple Java Version via SDKMAN on Ubuntu Using 10 Easy Steps
Step 1: Update Your System
$ sudo apt-get update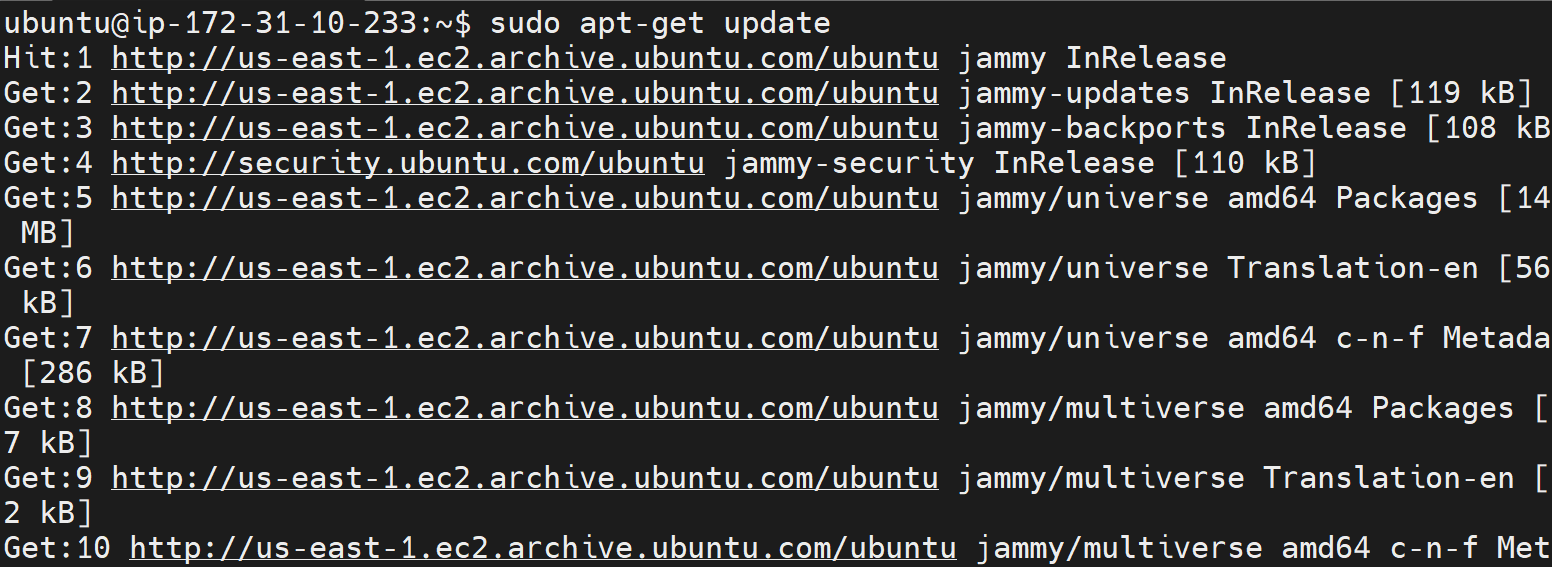
Step 2: Install Prerequisites - Zip, Unzip
$ sudo apt install zip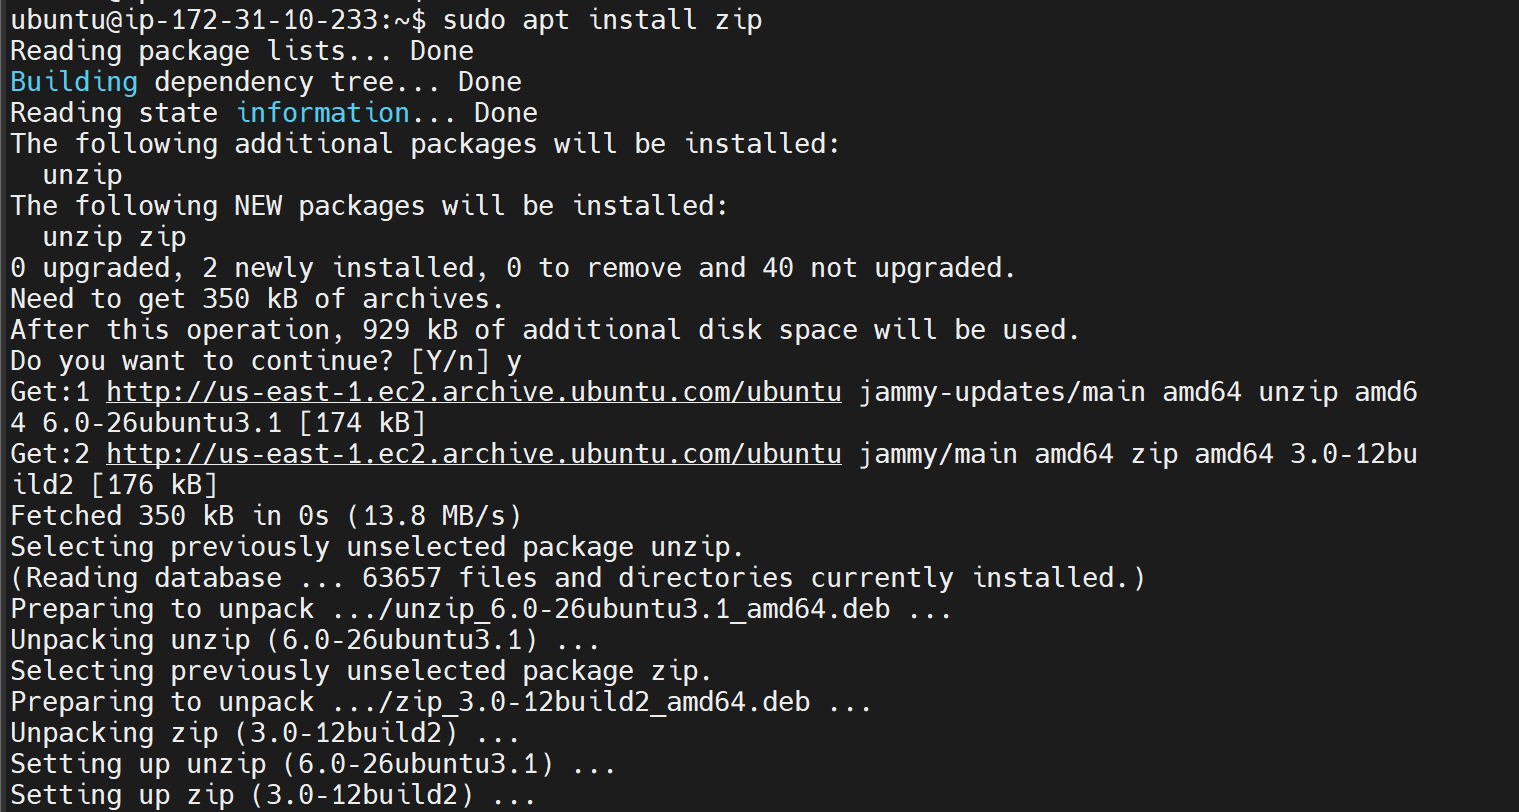
Step 3: Install SDKMAN
$ sudo curl -s "https://get.sdkman.io" | bash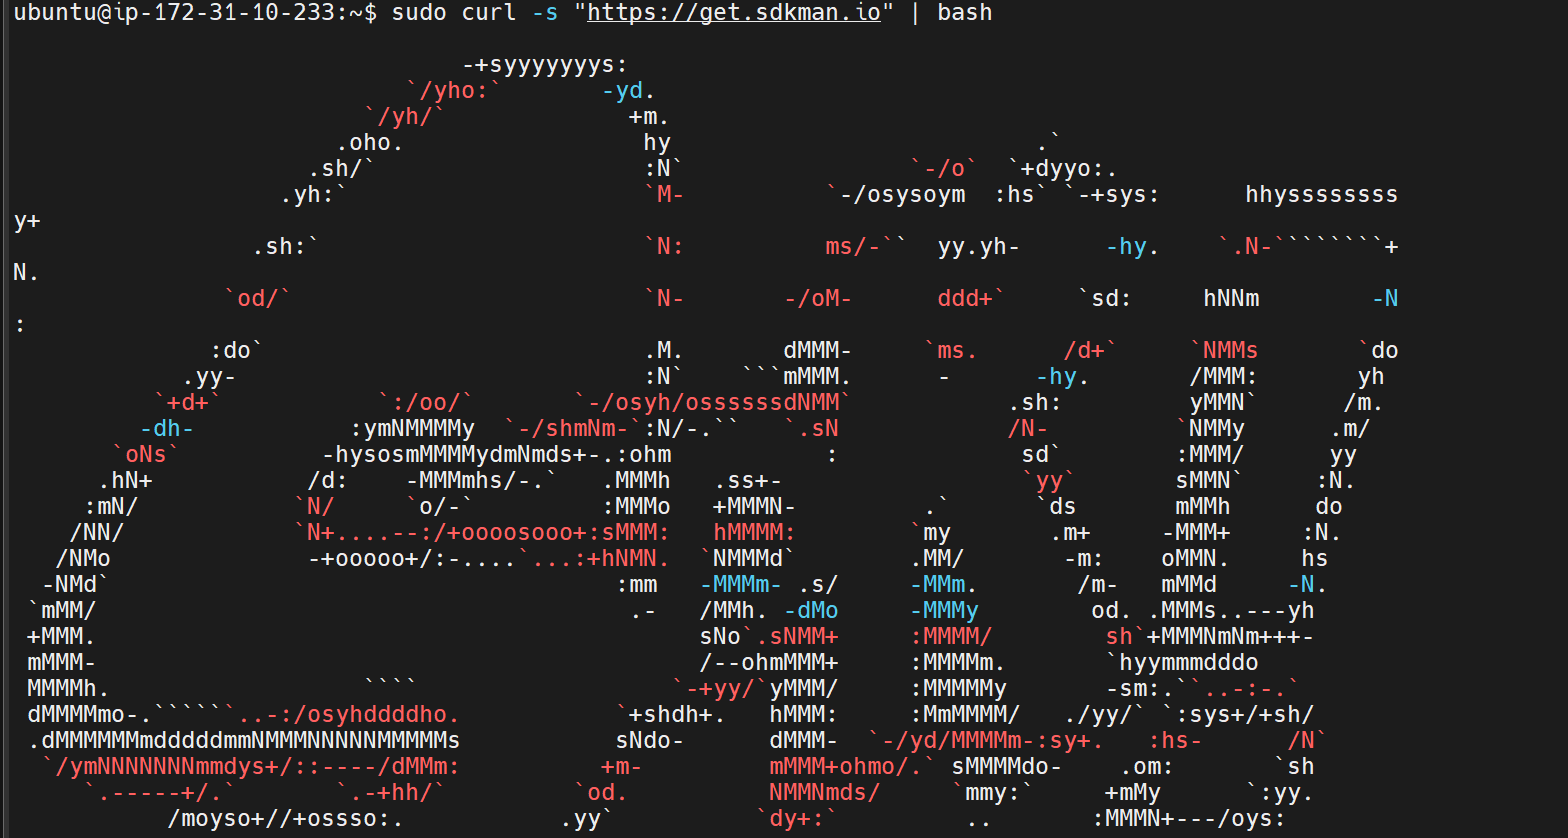
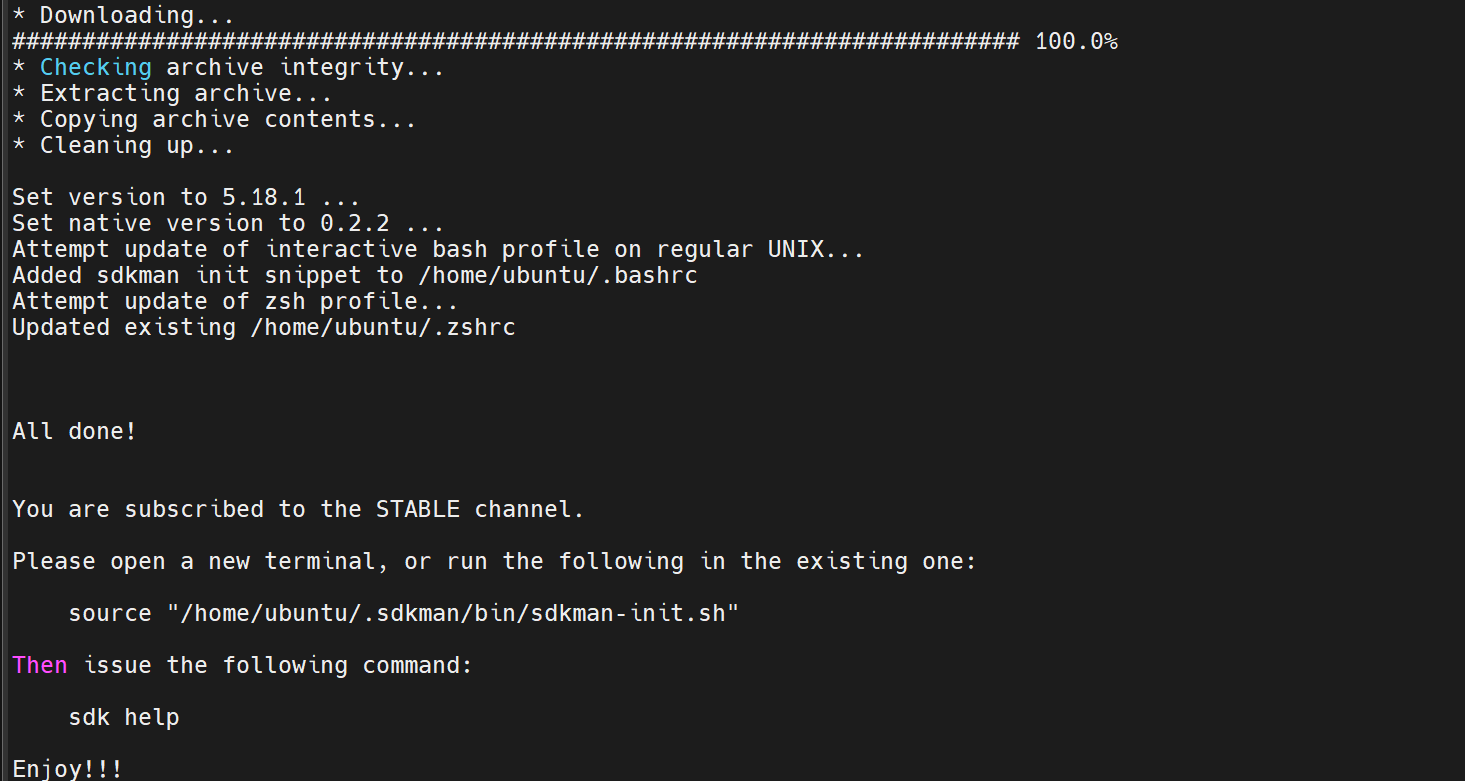
Step 4: Follow the on-screen instructions to complete the installation and verify.
$ source "$HOME/.sdkman/bin/sdkman-init.sh"
Step: Find Java Versions available.
$ sdk list java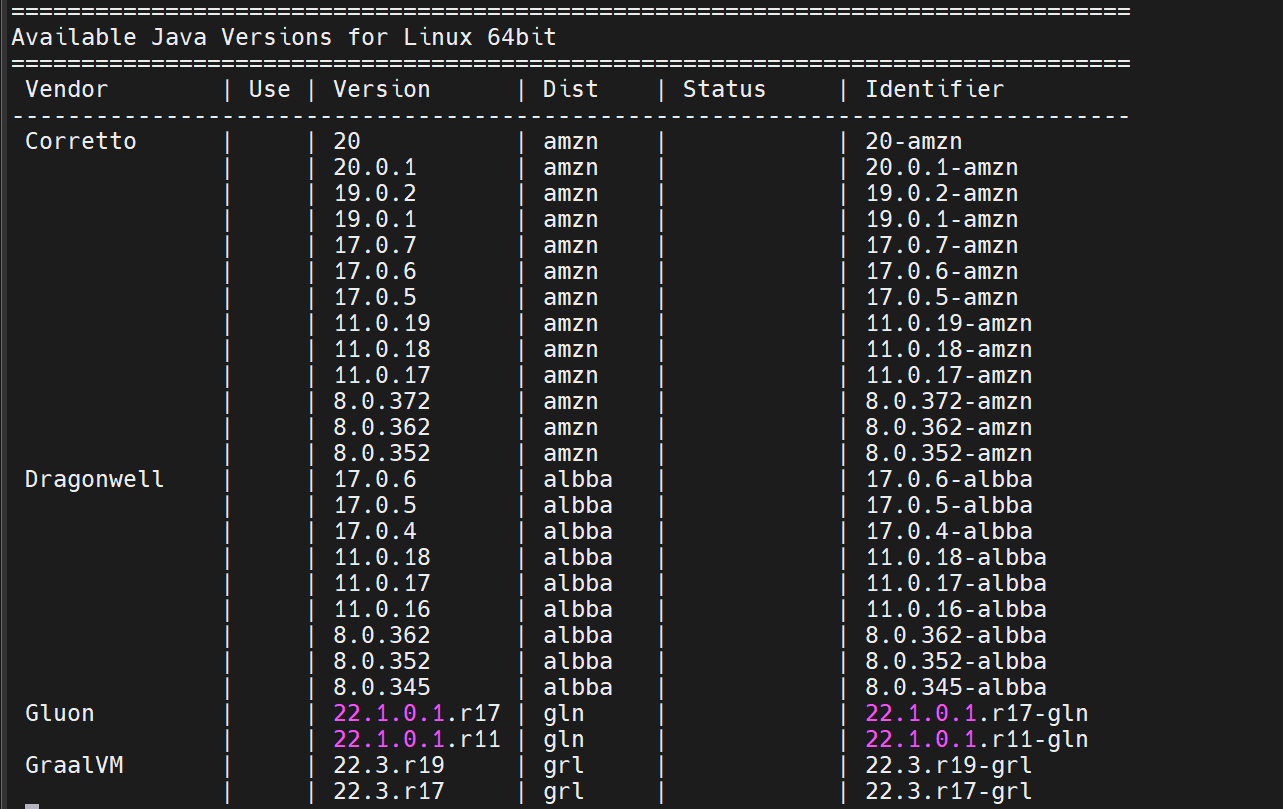
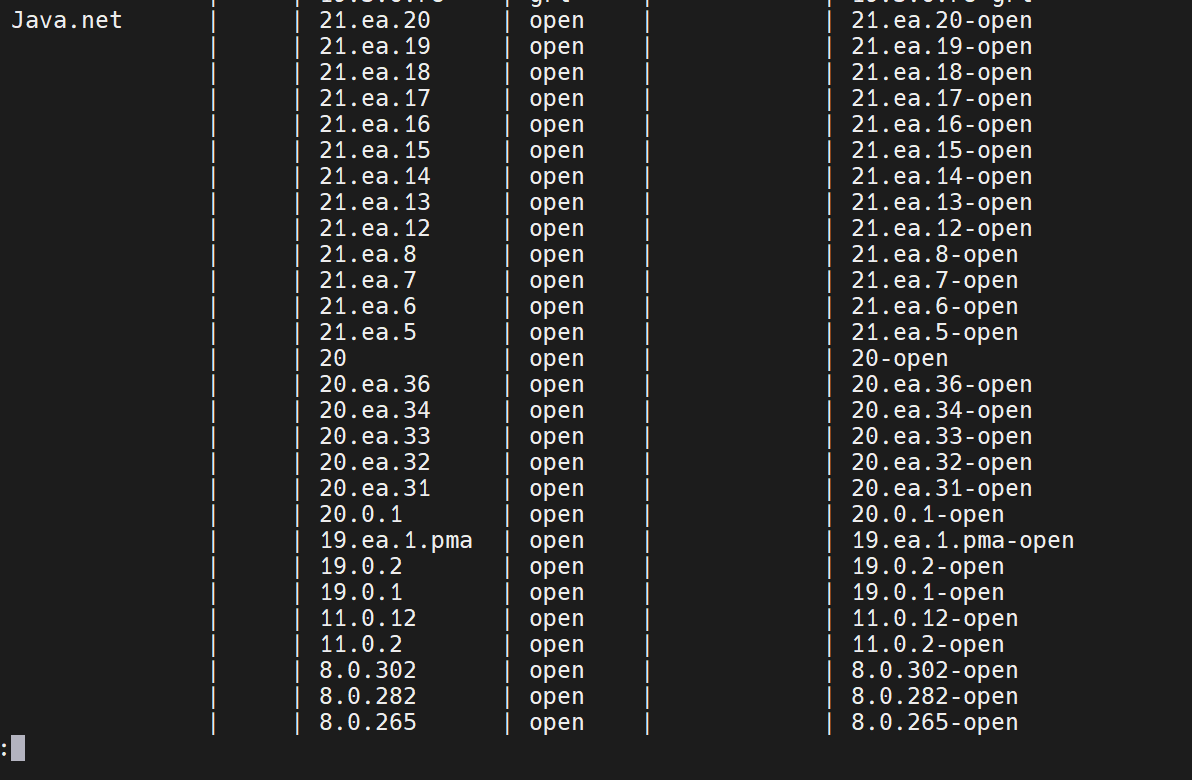
Step 6: Install Java 19.0.2 Version
$ sdk install java 19.0.2-open
Step 7: Verify Installed Java Version
$ java --version
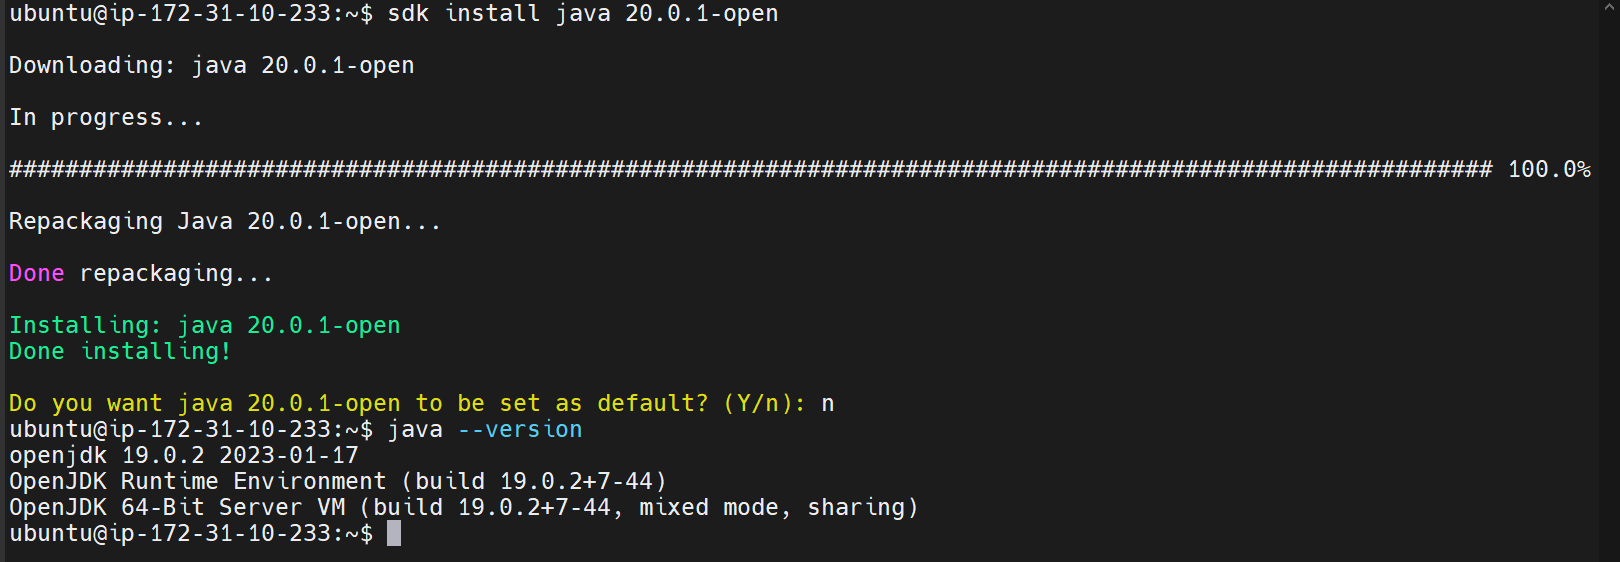
Step 8: Install Java 20.0.1 Version and default option give
Yes / No (based on requirement) and Verify Currently Installed Java Versions.
$ sdk install java 20.0.1-open
$ sdk java list
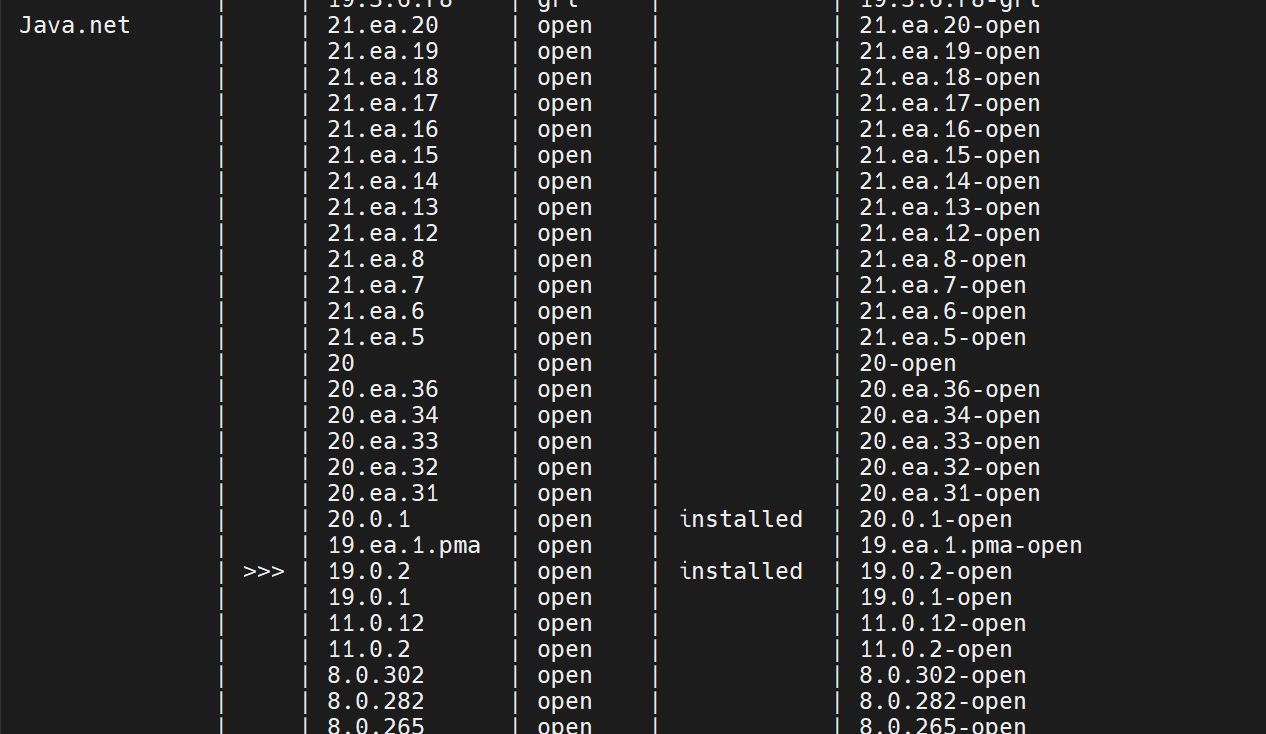
- Step 9: Whenever need another Java version change default
$ sdk default java 20.0.1-open

Step 10: If you need remove any Java version First change default version to another Java version then uninstall required Java version and verify also
$ sdk uninstall java 20.0.1-open
$ sdk java list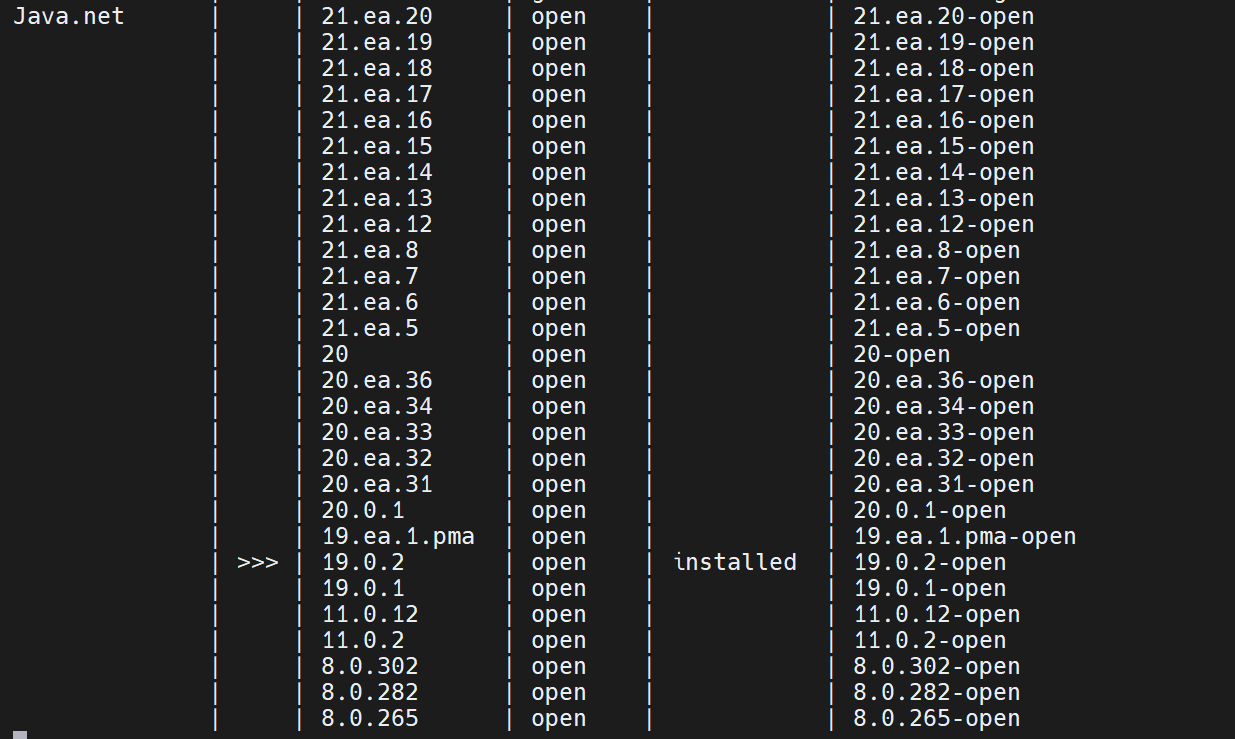
Reference
Subscribe to my newsletter
Read articles from Suresh Kumar S directly inside your inbox. Subscribe to the newsletter, and don't miss out.
Written by

Suresh Kumar S
Suresh Kumar S
Experienced AWS DevOps Engineer with 9+ years in IT, specializing in AWS for over 5 years. Holder of 5 AWS certifications, adept at optimizing infrastructure and driving efficiency.