Deploying Cloud-Native applications on NAPPTIVE
 Babitha Kumari
Let's first understand what a Cloud-Native application means. The Cloud Native Computing Foundation (CNCF) defines a cloud-native application as: "an application made up of microservices that are run in containers, are dynamically orchestrated, and are managed through agile DevOps processes and continuous delivery workflows."
In short, these applications are built using tools and technologies that enable developers to build, manage and deploy them at a large scale.
NAPPTIVE provides a platform to develop Cloud-native applications, by leveraging tools like Kubernetes and Open Application Model(OAM) at its core.
Let's understand how to deploy apps on the NAPPTIVE playground.
All you need is an open-source application of your choice. In this article, we will be deploying Kanboard, an open-source Kanban project management software. This process can be replicated for any kind of open-source application.
Step 1: Find the docker image
The first and foremost step is to find the docker image of the open-source app. You will find this either on their documentation or their GitHub README.
For the Kanboard application, the official docker image can be found here.
If you cannot find the docker image for the application, you will have to create one and register it onto either docker hub or quay.io(or any other suitable registry)
Step 2: Understanding OAM
OAM (Open Application Model) is a specification for cloud-native application development that provides a way to describe applications in a declarative manner, independent of any specific cloud provider or orchestration platform.
With OAM, developers can describe the application in terms of components, relationships, and deployment requirements, without having to worry about the underlying infrastructure.
The main elements of an OAM application include:
Application: An application is a collection of independent and loosely coupled services that work together to provide a set of functionalities that are associated with a business value.
Component: A Component represents a single microservice from the Application. Different component types include - Webservice, Worker, Task, and Helm. Check out the NAPPTIVE docs to know more about this.
Trait: This allows us to customize existing components as per our own needs.
Step 3: Writing the YAML file
To create an Application, we will need to write a YAML file that defines the application.
If you're wondering how an application is defined within a YAML file, have a look here:
apiVersion: core.oam.dev/v1beta1
kind: Application
metadata:
  # Name of the application which will be used to refer to it once deployed.
  name: <name>
spec:
  # List of components that are part of the application.
  components:
      # Each component must have a name. The name will be used during the translation process
      # to Kubernetes entities.
    - name: <component name>
      # Each component is associated with a type. The type works as a template and defines
      # how a high-level component will be translated into Kubernetes.
      type: <component type>
      # Properties that can be configured for the user. This can be use to set the parameters
      # that are defined by the component type.
      properties:
        <parameter values>
      # Traits are extensions that augment the capabilities of a component. For example,
      # changing the replication, importing a config map, etc.
      traits:
        - type: <trait type>
          properties:
            <traits parameter values>
For the Kanban application, we will need to specify two components namely:
Kanban
MySQL(used for storage)
Let's define these within a YAML file
apiVersion: core.oam.dev/v1beta1
kind: Application
metadata:

  name: kanboard
  annotations:
    version: "latest"
    description: "Kanban board for smooth project management"
spec:

  components:

    - name: kanboard

      type: webservice

      properties:
        image: kanboard/kanboard:latest

        ports:
          - port: 80
            expose: true

        # Attach ephemeral storage (specified in docker-compose file)
        volumes:
          - name: kanboard-data
            mountPath: /var/www/app/data
            type: emptyDir

          - name: kanboard-plugins
            mountPath: /var/www/app/plugins
            type: emptyDir

          - name: kanboard-ssl
            mountPath: /etc/nginx/ssl
            type: emptyDir

        # define env variables
        env:
          - name: DATABASE_URL
            value: "mysql://kanboard:kanboard-secret@db/kanboard"

       # creates an Ingress to make the component publicly available to the Internet.
      traits:
        - type: napptive-ingress
          properties:
            port: 80
            path: /


    - name: db

      type: webservice

      properties:

        image: mariadb:latest

        ports:
            - port: 3306
              expose: true

        env:
          - name: MYSQL_ROOT_PASSWORD
            value: "secret"
          - name: MYSQL_DATABASE
            value: "kanboard"
          - name: MYSQL_USER
            value: "kanboard"
          - name: MYSQL_PASSWORD
            value: "kanboard-secret"

        command: --default-authentication-plugin=mysql_native_password

        volumeMounts:
            emptyDir:
                - name: data
                  medium: ""
                  mountPath: "/var/lib/mysql"
That was the hardest part, take your time to understand each concept used here, you can always check out the NAPPTIVE docs, A huge lifesaver!
And that's it your just one step away from deploying your application.
Step 5: Deploy on Napptive Playground
Now that we have the YAML file ready, we can get on to deploy our application on the Napptive playground.
There are multiple ways to deploy an application on the Napptive playground, we will be using the YAML deploy method.
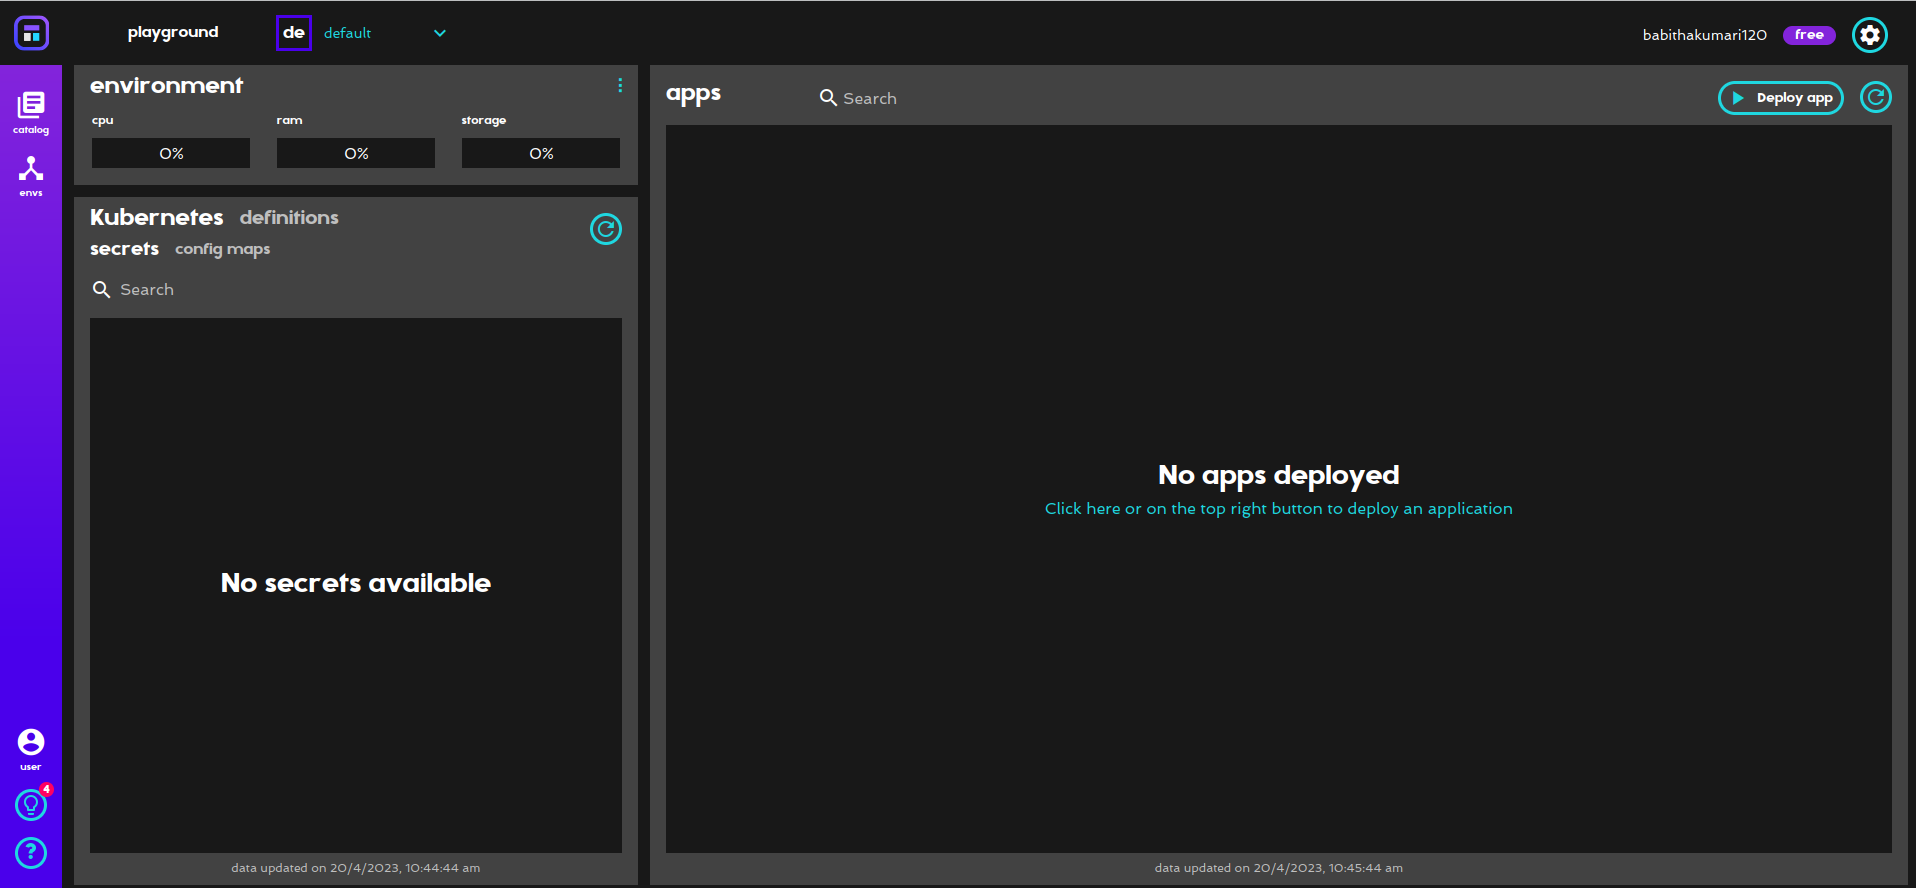
Once you log into the NAPPTIVE playground, select the "Deploy app" option present in the upper right corner.

Now you will be able to see the different options to deploy the application. As mentioned earlier, we will be using YAML deployment.
You can either choose to copy-paste the code into the provided editor or upload it from the file. Finally, deploy your application using the "Deploy" option present in the bottom-right corner. You'll have to wait for some time until the deployment is complete. You can check for logs if any error message arises.

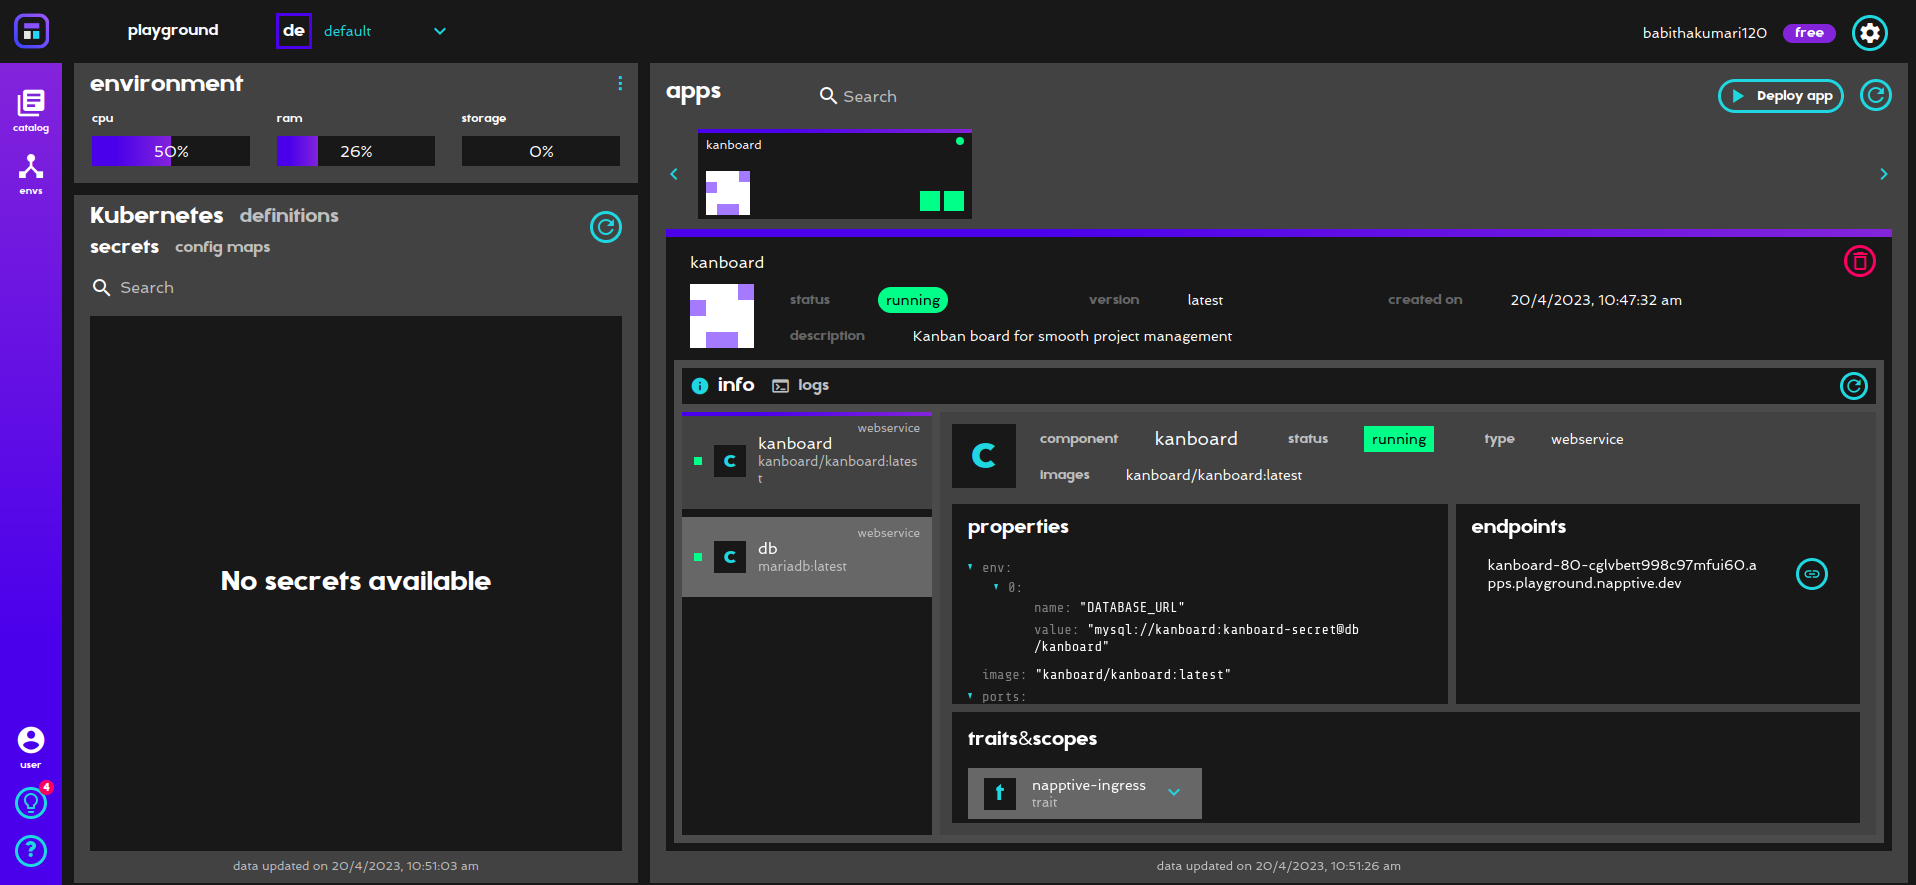
The above image depicts a successful deployment of the Kanboard project. Head on to the endpoint and you will see your application running.
NOTE: Default credentials for the Kanboard project is "admin" for both username and password.
That's it from my side guys, this blog was written to help out beginners to understand how to deploy applications on the Napptive Playground. Hope this helped you all, feel free to reach out to me in case of doubts.
Subscribe to my newsletter
Read articles from Babitha Kumari directly inside your inbox. Subscribe to the newsletter, and don't miss out.
Written by

Babitha Kumari
Babitha Kumari
Hey there! I am webdeveloper. I have developed some amazing application using Django and Javascript. Looking to learn new stacks and enhance my skills further. Currently learning about Devops!