Creating a Virtual Environment in Anaconda: A Step-by-Step Guide (Without code)
 Eugene Denteh
Anaconda is a powerful platform widely used for data science and development projects. One of its key features is the ability to create virtual environments, which provide isolated spaces to manage project dependencies. In this blog post, we will walk you through the process of creating a virtual environment in Anaconda, empowering you to organize your projects effectively and ensure reproducibility.
Step 1: Launching Anaconda Navigator To begin, open the Anaconda Navigator application on your computer. This user-friendly graphical interface provides a convenient way to manage your Anaconda environment.
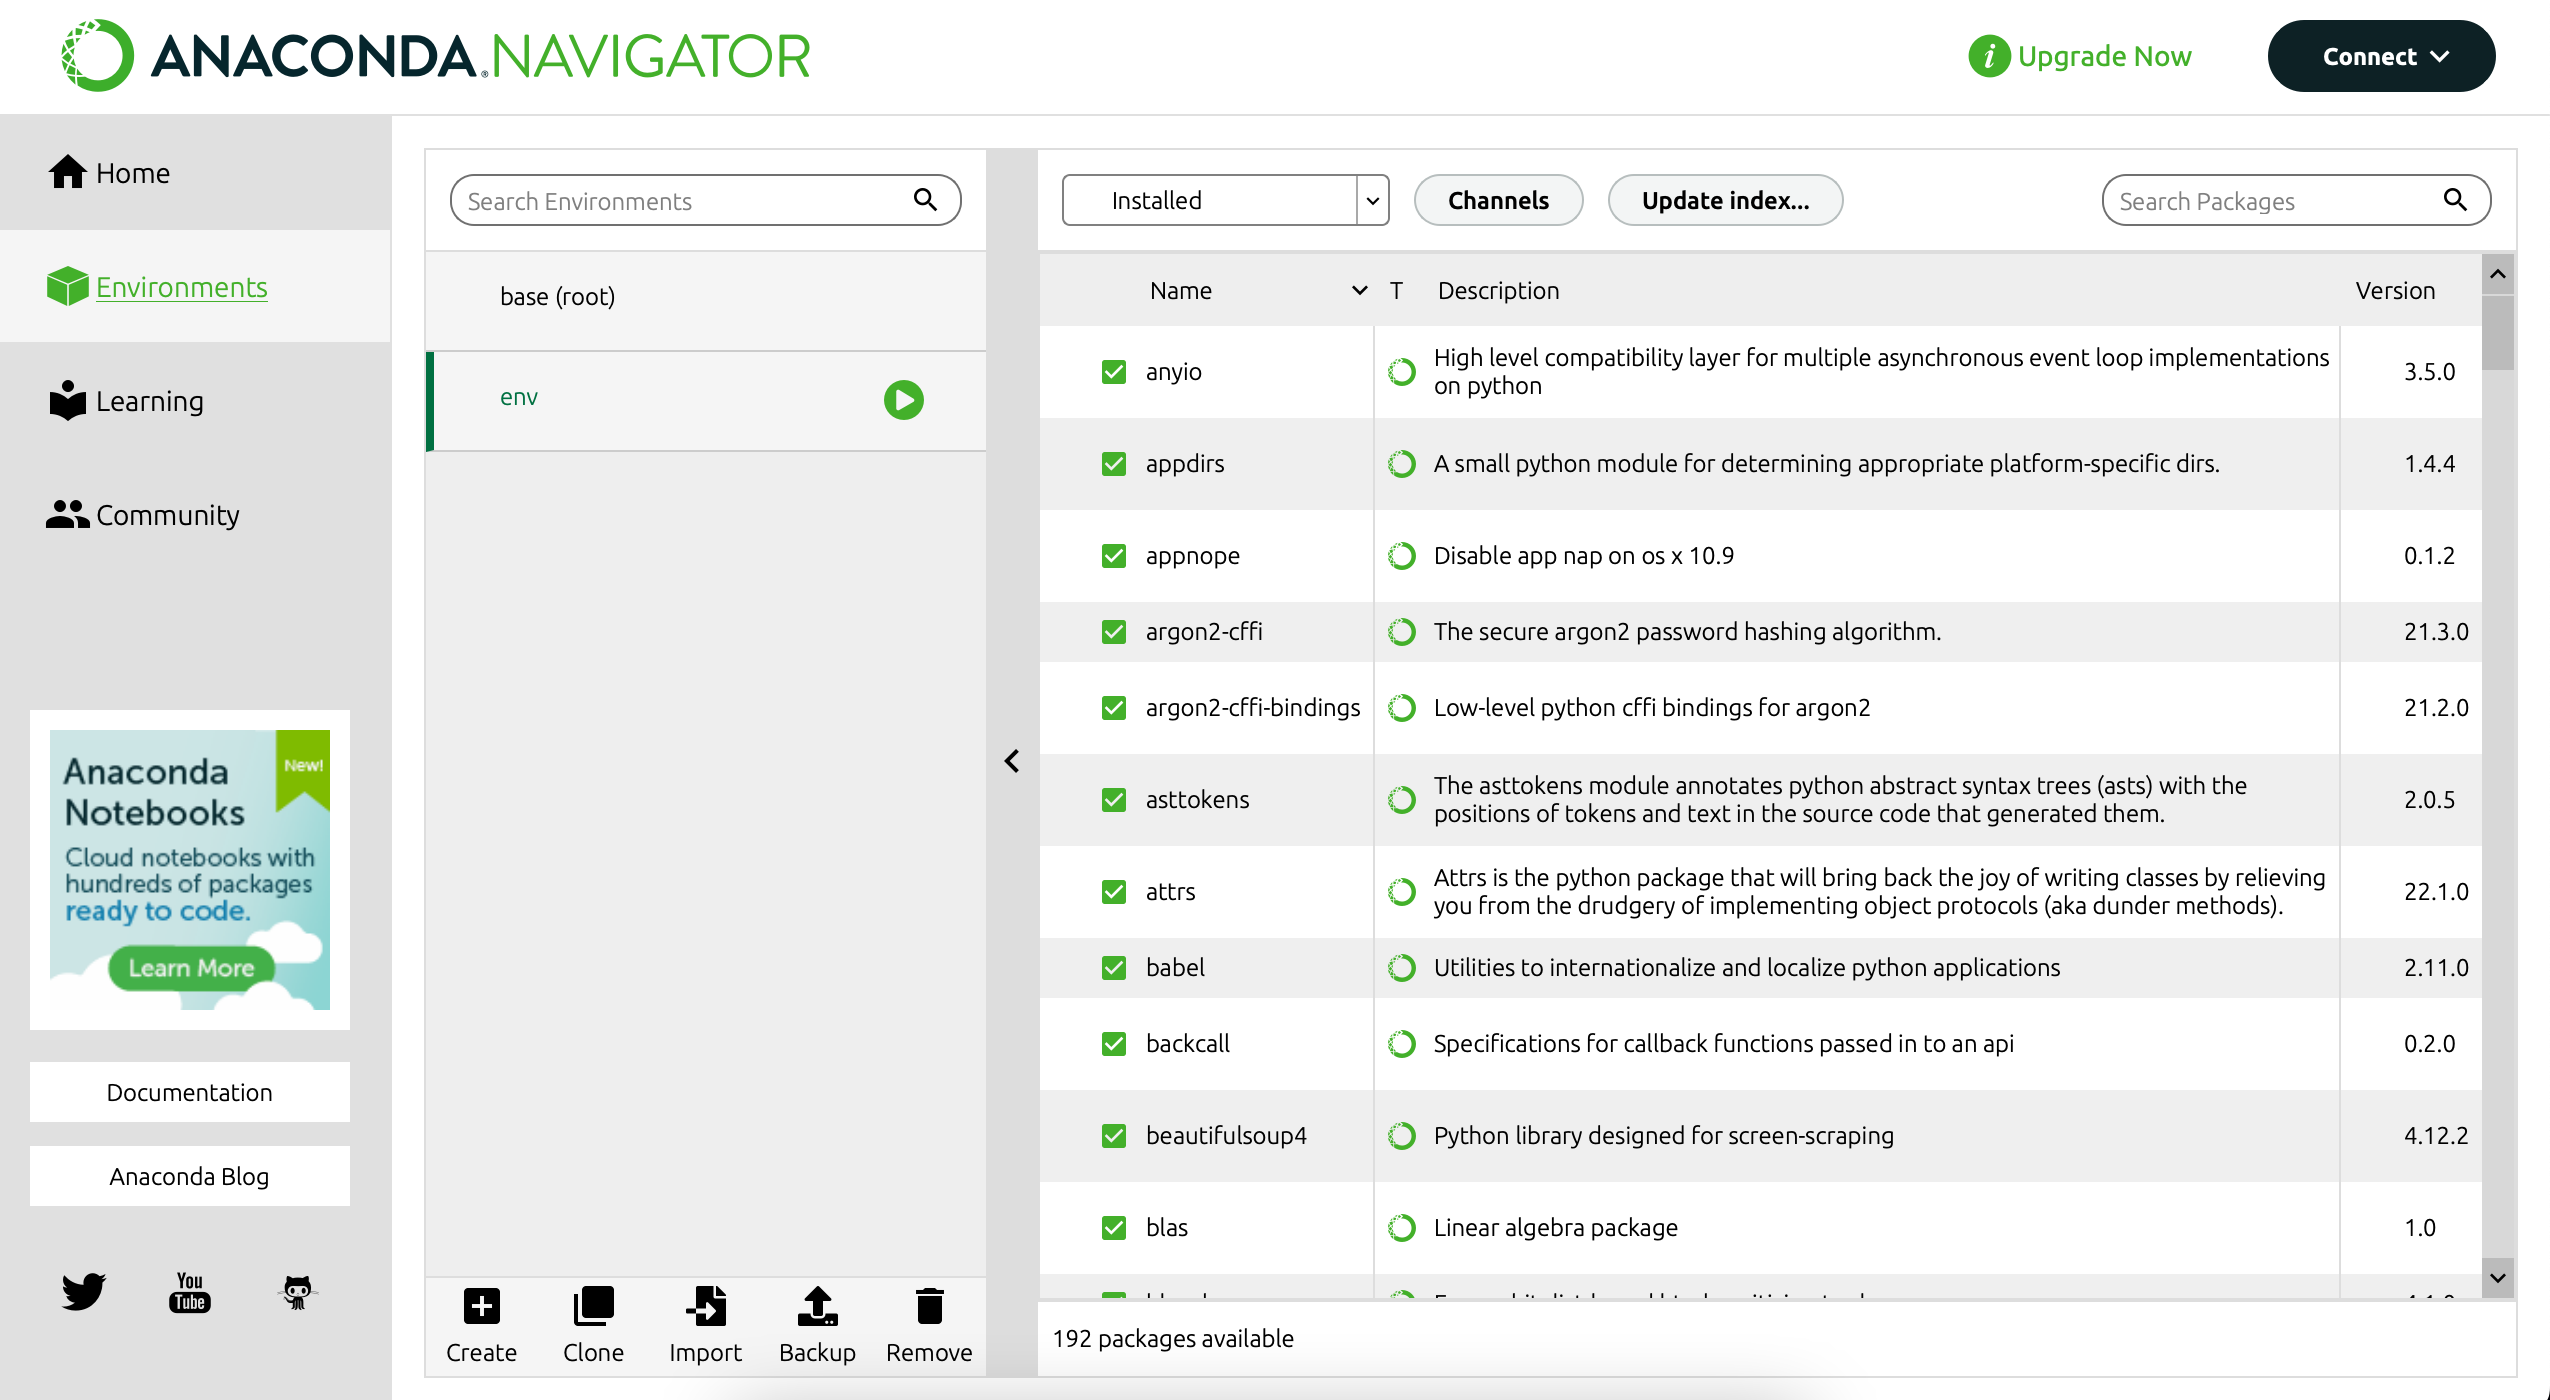
Step 2: Navigating to the Environments Tab Once the Anaconda Navigator is launched, you will see various tabs at the top. Click on the "Environments" tab to access the virtual environment management interface.

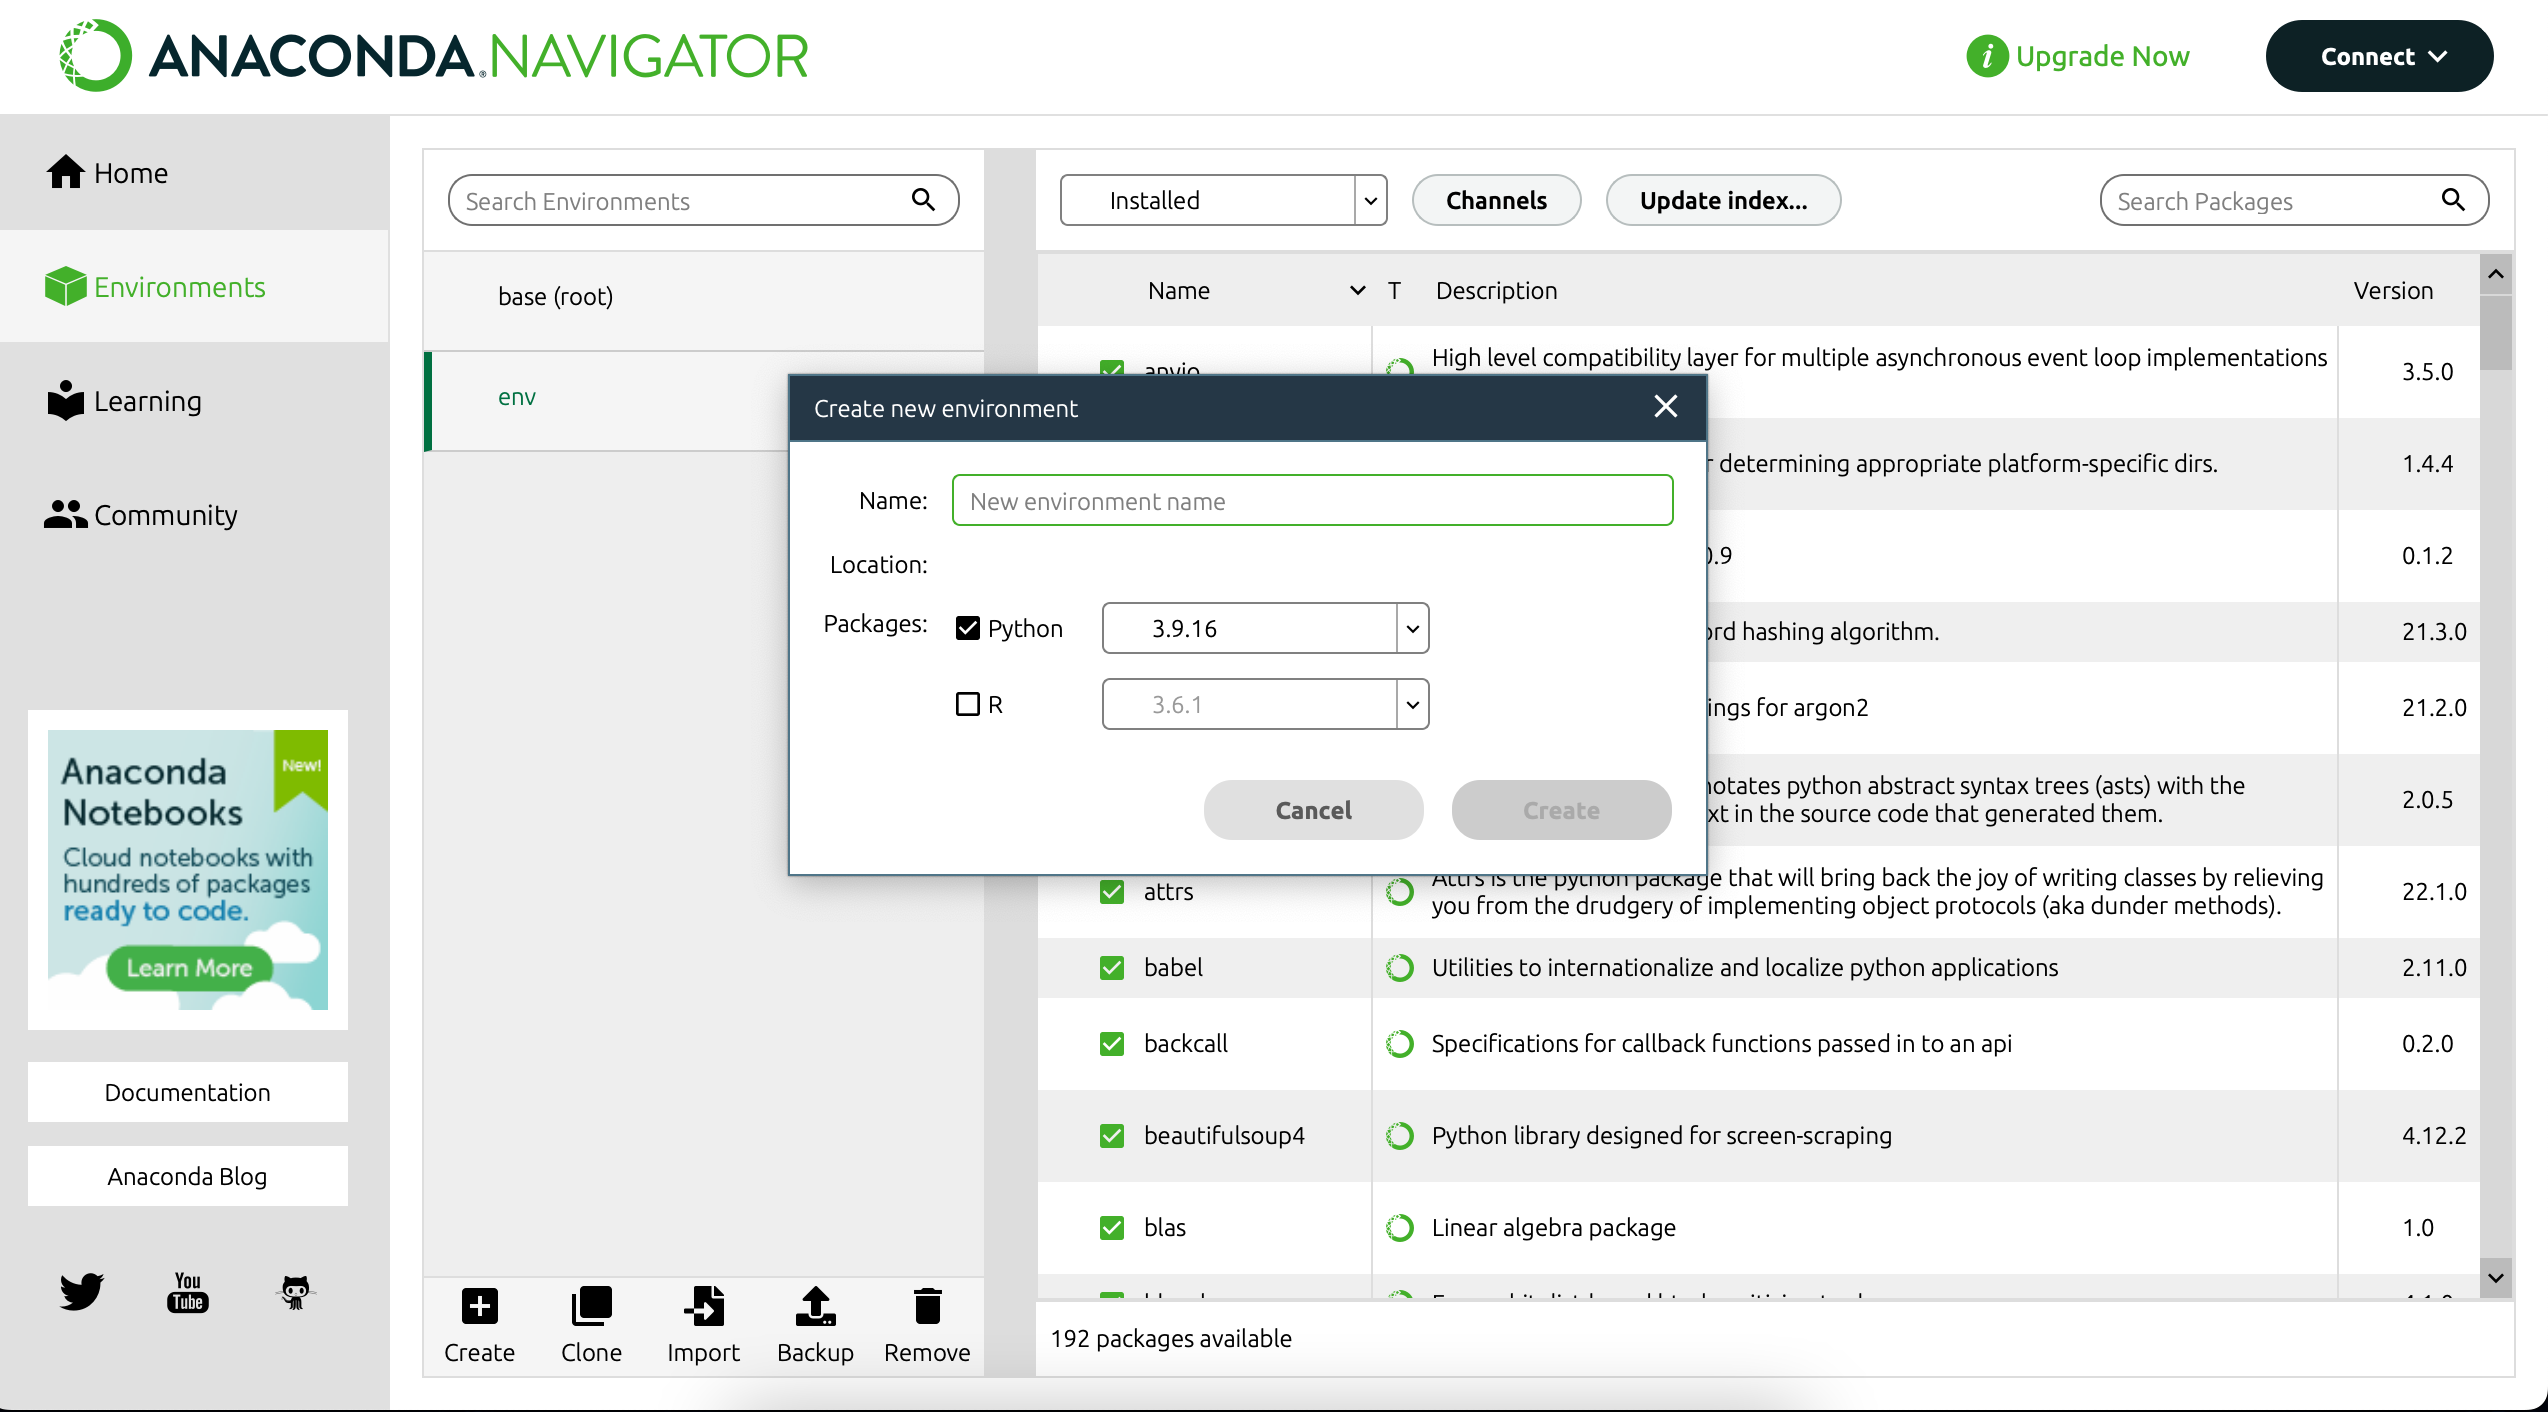
Step 3: Creating a New Environment In the "Environments" tab, you will find a list of your existing environments. To create a new one, click on the "Create" button. A dialog box will appear, allowing you to specify the details of your virtual environment.

Step 4: Naming and Configuring the Environment In the dialog box, provide a name for your new virtual environment. Choose a descriptive name that reflects the purpose of your project. You can also select the Python version you want to use within the environment.
Step 5: Specifying Packages and Dependencies To add packages and dependencies to your virtual environment, select the desired ones from the list provided. You can search for packages by name or browse through the categories. You may also choose to install additional packages later.
Step 6: Creating the Virtual Environment After specifying the environment details and desired packages, click on the "Create" button to initiate the creation of the virtual environment. Anaconda will then proceed to set up the environment based on your specifications.
Step 7: Activating and Using the Virtual Environment Once the virtual environment is created, you can activate it by clicking on the corresponding environment name in the "Environments" tab. This will open a dropdown menu with options to open a terminal or launch an IDE within the environment.
Creating virtual environments in Anaconda provides a valuable means of managing project dependencies and ensuring reproducibility. By following the steps outlined in this guide, you can easily create and configure a virtual environment in Anaconda Navigator, enabling you to organize your projects efficiently and work on multiple projects with different dependencies. Harness the power of virtual environments to streamline your development workflow and maintain consistency across projects within the Anaconda ecosystem.
Remember to activate the virtual environment whenever you start working on a specific project, and you'll be on your way to building robust and reproducible software solutions with Anaconda.
Subscribe to my newsletter
Read articles from Eugene Denteh directly inside your inbox. Subscribe to the newsletter, and don't miss out.
Written by
