Building a GPT Powered PokeDex App
 Krishaay Jois
OpenAI’s Large Language Models like ChatGPT and GPT-3 have been used to build a variety of powerful applications. In this post, I’ll walk you through how I built my first LLM powered application, OpenDex.
Step 1: Create OpenAI API Key
⚠️ If you don’t have an OpenAI account, create one and then follow the steps below.
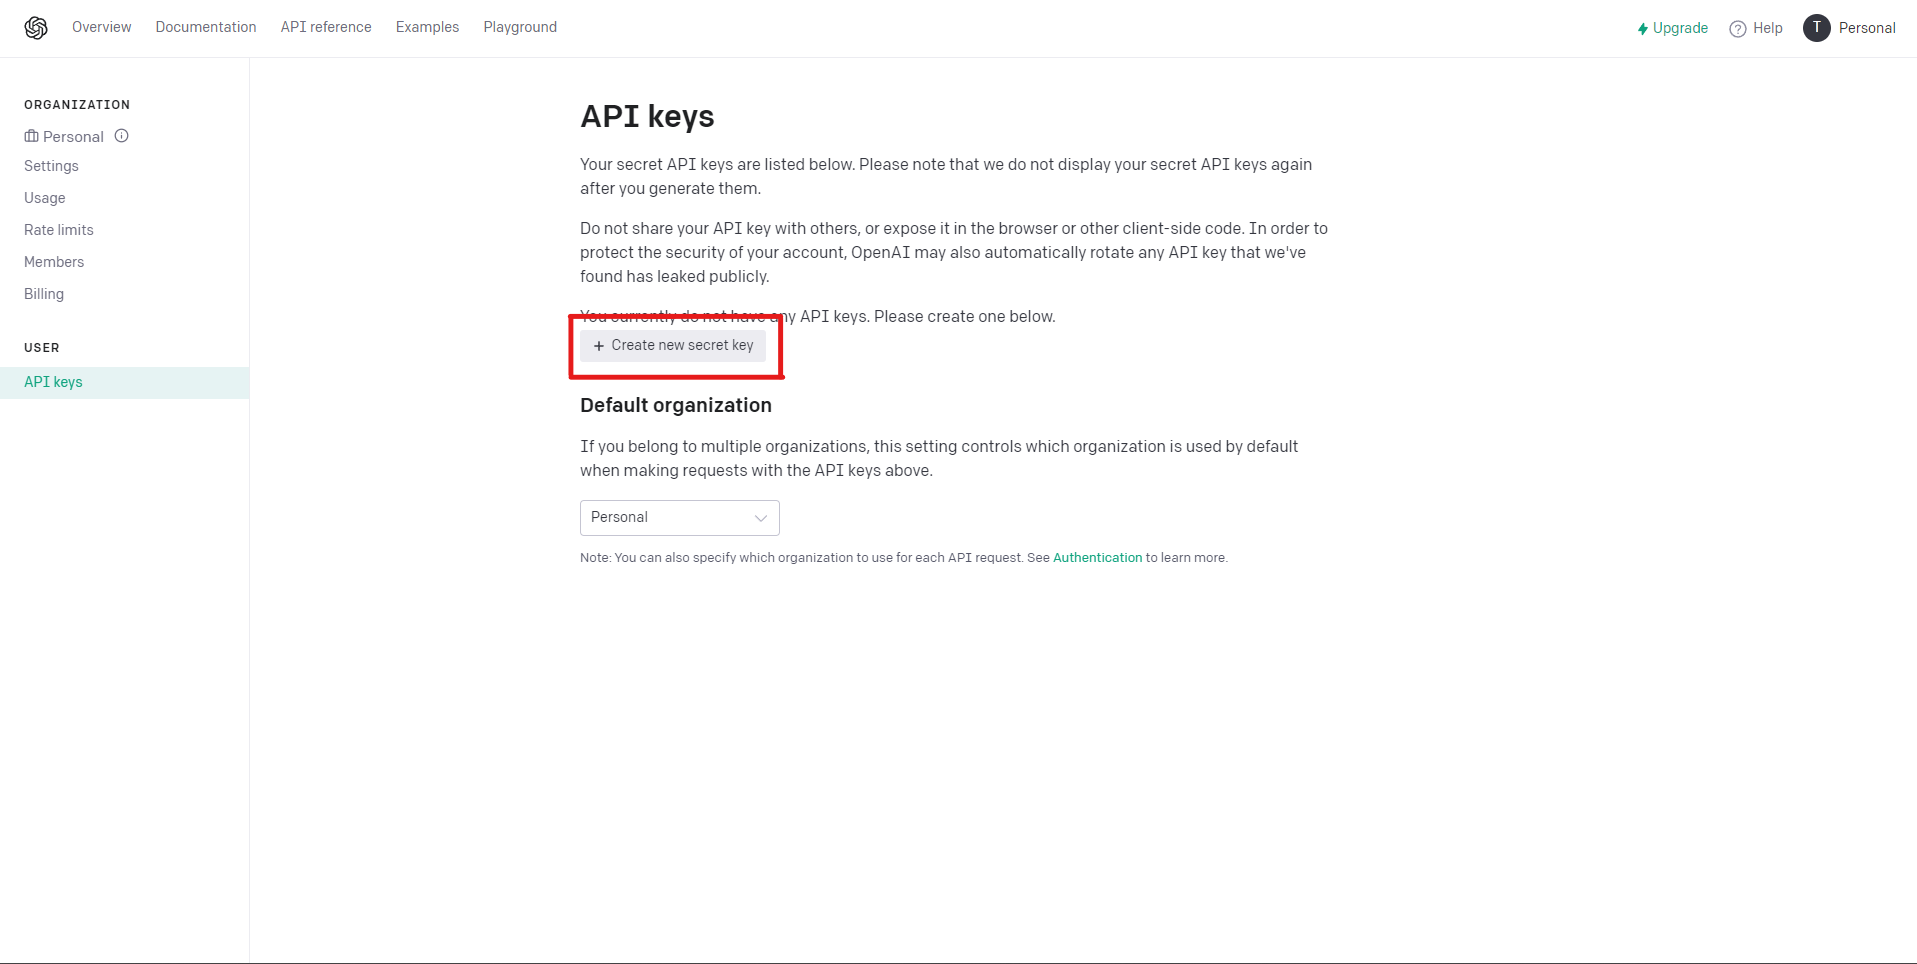
1) Open Dashboard
Dashboard Link → https://platform.openai.com/account/api-keys
You should see this:
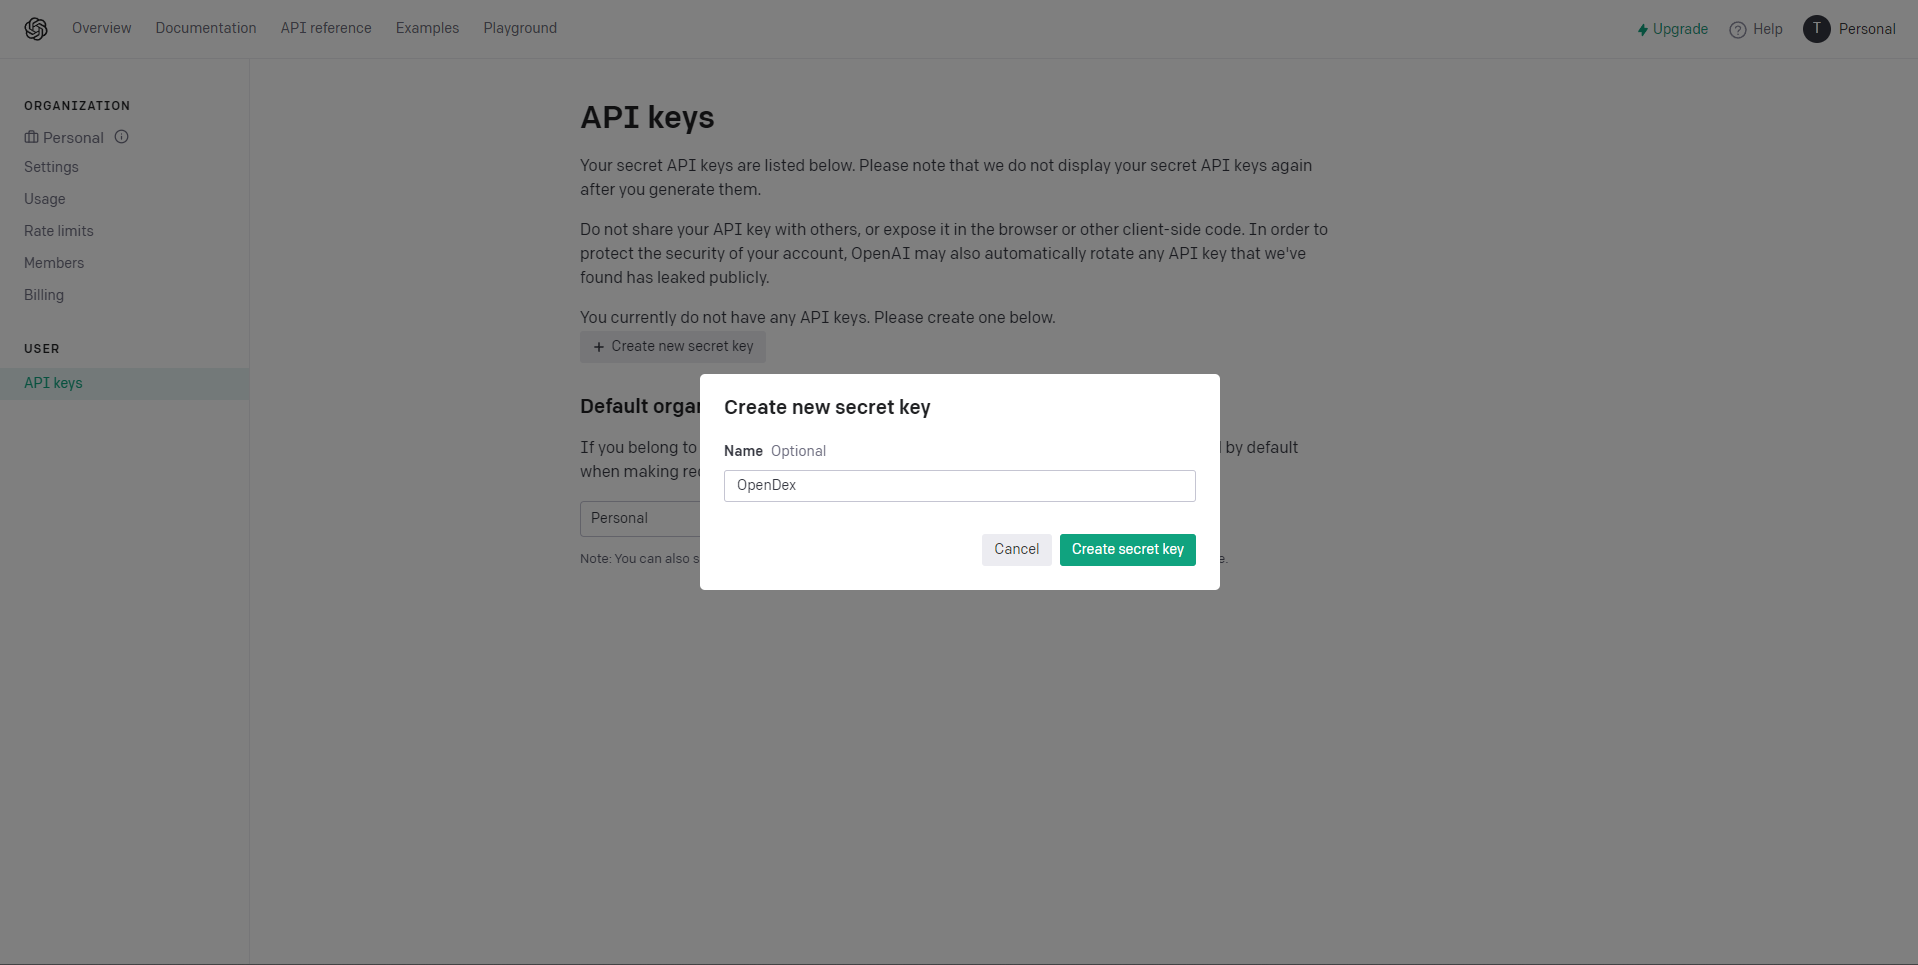
2) Create a new secret key
Enter OpenDex as the key name and create it
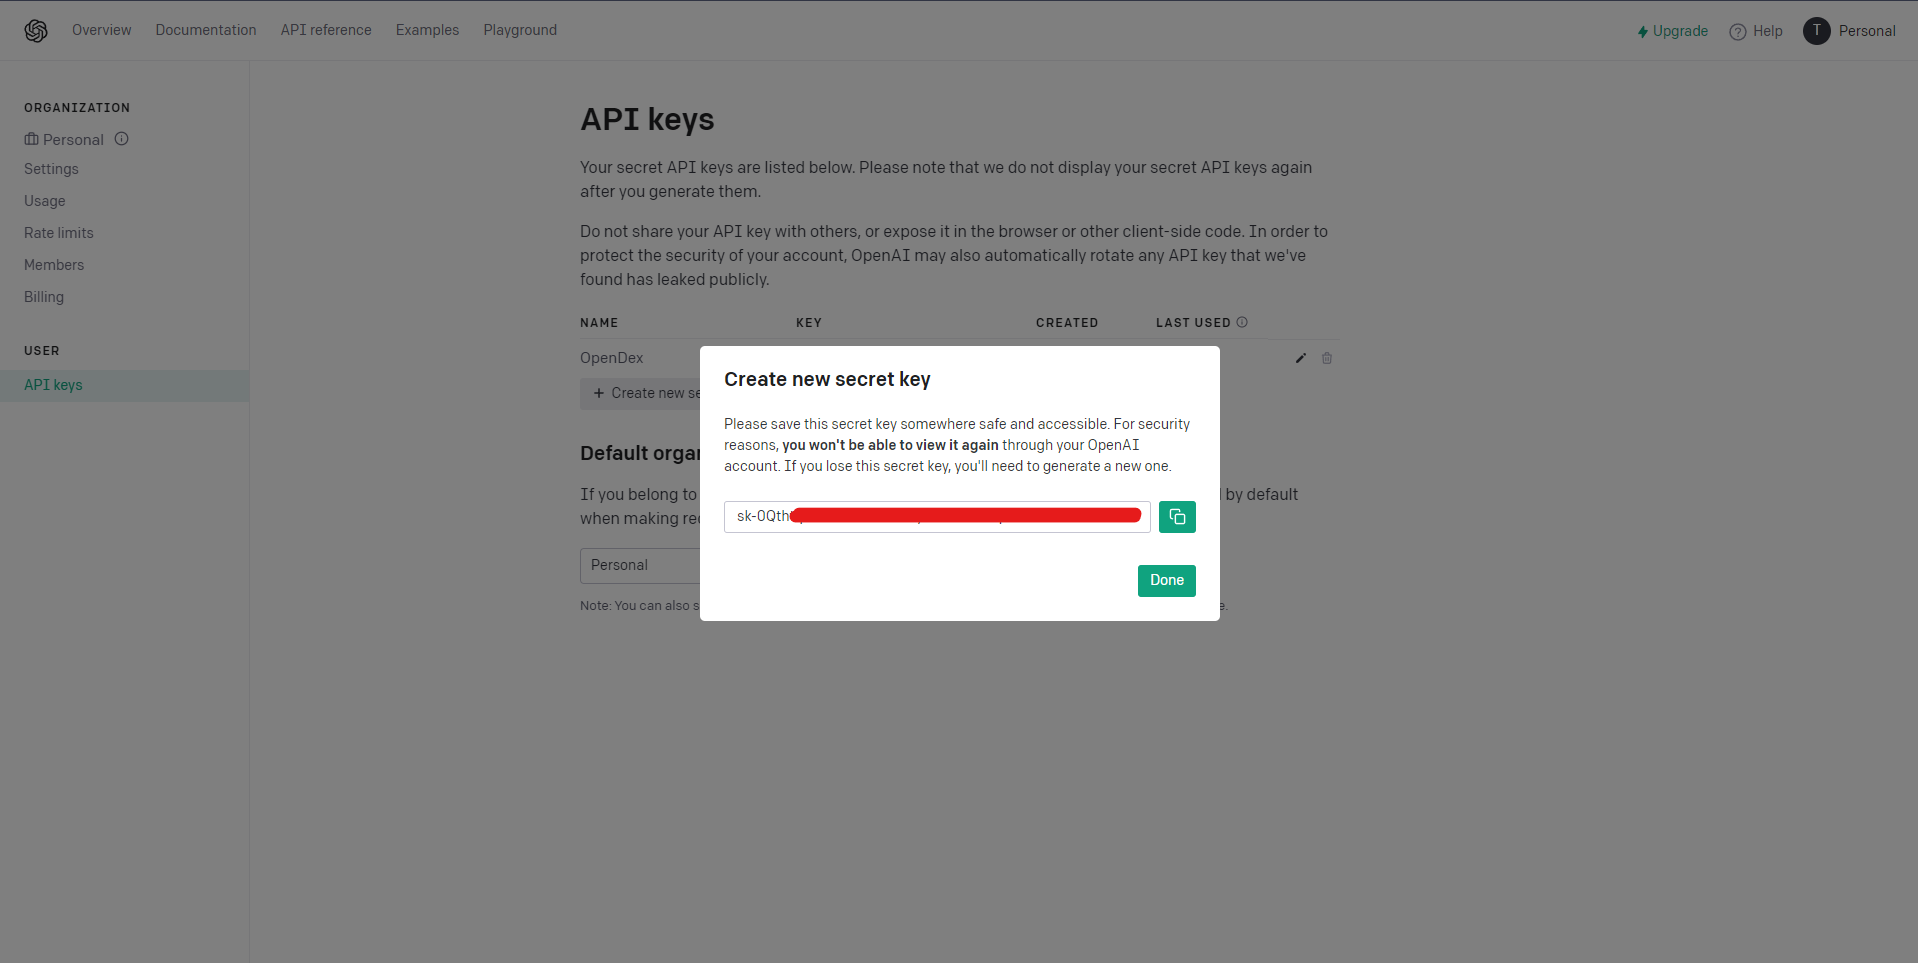
3) Save the key
Copy the key it gives you and save it on notepad for now, you will need it later!
Click on Done and you can close the tab
✅ You now have your API Key
Step 2: Find a database of all the pokemon and their attributes
I found a pokemon dataset on kaggle which had pokemons up to the 8th Generation.
You can use other pokemon databases/datasets if you wish to do so.
⚠️ Download this dataset into a folder called datasets in your working directory so your folder looks like this.
Here
dataset_file_name.csvis a placeholder name. └── datasets/ └── dataset_file_name.csv
Step 3: Setup the backend
Step 1: Define the environment variables
Create a file .env in your working directory so the file tree looks like this
.
├── datasets/
│   └── dataset_file_name.csv
└── .env
and paste the following into the file
OPENAI_APK_KEY="<key>"
Replace <key> with your secret key you noted down earlier and save the file
Step 2: Install python dependencies
Create a file requirements.txt in your working directory so you file tree looks like this
.
├── datasets/
│   └── dataset_file_name.csv
├── .env
└── requirements.txt
Add the dependencies to the file
flask
langchain
openai
python-dotenv
flask-cors
flask-restful
pandas
Save the file.
Install the dependencies using pip using: pip install -r requirements.txt
Step 3: Building the flask server
Create a new file app.py in the working directory so you file tree looks like this:
.
├── datasets/
│   └── dataset_file_name.csv
├── .env
├── requirements.txt
└── app.py
We’ll start by importing all the modules we will be using
# Flask API
from flask import Flask, render_template, request
from flask_restful import Api, Resource
from flask_cors import CORS

# Langchain SDK
from langchain.llms import OpenAI
from langchain.agents import create_csv_agent

# Environment Variables
from dotenv import load_dotenv
Now we’ll load in the environment variables
load_dotenv()
To work with our dataset we’ll be using the CSV Agent included with the langchain SDK
agent = create_csv_agent(OpenAI(temperature=0.1),
                         'datasets/dataset_file_name.csv', verbose=True)
make sure you replace dataset_file_name.csv with the filename for your dataset
Now, create the flask and add CORS middleware
# Create Flask A
app = Flask(__name__)
# Add CORS middleware
CORS(app)
api = Api(app)
We’ll return our html document at the / path
# return index.html at / path
@app.route('/')
def index():
        return render_template('index.html')
Now the core section which is the api endpoint which takes a prompt as input and returns the response from the LLM
class OpenDexApi(Resource):
    def post(self):
                # data from the frontend
        jsonData = request.get_json(force=True)
                # user's prompt
        prompt = jsonData['prompt']

                # return an error if the prompt is empty
                if (prompt == None):
            return {'error': 'prompt is required'}, 400
        else:
            try:
                # execute the prompt using langchain csv agent
                                op = agent.run(prompt)
                                # respond with the response from the agent
                return {'prompt': prompt, 'output': op}, 200
            except Exception as e:
                # return error data if there is an issue in execution
                return {'error': str(e)}, 500
Map the resource we created to the /api path
api.add_resource(OpenDexApi, '/api')
Run the server
if __name__ == '__main__':
    app.run(debug=True)
Here is all the code in one code block
from flask import Flask, render_template, request
from flask_restful import Api, Resource
from flask_cors import CORS
from langchain.llms import OpenAI
from langchain.agents import create_csv_agent
from dotenv import load_dotenv
load_dotenv()
agent = create_csv_agent(OpenAI(temperature=0.1),
                         'datasets/dataset_file_name.csv', verbose=True)
app = Flask(__name__)
CORS(app)
api = Api(app)

@app.route('/')
def index():
    return render_template('index.html')

class OpenDexApi(Resource):
    def post(self):
        jsonData = request.get_json(force=True)
        prompt = jsonData['prompt']
        if (prompt == None):
            return {'error': 'prompt is required'}, 400
        else:
            try:
                op = agent.run(prompt)
                return {'prompt': prompt, 'output': op}, 200
            except Exception as e:
                return {'error': str(e)}, 500

api.add_resource(OpenDexApi, '/api')

if __name__ == '__main__':
    app.run(debug=True)
Step 4: Add the files for the frontend
1) HTML Template
Create a folder templates and create a file index.html inside it
<!DOCTYPE html>
<html>

<head>
    <title>OpenDex</title>
    <link rel="stylesheet" href="/static/style.css">
</head>

<body>
    <div class="logo">

        <span>OpenDex</span>
    </div>
    <div class="form-container">
        <form>
            <label for="prompt">Question</label>
            <input type="text" id="prompt" name="prompt">

            <button id="submit" type="submit">Ask OpenDex</button>
            <div id="loader" class="loader"></div>
        </form>
        <!-- add a section to display the response -->
        <div id="response-div">
            <p id="response"></p>

        </div>

    </div>
    <script src="/static/index.js"></script>
</body>

</html>
2) Stylesheet and Javascript
Create a folder static and create a file index.js
// references to html elements
const submitButton = document.getElementById('submit');
const loader = document.getElementById('loader');
const responseDiv = document.getElementById('response');

// add click callback for the submit button
submitButton.addEventListener('click', (event) => {
        // turn on loading animation
    loader.style.display = 'block';
        // hide submit button
    submitButton.style.display = 'none';
    // clear previous references
    responseDiv.innerHTML = '';
    console.log('submit button clicked');
        // prevent default form submission
        event.preventDefault();
    // get user's prompt from the input element
    const prompt = document.getElementById('prompt').value;
    // create request
    const xhr = new XMLHttpRequest();
    xhr.open('POST', '/api');
    xhr.responseType = 'json';
    xhr.setRequestHeader('Content-Type', 'application/json');
        // define callback for the api request
    xhr.onload = () => {
        const response = xhr.response;

        if (xhr.status === 200) { // if request was completed without any issues
            console.log(response);
                        // display the response from the backend to the user
            responseDiv.innerHTML = response.output;
        } else { // if there was an issue while processing the request
            responseDiv.innerHTML = 'Error\n' + response.error;
            console.error(response);
        }
        // stop the loading animation
        loader.style.display = 'none';
        // show the submit button
        submitButton.style.display = 'block';
    };
    // send the api request
    xhr.send(JSON.stringify({ prompt: prompt }));
});
Inside the same static folder create another file style.css
@import url('https://fonts.googleapis.com/css2?family=Lexend+Deca:wght@400;500;700&display=swap');

* {
    font-family: 'Lexend Deca', sans-serif;
}

.logo {
    font-size: 32px;
    font-weight: bold;
    color: #333;
    margin: 20px;
    text-align: center;
}

.logo img {
    max-width: 100%;
    height: auto;
}

.form-container {
    max-width: 500px;
    margin: 0 auto;
    padding: 20px;
    border: 1px solid #ccc;
    border-radius: 5px;
    box-shadow: 0 0 10px #ccc;
}

.form-container input[type="text"] {
    width: 100%;
    padding: 10px;
    margin-bottom: 10px;
    border-radius: 5px;
    border: 1px solid #ccc;
    font-size: 16px;
    box-sizing: border-box;
}

.form-container button[type="submit"] {
    background-color: #333;
    color: #fff;
    padding: 10px 20px;
    border: none;
    border-radius: 5px;
    font-size: 16px;
    cursor: pointer;
}

.form-container button[type="submit"]:hover {
    background-color: #555;
}

/* add some styling for the dropdown */
.dropdown {
    position: relative;
    display: inline-block;
}

.form-container select {
    width: 100%;
    padding: 10px;
    margin-bottom: 10px;
    border-radius: 5px;
    border: 1px solid #ccc;
    font-size: 16px;
    box-sizing: border-box;
}

.loader {
    border: 5px solid #f3f3f3;
    /* visibility: hidden; */
    display: none;
    /* Light grey */
    border-top: 5px solid #ed7777;
    /* Blue */
    border-radius: 50%;
    width: 30px;
    height: 30px;
    animation: spin 1s linear infinite;
}

@keyframes spin {
    0% {
        transform: rotate(0deg);
    }

    100% {
        transform: rotate(360deg);
    }
}
Now your file tree should end up looking like this
.
├── datasets/
│   └── dataset_file_name.csv
├── templates/
│   └── index.html
├── static/
│   ├── style.css
│   └── index.js
├── .env
├── requirements.txt
└── app.py
Step 5: Run the app
python app.py
Step 6: Open the Website
When you run the server you should see output similar to this
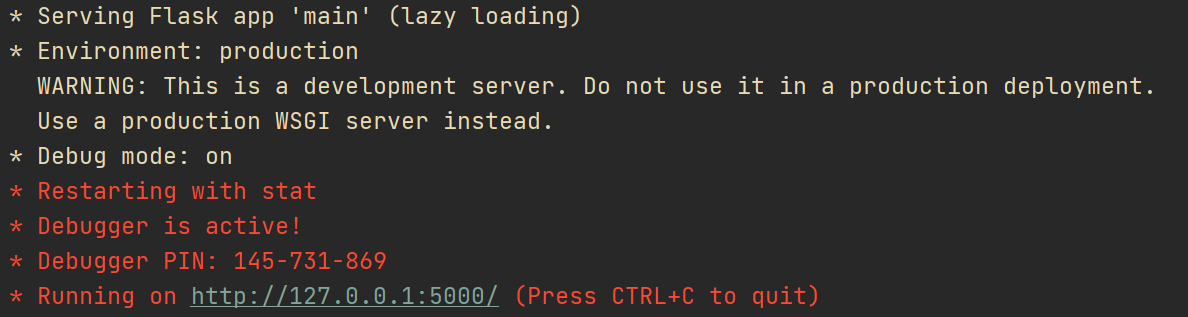
Open the IP address which was logged in your web browser and you should be able to see the OpenDex Page.
Source Code
The source code for this project is available on Github at the link below 👇
https://github.com/kry0sc0pic/OpenDex

Thanks for reading!
If you enjoy content like this, consider following so you don’t miss out.
Subscribe to my newsletter
Read articles from Krishaay Jois directly inside your inbox. Subscribe to the newsletter, and don't miss out.
Written by
Krishaay Jois
Krishaay Jois
aspiring techpreneur • designer & solutions architect • dev lead @ classify